1. The document describes the media technologies used at each stage of constructing, researching, planning, and evaluating a media project. A variety of equipment was used including cameras, SD cards, computers, and software like Adobe Premier Pro, YouTube, and Blogger.
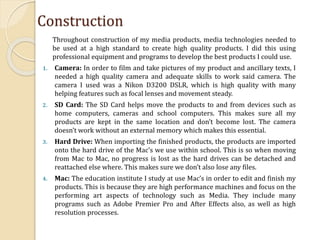
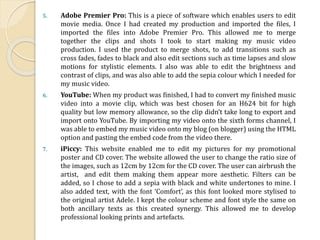
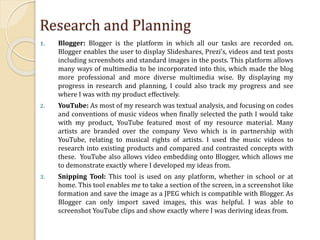
2. Specific technologies used in construction included a Nikon DSLR camera, Adobe Premier Pro for editing, and YouTube for sharing the final product. Research and planning utilized Blogger, YouTube, screenshots, PowerPoint, and storyboarding software.
3. Evaluation reused equipment like the Nikon camera and Adobe Premier Pro for editing interview footage against a green screen. The final product was again shared on YouTube and the evaluation was published on B