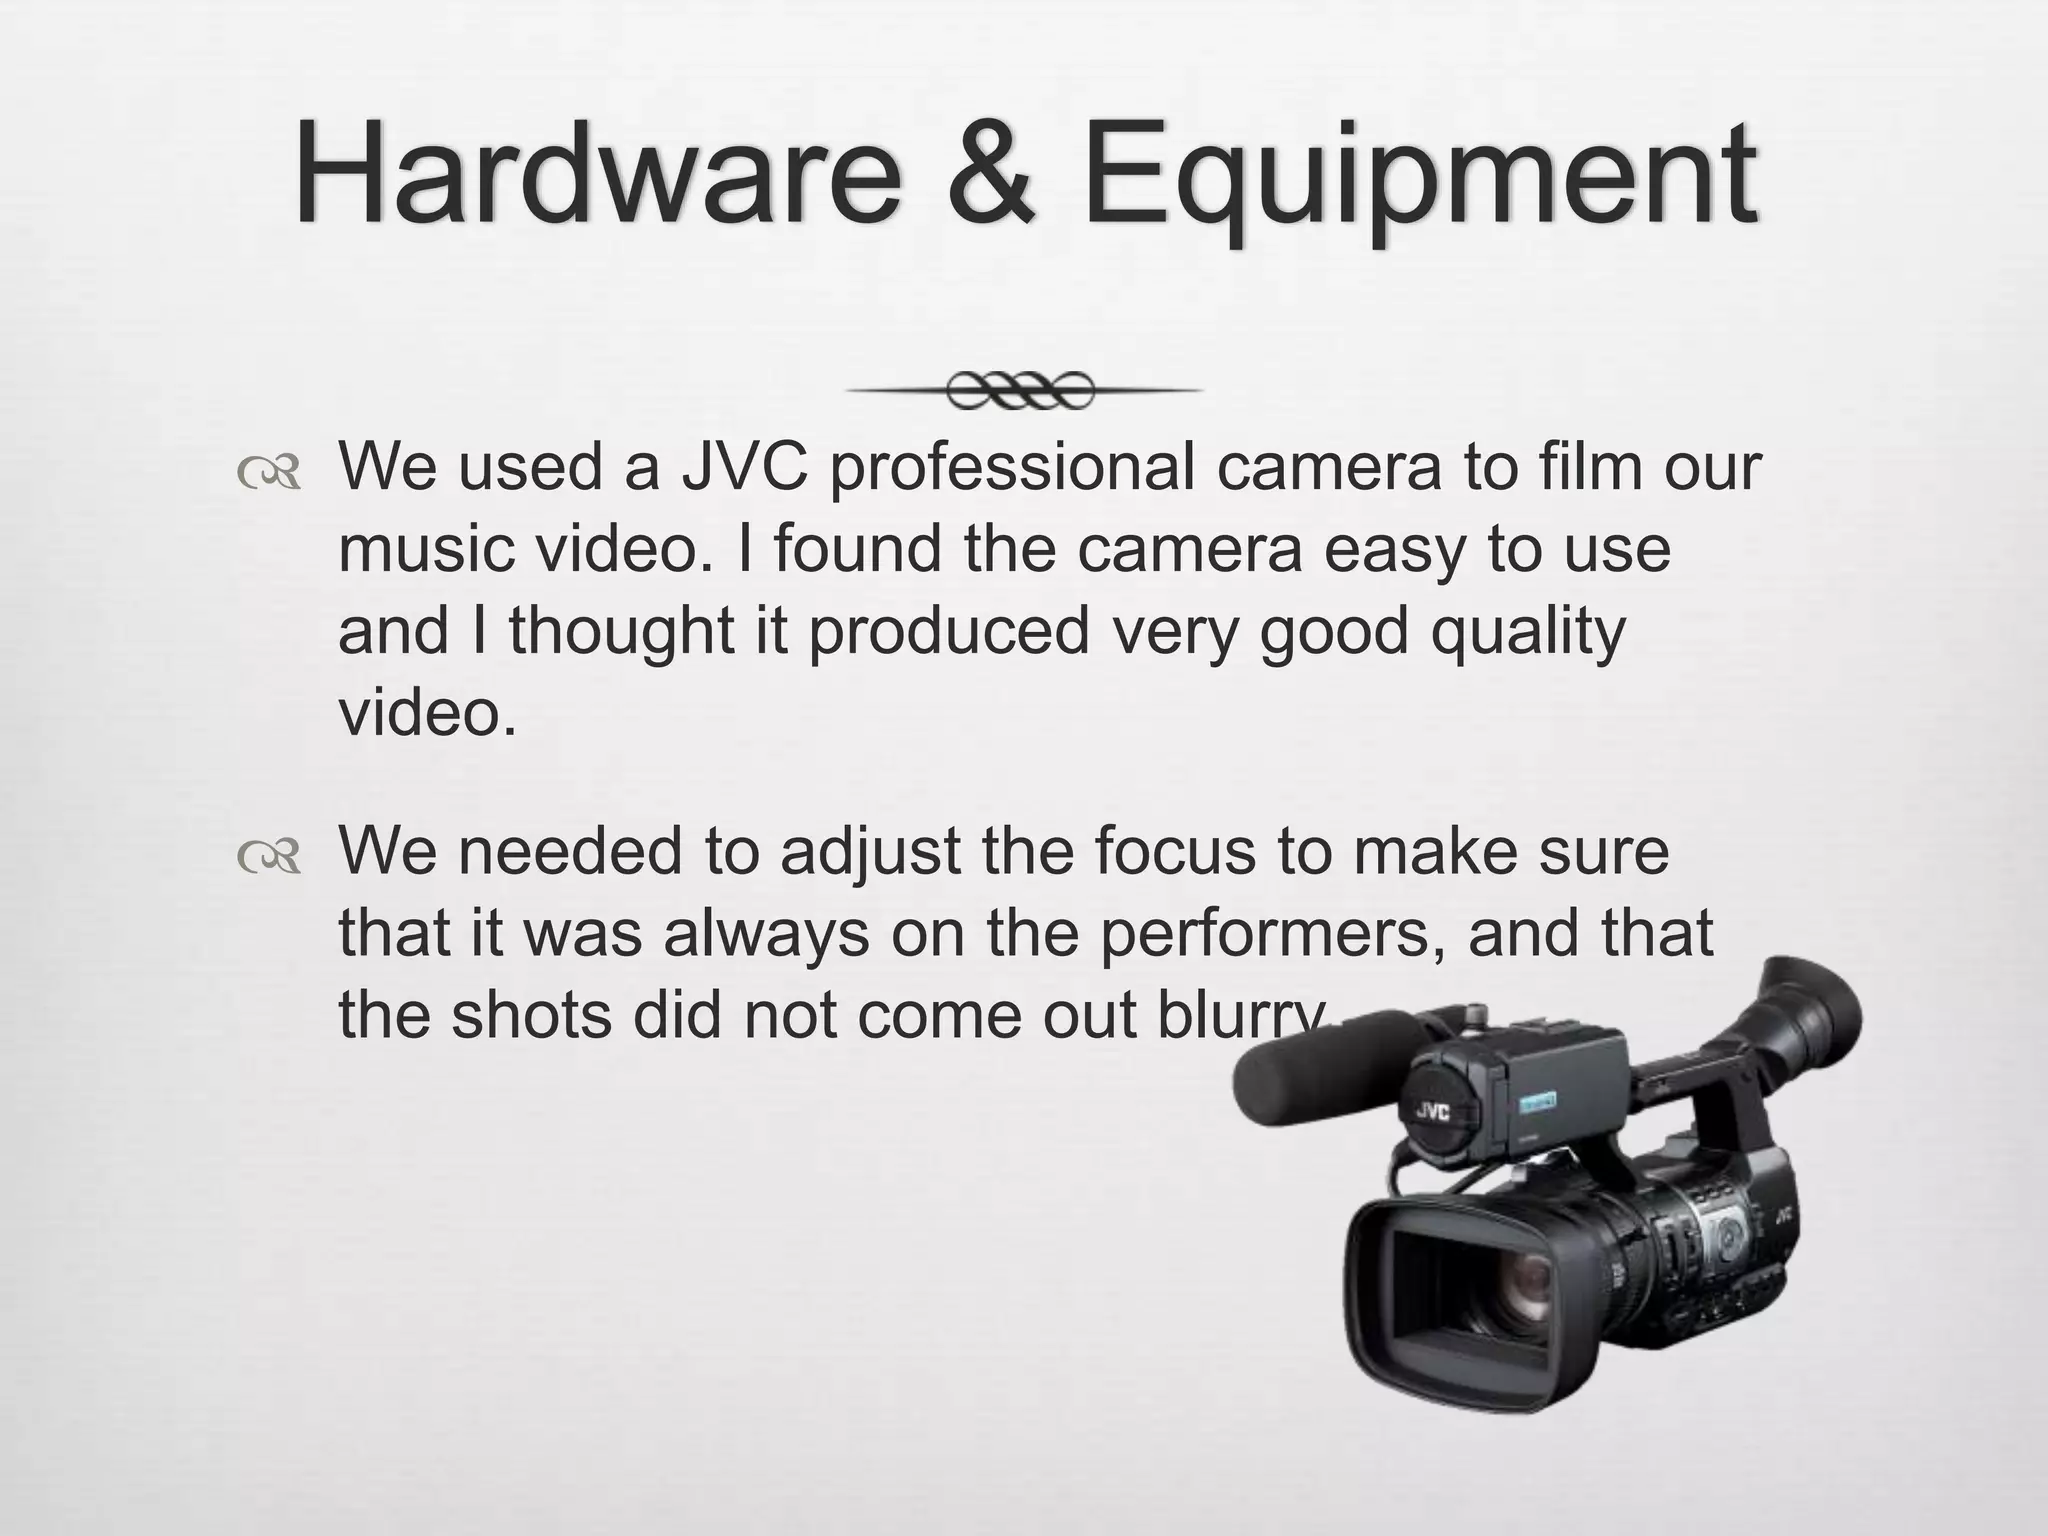
Hardware & Equipment
 We used a JVC professional camera to film our
music video. I found the camera easy to use
and I thought it produced very good quality
video.
 We needed to adjust the focus to make sure
that it was always on the performers, and that
the shots did not come out blurry.
Memory Cards, Card Readers and Video Drive

 The footage we had on the cameras was stored on two
memory cards which could be connected to the Macs through a
Memory Card reader. This allowed us to transfer our footage to
the Video Drive, where we saved all of our group work, in order
for it to be easier to access.
Still and flip cameras

 We used a still camera to take pictures during filming and
pictures of the performers wearing their costumes.

 The flip camera was used for behind the scenes videos where
we explained what we would do during a filming session or
account for changes in our plans.
Social Media
 Our group had social media accounts where we
would have updates about our production process –
where and when we were filming, any changes we
would make on the spot.
 We used Twitter and Instagram to share these
updates.
Software
Final Cut Pro


We used Final Cut to edit our footage and create our final music
video.



We had a number of basetracks (filming the whole song in one go)
and some cutaways, which made it a bit easier to cut bits out and
leave the parts we needed.



I think our basetrack editing could have been organised a bit better, as
we ended up having too many bits and pieces, but we managed to
make it work anyway.
I really enjoyed using Final Cut to edit the video.
We used the Colour Correction tool to make the make-up and our
accessories stand out more, in contrast with our costumes and the
locations.
We also had some slow motion towards the end of our video, which I
think added a bit more depth to the editing and made the video more
interesting.
Colour Correction
Before

After

Music video technology

  • 2.
    Hardware & Equipment We used a JVC professional camera to film our music video. I found the camera easy to use and I thought it produced very good quality video.  We needed to adjust the focus to make sure that it was always on the performers, and that the shots did not come out blurry.
  • 3.
    Memory Cards, CardReaders and Video Drive  The footage we had on the cameras was stored on two memory cards which could be connected to the Macs through a Memory Card reader. This allowed us to transfer our footage to the Video Drive, where we saved all of our group work, in order for it to be easier to access.
  • 4.
    Still and flipcameras  We used a still camera to take pictures during filming and pictures of the performers wearing their costumes.  The flip camera was used for behind the scenes videos where we explained what we would do during a filming session or account for changes in our plans.
  • 5.
    Social Media  Ourgroup had social media accounts where we would have updates about our production process – where and when we were filming, any changes we would make on the spot.  We used Twitter and Instagram to share these updates.
  • 6.
    Software Final Cut Pro  Weused Final Cut to edit our footage and create our final music video.  We had a number of basetracks (filming the whole song in one go) and some cutaways, which made it a bit easier to cut bits out and leave the parts we needed.  I think our basetrack editing could have been organised a bit better, as we ended up having too many bits and pieces, but we managed to make it work anyway.
  • 7.
    I really enjoyedusing Final Cut to edit the video. We used the Colour Correction tool to make the make-up and our accessories stand out more, in contrast with our costumes and the locations. We also had some slow motion towards the end of our video, which I think added a bit more depth to the editing and made the video more interesting.
  • 8.