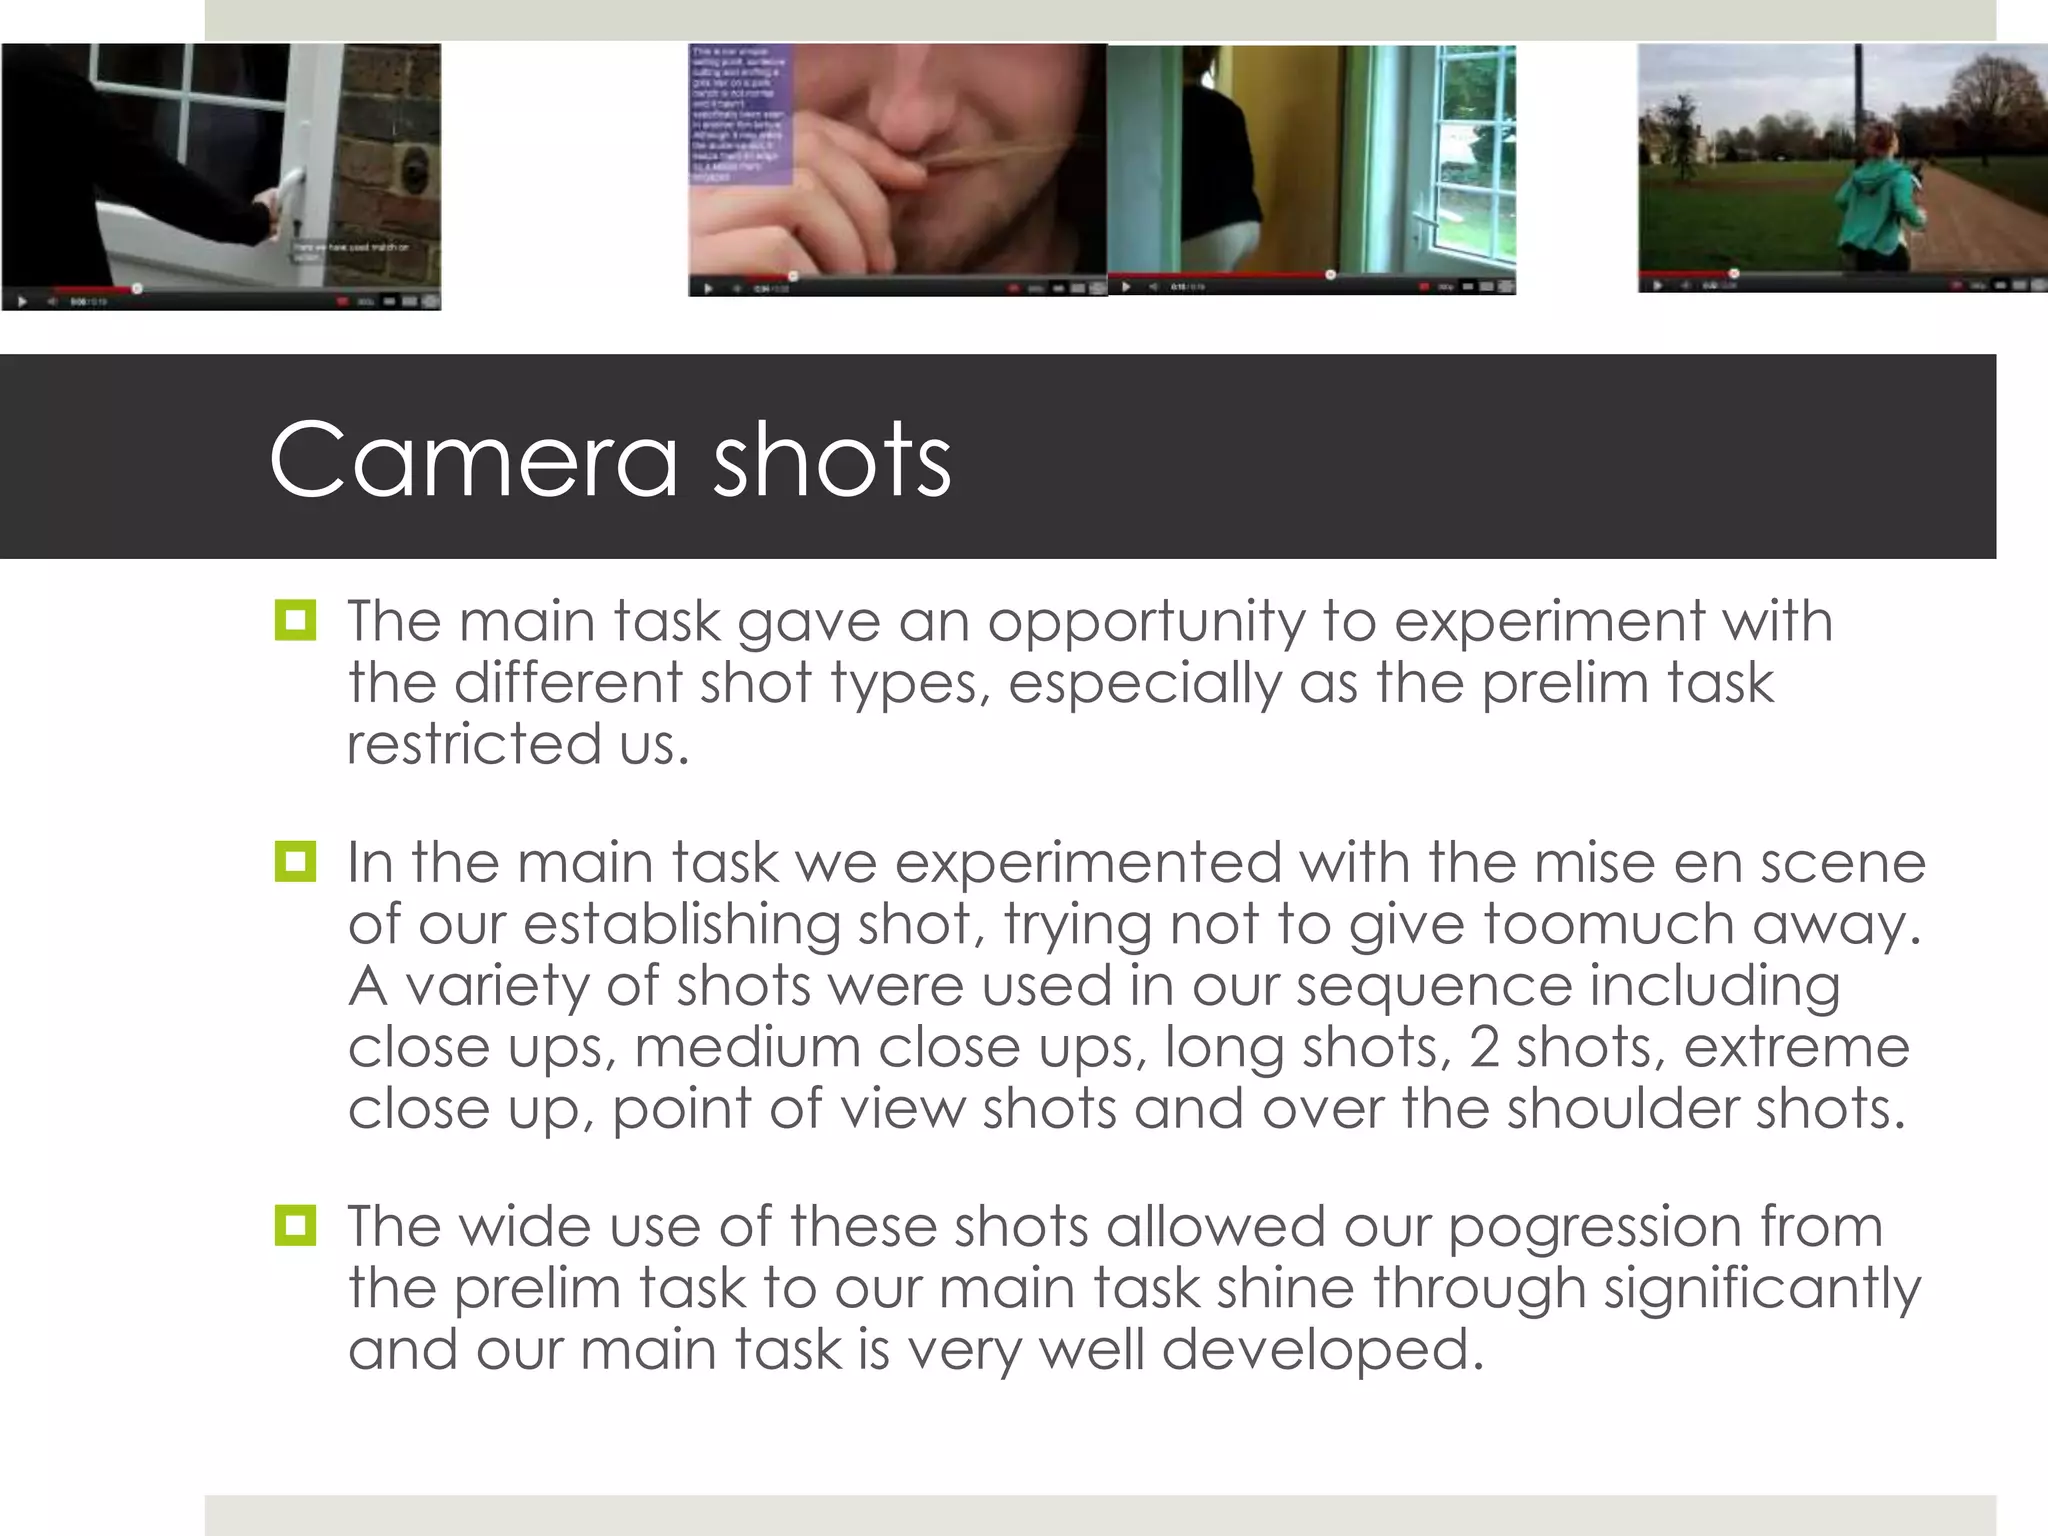
Evaluation Question 7
Looking back at your preliminary task, what do you feel you have
learnt in the progression from it to the full product.
 After completeing the Preliminary task back in
  September my skills and understanding of various editing
  and camerawork techniques have improved
  dramatically, a lot more than what they did at GCSE.

 In the progression I have learnt that technology is
  unreliable and how complex camera work can actually
  be and it requires a lot of thinking instead of just going
  out a placing a camera anywhere.
Editing
 Even though for the preliminary task we editted using iMovie
  HD, Final Cut has similar elements in which I developed
  significanty.

 I did not know that a colour corrector existed to make the
  colours stand out more and seem a lot more cinematic. This
  filter was not used in the prelim task, but used in every shot
  of our main task which improved the quality of our
  product.We also added a edge blur to some of our shots to
  make them stand out from the rest, highlighting sime key
  points of our opening sequence.

 This progression allowed the group to create an effective
  final piece that looks professional.
Match on Action
  Our progression also allowd us to make match on
   action shots more realistic and precise.

  In our prelim task, the match on action was not cut
   precisely enough that in the second shot the hand
   was not in the correct place. In our main task the cut
   was made more precisely and the shots matched
   perfectly, even though the angle completely
   changed.
Titles

 Our prelim task had no titles so using them in the main
  task was a new experience. And a huge preogression to
  make.

 The use of titles makes the overall look of a short film or
  opening sequence more fluent and simple titles are really
  efective.

 We used simple titles in our opening sequence made on
  LiveType. These were overlapped with our main image
  and strategically placed so that they did not distract the
  audience too much.
Sound

 The prelim task only featured diegetic sound from the actors
  voices and the ambience within the shots.

 In our main task, we incorporated diegetic and non diegetic
  sound. This made our editting more detailed and showed
  the variety of skills we possesed. The non diegetic sound
  consisted of a sountrack added over the top, and added
  sound effects. Our diegetic sound involved heavy breathing
  from our main character, footsteps, music from the main
  characters ipod and also the ambience in the shots such as
  wind and car sounds aswell as a crow which added great
  effect to our film.

 These sounds were carefully chosen to feature in our main
  task.
Editting Techniques

   There are various editting techniques that were developed over the transition of prelim task to main task.
    Therefore our final task is more complex in editting terms and I feel very confident with using editting
    programmes

   The techniques developed include:

   Using the marker tool to mark roughly where the clip needs to be cut in order to arrange the clips

   Using the slice tool whilst zoomed into the timeline to cut the clips very precisely

   Using various filters such as colour correctors, black and white, blur and then changing the opacity and
    saturation of these filters

   Overlapping photoshop files and livetype files to create a effective and well developed ident

   Using soundtrack to compile sound and adding the file to final cut in the right place

   Altering the pitch levels of sound in the clips to maintain the average sound decibels throughout the
    opening sequence.
Camera work
   On the day of filming, my camera work skills developed from the prelim task as I
    was very hands on with he filming, unlike in the prelim task when I was away for
    filming.

   I developed my skills on:

   Pan/tracking shots (keeping th camera steady throughout the whole pan)

   How to use the natural light to ensure all shots are of good visibility

   Altering the tripod to place the camera on a hill and still keep the shot still

   Keeping angles of shots basic so that the audience see the character at a
    suitable angle without being confussed

   Sticking to the 180 degree rule (this was quite challenging to remember whilst
    filming when the side of the shot changes, but we made sure we stck to it whilst
    editing)
Shot Reverse Shot
 We studied shot reverse shots before our prelim task and
  then had to apply these skills in the prelim task. We also
  managed to encorporate one of these shots into our
  main task.

 This progression allowed us to build tension more
  significantly by showing the victim by herself, then with
  the stalker behind her and finally her again. Although this
  took some time to film as sticking to the 180 degree rule
  can be quite challenging our final product works well
  with the types of shots used.
Camera shots
 The main task gave an opportunity to experiment with
  the different shot types, especially as the prelim task
  restricted us.

 In the main task we experimented with the mise en scene
  of our establishing shot, trying not to give toomuch away.
  A variety of shots were used in our sequence including
  close ups, medium close ups, long shots, 2 shots, extreme
  close up, point of view shots and over the shoulder shots.

 The wide use of these shots allowed our pogression from
  the prelim task to our main task shine through significantly
  and our main task is very well developed.

Evaluation question 7

  • 1.
    Evaluation Question 7 Lookingback at your preliminary task, what do you feel you have learnt in the progression from it to the full product.
  • 2.
     After completeingthe Preliminary task back in September my skills and understanding of various editing and camerawork techniques have improved dramatically, a lot more than what they did at GCSE.  In the progression I have learnt that technology is unreliable and how complex camera work can actually be and it requires a lot of thinking instead of just going out a placing a camera anywhere.
  • 3.
    Editing  Even thoughfor the preliminary task we editted using iMovie HD, Final Cut has similar elements in which I developed significanty.  I did not know that a colour corrector existed to make the colours stand out more and seem a lot more cinematic. This filter was not used in the prelim task, but used in every shot of our main task which improved the quality of our product.We also added a edge blur to some of our shots to make them stand out from the rest, highlighting sime key points of our opening sequence.  This progression allowed the group to create an effective final piece that looks professional.
  • 4.
    Match on Action  Our progression also allowd us to make match on action shots more realistic and precise.  In our prelim task, the match on action was not cut precisely enough that in the second shot the hand was not in the correct place. In our main task the cut was made more precisely and the shots matched perfectly, even though the angle completely changed.
  • 5.
    Titles  Our prelimtask had no titles so using them in the main task was a new experience. And a huge preogression to make.  The use of titles makes the overall look of a short film or opening sequence more fluent and simple titles are really efective.  We used simple titles in our opening sequence made on LiveType. These were overlapped with our main image and strategically placed so that they did not distract the audience too much.
  • 6.
    Sound  The prelimtask only featured diegetic sound from the actors voices and the ambience within the shots.  In our main task, we incorporated diegetic and non diegetic sound. This made our editting more detailed and showed the variety of skills we possesed. The non diegetic sound consisted of a sountrack added over the top, and added sound effects. Our diegetic sound involved heavy breathing from our main character, footsteps, music from the main characters ipod and also the ambience in the shots such as wind and car sounds aswell as a crow which added great effect to our film.  These sounds were carefully chosen to feature in our main task.
  • 7.
    Editting Techniques  There are various editting techniques that were developed over the transition of prelim task to main task. Therefore our final task is more complex in editting terms and I feel very confident with using editting programmes  The techniques developed include:  Using the marker tool to mark roughly where the clip needs to be cut in order to arrange the clips  Using the slice tool whilst zoomed into the timeline to cut the clips very precisely  Using various filters such as colour correctors, black and white, blur and then changing the opacity and saturation of these filters  Overlapping photoshop files and livetype files to create a effective and well developed ident  Using soundtrack to compile sound and adding the file to final cut in the right place  Altering the pitch levels of sound in the clips to maintain the average sound decibels throughout the opening sequence.
  • 8.
    Camera work  On the day of filming, my camera work skills developed from the prelim task as I was very hands on with he filming, unlike in the prelim task when I was away for filming.  I developed my skills on:  Pan/tracking shots (keeping th camera steady throughout the whole pan)  How to use the natural light to ensure all shots are of good visibility  Altering the tripod to place the camera on a hill and still keep the shot still  Keeping angles of shots basic so that the audience see the character at a suitable angle without being confussed  Sticking to the 180 degree rule (this was quite challenging to remember whilst filming when the side of the shot changes, but we made sure we stck to it whilst editing)
  • 9.
    Shot Reverse Shot We studied shot reverse shots before our prelim task and then had to apply these skills in the prelim task. We also managed to encorporate one of these shots into our main task.  This progression allowed us to build tension more significantly by showing the victim by herself, then with the stalker behind her and finally her again. Although this took some time to film as sticking to the 180 degree rule can be quite challenging our final product works well with the types of shots used.
  • 10.
    Camera shots  Themain task gave an opportunity to experiment with the different shot types, especially as the prelim task restricted us.  In the main task we experimented with the mise en scene of our establishing shot, trying not to give toomuch away. A variety of shots were used in our sequence including close ups, medium close ups, long shots, 2 shots, extreme close up, point of view shots and over the shoulder shots.  The wide use of these shots allowed our pogression from the prelim task to our main task shine through significantly and our main task is very well developed.