
Recommended
More Related Content
What's hot
What's hot (19)
Viewers also liked
Similar to Spark NEW CNAME
Similar to Spark NEW CNAME (20)
More from PuttiApps
More from PuttiApps (20)
Recently uploaded
Recently uploaded (20)
Spark NEW CNAME
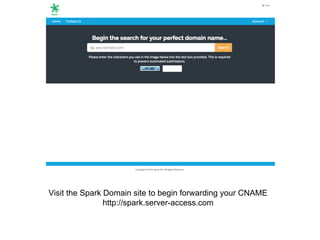
- 1. Visit the Spark Domain site to begin forwarding your CNAME http://spark.server-access.com
- 2. Enter you’re the email address and password that was provided to you by Spark
- 3. Under ‘Your Active Products/Services, click on ‘Zone Manager’ alongside the registered domain name.
- 4. Click on ‘Login to Control Panel’.
- 5. Under Dashboard, click on ‘Zone Records’ in the Settings section.
- 6. You’ll see the ‘Current zone records’ listed. Above that, is a section to ‘Add a zone record’.
- 7. Click on ‘Select a record type’ and choose ‘CNAME Record’ from the drop-down list. Then click on ‘Create new record’.
- 8. As seen above – In the ‘Name’ section please enter www. Choose TTL as 1800 (3600 if 1800 is not acceptable). IMPORTANT: Enter sparkweb.putti.nz in the ‘Host’ section if you are registered your website through Spark Business. OR enter putti.co if you are registered as a Putti Customer.
- 9. Now click on ‘Add record’. # Please note that the changes might not reflect right away as it usually takes about 24 hours for the DNS Records to propagate. Please contact the Support Team at support@puttiapps.com if you need further assistance.
- 10. Add the Domain Name to your CMS
- 11. Log in to the platform and navigate over to the ‘layout’ tab, making sure you are on the ‘web’ view of the platform. This is located in the middle of your header bar.
- 12. On the top section below the header bar, you’ll now see a section with a url that has an ‘Edit’ icon next to it.
- 13. Press the edit pen icon After you’ve clicked this, you’ll see the ‘Built-in’ section highlighted by default.
- 14. Please click on ‘Custom’ Enter your complete domain name. E.g.: www.yourdomainname.com. Note: Please be sure to enter the entire name. Eg: www.example.com. If there is no www listed before the URL, it will not work.
- 15. Click on ‘Update’. Then press ‘save’ on the top right to save your changes.