
Recommended
More Related Content
What's hot
What's hot (20)
Similar to Tinkercad pdf tutorial
Similar to Tinkercad pdf tutorial (20)
Recently uploaded
Recently uploaded (20)
Tinkercad pdf tutorial
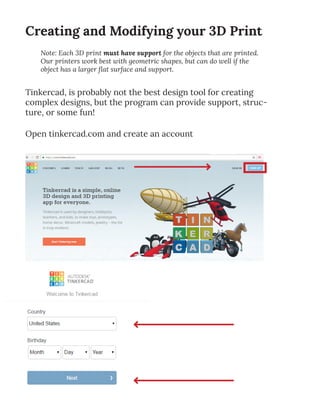
- 1. Tinkercad, is probably not the best design tool for creating complex designs, but the program can provide support, struc- ture, or some fun! Note: Each 3D print must have support for the objects that are printed. Our printers work best with geometric shapes, but can do well if the object has a larger flat surface and support. Creating and Modifying your 3D Print Open tinkercad.com and create an account
- 2. After creating the account, click on the Tinkercad logo in the top, left hand corner to go “home.” On the right hand panel, you can drag and drop shapes and letters on to your object. You can also scale your object and any item you place. Click “Create New Design with Beta” Note: Tinkercad will start out each account with a lesson. In order to begin making designs, you must click the home button until you see “Create New Design” on the page.
- 3. You can also import templates into Tinkercad so you can modify their design. Click “Import” in the top, right hand corner of the screen Drag and drop any .stl into the box Modify and design your creation! Click “Import”
- 4. When you are ready to download for printing, click “Export” in the top, right hand corner. Check “Everything in the Design” When completing the design, select all the objects and click “Group” in the top, menu task bar. Click .STL Send the downloaded file to techres@bju.edu. Please include your name and the color you would like. Our color options include: bronze, glow-in-the-dark, wood, gold, orange, red, blue, green, purple, white, black, and gray. To move around the workplane, right click and drag or click one of the options on the left side bar. Saving Your Design