Download to read offline


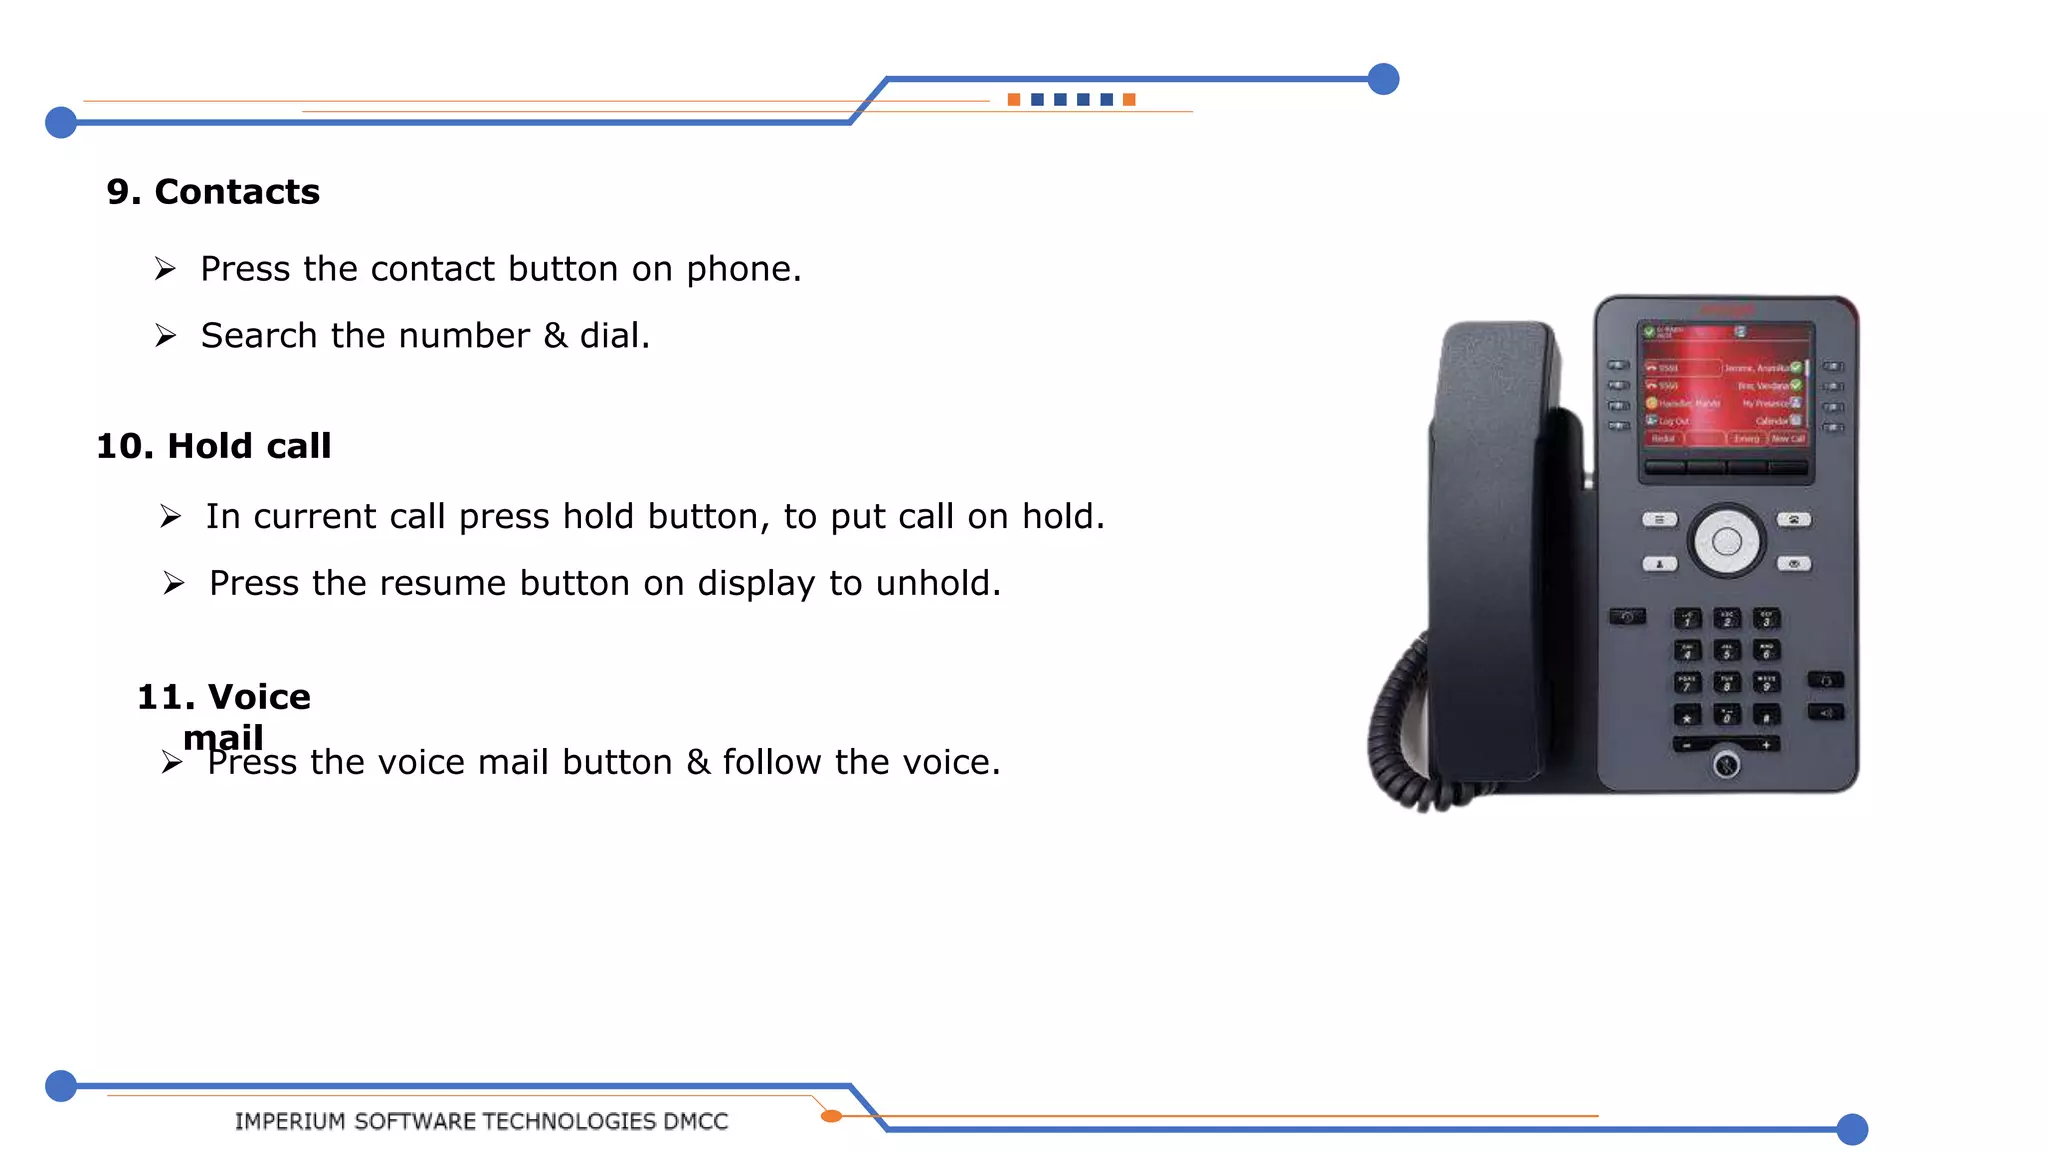
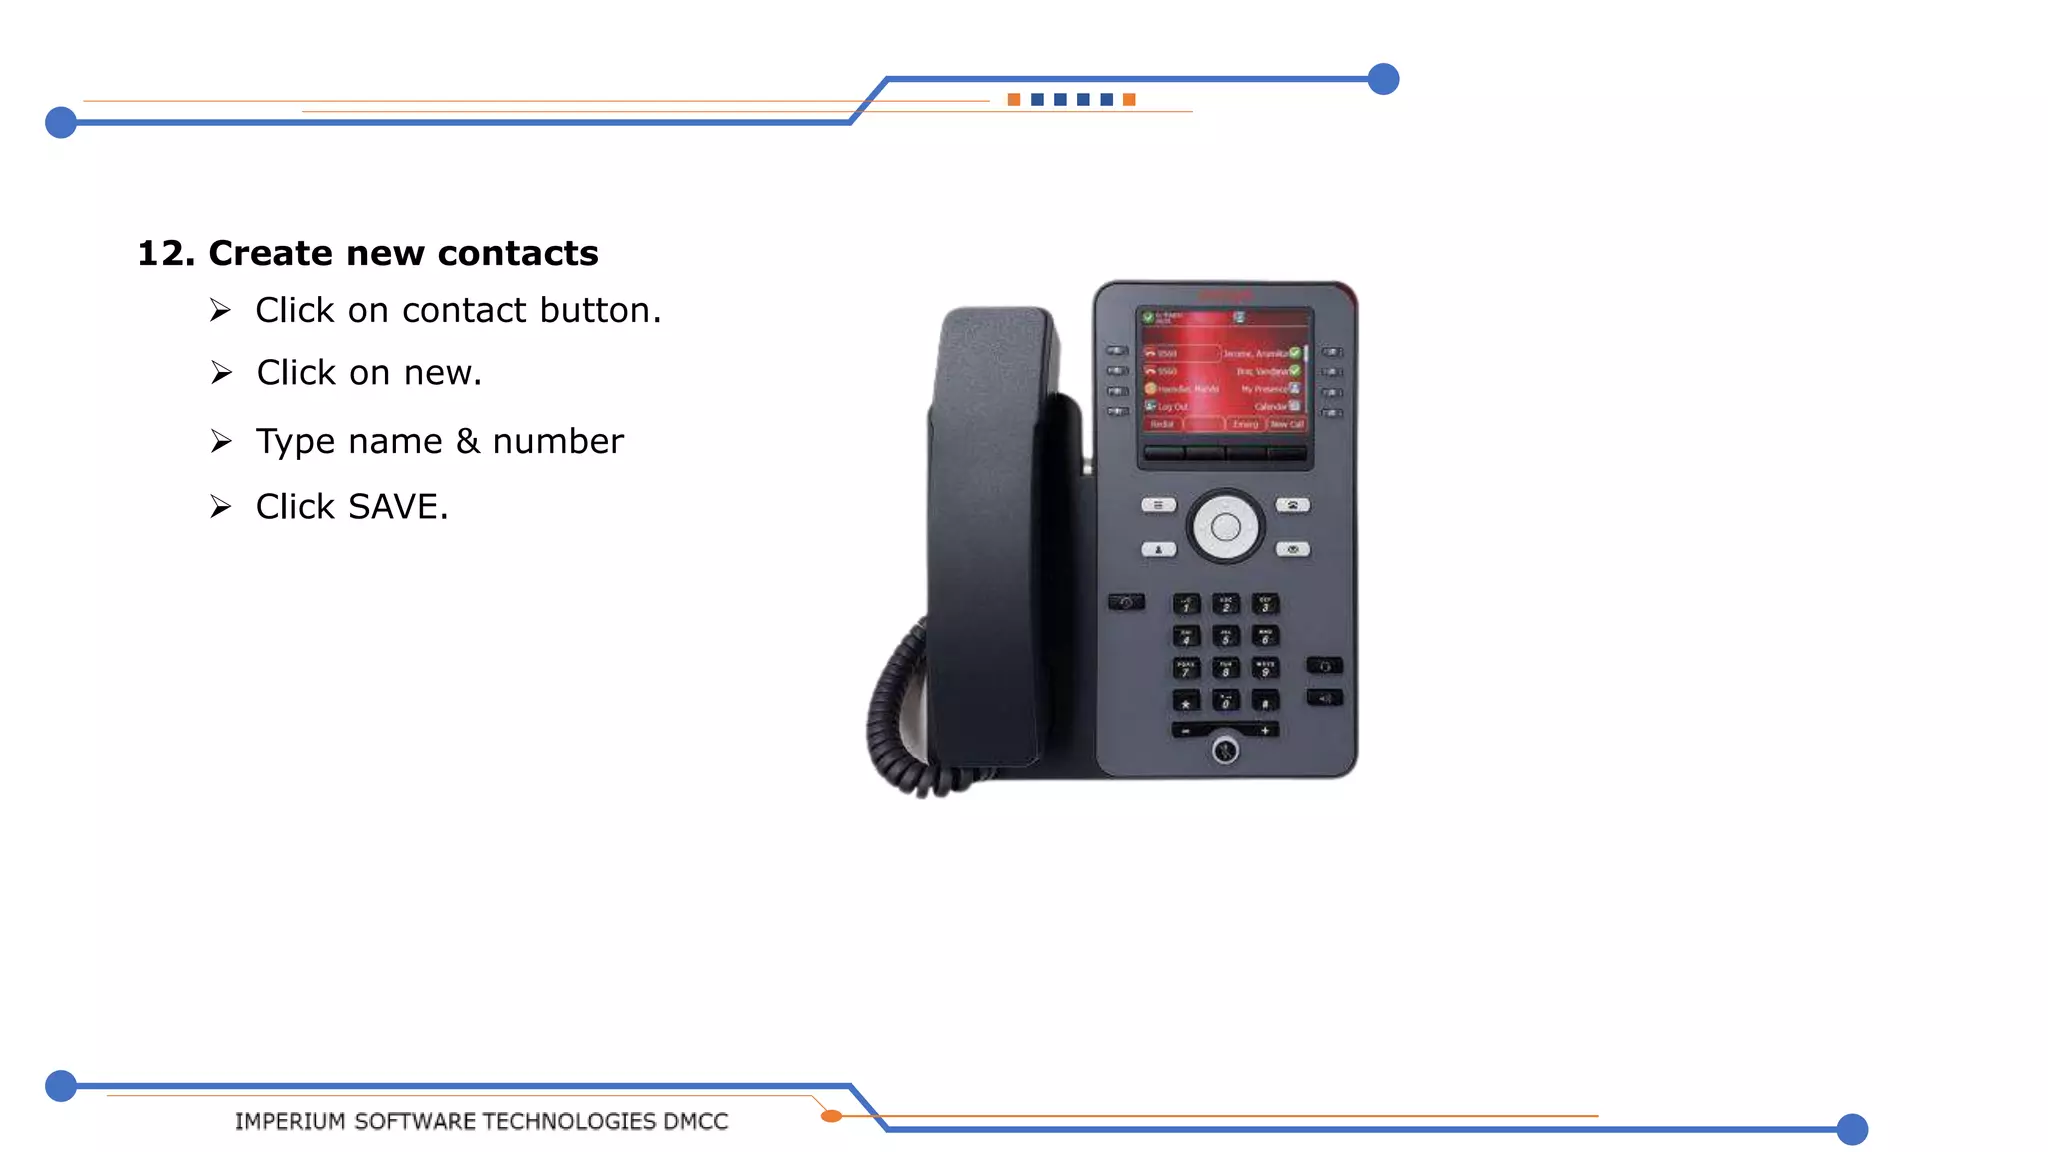

This document provides an overview and instructions for using the Avaya J139 and J179 SIP phones. It outlines the key features of the phones including making and receiving calls, transferring calls, conference calls, call forwarding, redialing, accessing call history and contacts. Step-by-step instructions are provided for how to perform common call handling tasks and configure features like call forwarding.


