Download to read offline


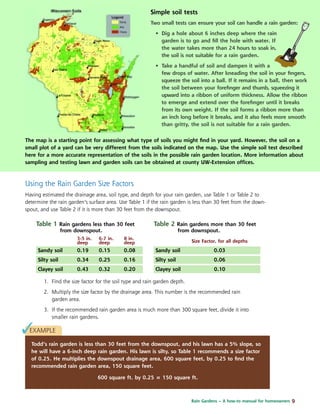


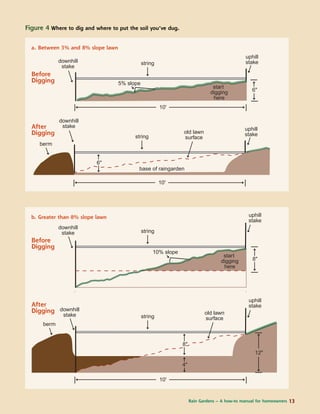
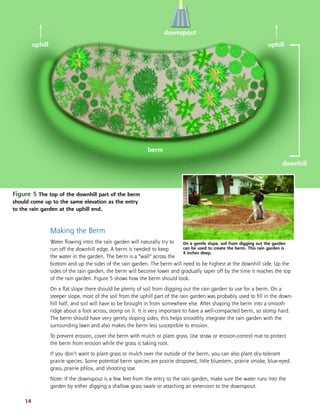


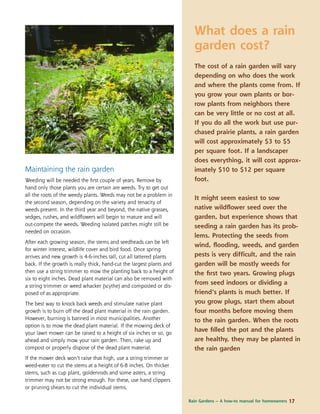
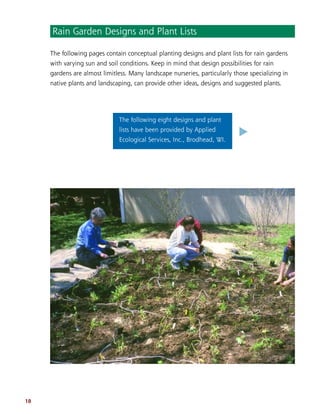

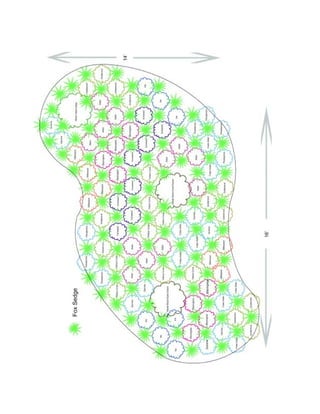
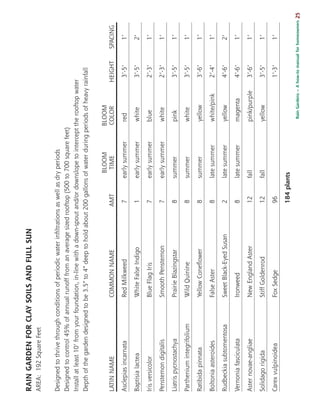
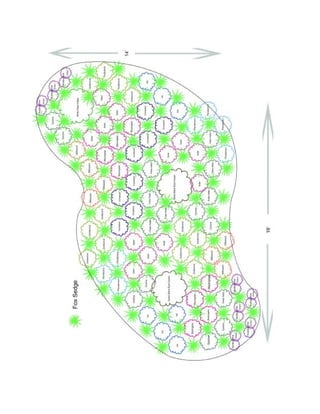
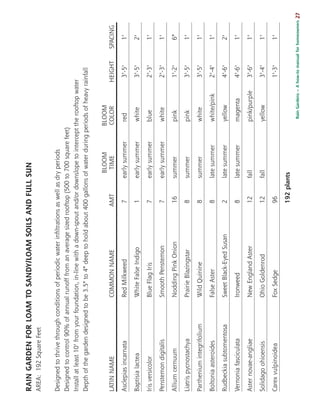

This document provides guidance on designing and installing residential rain gardens. It explains that rain gardens are landscaped areas that capture roof runoff and allow it to slowly soak into the ground rather than running off into storm drains. The document provides guidelines on siting rain gardens at least 10 feet from foundations, on slopes under 12%, and in partial sun. It also offers recommendations for sizing rain gardens based on drainage area, soil type, and depth between 100-300 square feet. Instructions are given for determining slope, drainage area, and using sizing tables to calculate the appropriate surface area for effective stormwater management.


