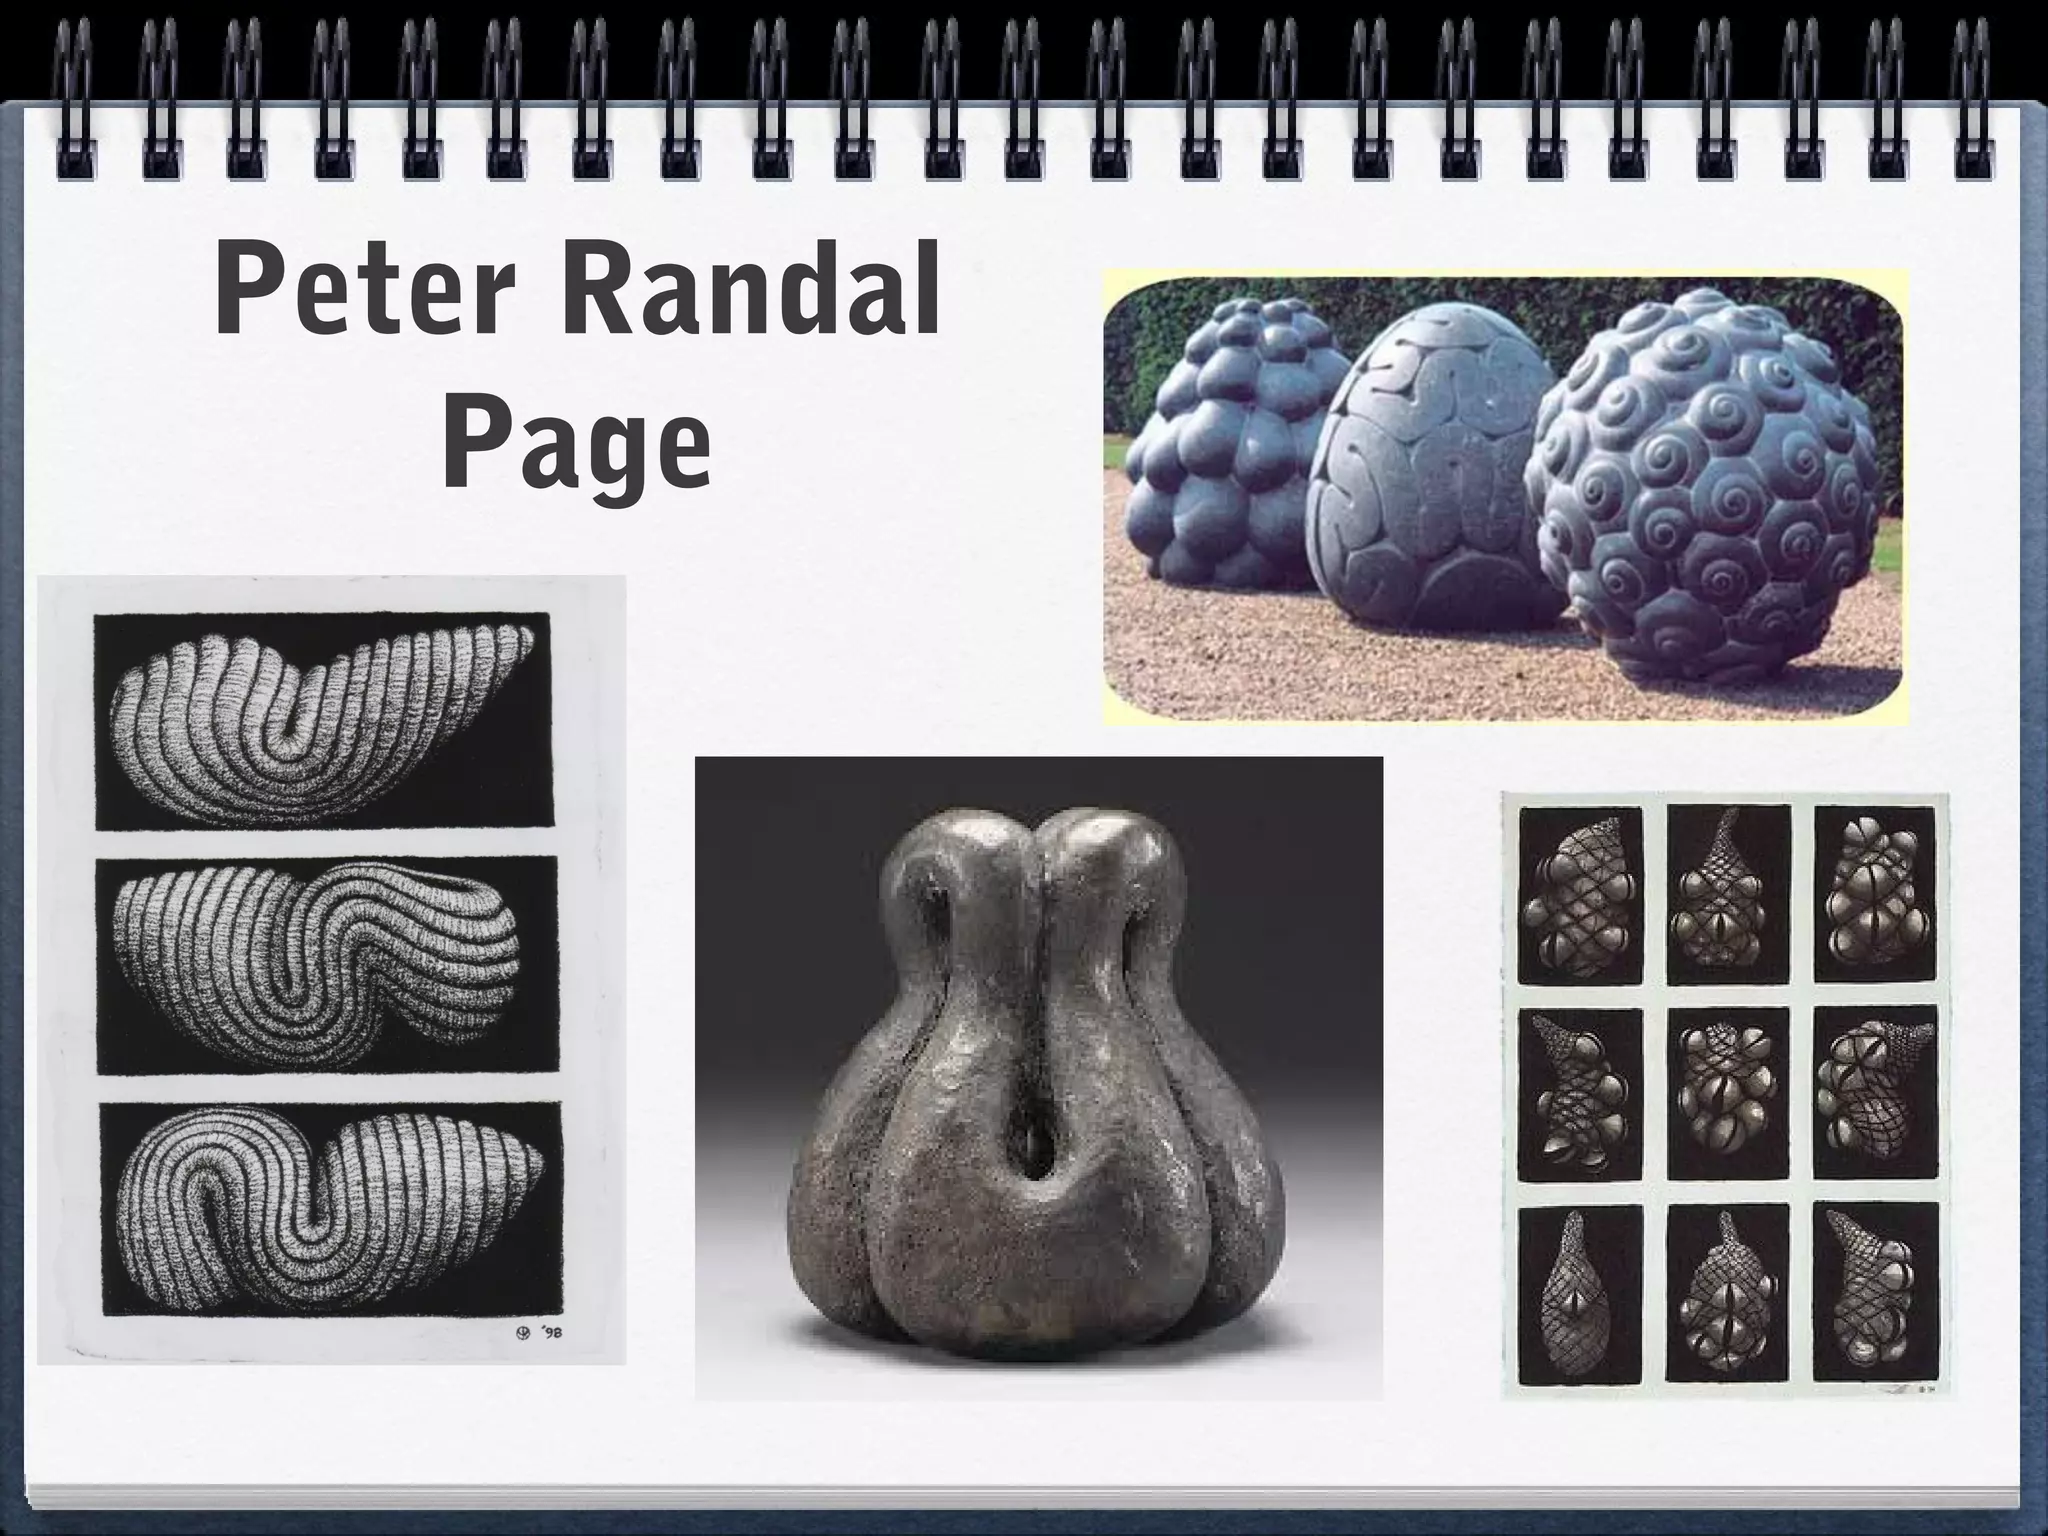
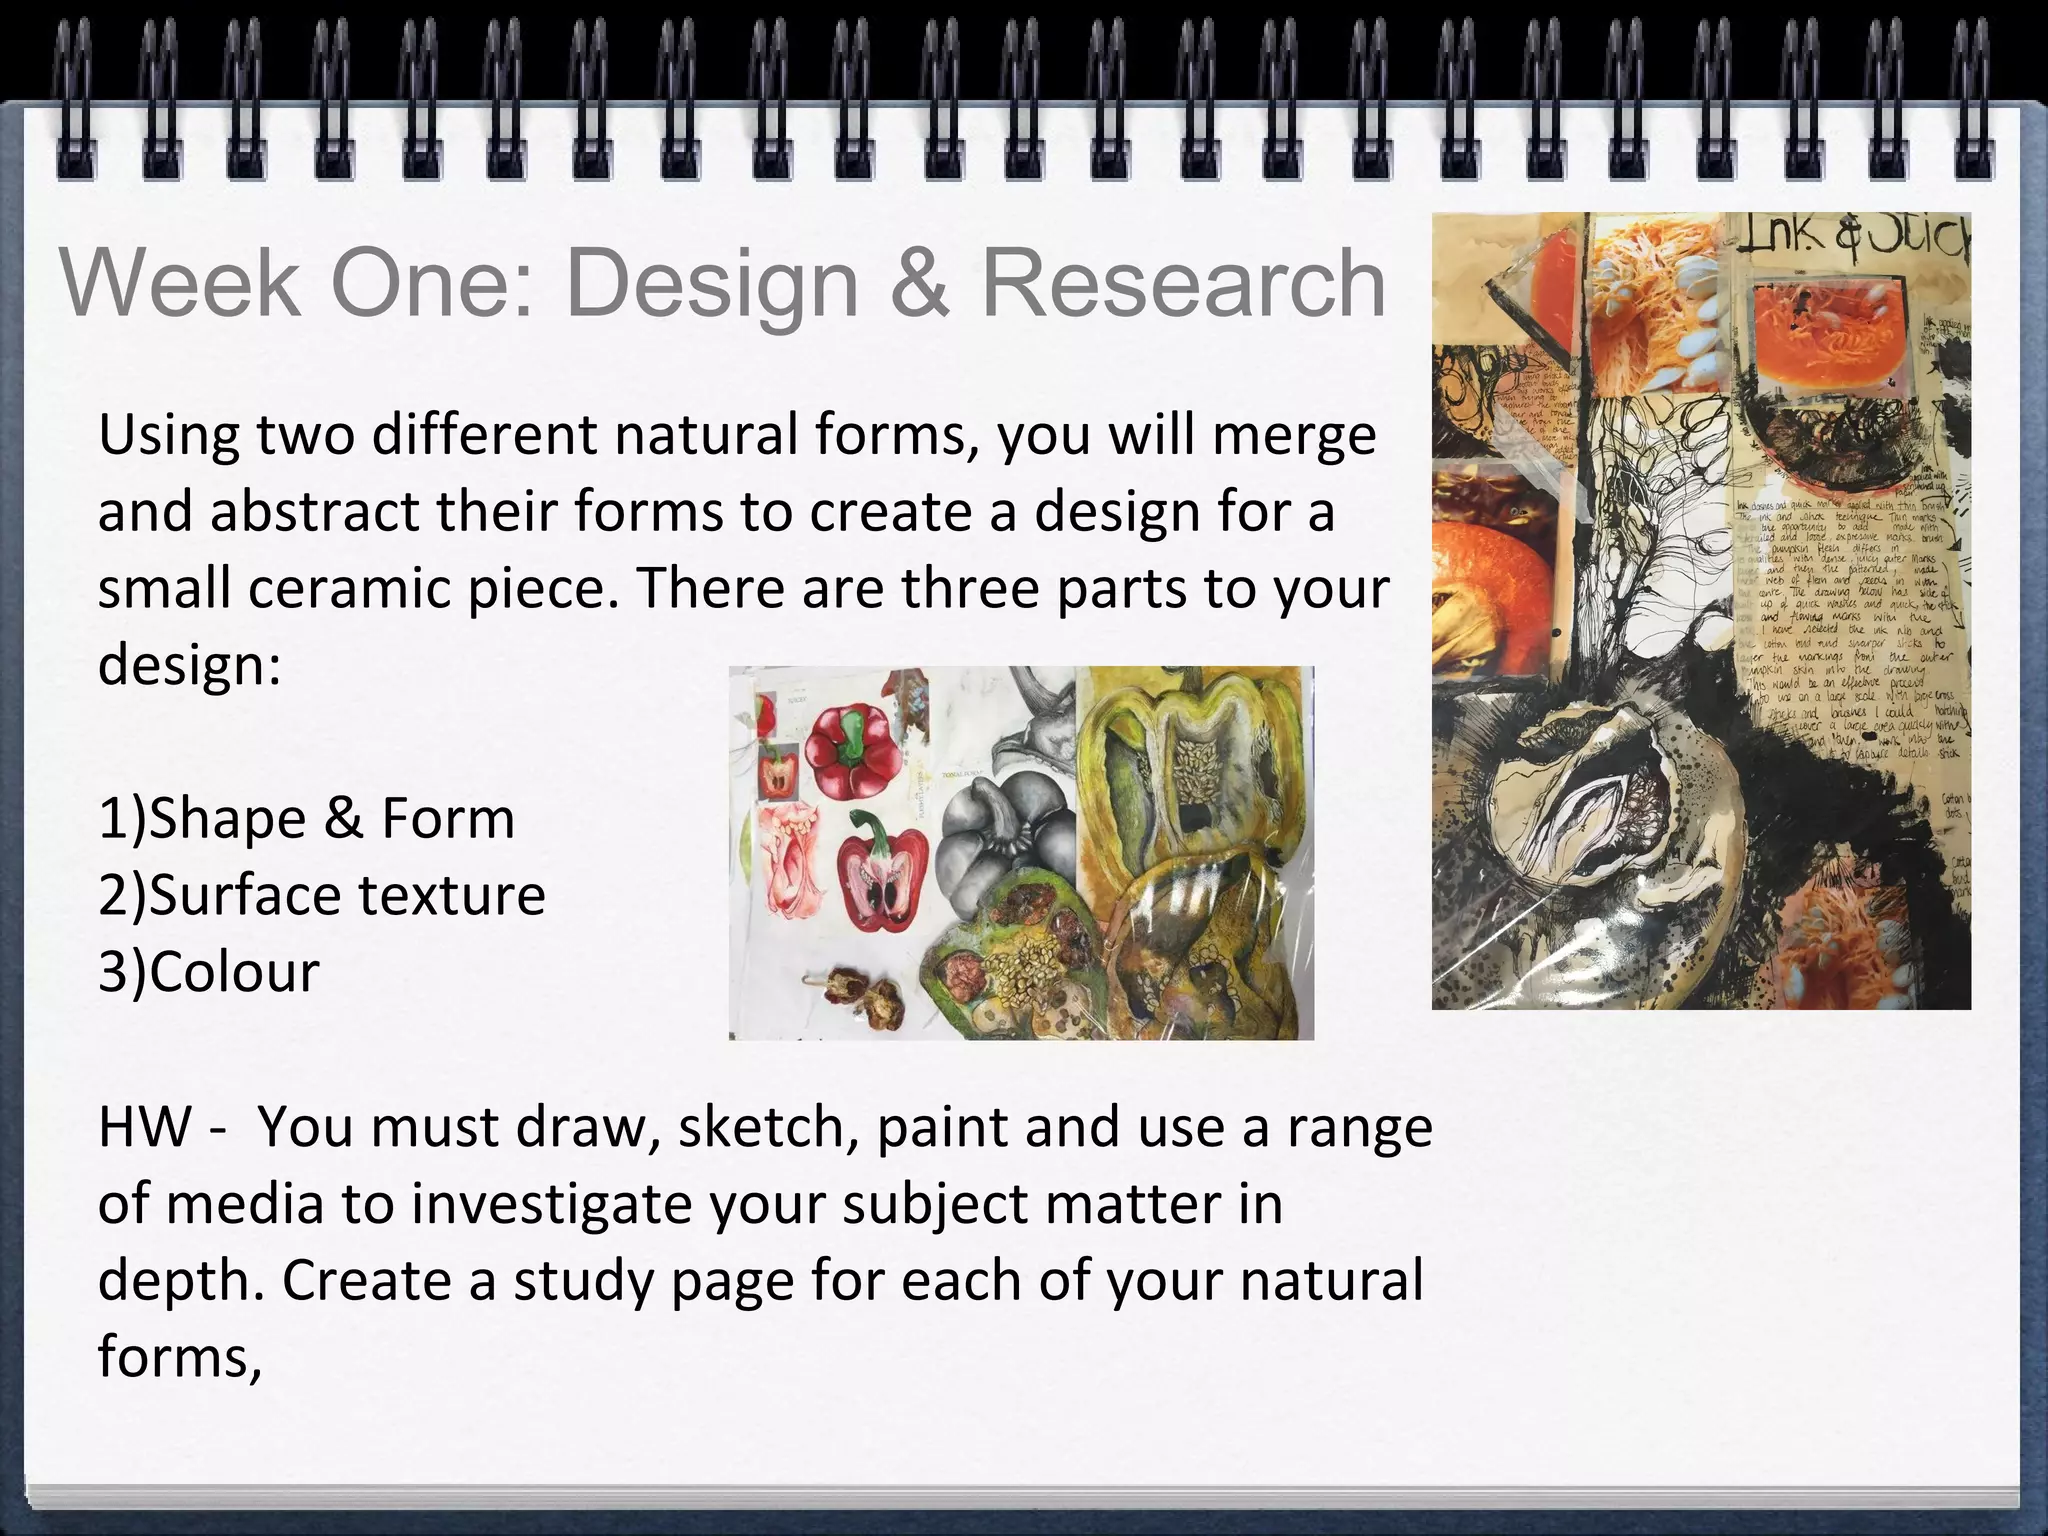
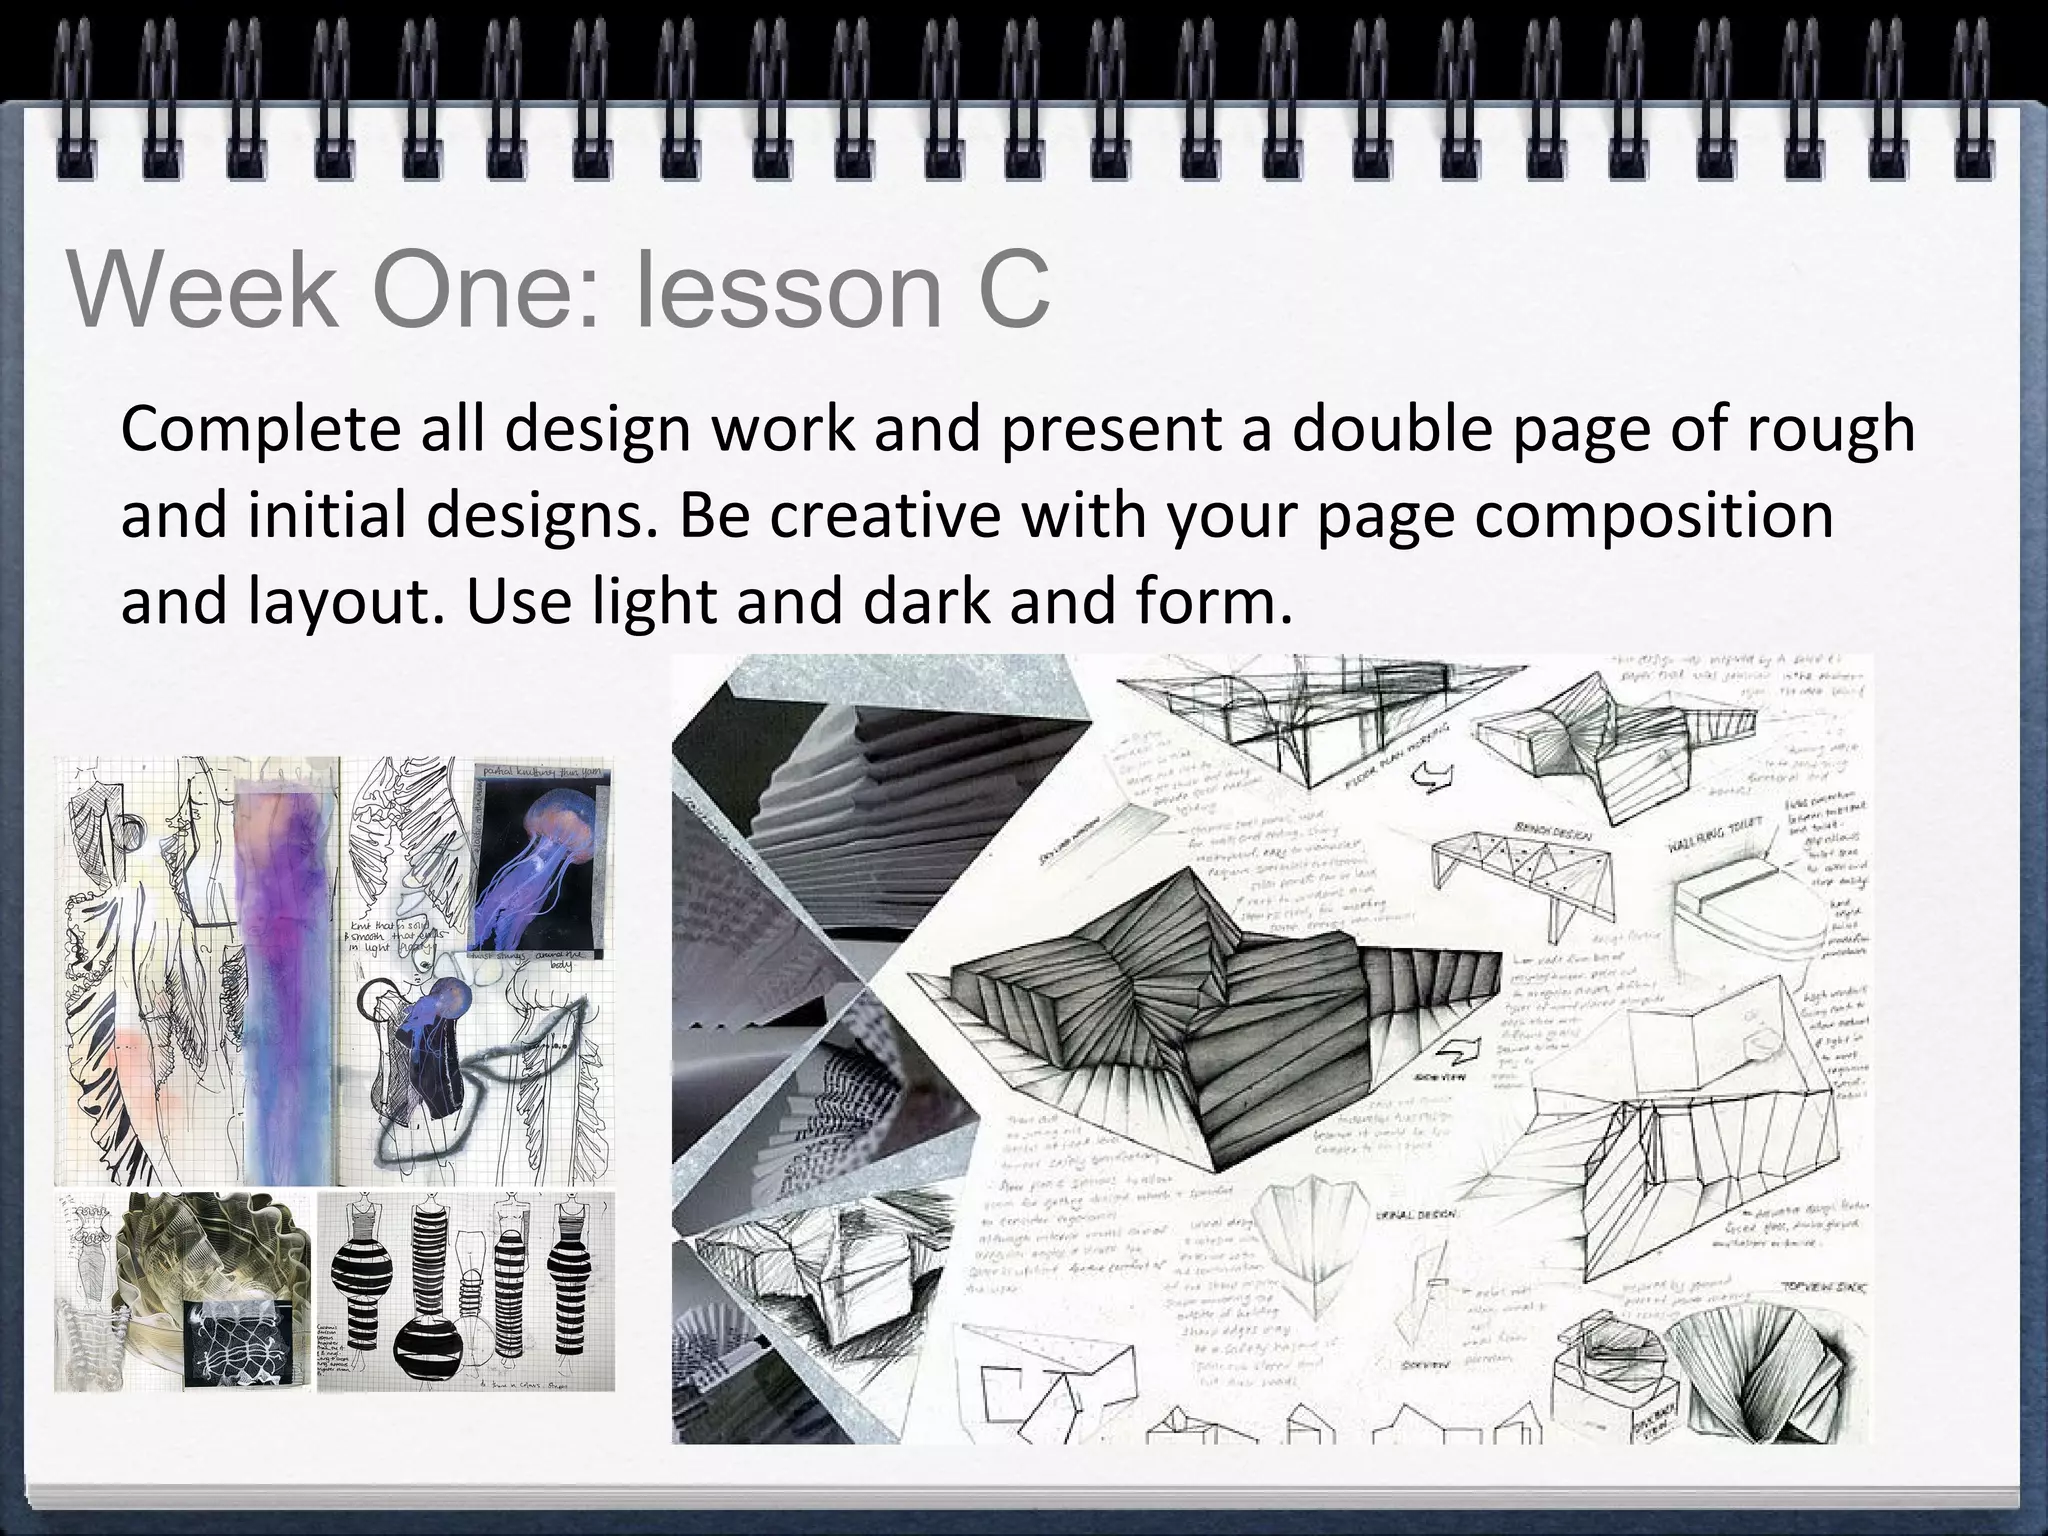
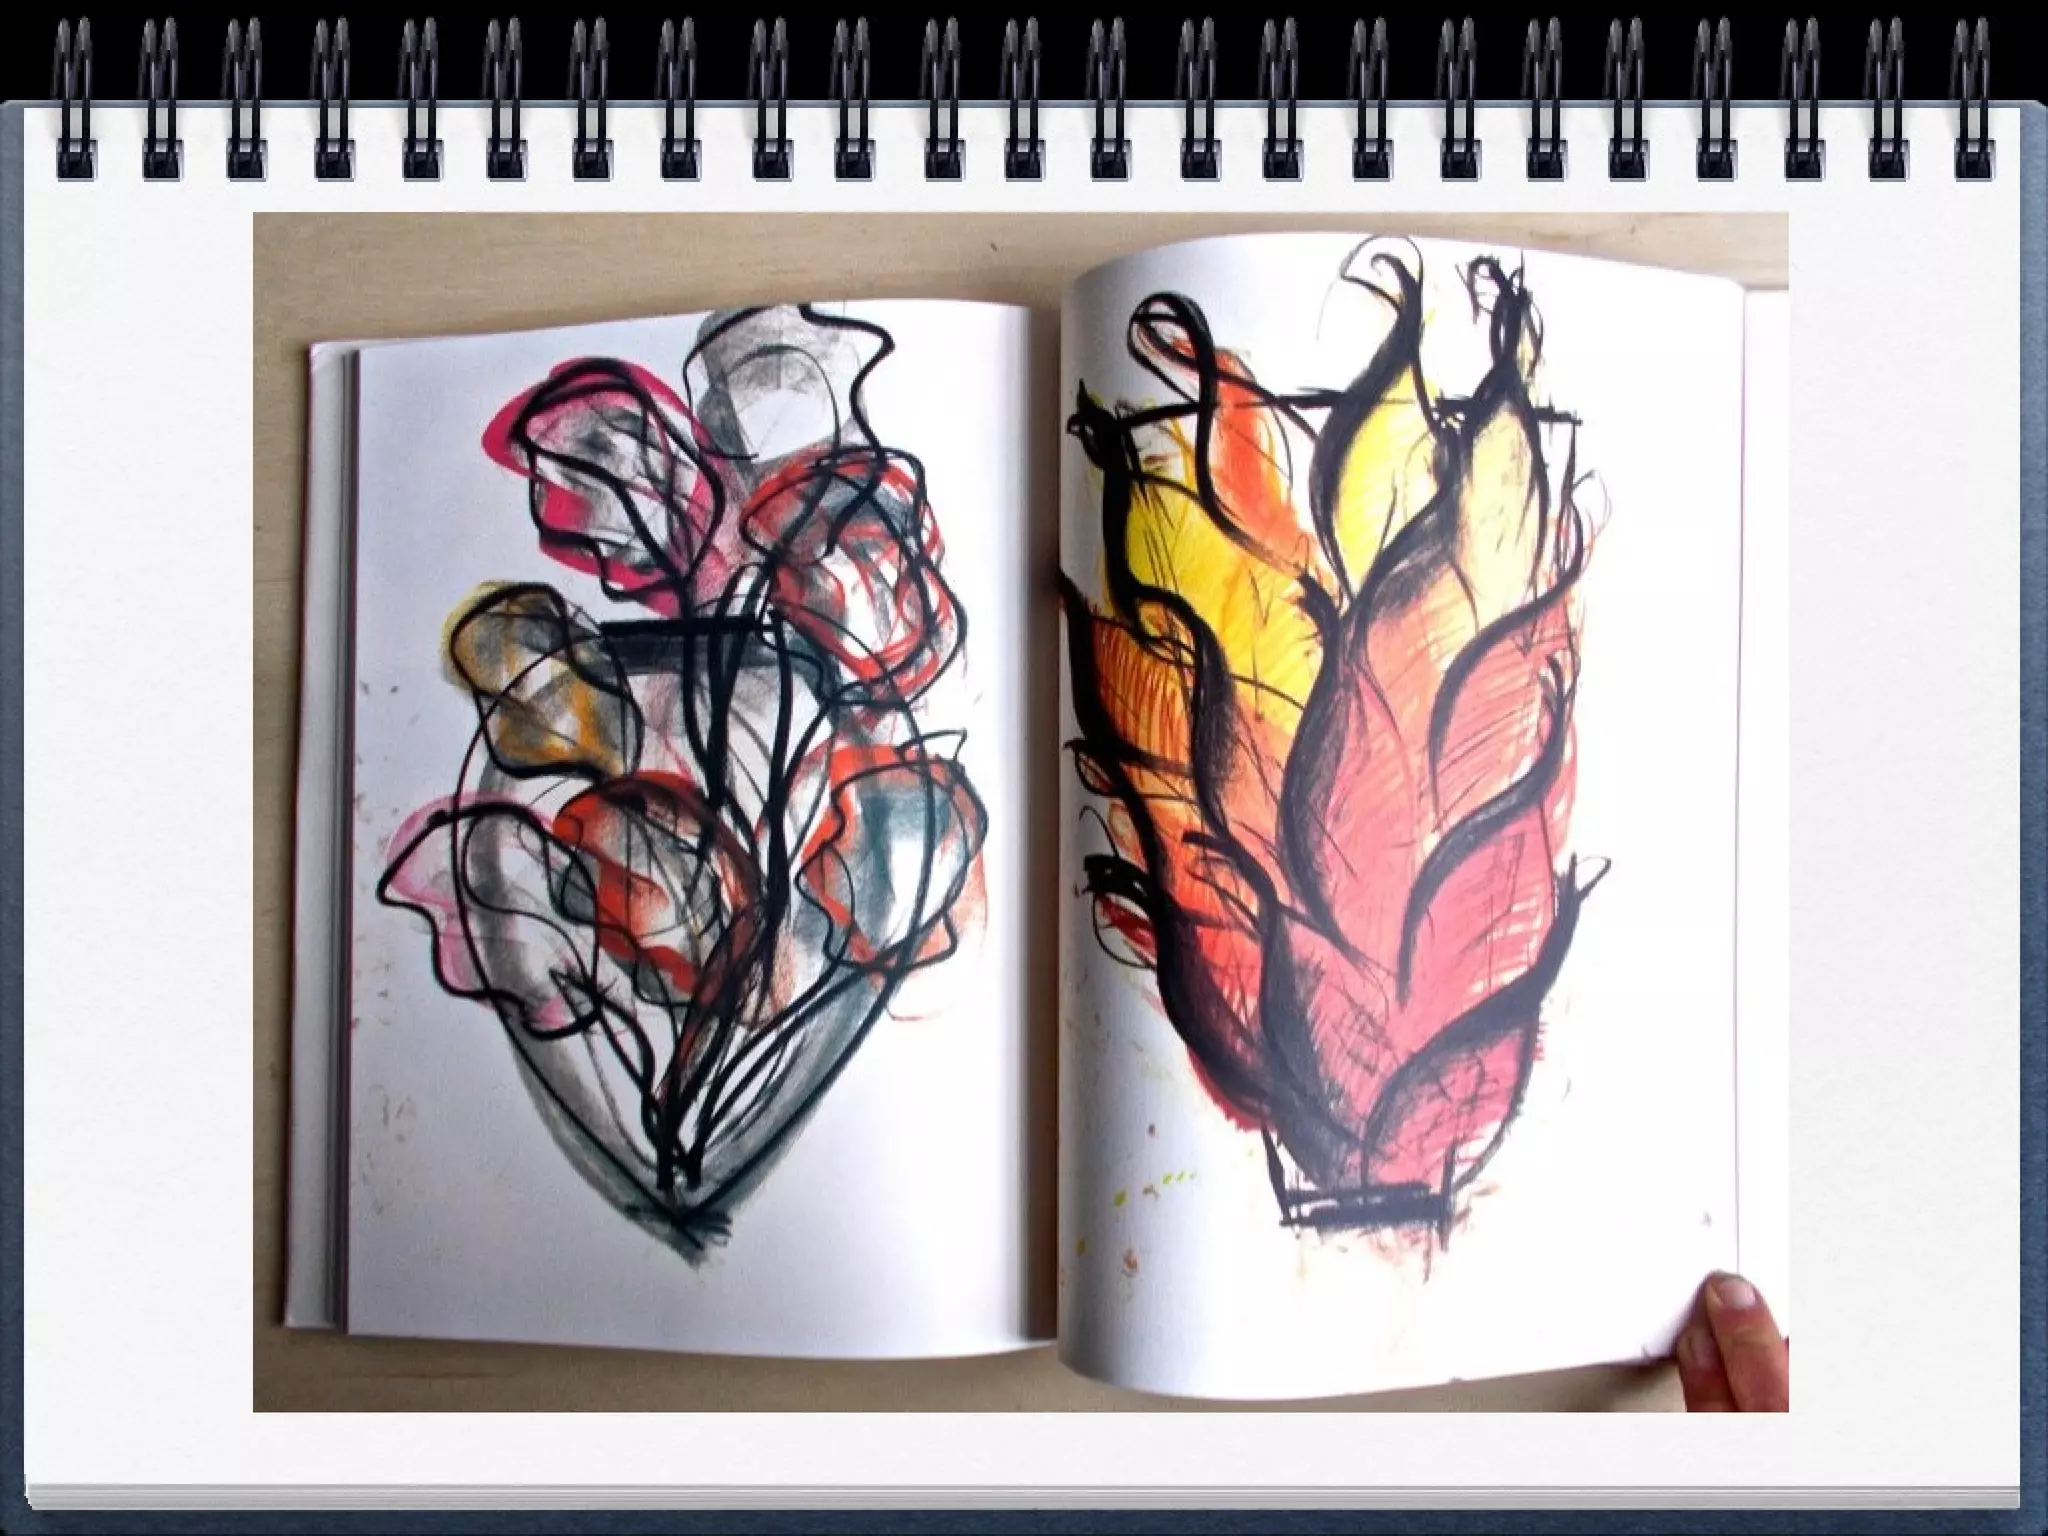
Week 1 introduces clay techniques and design development. Students will sketch natural forms, merge the designs, and create 3D abstract forms for their ceramic pieces. Homework involves in-depth study of natural forms through various media.
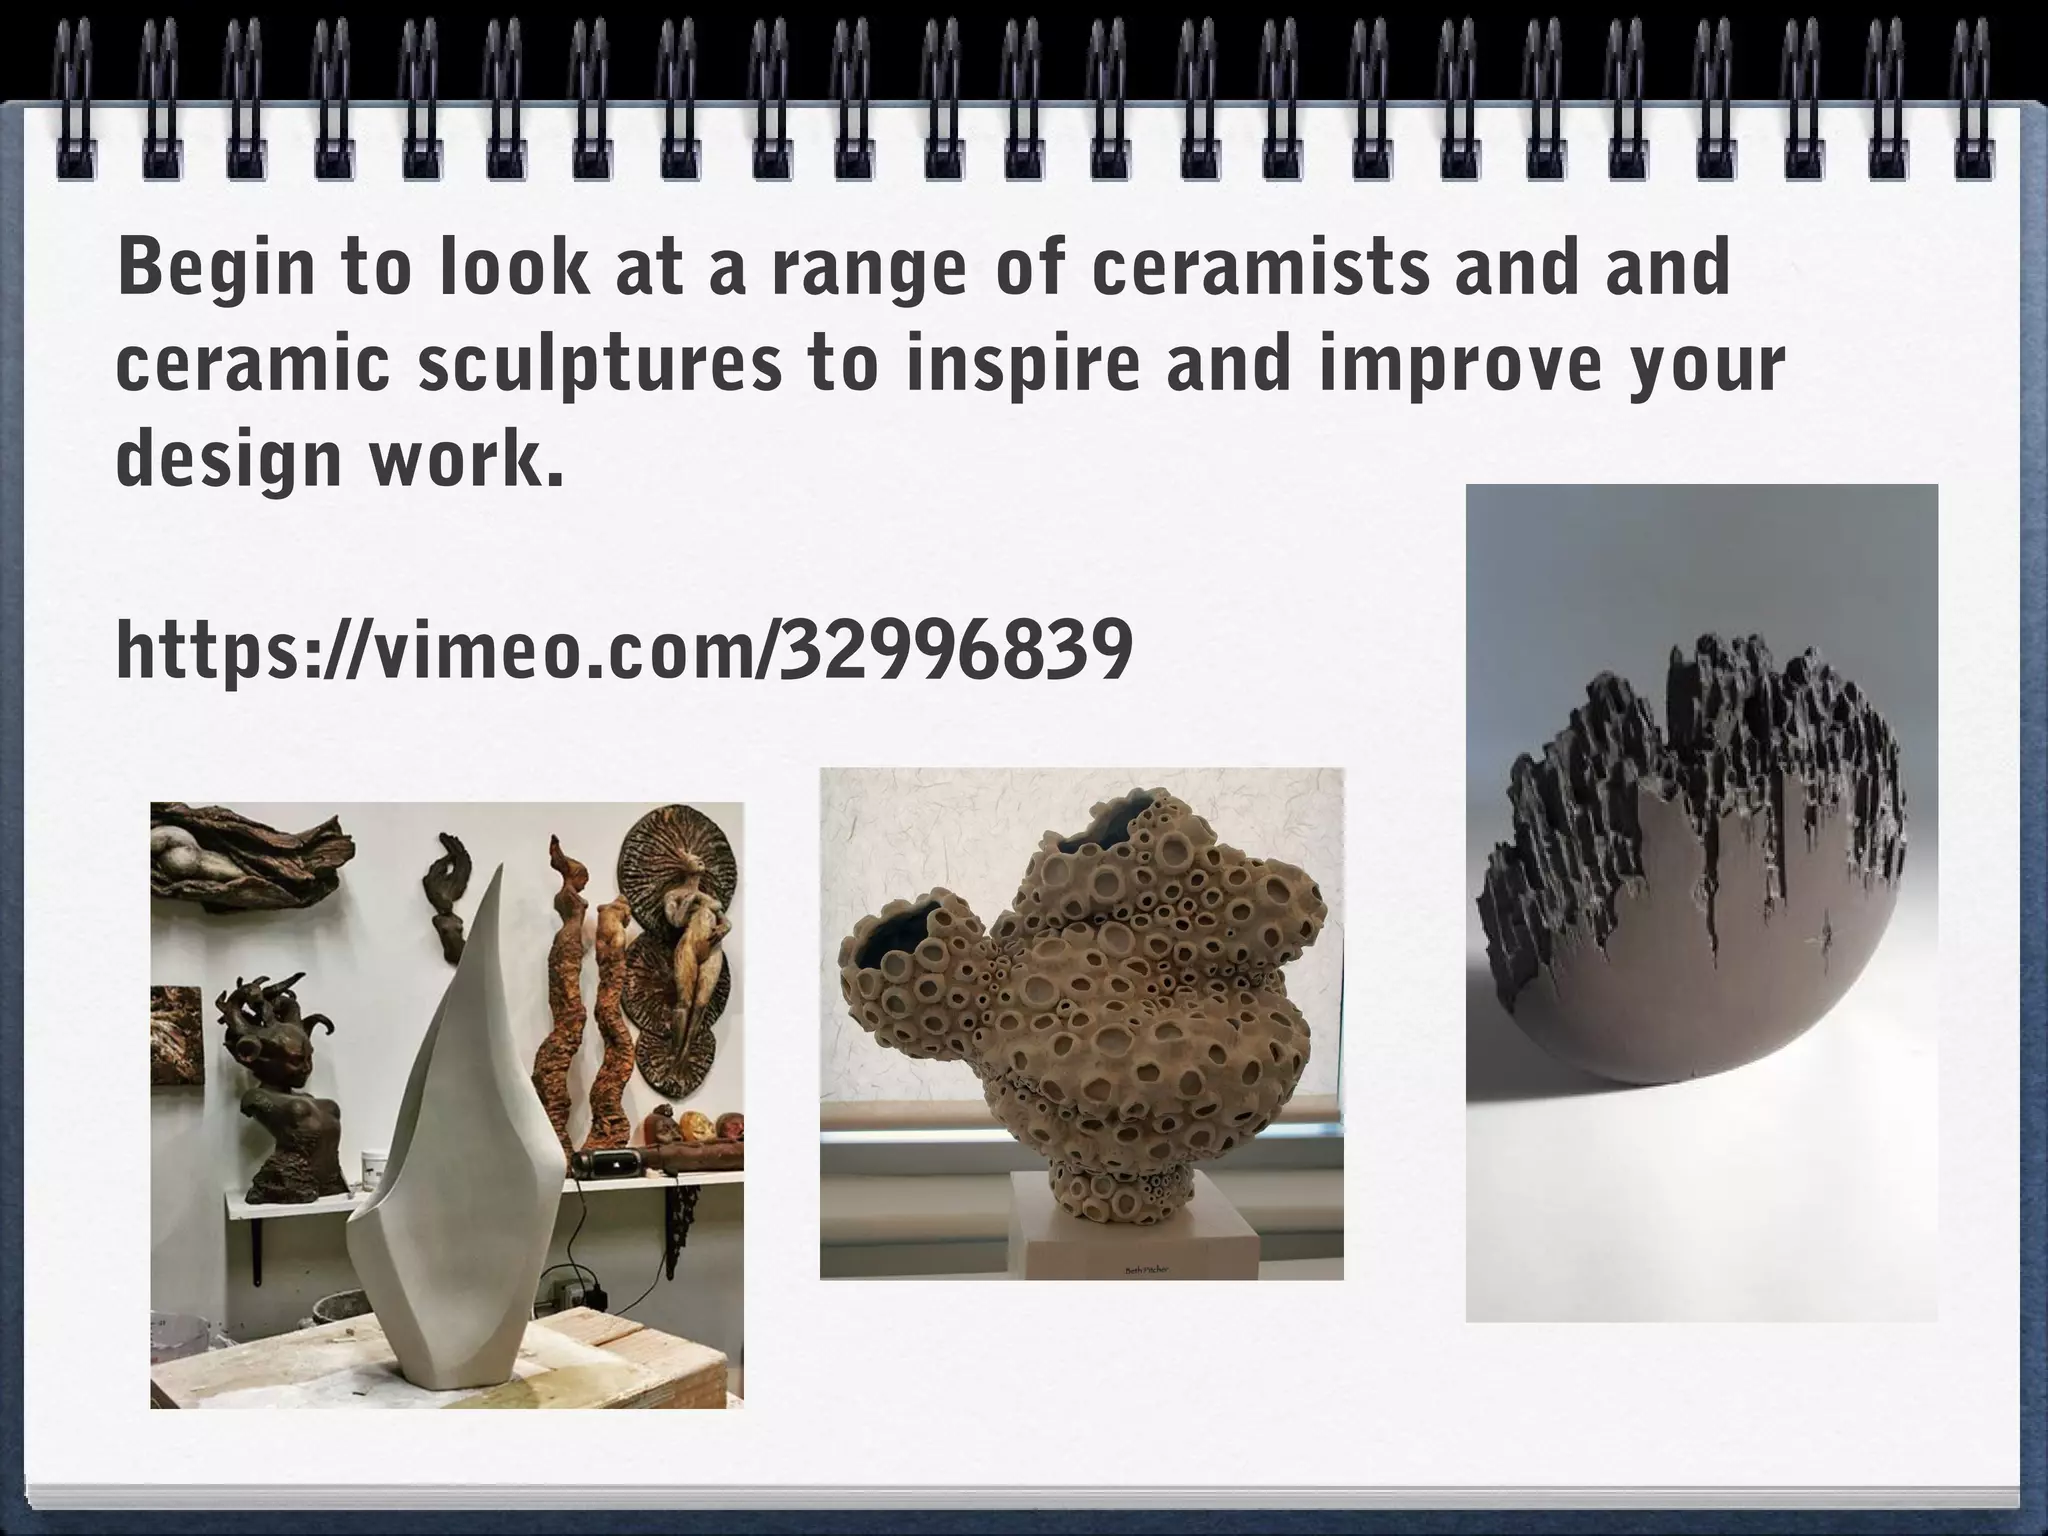
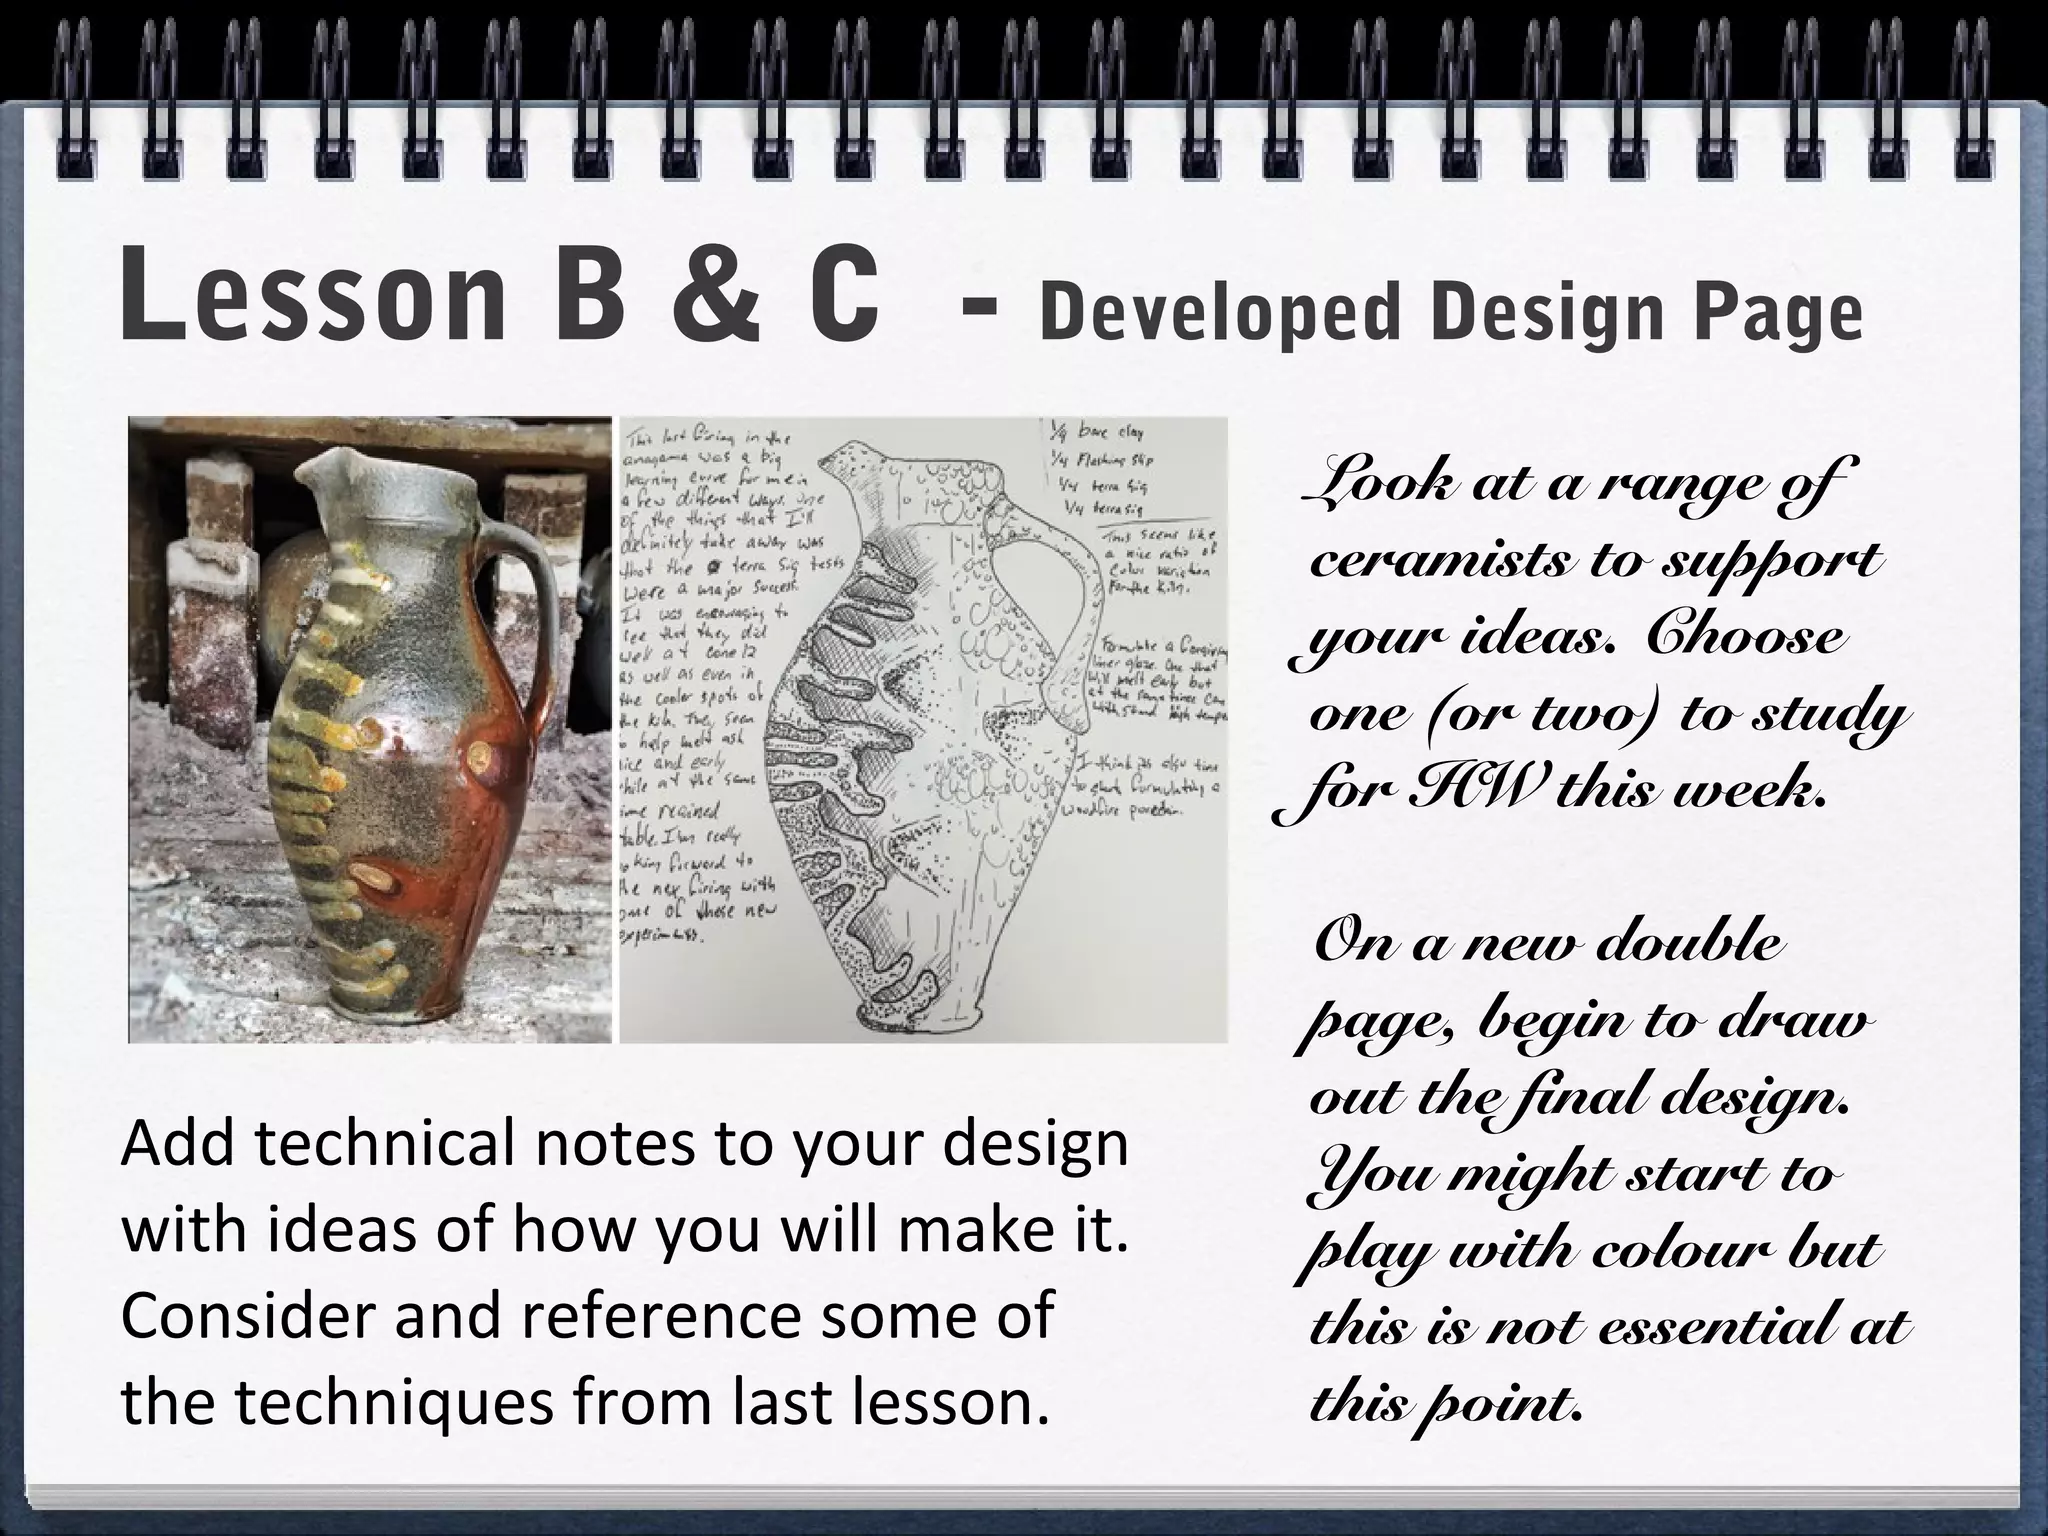
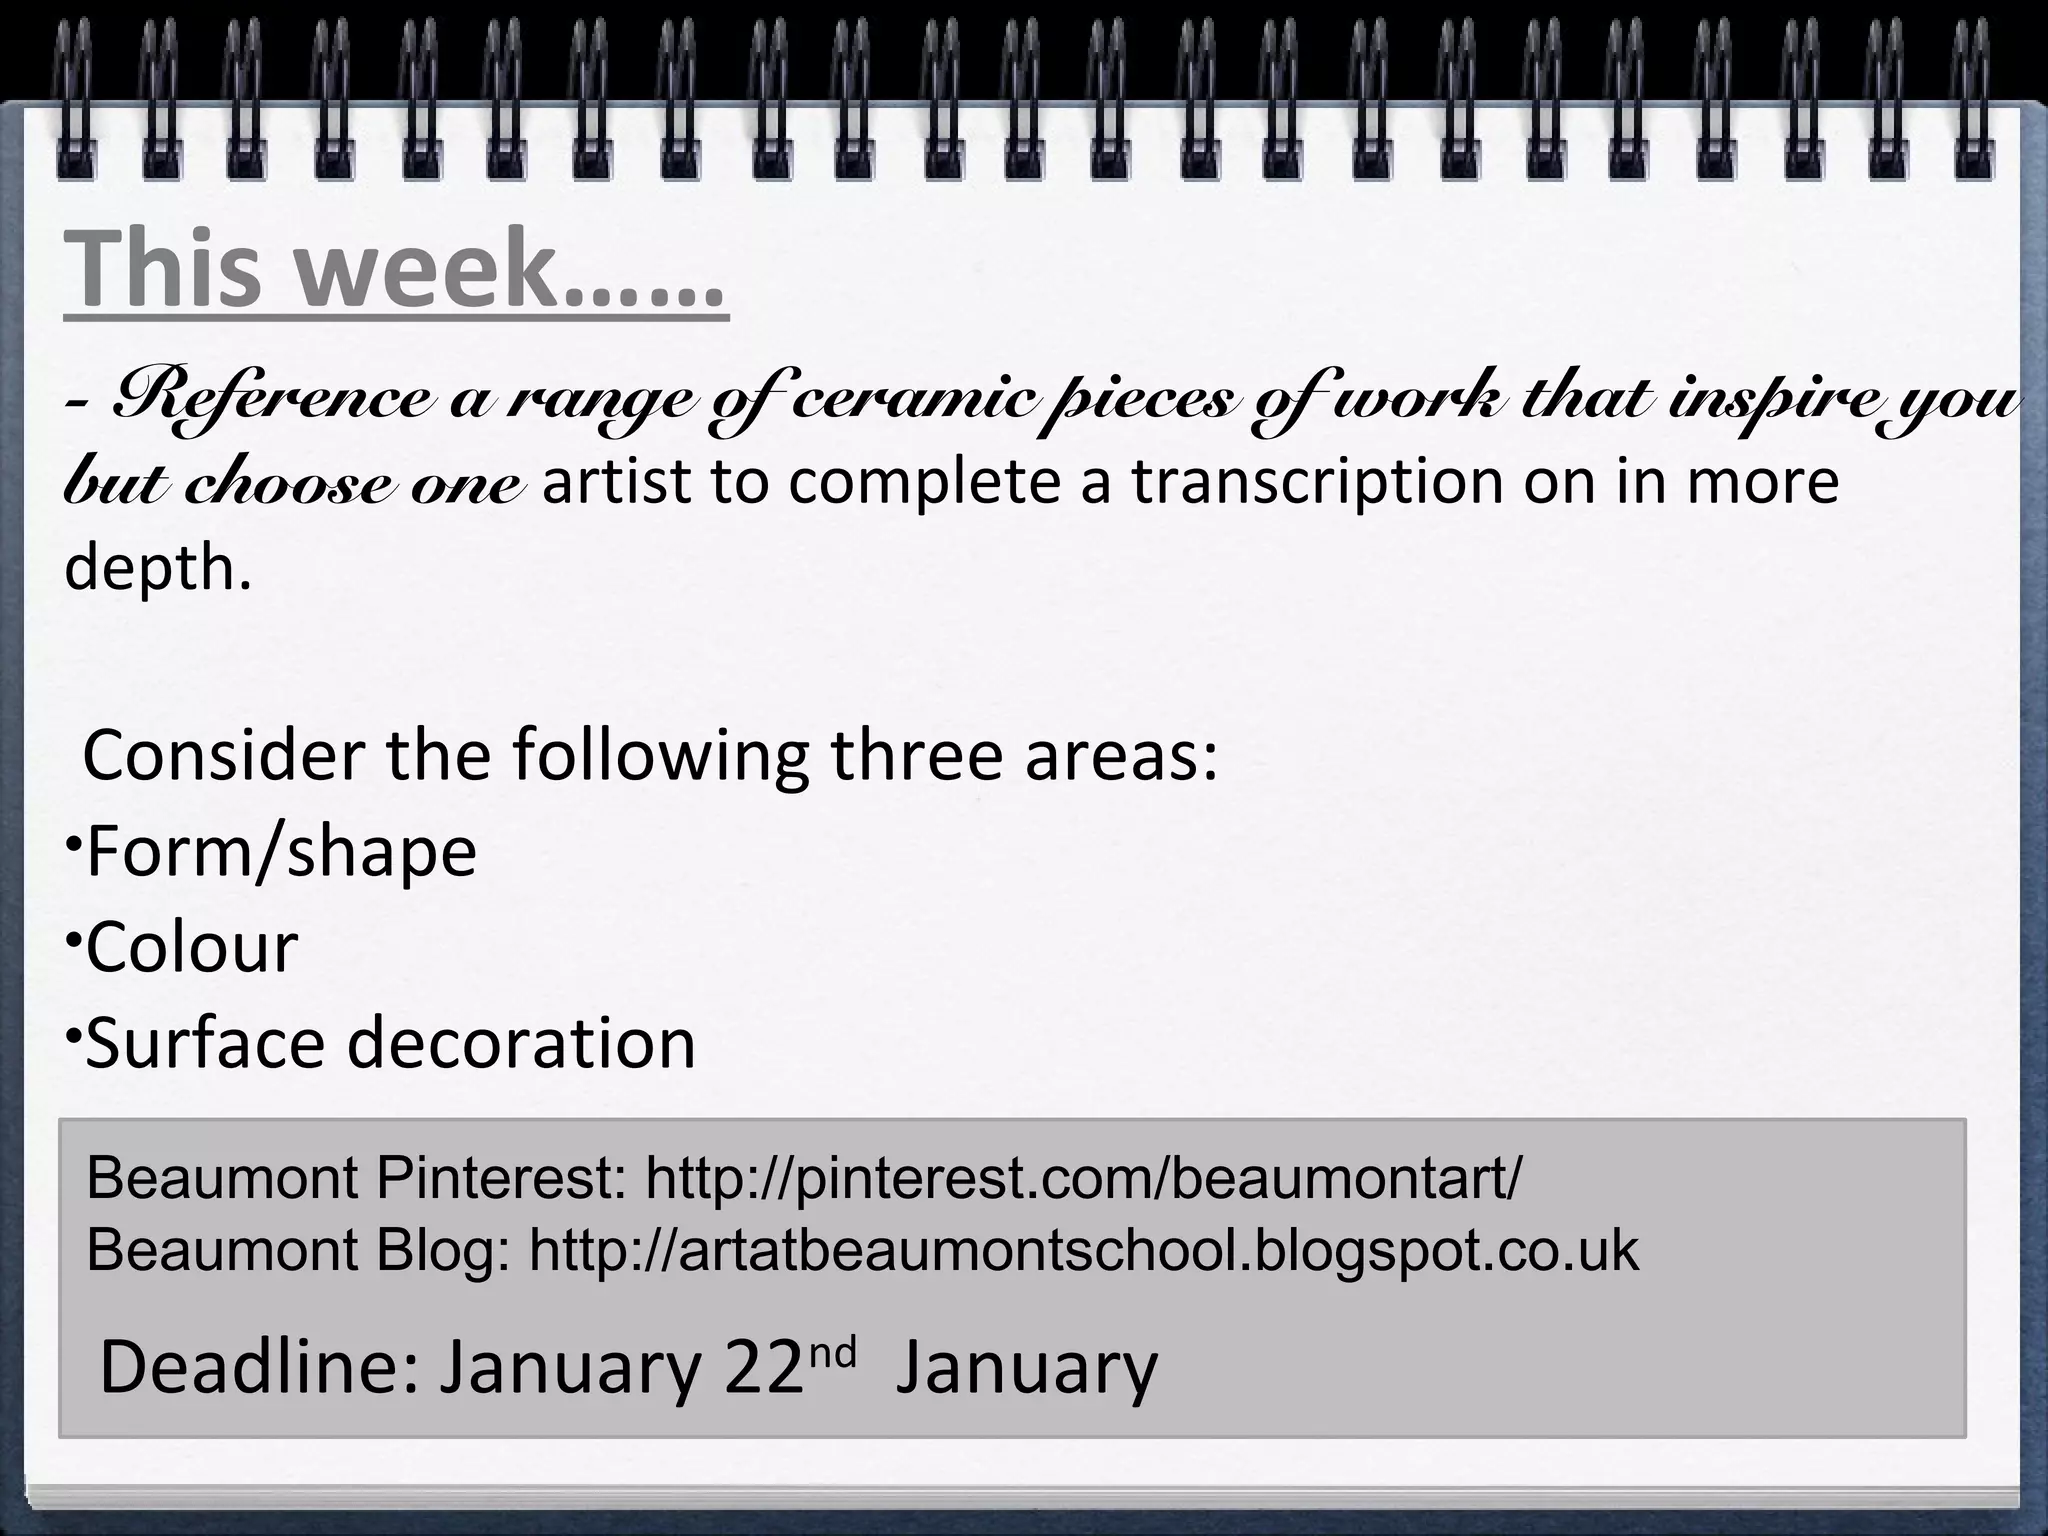
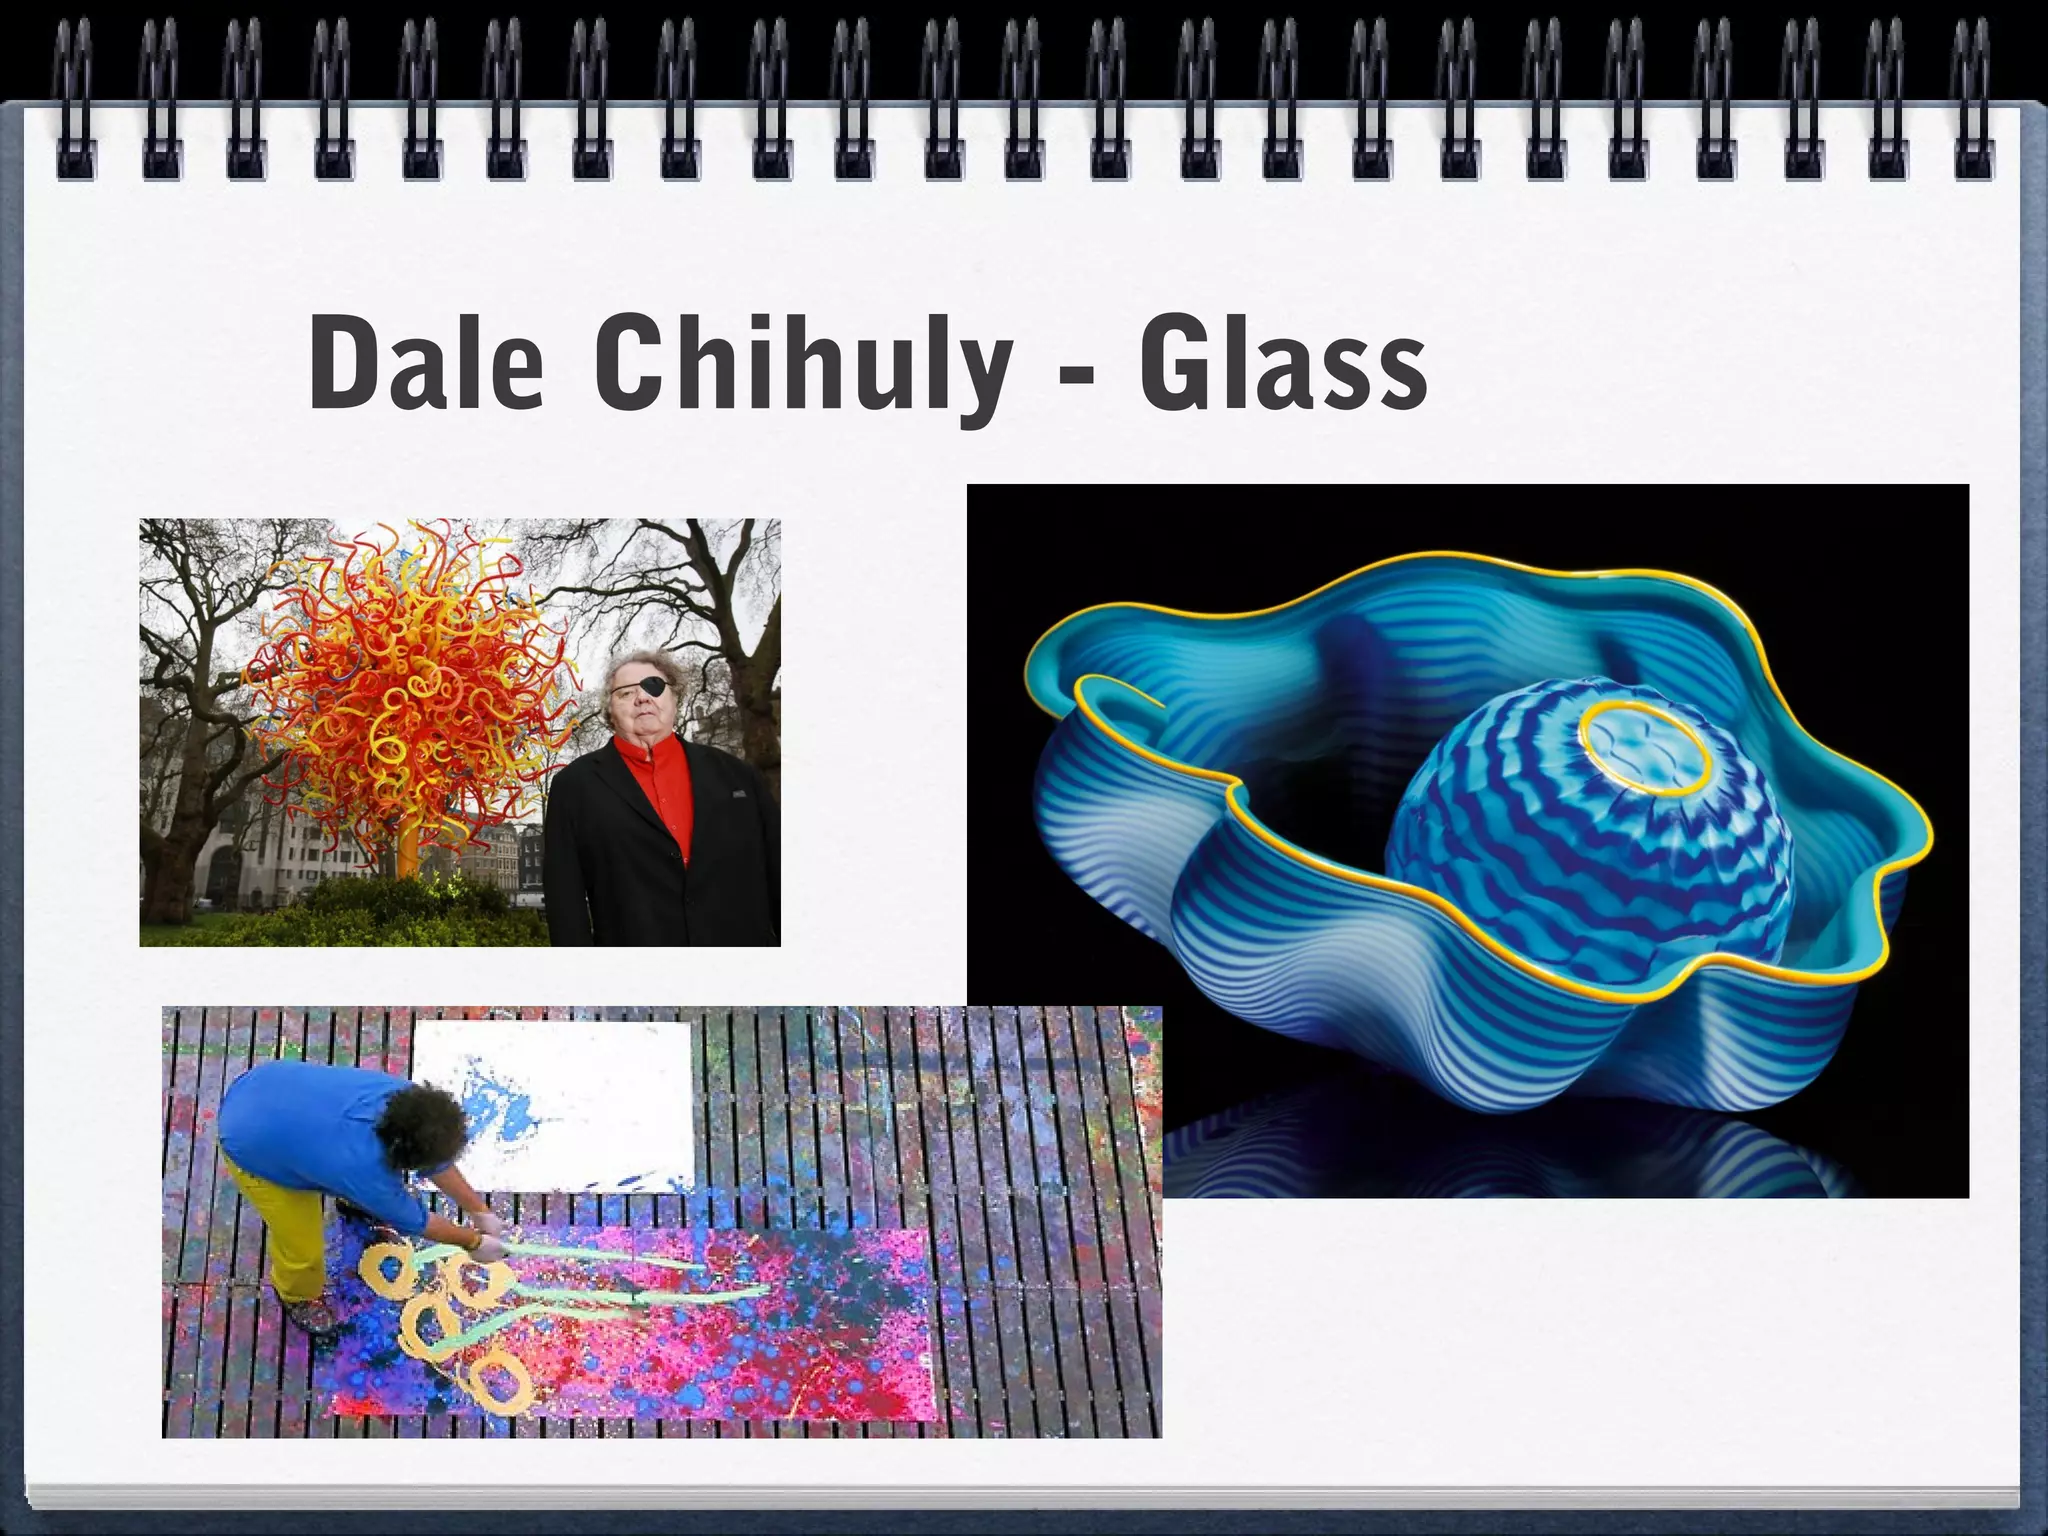
Week 2 focuses on understanding clay properties and strengthening designs. Students refine designs and choose an artist to reference. Homework is an in-depth study of the chosen artist.
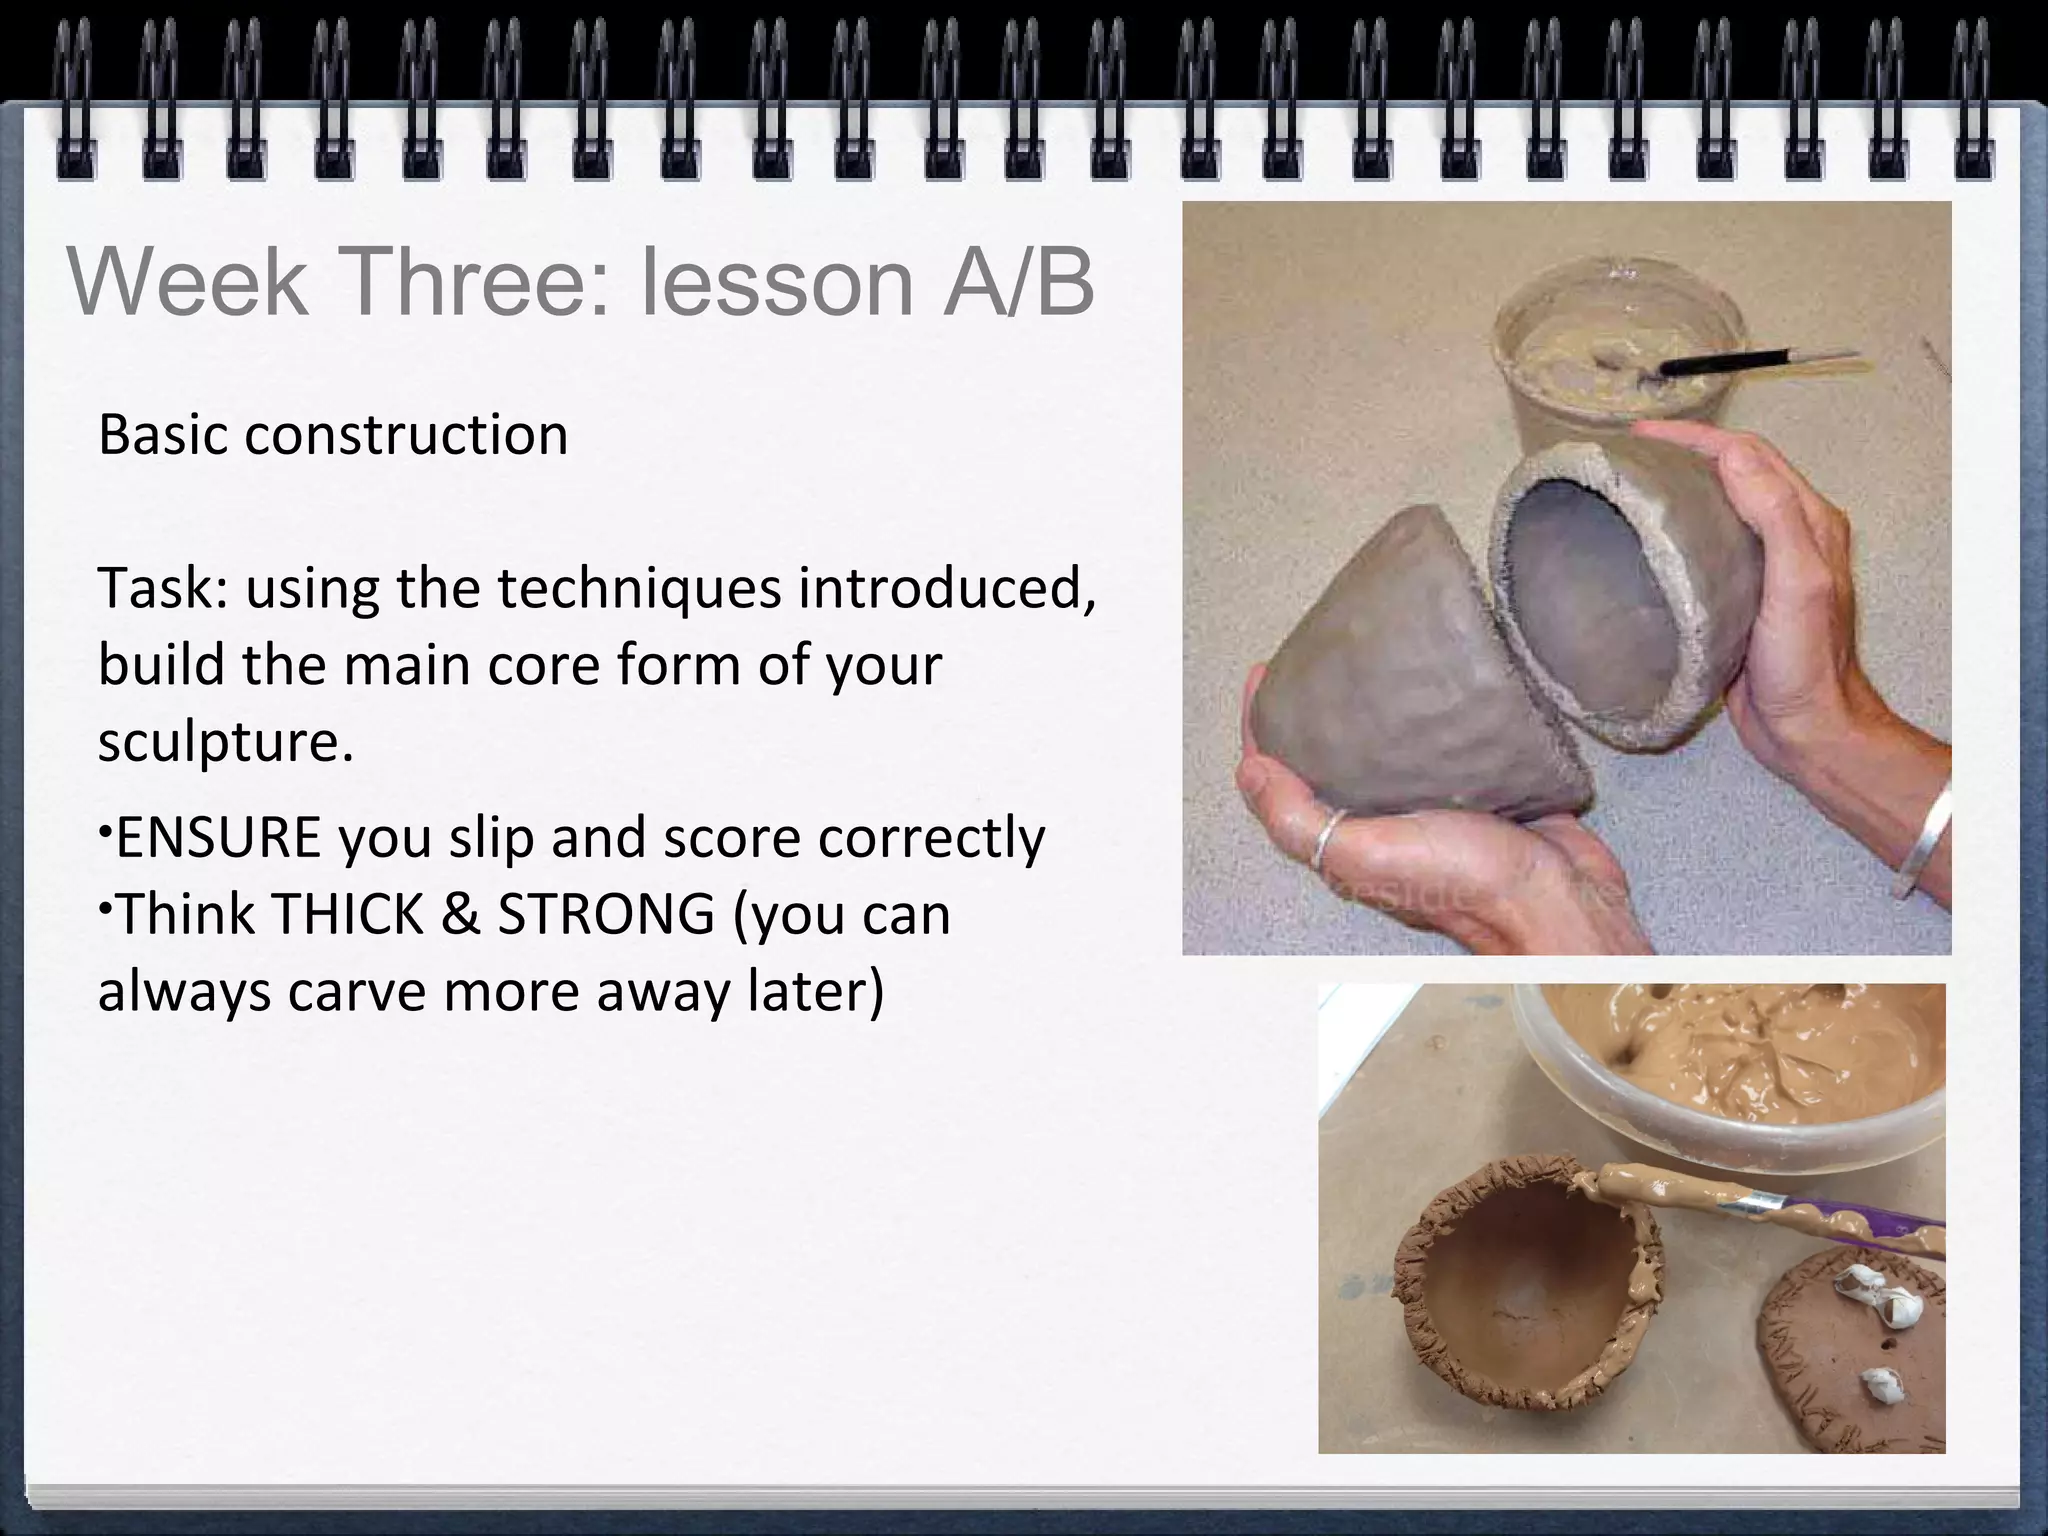
Week 3 involves basic construction of ceramic pieces through techniques like slip and scoring. Refining forms and adding clay sections.
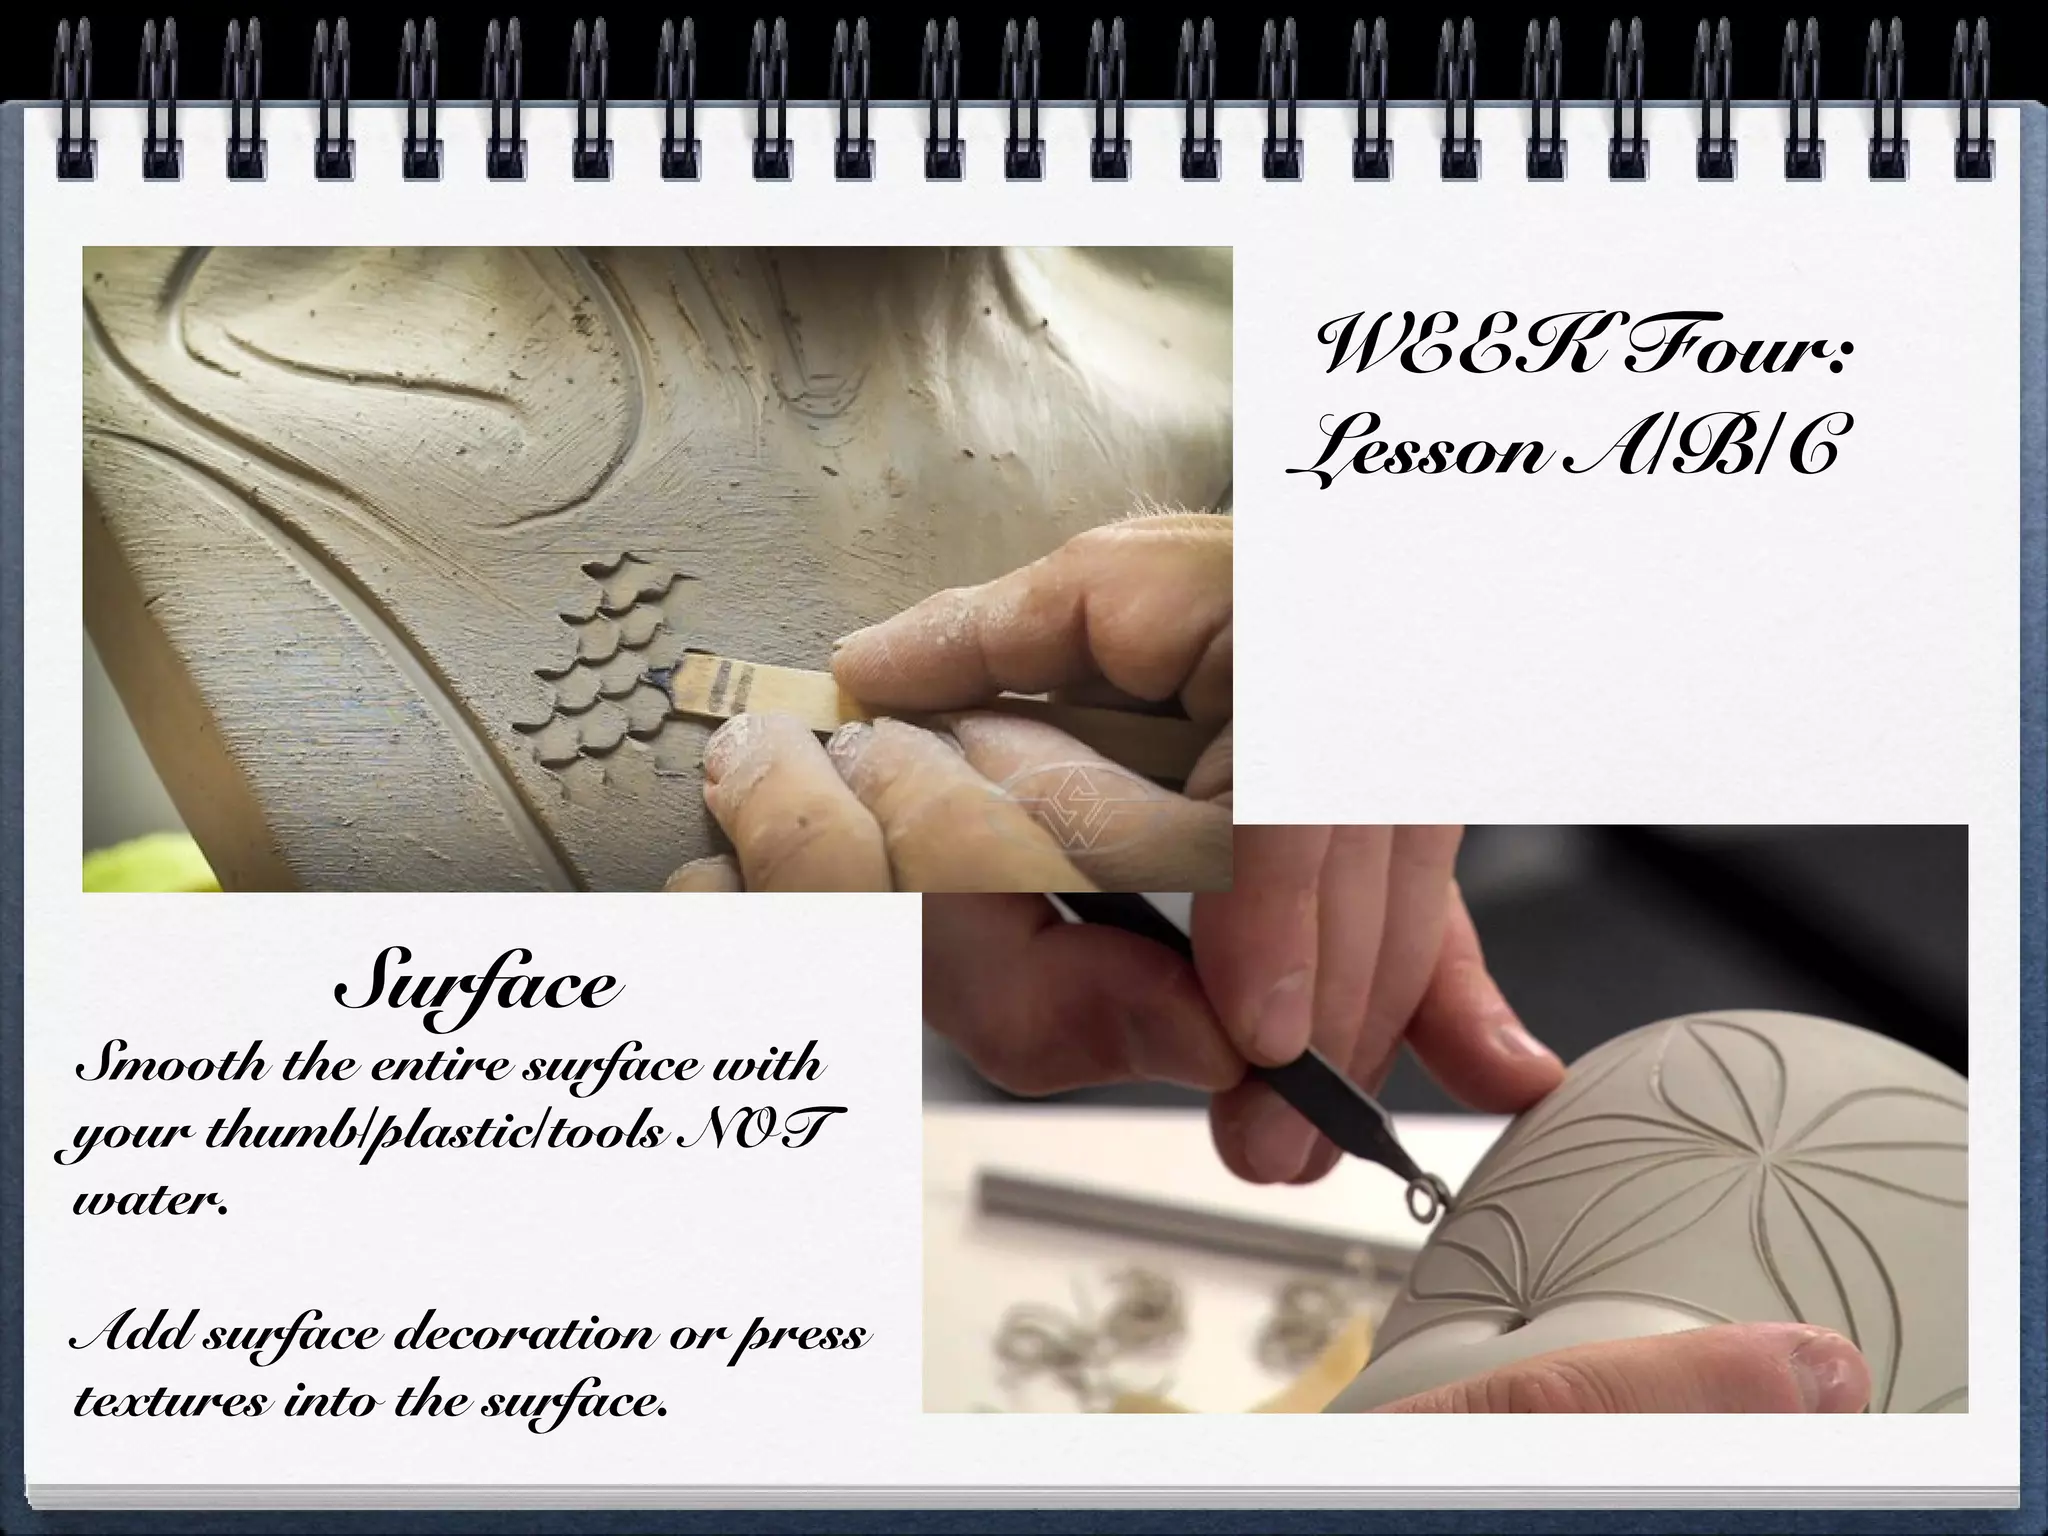
Week 4 is for surface work like smoothing, adding textures, and biscuit firing pieces before glaze and color schemes are applied in the final session.


![Reading Techniques [Autosaved].pptxReading Techniques [Autosaved].pptx](https://cdn.slidesharecdn.com/ss_thumbnails/readingtechniquesautosaved-251211193055-b8821f9d-thumbnail.jpg?width=640&height=640&fit=bounds)


