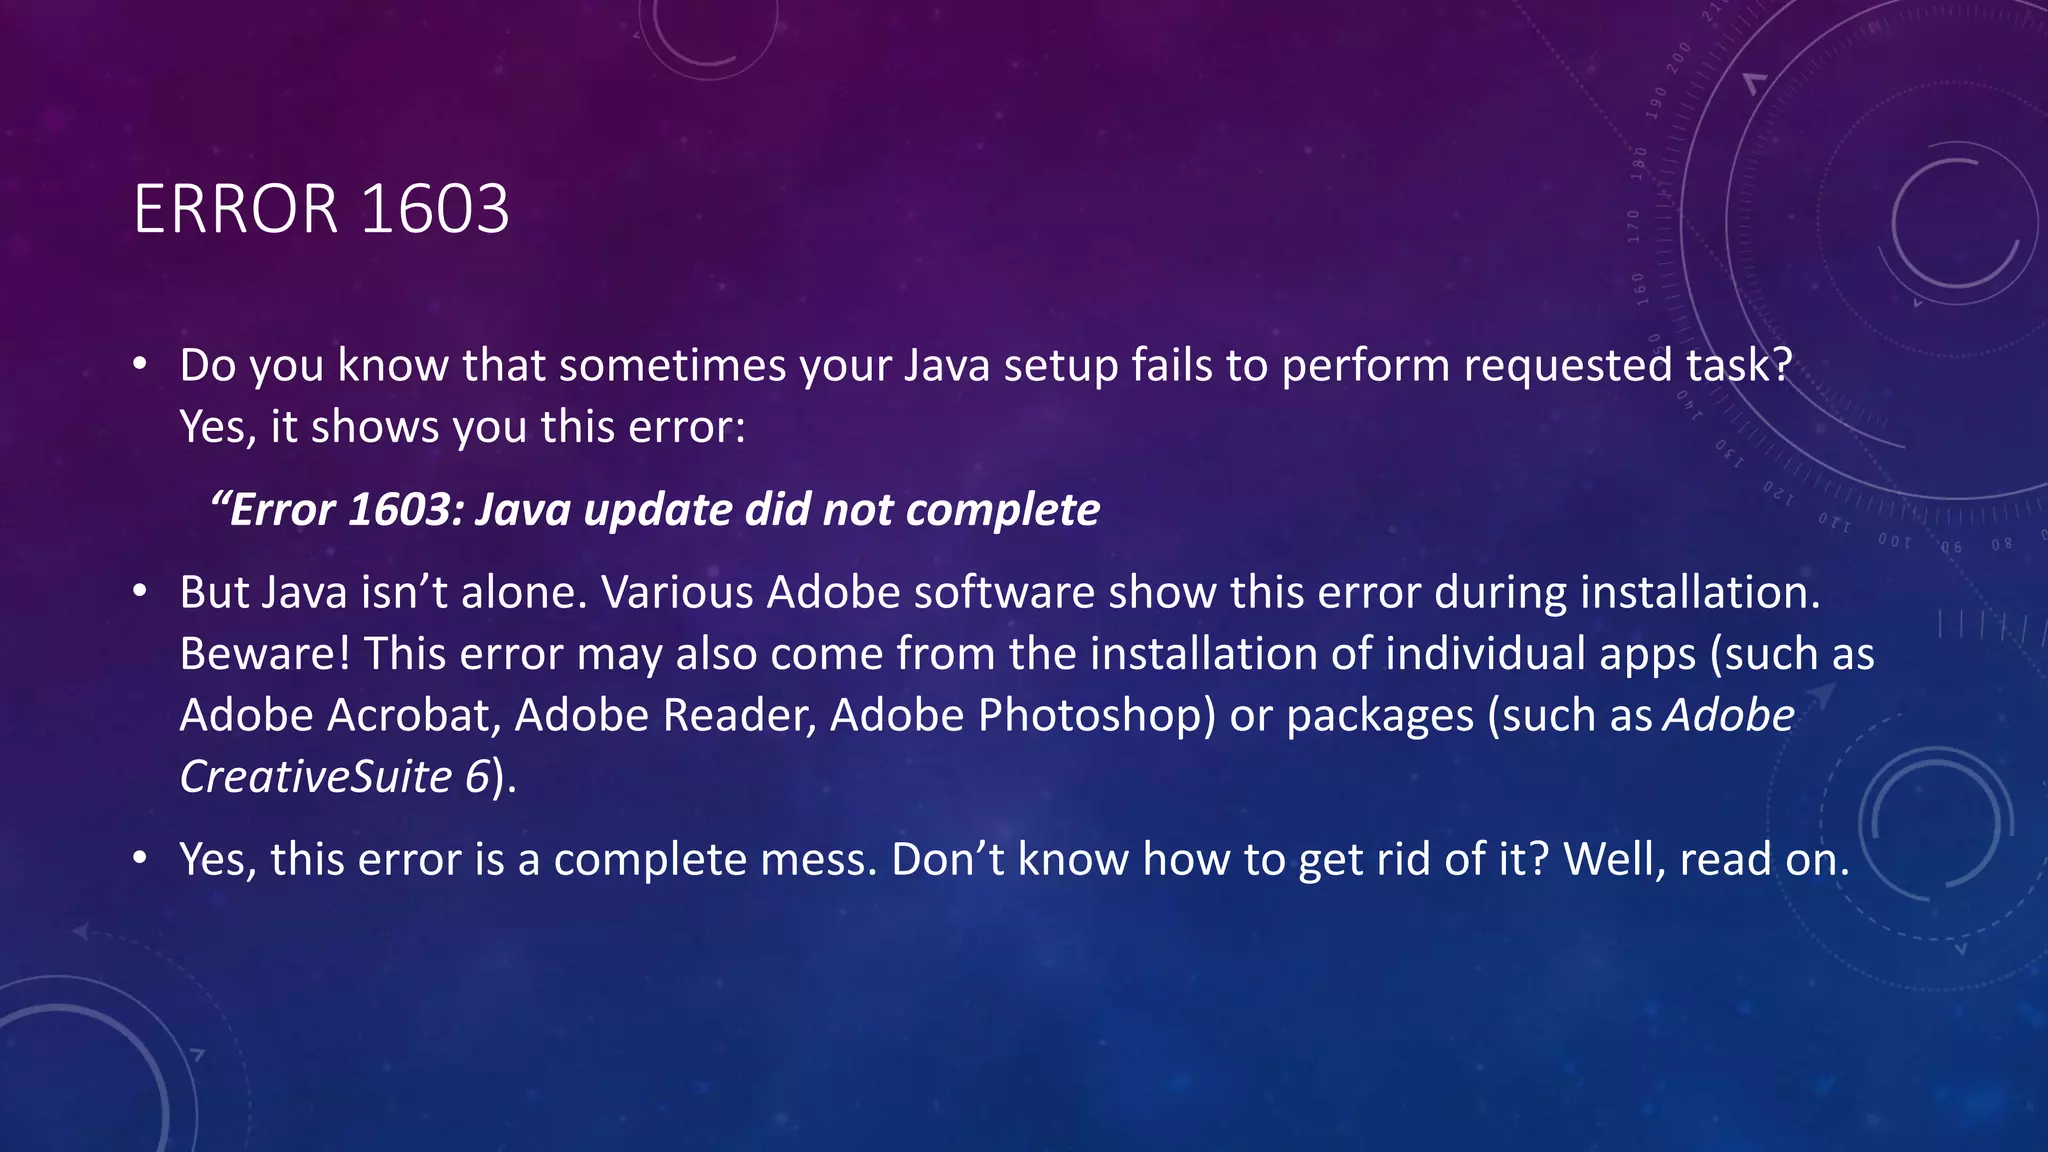
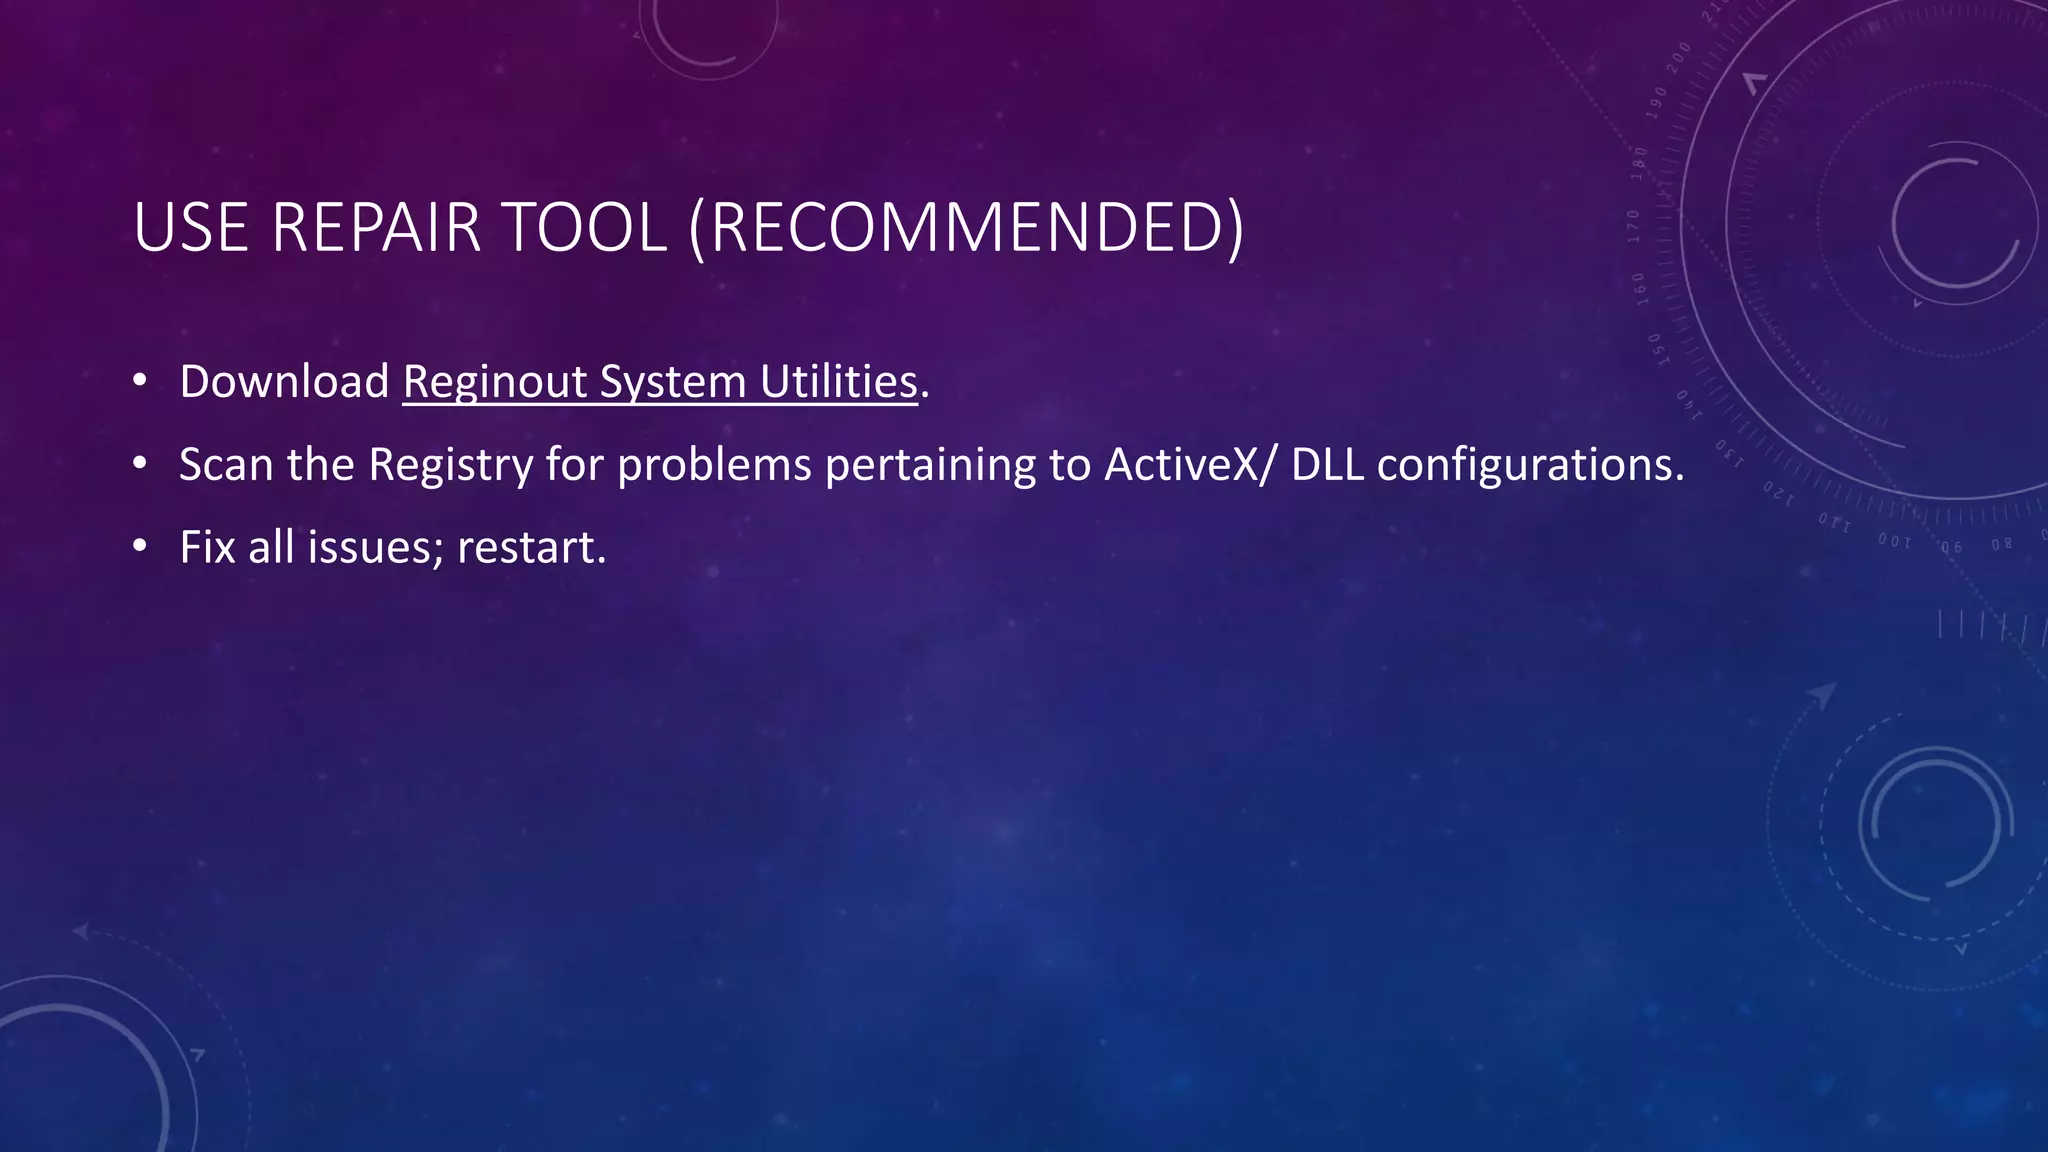
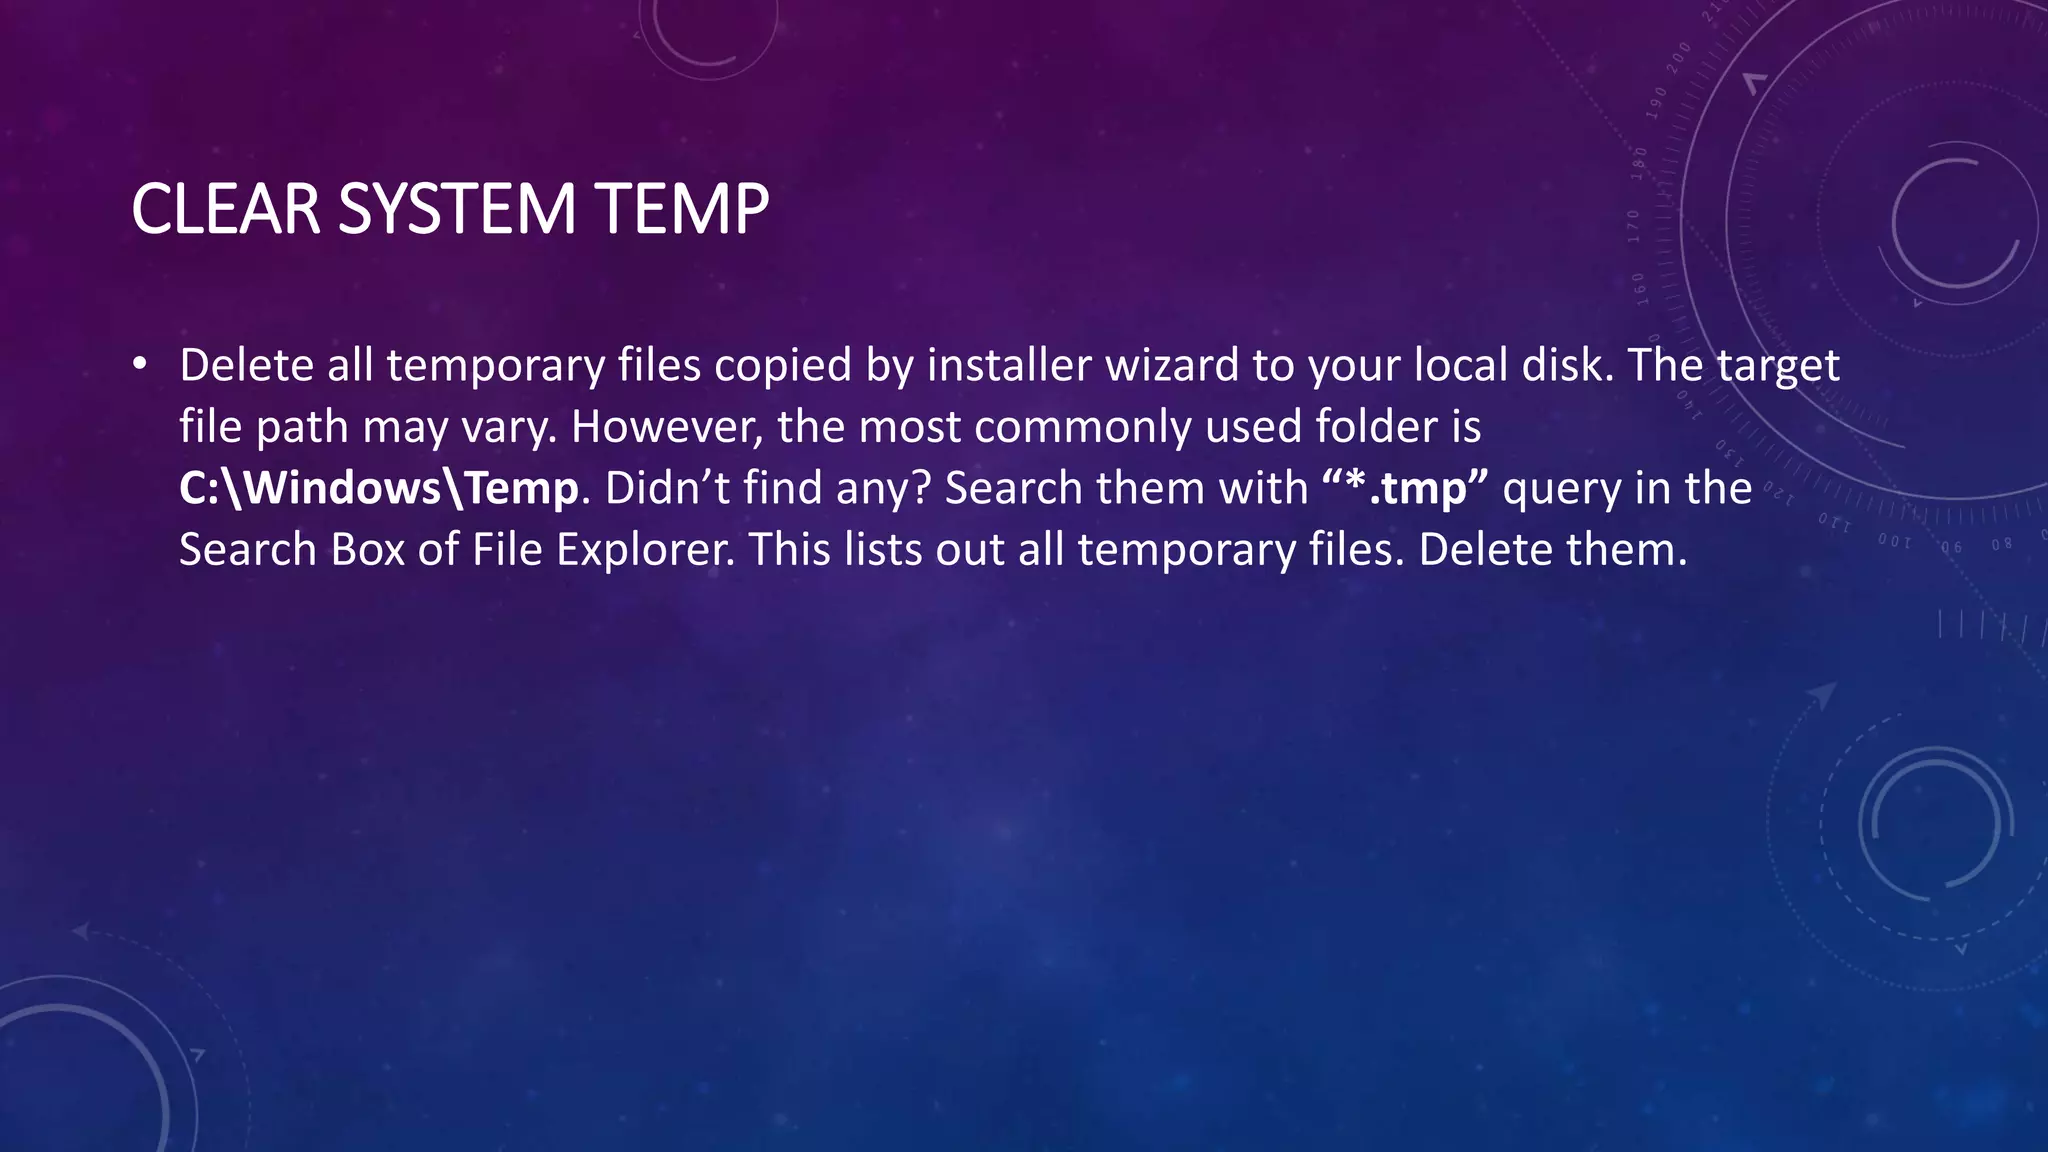
This document provides troubleshooting steps for resolving the "Error 1603" that can occur when installing Java, Adobe software, or other applications on Windows 10. It recommends using a Java uninstall tool, repairing registry issues, disabling Java content in the browser, fixing folder permissions, switching to the administrator account, clearing temporary files, and uninstalling conflicting applications.
2. ERROR 1603
• Do you know that sometimes your Java setup fails to perform requested task?
Yes, it shows you this error:
“Error 1603: Java update did not complete
• But Java isn’t alone. Various Adobe software show this error during installation.
Beware! This error may also come from the installation of individual apps (such as
Adobe Acrobat, Adobe Reader, Adobe Photoshop) or packages (such as Adobe
CreativeSuite 6).
• Yes, this error is a complete mess. Don’t know how to get rid of it? Well, read on.
3. ROLLBACK OLD VERSION
Here’s how:
• Exit the installation wizard;
• Restart your computer;
• Download an older Java version; and
• Install it (Download it from the official website).
4. USE REPAIR TOOL (RECOMMENDED)
• Download Reginout System Utilities.
• Scan the Registry for problems pertaining to ActiveX/ DLL configurations.
• Fix all issues; restart.
5. USE JAVA UNINSTALL TOOL
Oracle Technologies Network has designed an uninstall tool for Java. This tool
works, really. It removes:
• Leftover files
• Registry entries, and
• log files.
Use this tool to uninstall Java. Restart your PC and reinstall.
6. TURN OFF JAVA CONTENT
From the Security tab of the Java Control Panel, uncheck the box labelled “Enable
Java content in the browser”. This icon resides in your Control Panel window.
8. FIX FOLDER PERMISSIONS
Ensure the folder you’ve chosen has security access permissions. Why? Less or no
security permissions (aka incorrect security configuration) result in a failure to copy
or process files. Want to know how? Go to Folder Properties dialog > Security tab.
9. SWITCH ACCOUNT
• Check whether you (or your account) have adequate privileges to proceed with
the update/installation. Exit the setup. Log off the existing account and switch to
the Administrator Account. (Contact your system administrator for more
information.)
10. DO NOT ATTEMPT TO INSTALL IN SUBSTITUTE DRIVE
• The installation folder may be part of a substitute drive. Choose a different
partition for installation.
11. DISABLE FILE SHARING
• Beware! Simple File Sharing enables sharing your local drives, folders with
computers connected over a network. Everyone in the network can access your
partition or folder. Disable it.
12. DISABLE FILE SHARING WIZARD
• You can disable simple file sharing by unchecking “Use sharing wizard
(recommended) or “Use simple file sharing (Recommended).” Did not find it? It
comes under View tab of the Folder Options.
• To open the dialog, type “File Explorer Options” in Search feature of your Start
Screen.
13. REPAIR WINDOWS COLOR PROFILE
• Choose relevant option in right-click menu options of a subfolder named “Color”
in this directory:
• C:WindowsSystem32SpoolDrivers
• Now go to the advanced security, and change the owner settings. Select
“Administrator” option from the list box under Change Owner to Field. Now
choose “Replace owner on sub-containers and objects”. Save your settings.
14. UNINSTALL CONFLICTING GOOGLE DESKTOP APP
• Different Adobe software do not like Google Desktop App. They create conflicts.
You’ve to uninstall it. Find the list of all installed apps. Use Settings > System >
Apps & Features. Now figure out whether it is installed or not using the Search
box.
15. CLEAR SYSTEM TEMP
• Delete all temporary files copied by installer wizard to your local disk. The target
file path may vary. However, the most commonly used folder is
C:WindowsTemp. Didn’t find any? Search them with “*.tmp” query in the
Search Box of File Explorer. This lists out all temporary files. Delete them.