


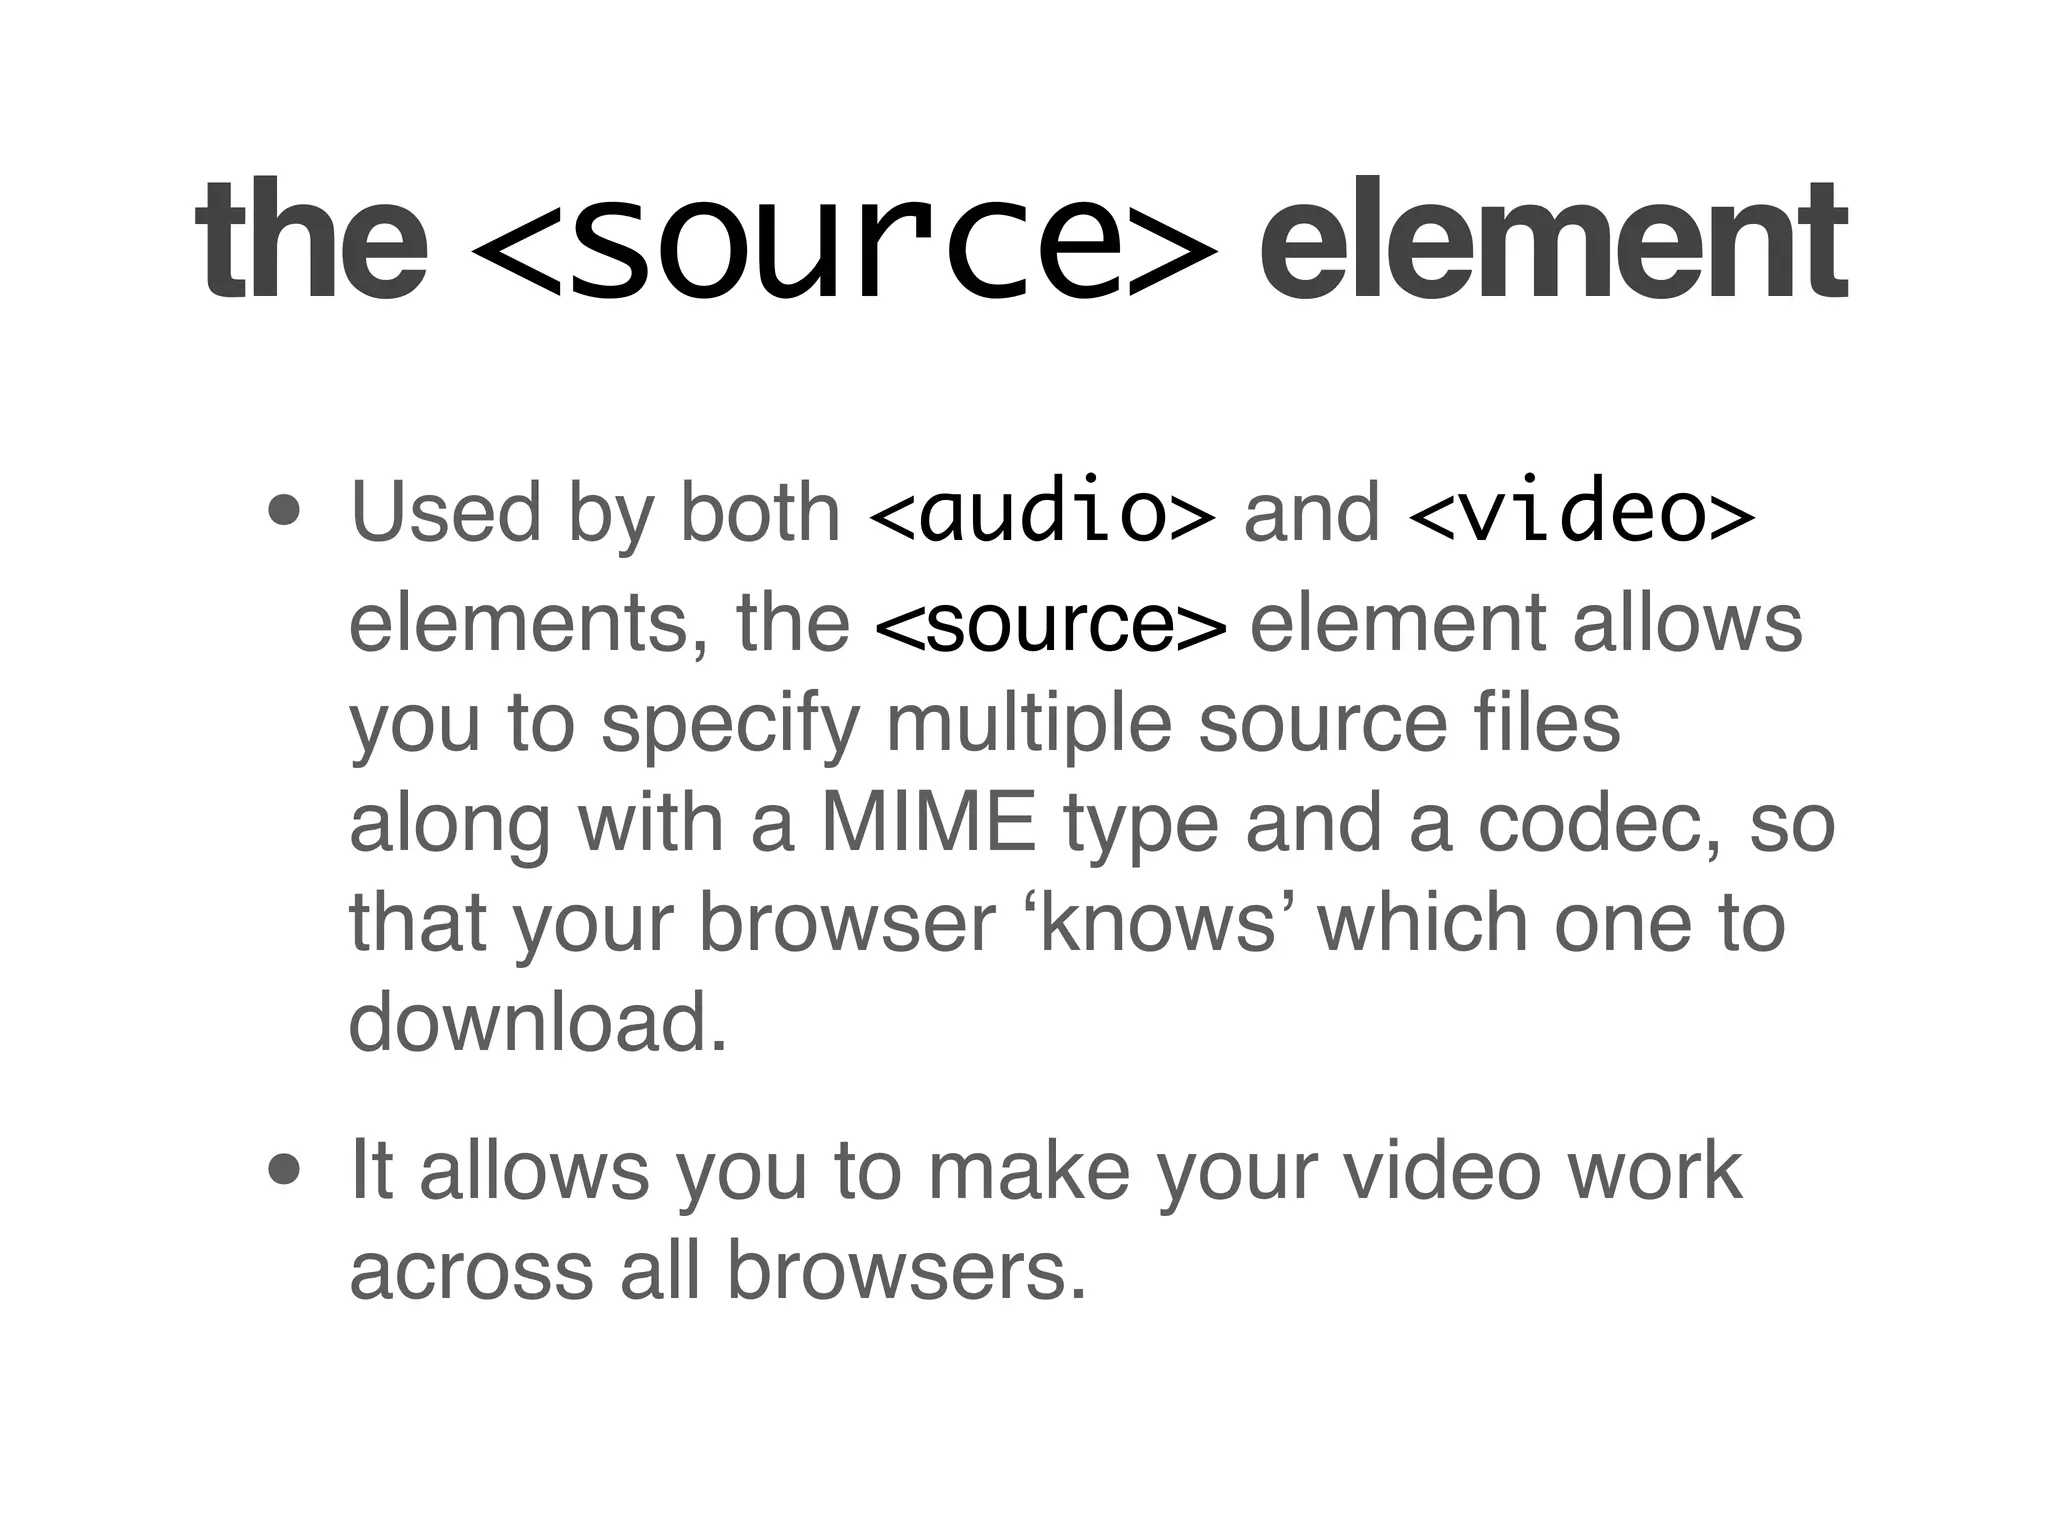


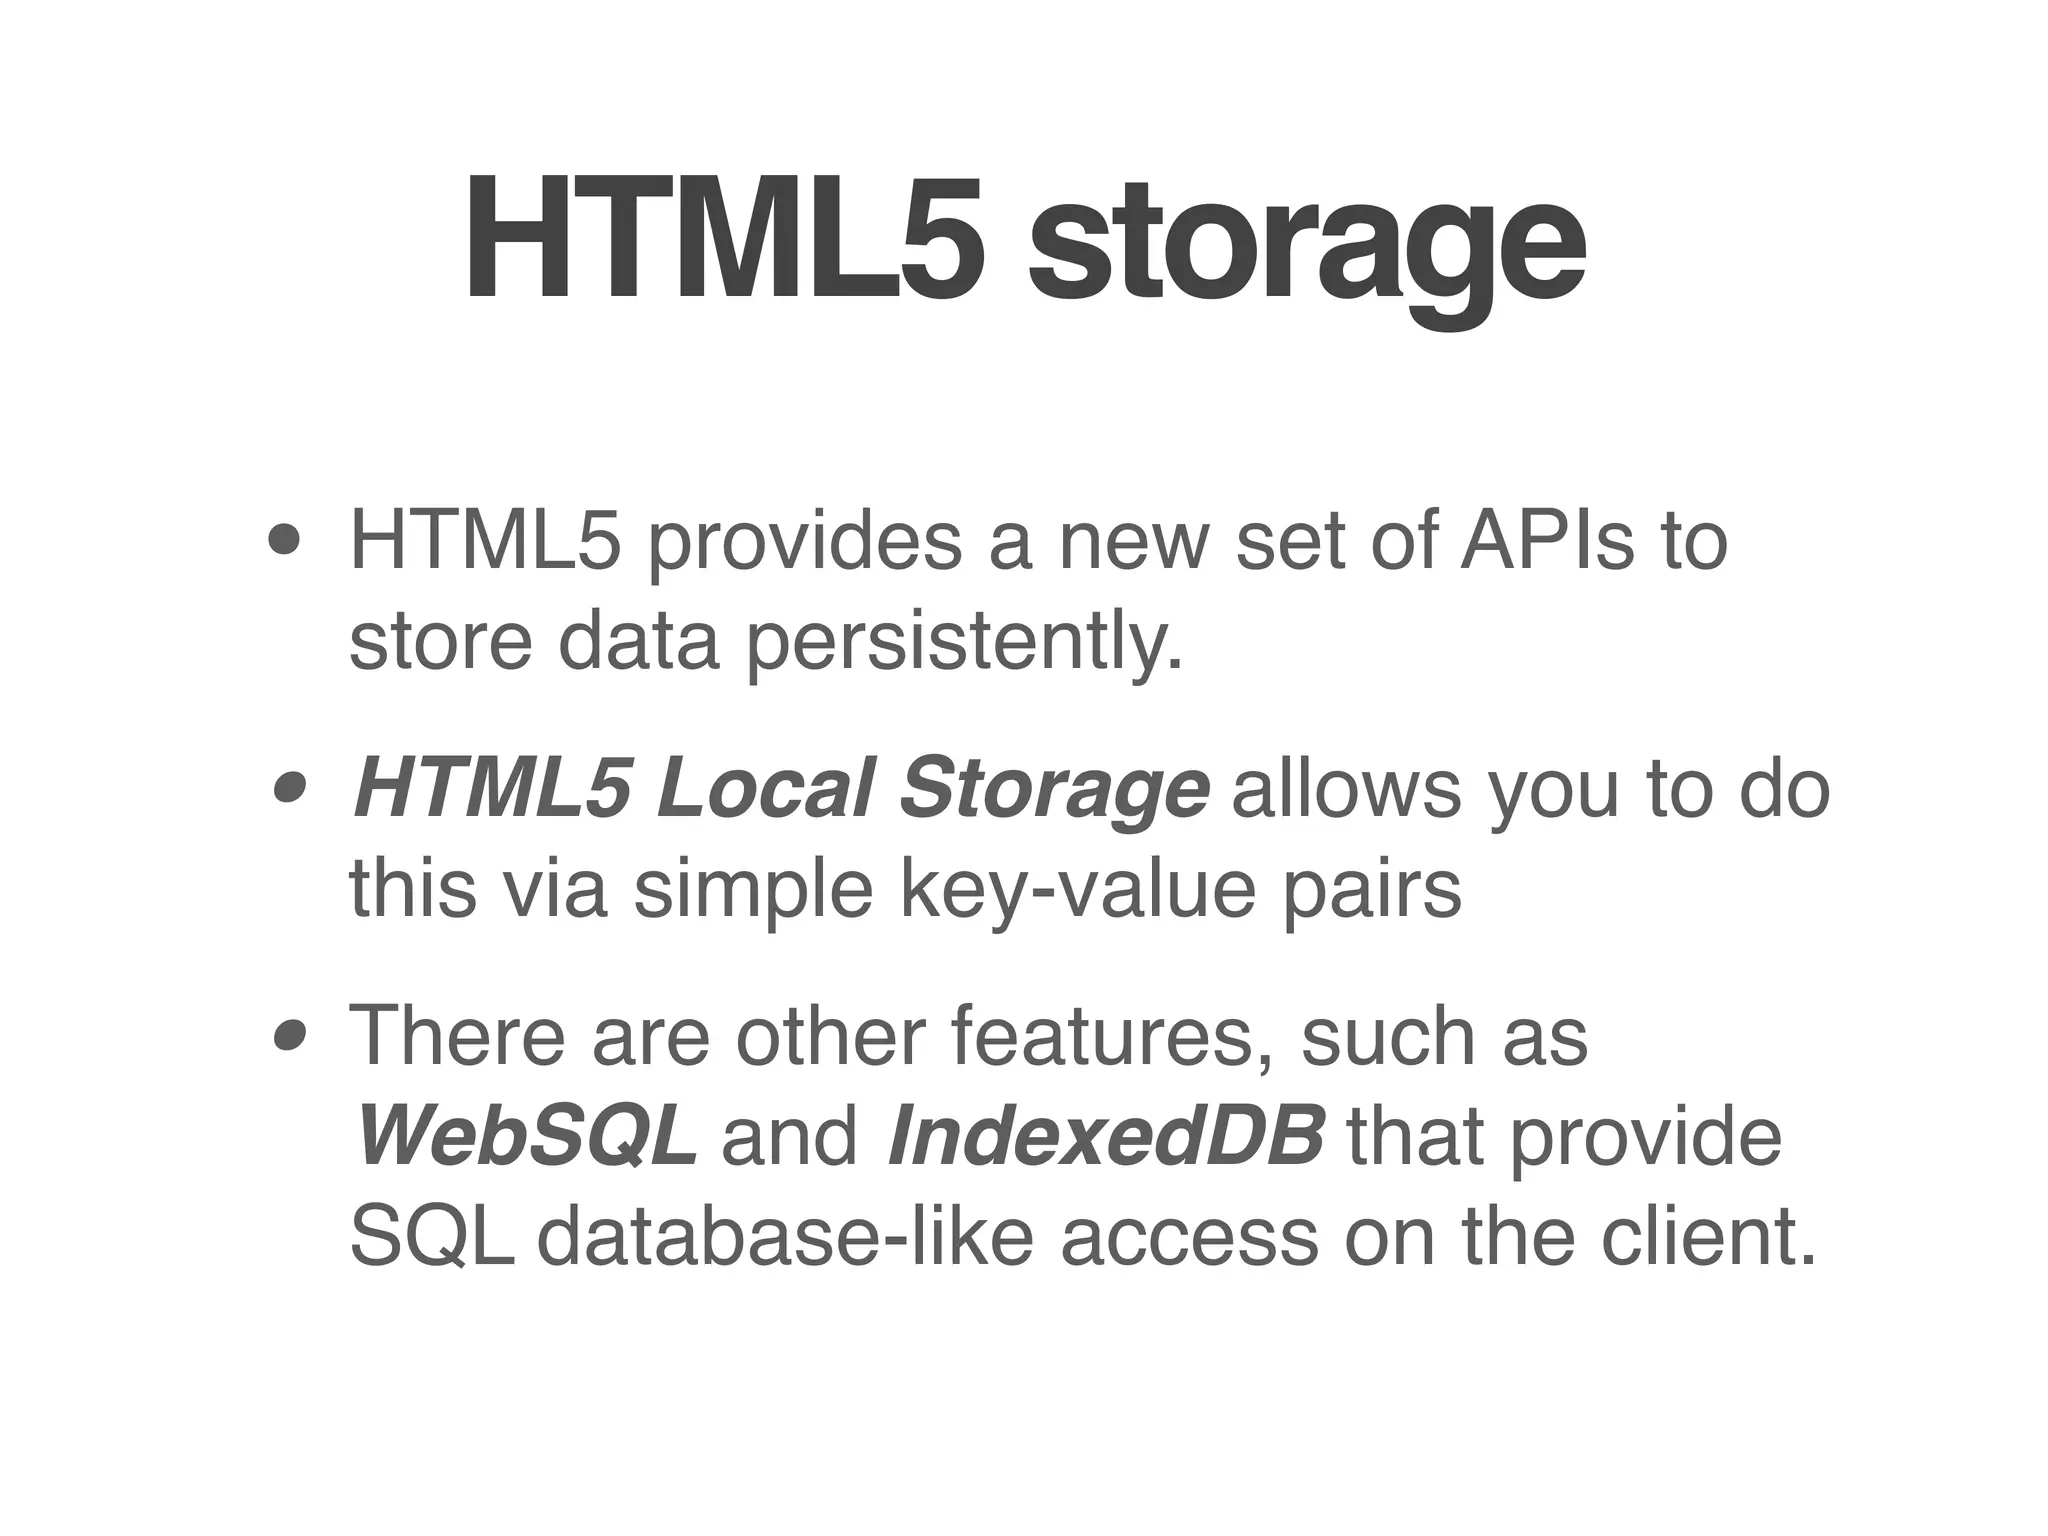
![draw a simple circle
// jQuery document.ready handler
$(document).ready(function() {
drawCircle();
});
// Converts degrees to radians
function degToRad(degrees) {
return (Math.PI/180) * degrees;
}
// Draws a simple circle on the canvas
function drawCircle() {
var canvas = $('#target')[0];
if (canvas.getContext) {
var context = canvas.getContext('2d');
context.beginPath();
context.strokeStyle = 'rgba(68, 68, 68, 1)';
context.lineWidth = 1
context.arc(225, 225, 225, degToRad(0), degToRad(360), false);
context.stroke();
}
}](https://image.slidesharecdn.com/week11-oct8-v1wray-121008034057-phpapp02/75/Web-Apps-33-2048.jpg)

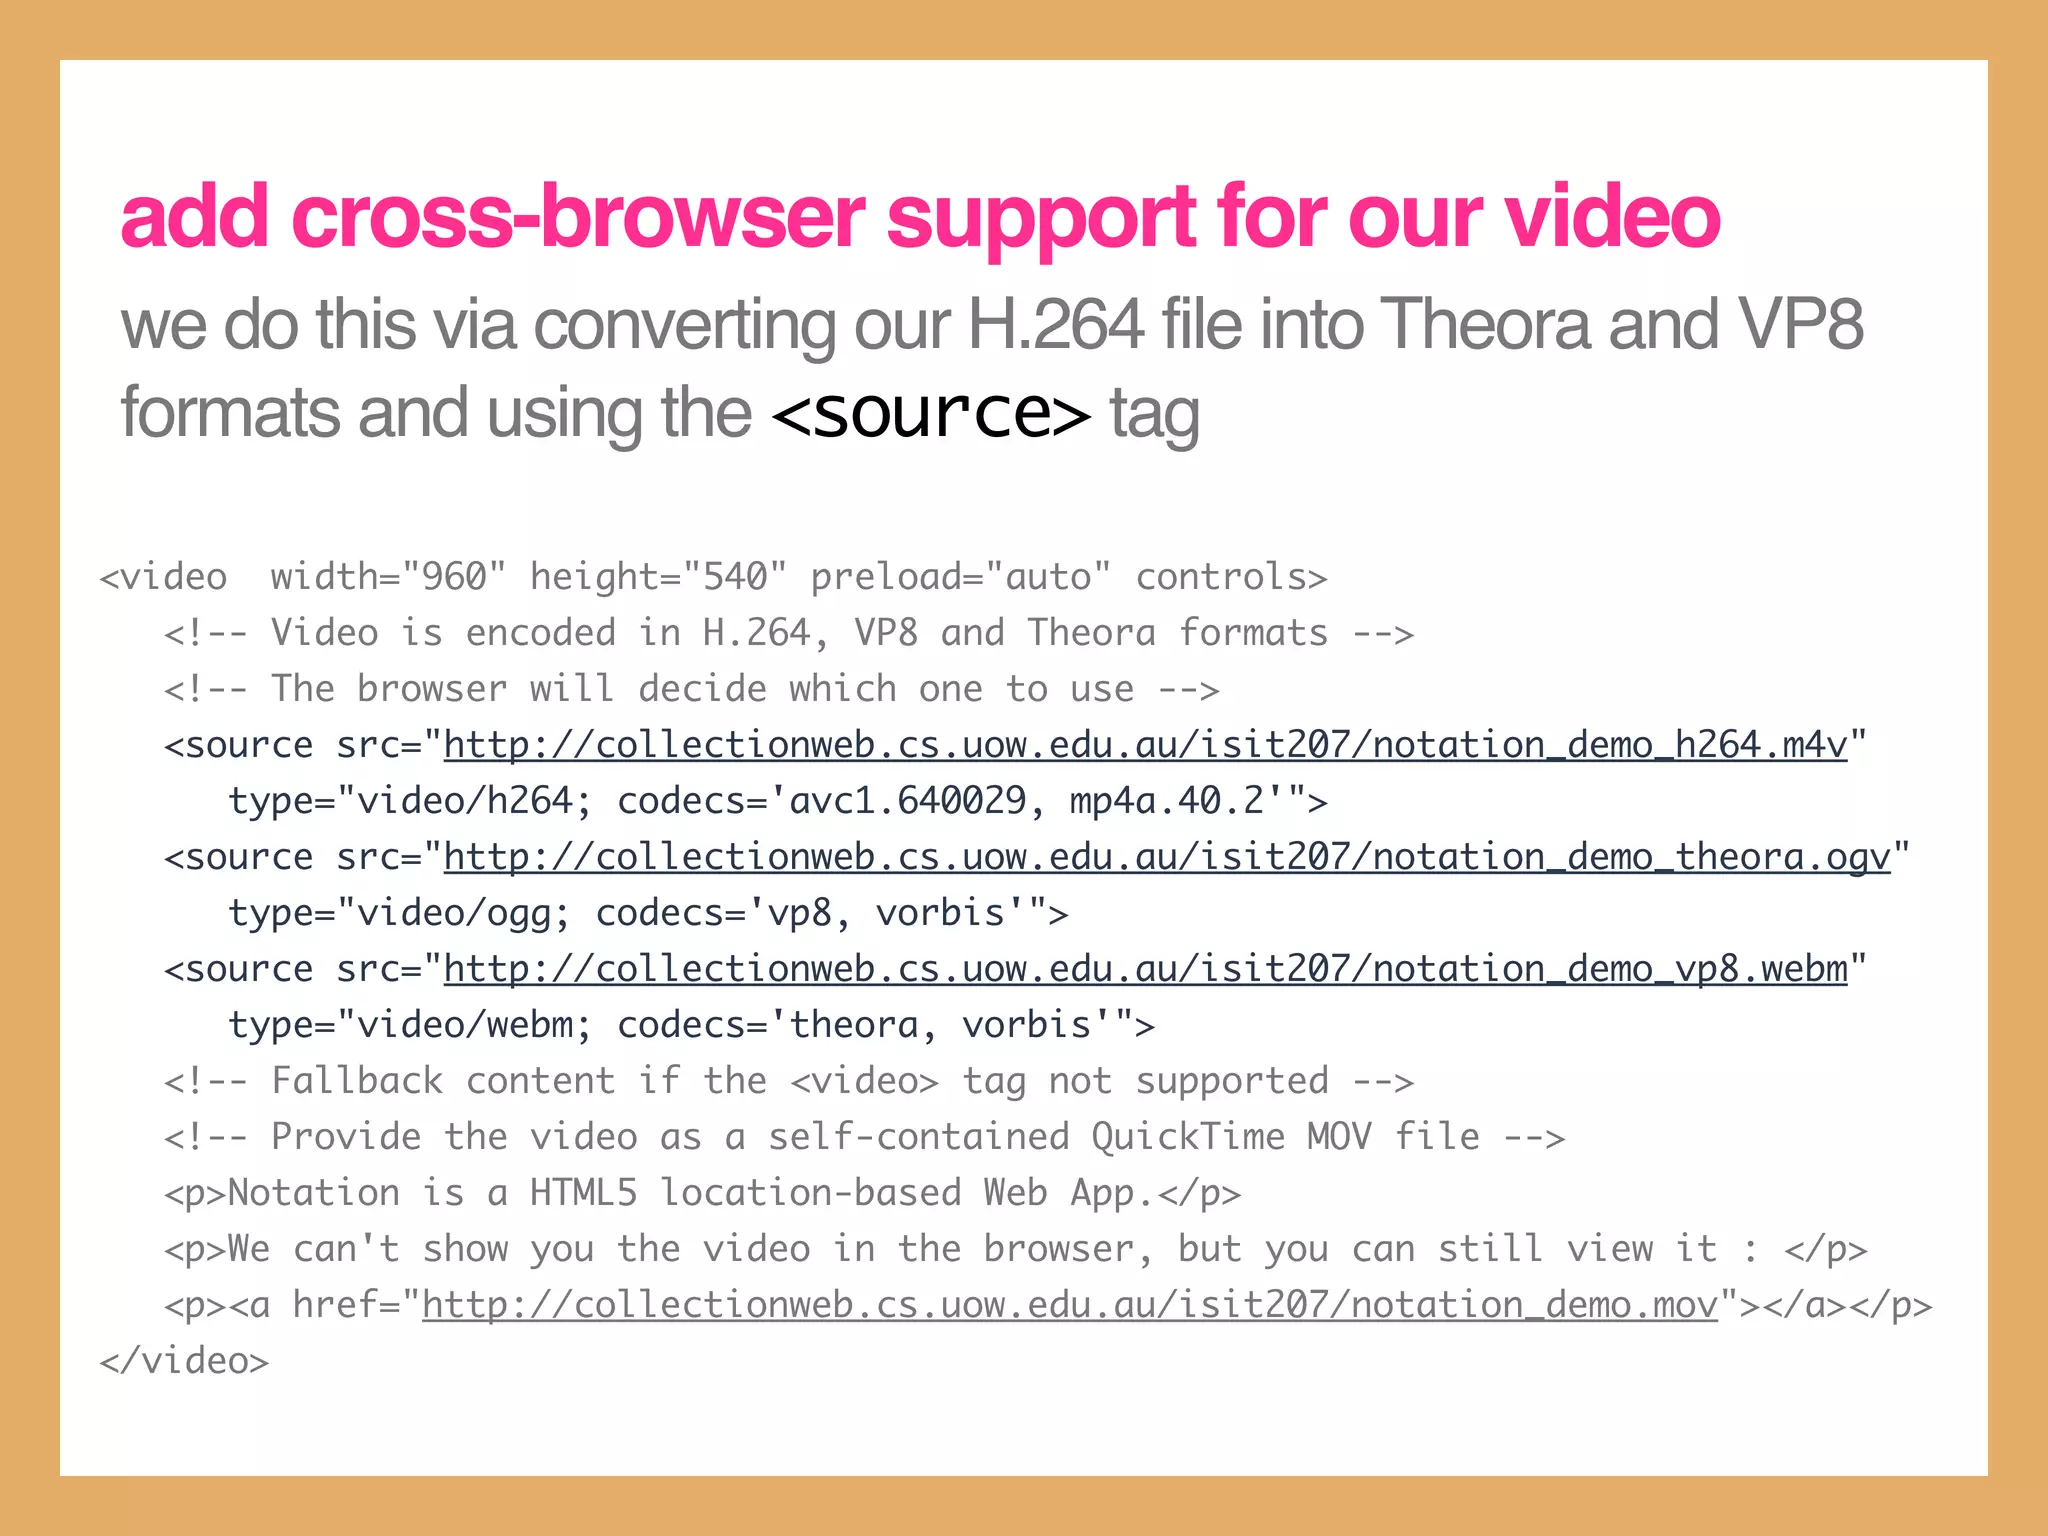
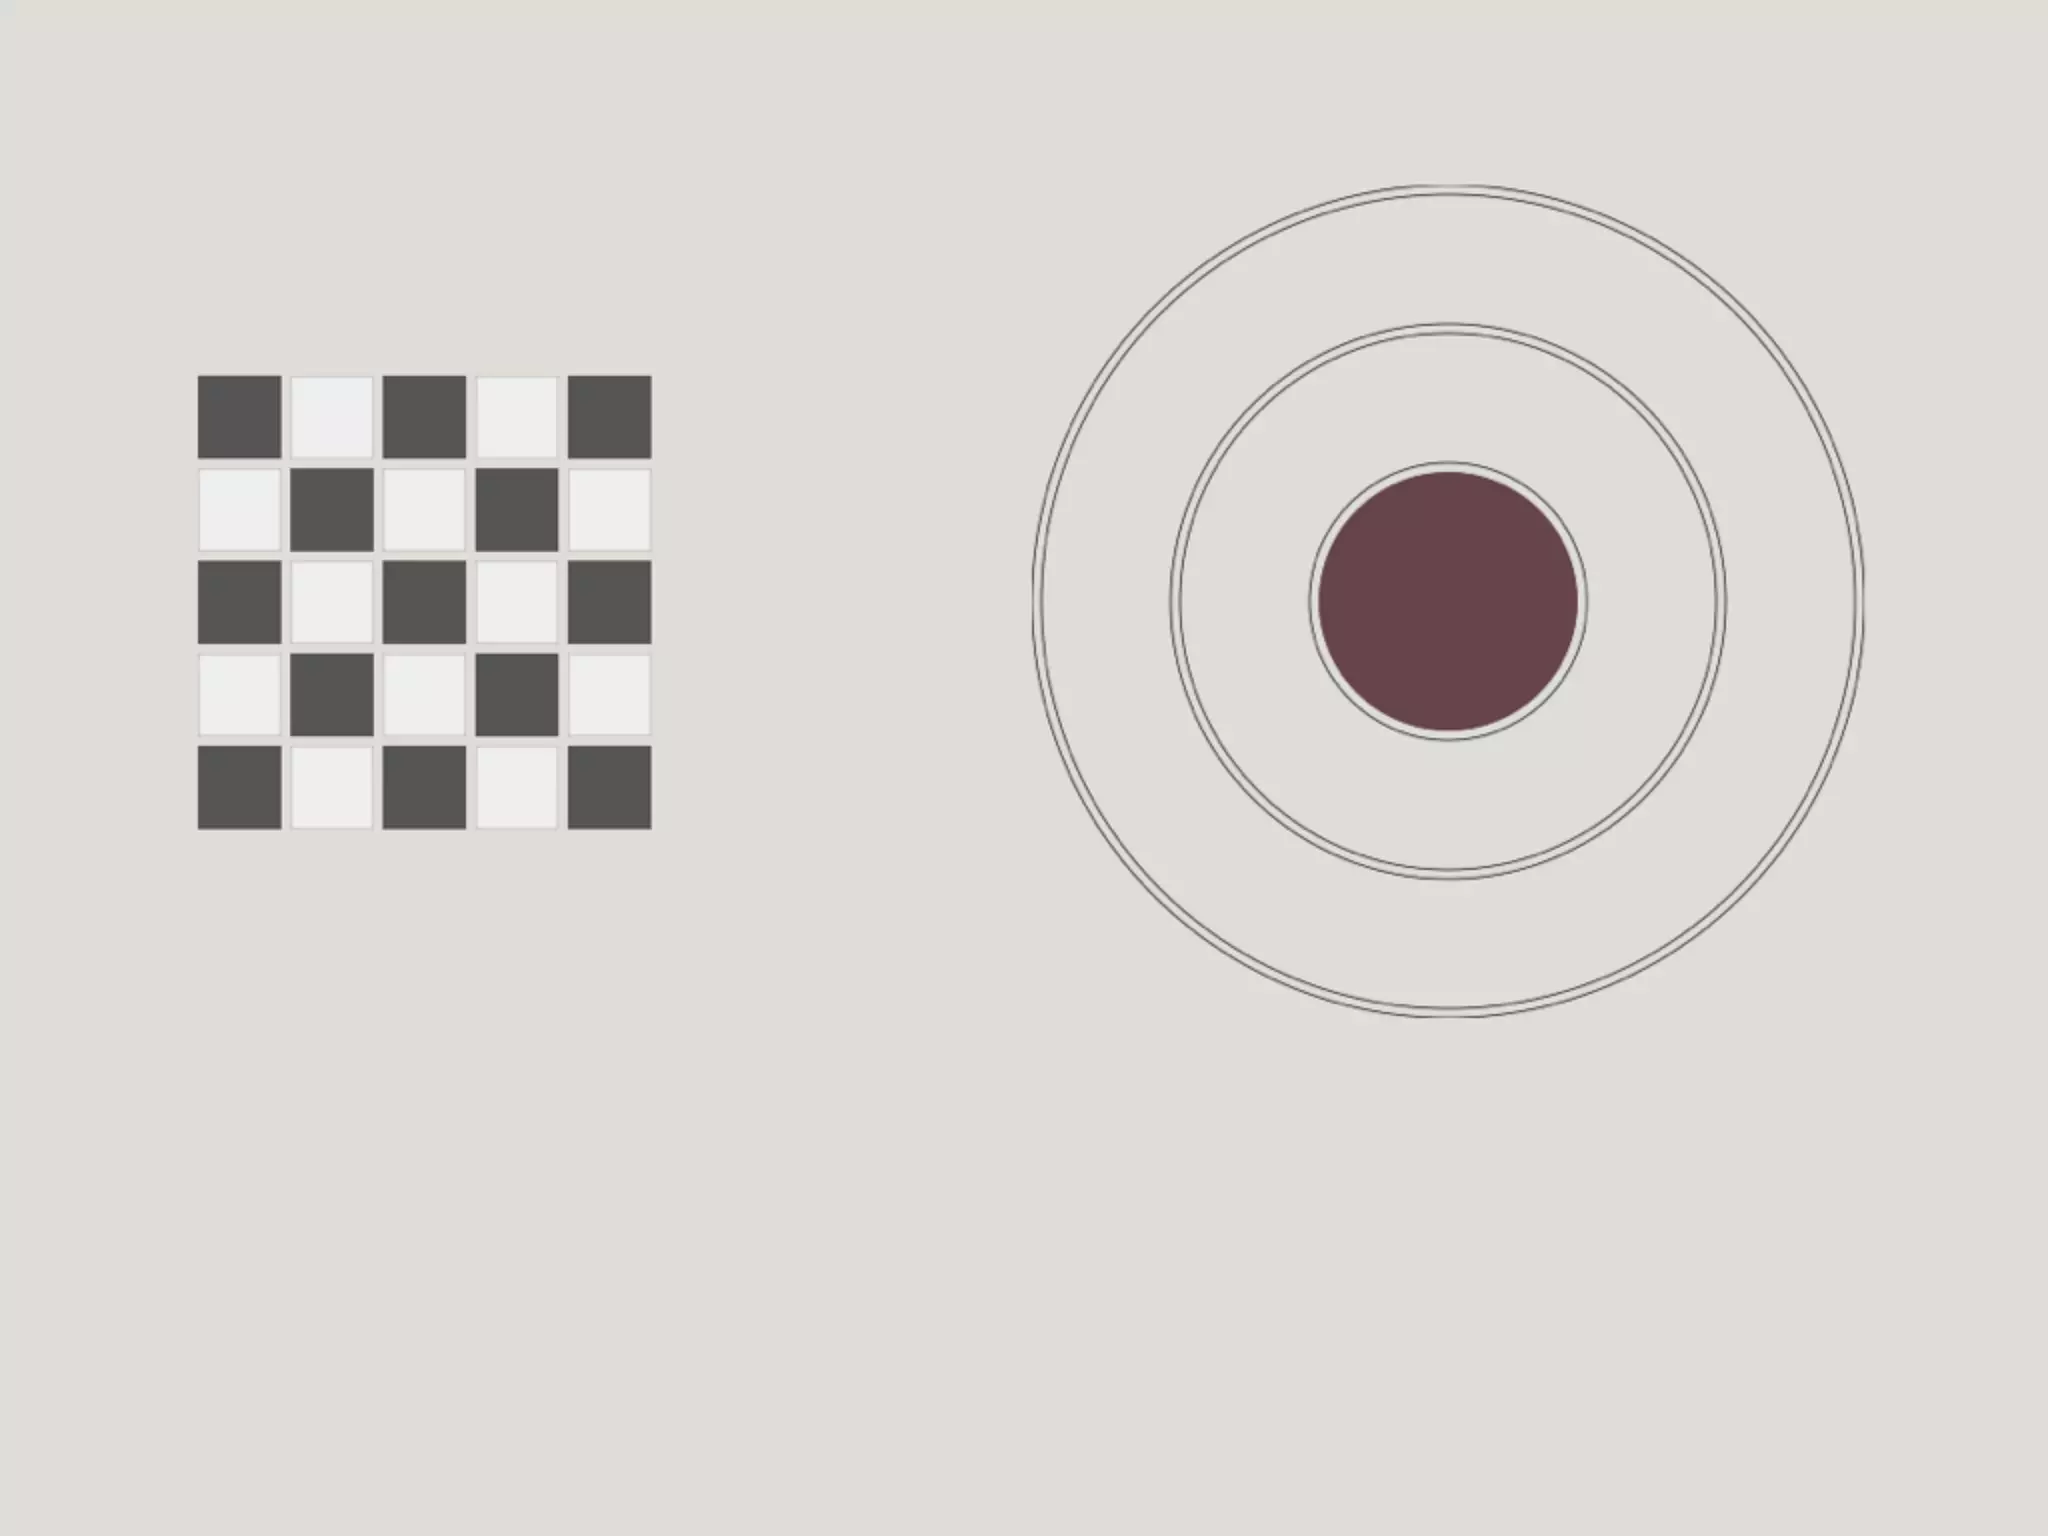
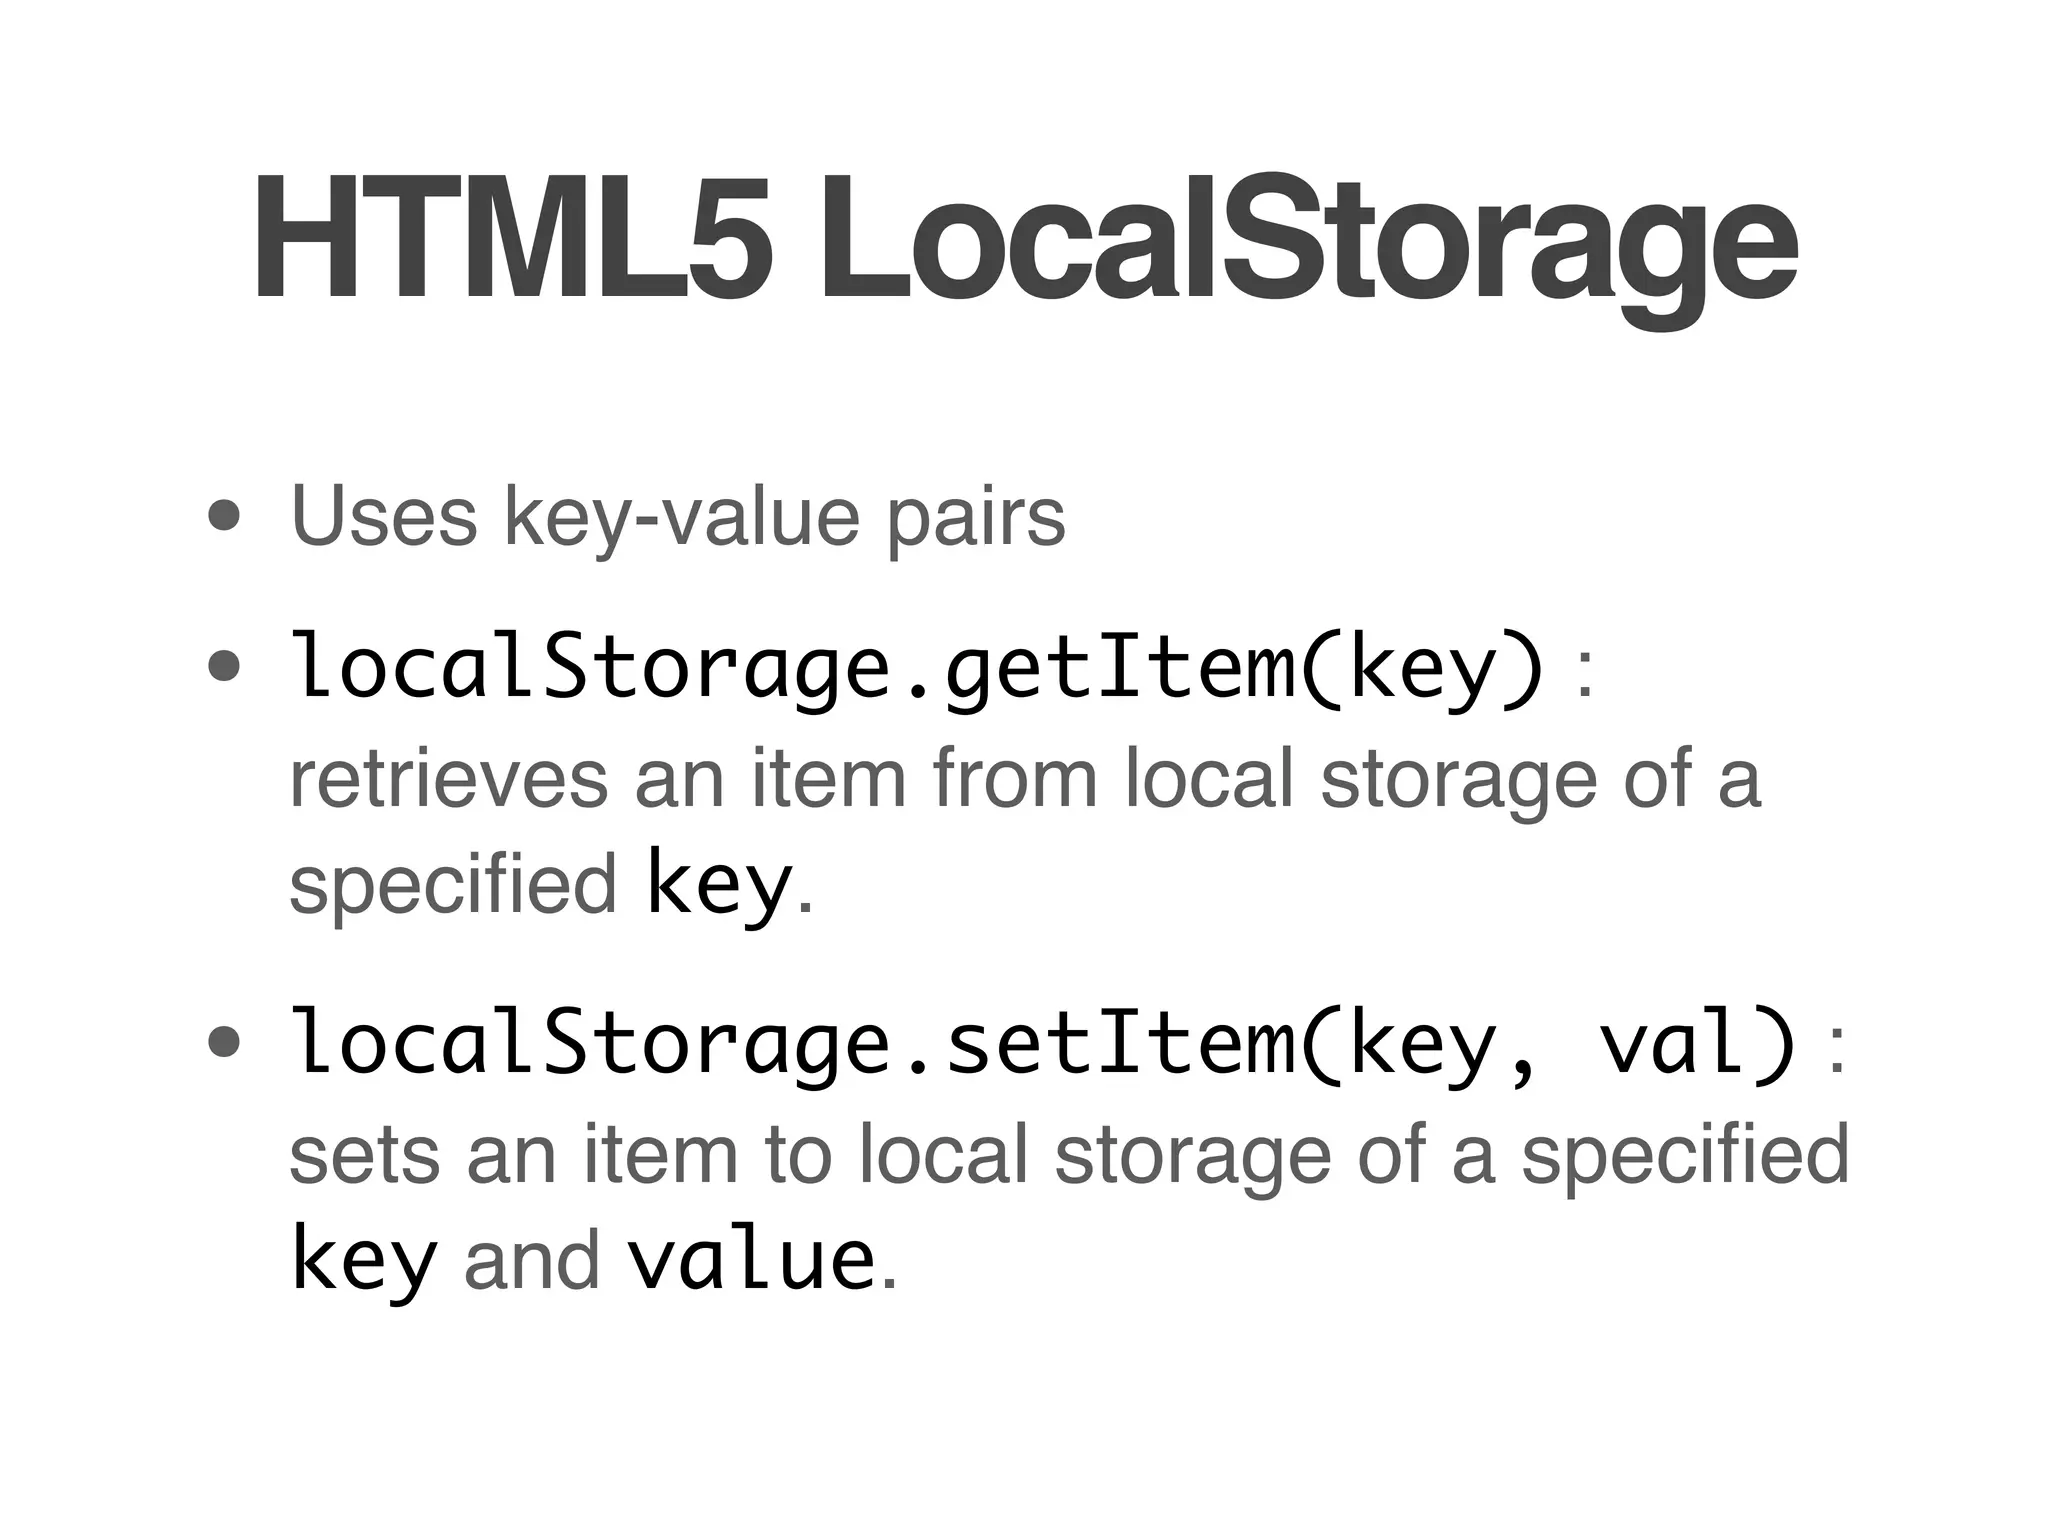
![refactor drawCircle() so you can re-use it
concentric circles == a target!
// Draws a circle for a given radius,
// fillStyle and strokeStyle
function drawCircle(radius, fillStyle, strokeStyle) {
var canvas = $('#target')[0];
if (canvas.getContext) {
var context = canvas.getContext('2d');
context.beginPath();
context.strokeStyle = strokeStyle;
context.fillStyle = fillStyle;
context.lineWidth = 1
context.arc(225, 225, radius, degToRad(0), degToRad(360), false);
context.stroke();
context.fill();
}
}
// Draws the target
function drawTarget() {
drawCircle(225, 'rgba(0, 0, 0, 0)', 'rgba(68, 68, 68, 1)');
drawCircle(220, 'rgba(0, 0, 0, 0)', 'rgba(68, 68, 68, 1)');
drawCircle(150, 'rgba(0, 0, 0, 0)', 'rgba(68, 68, 68, 1)');
drawCircle(145, 'rgba(0, 0, 0, 0)', 'rgba(68, 68, 68, 1)');
drawCircle(75, 'rgba(0, 0, 0, 0)', 'rgba(68, 68, 68, 1)');
drawCircle(70, 'rgba(102, 68, 74, 1)', 'rgba(0, 0, 0, 0)');
}](https://image.slidesharecdn.com/week11-oct8-v1wray-121008034057-phpapp02/75/Web-Apps-35-2048.jpg)


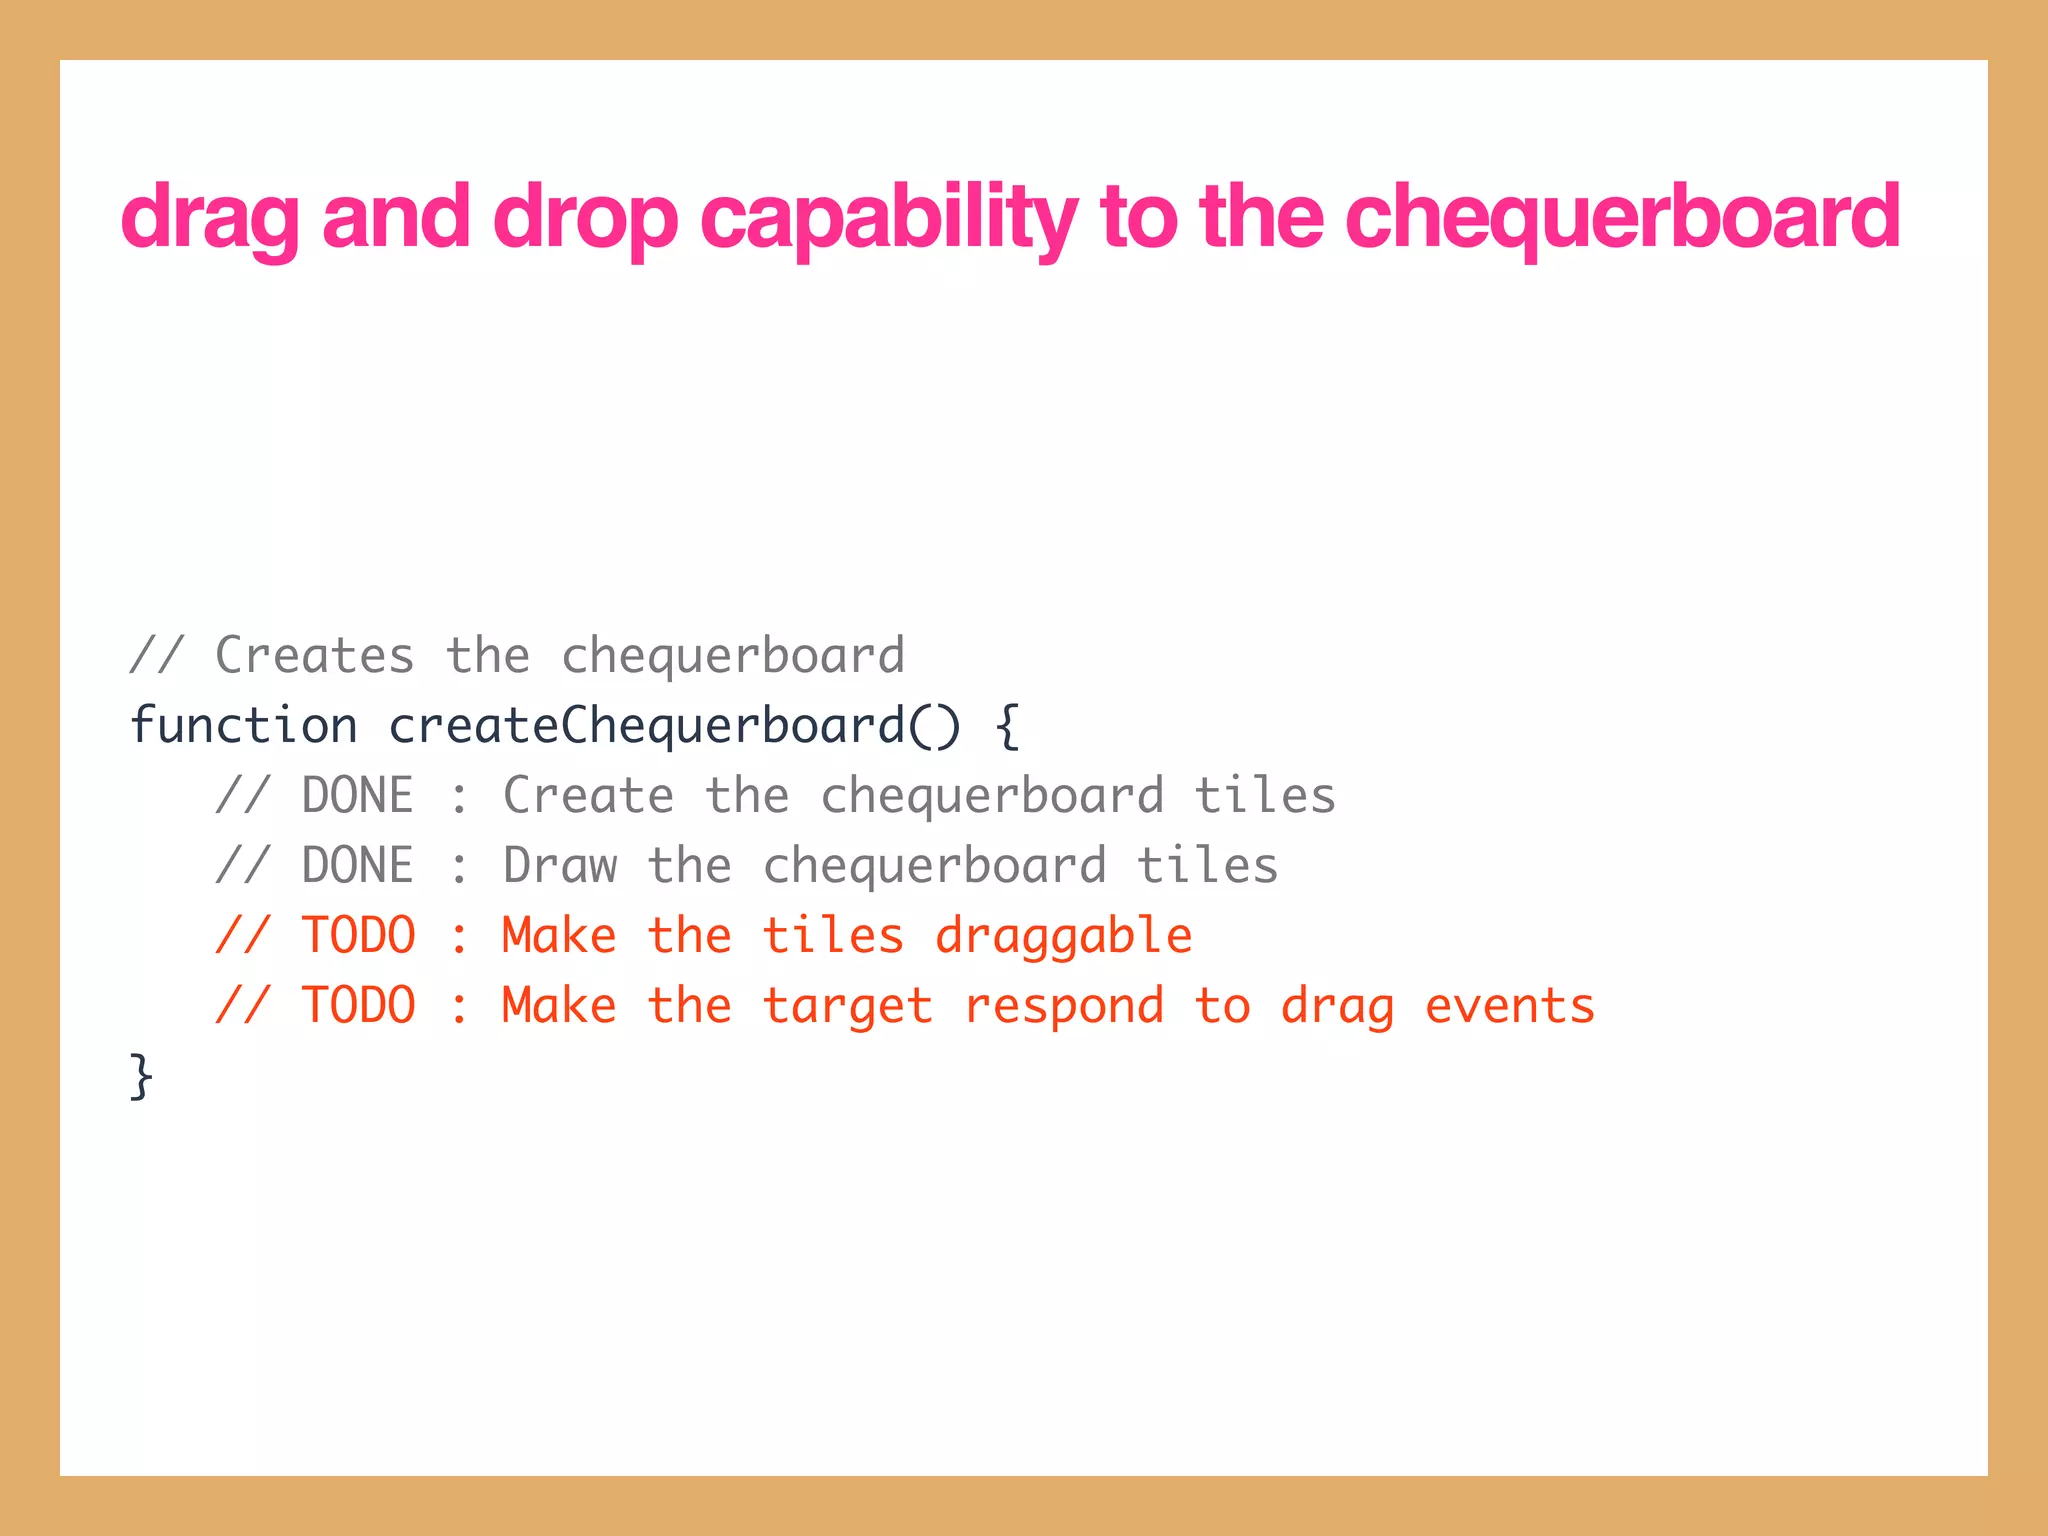


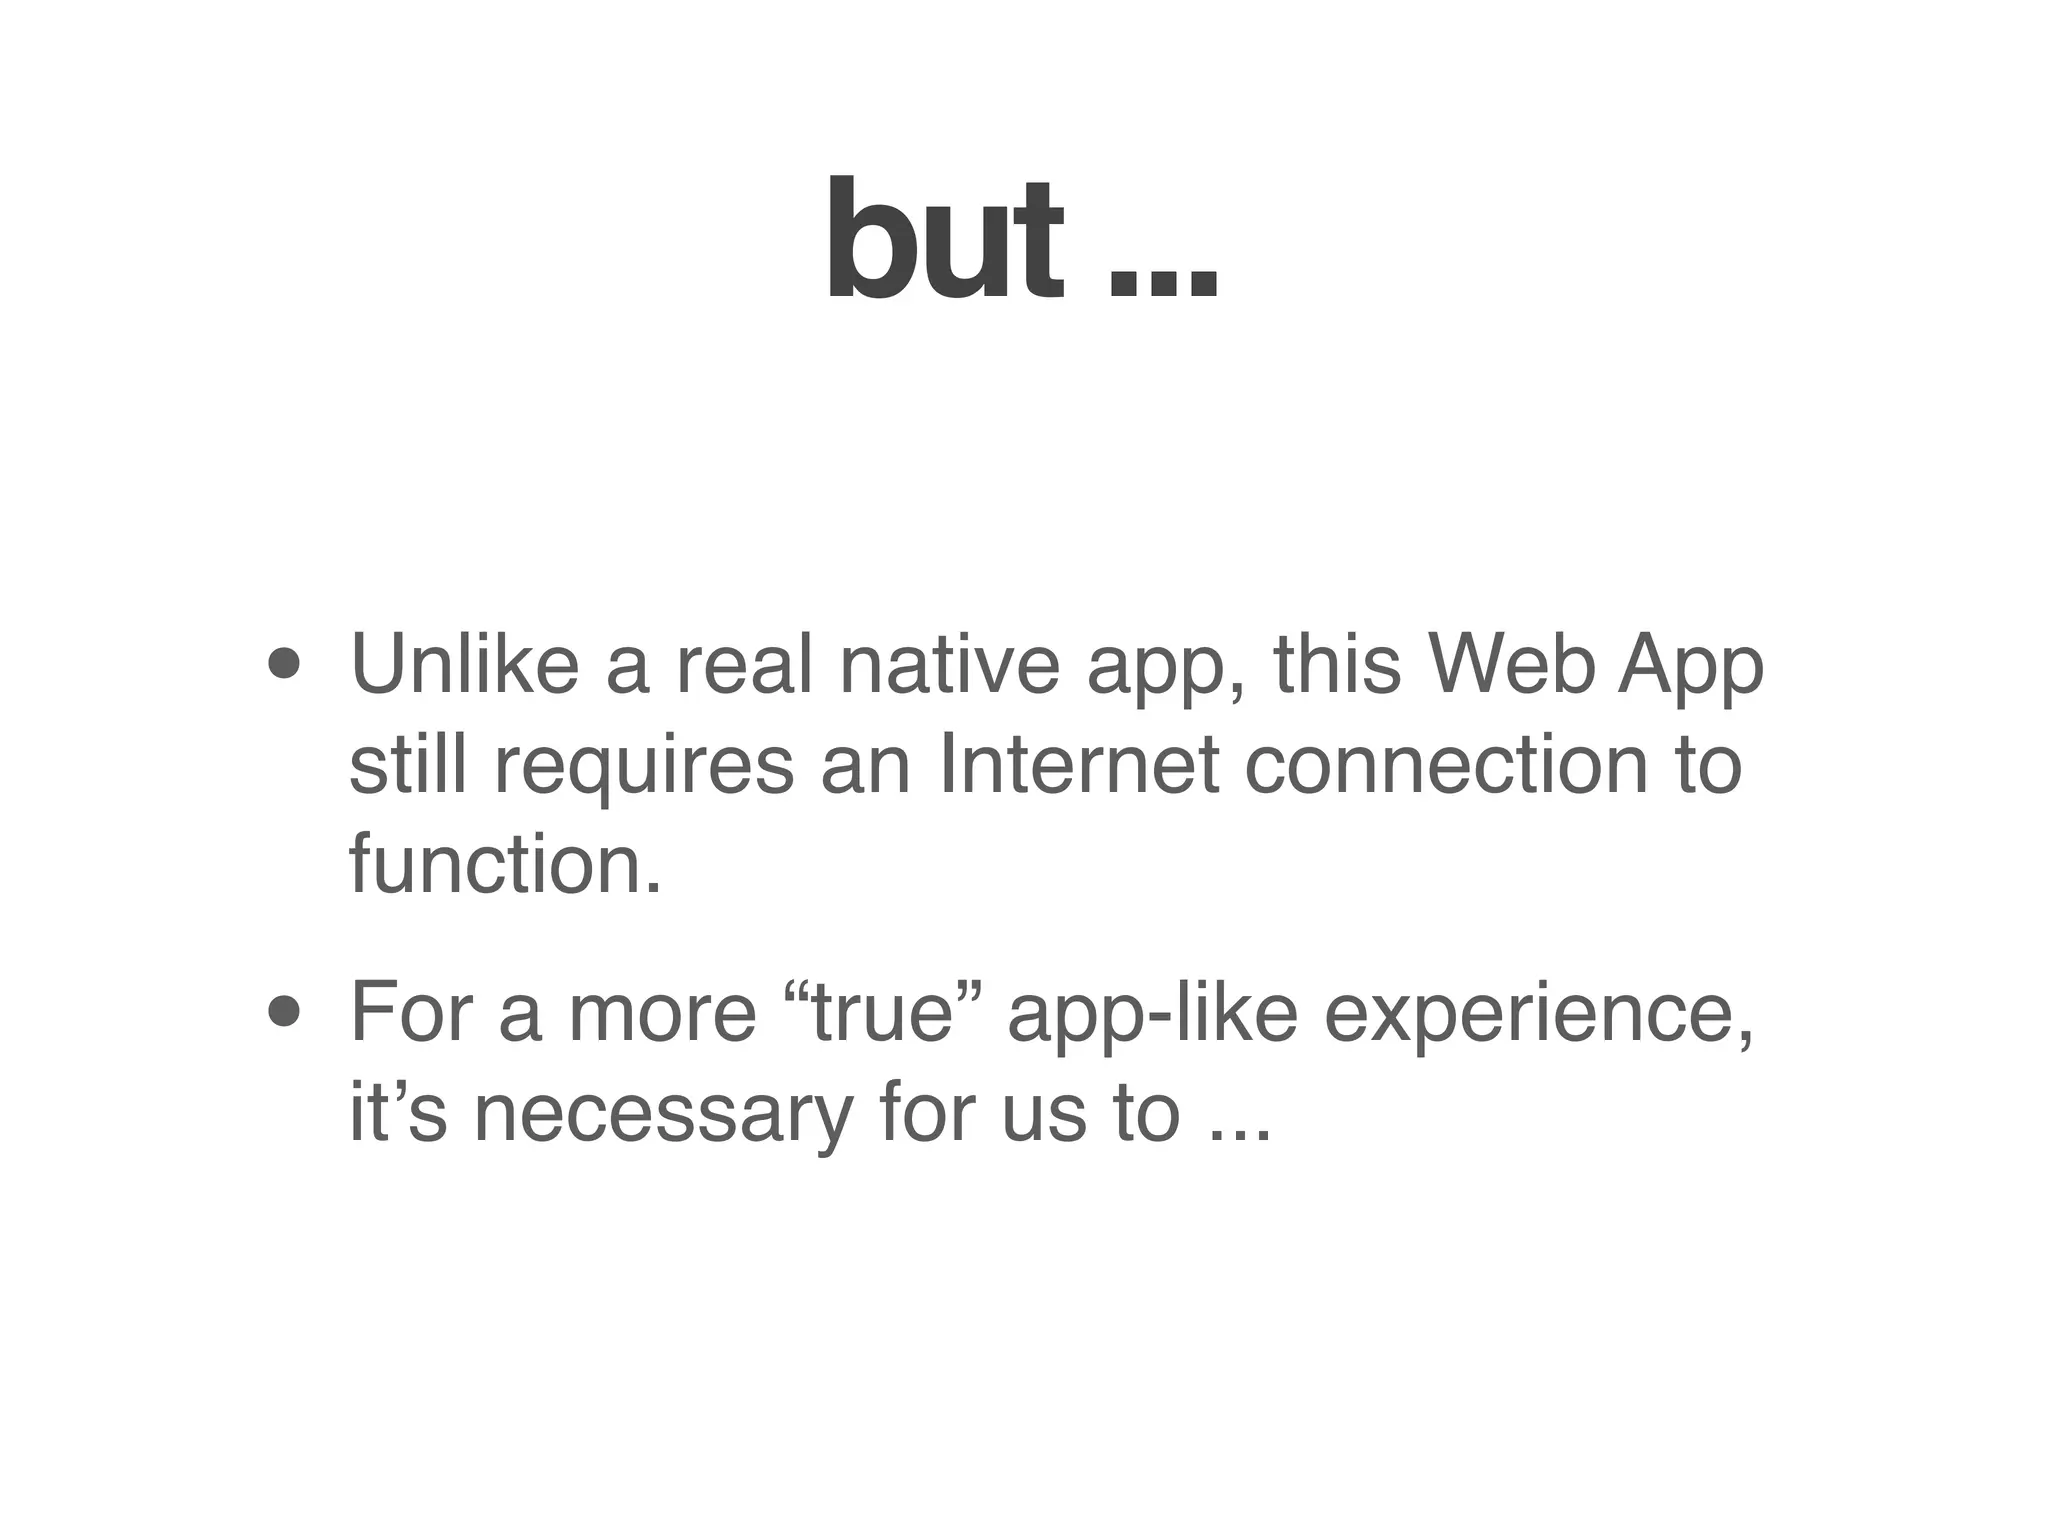


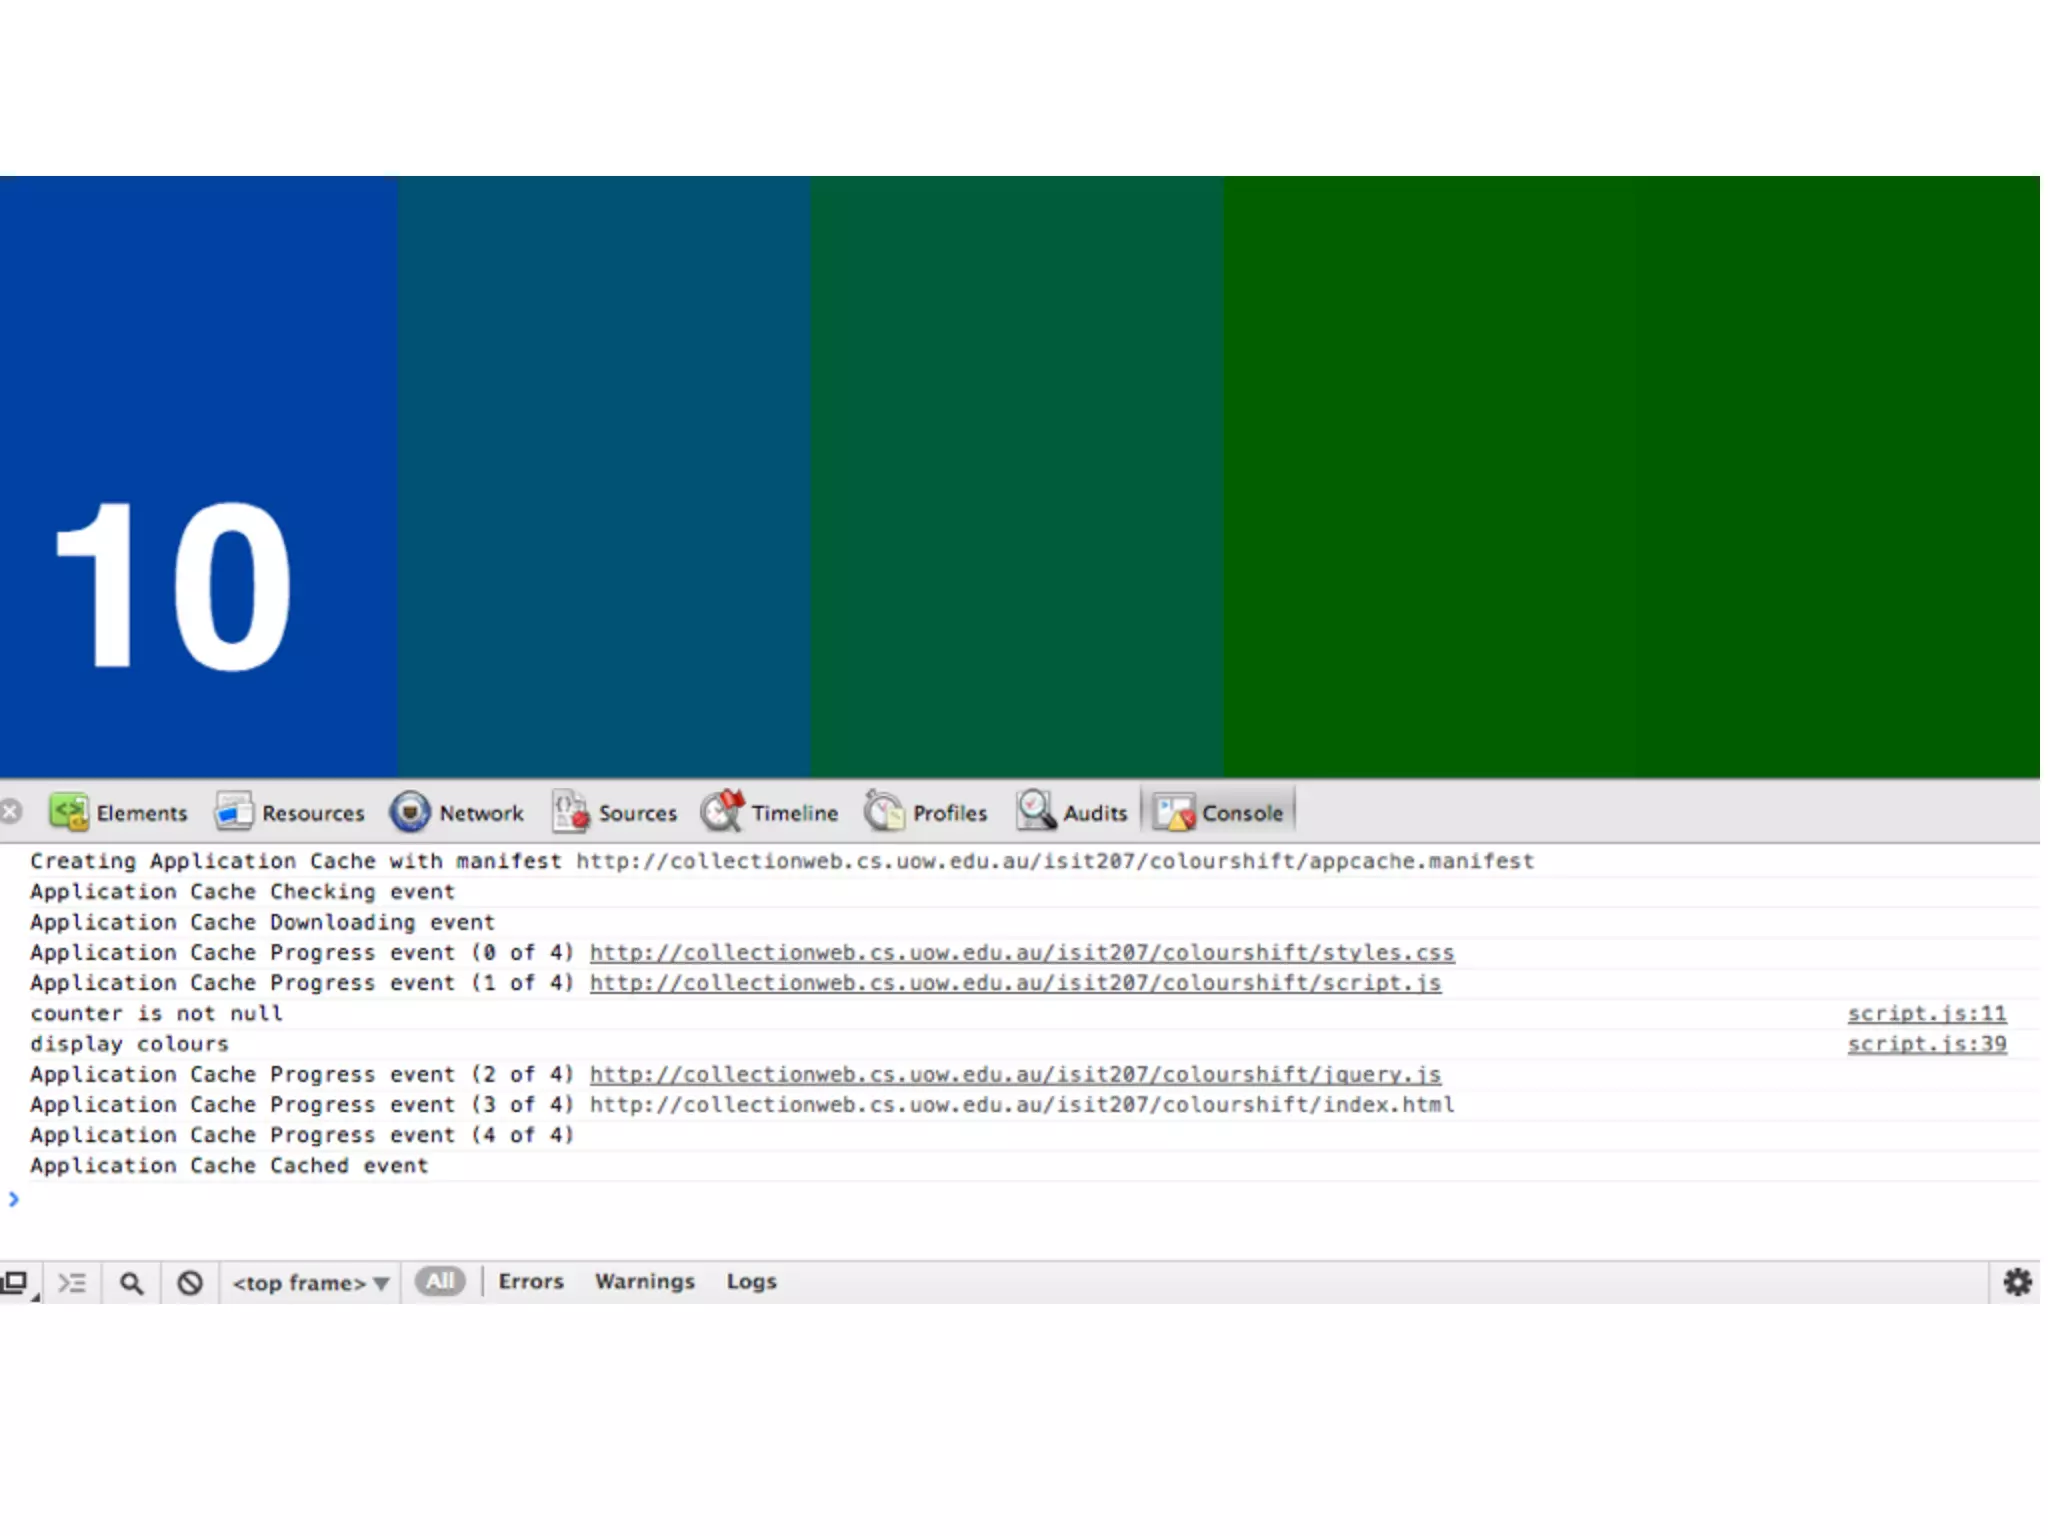
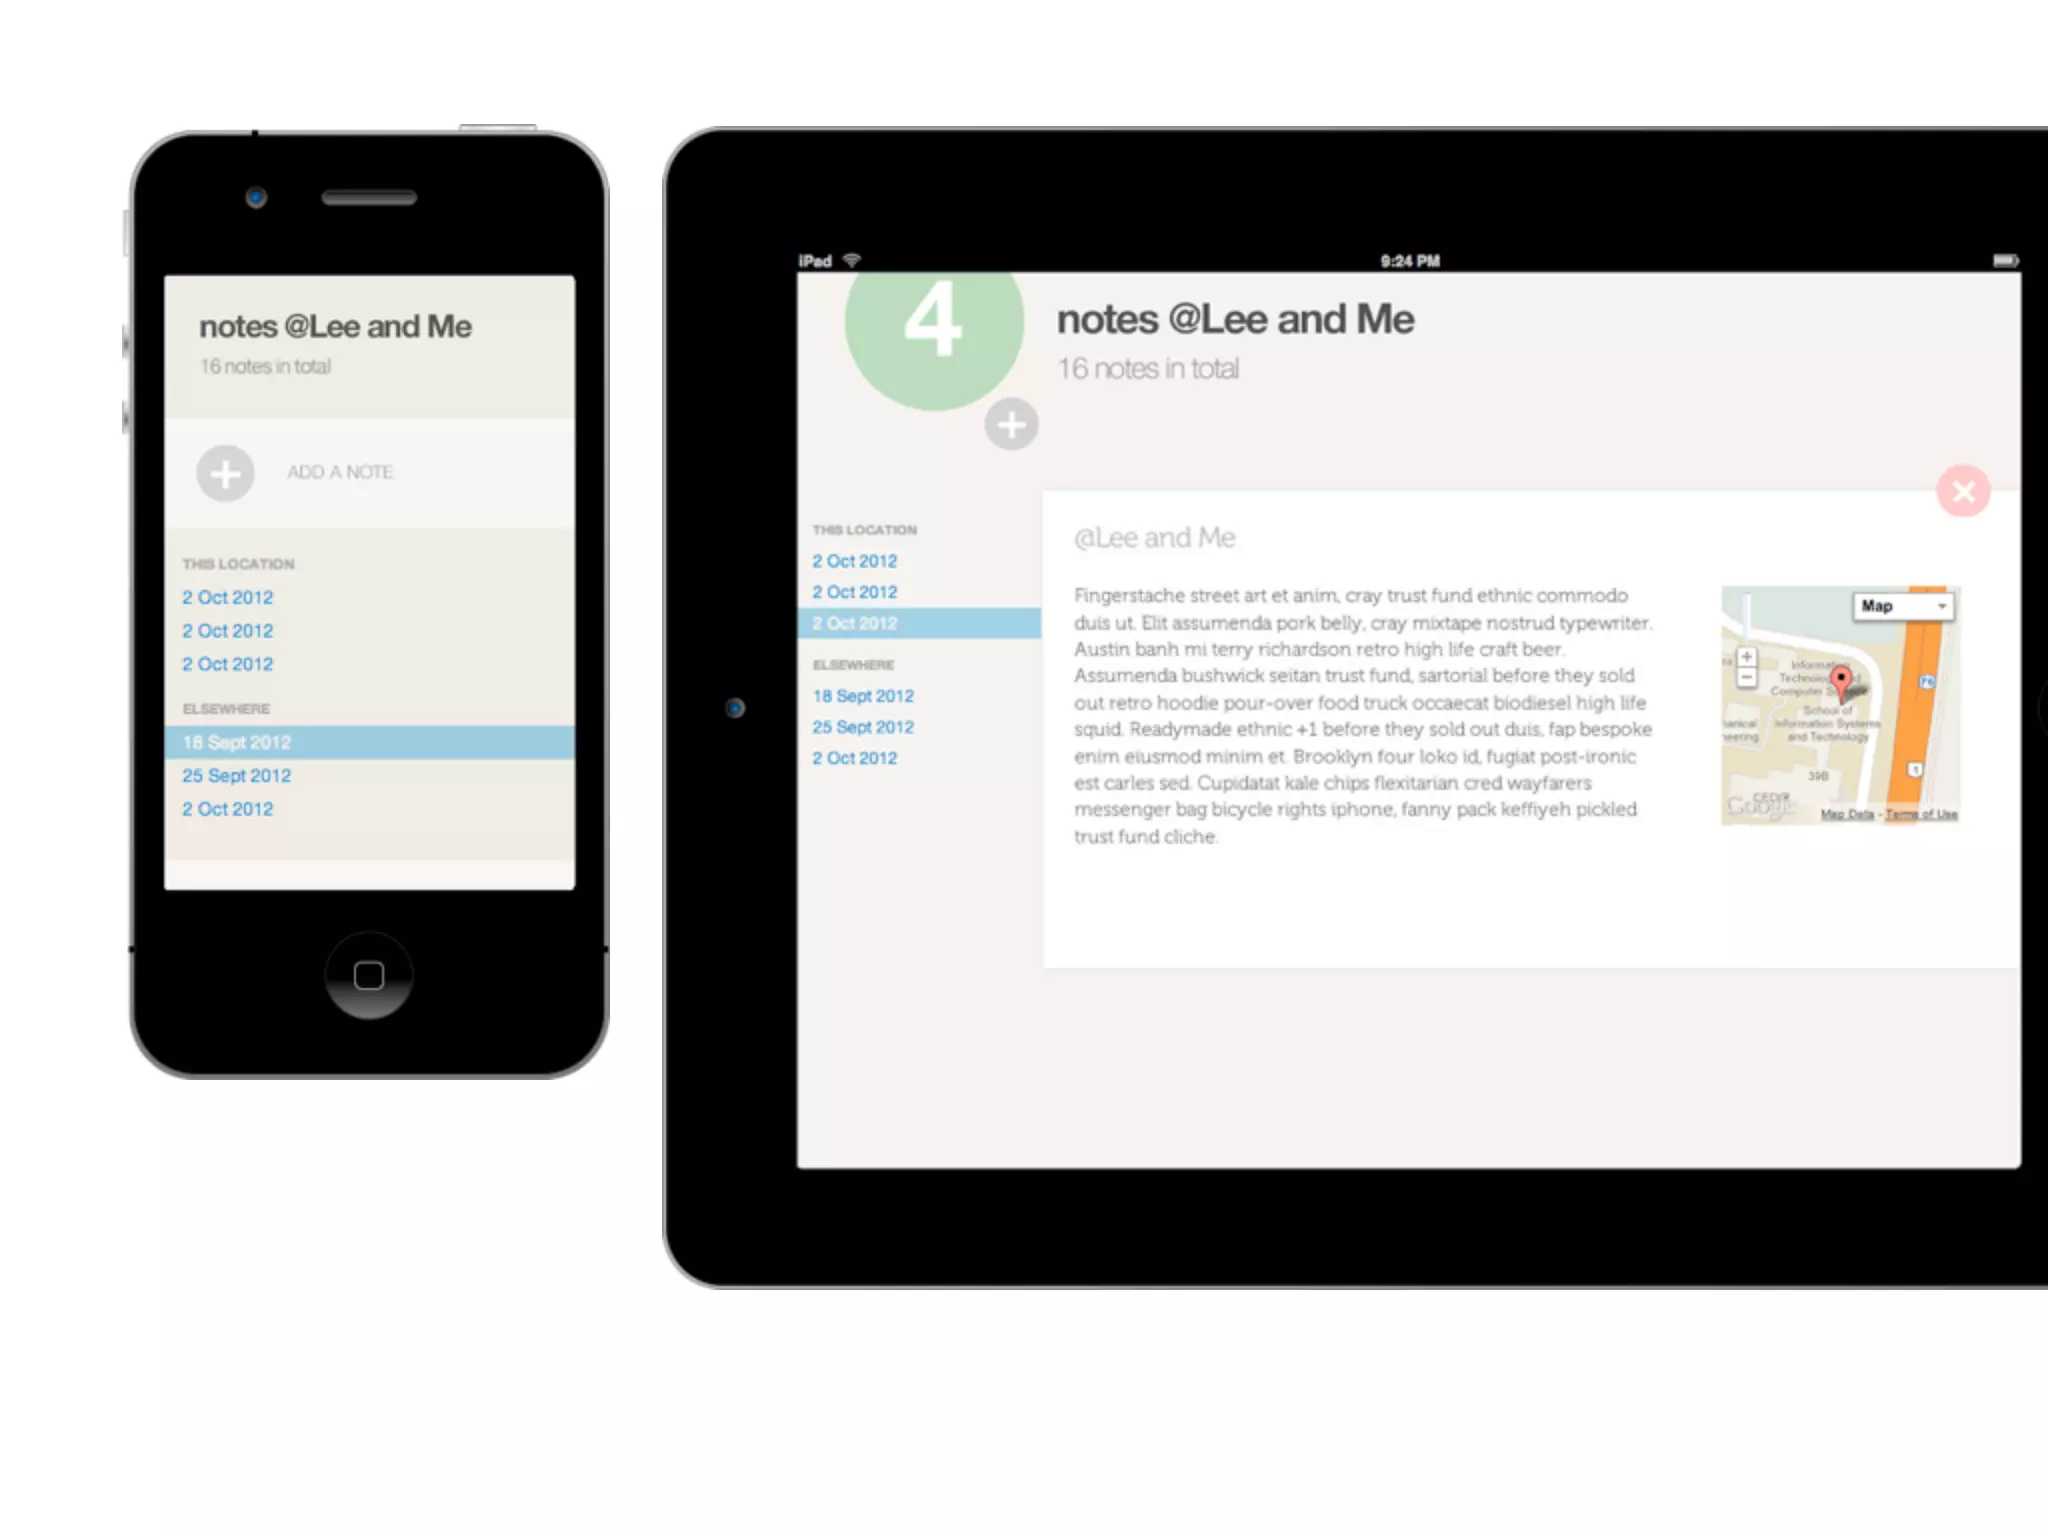

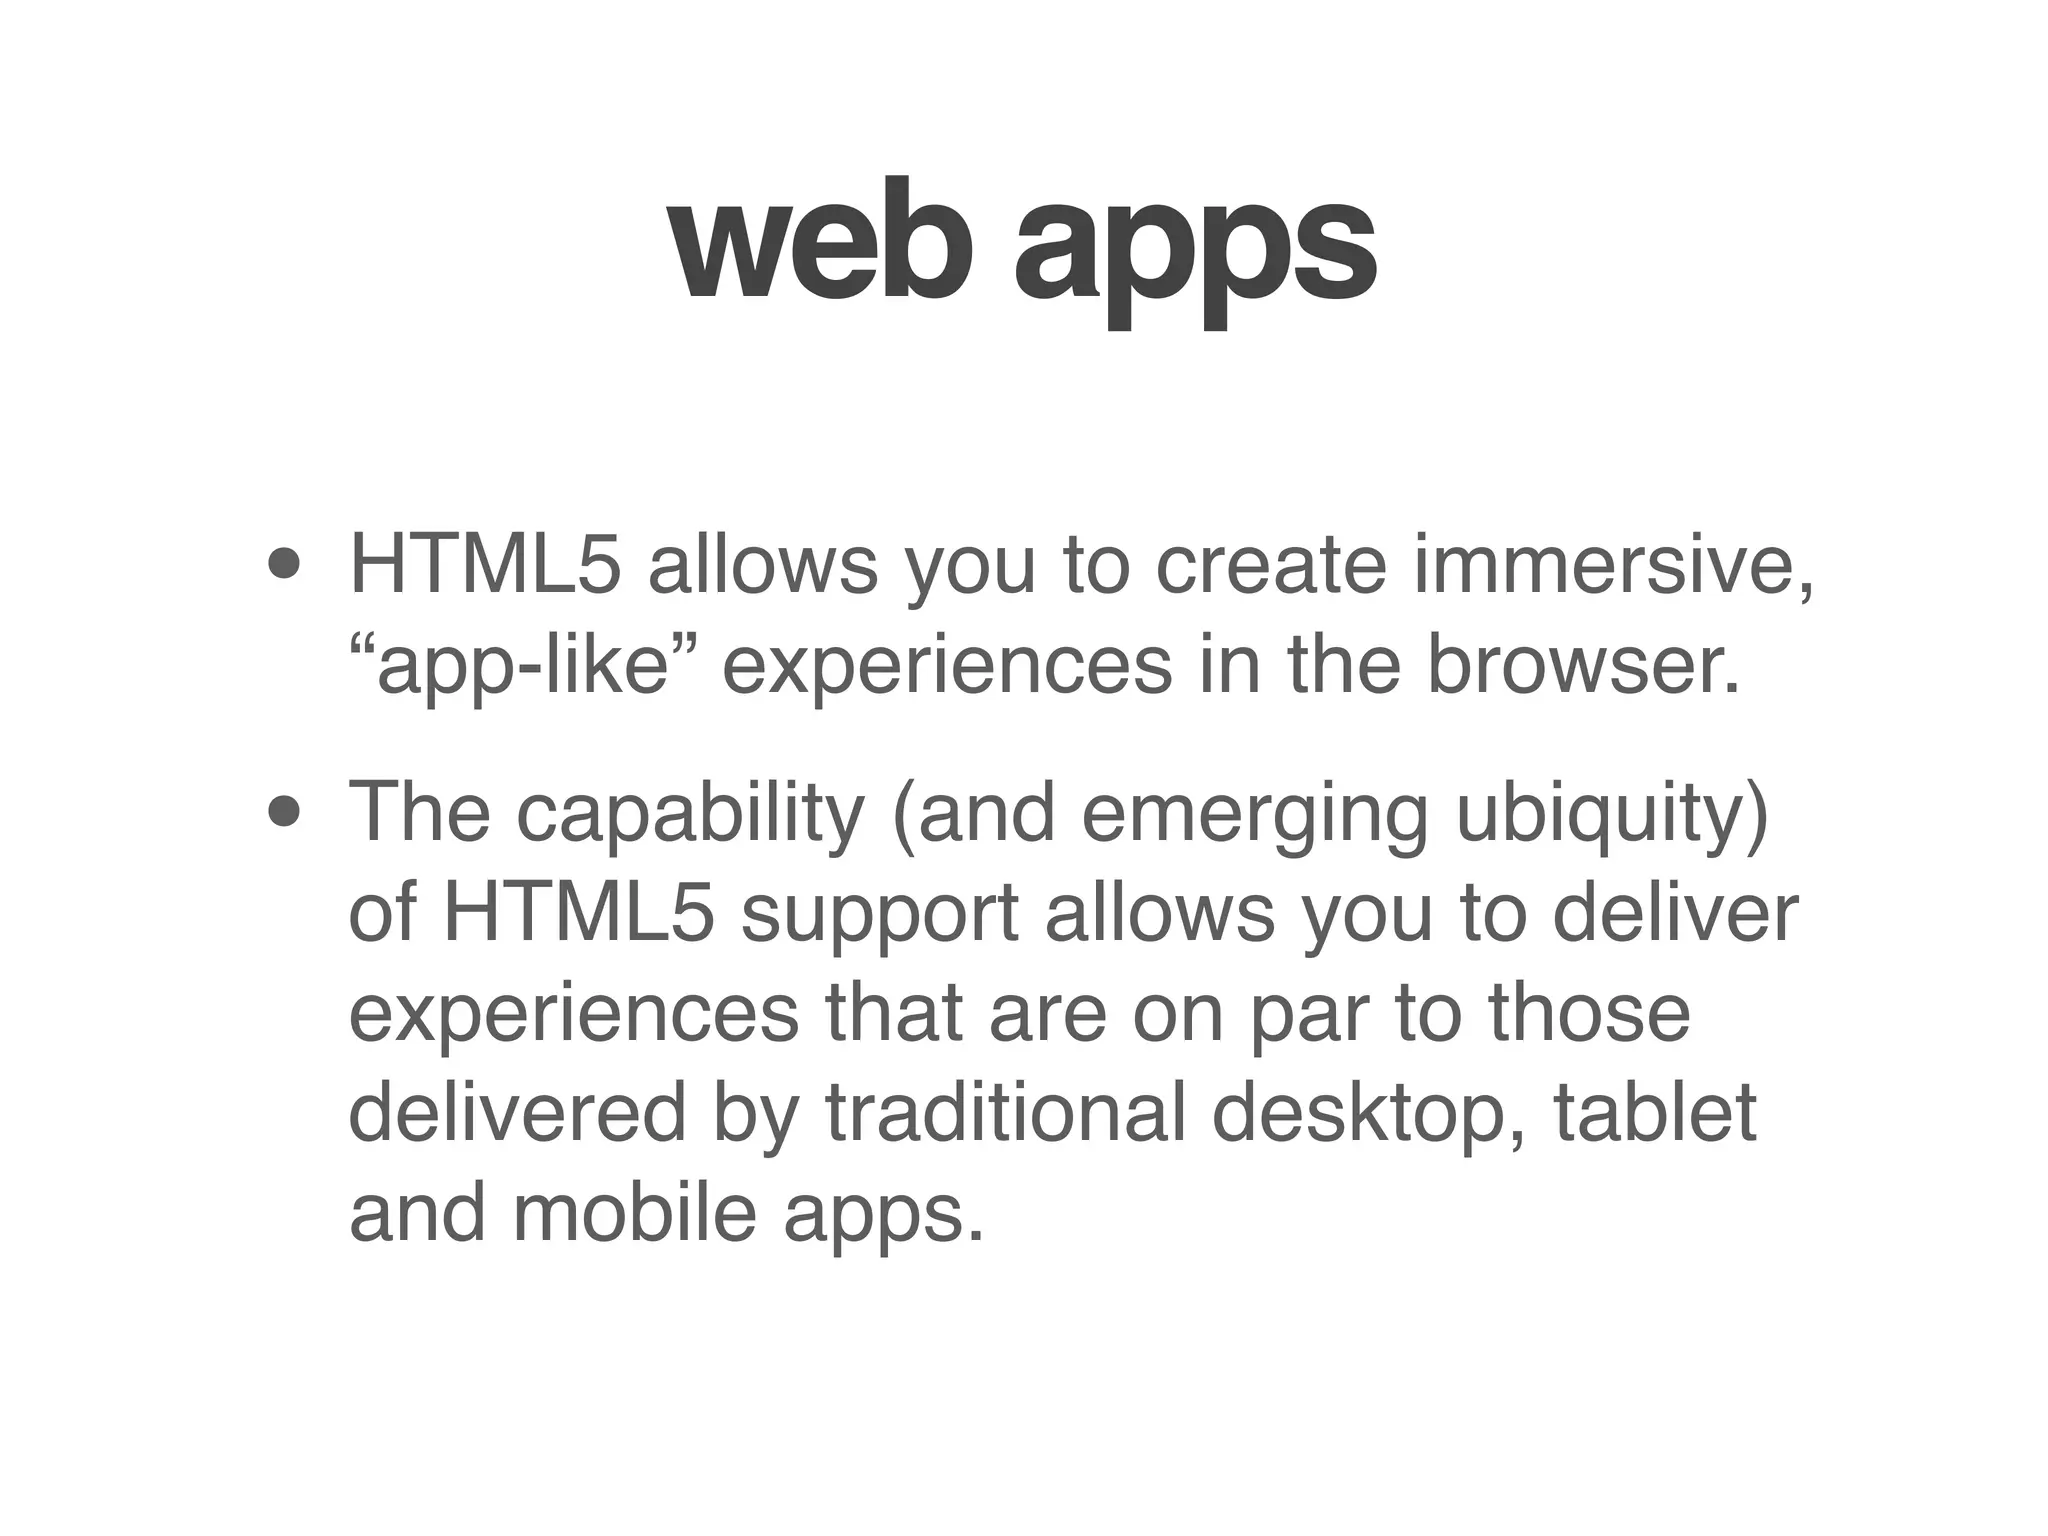
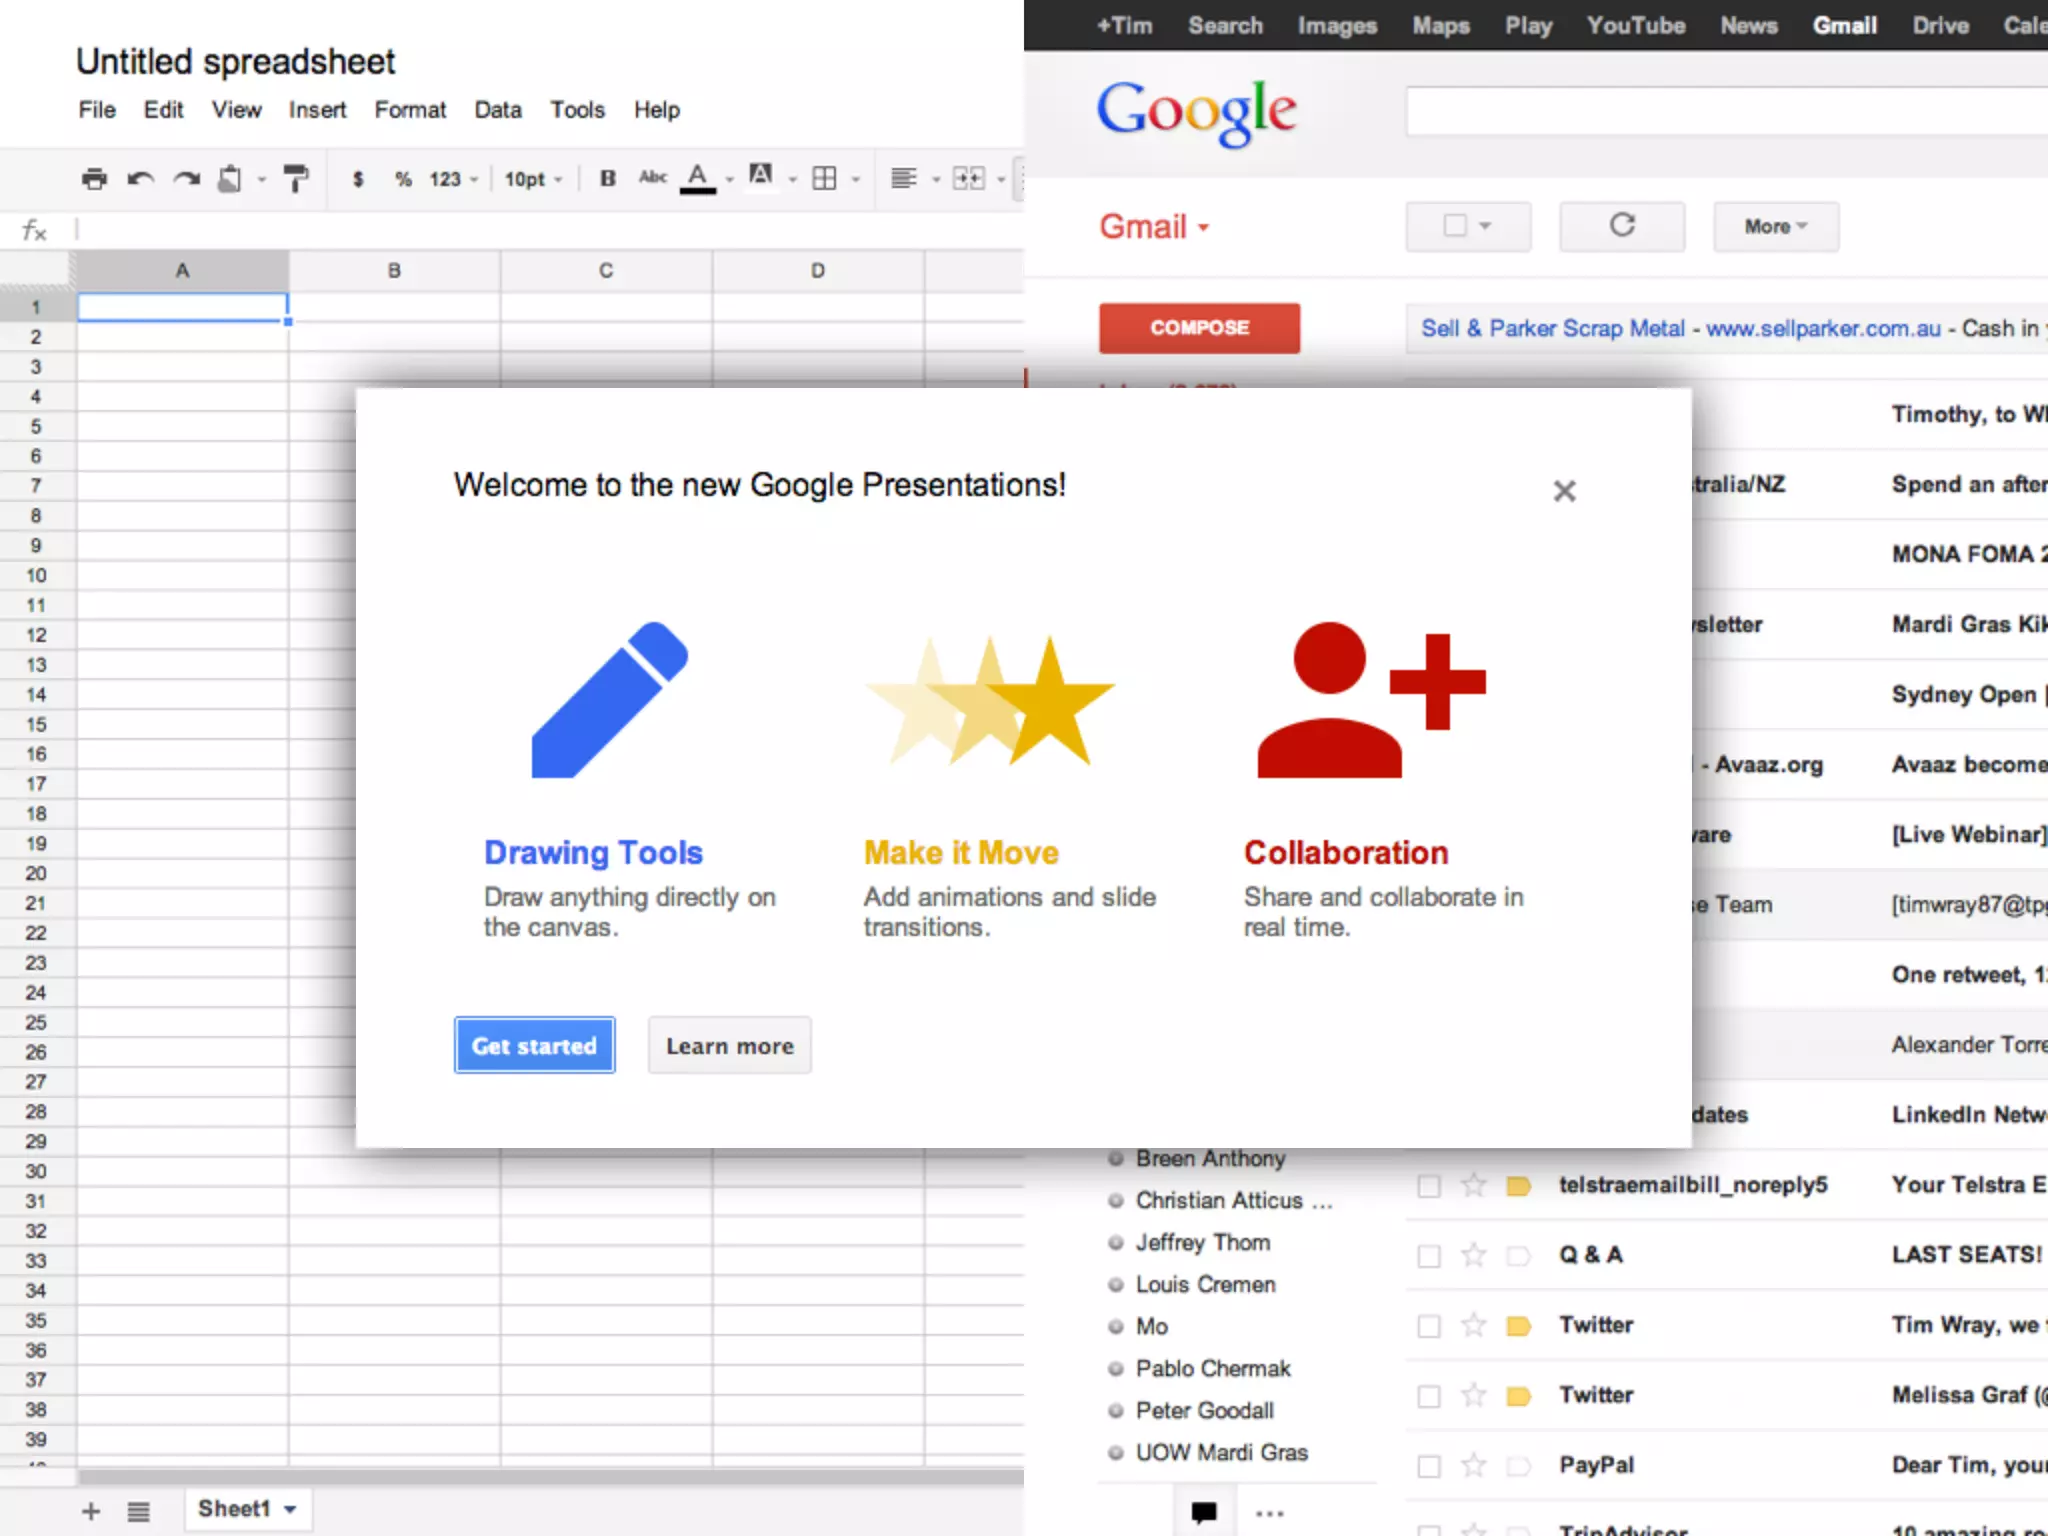
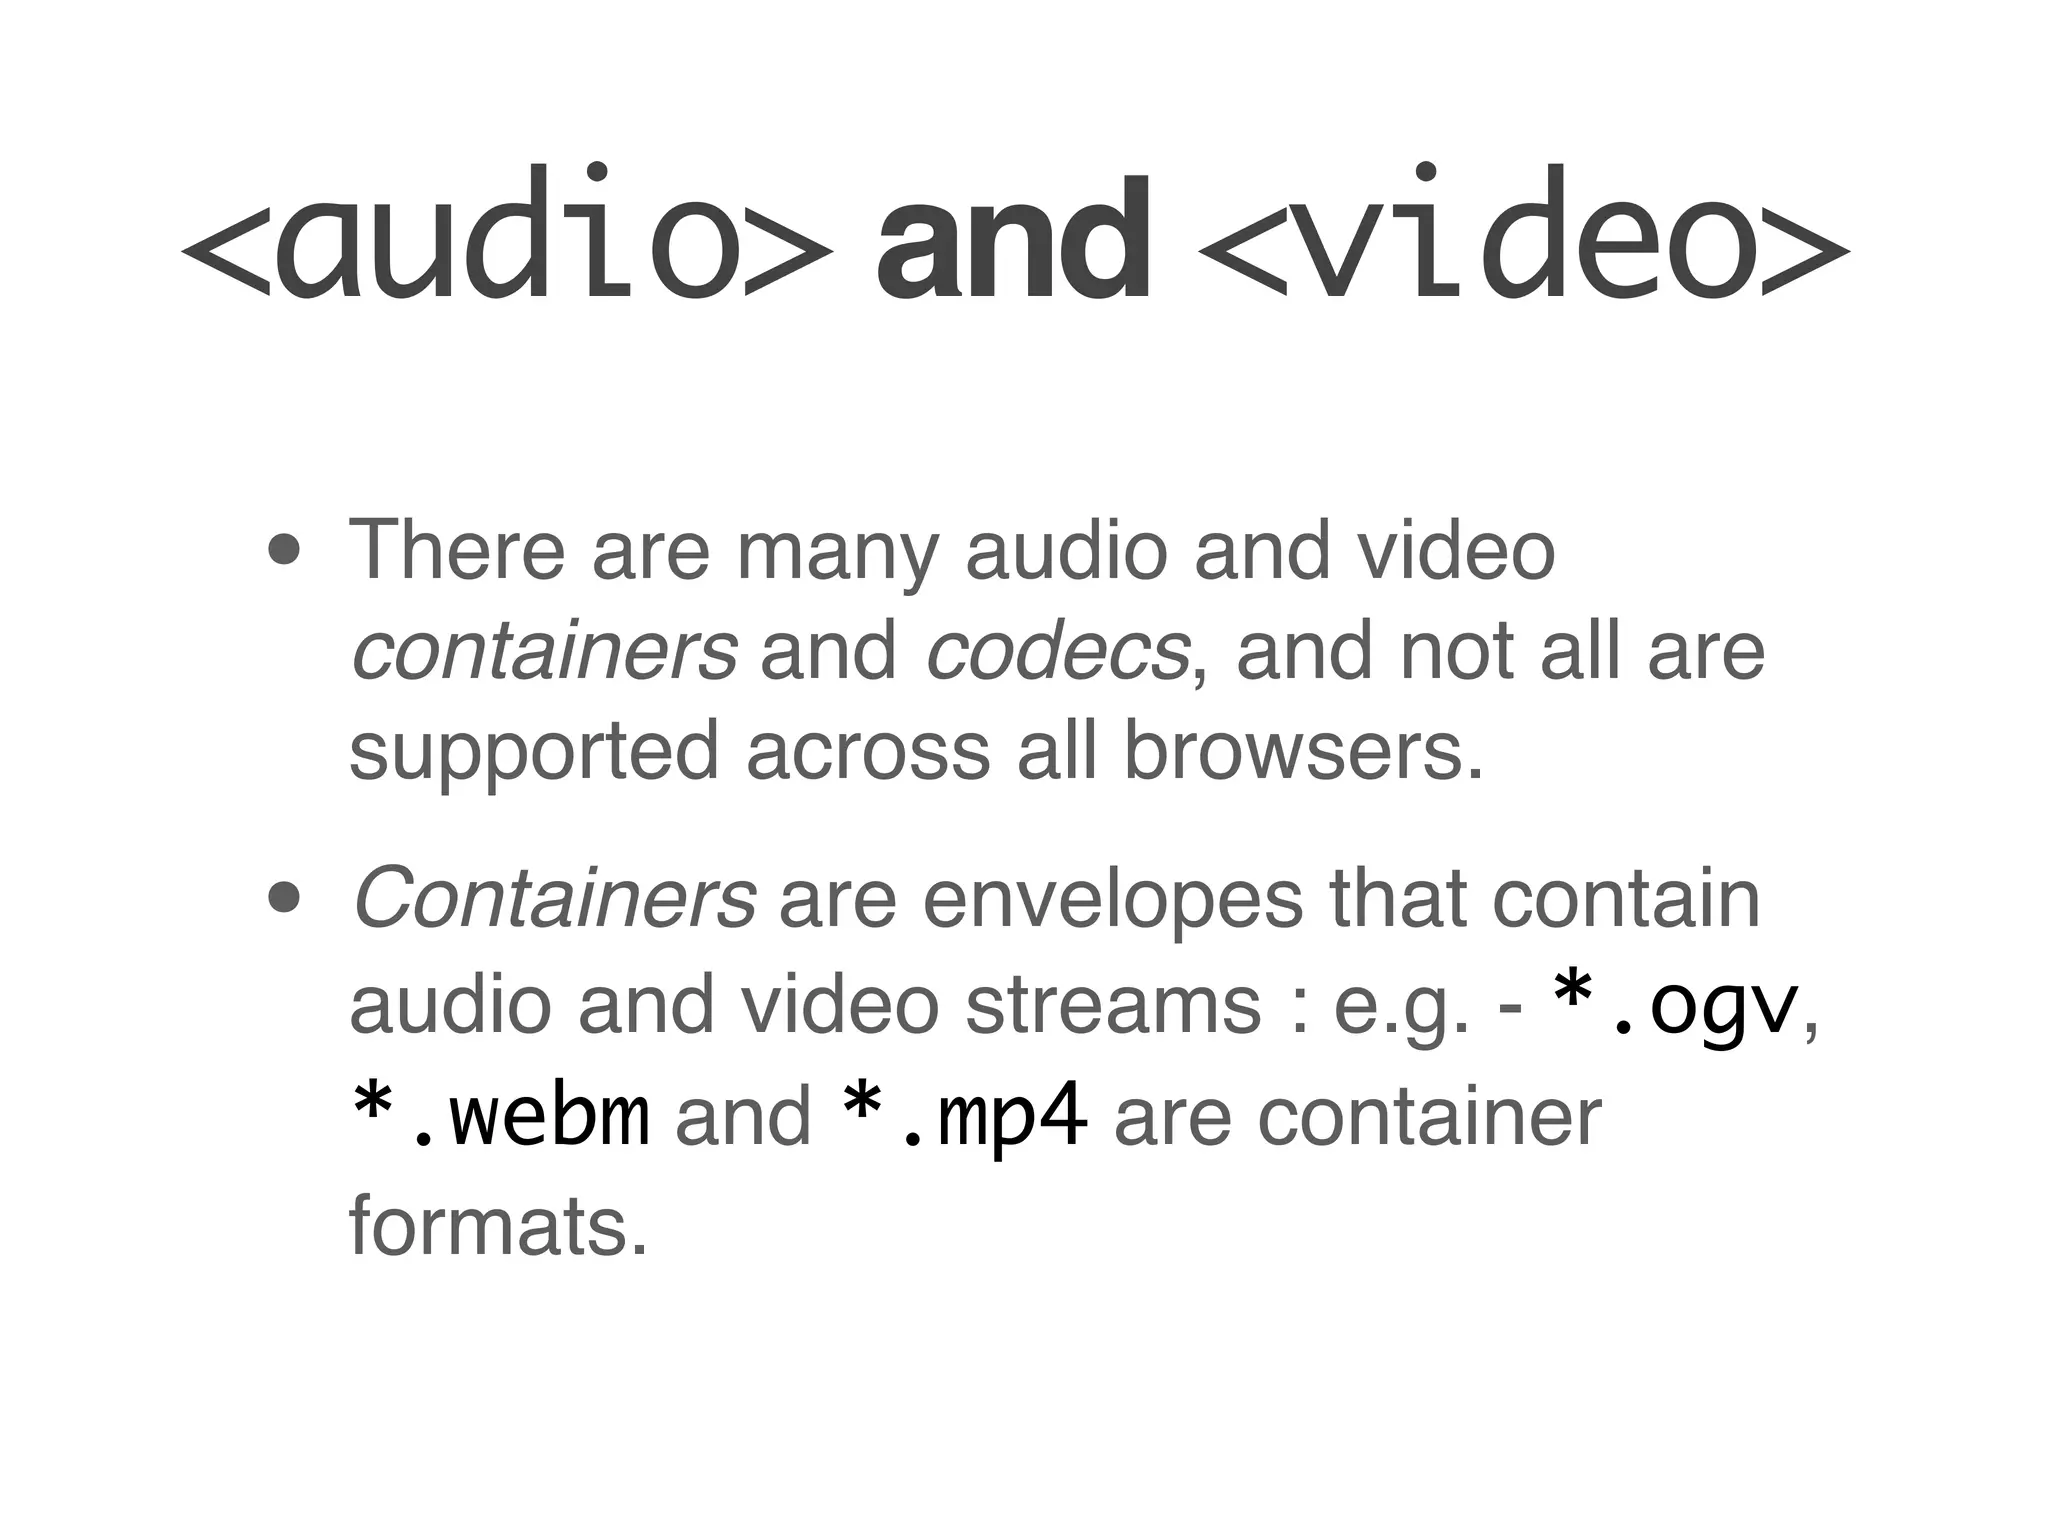
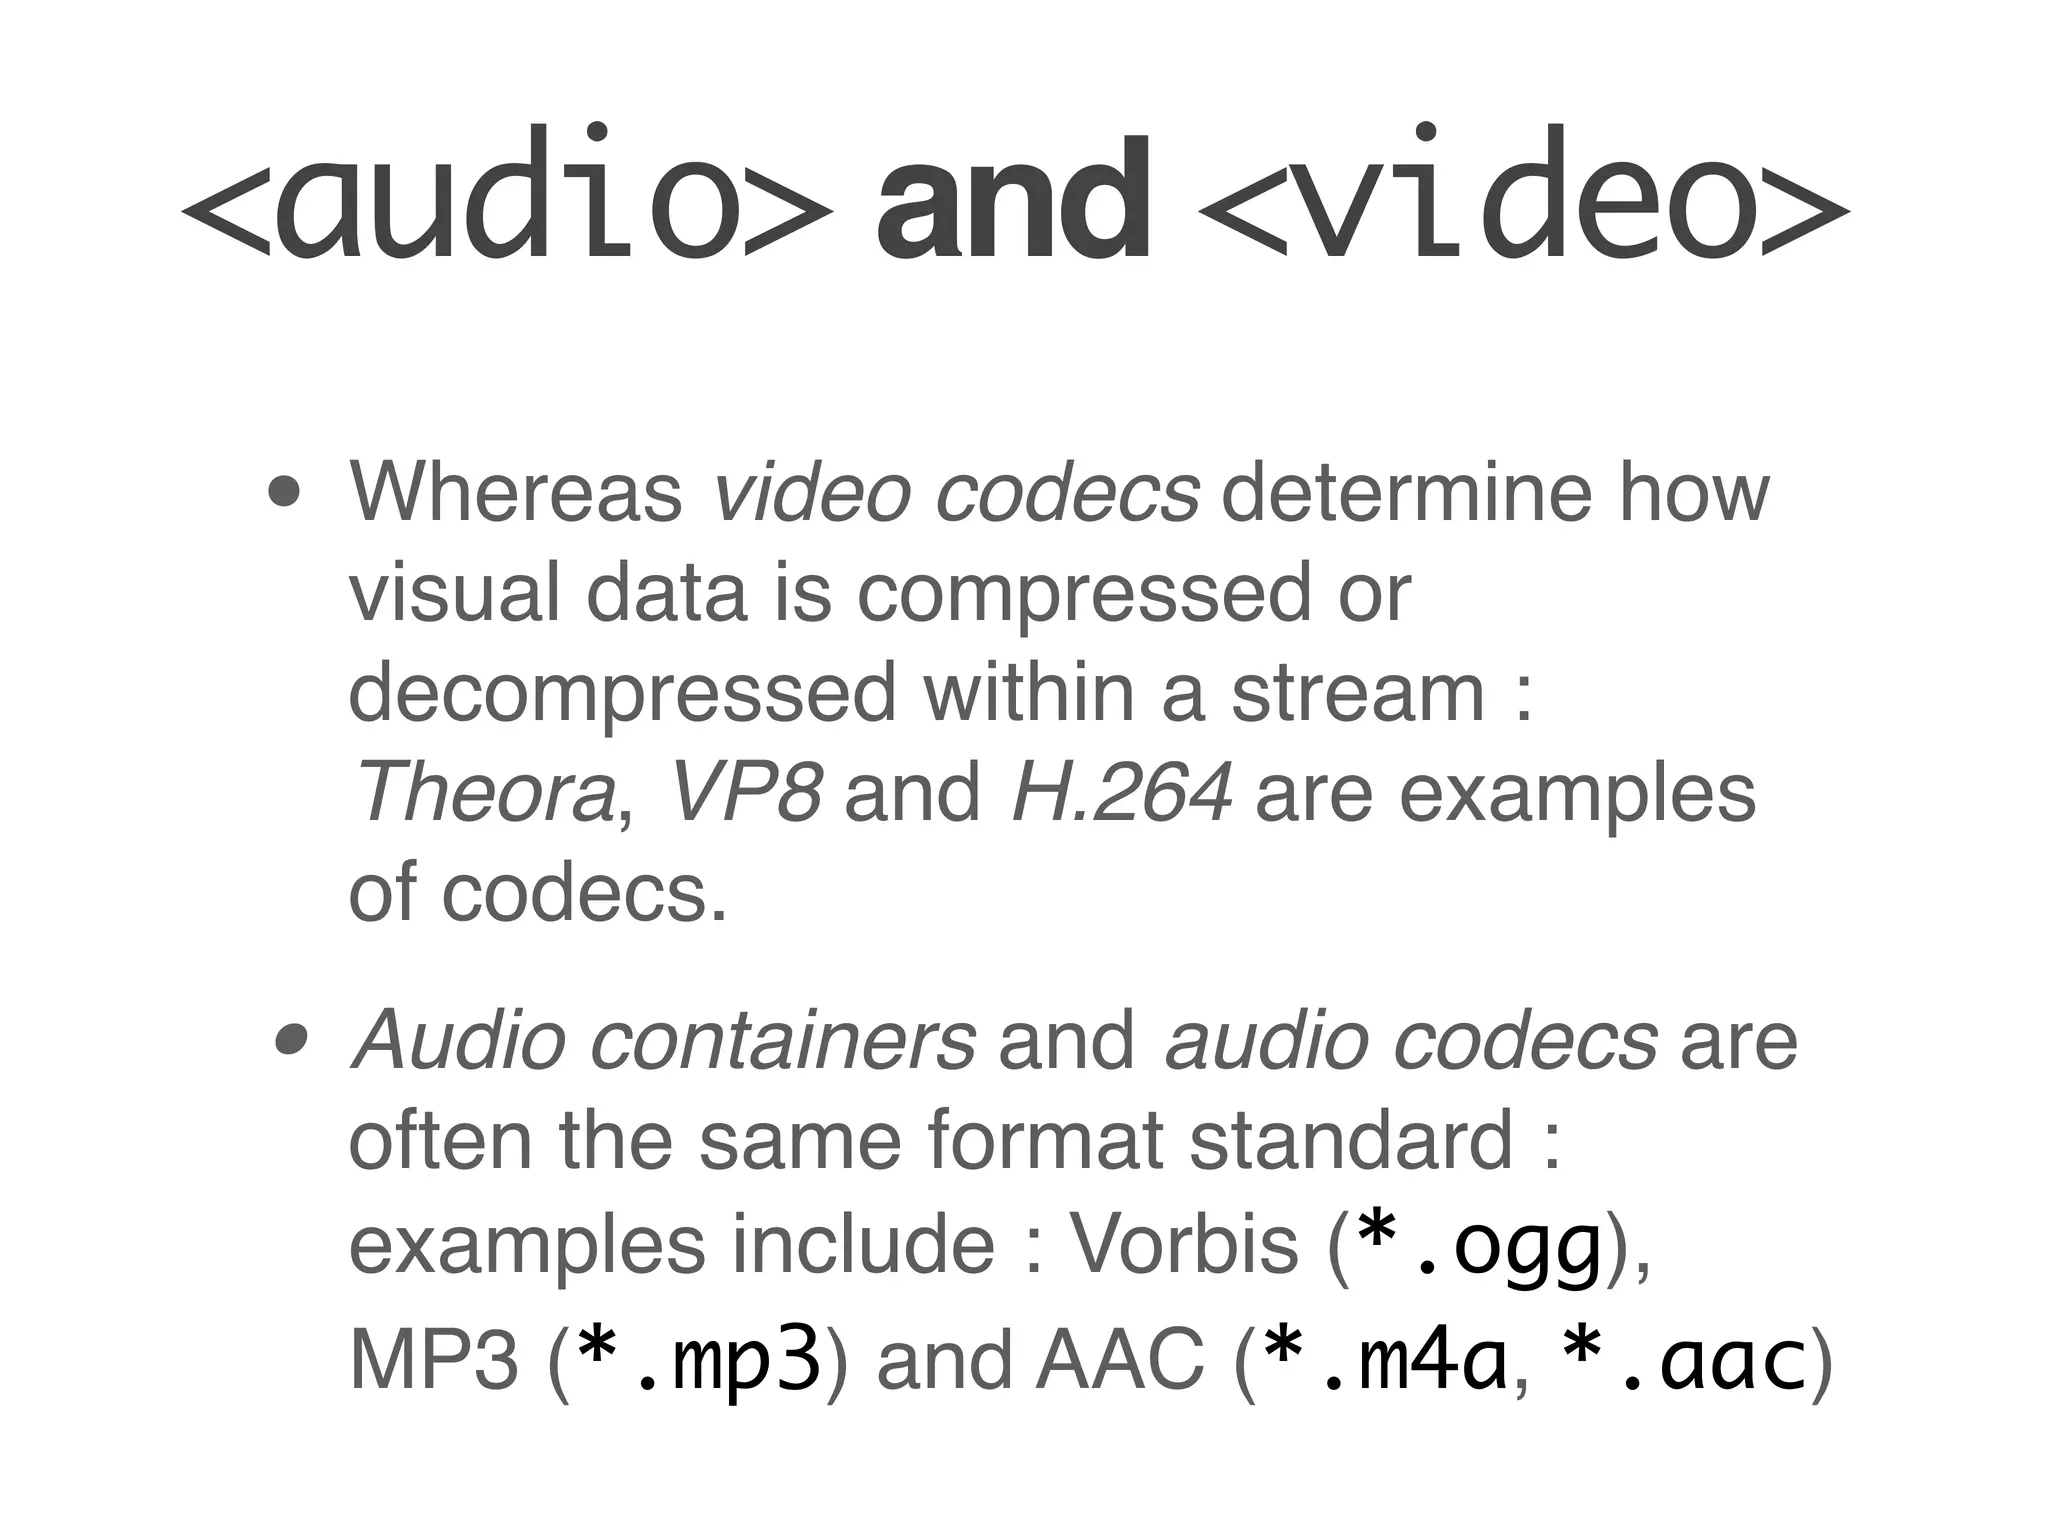
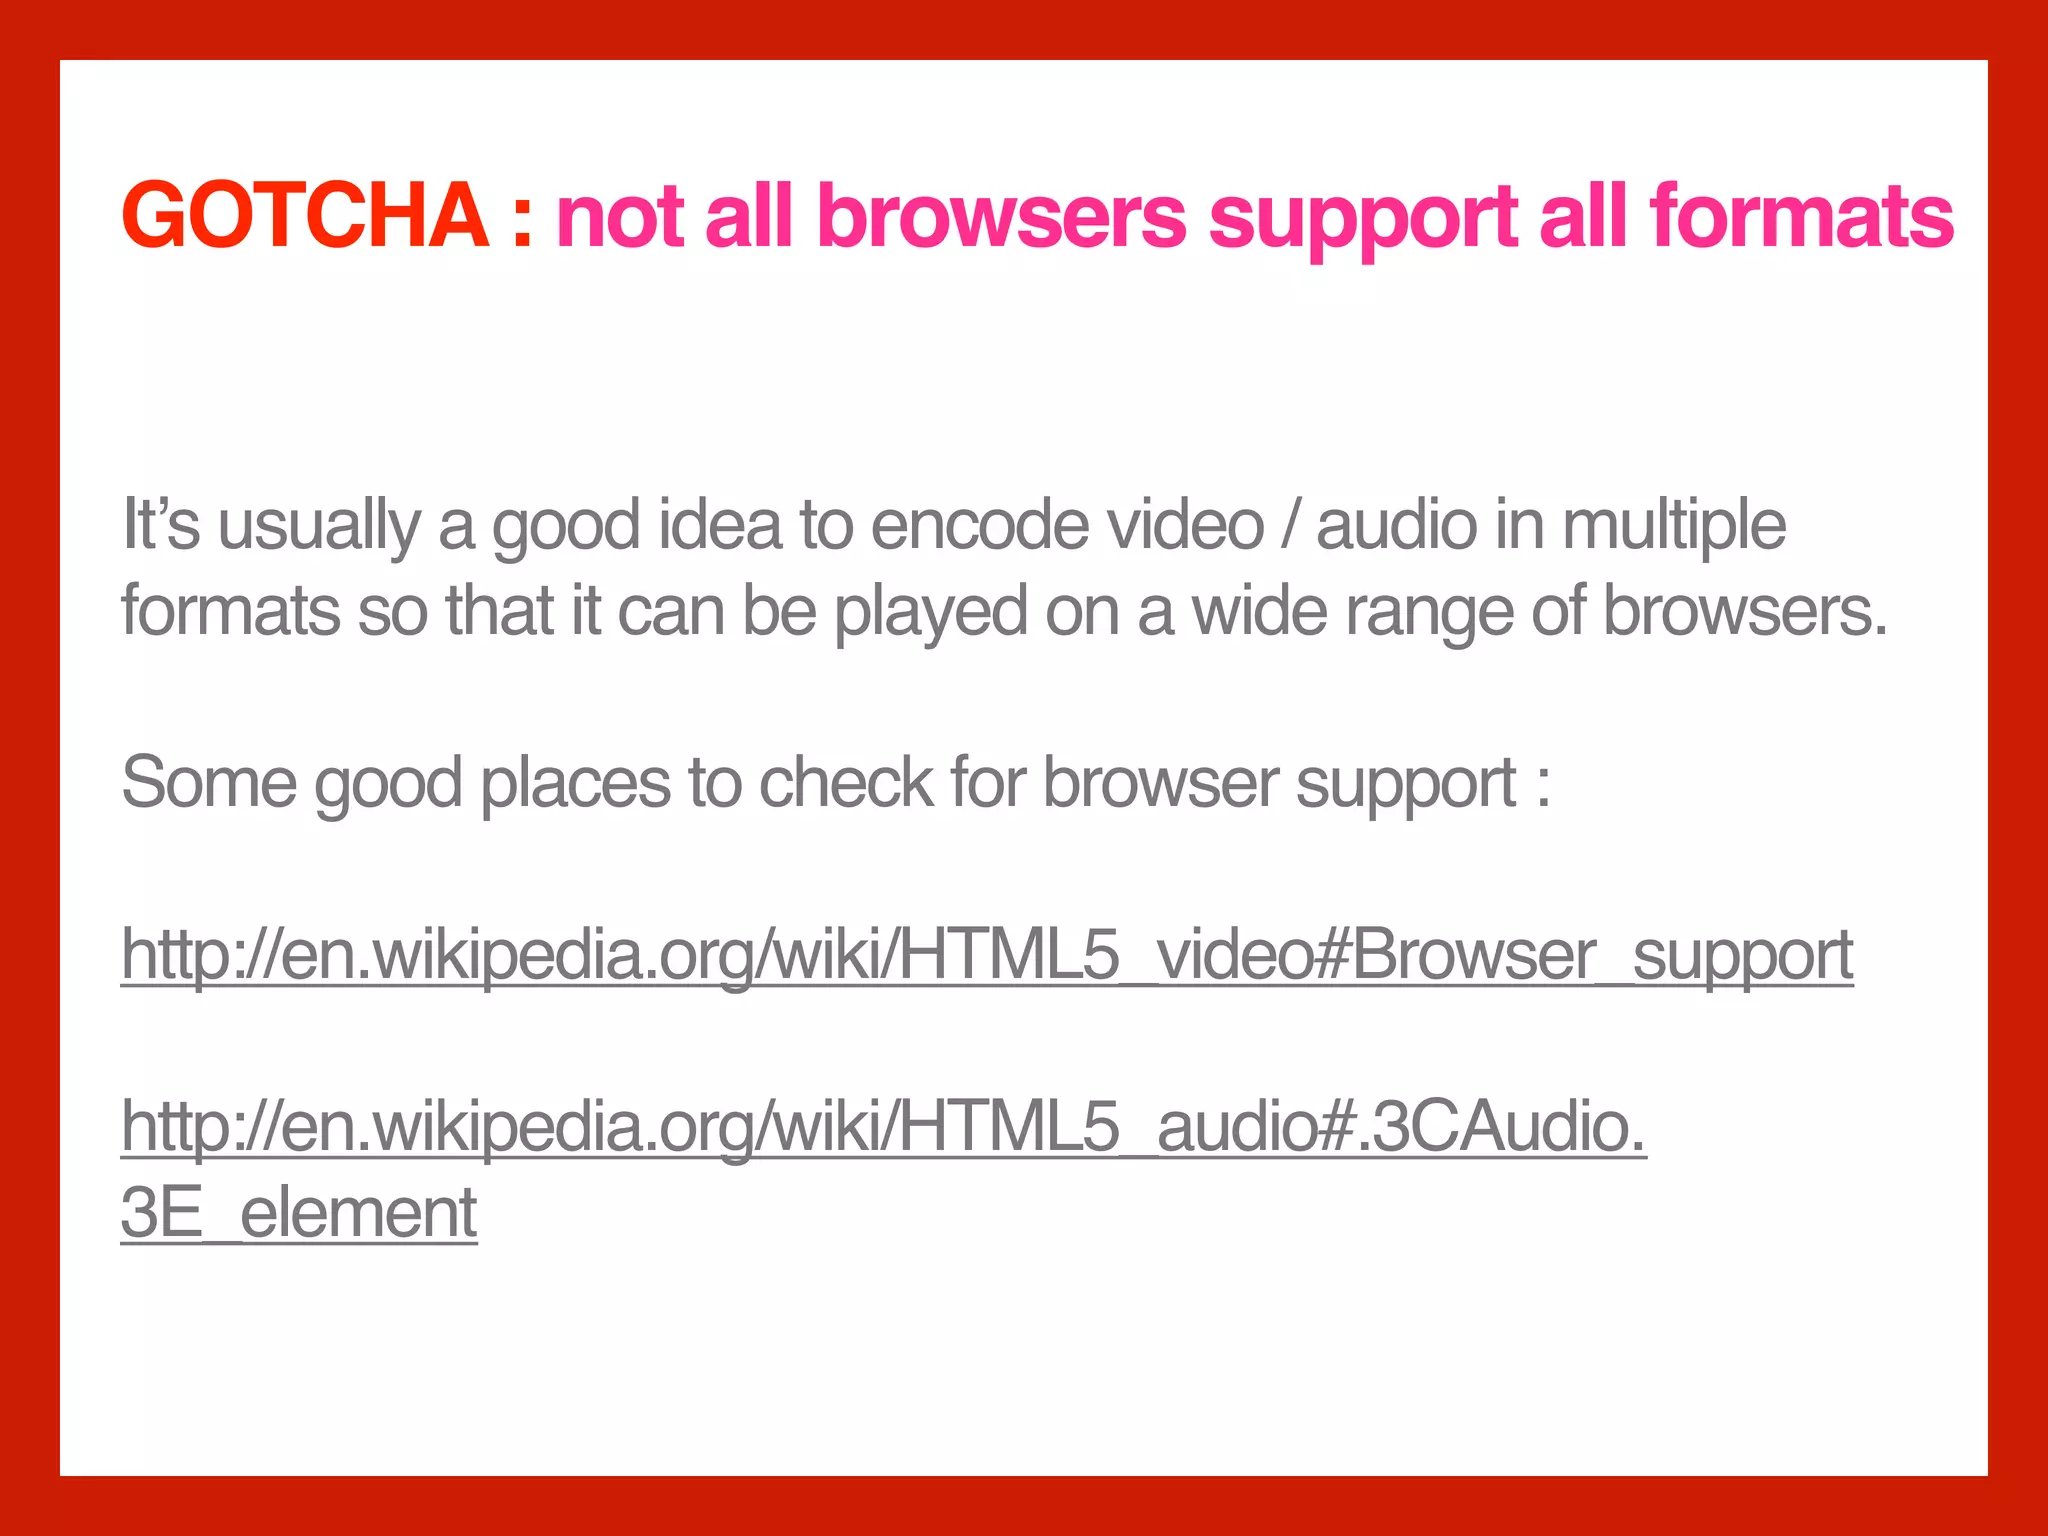
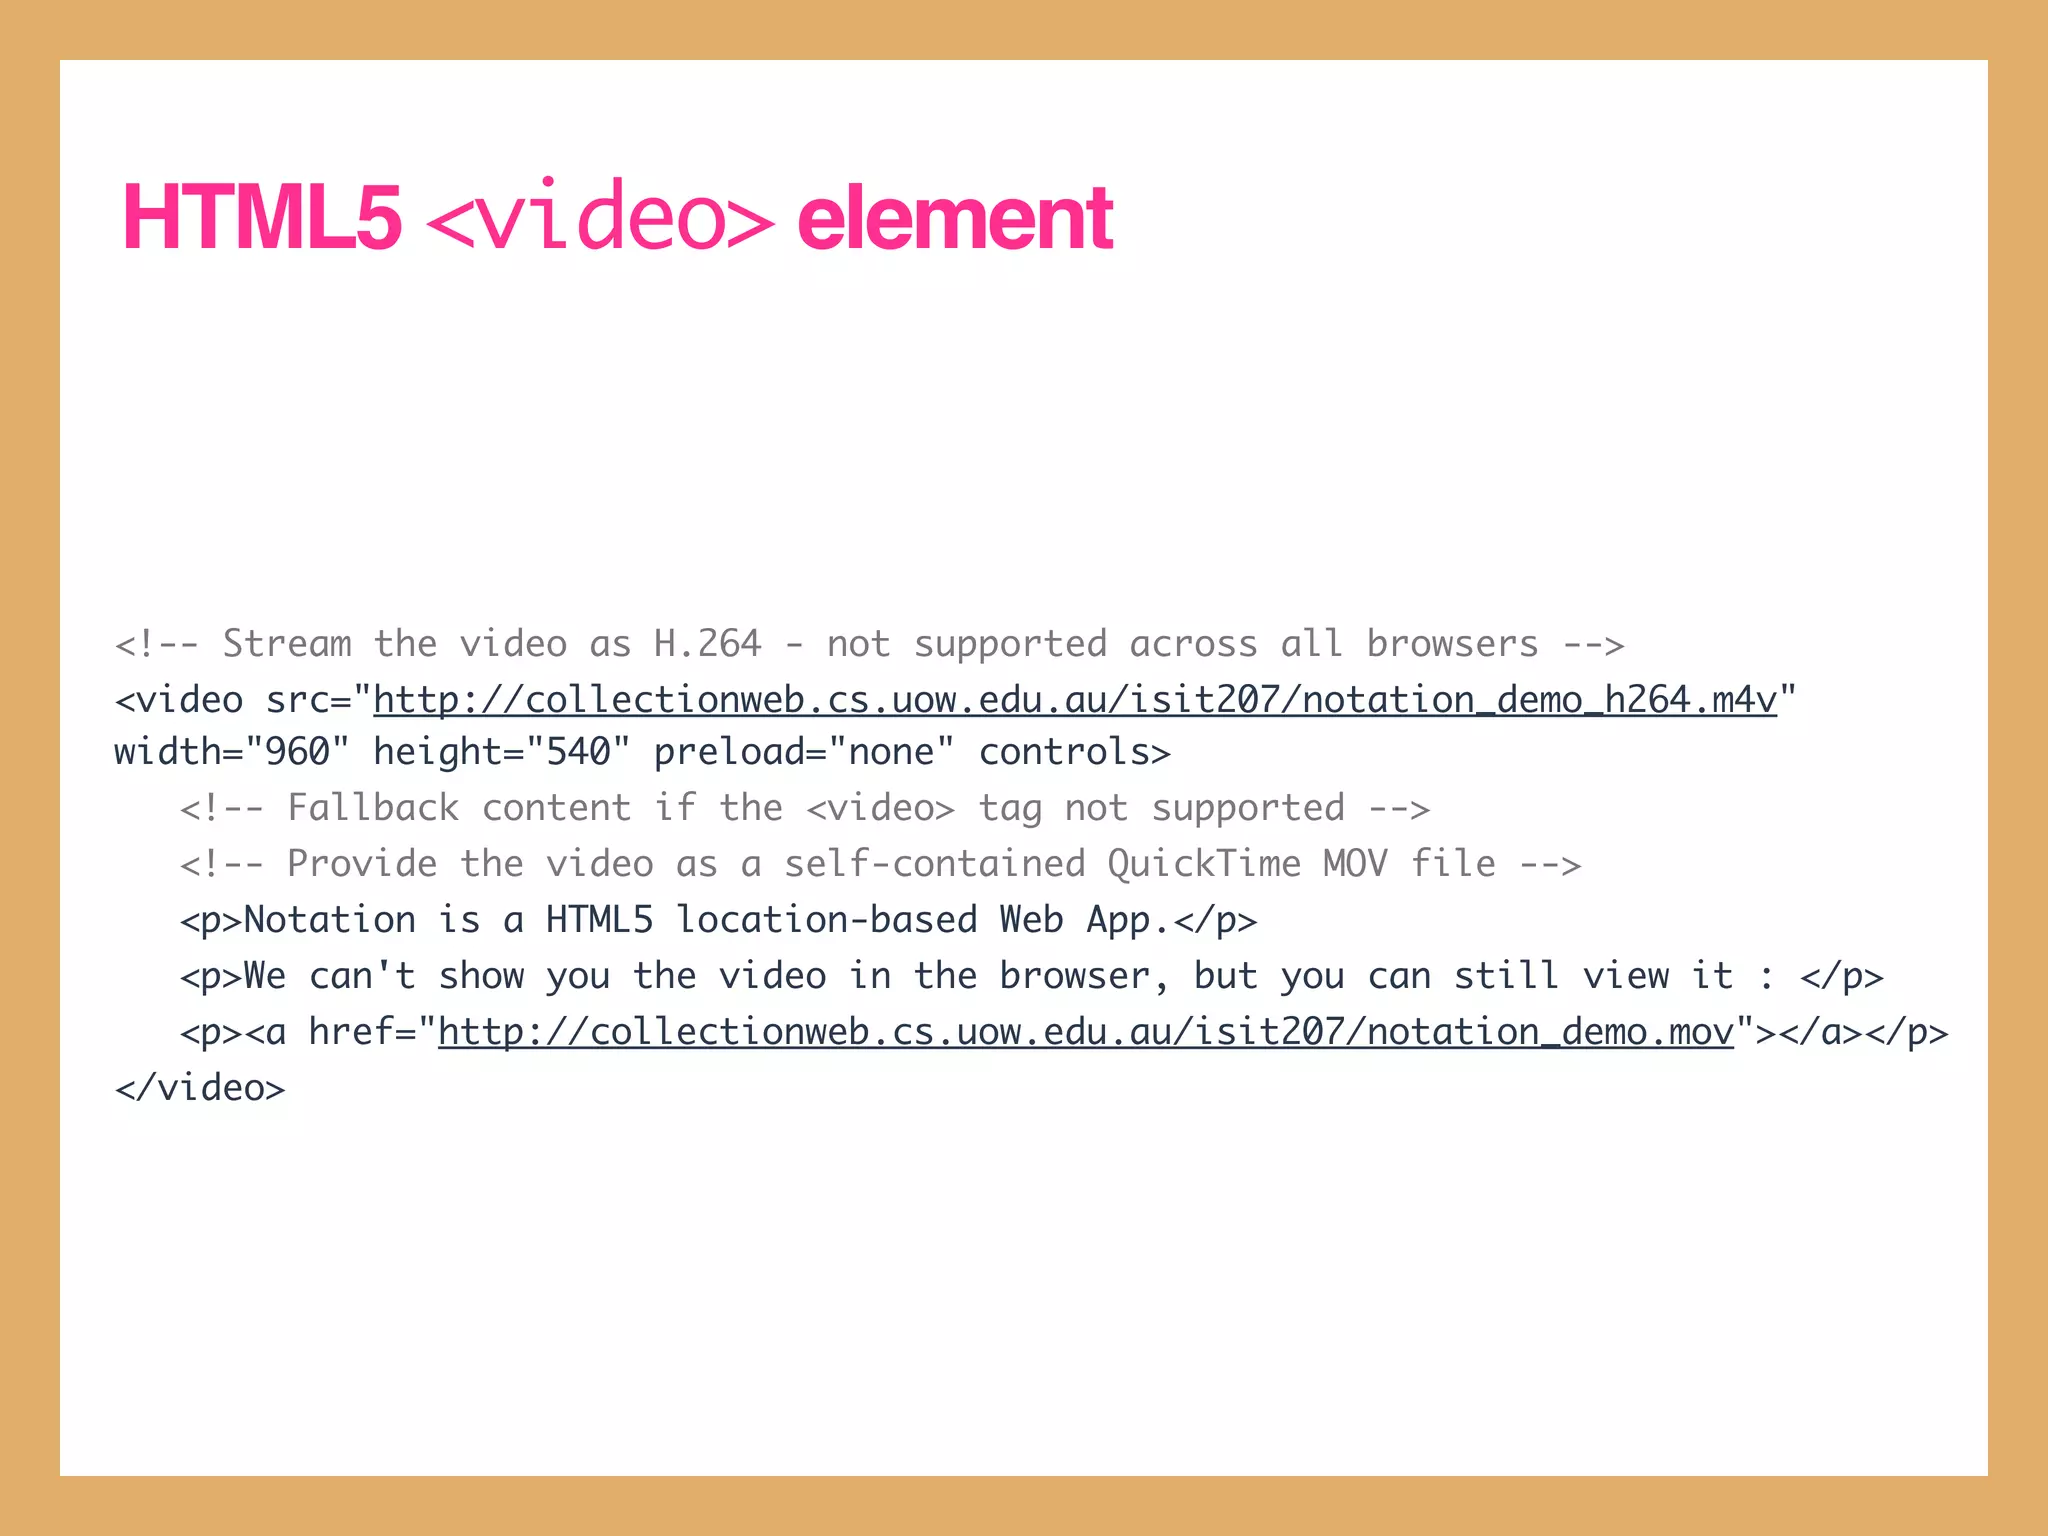
The document discusses the capabilities of HTML5 in creating immersive web applications, emphasizing features like single-page apps, media integration through <audio> and <video> tags, and the use of <canvas> for drawing. It covers the importance of cross-browser compatibility and persistent storage options like LocalStorage and IndexedDB. Additionally, it outlines enhancements for web apps to function offline and mimic native app experiences on mobile devices.


![[convergese] Adaptive Images in Responsive Web Design](https://cdn.slidesharecdn.com/ss_thumbnails/2012-adaptive-images-convergese-120509135732-phpapp01-thumbnail.jpg?width=640&height=640&fit=bounds)


![[HEWEBAR 2012] Adaptive Images in Responsive Web Design](https://cdn.slidesharecdn.com/ss_thumbnails/hewebar-2012-adaptive-images-in-rwd-120729151800-phpapp02-thumbnail.jpg?width=640&height=640&fit=bounds)


![[cssdevconf] Adaptive Images in Responsive Web Design](https://cdn.slidesharecdn.com/ss_thumbnails/adaptive-imagesv16-131021133151-phpapp01-thumbnail.jpg?width=640&height=640&fit=bounds)