Download as PDF, PPTX

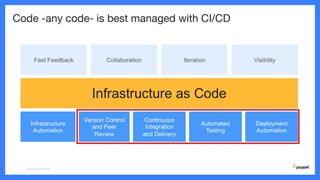
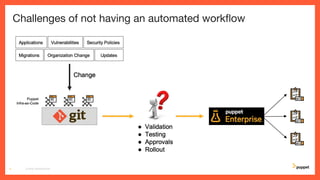
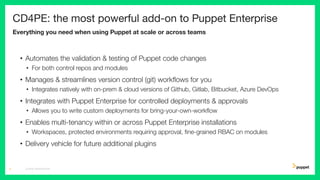
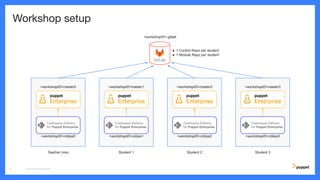
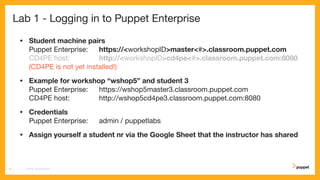
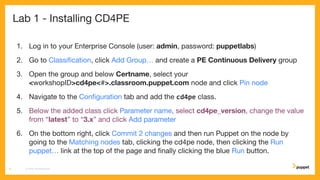

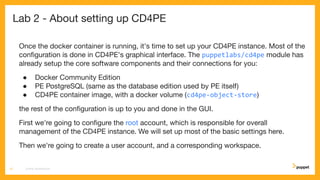
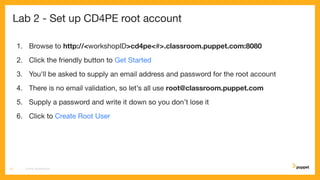


The document outlines a virtual workshop on Continuous Delivery for Puppet Enterprise held on April 30, 2020. It details the setup and integration of CD4PE, covering installation, user account creation, and the configuration of pipelines and job hardware, while emphasizing the importance of automation in managing code changes across teams. The workshop also discusses best practices for using service accounts, integrating with GitLab for source control, and managing deployment policies for effective code delivery.


