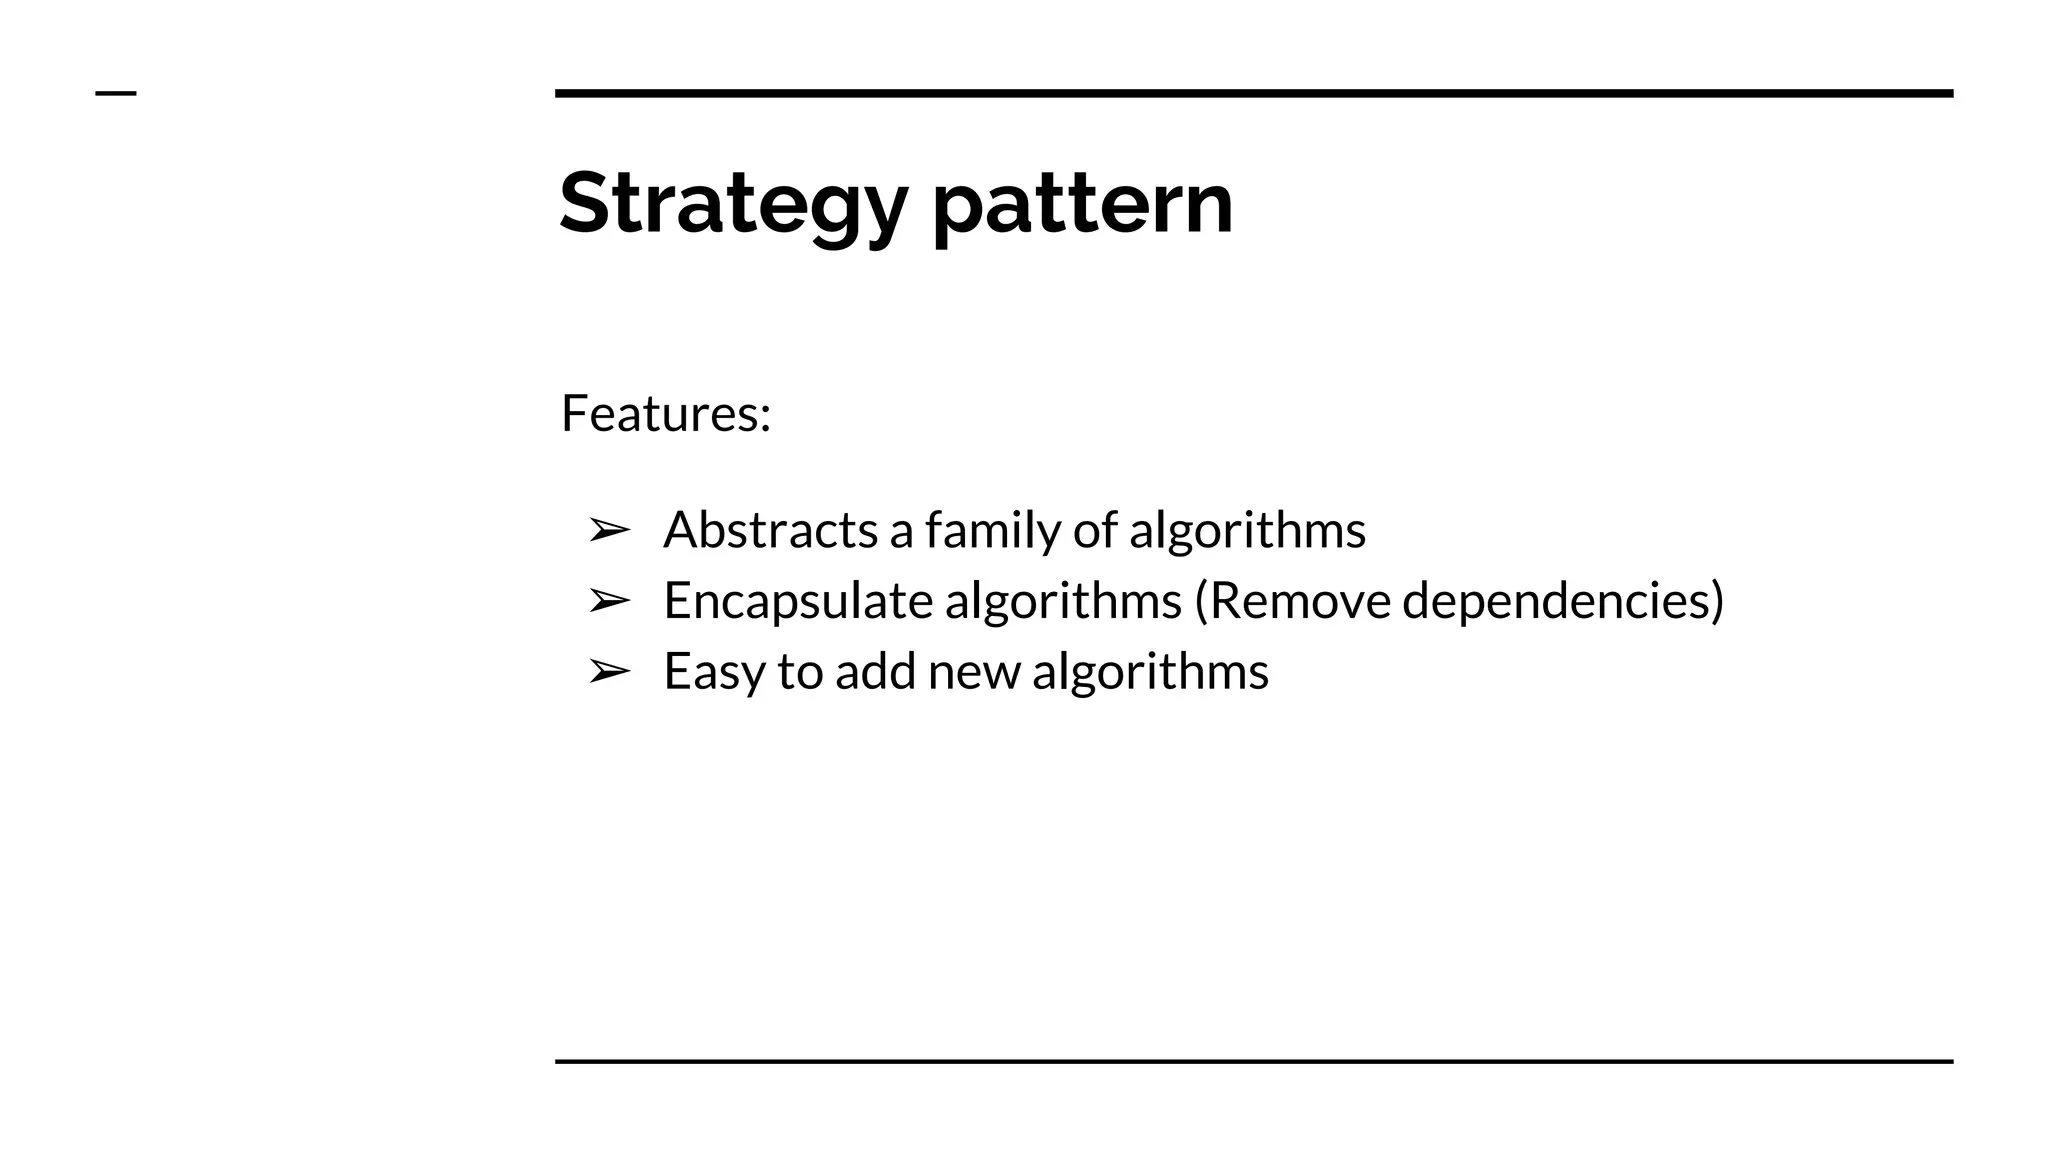
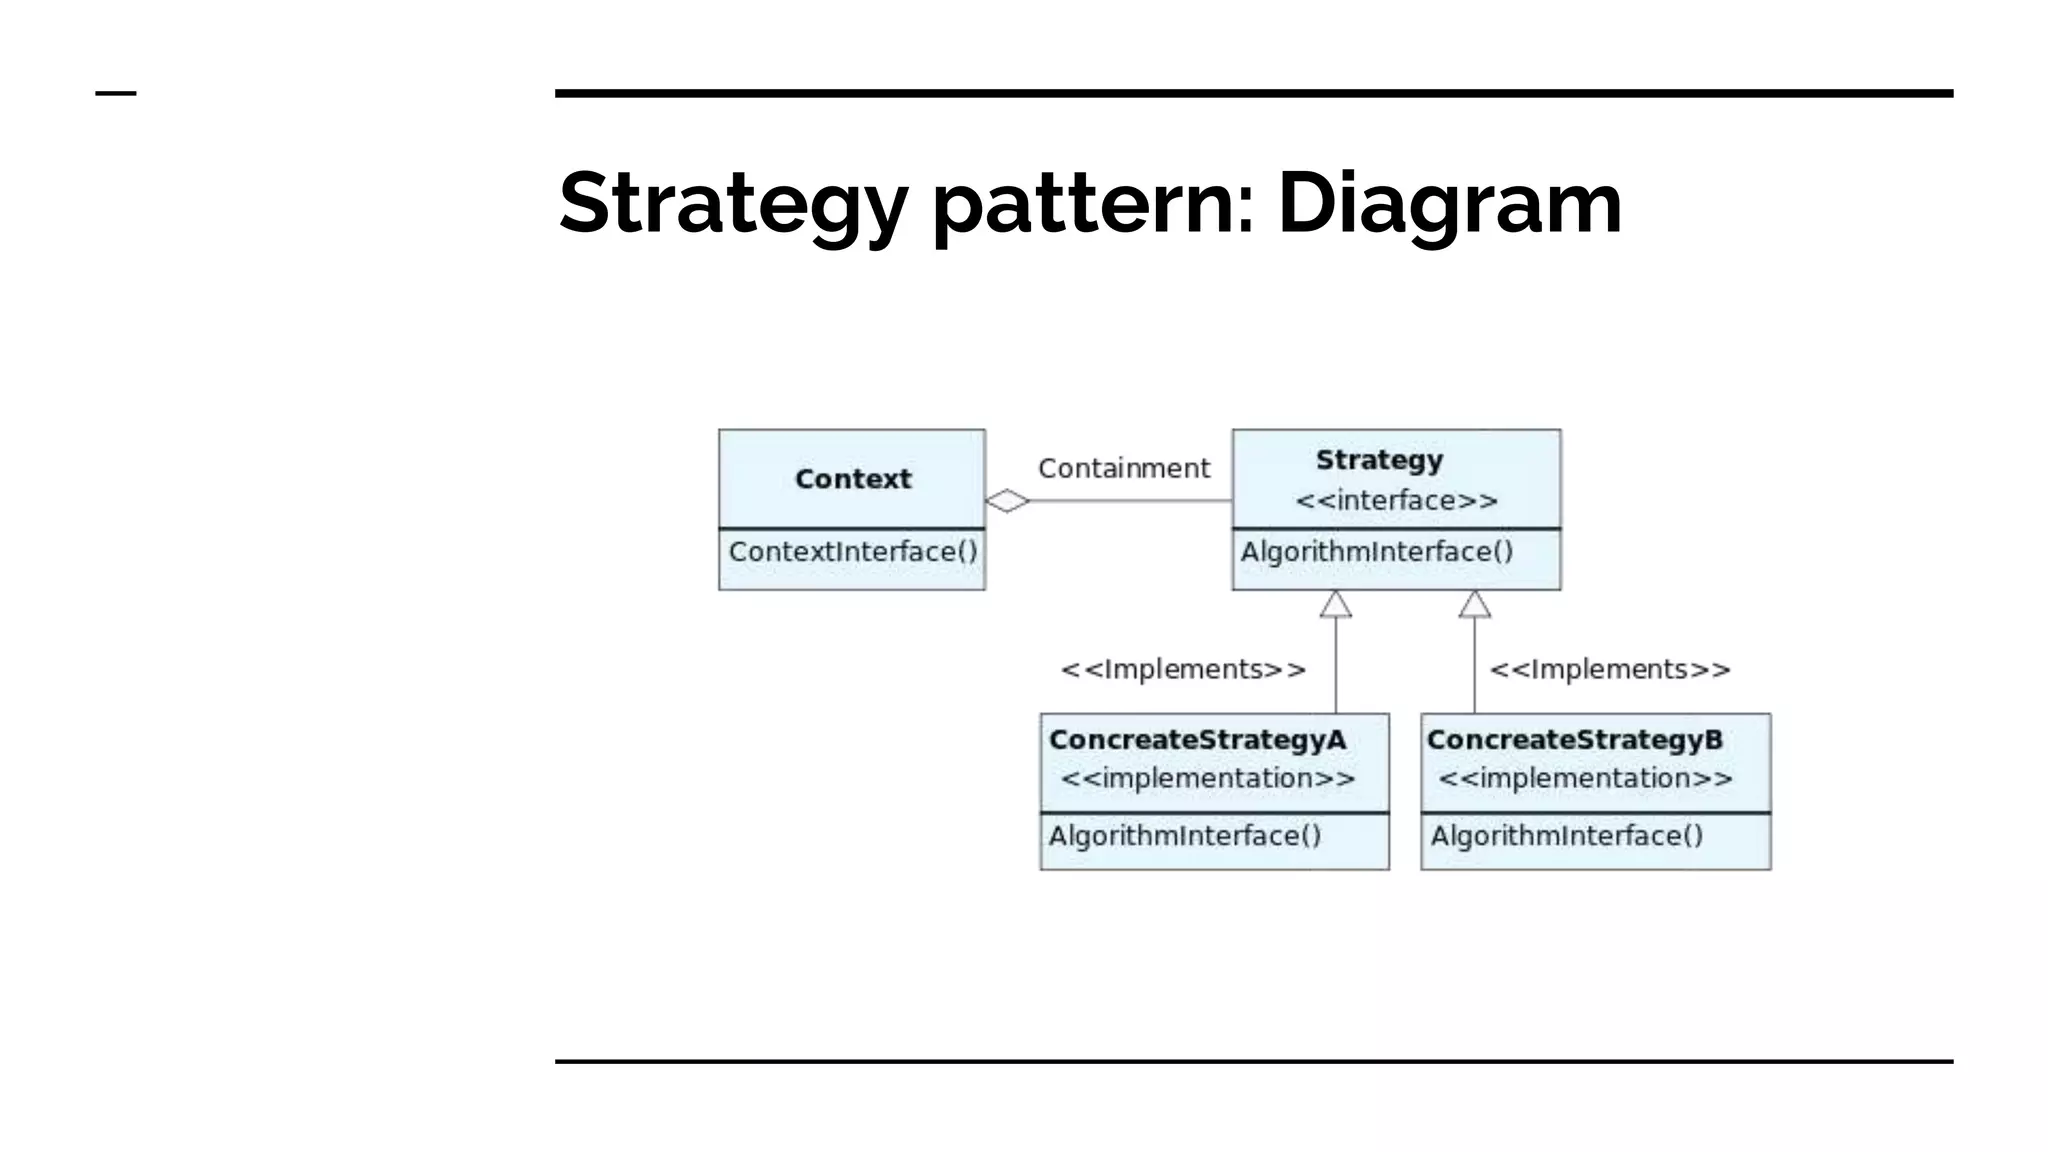
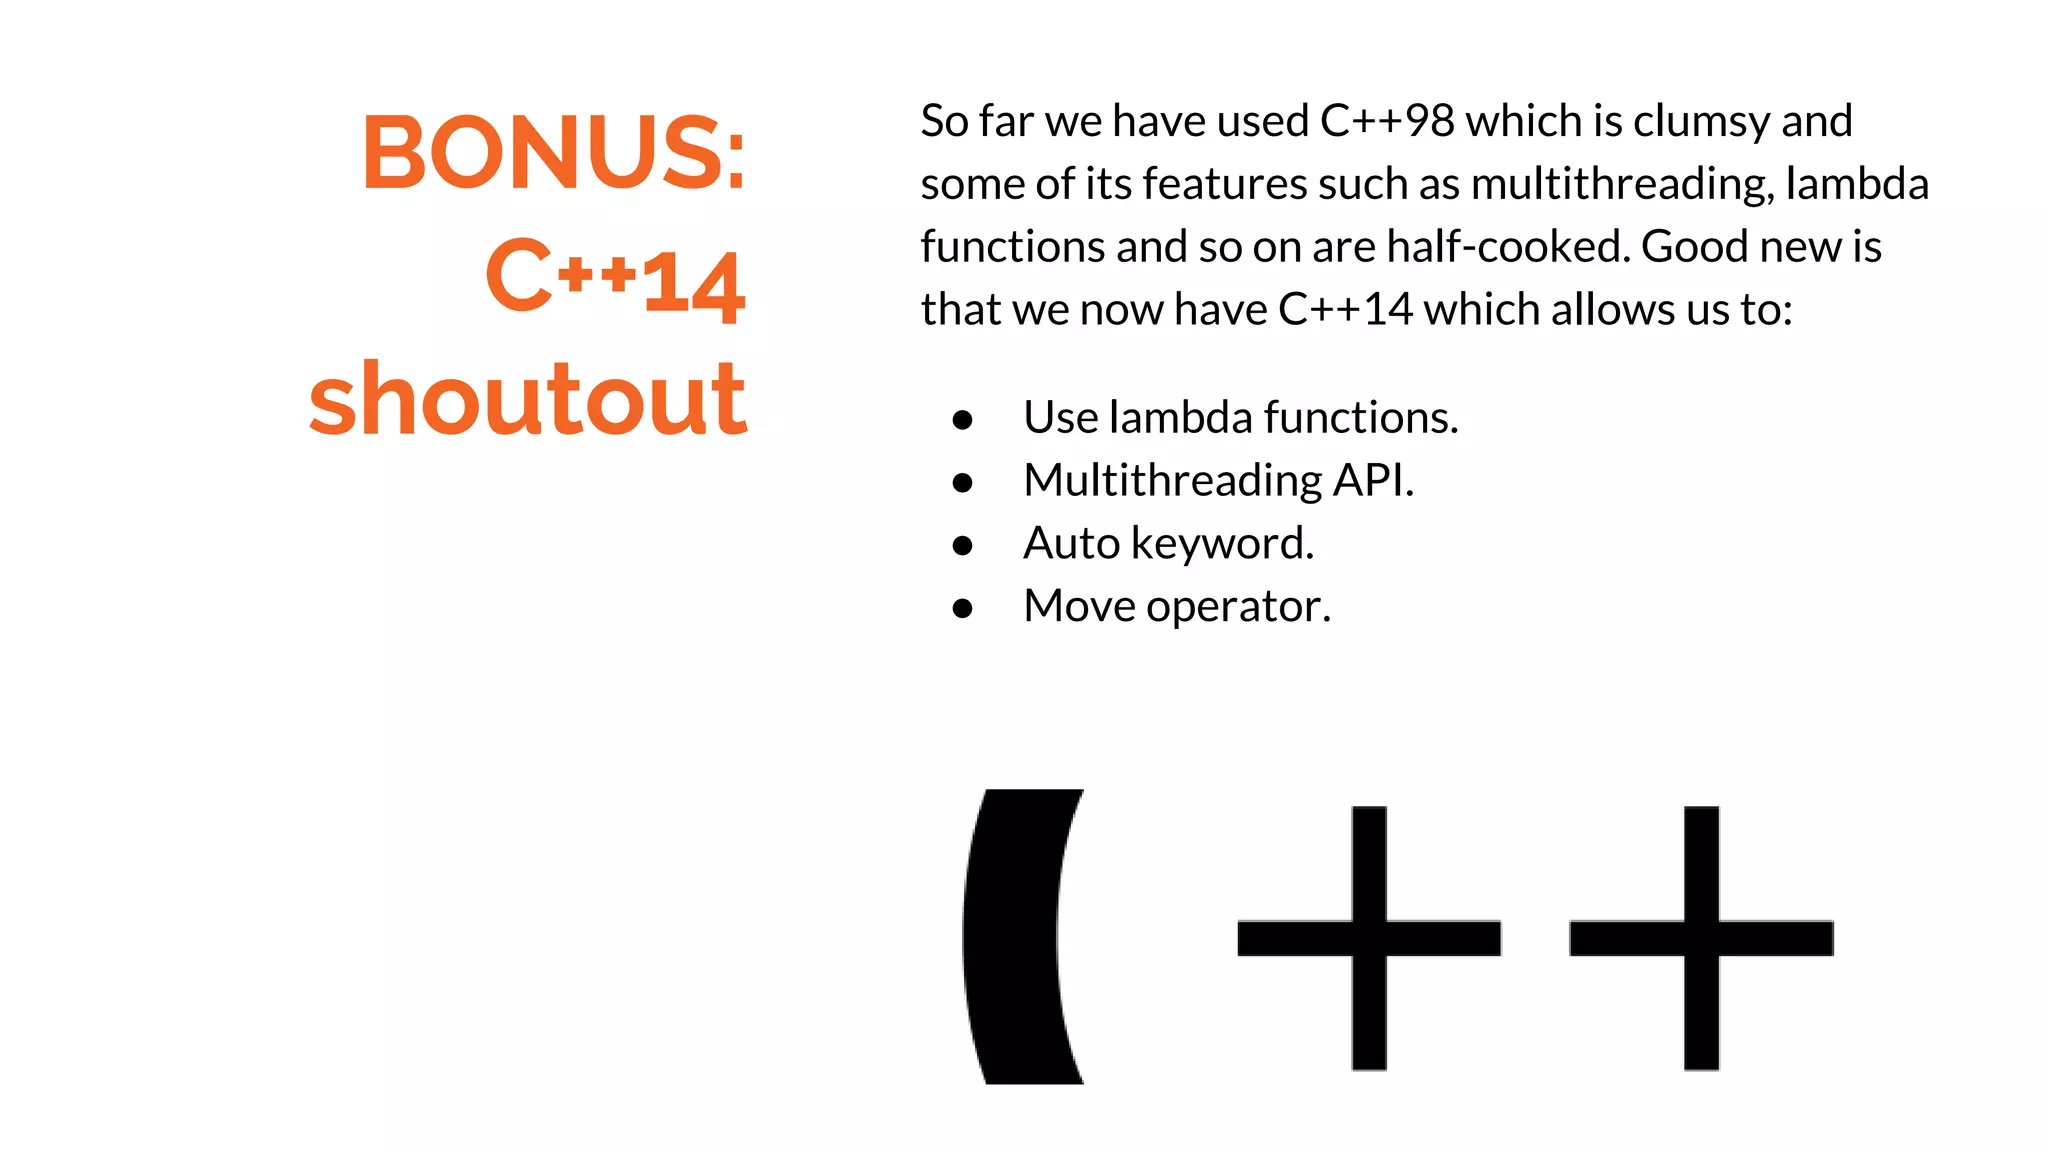
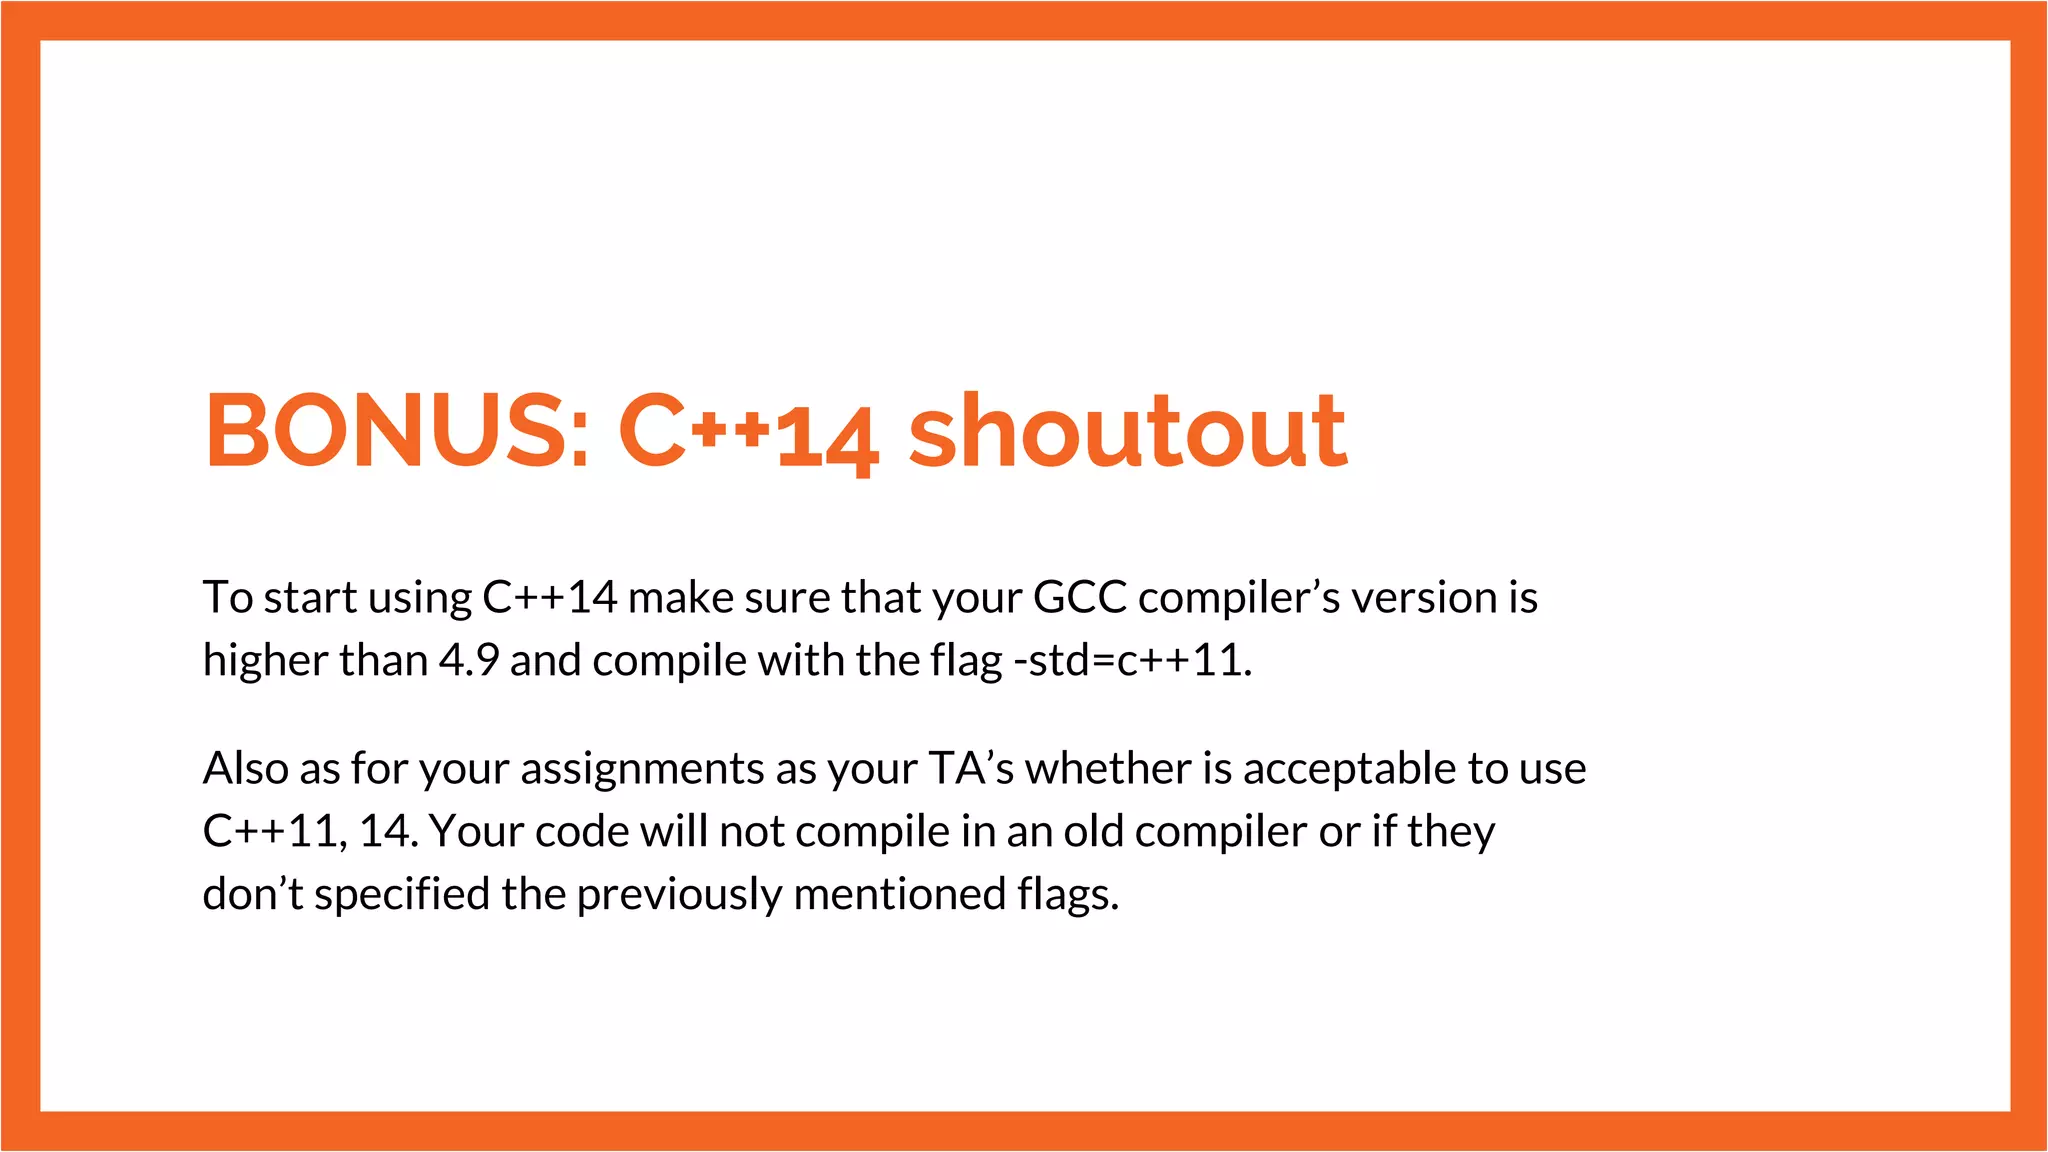
This document discusses common coding practices and tools, including GNU autotools and design patterns. It provides tutorials on how to use autotools, including running autogen.sh and configure scripts. It also covers the strategy design pattern, explaining how it abstracts algorithms, encapsulates dependencies, and allows new algorithms to be easily added. The strategy pattern is demonstrated with a diagram and code example. Benefits of the strategy pattern include flexibility and minimizing dependencies between classes. The document concludes with a brief mention of advantages in C++14 compared to older versions.

![Autotools: user tutorial
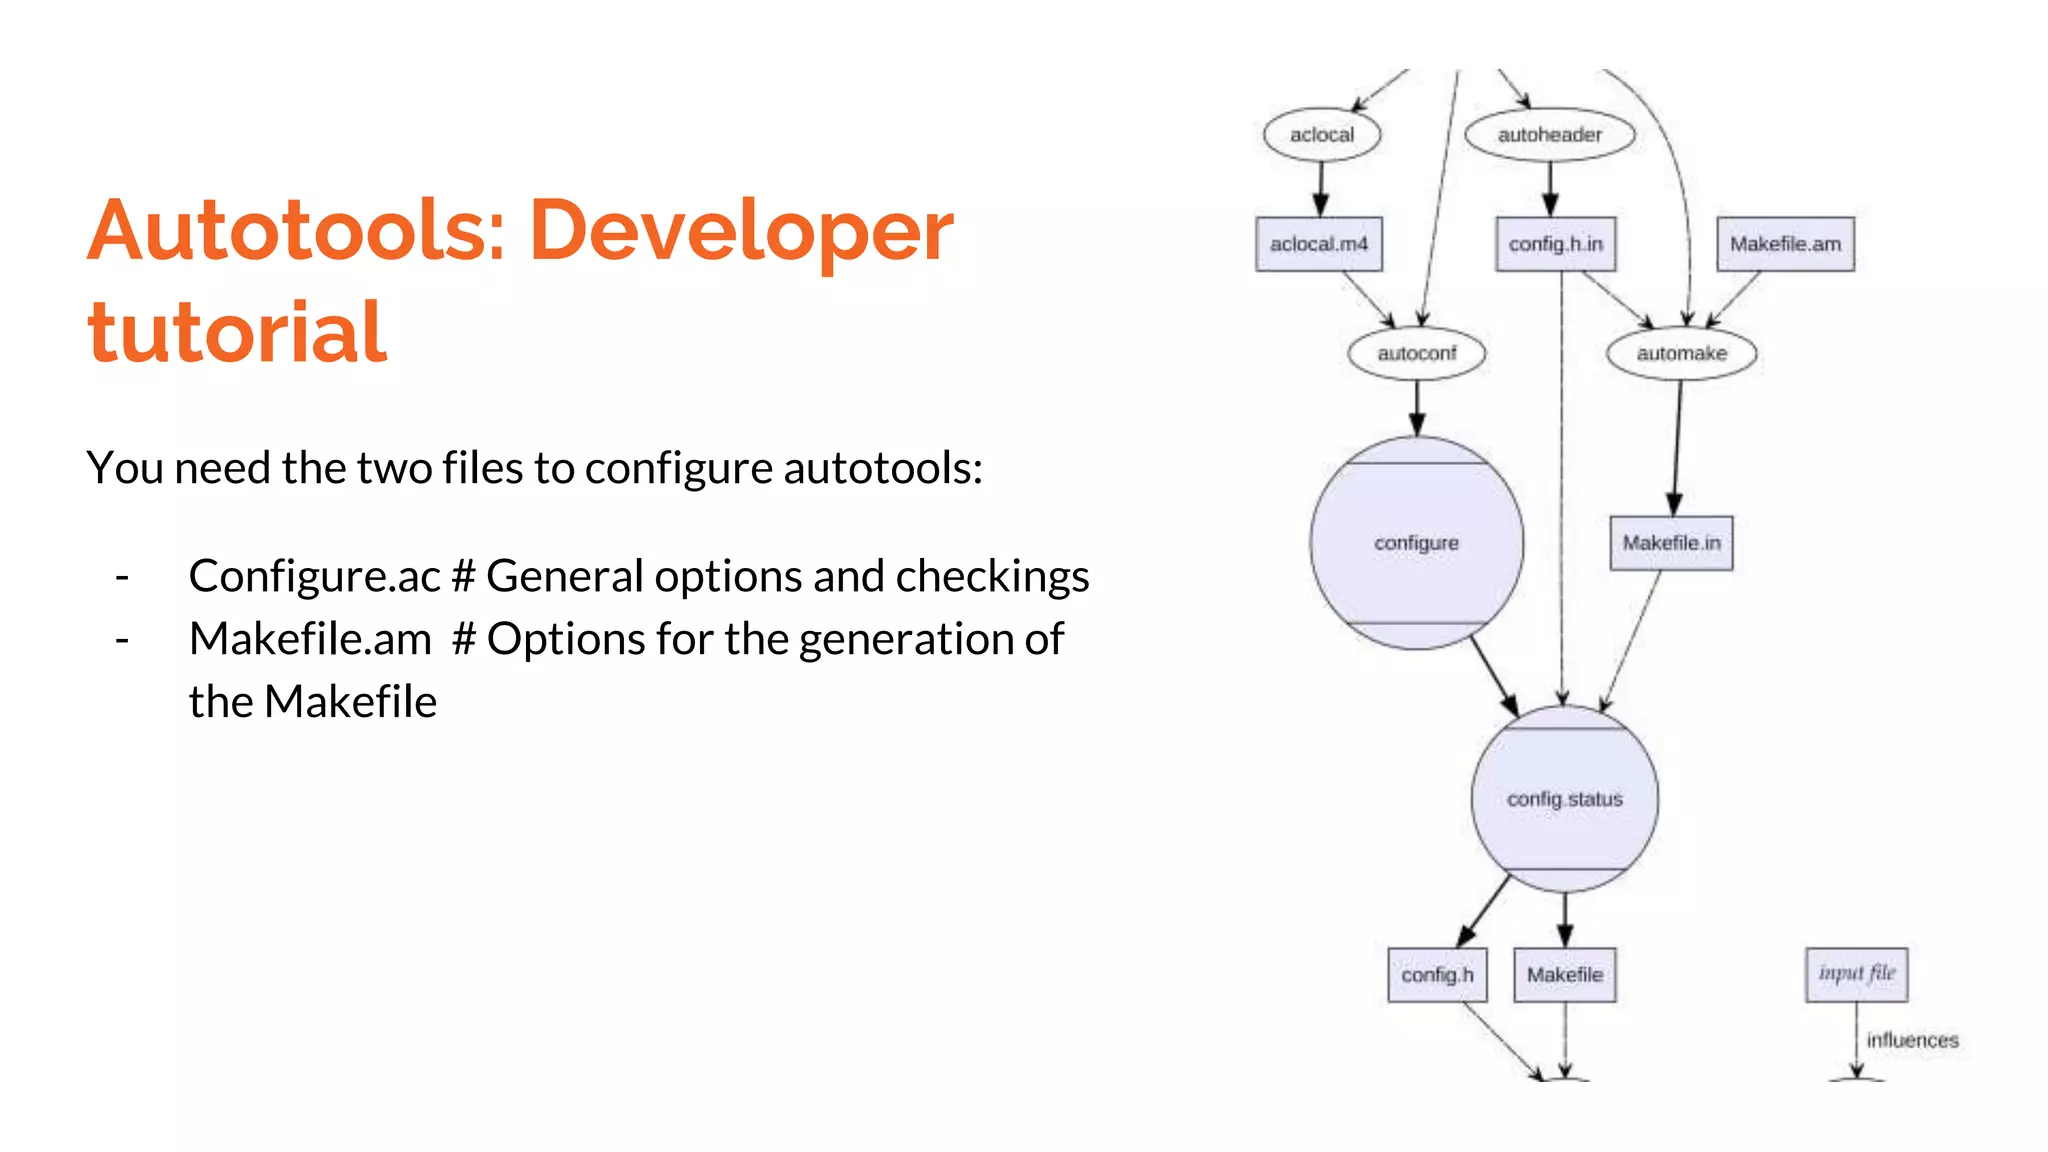
Fairly simple:
$ sh autogen.sh
$ sh ./configure --help # Check if there is any relevant opt
$ sh ./configure --prefix /usr/local # for the most cases
# if you are missing a dependency install it by apt, yum ...
$ make [-j #proc] install](https://image.slidesharecdn.com/session4-200113010118/75/Autotools-Design-Patterns-and-more-8-2048.jpg)


![Php[tek] 2016 - BDD with Behat for Beginners](https://cdn.slidesharecdn.com/ss_thumbnails/phptek2016-bddwithbehatforbeginners-160524224418-thumbnail.jpg?width=640&height=640&fit=bounds)