Download to read offline


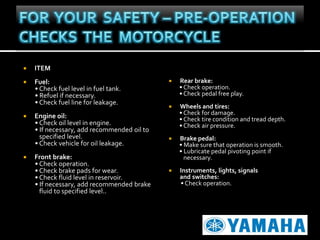

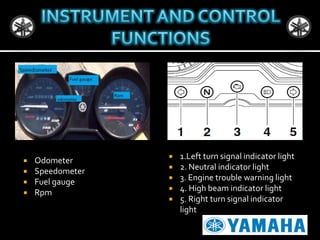
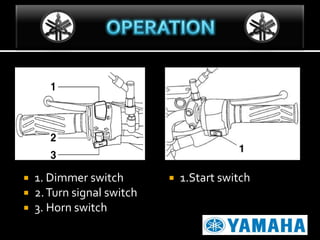
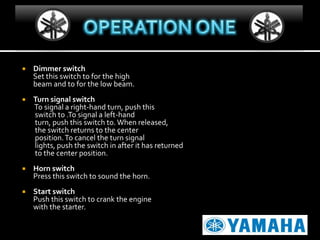
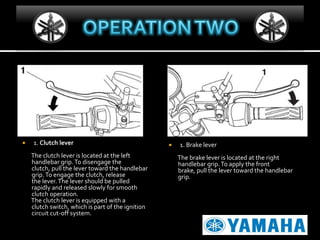

The document is an owner's manual for the Yamaha YBR125 motorcycle. It welcomes the owner to Yamaha and explains that the manual provides instructions for operating, maintaining and inspecting the motorcycle safely. It lists important items to inspect including fuel levels, engine oil, brakes, wheels, tires and controls. It also provides a maintenance schedule specifying checks to perform every 500km, 2000km and so on up to 16,000km. The manual describes controls like switches, indicators and operation of the clutch and brakes. It aims to help owners enjoy and properly maintain their Yamaha motorcycle.


