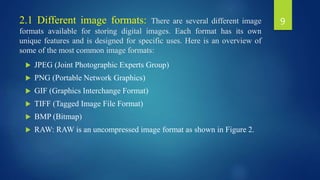
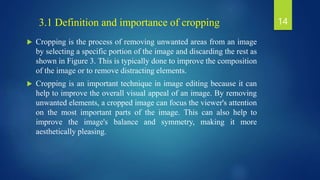
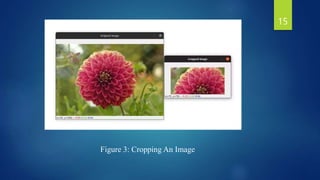
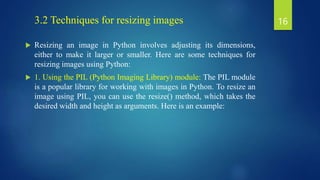
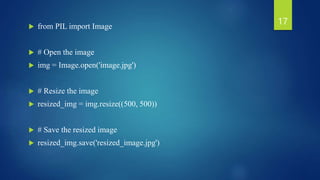
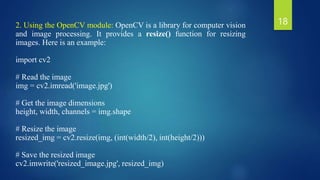
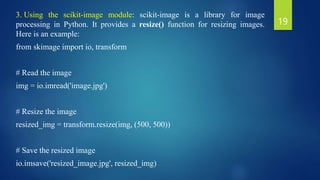
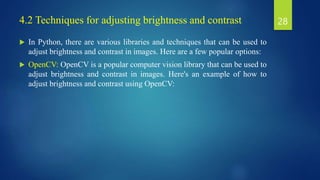
This document provides an outline for a course proposal on image processing using Python. It introduces the course coordinators and provides a detailed outline covering topics like image formats, cropping and resizing images, adjusting brightness and contrast, and color adjustments. The outline includes definitions, techniques, and examples for each topic. Introduction and conclusion sections are also included to bookend the course material.


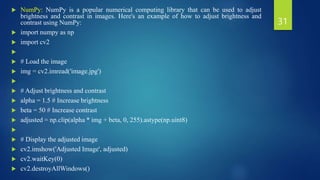
![ import cv2
import matplotlib.pyplot as plt
# Load the image
img = cv2.imread('image.jpg', 0)
# Calculate the histogram
hist, bins = np.histogram(img.ravel(), 256, [0,256])
# Plot the histogram
plt.hist(img.ravel(), 256, [0, 256])
plt.show()
33](https://image.slidesharecdn.com/topic1ppt-230522052548-b756d5c0/85/Topic-1_PPT-pptx-33-320.jpg)
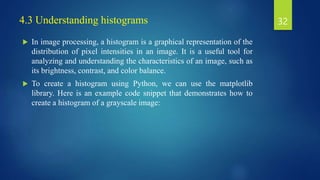
![ import cv2
import numpy as np
# Load image
img = cv2.imread('image.jpg')
# Convert to HLS color space
hls = cv2.cvtColor(img, cv2.COLOR_BGR2HLS)
# Increase saturation
hls[:,:,2] = np.clip(hls[:,:,2]*1.5, 0, 255).astype(np.uint8)
# Convert back to BGR color space
output = cv2.cvtColor(hls, cv2.COLOR_HLS2BGR)
# Show result
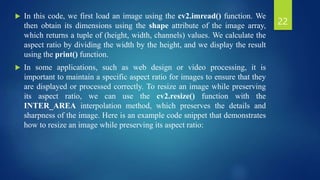
cv2.imshow('Result', output)
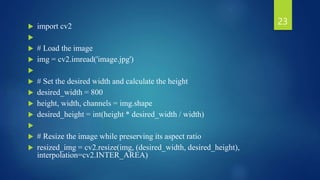
cv2.waitKey(0)
43](https://image.slidesharecdn.com/topic1ppt-230522052548-b756d5c0/85/Topic-1_PPT-pptx-43-320.jpg)
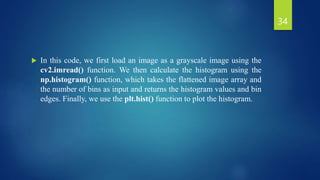
![ import cv2
import numpy as np
# Load image
img = cv2.imread('image.jpg')
# Convert to HSV color space
hsv = cv2.cvtColor(img, cv2.COLOR_BGR2HSV)
# Change hue of red objects
lower_red = np.array([0, 100, 100])
upper_red = np.array([10, 255, 255])
mask = cv2.inRange(hsv, lower_red, upper_red)
hsv[:,:,0] = np.where(mask>0, hsv[:,:,0]+50, hsv[:,:,0])
# Convert back to B
45](https://image.slidesharecdn.com/topic1ppt-230522052548-b756d5c0/85/Topic-1_PPT-pptx-45-320.jpg)


![Python imaging-library-overview - [cuuduongthancong.com]](https://cdn.slidesharecdn.com/ss_thumbnails/python-imaging-library-overview-cuuduongthancong-200418085009-thumbnail.jpg?width=640&height=640&fit=bounds)


