This document provides tips for formatting a document in Microsoft Word, including:
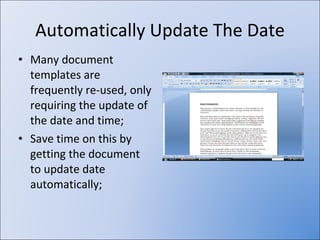
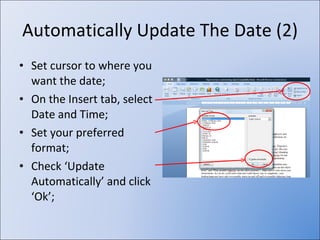
1) Automatically updating the date by setting the cursor where you want the date and selecting "Update Automatically" from the Date and Time menu.
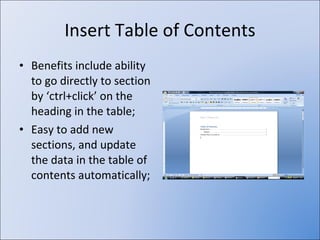
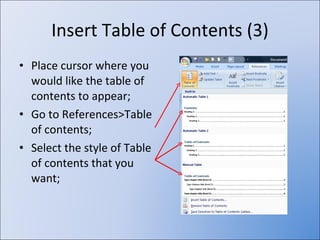
2) Creating a table of contents by applying heading styles and inserting a table of contents from the References menu.
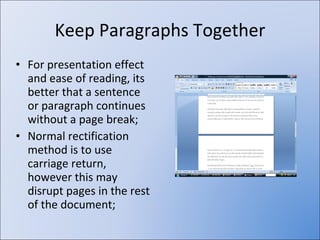
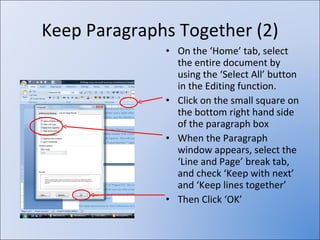
3) Keeping paragraphs together by selecting all text and checking the "Keep with next" and "Keep lines together" options in the Paragraph window.