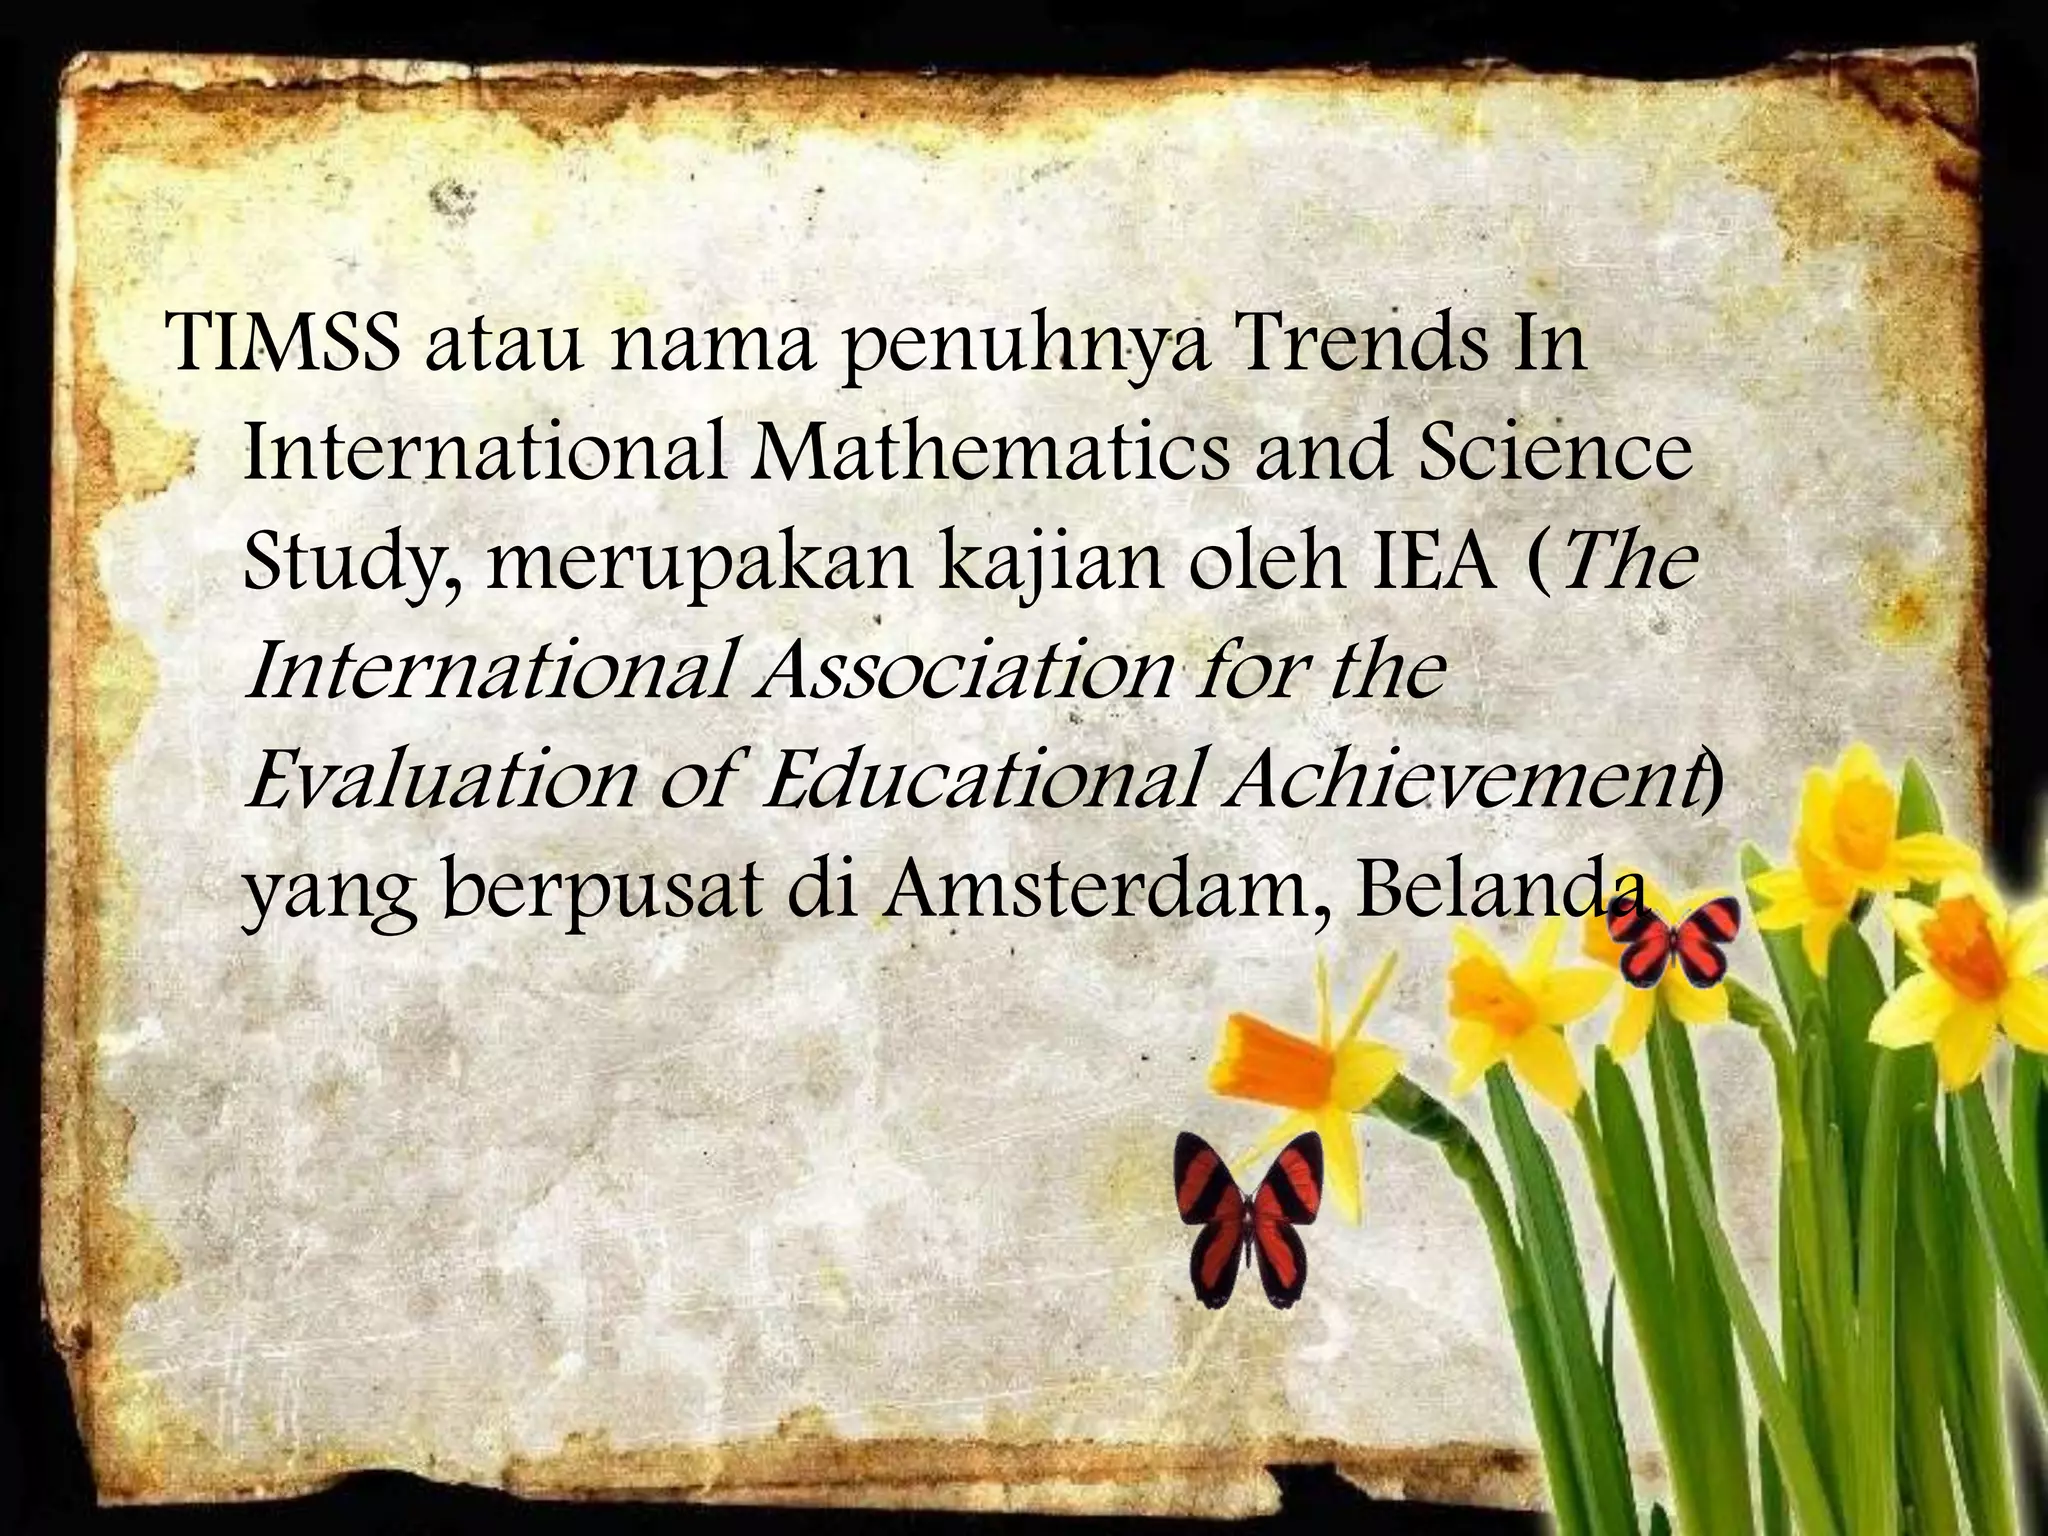
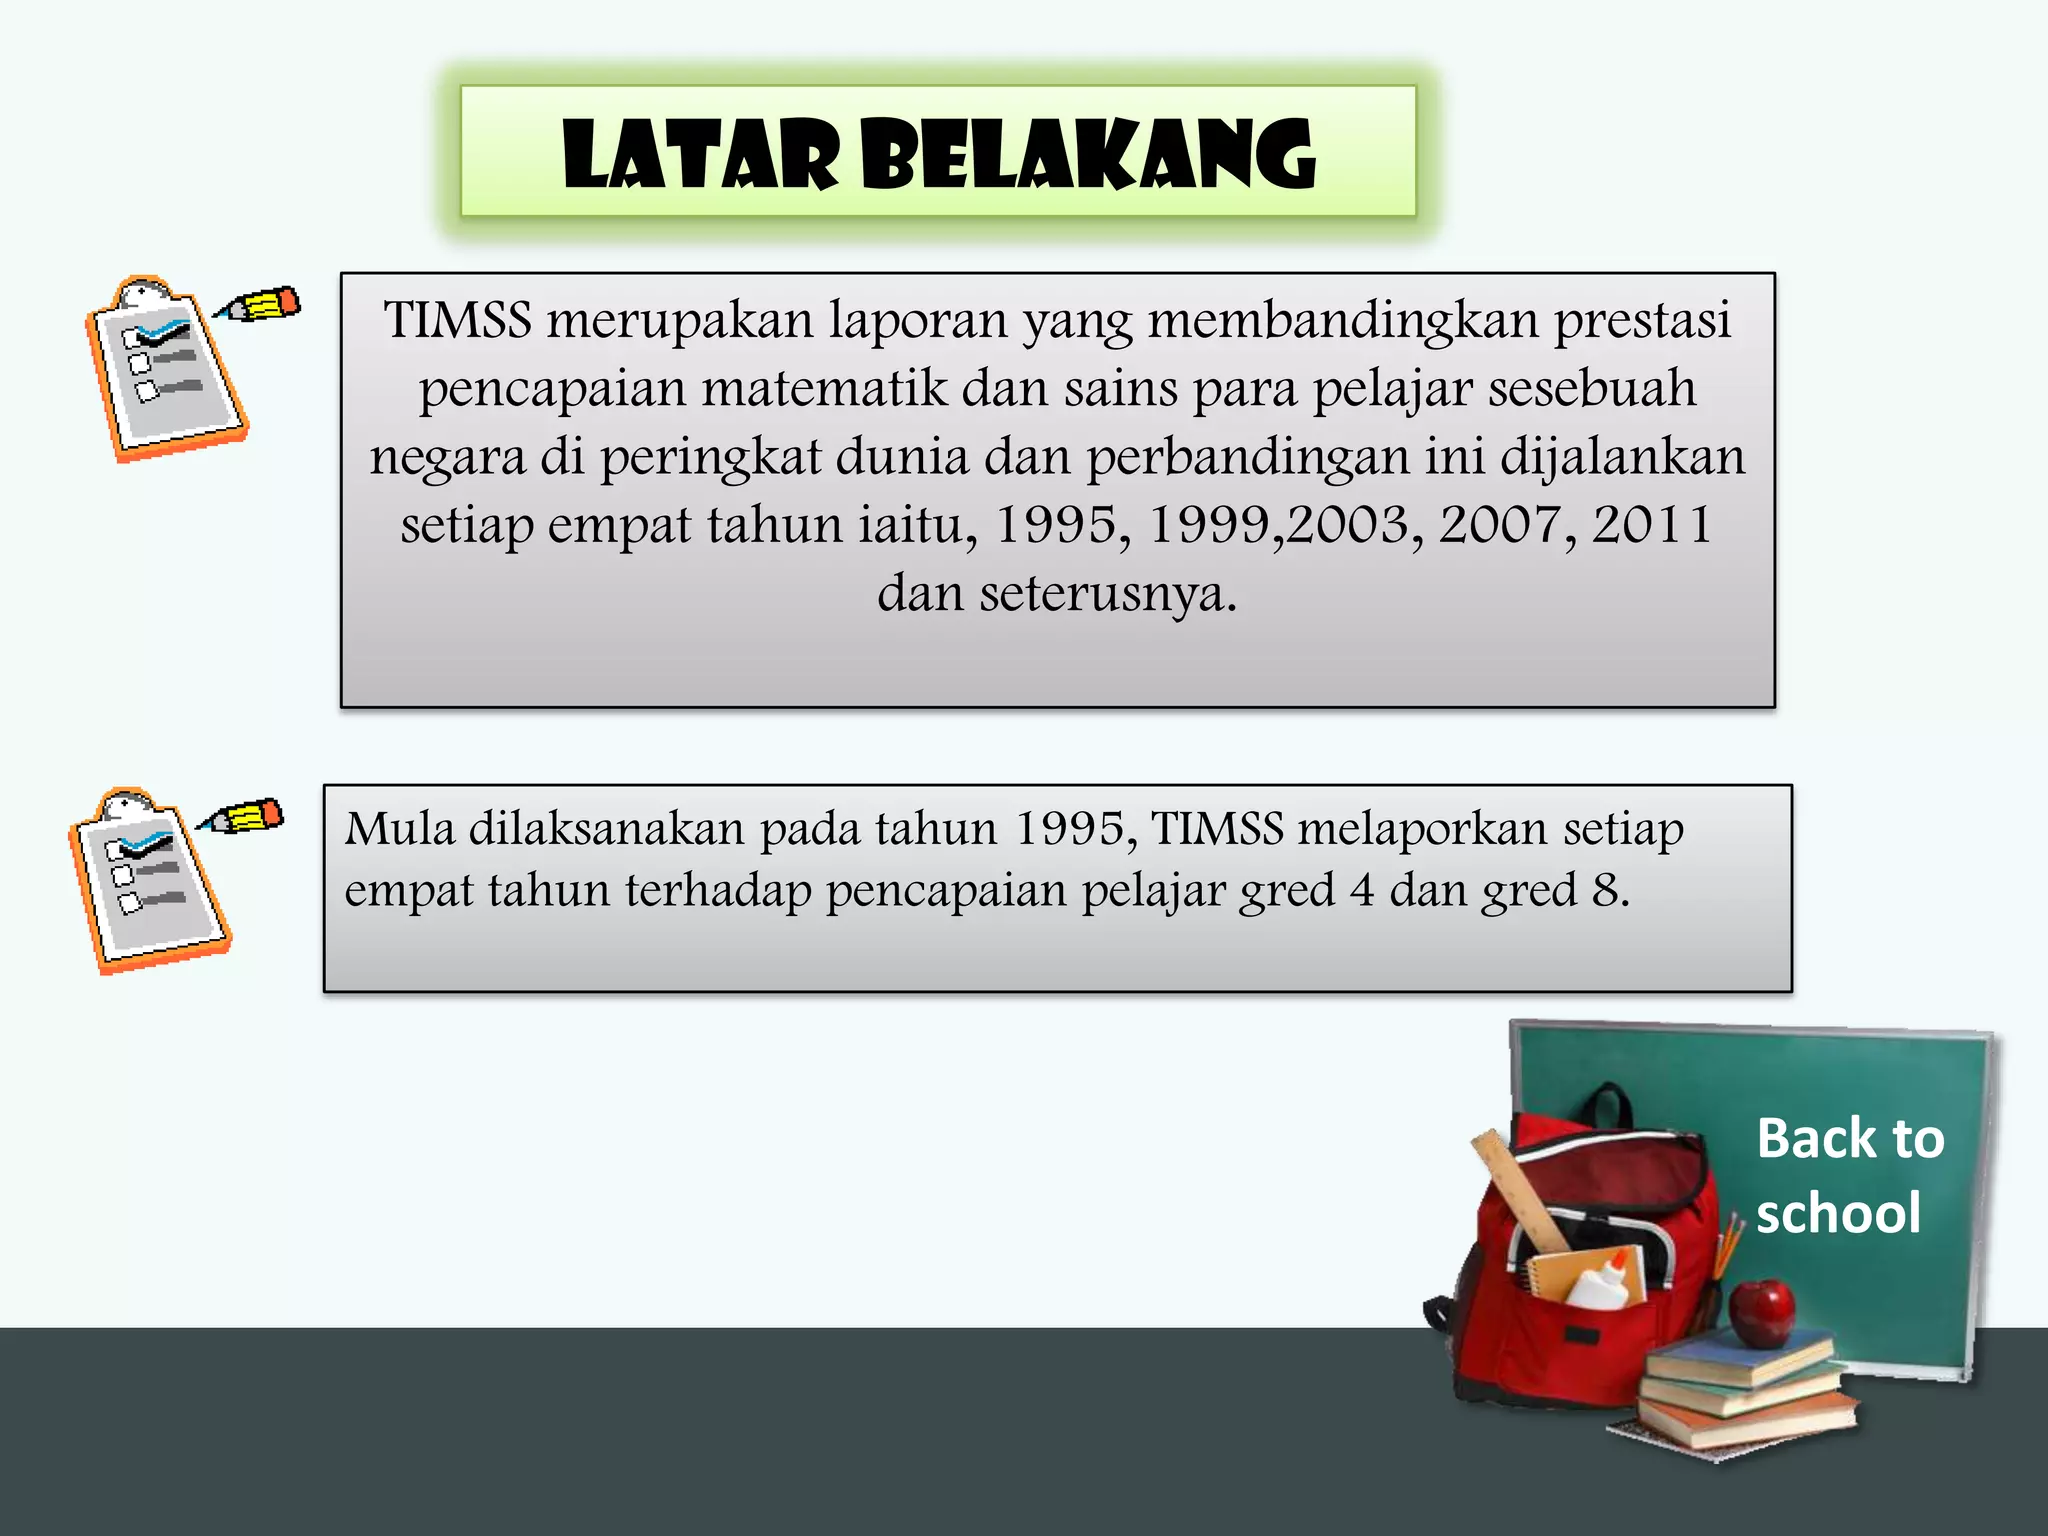
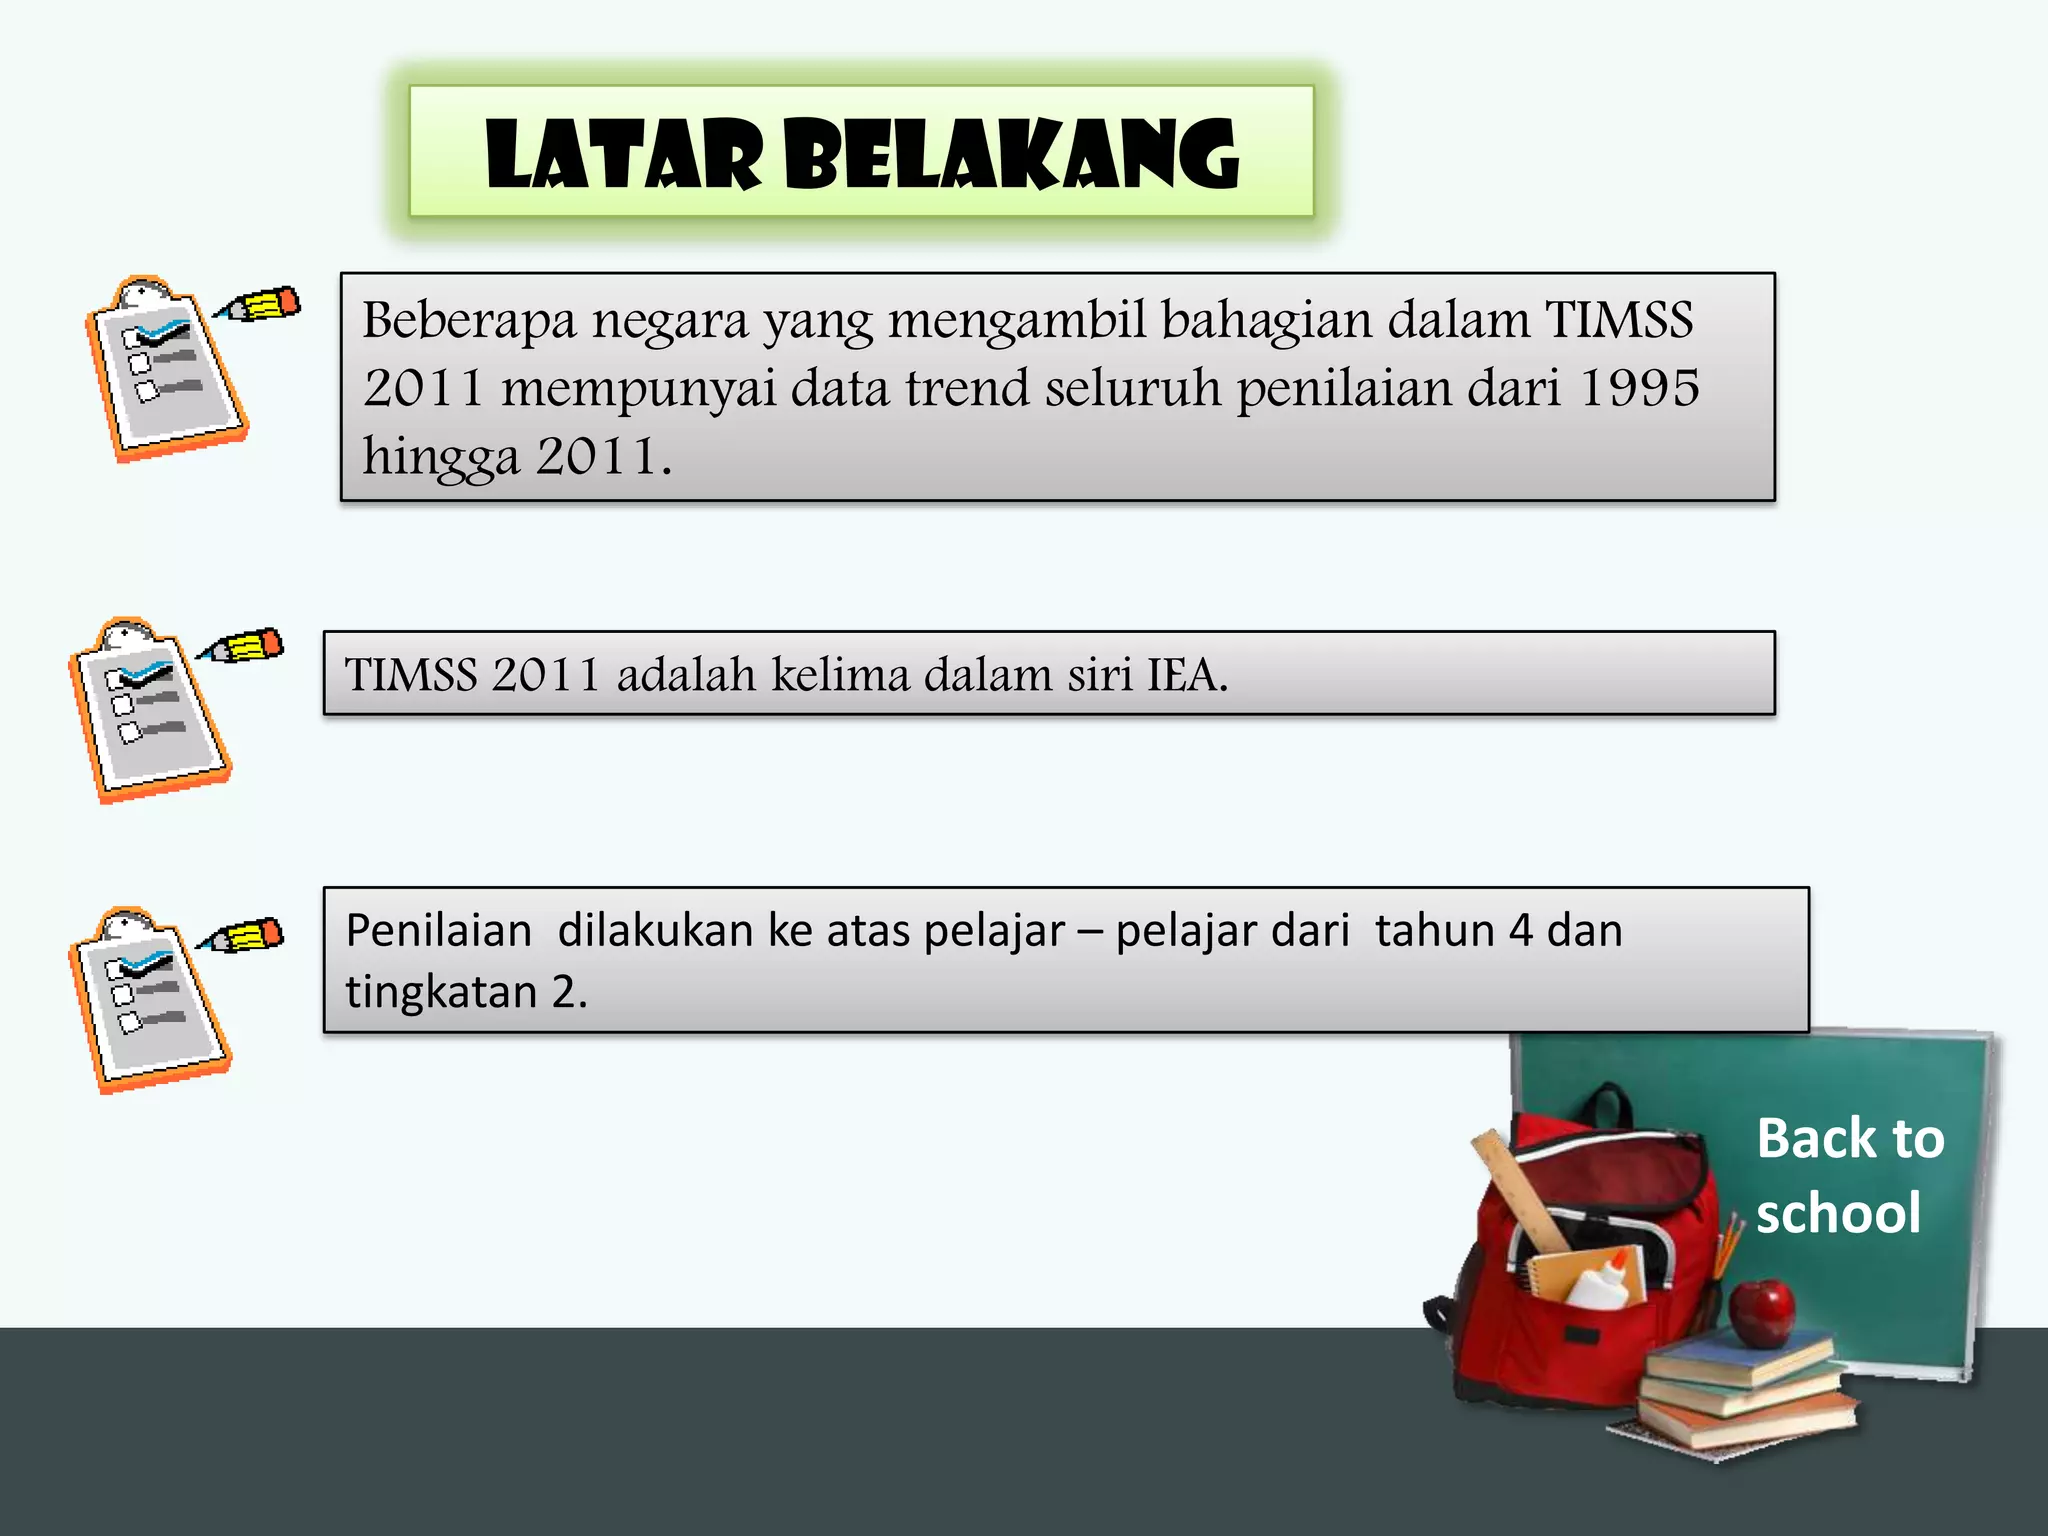
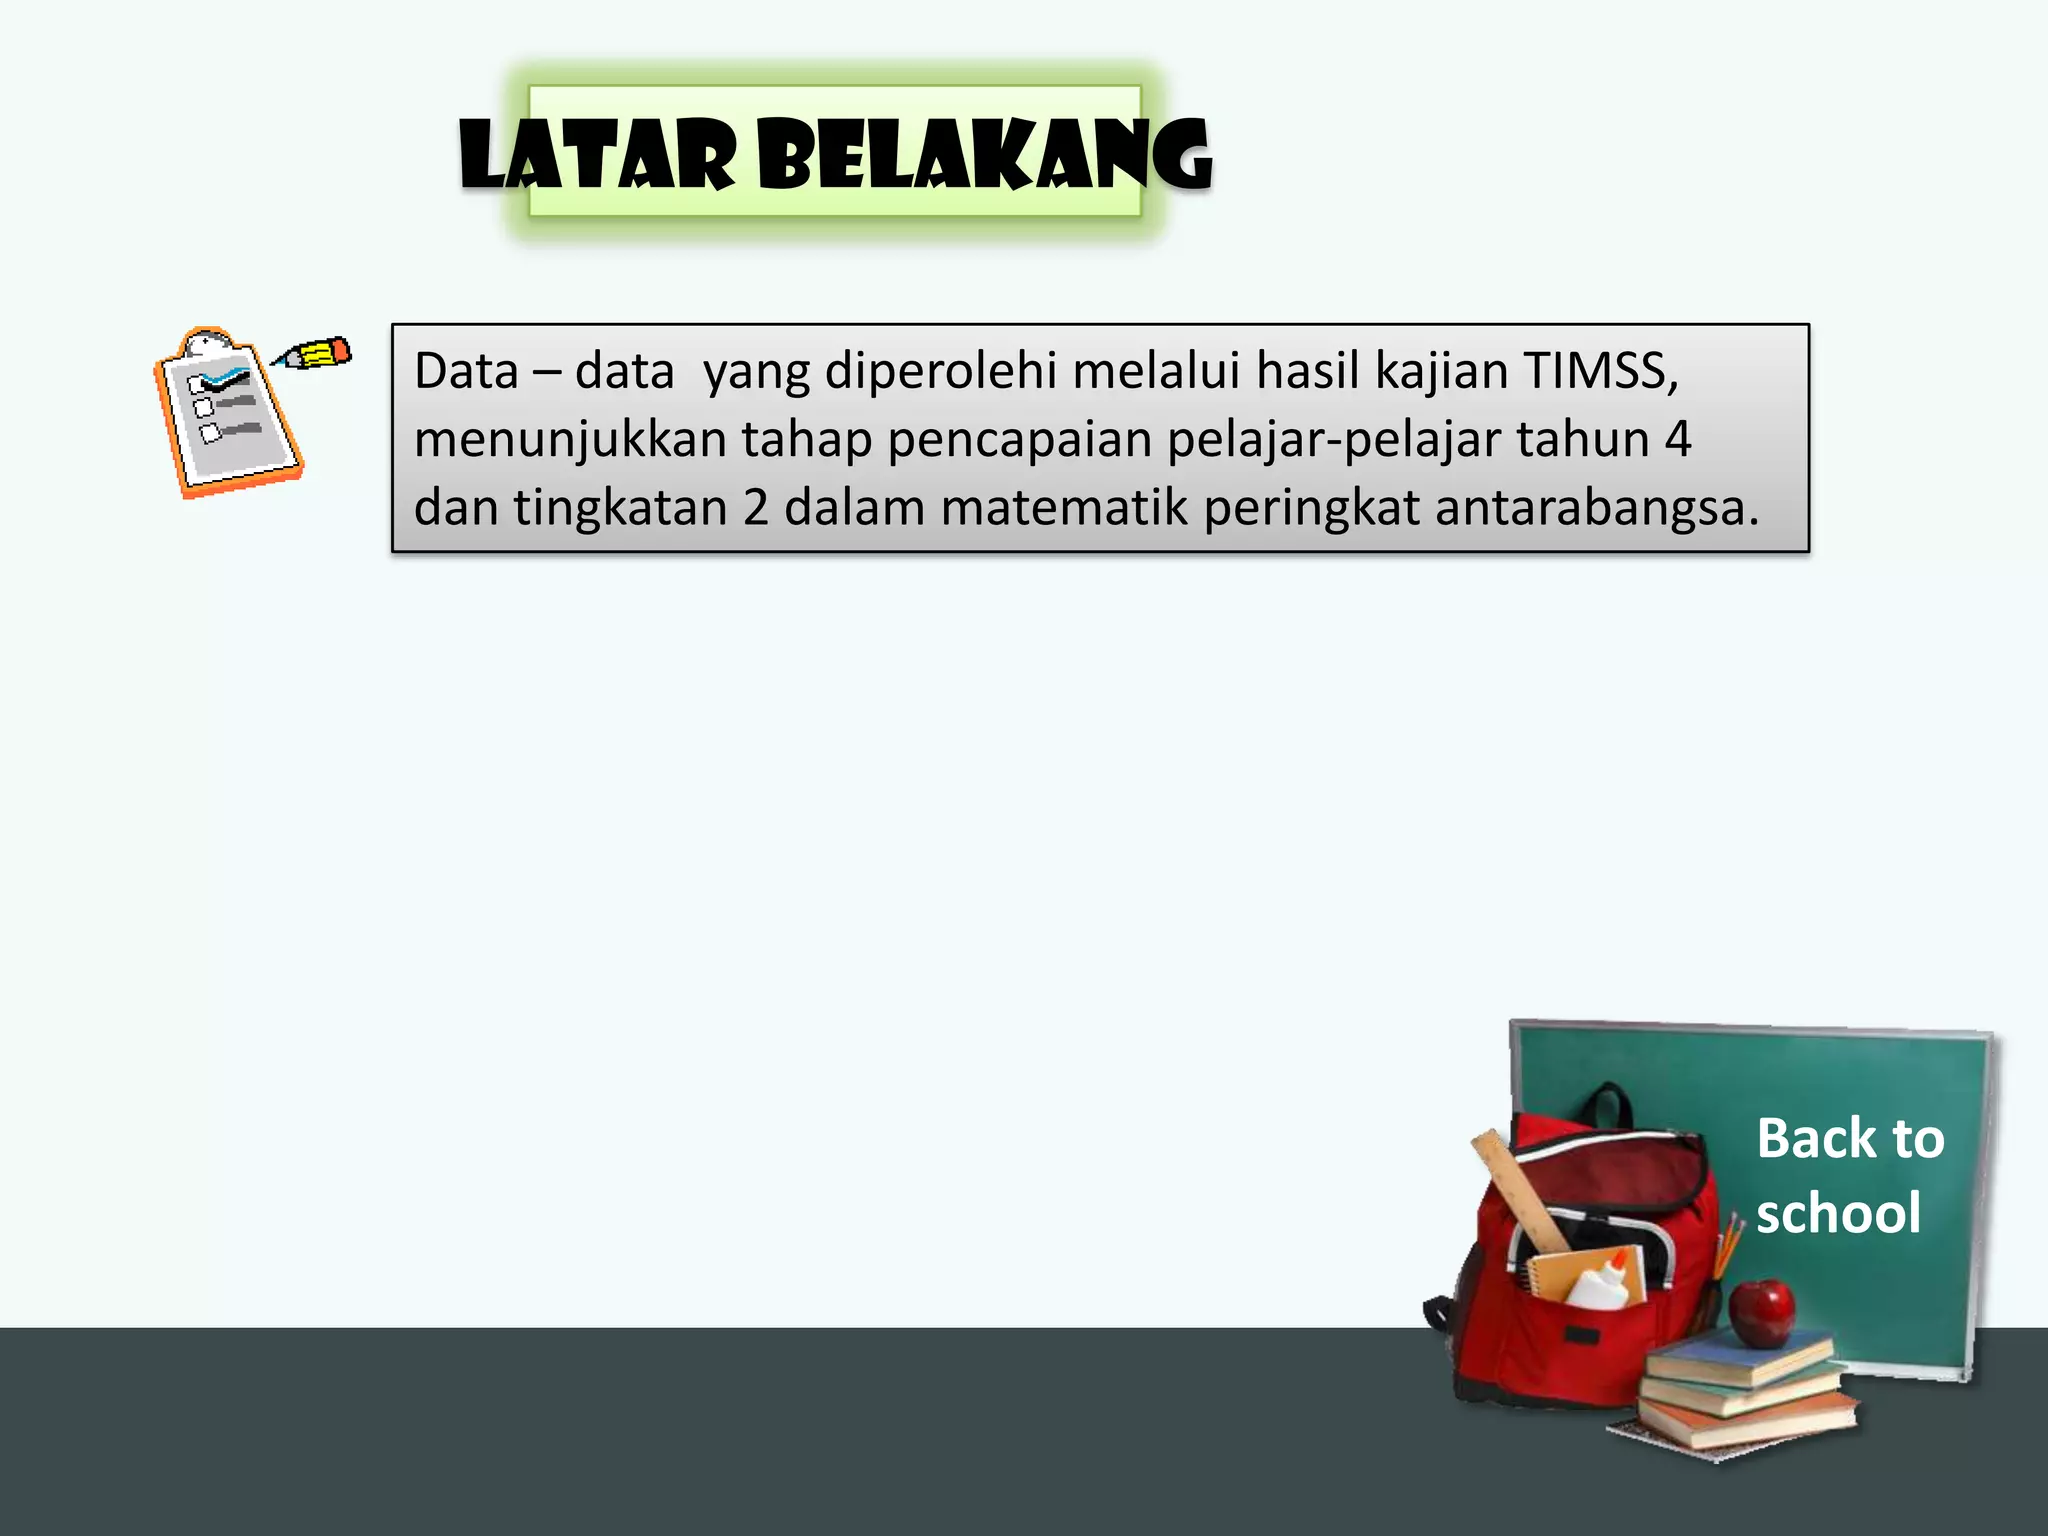
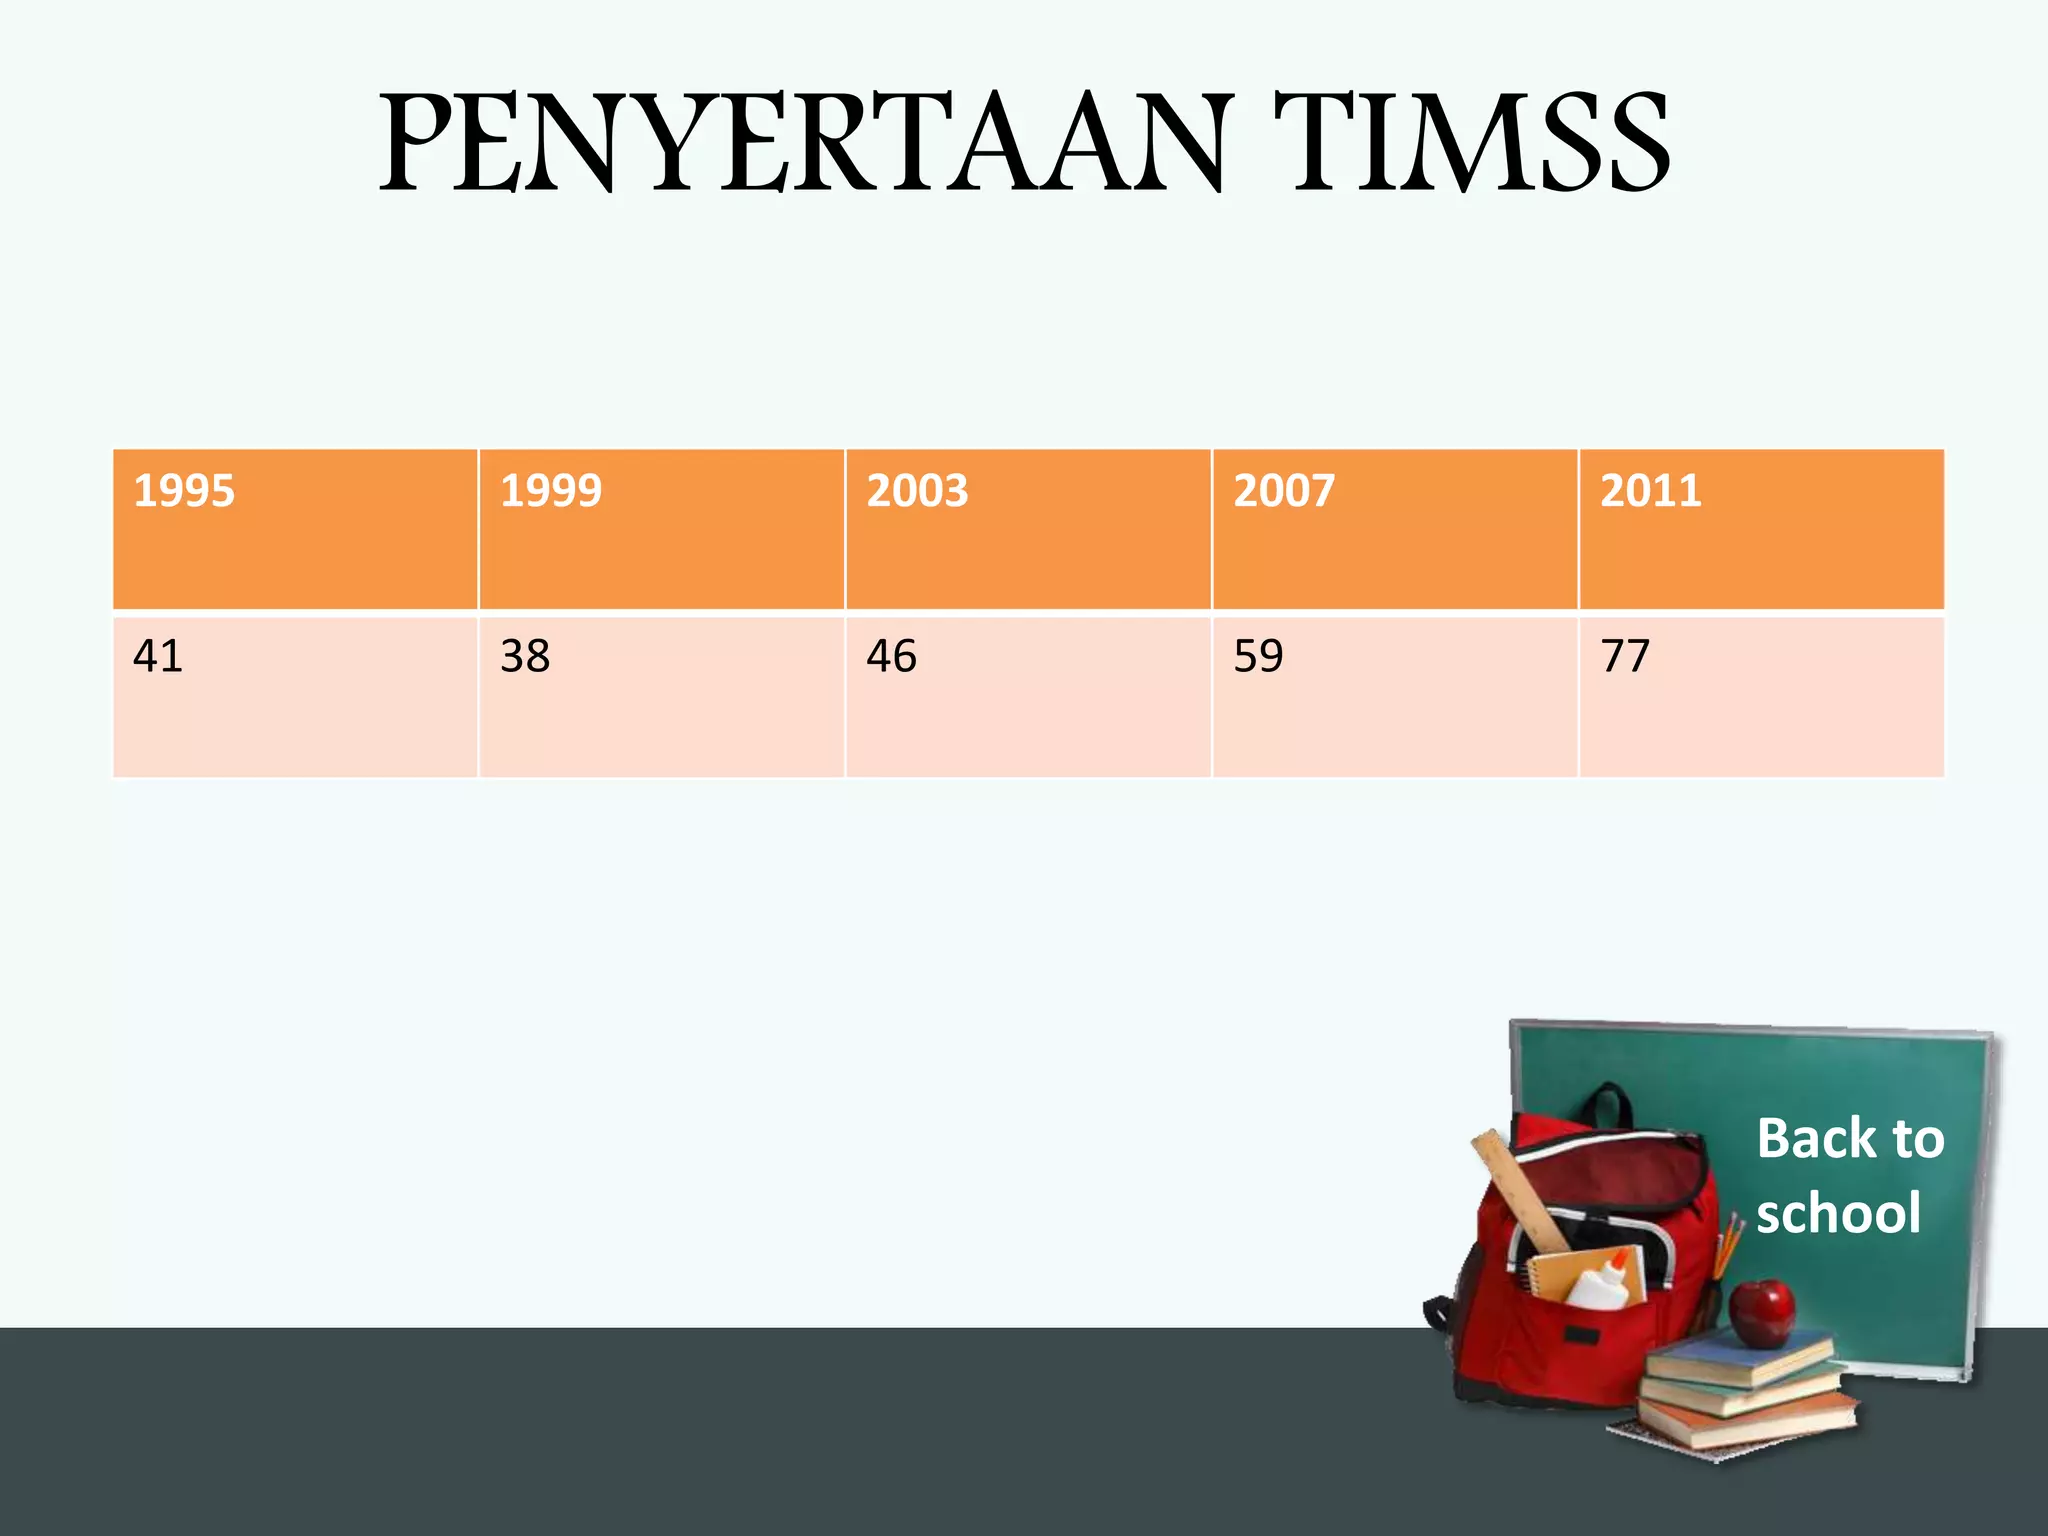
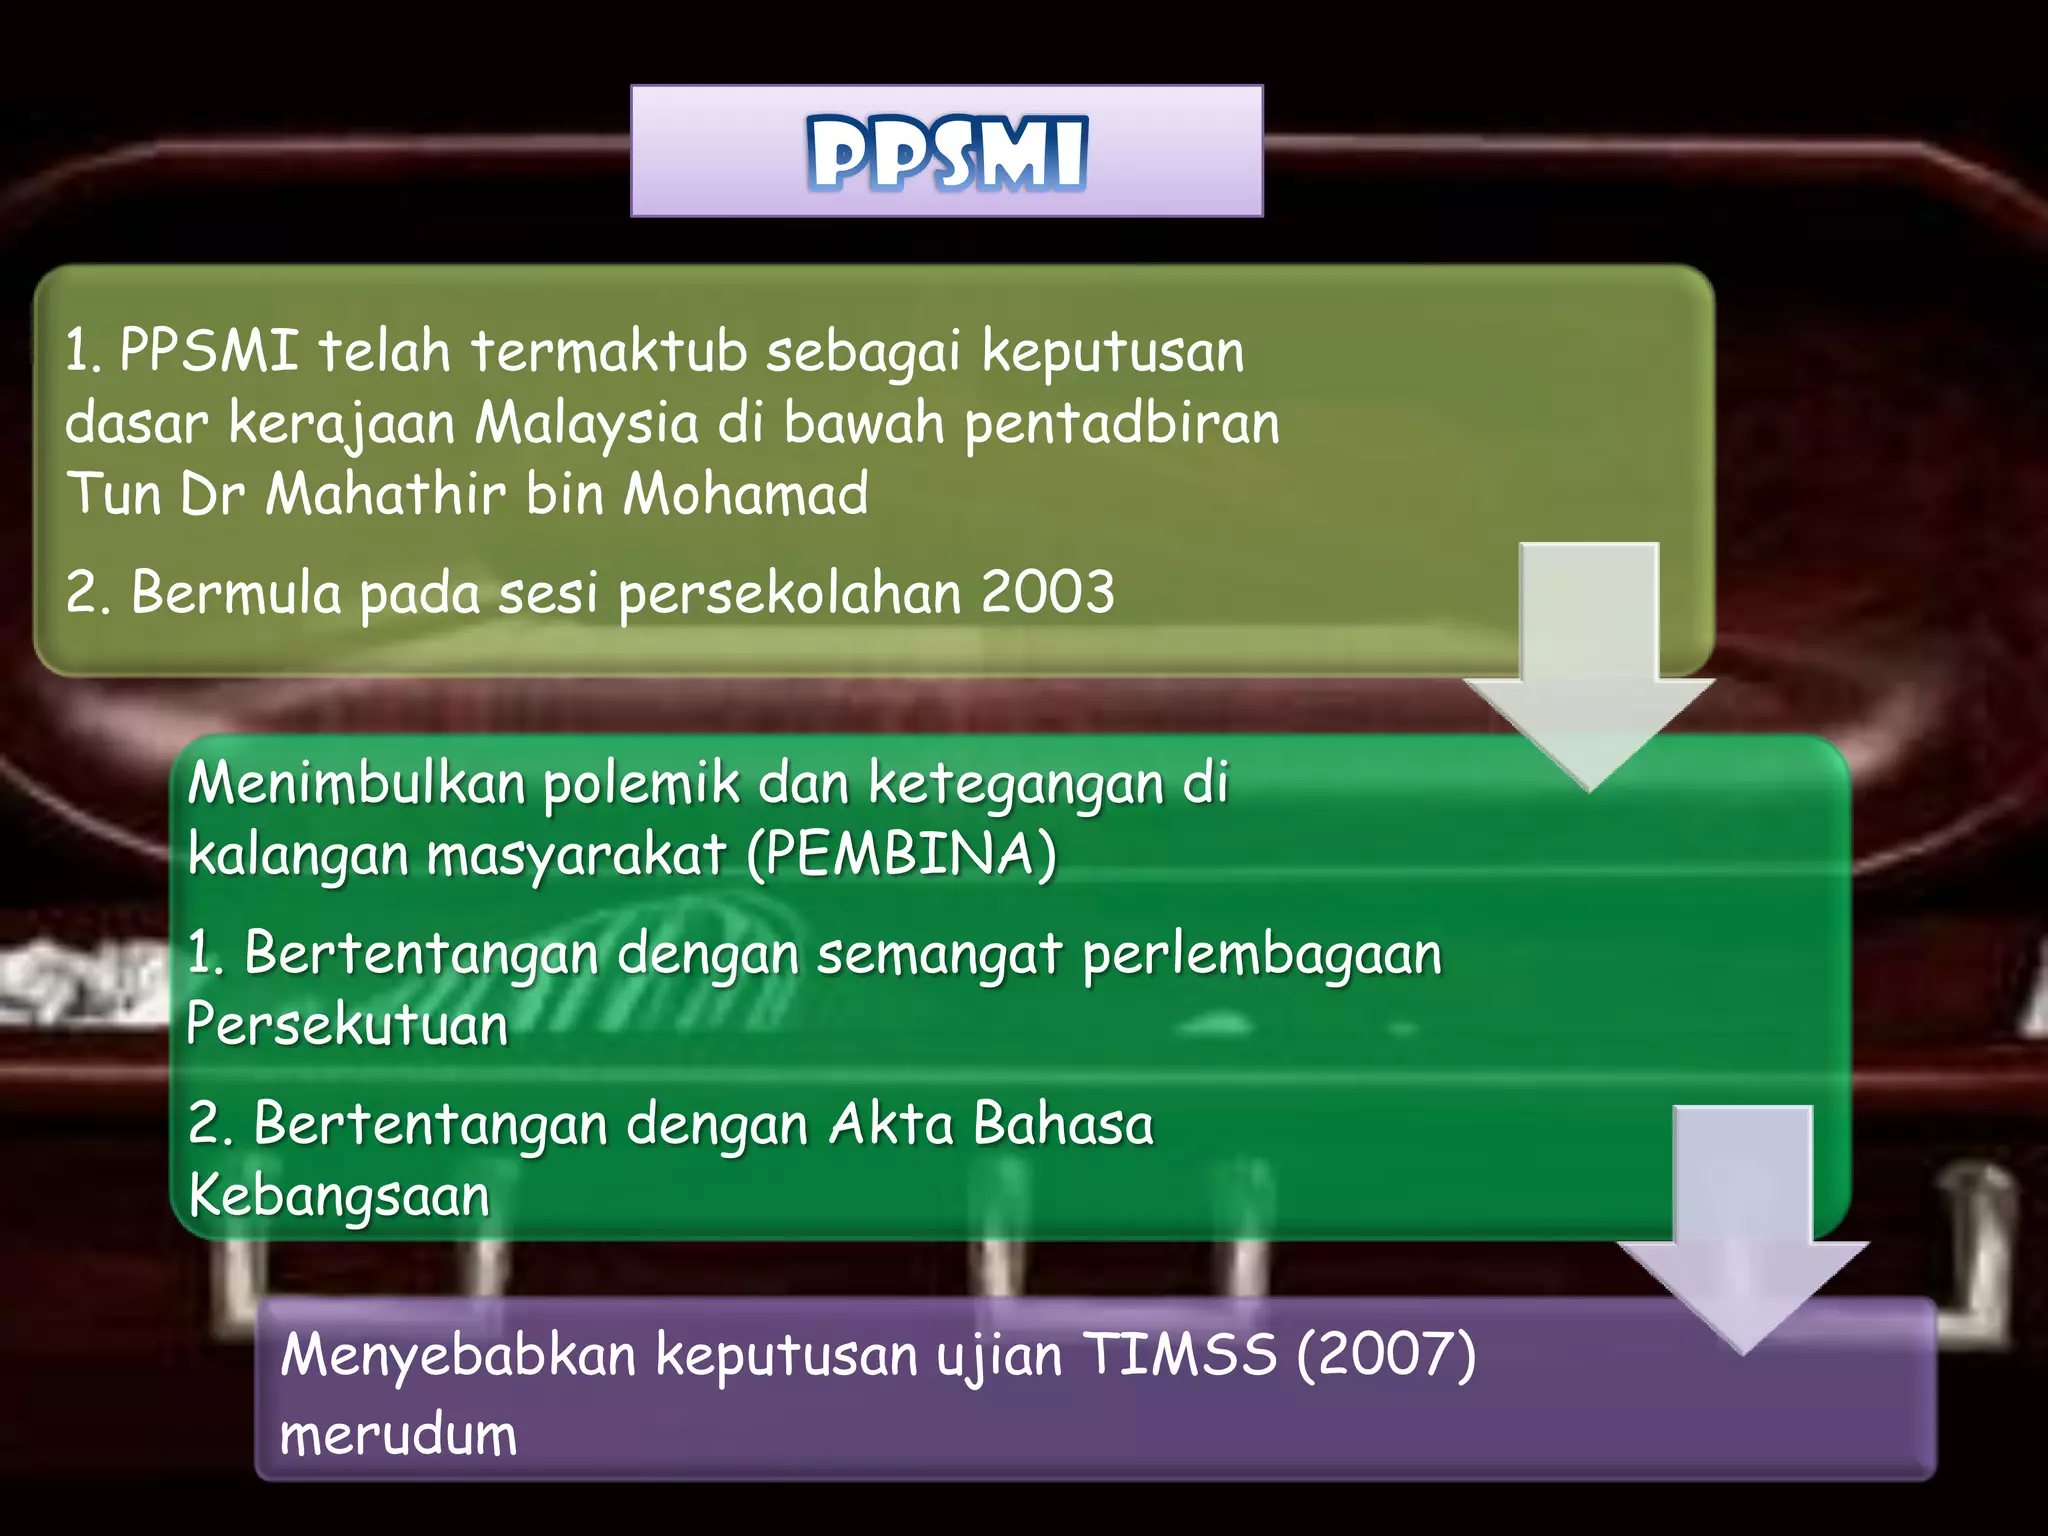
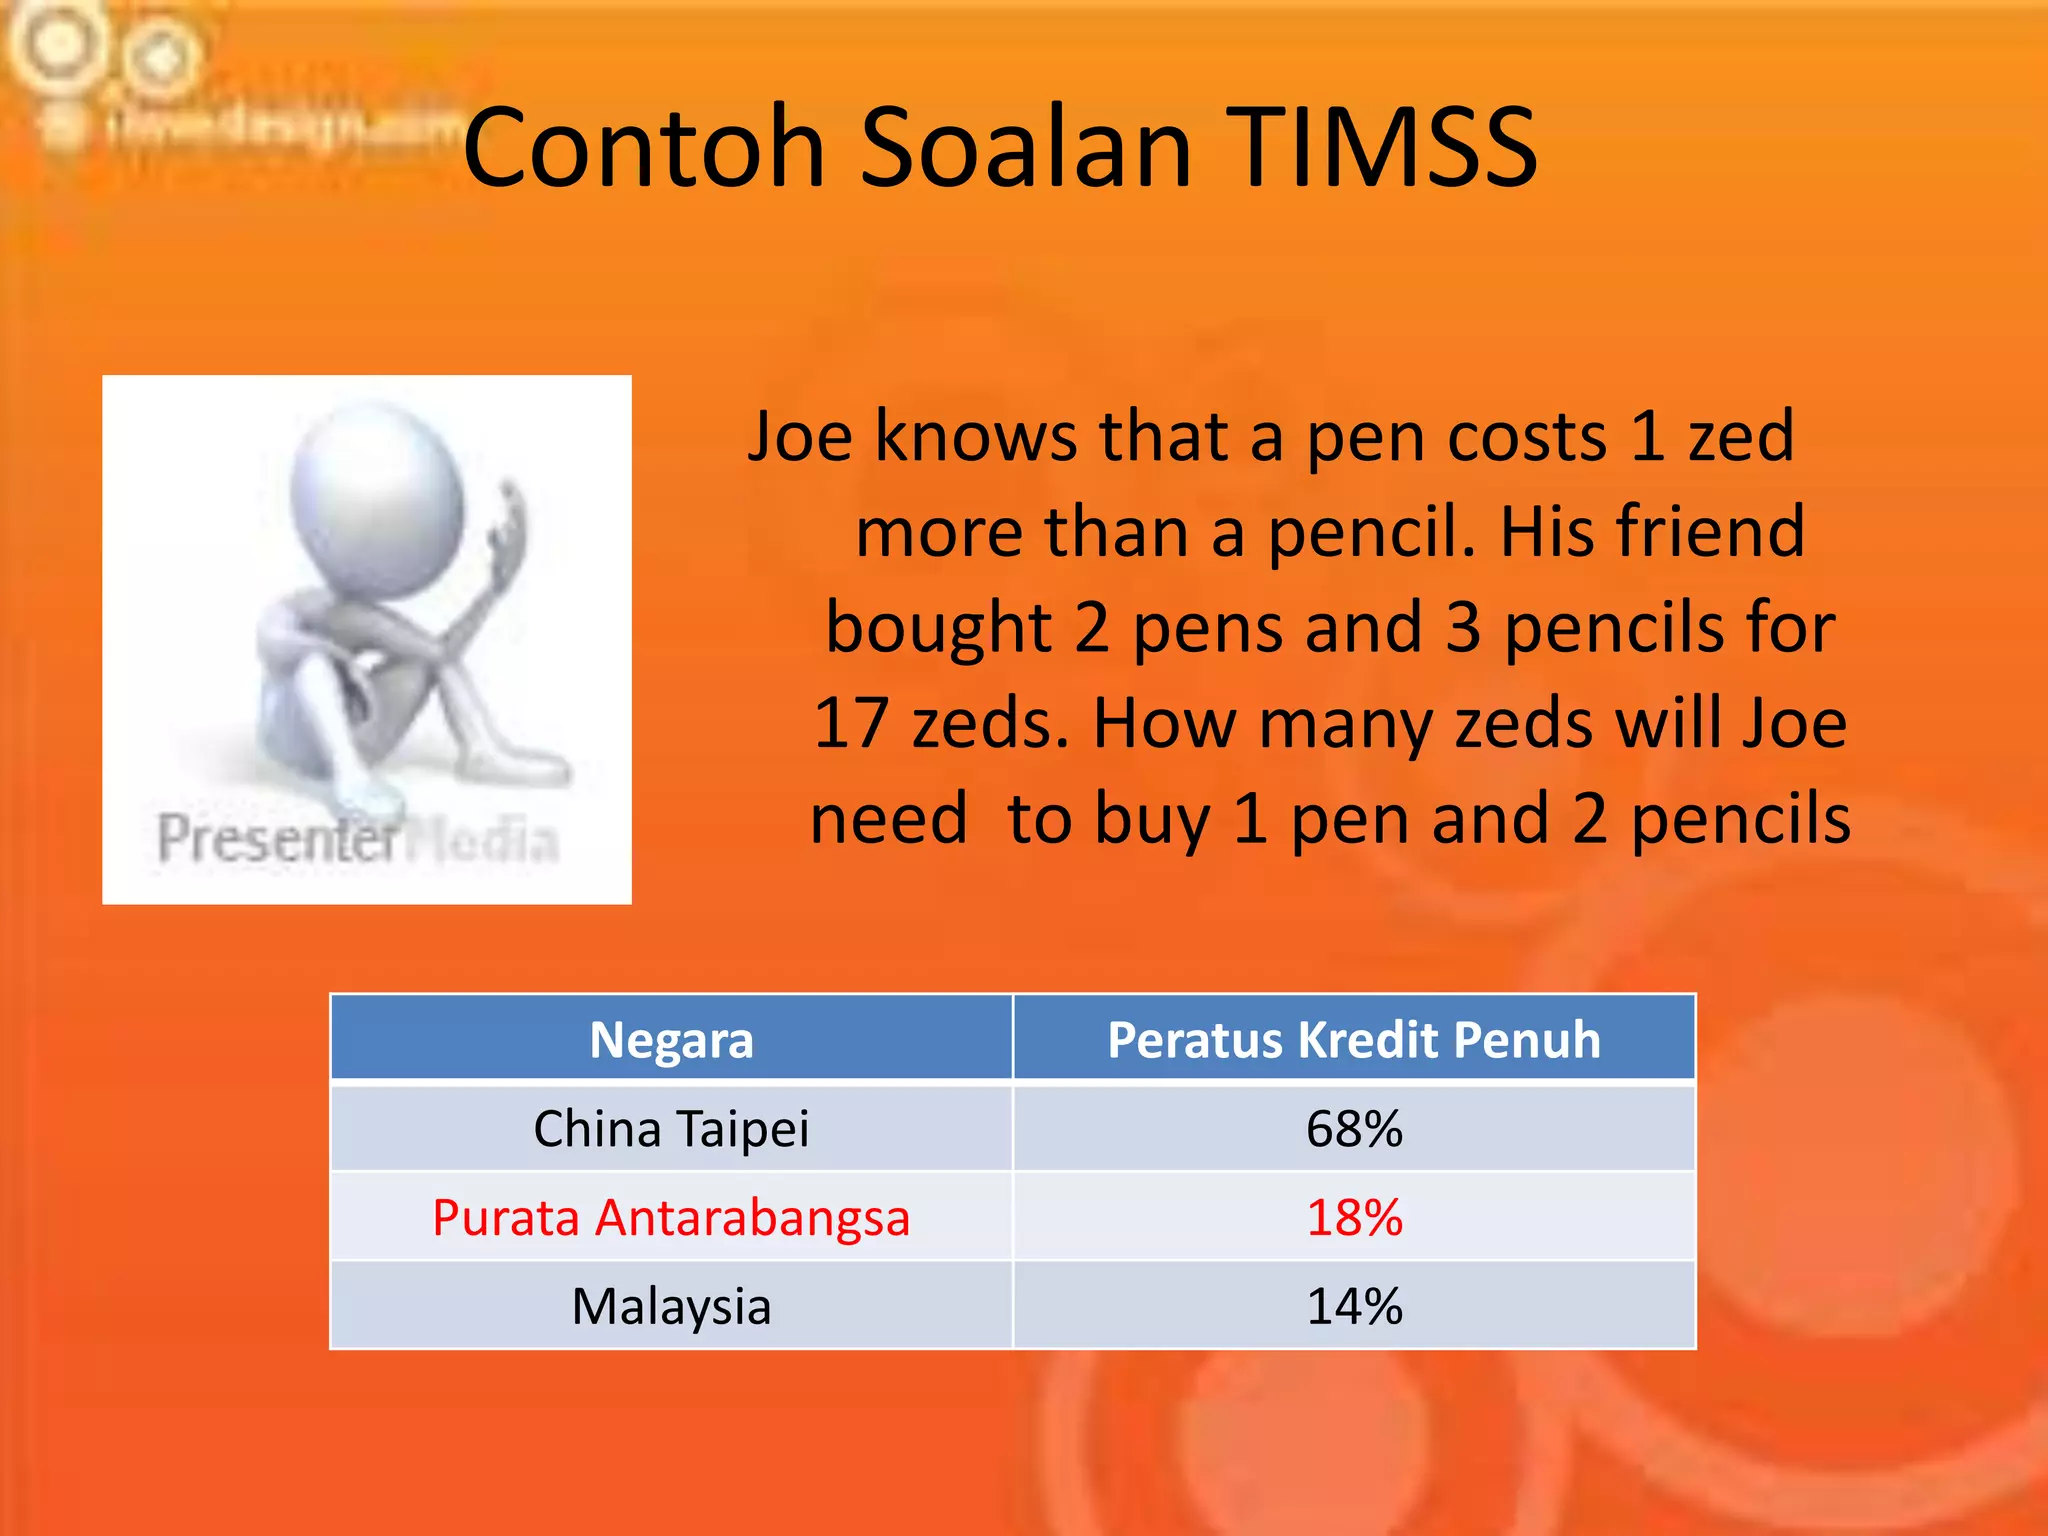
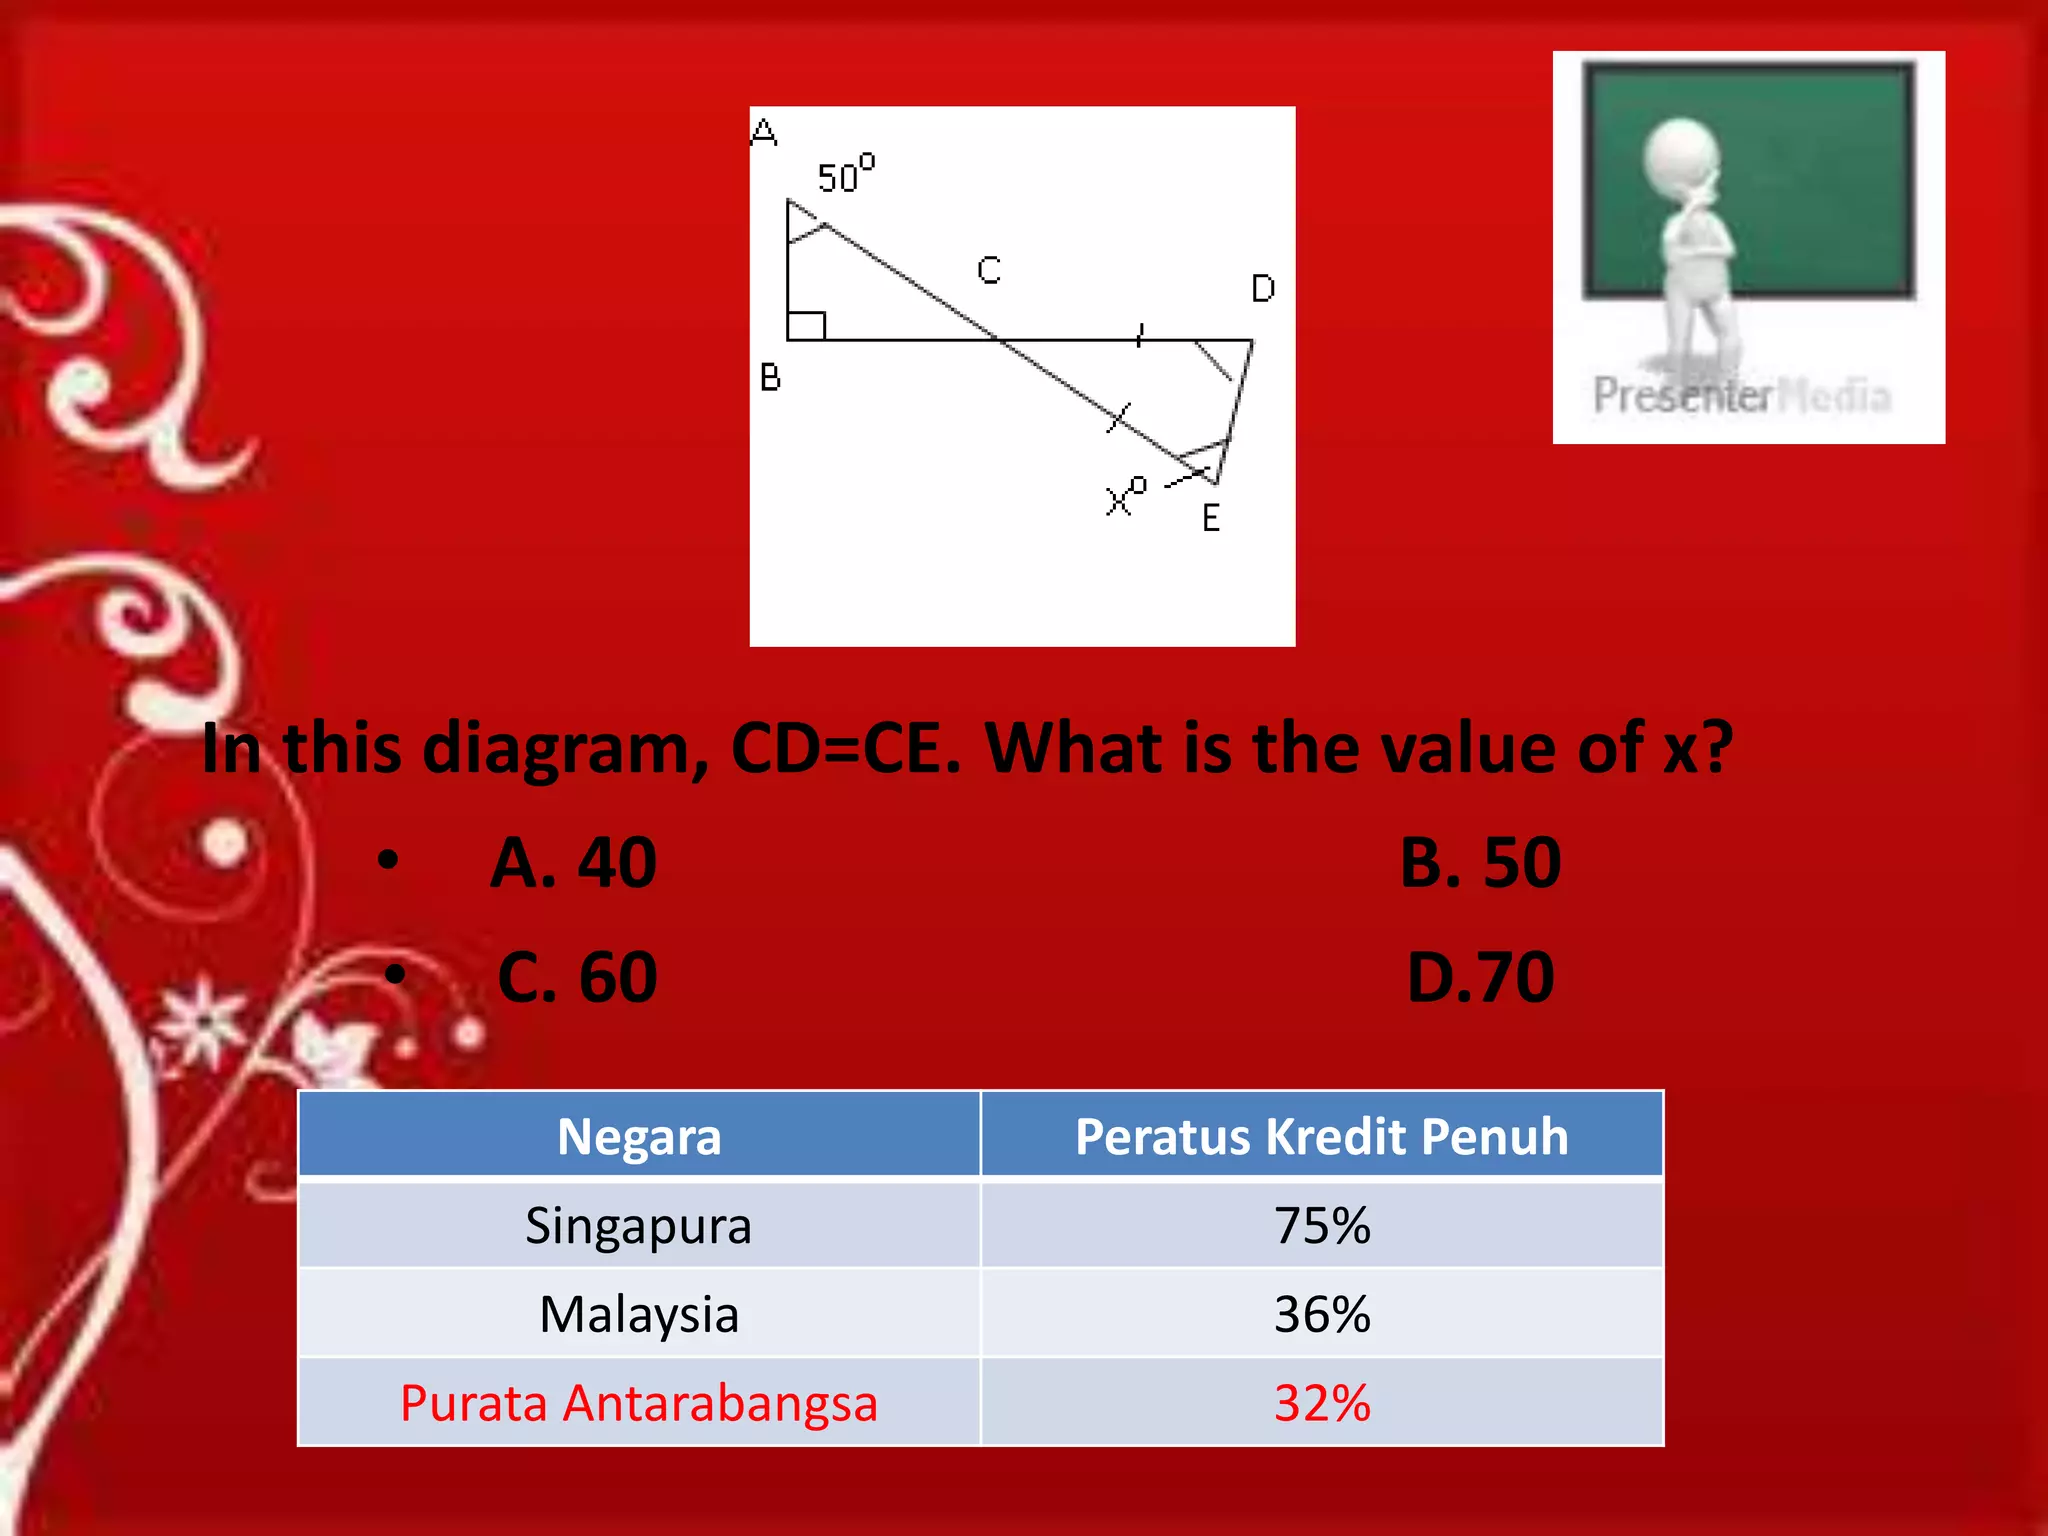
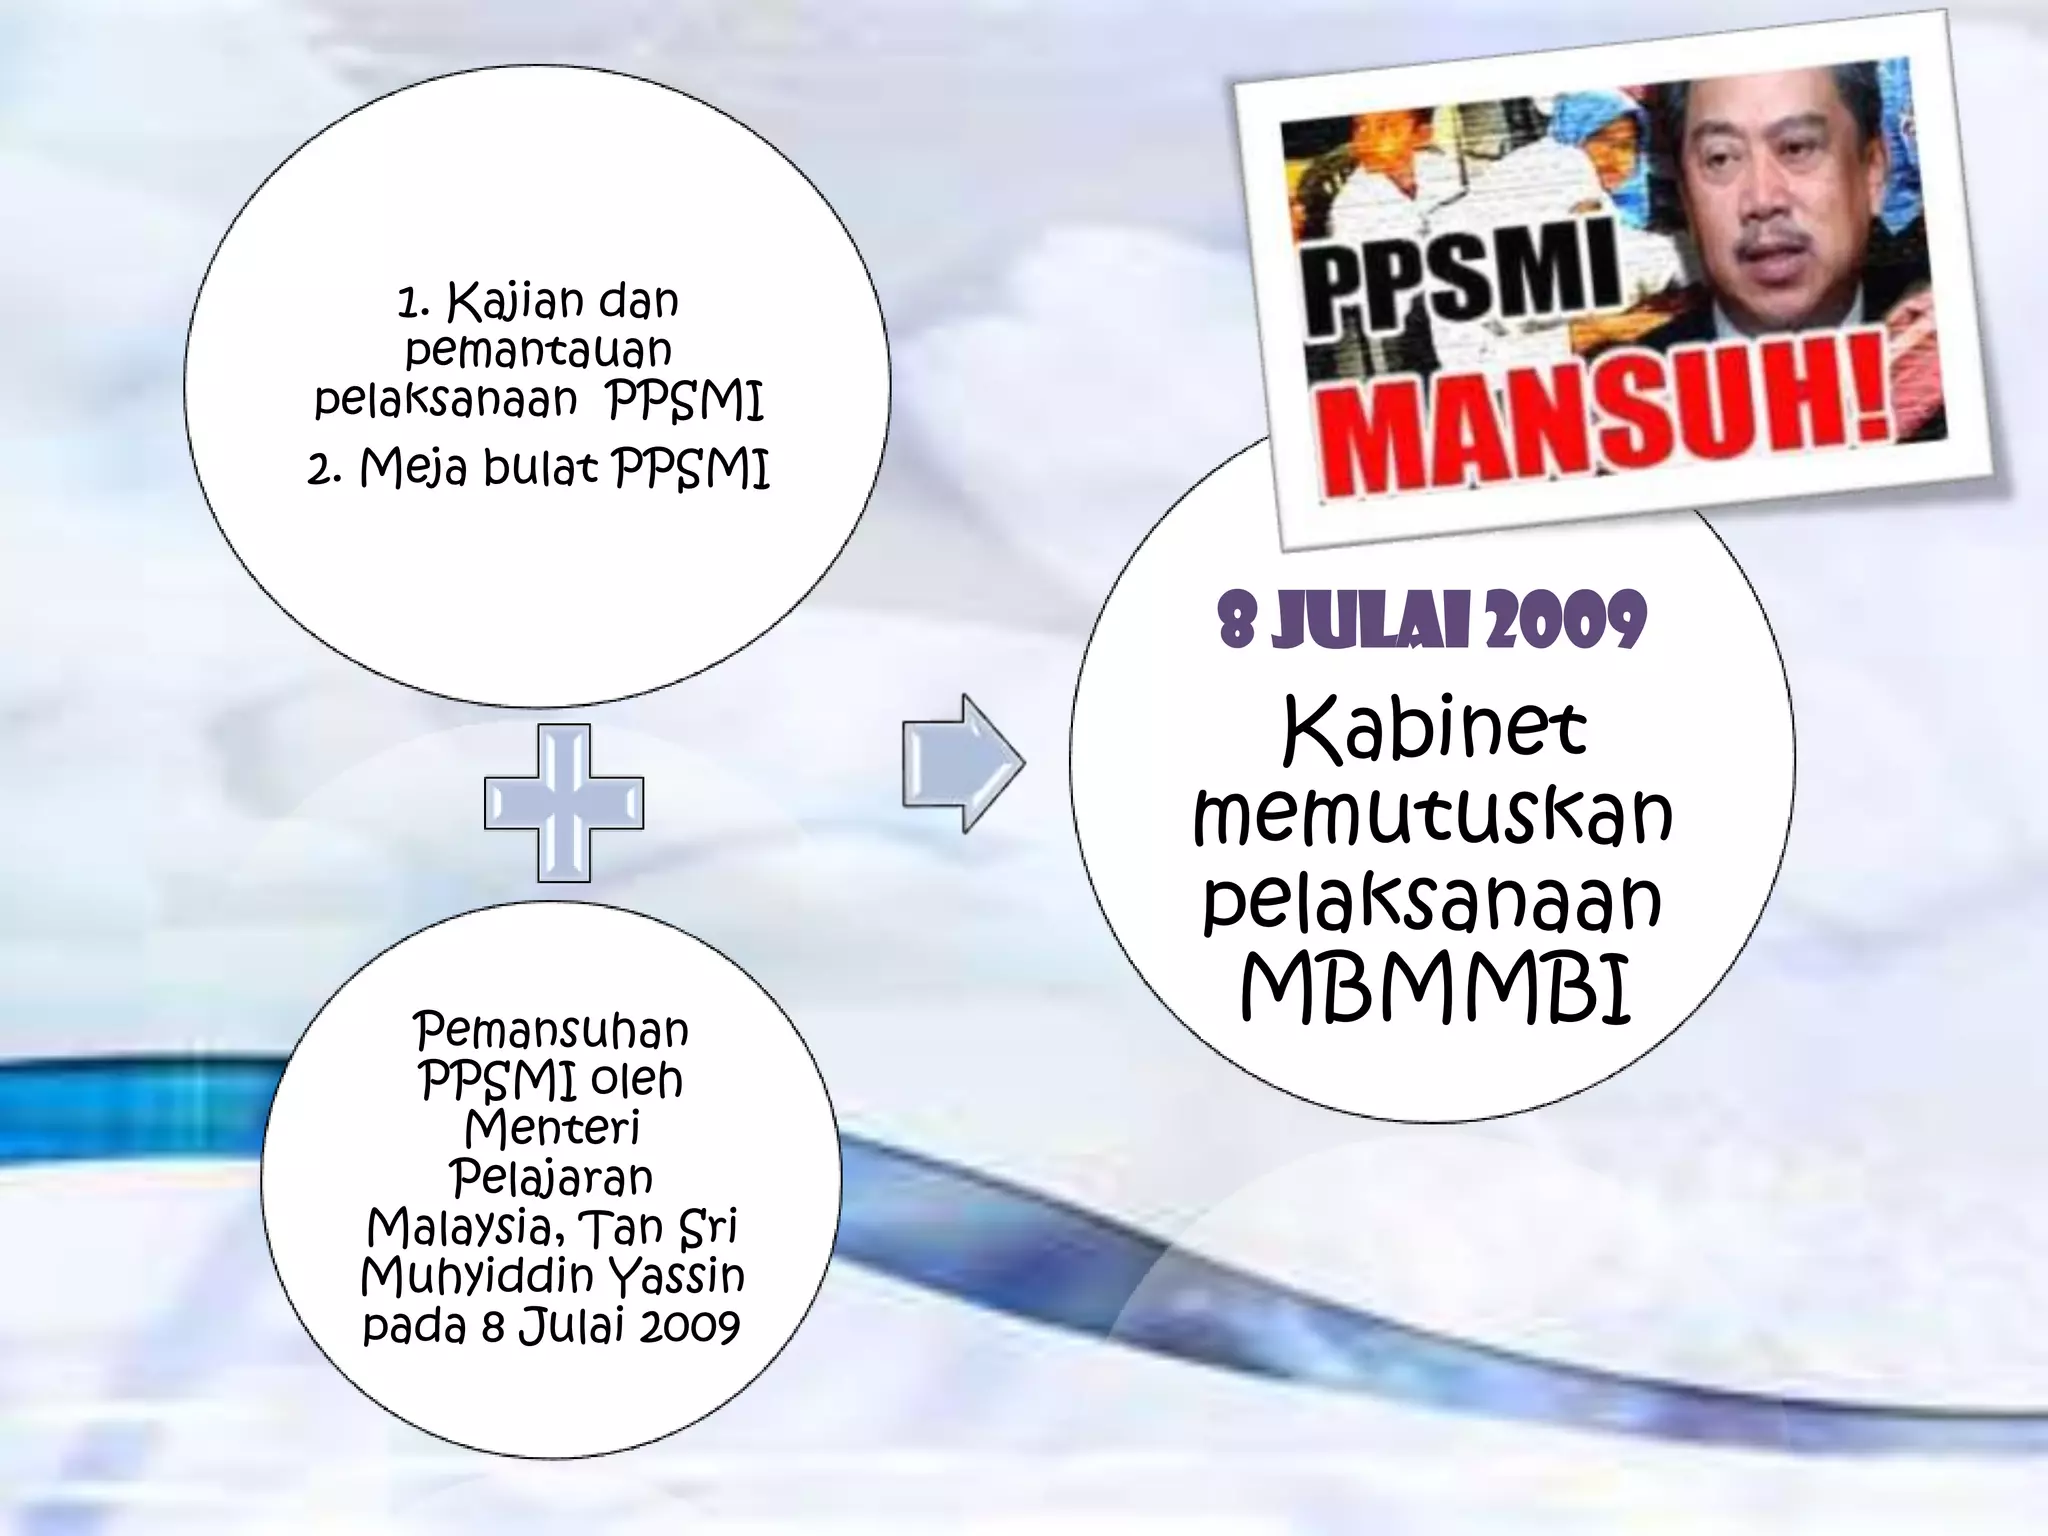
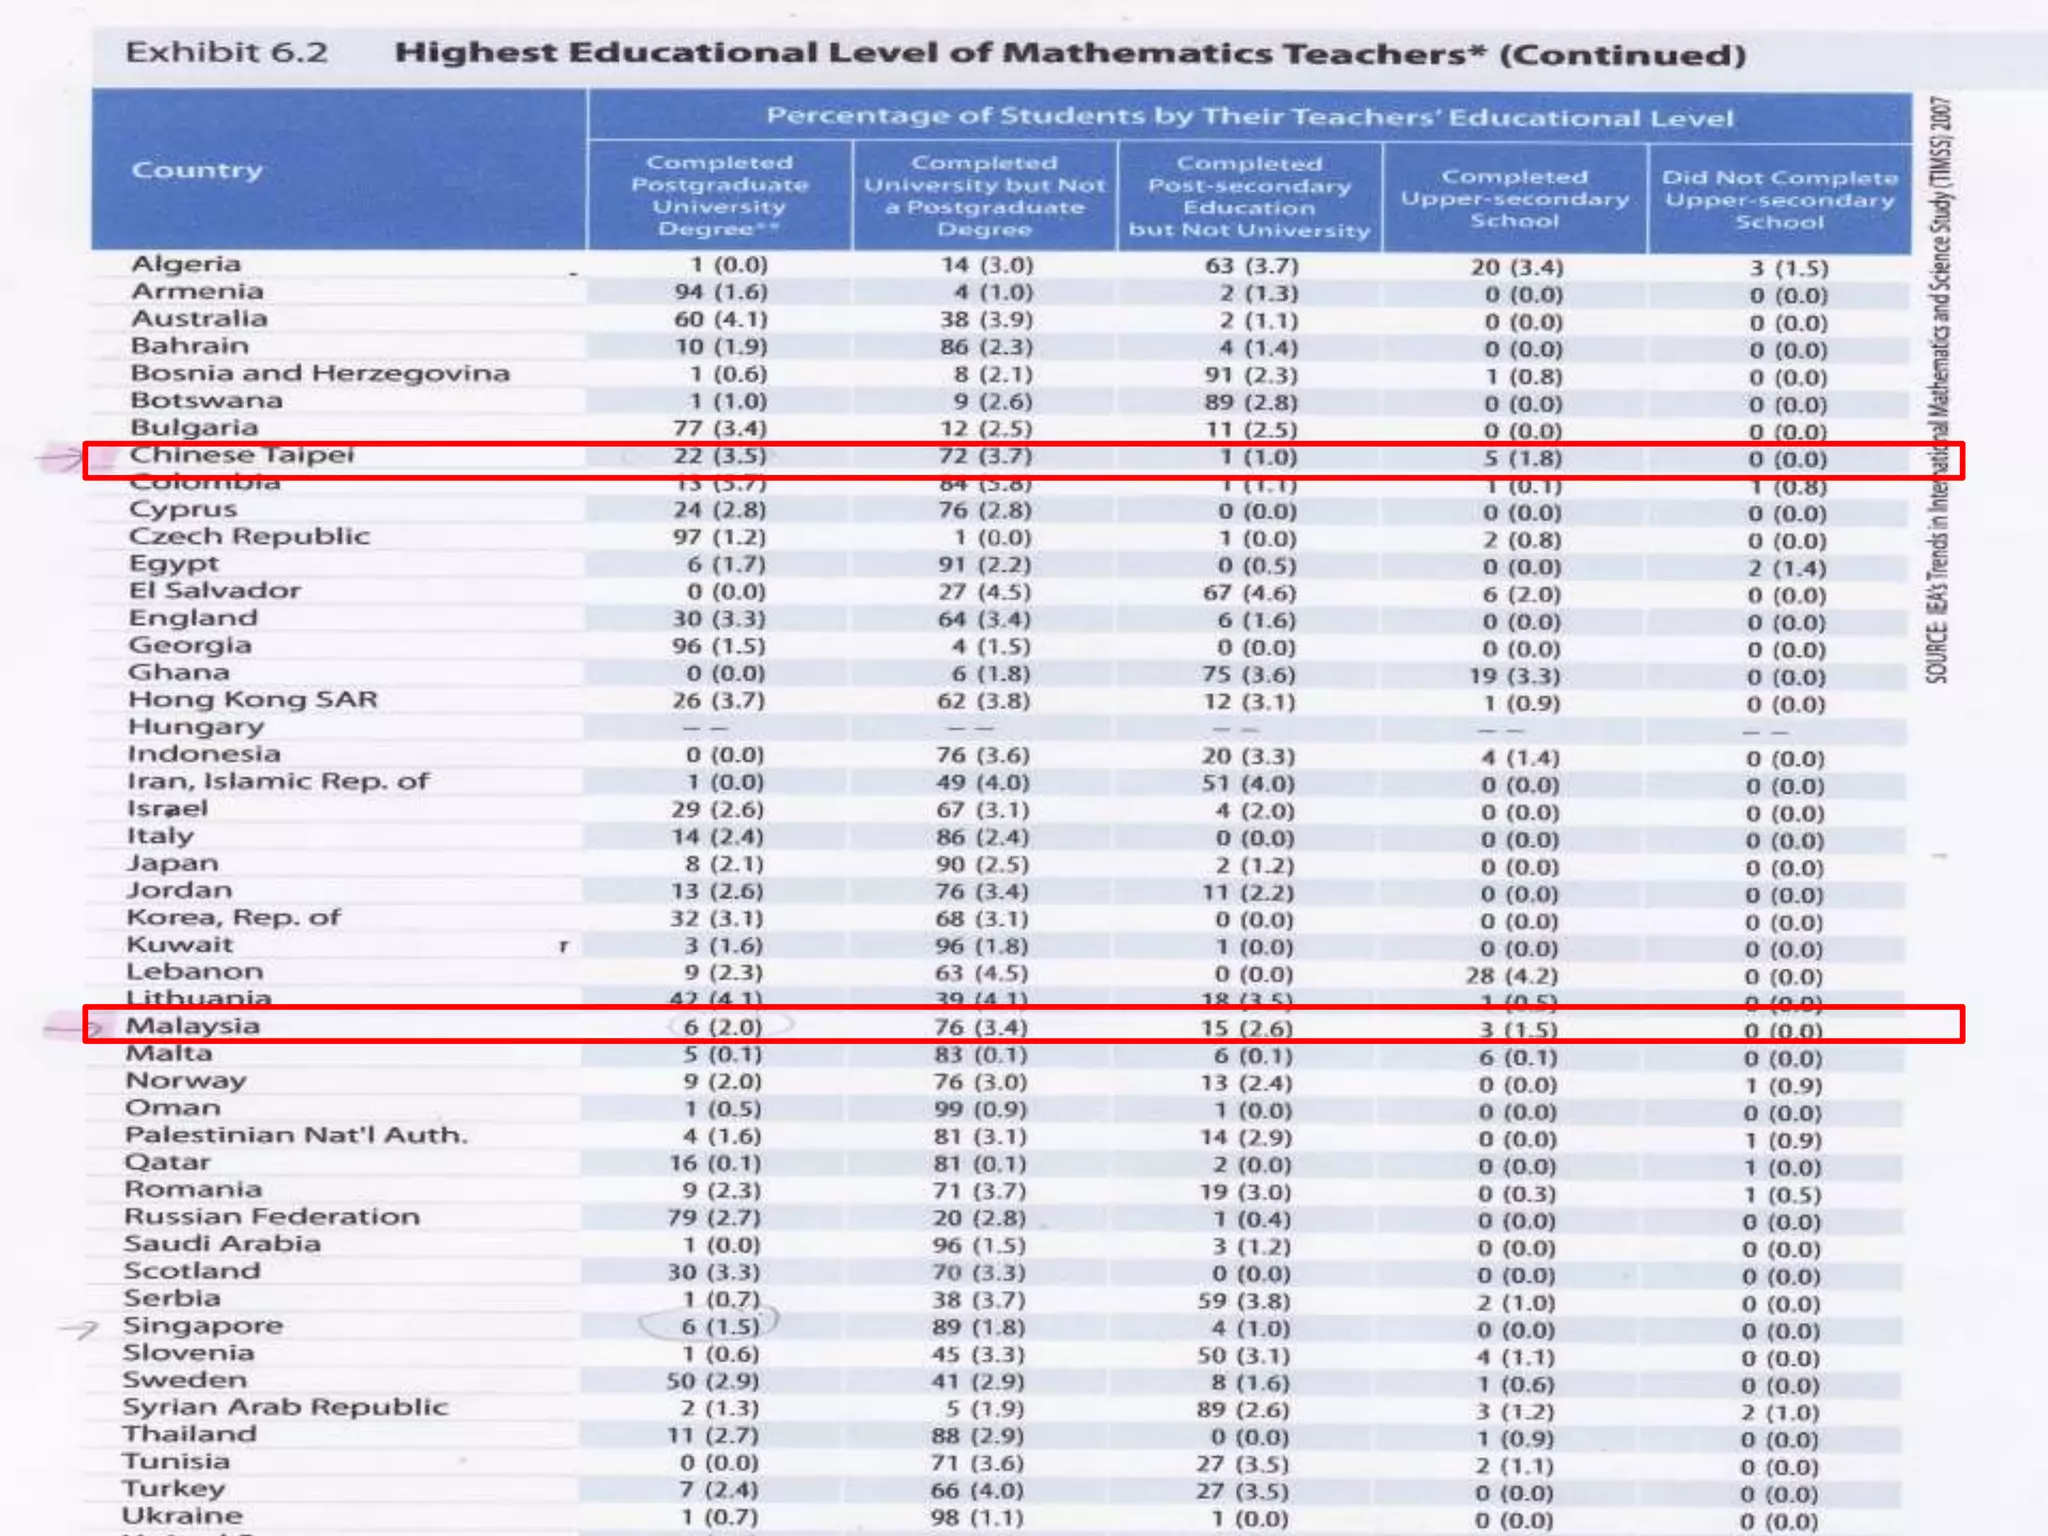
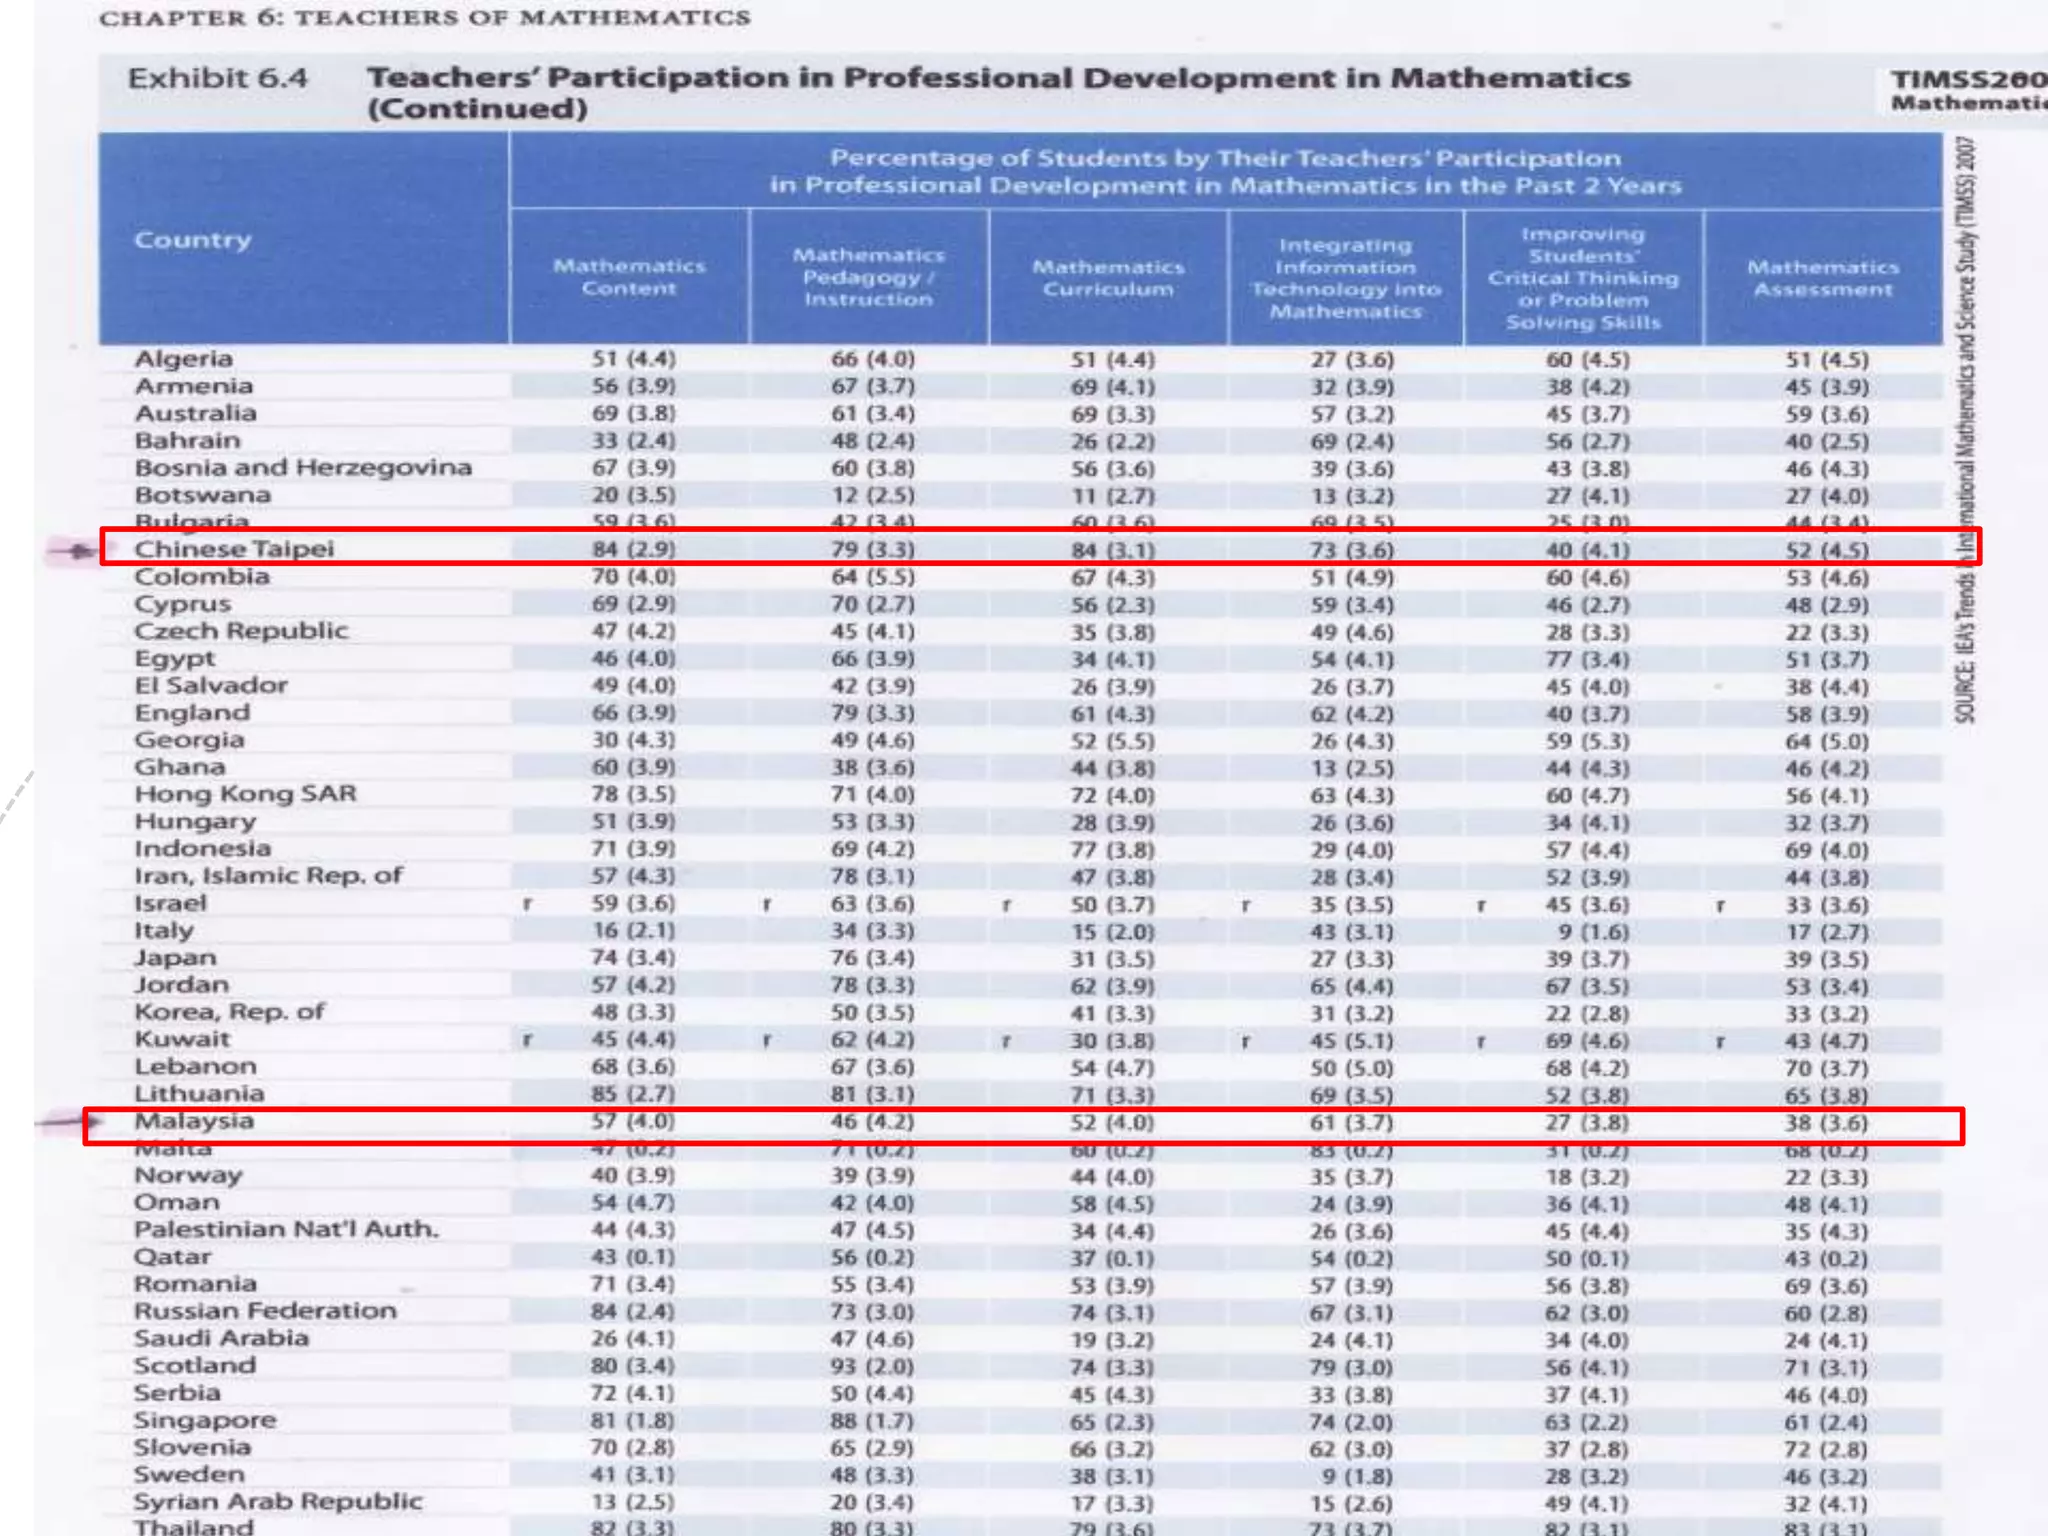
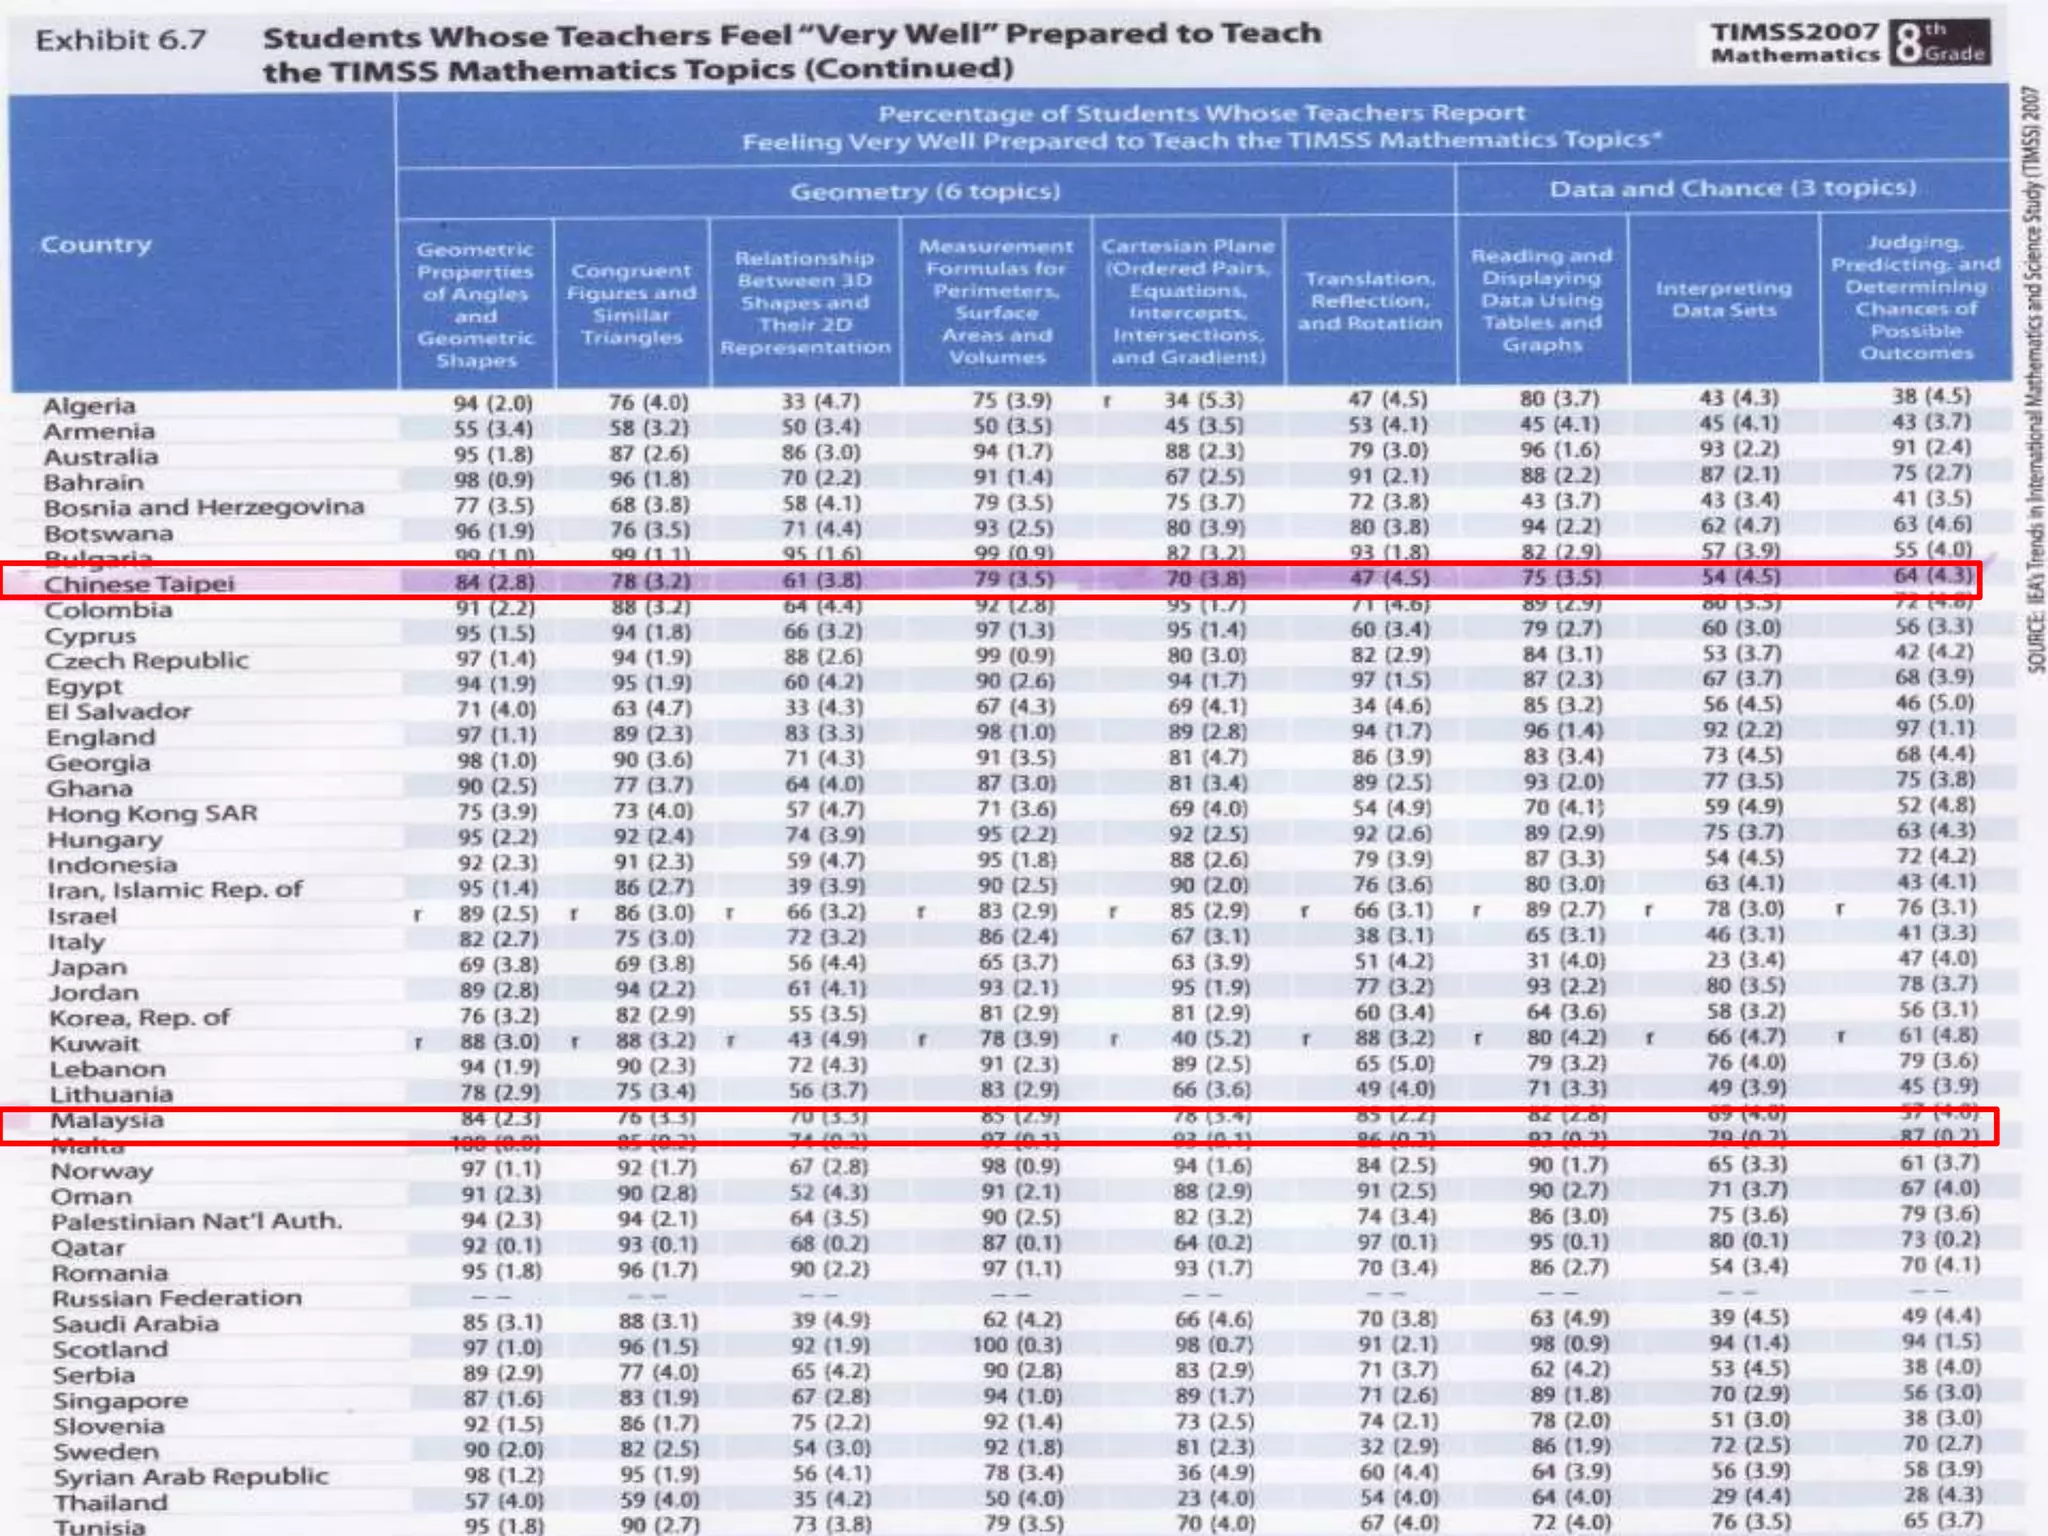
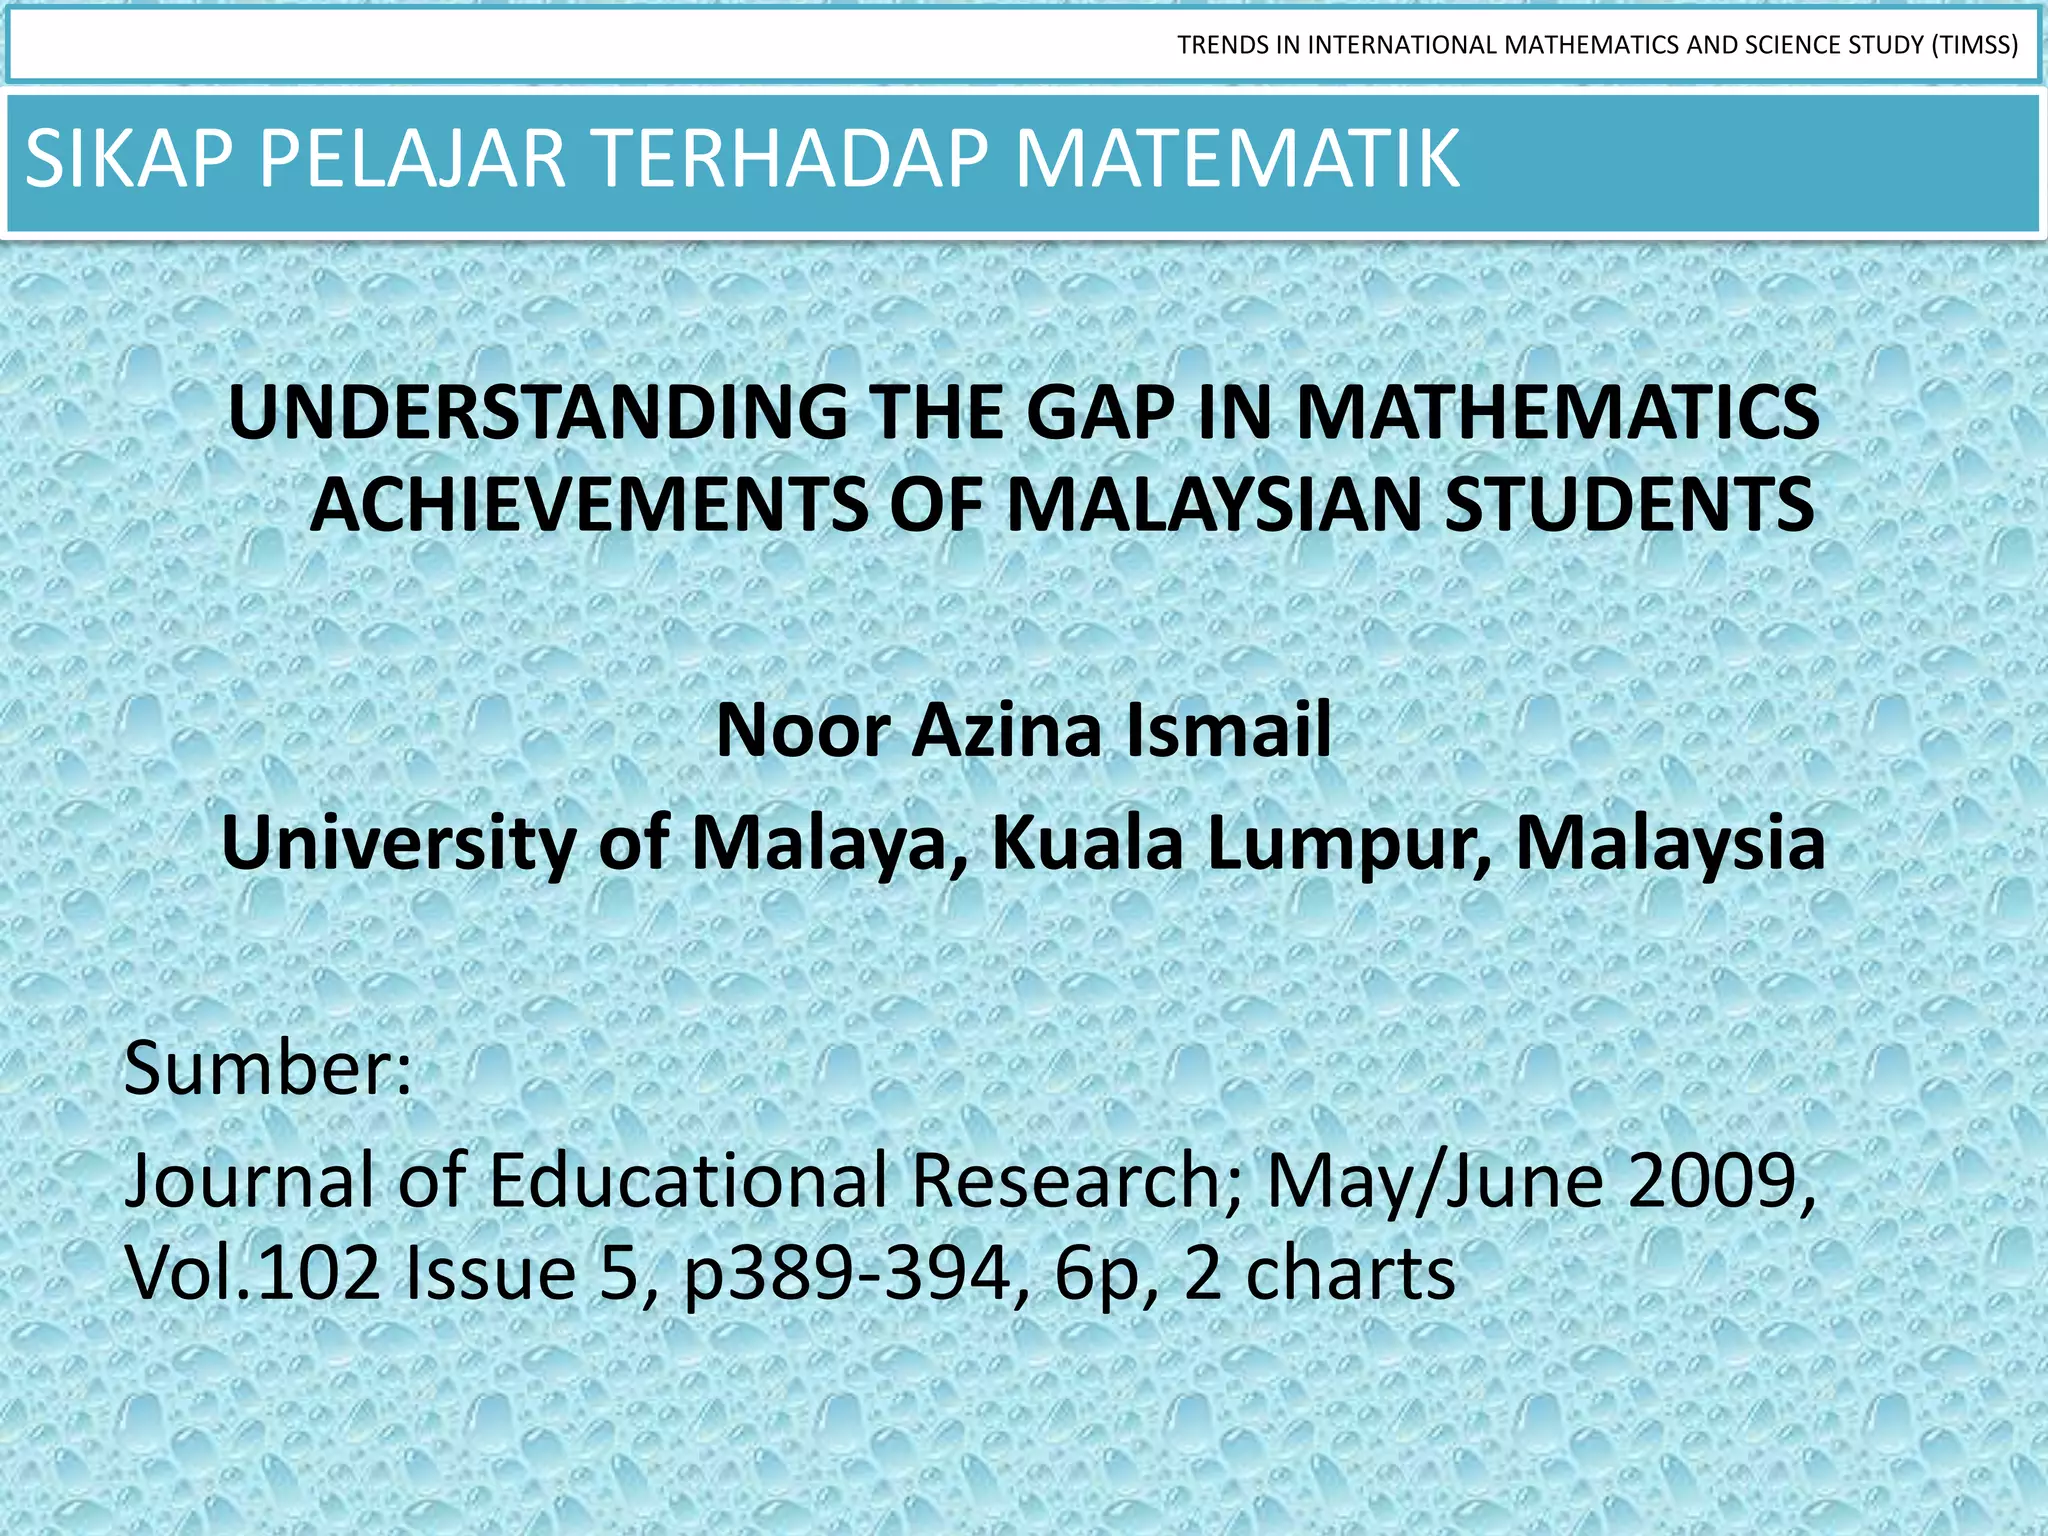
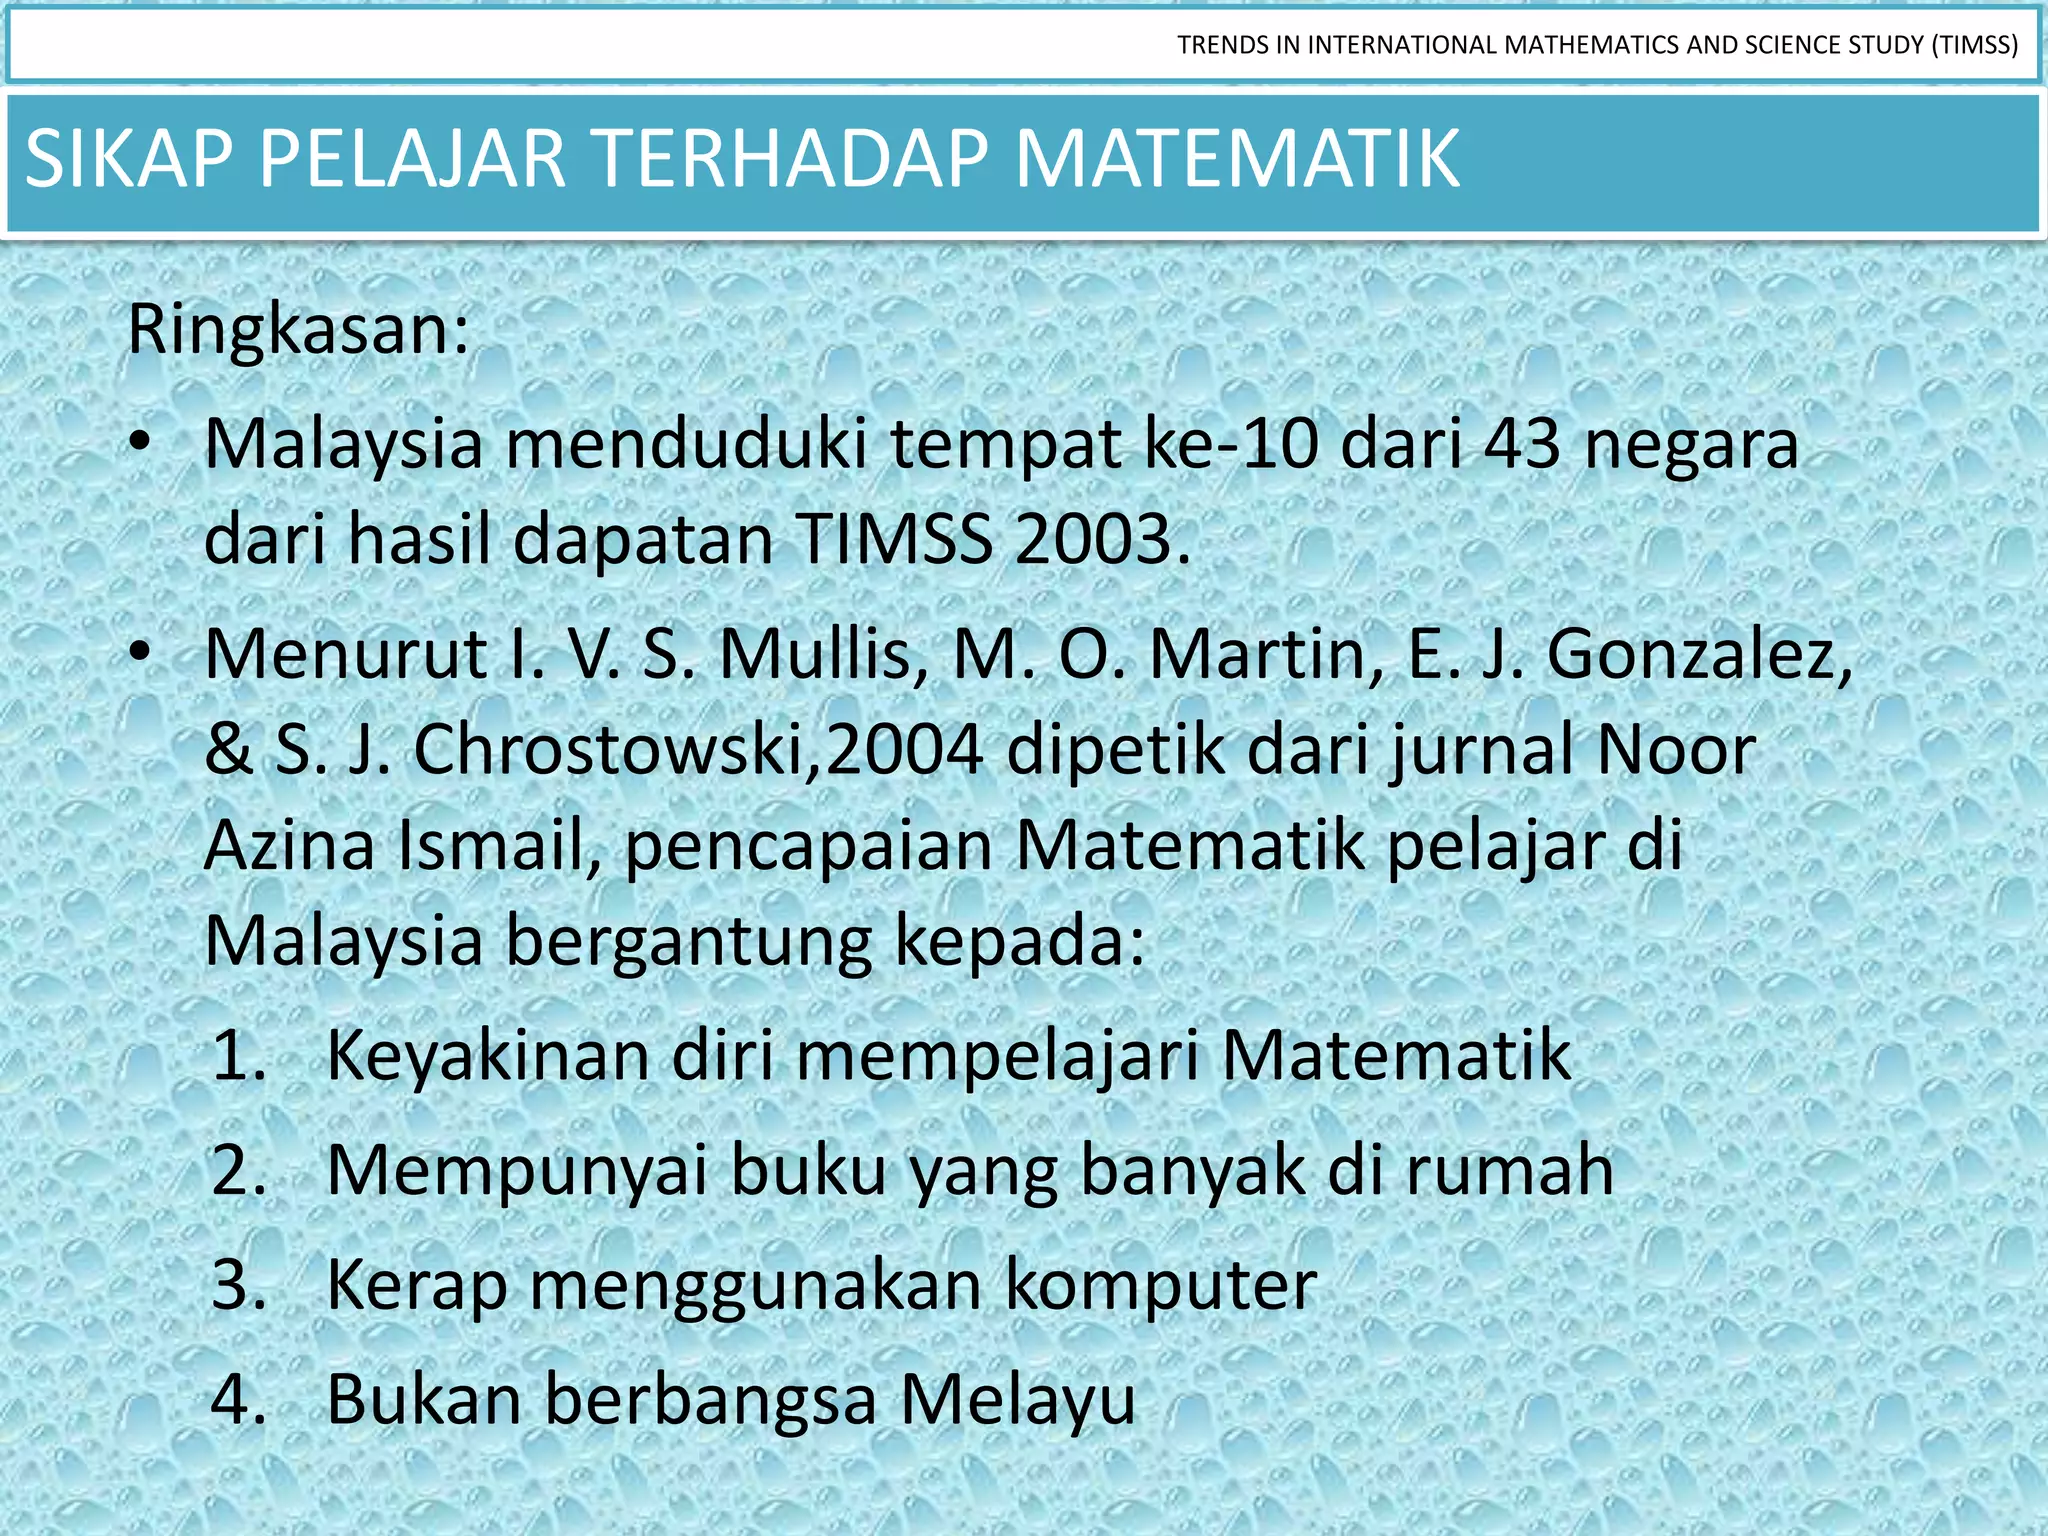
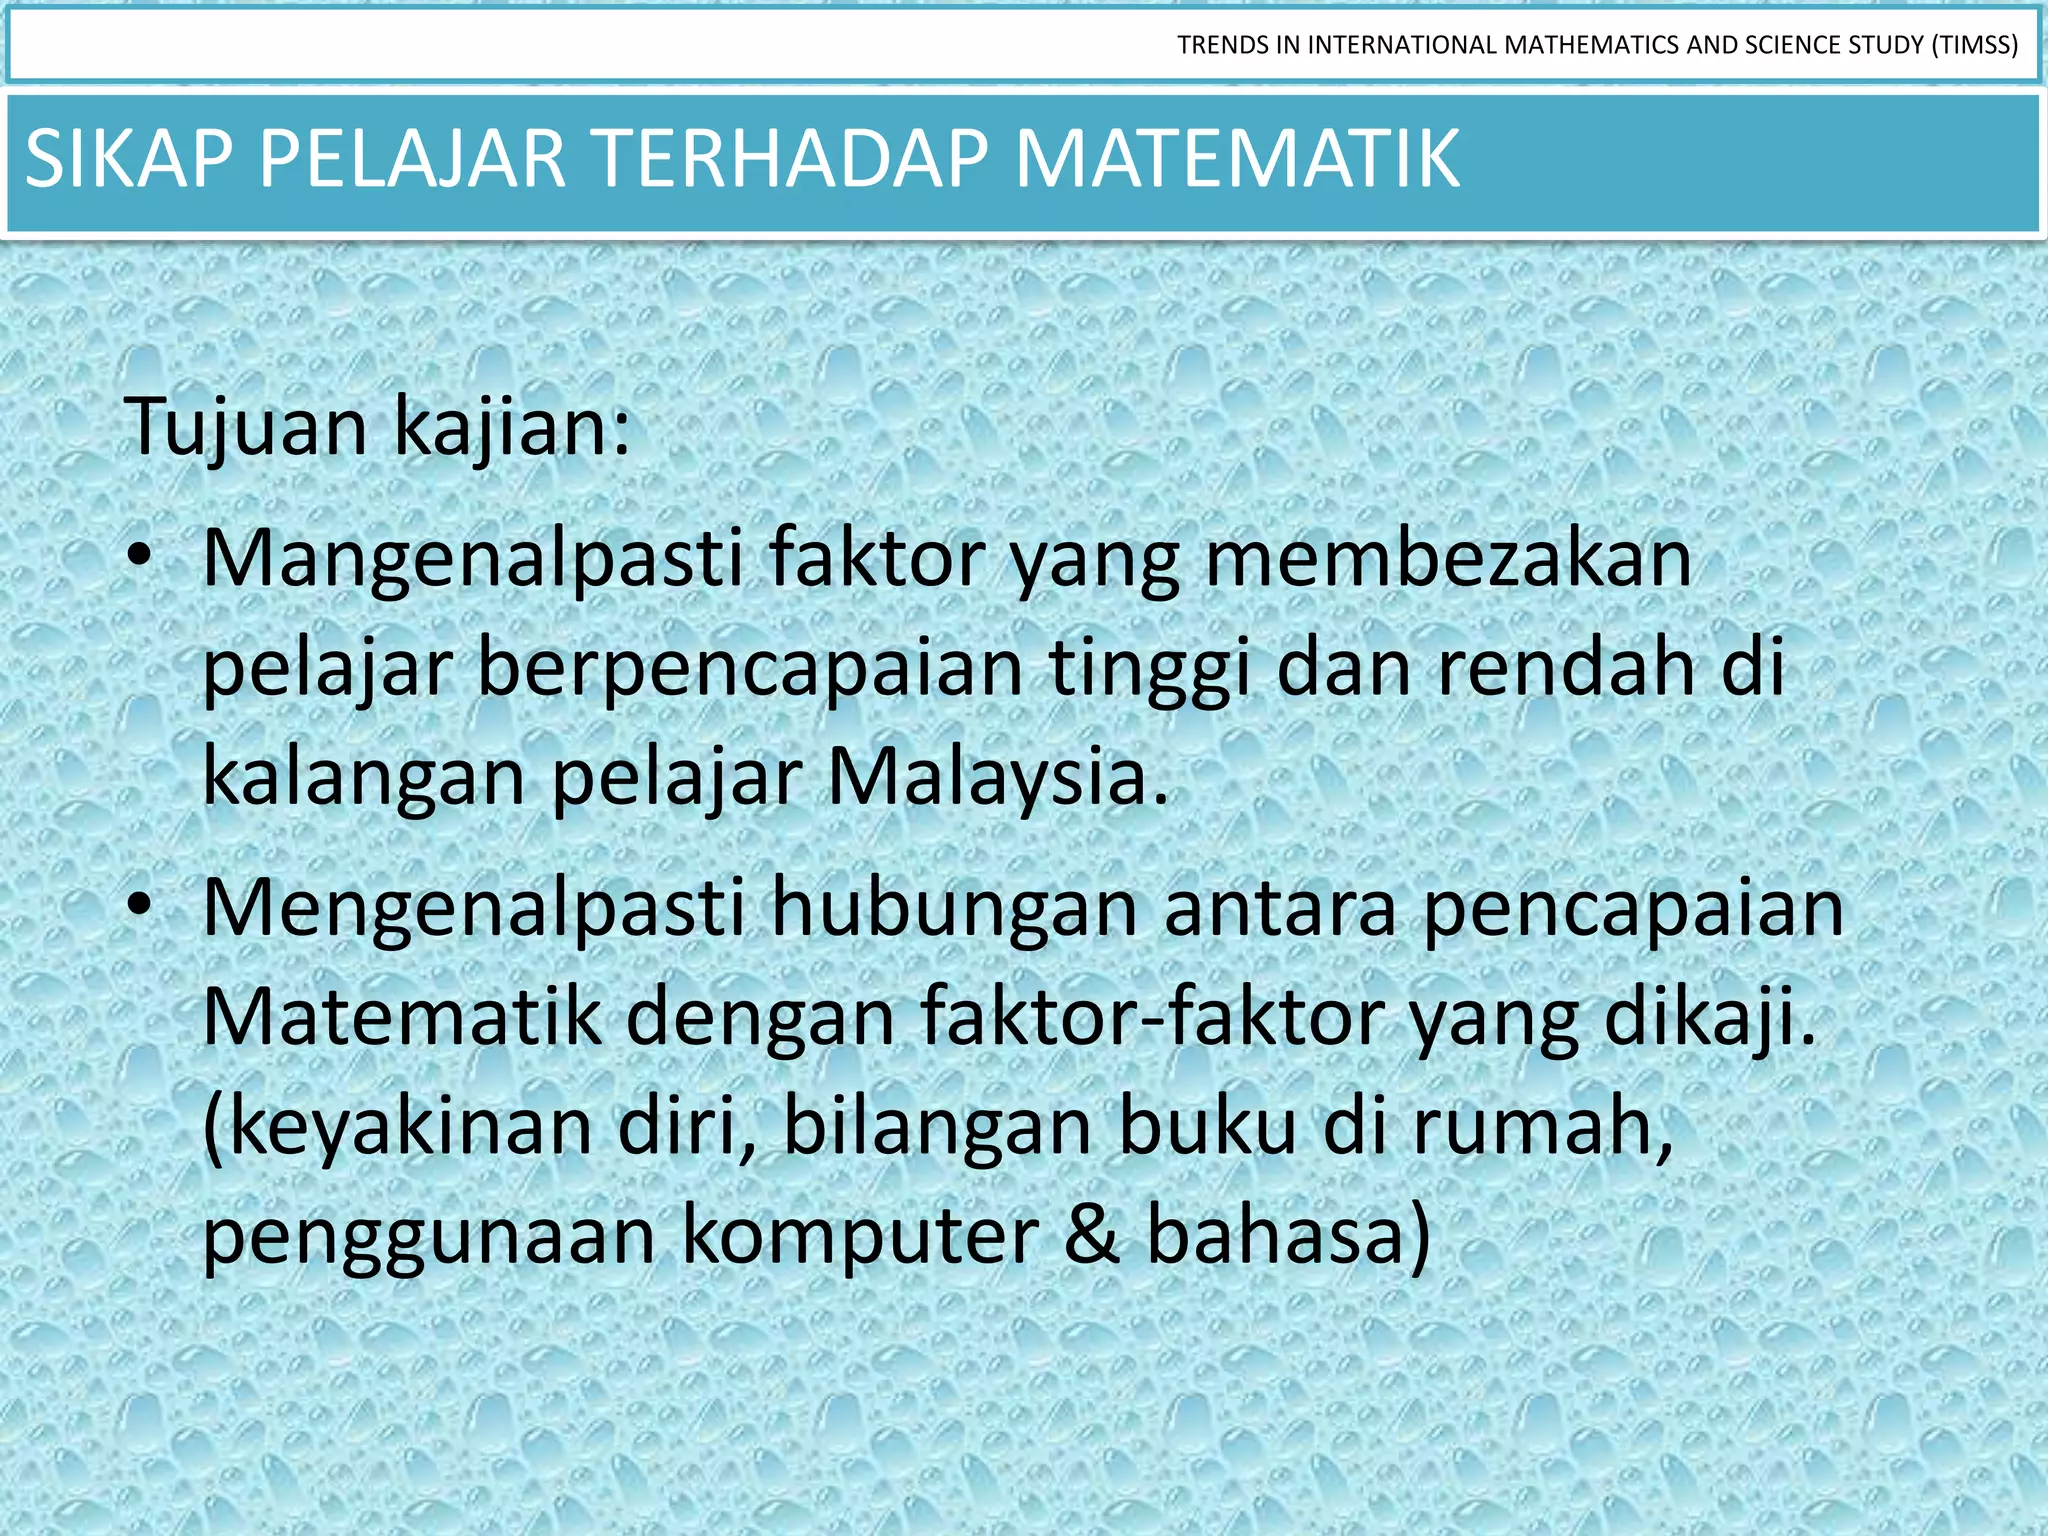
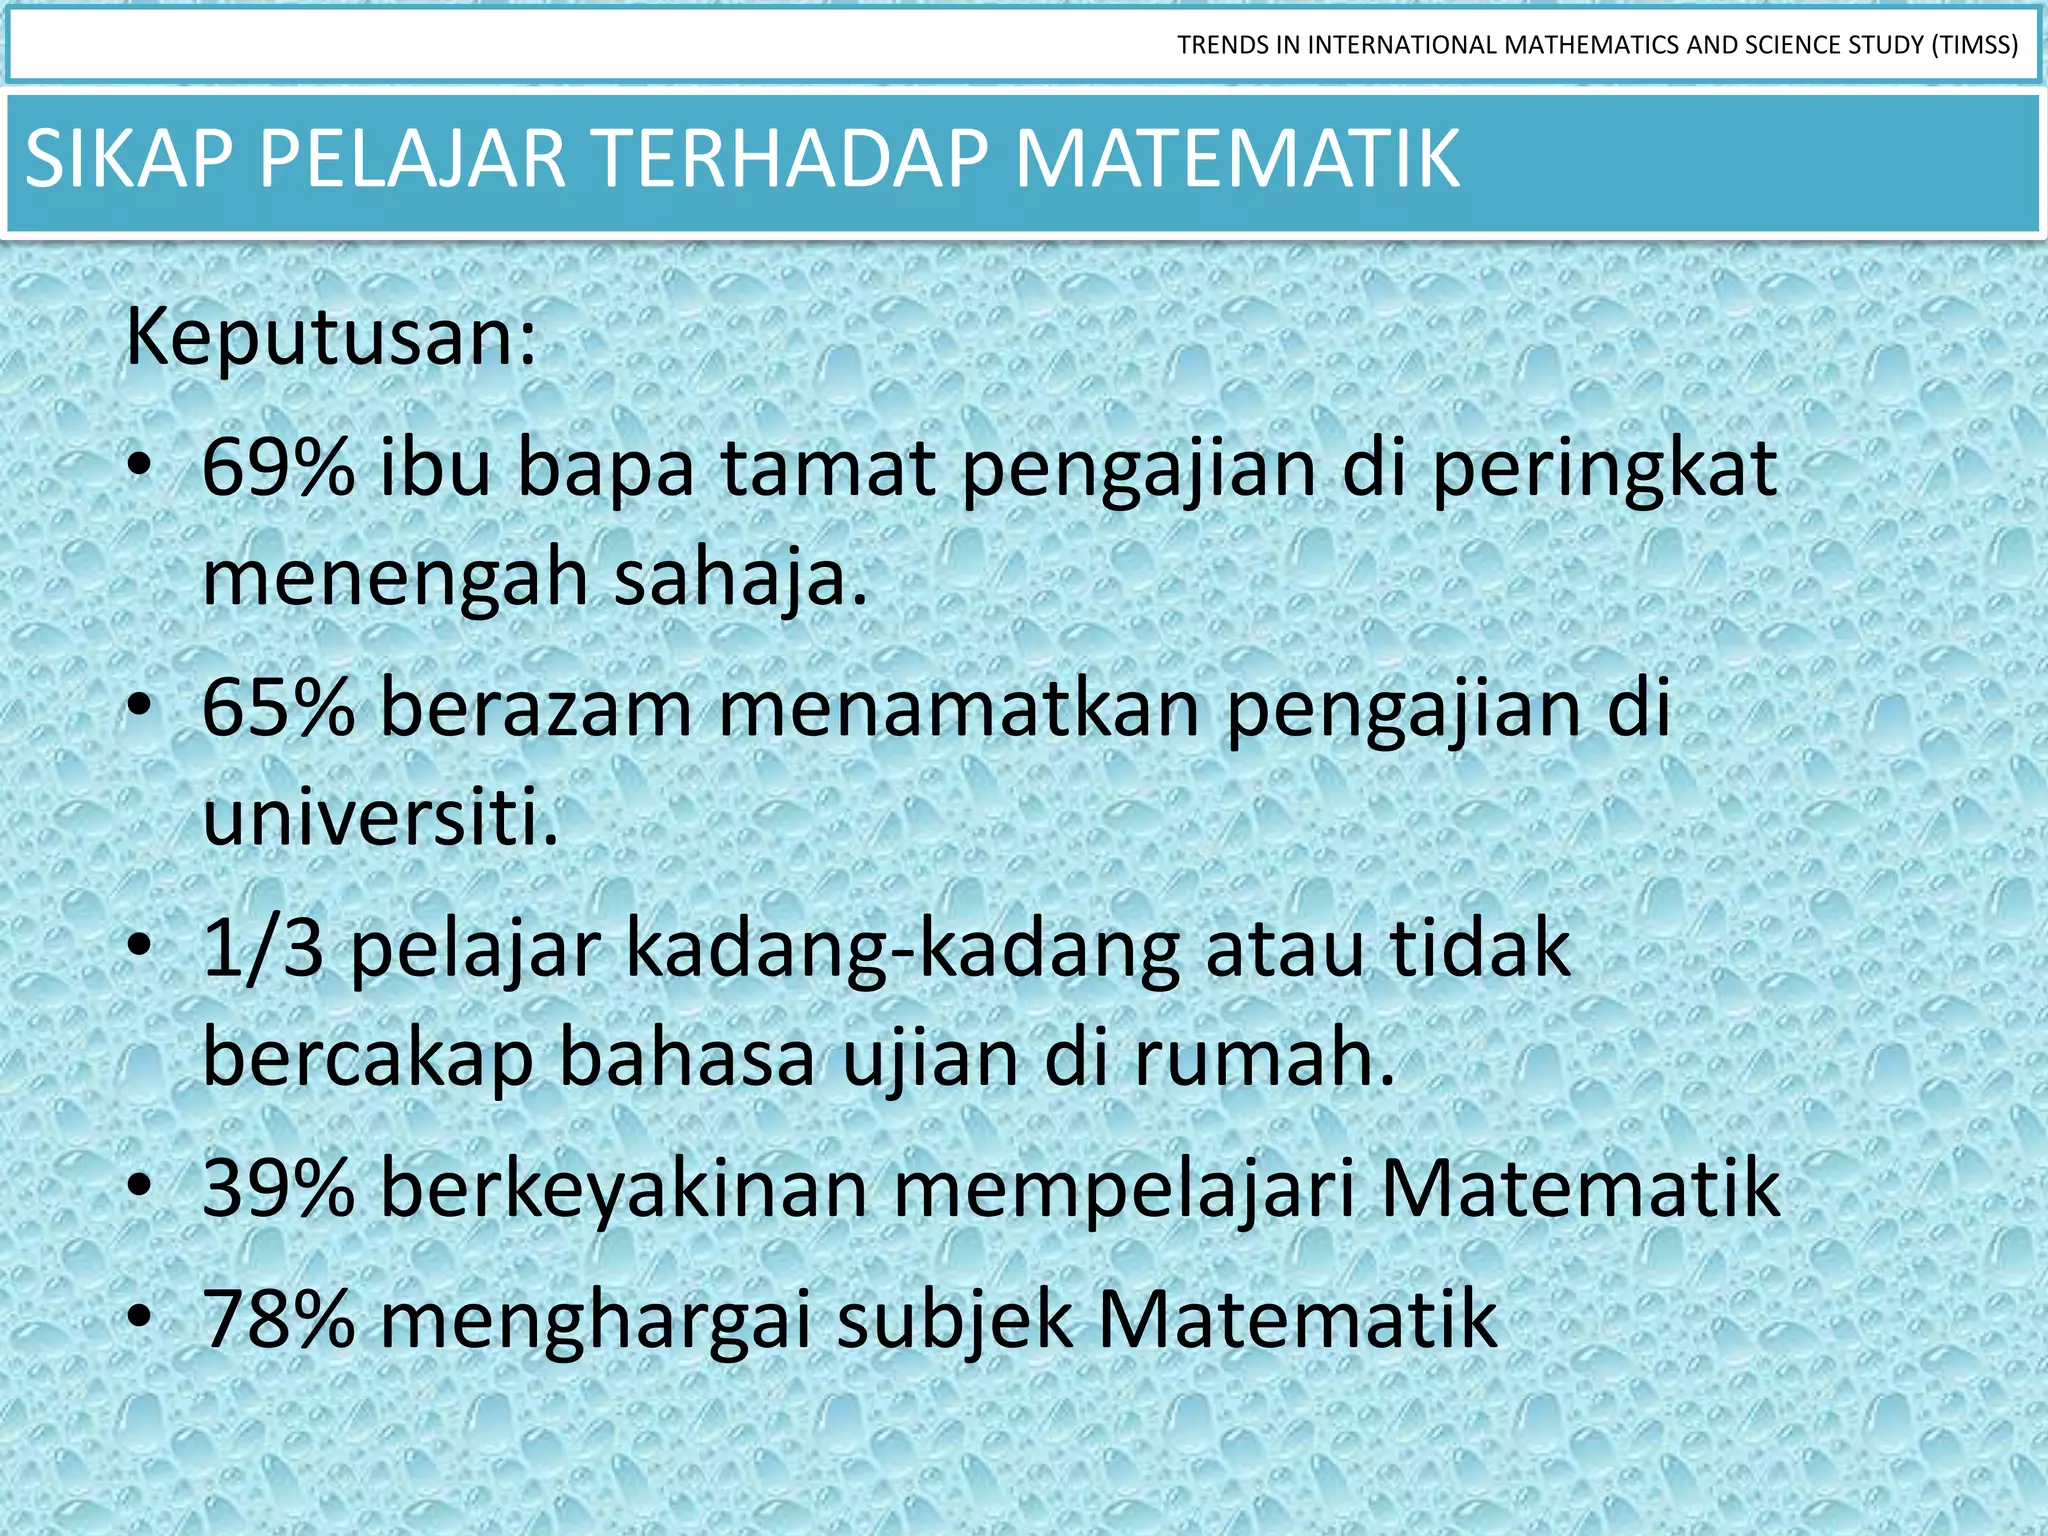
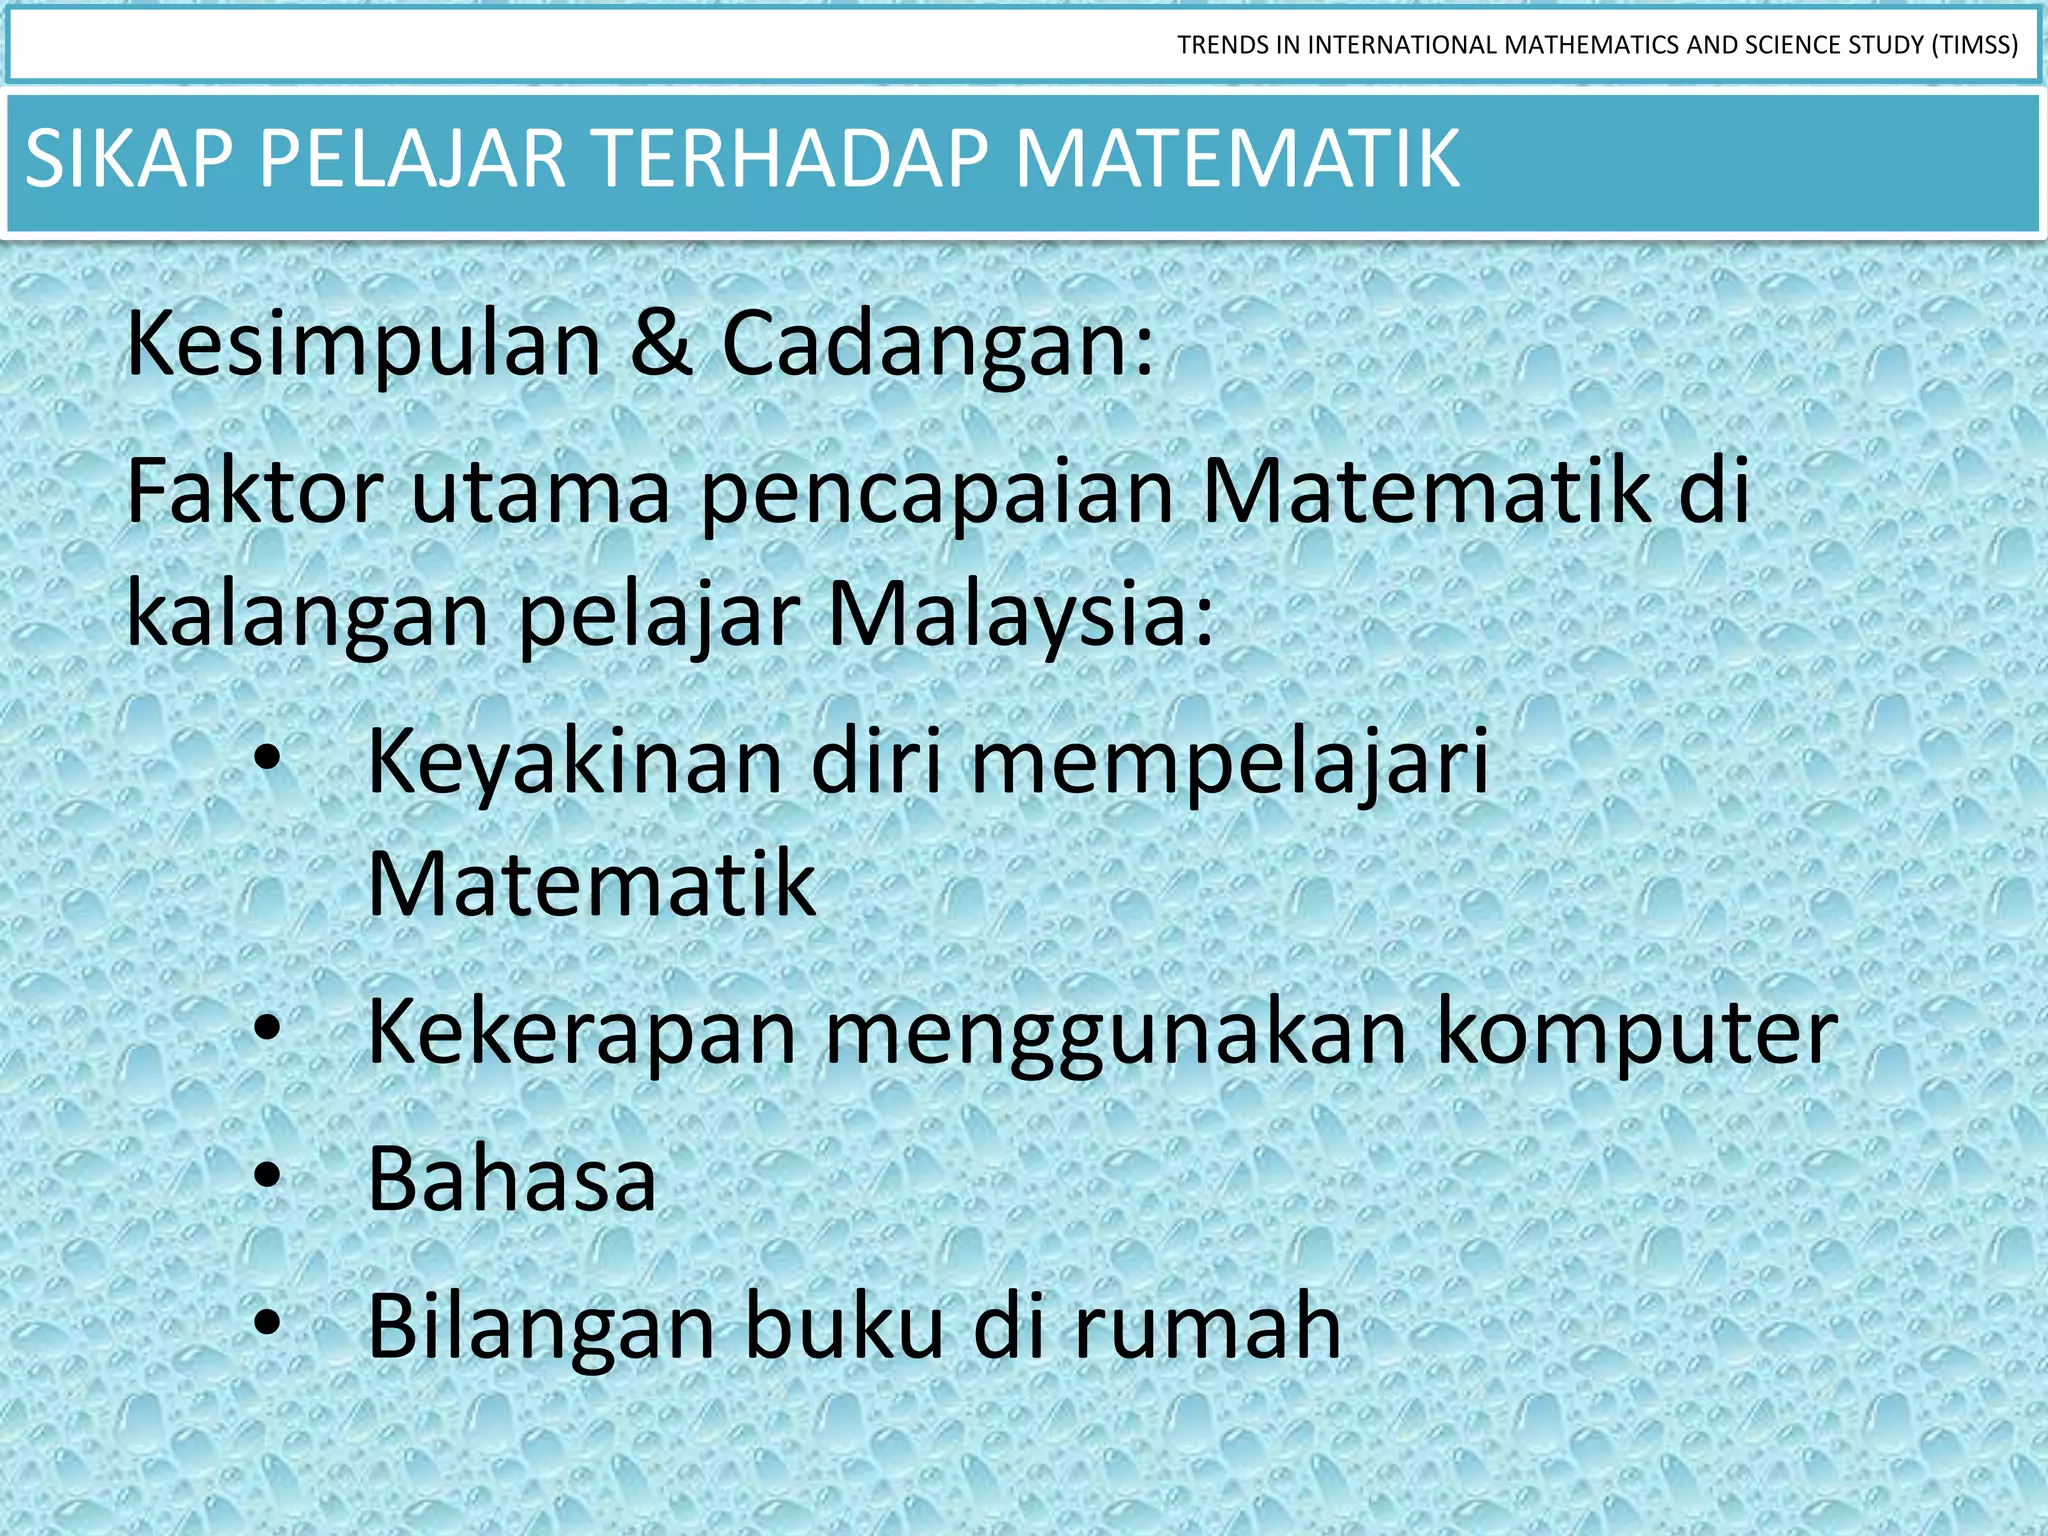
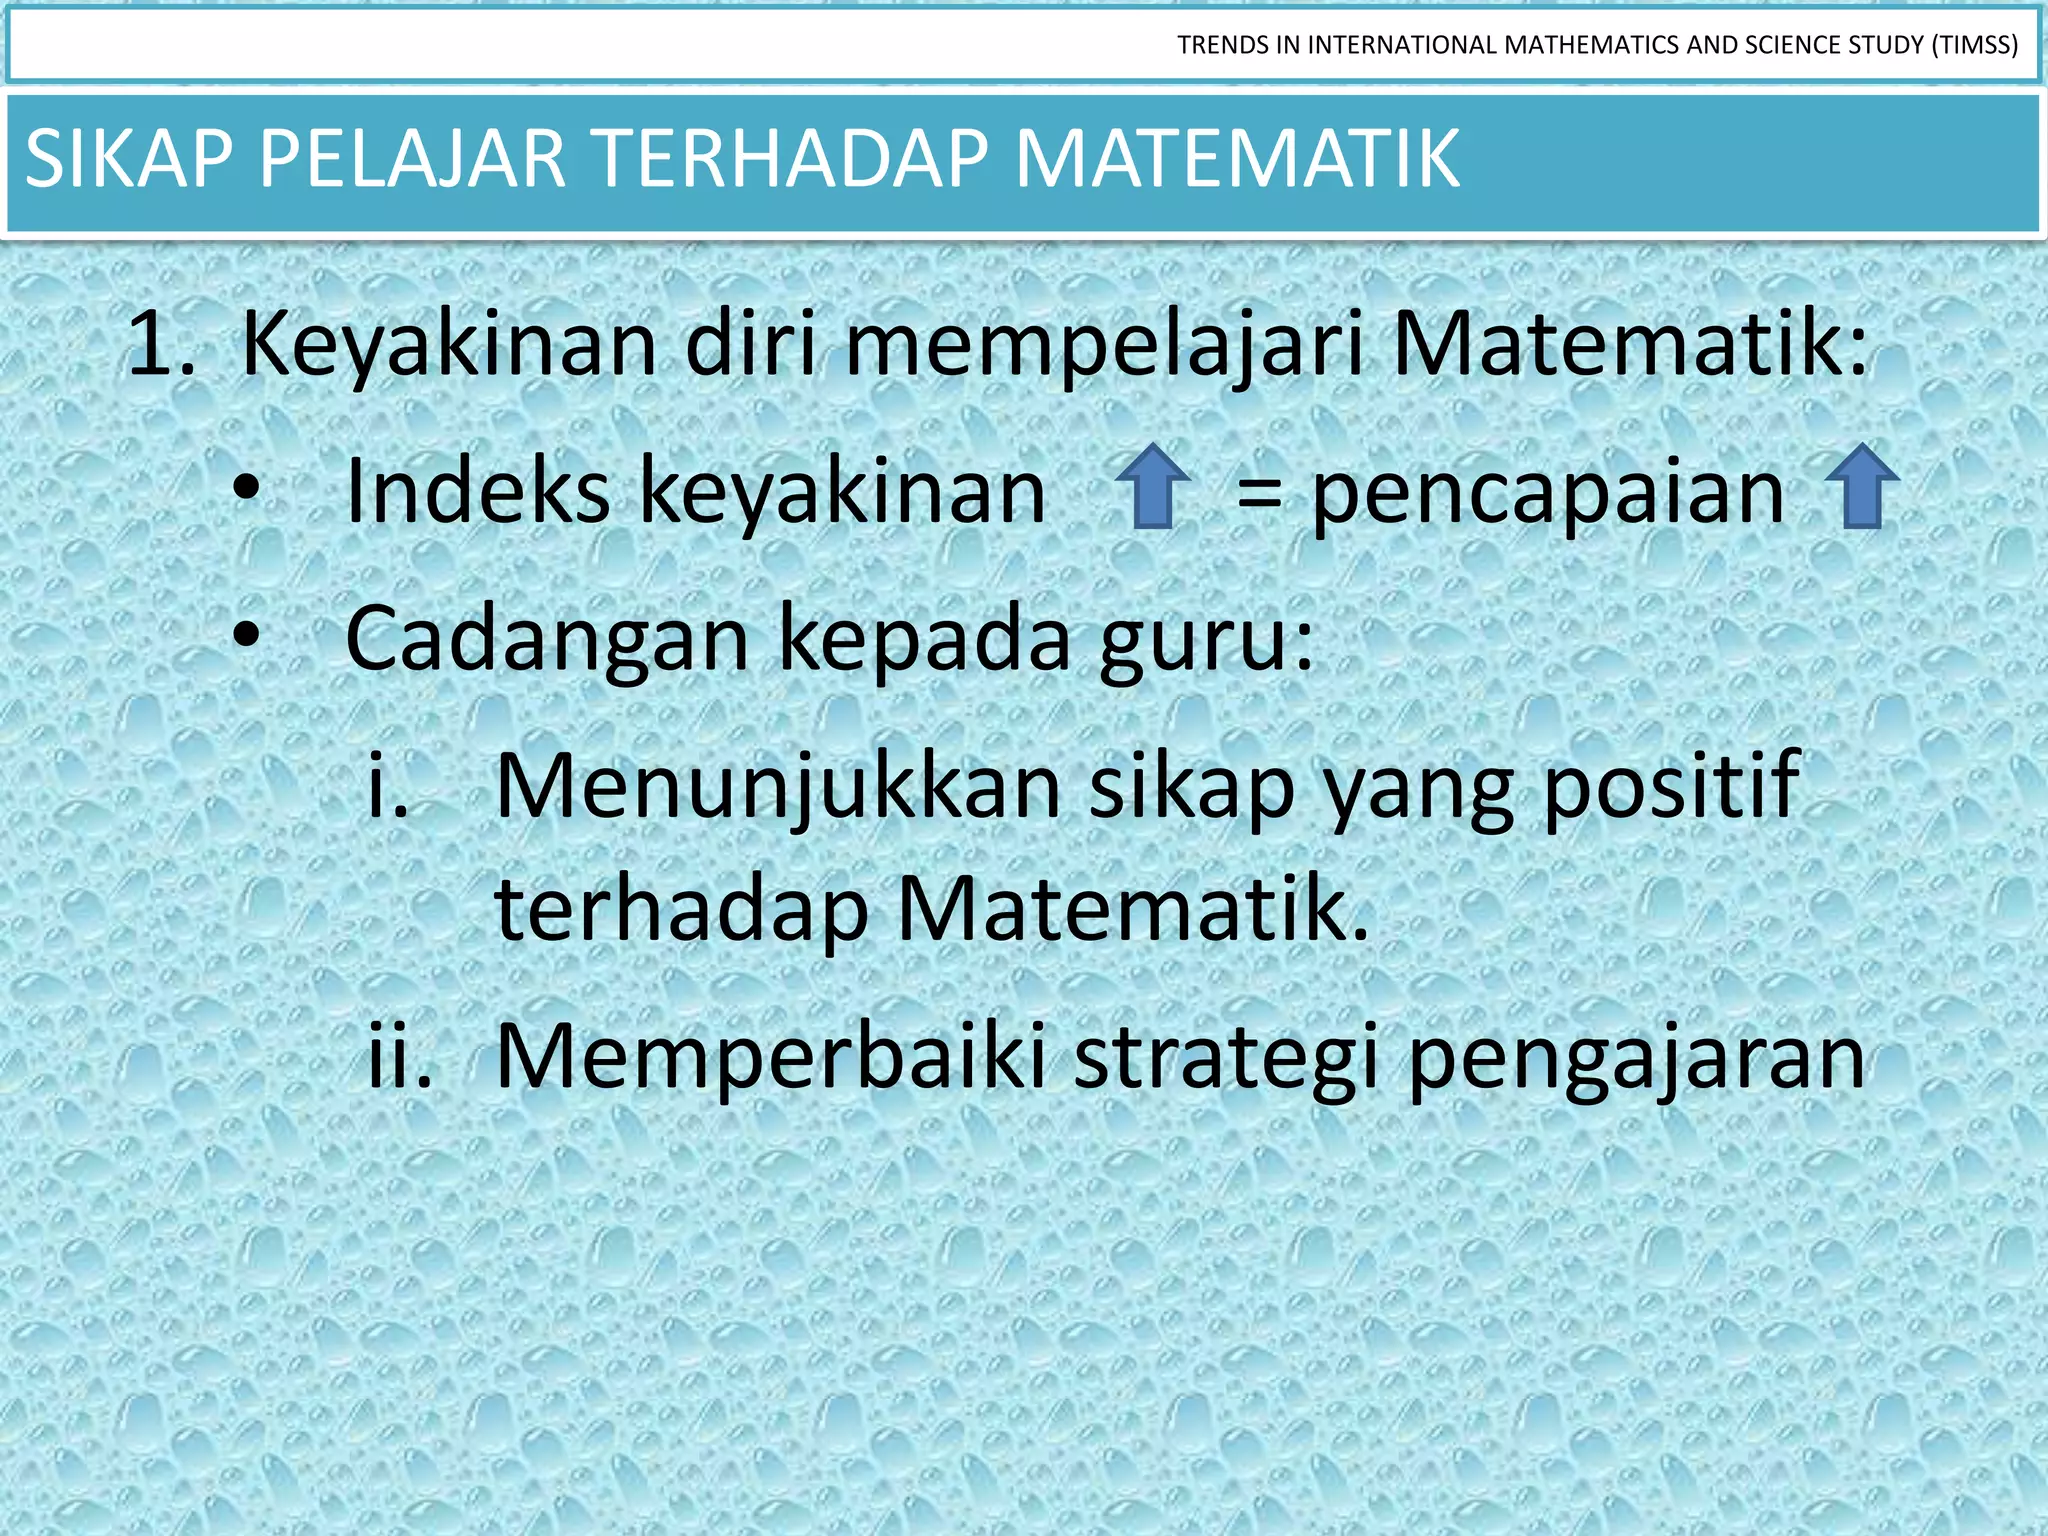
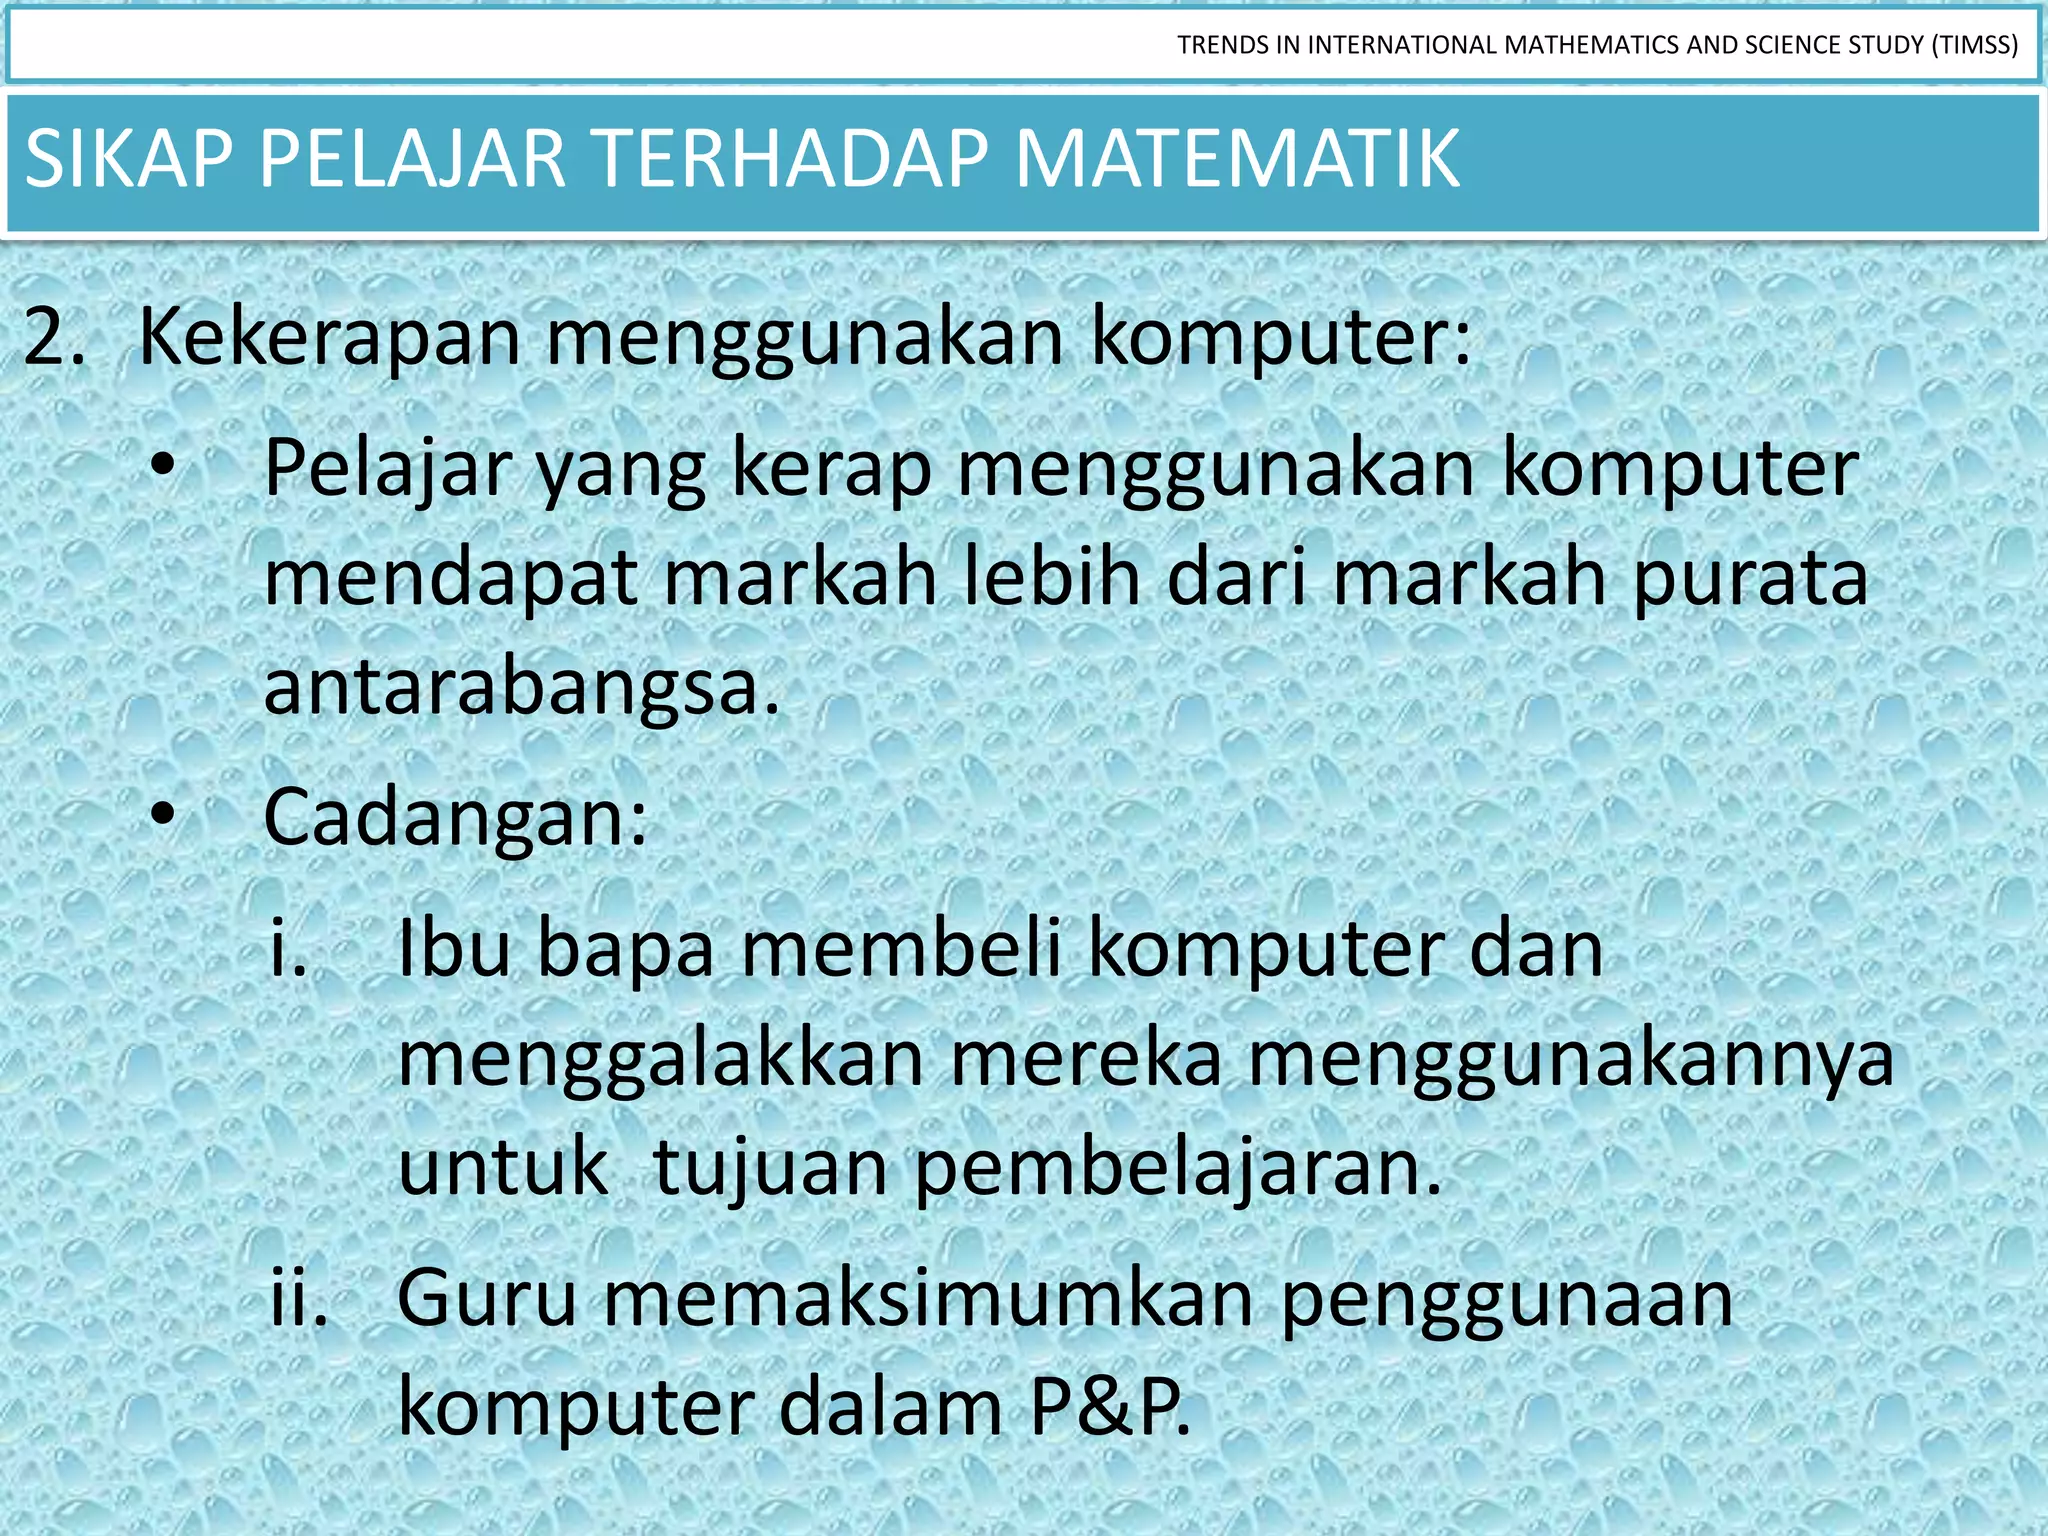
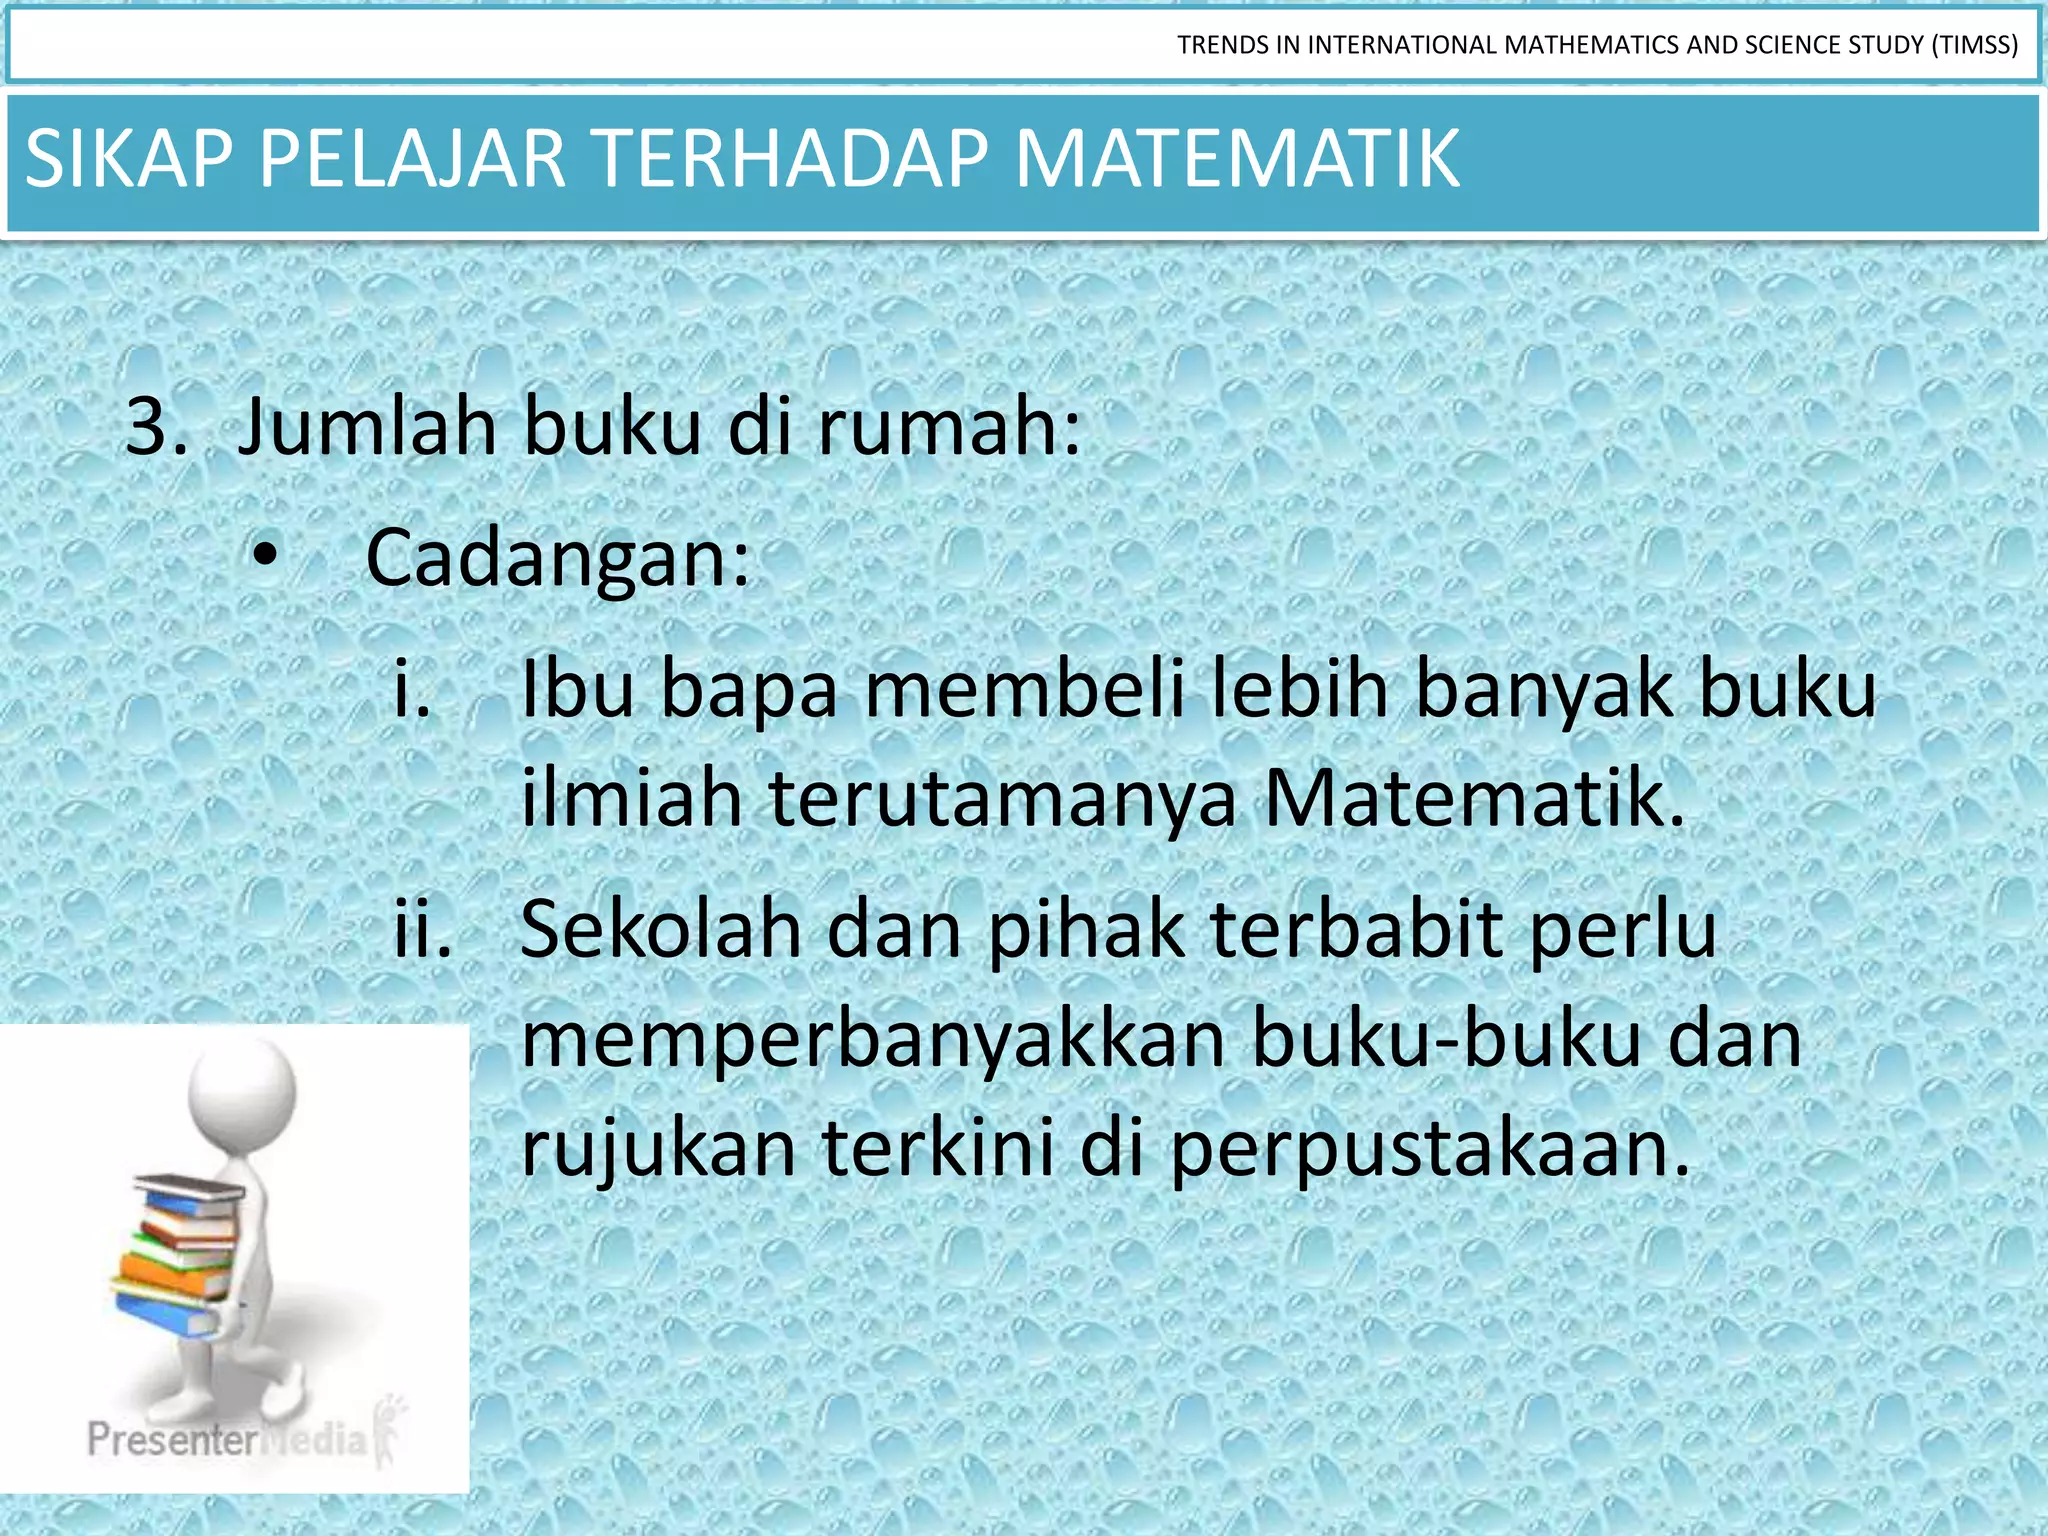
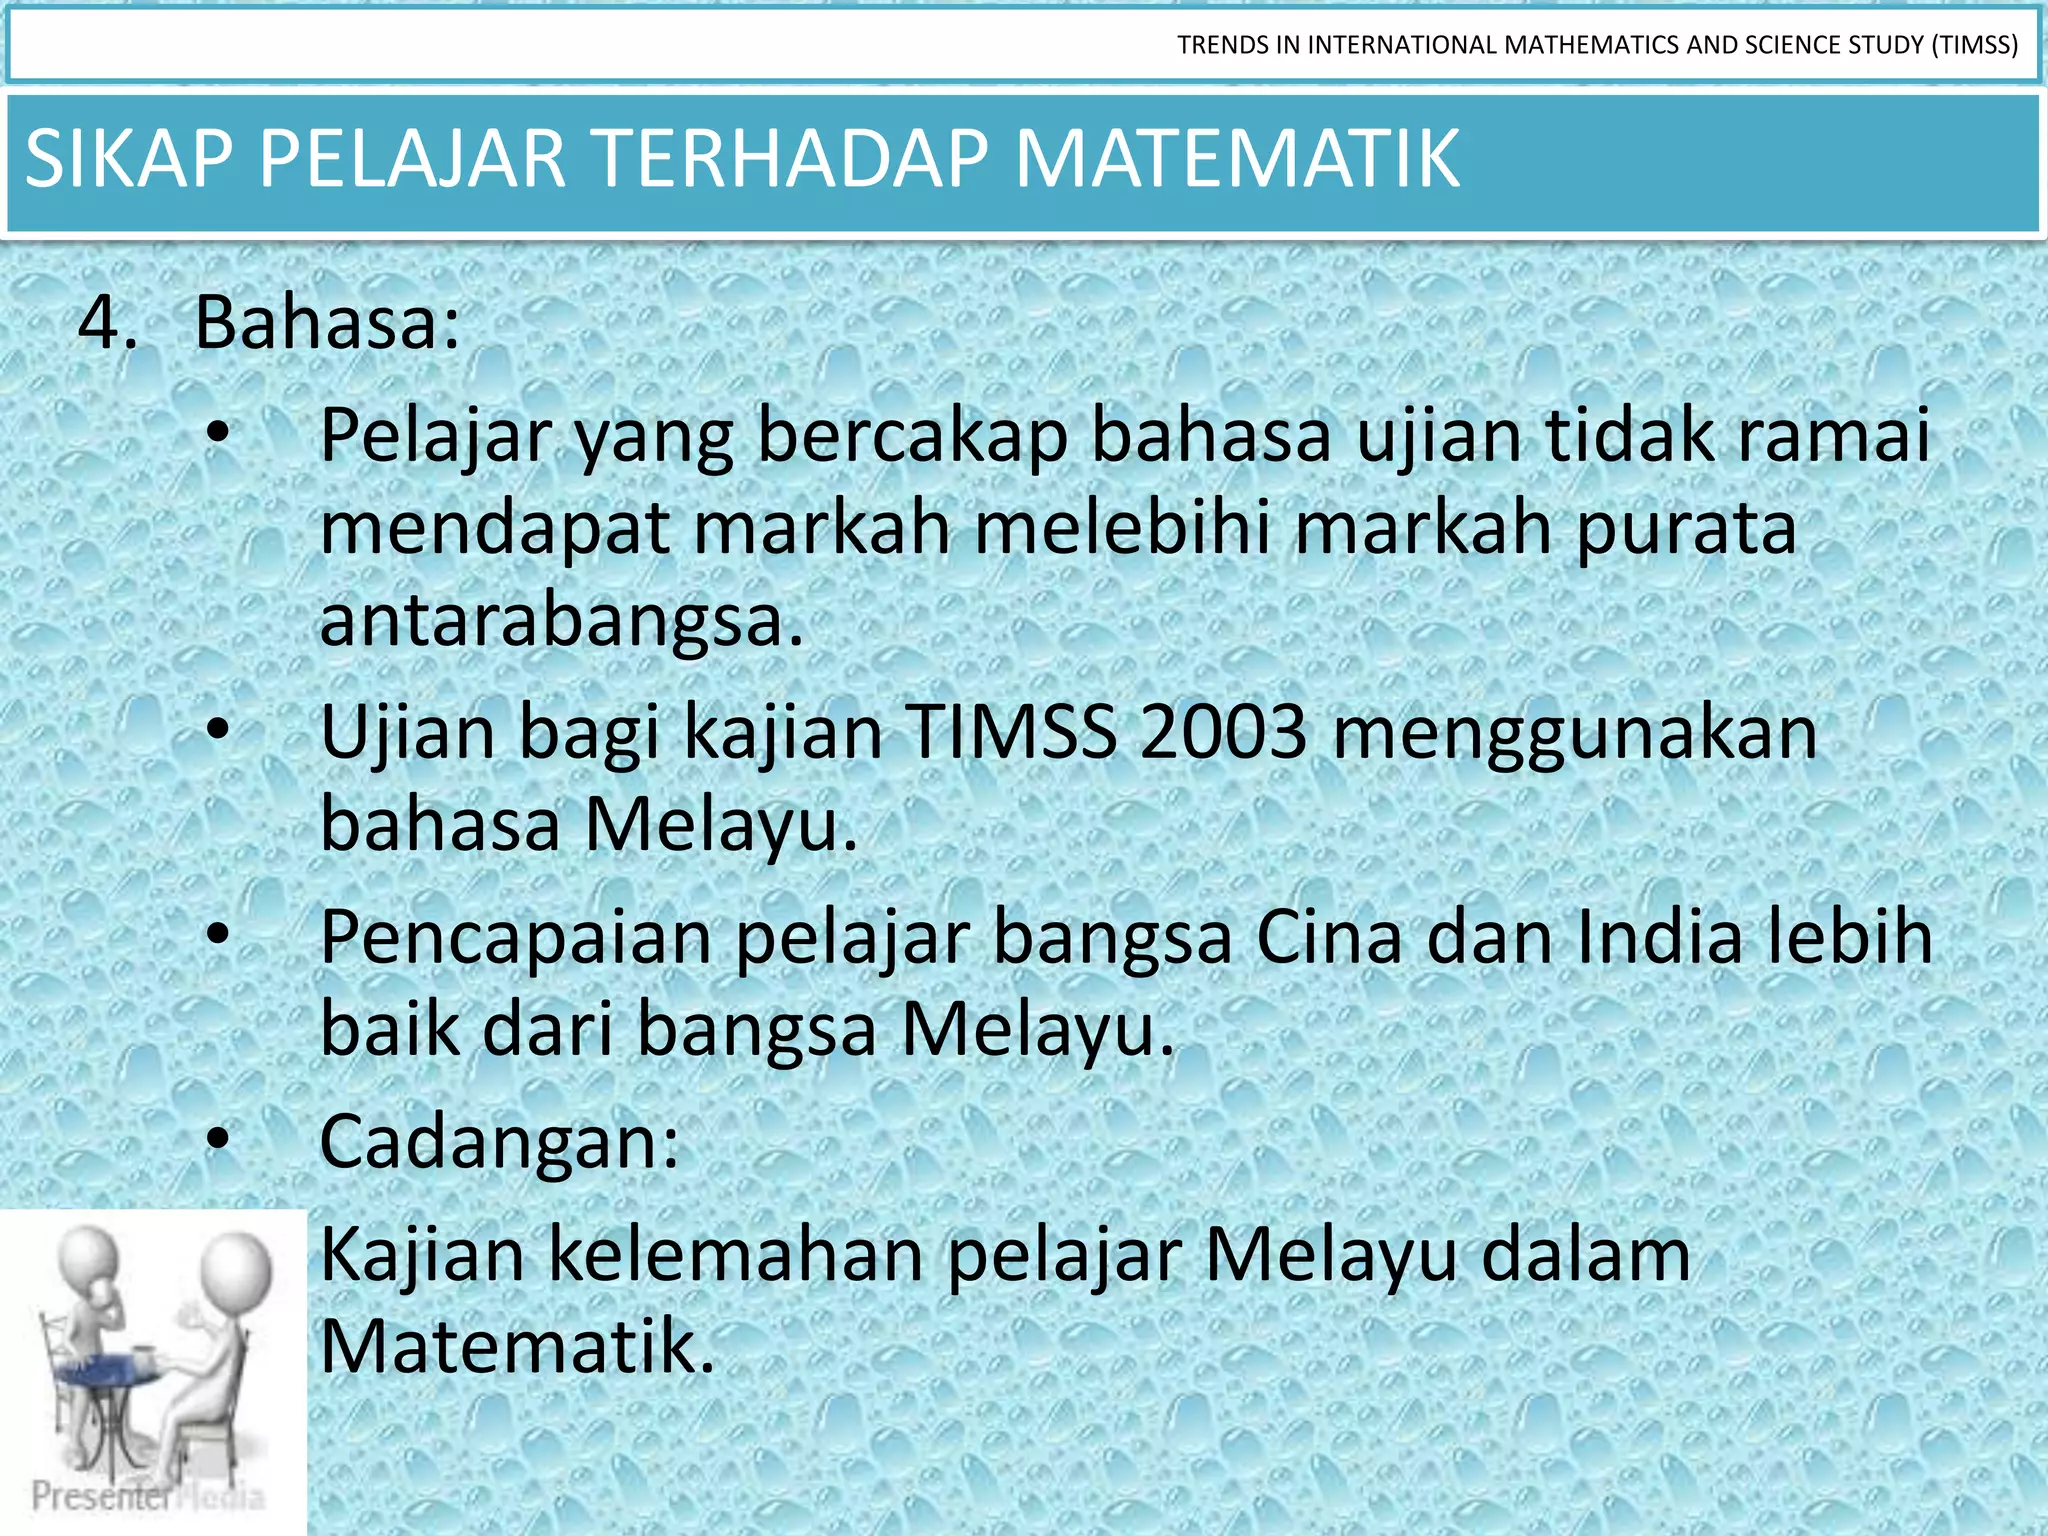
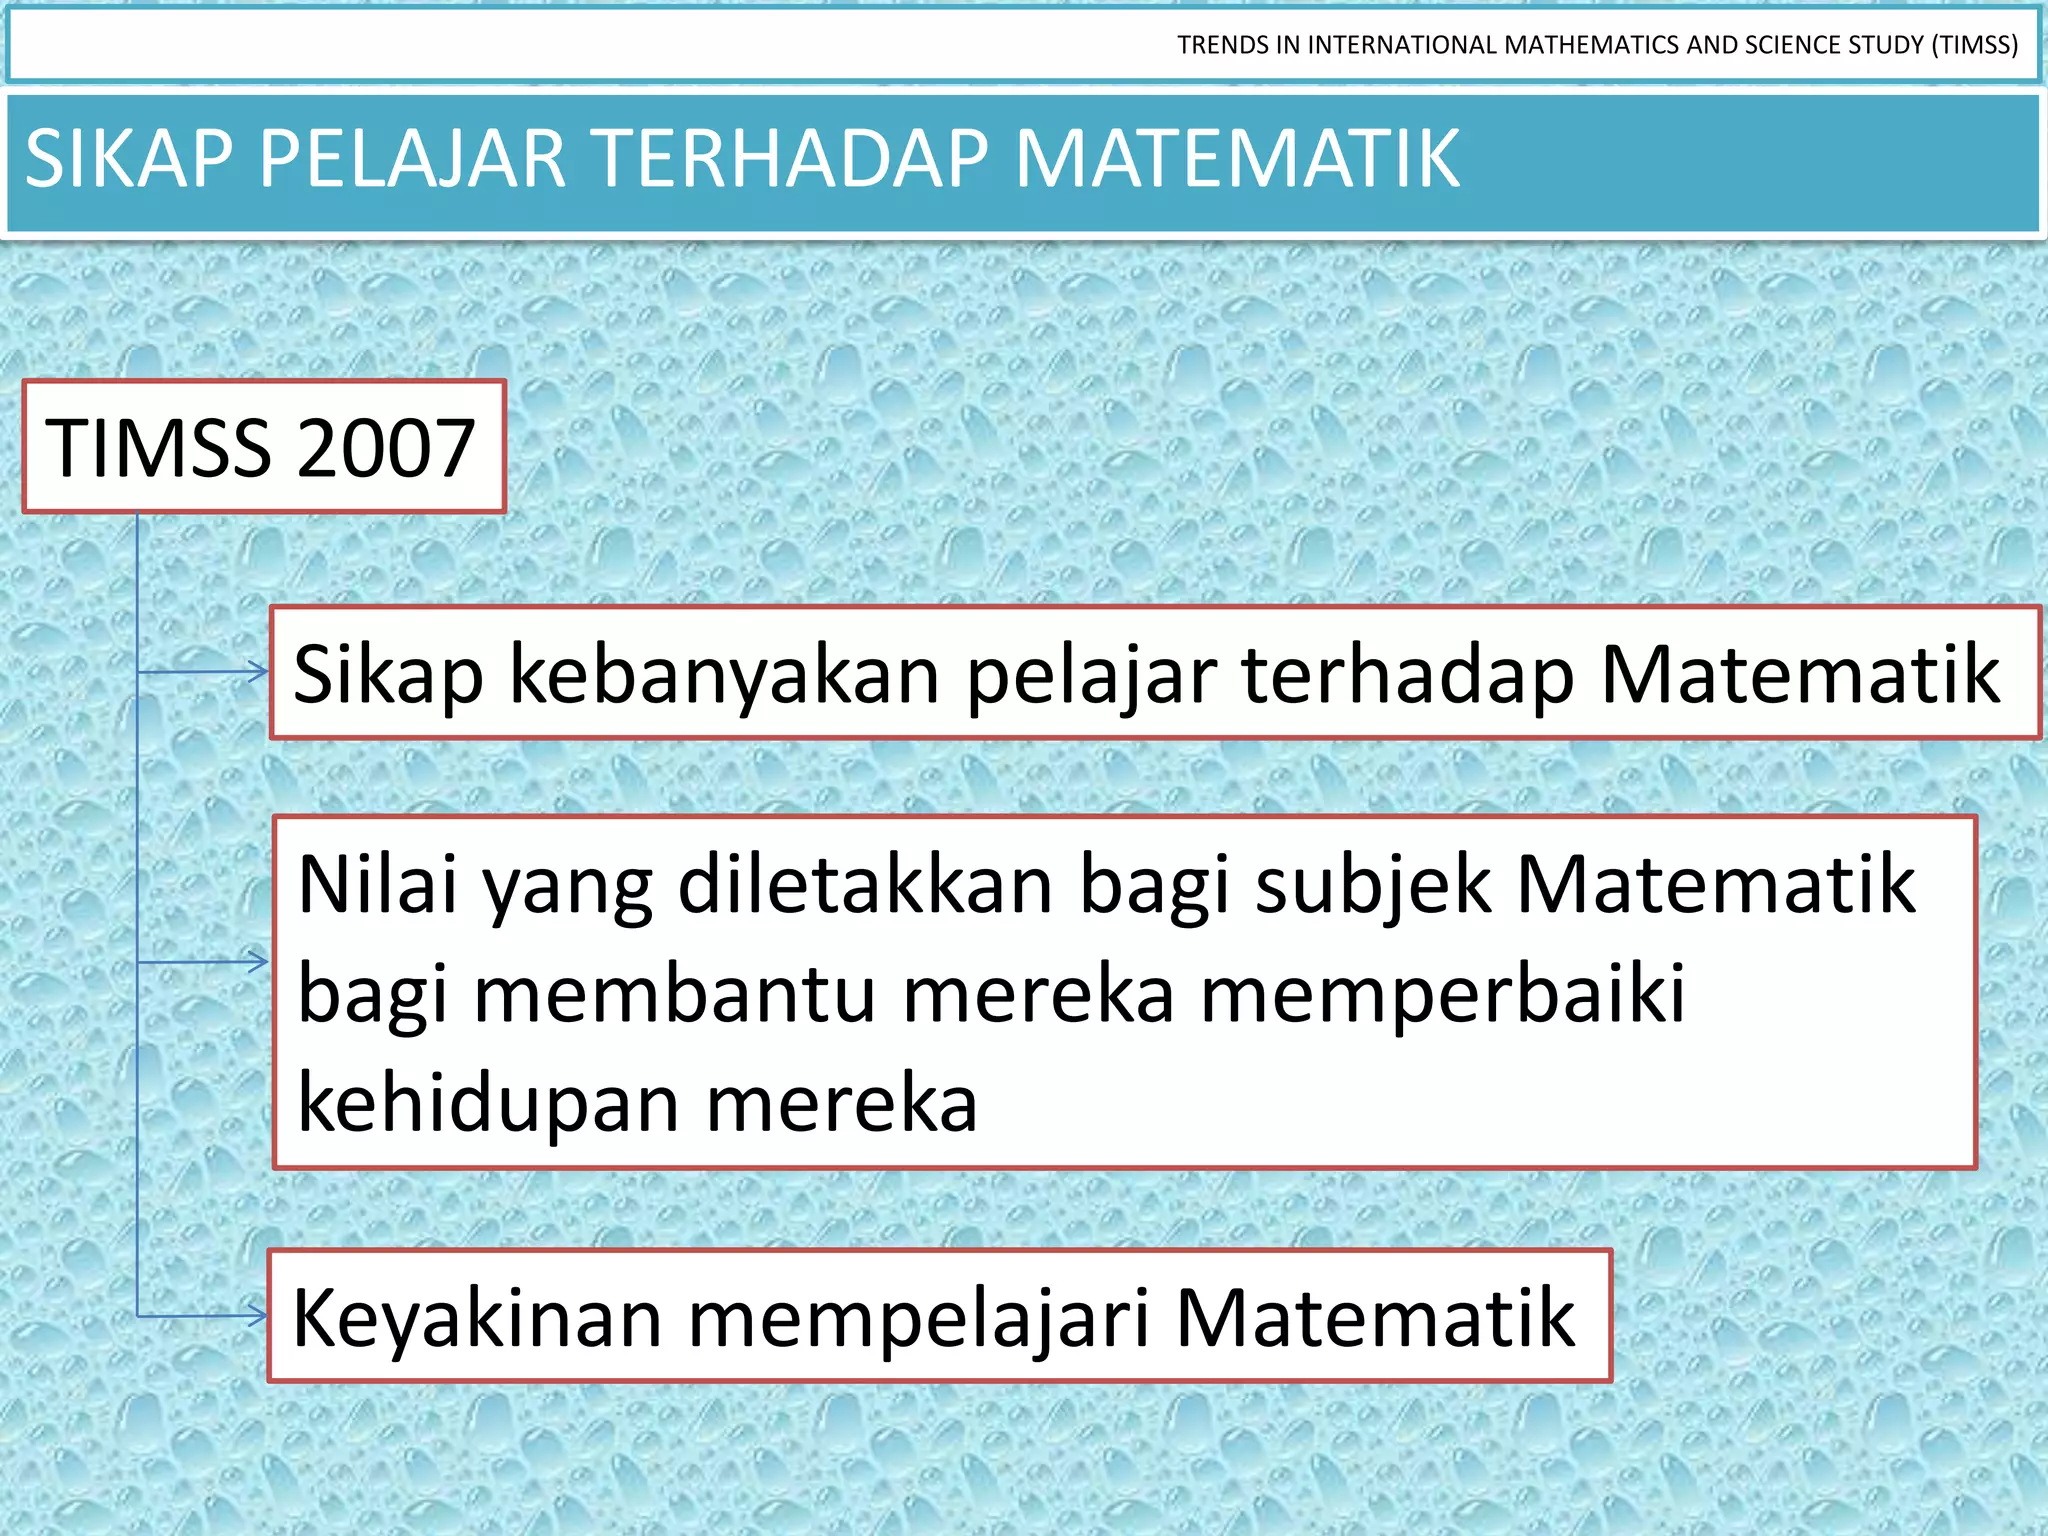
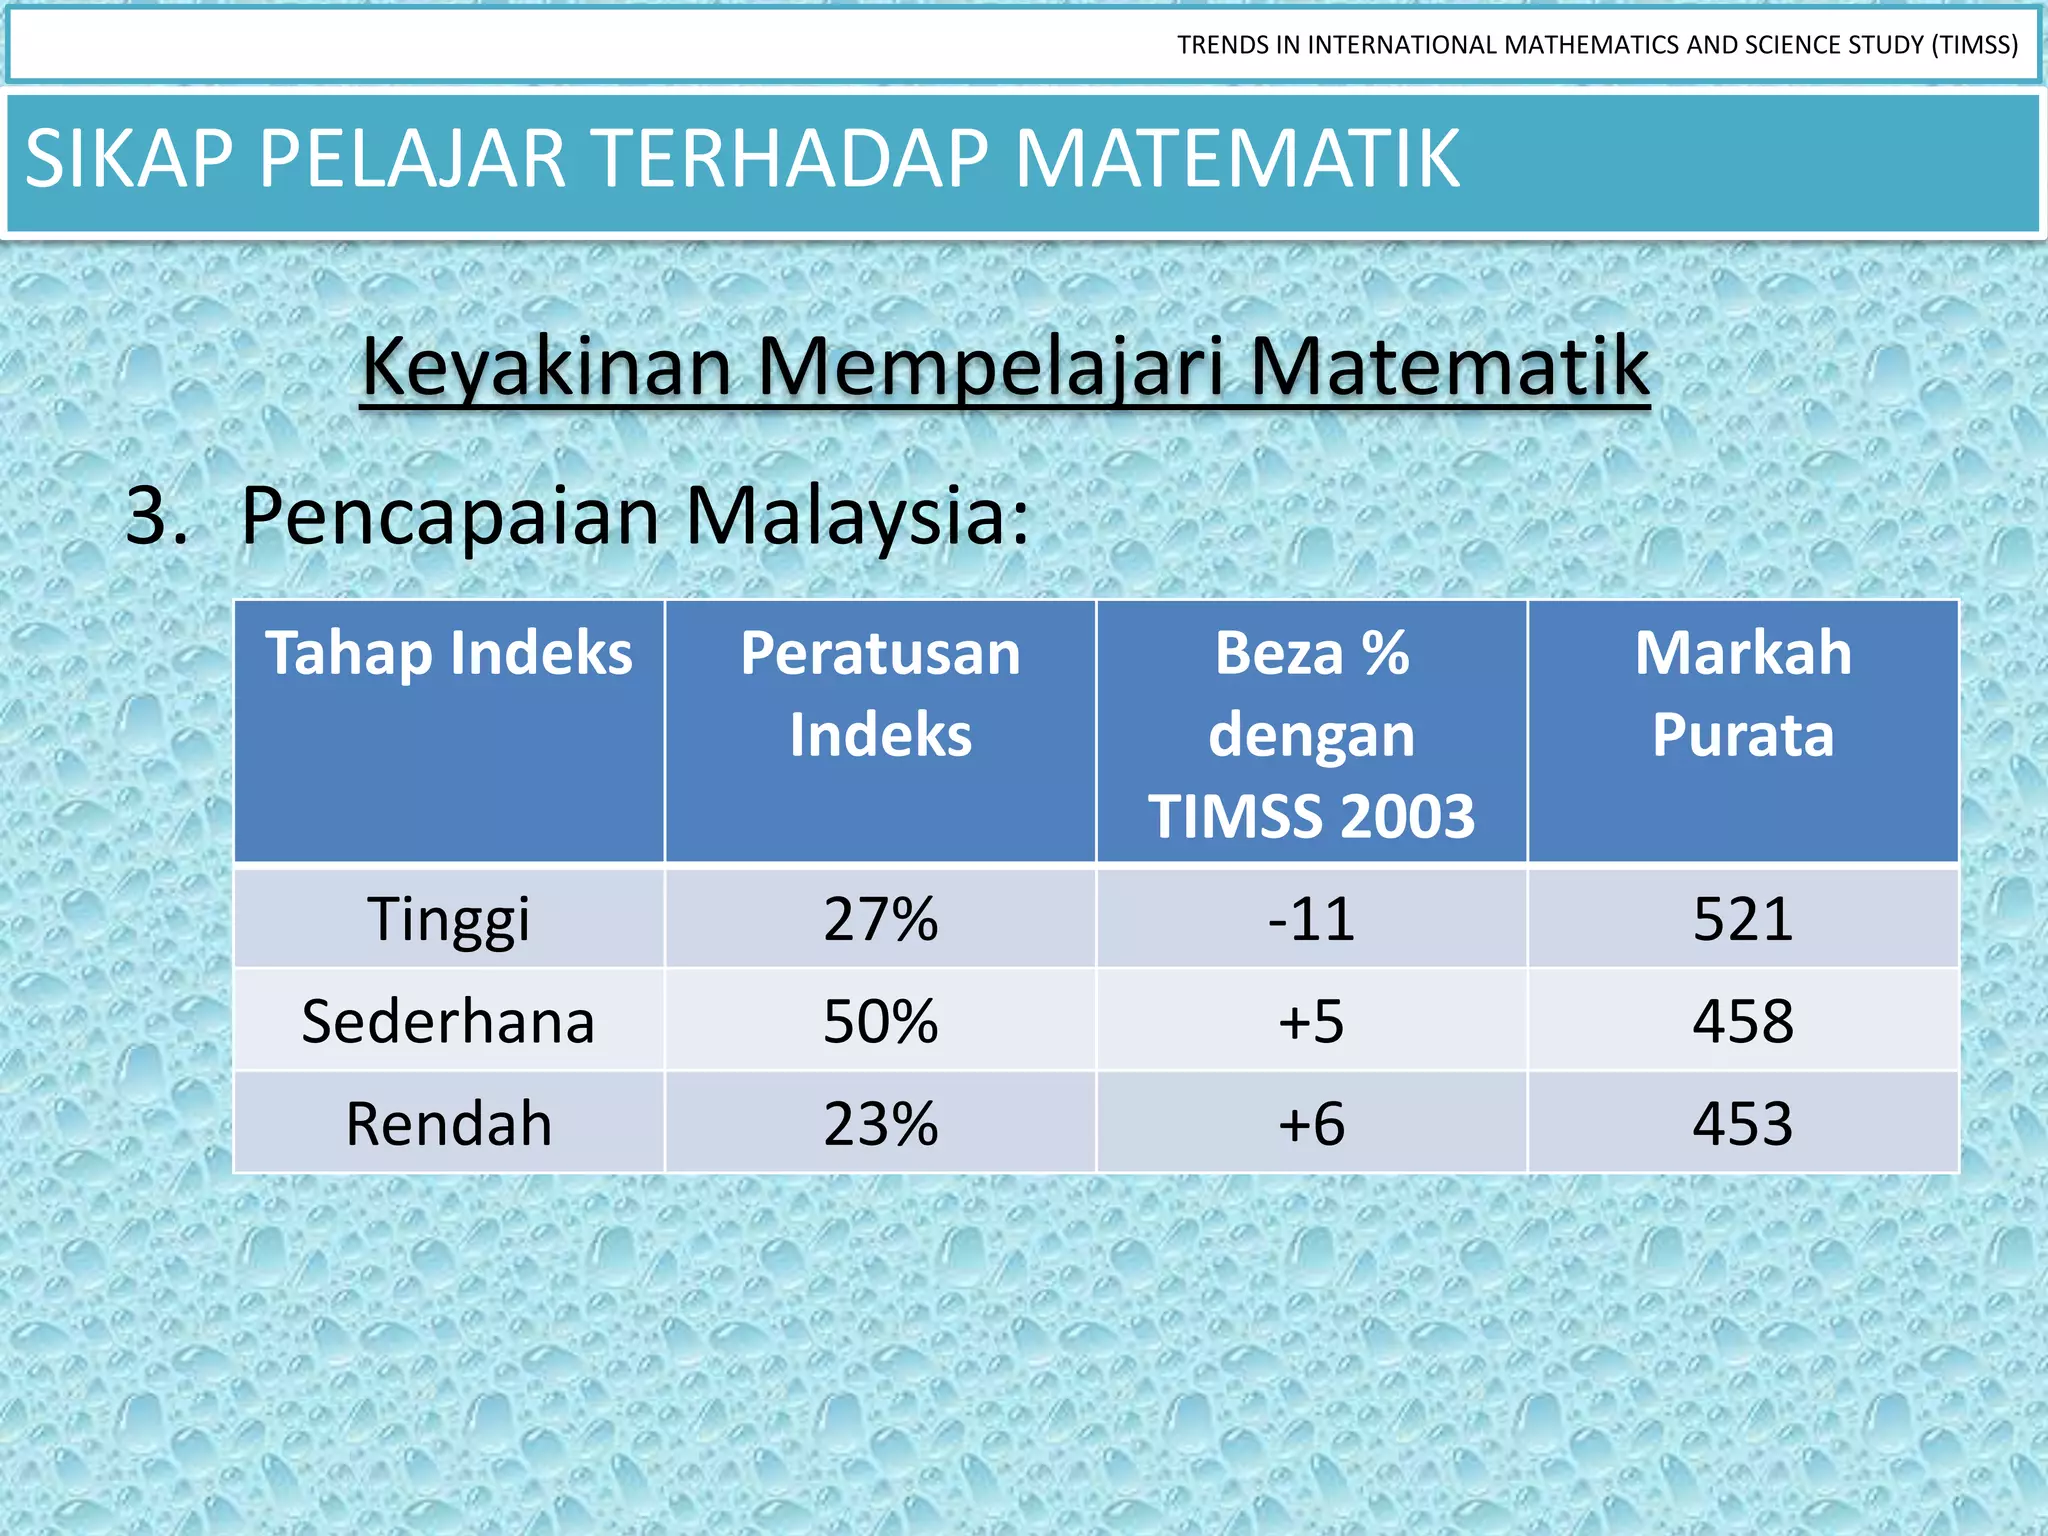
4. TIMSS atau nama penuhnya Trends In
International Mathematics and Science
Study, merupakan kajian oleh IEA (The
International Association for the
Evaluation of Educational Achievement)
yang berpusat di Amsterdam, Belanda
5. LATAR BELAKANG
TIMSS merupakan laporan yang membandingkan prestasi
pencapaian matematik dan sains para pelajar sesebuah
negara di peringkat dunia dan perbandingan ini dijalankan
setiap empat tahun iaitu, 1995, 1999,2003, 2007, 2011
dan seterusnya.
Mula dilaksanakan pada tahun 1995, TIMSS melaporkan setiap
empat tahun terhadap pencapaian pelajar gred 4 dan gred 8.
Back to
school
6. LATAR BELAKANG
Beberapa negara yang mengambil bahagian dalam TIMSS
2011 mempunyai data trend seluruh penilaian dari 1995
hingga 2011.
TIMSS 2011 adalah kelima dalam siri IEA.
Penilaian dilakukan ke atas pelajar – pelajar dari tahun 4 dan
tingkatan 2.
Back to
school
7. LATAR BELAKANG
Data – data yang diperolehi melalui hasil kajian TIMSS,
menunjukkan tahap pencapaian pelajar-pelajar tahun 4
dan tingkatan 2 dalam matematik peringkat antarabangsa.
Back to
school
9. OBJEKTIF
Tujuan TIMSS adalah untuk mengukur prestasi
pencapaian matematik dan sains para pelajar
dari tahun 4 dan tingkatan 2 di peringkat
antarabangsa DAN
Penilaian pencapaian pelajar antarabangsa
bertujuan untuk meningkatkan pengajaran dan
pembelajaran dalam matematik dan sains.
Back to
school
10. Kajian TIMSS membuka peluang kepada
negara Malaysia untuk mengetahui
potensi dan prestasi pelajar Malaysia
dalam kalangan negara-negara peserta.
Back to
school
11. Kementerian Pendidikan Malaysia juga boleh
menggunakan hasil kajiannya ini untuk
menilai dan menentukan keberkesanan
kurikulum matematik dan sains yang sedang
digunakan di sekolah-sekolah
Rumusan hasil kajian TIMSS turut memberi
peluang kepada Kementerian Pendidikan
Pelajaran untuk peningkatan mutu
kurikulum dan sistem pendidikan. Back to
school
12. ITEM-ITEM PENILAIAN TIMSS
Kandungan item dan taraf ujian Matematik dan
Sains antarabangsa ini diselaraskan untuk
negara-negara yang menyertai penilaian
tersebut (dengan persetujuan negara itu
sendiri) bagi membolehkan perbandingan
dibuat tentang tahap dan trend pencapaian
Matematik dan Sains pelajar
Gred 8 (Tingkatan 2). Back to
school
13. Penilaian Domain Kandungan dan Domain Kognitif di Gred Keempat
dan Kelapan
DOMAIN KANDUNGAN
GRED 4 GRED 8
Number Number
Geometric Shapes and Measures Algebra
Data display Geometry
Data and Chance
Back to
school
14. Penilaian Domain Kognitif di Gred
Keempat dan Kelapan
Domain pertama, mengetahui, merangkumi fakta,
konsep, dan prosedur pelajar perlu tahu, manakala
yang kedua, memohon,memberi tumpuan kepada
keupayaan pelajar untuk menggunakan pengetahuan
dan konsep memahami untuk menyelesaikan
masalah atau menjawab soalan.
Domain ketiga merangkumi, penaakulan, melampaui
penyelesaian masalah rutin ,merangkumi situasi yang
Back to
tidak dikenali, konteks yang kompleks, dan pelbagai
school
masalah.
15. Bench Mark
Skor yang diperolehi oleh negara-negara yang
menyertai TIMSS akan menentukan
kedudukan mereka di peringkat antarabangsa.
Pencapaian prestasi dinilai mengikut:
Back to
school
16. Bench Mark
Advanced Benchmark (625) – Pelajar boleh
mengatur dan membuat kesimpulan daripada
maklumat, membuat generalisasi dan
menyelesaikan masalah bukan rutin.
High Benchmark (550) – Pelajar boleh
memohon pemahaman dan pengetahuan
mereka dalam pelbagai situasi yang agak
Back to
kompleks.. school
17. Bench Mark
Intermediate Benchmark (475) – Pelajar boleh
memohon pengetahuan matematik yang asas
dalam situasi yang berterus terang.
Low International Benchmark(400) –Pelajar
mempunyai pengetahuan nombor bulat dan
perpuluhan, operasi dan graf asas.
Back to
school
18. PENCAPAIAN SKOR
• Jadual dibawah menunjukkan prestasi pelajar di dalam
kajian TIMSS 1999 hingga TIMSS 2007:
• Skor Purata Mata Pelajaran Matematik
TIMSS BAHASA SKOR KEDUDUKAN
NEGARA
1999 MELAYU 519 16
2003 MELAYU 508 10
2007 MELAYU 474 20 Back to
school
INGGERIS
2011
19.
20. (1) Pencapaian tinggi
negara yang menggunakan bahasa
keluarga sebagai bahasa ujian.
(2) Pencapaian rendah
negara yang tidak menggunakan
bahasa keluarga atau menggunakan
bahasa kedua sebagai bahasa ujian
21. KESAN PENGGUNAAN BAHASA KELUARGA TERHADAP
PENCAPAIAN TIMSS 2007
Negara % Pelajar yg kerap % Sekolah dimana lebih 2007
menggunakan bhs ujian di 90% pelajar menggunakan
rumah bahasa ujian di sekolah
1. China Taipei 83 40 598
2. Korea 95 100 597
3. Singapura 47 7 593
4. Hong Kong 91 1 572
5. Jepun 98 69 570
Skala Purata TIMSS 500
19. Italy 99 69 480
20. Malaysia 64 38 474
44. Kuwait 67 92 354
45. El Salvador 97 99 340
46. Saudi arabia 72 90 329
47. Ghana 31 1 309
48. Qatar 72 88 307
22. KAJIAN
LITERATUR
Pelajar menghadapi Perlaksanaan
pelbagai masalah dalam pengajaran Sains dan
kemahiran mengira dan Matematik dalam
menyelesaikan masalah bahasa Inggeris
(Mohd Sarif dan Abdul Razak, 1996; menambah satu lagi
Abedi, Lord and Plummer, 1995; masalah kepada pelajar
Cocking and Chipman 1998; Madison,
1990). (Mohini, 2008; Aziz, 2004)
23. • pembelajaran dan pentaksiran English Language
Learner dengan menggunakan bahasa Inggeris
telah menyekat pencapaian pelajar dalam Abedi (2006)
matematik.
Stansfield • mencadangkan penggunaan bahasa ibunda sebagai
(1996) bahasa pengujian untuk mengatasi masalah tersebut.
• menterjemahkan item ujian daripada bahasa Inggeris
kepada bahasa ibunda tidak memberi manfaat
kepada pelajar sekiranya bahasa pengantar adalah
Abedi (2006)
bahasa Inggeris.
• item dalam bahasa ibunda telah mengelirukan pelajar
yang mempelajari konsep dalam bahasa Inggeris kerana
Lord (1980) mereka mungkin tidak biasa dengan terminologi yang
digunakan
24. UNESCO
menyokong bahasa
UNESCO menyokong sebagai satu
pendidikan komponen penting
dwibahasa di semua pendidikan
UNESCO menyokong peringkat pendidikan antarabudaya
pengajaran bahasa sebagai satu medium dalam rangka
ibunda sebagai medium untuk mempromosi, mendorong
untuk memperbaiki baik persamaan sosial pengertian antara
kualiti pendidikan dengan mahupun gender dan kumpulan
cara meningkatkan sebagai suatu asas penduduk yang
pengetahuan dan dari masyarakat berbeza dan
pengalaman para pelajar pelbagai bahasa menjamin rasa
dan guru. hormat terhadap
hak-hak asasi
*Sumber : UNESCO (2003)
25. 1. PPSMI telah termaktub sebagai keputusan
dasar kerajaan Malaysia di bawah pentadbiran
Tun Dr Mahathir bin Mohamad
2. Bermula pada sesi persekolahan 2003
Menimbulkan polemik dan ketegangan di
kalangan masyarakat (PEMBINA)
1. Bertentangan dengan semangat perlembagaan
Persekutuan
2. Bertentangan dengan Akta Bahasa
Kebangsaan
Menyebabkan keputusan ujian TIMSS (2007)
merudum
26. Contoh Soalan TIMSS
Joe knows that a pen costs 1 zed
more than a pencil. His friend
bought 2 pens and 3 pencils for
17 zeds. How many zeds will Joe
need to buy 1 pen and 2 pencils
Negara Peratus Kredit Penuh
China Taipei 68%
Purata Antarabangsa 18%
Malaysia 14%
27. In this diagram, CD=CE. What is the value of x?
• A. 40 B. 50
• C. 60 D.70
Negara Peratus Kredit Penuh
Singapura 75%
Malaysia 36%
Purata Antarabangsa 32%
28. 1. Kajian dan
pemantauan
pelaksanaan PPSMI
2. Meja bulat PPSMI
8 Julai 2009
Kabinet
memutuskan
pelaksanaan
Pemansuhan
MBMMBI
PPSMI oleh
Menteri
Pelajaran
Malaysia, Tan Sri
Muhyiddin Yassin
pada 8 Julai 2009
29. • Meletakkan Bahasa Melayu sebagai bahasa
kebangsaan
• Bahasa rasmi
MEMARTABATKAN • Bahasa ilmu
BAHASA MELAYU • Bahasa pengantar
• Bahasa perpaduan
• Memperkukuh penguasaan Bahasa
Inggeris sebagai bahasa yang wajib
MEMPERKUKUH dipelajari
BAHASA INGGERIS • Bahasa ilmu
• Bahasa komunikasi
Sumber : KPM
30.
31. Fadhlina (2008), kompetensi mengikut
istilah yang digunakan dalam standart
Guru Malaysia membawa maksud
kemahiranljjjjjjj
professional guru
berdasarkan amalan profesionalisme,
pengetahuan , kefahaman dan
kemahiran pengajaran dan
pembelajaran.
32. Menurut Spitzbeg (1991) ,model
interpersonal kompetensi
mengandungi tiga kompenan
iaitu motivasi , pengetahuan dan
kebolehan berinteraksi di antara
dua pihak semasa perbualan.
33. Tahap pendidikan dan Kaedah pengajaran
pengalaman yang dan pembelajaran
dimiliki oleh guru yang dilaksanakan.
34.
35.
36.
37.
38.
39. • Proses /teknik mengajar, proses
kegiatan belajar dan segala yang
Kaedah berkaitan dengan mengajar.
Pengajaran merupakan aktiviti/ proses
Pengajaran bertujuan menukar tingkah laku dan
kelakuan untuk mendapatkan
pengetahuan baru.
Kaedah • Satu siri tindakan yang sistematik
untuk mencapai suatu objektif
Pengajaran pengajaran dalam jangka masa
pendek.
40. -Pelajar dilibatkan
- Isi pengajaran
secara aktif dalam - Guru selalu
dikaitkandengan
proses pengajaran memberi galakan
pengetahuan dan
- Guru dan ransangan
pengalaman
menggunakan kepada pelajar
pelajar.
pelbagai kaedah -Guru mewujudkan
- Pengajaran guru suasana demokratik
dalam
hendaklah dalam bilik darjah.
menyampaikan
terancang
pengajaran
41. Menurut Gagne, Bringgs and Weger (1992)
Menarik perhatian
Menyatakan
objektif
pelajaran
Meransang proses
mengingat yang
pelajaran lepas
Bahan bantu mengajar
44. TRENDS IN INTERNATIONAL MATHEMATICS AND SCIENCE STUDY (TIMSS)
SIKAP PELAJAR TERHADAP MATEMATIK
UNDERSTANDING THE GAP IN MATHEMATICS
ACHIEVEMENTS OF MALAYSIAN STUDENTS
Noor Azina Ismail
University of Malaya, Kuala Lumpur, Malaysia
Sumber:
Journal of Educational Research; May/June 2009,
Vol.102 Issue 5, p389-394, 6p, 2 charts
45. TRENDS IN INTERNATIONAL MATHEMATICS AND SCIENCE STUDY (TIMSS)
SIKAP PELAJAR TERHADAP MATEMATIK
Ringkasan:
• Malaysia menduduki tempat ke-10 dari 43 negara
dari hasil dapatan TIMSS 2003.
• Menurut I. V. S. Mullis, M. O. Martin, E. J. Gonzalez,
& S. J. Chrostowski,2004 dipetik dari jurnal Noor
Azina Ismail, pencapaian Matematik pelajar di
Malaysia bergantung kepada:
1. Keyakinan diri mempelajari Matematik
2. Mempunyai buku yang banyak di rumah
3. Kerap menggunakan komputer
4. Bukan berbangsa Melayu
46. TRENDS IN INTERNATIONAL MATHEMATICS AND SCIENCE STUDY (TIMSS)
SIKAP PELAJAR TERHADAP MATEMATIK
Tujuan kajian:
• Mangenalpasti faktor yang membezakan
pelajar berpencapaian tinggi dan rendah di
kalangan pelajar Malaysia.
• Mengenalpasti hubungan antara pencapaian
Matematik dengan faktor-faktor yang dikaji.
(keyakinan diri, bilangan buku di rumah,
penggunaan komputer & bahasa)
47. TRENDS IN INTERNATIONAL MATHEMATICS AND SCIENCE STUDY (TIMSS)
SIKAP PELAJAR TERHADAP MATEMATIK
Keputusan:
• 69% ibu bapa tamat pengajian di peringkat
menengah sahaja.
• 65% berazam menamatkan pengajian di
universiti.
• 1/3 pelajar kadang-kadang atau tidak
bercakap bahasa ujian di rumah.
• 39% berkeyakinan mempelajari Matematik
• 78% menghargai subjek Matematik
48. TRENDS IN INTERNATIONAL MATHEMATICS AND SCIENCE STUDY (TIMSS)
SIKAP PELAJAR TERHADAP MATEMATIK
Kesimpulan & Cadangan:
Faktor utama pencapaian Matematik di
kalangan pelajar Malaysia:
• Keyakinan diri mempelajari
Matematik
• Kekerapan menggunakan komputer
• Bahasa
• Bilangan buku di rumah
49. TRENDS IN INTERNATIONAL MATHEMATICS AND SCIENCE STUDY (TIMSS)
SIKAP PELAJAR TERHADAP MATEMATIK
1. Keyakinan diri mempelajari Matematik:
• Indeks keyakinan = pencapaian
• Cadangan kepada guru:
i. Menunjukkan sikap yang positif
terhadap Matematik.
ii. Memperbaiki strategi pengajaran
50. TRENDS IN INTERNATIONAL MATHEMATICS AND SCIENCE STUDY (TIMSS)
SIKAP PELAJAR TERHADAP MATEMATIK
2. Kekerapan menggunakan komputer:
• Pelajar yang kerap menggunakan komputer
mendapat markah lebih dari markah purata
antarabangsa.
• Cadangan:
i. Ibu bapa membeli komputer dan
menggalakkan mereka menggunakannya
untuk tujuan pembelajaran.
ii. Guru memaksimumkan penggunaan
komputer dalam P&P.
51. TRENDS IN INTERNATIONAL MATHEMATICS AND SCIENCE STUDY (TIMSS)
SIKAP PELAJAR TERHADAP MATEMATIK
3. Jumlah buku di rumah:
• Cadangan:
i. Ibu bapa membeli lebih banyak buku
ilmiah terutamanya Matematik.
ii. Sekolah dan pihak terbabit perlu
memperbanyakkan buku-buku dan
rujukan terkini di perpustakaan.
52. TRENDS IN INTERNATIONAL MATHEMATICS AND SCIENCE STUDY (TIMSS)
SIKAP PELAJAR TERHADAP MATEMATIK
4. Bahasa:
• Pelajar yang bercakap bahasa ujian tidak ramai
mendapat markah melebihi markah purata
antarabangsa.
• Ujian bagi kajian TIMSS 2003 menggunakan
bahasa Melayu.
• Pencapaian pelajar bangsa Cina dan India lebih
baik dari bangsa Melayu.
• Cadangan:
Kajian kelemahan pelajar Melayu dalam
Matematik.
53. TRENDS IN INTERNATIONAL MATHEMATICS AND SCIENCE STUDY (TIMSS)
SIKAP PELAJAR TERHADAP MATEMATIK
TIMSS 2007
Sikap kebanyakan pelajar terhadap Matematik
Nilai yang diletakkan bagi subjek Matematik
bagi membantu mereka memperbaiki
kehidupan mereka
Keyakinan mempelajari Matematik
54. TRENDS IN INTERNATIONAL MATHEMATICS AND SCIENCE STUDY (TIMSS)
SIKAP PELAJAR TERHADAP MATEMATIK
Keyakinan Mempelajari Matematik
1 TIMSS membina Index of Students’ Self-
Confidence in Learning Mathematics (SCM).
2 Hasil (Kajian ke atas pelajar gred 8):
Tahap Indeks Pencapaian purata
Tinggi: 43% 492
Sederhana: 37% 433
Rendah: 20% 412
55. TRENDS IN INTERNATIONAL MATHEMATICS AND SCIENCE STUDY (TIMSS)
SIKAP PELAJAR TERHADAP MATEMATIK
Keyakinan Mempelajari Matematik
3. Pencapaian Malaysia:
Tahap Indeks Peratusan Beza % Markah
Indeks dengan Purata
TIMSS 2003
Tinggi 27% -11 521
Sederhana 50% +5 458
Rendah 23% +6 453
Animated countdown timer on textured background(Difficult)Tip: Some shape effects on this slide are created with the Combine Shapes commands. To access this command, you must add it to the Quick Access Toolbar, located above the File tab. To customize the Quick Access Toolbar, do the following:Click the arrow next to the Quick Access Toolbar, and then under CustomizeQuickAccessToolbar click MoreCommands.In the PowerPointOptions dialog box, in the Choose commands from list, select All Commands. In the list of commands, click CombineShapes, and then click Add.To reproduce the donut shape effects on this slide, do the following:On the Home tab, in the Slides group, click Layout, and then click Blank.On the Insert tab, in the Illustrations group, click Shapes, and then under Basic Shapes click Donut.On the slide, drag to draw a donut. Drag the yellow sizing handle so that the donut is roughly 0.25” in thickness.Select the donut. Under Drawing Tools, on the Format tab, in the Size group, in the Height box enter 5” and in the Width box enter 5”.Also under Drawing Tools, on the Format tab, in the Shape Styles group, click Shape Outline and then click No Outline.On the Insert tab, in the Illustrations group, click Shapes, and then under Rectangles click Rectangle.On the slide, drag to draw a rectangle.Select the rectangle. Under Drawing Tools, on the Format tab, in the Size group, in the Height box enter 5.5” and in the Width box enter 0.08”.Also under Drawing Tools, on the Format tab, in the Shape Styles group, click Shape Outline and then click No Outline.Select the rectangle. On the Home tab, in the Clipboard group, click the arrow to the right of Copy, and then click Duplicate. Repeat this process this process 7 times for a total of 9 thin rectangles.Select a duplicate rectangle. Under DrawingTools, on the Format tab, in the Size group, click the Size and Position dialog box launcher. In the Format Shape dialog box, click Size in the left pane, and in the Size pane, under Size and rotate, in the Rotation box enter 10. Select another duplicate rectangle. Under DrawingTools, on the Format tab, in the Size group, click the Size and Position dialog box launcher. In the Format Shape dialog box, click Size in the left pane, and in the Size pane, under Size and rotate, in the Rotation box enter 20. Select another duplicate rectangle. Under DrawingTools, on the Format tab, in the Size group, click the Size and Position dialog box launcher. In the Format Shape dialog box, click Size in the left pane, and in the Size pane, under Size and rotate, in the Rotation box enter 30. Select another duplicate rectangle. Under DrawingTools, on the Format tab, in the Size group, click the Size and Position dialog box launcher. In the Format Shape dialog box, click Size in the left pane, and in the Size pane, under Size and rotate, in the Rotation box enter 40. Select another duplicate rectangle. Under DrawingTools, on the Format tab, in the Size group, click the Size and Position dialog box launcher. In the Format Shape dialog box, click Size in the left pane, and in the Size pane, under Size and rotate, in the Rotation box enter 50. Select another duplicate rectangle. Under DrawingTools, on the Format tab, in the Size group, click the Size and Position dialog box launcher. In the Format Shape dialog box, click Size in the left pane, and in the Size pane, under Size and rotate, in the Rotation box enter 60. Select another duplicate rectangle. Under DrawingTools, on the Format tab, in the Size group, click the Size and Position dialog box launcher. In the Format Shape dialog box, click Size in the left pane, and in the Size pane, under Size and rotate, in the Rotation box enter 70. Select the last duplicate rectangle. Under DrawingTools, on the Format tab, in the Size group, click the Size and Position dialog box launcher. In the Format Shape dialog box, click Size in the left pane, and in the Size pane, under Size and rotate, in the Rotation box enter 80. Press and hold CTRL, and then select all of the small thin rectangles. On the Quick Access Toolbar, click Combine Shapes, and then click ShapeUnion.Also on the Home tab, in the Clipboard group, click Copy, and then click Duplicate.Select the duplicate group of rectangles. On the Home tab, in the Drawing group, click Arrange, point to Rotate, and then click Rotate Right 90°.On the Home tab, in the Edit group, click Select, and then click Select All.Also on the Home tab, in the Drawing group, click Arrange, point to Align, and then do the following:Click Align to Slide.Click Align Middle.Click Align Center.Press and hold CTRL, select the donut shape, and then select the first group of rectangles. On the Quick Access Toolbar, click Combine Shapes, and then click ShapeSubtract.Press and hold CTRL, select the donut shape, and then select the second group of rectangles. On the Quick Access Toolbar, click Combine Shapes, and then click ShapeSubtract.On the Insert tab, in the Illustrations group, click Shapes, and then under Basic Shapes click Donut.On the slide, drag to draw a donut. Drag a sizing handle so that the donut is roughly 0.5” in thickness.Select the second donut. Under Drawing Tools, on the Format tab, in the Size group, in the Height box enter 5.21” and in the Width box enter 5.21”.Also under Drawing Tools, on the Format tab, in the Shape Styles group, click Shape Outline, and then click No Outline.Press and hold CTRL, select the second donut, and then select the first, segmented donut. On the Quick Access Toolbar, click Combine Shapes, and then click ShapeSubtract.Select the remaining donut. Under Drawing Tools, on the Format tab, in the Shape Styles group, click the Format Shape dialog box launcher. In the Format Shape dialog box, click Fill in the left pane, in the Fill pane, click Gradient fill, and then do the following:Click the button next to Preset colors and then click Silver.In the Type list, select Linear.Also in the Format Shape dialog box, click Line Color in the left pane, and then in the Line Color pane click No line.Also in the Format Shape dialog box, click Shadow in the left pane, in the Shadow pane, click the button next to Presets, and then under Outer click Offset Center. Also in the Format Shape dialog box, click 3-D Format in the left pane, in the 3-D Format pane, under Bevel, click the button next to Top and then click Slope.On the Insert tab, in the Illustrations group, click Shapes, and then under Basic Shapes click Donut.On the slide, drag to draw a donut. Drag a sizing handle so that the donut is roughly 0.25” in thickness.Select the new donut. Under Drawing Tools, on the Format tab, in the Shape Styles group, click the Format Shape dialog box launcher. In the Format Shape dialog box, click Fill in the left pane, in the Fill pane, click the button next to Color, click More Colors, and then in the Colors dialog box, on the Custom tab, enter values for Red: 194, Green: 10, and Blue: 6.Also in the Format Shape dialog box, click Line Color in the left pane, and then in the Line Color pane click No line.Also in the Format Shape dialog box, click Size in the left pane, in the Size pane, under Size and rotate, in the Height box enter 5.14” and in the Width box enter 5.14”.Select the new donut. On the Home tab, in the Drawing group, click Arrange, and then click Send Backward.Press and hold CTRL, and then select the two donuts. On the Home tab, in the Drawing group, click Arrange, point to Align, and then do the following:Click Align Selected Objects.Click Align Center.Click Align Middle.With both donuts selected, drag the donuts so that the top edge is roughly 1” from the top edge of the slide.To reproduce the other shape effects on this slide, do the following:On the Insert tab, in the Illustrations group, click Shapes, and then under Rectangles click Rectangle.On the slide, drag to draw a rectangle.Select the rectangle. On the Home tab, in the Drawing tab, click the Format Shape dialog box launcher. In the Format Shape dialog box, click Fill in the left pane, in the Fill pane, click Gradient fill, and then do the following:In the Type list, select Linear.In the Angle box, enter 90.Under Gradient stops, click Add gradient stop or Remove gradient stop until three stops appear in the slider, then customize the gradient stops as follows:Select the first stop in the slider, and then do the following: In the Position box, enter 0%.Click the button next to Color, and then under Theme Colors click Black, Text 1 (first row, first option from the left).In the Transparency box, enter 75%.Select the next stop in the slider, and then do the following: In the Position box, enter 35%.Click the button next to Color, and then under Theme Colors click Black, Text 1 (first row, first option from the left).In the Transparency box, enter 0%.Select the last stop in the slider, and then do the following: In the Position box, enter 100%.Click the button next to Color, and then under Theme Colors click Black, Text 1 (first row, first option from the left).In the Transparency box, enter 100%.Also in the Format Shape dialog box, click Line Color in the left pane, and then in the Line Color pane click No line.Also in the Format Shape dialog box, click Size, and in the Height box enter 7.5, and in the Width box enter 2.83.On the slide, select the rectangle. On the Home tab, in the Drawing group, click Arrange, and then click Send Backward.Also on the Home tab, in the Drawing group, click Arrange, point to Align, and then click AlignMiddle and Align Center.To reproduce the text effects on this slide, do the following:On the Insert tab, in the Text group, click Text Box.On the slide, drag to draw a text box.Type “3” in the text box, and then select the text. On the Home tab, in the Font group, select Lucida Bright from the Font list, select White, Background 1 from the Font Color list, and then select 96 pt. from the FontSize list.Select the text box. On the Home tab, in the Clipboard group, click the arrow next to Copy, and then click Duplicate.Select the second text box. Change the text to “2.”Select the text box. On the Home tab, in the Clipboard group, click the arrow next to Copy, and then click Duplicate.Select the third text box. Change the text to “1.”Press and hold CTRL, and then select all three text boxes. On the Home tab, in the Drawing group, click Arrange, point to Align, and then do the following:Click Align Selected Objects.Click Align Middle.Click Align Center.With all three text boxes selected, position the text boxes in the center of the two donuts.To reproduce the animation effects on this slide, do the following:On the Home tab, in the Editing group, click Select, and then click Selection Pane.On the slide, select the silver, segmented donut. On the Animations tab, in the Advanced Animation group, click Add Animation, and then under Entrance click Grow & Turn.Also on the Animations tab, in the Timing group, do the following:In the Start list, select With Previous.In the Duration box, enter 1.00.On the slide, select the gradient-fill rectangle. On the Animations tab, in the Advanced Animation group, click Add Animation, and then click More Entrance Effects. In the Add Entrance Effect dialog box, under Subtle, click Expand.Also on the Animations tab, in the Timing group, do the following:In the Start list, select With Previous.In the Duration box, enter 1.00.On the slide, select the red, solid donut. On the Animations tab, in the Advanced Animation group, click Add Animation, and then under Entrance click Fade.Also on the Animations tab, in the Timing group, do the following:In the Start list, select After Previous.In the Duration box, enter 0.25.In the Selection and Visibility pane, select the “3” text box. On the Animations tab, in the Advanced Animation group, click Add Animation, and then under Entrance click Fade.Also on the Animations tab, in the Timing group, in the Duration box enter 0.50.Select the red, solid donut. On the Animations tab, in the Advanced Animation group, click Add Animation, and then under Exit click Wheel.Also on the Animations tab, in the Timing group, do the following:In the Start list, select With Previous.In the Duration box, enter 1.00.In the Selection and Visibility pane, select the “3” text box. On the Animations tab, in the Advanced Animation group, click Add Animation, and then under Exit click Fade.Also on the Animations tab, in the Timing group, do the following:In the Start list, select With Previous.In the Duration box, enter 0.50.In the Delay box, enter 0.50.In the Selection and Visibility pane, select the solid red donut. On the Animations tab, in the Advanced Animation group, click Add Animation, and then under Entrance click Fade.Also on the Animations tab, in the Timing group, do the following:In the Start list, select With Previous.In the Duration box, enter 0.25.In the Delay box, enter 1.00.In the Selection and Visibility pane, select the “2” text box. On the Animations tab, in the Advanced Animation group, click Add Animation, and then under Entrance click Fade.Also on the Animations tab, in the Timing group, do the following:In the Start list, select With Previous.In the Duration box, enter 0.50.In the Delay box, enter 1.00.Select the red, solid donut. On the Animations tab, in the Advanced Animation group, click Add Animation, and then under Exit click Wheel.Also on the Animations tab, in the Timing group, do the following:In the Start list, select With Previous.In the Duration box, enter 1.00.In the Selection and Visibility pane, select the “2” text box. On the Animations tab, in the Advanced Animation group, click Add Animation, and then under Exit click Fade.Also on the Animations tab, in the Timing group, do the following:In the Start list, select With Previous.In the Duration box, enter 0.50.In the Delay box, enter 1.50.In the Selection and Visibility pane, select the “1” text box. On the Animations tab, in the Advanced Animation group, click Add Animation, and then under Entrance click Fade.Also on the Animations tab, in the Timing group, do the following:In the Start list, select With Previous.In the Duration box, enter 0.50.In the Delay box, enter 1.50.In the Selection and Visibility pane, select the solid red donut. On the Animations tab, in the Advanced Animation group, click Add Animation, and then under Entrance click Fade.Also on the Animations tab, in the Timing group, do the following:In the Start list, select With Previous.In the Duration box, enter 0.25.In the Delay box, enter 1.00.In the Selection and Visibility pane, select the “1” text box. On the Animations tab, in the Advanced Animation group, click Add Animation, and then under Exit click FadeAlso on the Animations tab, in the Timing group, do the following:In the Start list, select With Previous.In the Duration box, enter 0.50.In the Delay box, enter 2.00.Select the red, solid donut. On the Animations tab, in the Advanced Animation group, click Add Animation, and then under Exit click Wheel.Also on the Animations tab, in the Timing group, do the following:In the Start list, select With Previous.In the Duration box, enter 2.00.To reproduce the background effects on this slide, do the following:On the Insert tab, in the Illustrations group, click Shapes, and then under Rectangles click Rectangle.On the slide, drag to draw a rectangle.Select the rectangle. Under Drawing Tools, on the Format tab, in the Shape Styles group, click the Format Shape dialog box. In the Format Shape dialog box, click Fill in the left pane, in the Fill pane, click Picture or texture fill, and then do the following:Click the button next to Texture and select Brown Marble (fourth row, first option from the left).Clear the Tile picture as texture box.Also in the Format Picture dialog box, click Line Color in the left pane, and in the Line Color pane, click No line.Also in the Format Picture dialog box, click Picture Corrections in the left pane, and in the Picture Corrections pane, under Brightness and contrast, do the following:In the Brightness box, enter -42%.In the Contrast Box, enter -28%.Also in the Format Picture dialog box, click Picture Color in the left pane, and in the Picture Color pane, under Recolor, click the button next to Presets and then click Grayscale.Also in the Format Picture dialog box, click Artistic Effects in the left pane, and in the Artistic Effects pane, do the following:Click the button next to Artistic Effects and then click Blur.In the Radius box, enter 7.Also in the Format Picture dialog box, click Size in the left pane, and then under Size and rotate do the following:In the Height box, enter 7.5.In the Width box, enter 10.On the slide, select the rectangle. On the Home tab, in the Drawing group, click Arrange, point to Align, and then click Align Middle and Align Center.On the Home tab, in the Clipboard group, click the arrow to the right of Copy, and then click Duplicate. Select the second, duplicate rectangle. Under Drawing Tools, on the Format tab, in the Shape Styles group, click the Format Shape dialog box launcher. In the Format Shape dialog box, click Fill in the left pane, in the Fill pane, in the Transparency box, enter 90%.Also in the Format Picture dialog box, click Picture Corrections in the left pane, and in the Picture Corrections pane, under Brightness and contrast, do the following:In the Brightness box, enter 12%.In the Contrast Box, enter 44%.Also in the Format Picture dialog box, click Artistic Effects in the left pane, and in the Artistic Effects pane, do the following:Click the button next to Artistic Effects and then click Blur.In the Radius box, enter 9.On the slide, select the rectangle. On the Home tab, in the Drawing group, click Arrange, point to Align, and then click Align Middle and Align Center.On the Home tab, in the Clipboard group, click the arrow to the right of Copy, and then click Duplicate.Select the third, duplicate rectangle. Under Picture Tools, on the Format tab, in the Adjust group, click Reset Picture.Also under Picture Tools, on the Format tab, in the Picture Styles group, click the Format Picture dialog box launcher. In the Format Picture dialog box, click Fill in the left pane, and then in the Fill pane, do the following:Click the button next to Texture and then click Granite.Select Tile picture as texture.In the Transparency box, enter 94%.Also in the Format Picture dialog box, click Picture Corrections in the left pane, in the Picture Corrections pane, under Brightness and contrast, do the following:In the Brightness box, enter 2%.In the Contrast box, enter 70%.Also in the Format Picture dialog box, click Artistic Effects in the left pane, and then in the Artistic Effects pane, do the following:Click the button next to Artistic Effect and then click Photocopy.In the Detail box, enter 9.On the slide, select the third rectangle. On the Home tab, in the Drawing group, click Arrange, point to Align, and then click Align Middle and Align Center.On the Home tab, in the Clipboard group, click the arrow to the right of Copy, and then click Duplicate.Select the fourth, duplicate rectangle. On the Home tab, in the Drawing group, click the FormatShape dialog box launcher. In the Format Picture dialog box, click Fill in the left pane, in the Fill pane, click Gradient fill, and then do the following:In the Type list, select Radial. In the Direction list, select From Center.Under Gradient stops, click Add gradient stop or Remove gradient stop until two stops appear on the slider. Customize the gradient stops as follows:Select the first stop in the slider, and then do the following: In the Position box, enter 0%.Click the button next to Color, and then under Theme Colors click Black, Text 1 (first row, second option from the left).In the Transparency box, enter 100%.Select the last stop in the slider, and then do the following: In the Position box, enter 100%.Click the button next to Color, and then under Theme Colors click Black, Text 1 (first row, second option from the left).In the Transparency box, enter 50%.On the slide, select the fourth rectangle. On the Home tab, in the Drawing group, click Arrange, point to Align, and then click Align Middle and Align Center.Also on the Home tab, in the Editing group, click Select, and then click Select All.Also on the Home tab, in the Drawing group, click Arrange, and then click Group.On the slide, select the grouped rectangles. Also on the Home tab, in the Clipboard group, click Cut.Also on the Home tab, in the Clipboard group, click the arrow below Paste, and select Paste Special. In the Paste Special dialog box, select Paste, and then under As, select Picture (PNG).Also on the Home tab, in the Drawing group, click Arrange, point to Align and then click Align Middle and Align Center.
Exploded 3-D text(Intermediate)To reproduce the text effects on this slide, do the following:On the Home tab, in theSlides group, click Layout, and then click Blank.On the Insert tab, in the Text group, click Text Box, and then on the slide, drag to draw the text box.Enter text in the text box, select the text, and then on the Home tab, in the Font group, select Impact from the Font list, and then enter 130 in the Font Size box.On the Home tab, in the Paragraph group, click Center to center the text in the text box.Under Drawing Tools, on the Format tab, in the WordArt Styles group, click the arrow next to Text Fill, and then under Theme Colors click Orange, Accent 6, Darker 25% (fifth row, tenth option from the left). Under Drawing Tools, on the Format tab, in the WordArt Styles group, click Text Effects, point to 3-D Rotation, and then under Perspective click Perspective Front (first row, first option from the left). Under Drawing Tools, on the Format tab, in the bottom right corner of the WordArt Styles group, click the Format Text Effects dialog box launcher. In the Format Text Effects dialog box, click 3-D Rotation in the left pane and then do the following in the right pane:Under Rotation, in the Z box, enter 10°. Under Rotation, In the Perspective box, enter 120°.Also in the Format Text Effects dialog box, click 3-D Format in the left pane and then do the following in the right pane:Under Bevel, click the button next to Top, and then under Bevel click Cool Slant (first row, fourth option from the left). Under Depth, click the button next to Color, and then under Theme Colorsclick Orange, Accent 6, Darker 50% (sixth row, first option from the right). In the Depth box, enter 120 pt. Under Surface, click the button next to Lighting, and then under Neutral click Three Point (first row, first option from the left). In the Angle box, enter 140°. To reproduce the background on this slide, do the following:Right-click the slide background area, then click Format Background. In the Format Background dialog box, click Fill in the left pane, select Gradient fill in the right pane, and then do the following:In the Type list, select Radial.Click the button next to Direction, and then clickFrom Center (third option from the left).Under Gradient stops, click Add gradient stop or Remove gradient stop until four stops appear in the sliderAlso under Gradient stops, customize the gradient stops that you added as follows:Select the first stop in the slider, and then do the following:In the Position box, enter0%. Click the button next to Color, and then under Theme Colorsclick Black, Text 1, Lighter 5% (sixth row, second option from the left).Select the next stop in the slider, and then do the following:In the Position box, enter48%. Click the button next to Color, and then under Theme Colors click Black, Text 1, Lighter 5% (sixth row, second option from the left).Select the next stop in the slider, and then do the following:In the Position box, enter67%. Click the button next to Color, and then under Theme Colorsclick Black, Text 1, Lighter 15% (fifth row, second option from the left).Select the last stop in the slider, and then do the following:In the Position box, enter100%. Click the button next to Color, and then under Theme Colorsclick Black, Text 1, Lighter 35% (third row, second option from the left).
Custom animation effects: shrink picture circle with text(Intermediate)Fadhlina (2008), kompetensimengikutistilah yang digunakandalamstandart Guru Malaysia membawamaksudkemahiran professional guru berdasarkanamalanprofesionalisme, pengetahuan , kefahamandankemahiranpengajarandanpembelajaran.To reproduce the picture effects on this slide, do the following:On the Home tab, in theSlides group, click Layout, and then click Blank.On the Insert tab, in the Illustrations group, click Picture. In the InsertPicture dialog box, select a picture, and then click Insert.On the slide, select the picture. Under PictureTools, on the Format tab, in the PictureStyles group, click PictureShape, and then under BasicShapes click Oval (first row, first option from the left).Select the picture-filled oval. Under Picture Tools, on the Format tab, in the bottom right corner of the Size group, click the Size and Position dialog box launcher. In the Size and Position dialog box, on the Size tab, resize or crop the picture as needed so that under Size and rotate, the Height box is set to 6” and the Width box is set to 6”. Resize the picture under Size and rotate by entering values into the Height and Width boxes. Crop the picture under Crop from by entering values into the Left, Right, Top, and Bottom boxes. Under PictureTools, on the Format tab, in the PictureStyles group, click PictureEffects, point to Glow, and then under GlowVariations click Accent color 1, 18 pt glow (fourth row, first option from the left).Under PictureTools, on the Format tab, in the PictureStyles group, click PictureEffects, point to Glow, point to More Glow Colors, and then under ThemeColors click White, Background 1 (first row, first option from the left).On the Home tab, in the Drawing group, click the Format Shape dialog box launcher. In the Format Picture dialog box, click Shadow in the left pane. In the Shadow pane, click the button next to Presets, under Inner click InsideDiagonalBottomLeft (third row, first option from the left), and then do the following:In the Transparency box, enter 50%.In the Blur box, enter 8 pt.In the Angle box, enter 135°.In the Distance box, enter 8 pt.On the Insert tab, in the Text group, click TextBox. On the slide, drag to draw a text box.Enter text, and then select the text. On the Home tab, in the Font group, do the following:In the Font list, select Candara.In the FontSize box, enter 30.Click the arrow next to FontColor, and then click Black, Text 1, Lighter 25% (fourth row, second option from the left).On the Home tab, in the Paragraph group, click AlignTextLeft.On the slide, select the text box. Under DrawingTools, on the Format tab, in the WordArt Styles group, click TextEffects, point to Reflection, and then under ReflectionVariations click TightReflection, touching (first row, first option from the left).Drag the text box onto the right half of the slide.With the text box still selected, on the Home tab, in the Drawing group, click Arrange, and then do the following:Point to Align, and then click Align to Slide.Point to Align, and then click Align Right.Point to Align, and then click Align Middle.Click Send to Back. To reproduce the animation effects on this slide, do the following:On the Animations tab, in the Animations group, click CustomAnimation. On the slide, select the picture. In CustomAnimation task pane, do the following:Click Add Effect, point to Entrance, and then click More Effects. In the Add Entrance Effect dialog box, under Basic, click Wheel.Select the animation effect (wheel effect for the picture). Under Modify: Wheel,do the following:In the Start list, select WithPrevious.In the Spokes list, select 1 Spoke.In the Speed list, select Medium. On the slide, select the picture. In CustomAnimation task pane, do the following:Click Add Effect, point to Entrance, and then click More Effects. In the Add Entrance Effect dialog box, under Subtle, click FadedZoom.Select the second animation effect (faded zoom effect for the picture). Under Modify: FadedZoom,do the following:In the Start list, select WithPrevious.In the Speed list, select Medium. On the slide, select the picture. In CustomAnimation task pane, do the following:Click Add Effect, point to Emphasis, and then click More Effects. In the Add Emphasis Effect dialog box, under Basic, click Grow/Shrink.Select the third animation effect (grow/shrink effect for the picture). Click the arrow to the right of the selected effect, and then click EffectOptions. In the Grow/Shrink dialog box, do the following:On the Effect tab, under Settings, do the following:In the Size list, in the Custom box, enter 95%, and then press ENTER.Select SmoothStart.Select SmoothEnd.Select Auto-reverse.On the Timing tab, do the following: In the Start list, select AfterPrevious. In the Speed box, enter 0.3 seconds. On the slide, select the picture. In CustomAnimation task pane, do the following:Click Add Effect, point to Emphasis, and then click More Effects. In the Add Emphasis Effect dialog box, under Basic, click Grow/Shrink.Select the fourth animation effect (grow/shrink effect for the picture). Under Grow/Shrink, do the following:In the Start list, select AfterPrevious.In the Size list, select Smaller.In the Speed list, select Medium. On the slide, select the picture. In CustomAnimation task pane, do the following:ClickAddEffect, point to MotionPaths, and then click Left.Select the fifth animation effect (left motion path for the picture). Under Modify: Left,do the following:In the Start list, select WithPrevious.In the Speed list, select Medium.On the slide, select the text box. In the CustomAnimation task pane, do the following:Click Add Effect, point to Entrance, and then click More Effects. In the Add Entrance Effect dialog box, under Subtle, select Fade.Select the sixth animation effect (fade effect for the text box). Click the arrow to the right of the selected effect, and then click Timing. In the Fade dialog box, on the Timing tab, do the following:In the Start list, select WithPrevious.In the Delay box, enter 1.5.In the Speed list, select 1 seconds (Fast).On the slide, select the text box. In CustomAnimation task pane, do the following:ClickAddEffect, point to MotionPaths, and then click Left.Select the seventh animation effect (left motion path for the text box). Under Modify: Left,do the following:In the Start list, select WithPrevious.In the Speed list, select Fast.On the slide, right–click the selected motion path for the text box, and then clickReversePathDirection. To reproduce the rectangle on this slide, do the following: On the Home tab, in theDrawing group, clickShapes, and then under Rectangles click Rectangle (first option from the left). On the slide, drag to draw a rectangle.Select the rectangle.Under DrawingTools, on the Format tab, in the Size group, do the following:In the ShapeHeight box, enter 1.54”.In theShapeWidth box, enter 10”.Under DrawingTools, on theFormat tab, in the ShapeStyles group, click the arrow next to ShapeOutline, and then click NoOutline.Under DrawingTools, on the Format tab, in the bottom right corner of the ShapeStyles group, click the FormatShape dialog box launcher. In the Format Shape dialog box, clickFill in the left pane, selectGradientfill in the Fill pane, and then do the following:In the Type list, select Linear.Click the button next to Direction, and then click Linear Right (first row, fourth option from the left). Under Gradient stops, click Add or Remove until two stops appear in the drop-down list.Also under Gradient stops, customize the gradient stops that you added as follows:Select Stop 1 from the list, and then do the following:In the Stop position box, enter 0%.Click the button next to Color, and then under Theme Colors click White, Background 1 (first row, first option from the left).In the Transparency box, enter 88%.Select Stop 2 from the list, and then do the following: In the Stop position box, enter 100%.Click the button next to Color, and then under Theme Colors click White, Background 1 (first row, first option from the left).In the Transparency box, enter 43%.On the Home tab, in the Drawinggroup, click Arrange, and then do the following:Point to Align, and then click Align to Slide. Point to Align, and then clickAlignMiddle.Point to Align, and then clickAlignCenter.Click Send to Back. To reproduce the background effects on this slide, do the following:Right-click the slide background area, and then click Format Background. In the Format Background dialog box, click Fill in the left pane, select Gradient fill in the Fill pane, and then do the following:In the Type list, select Radial.Click the button next to Direction, and then click From Center (third option from the left).Under Gradient stops, click Add or Remove until two stops appear in the drop-down list.Also under Gradient stops, customize the gradient stops that you added as follows:Select Stop 1 from the list, and then do the following:In the Stop position box, enter 0%.Click the button next to Color, and then under Theme Colors click White, Background 1 (first row, first option from the left).Select Stop 2 from the list, and then do the following: In the Stop position box, enter 100%.Click the button next to Color, and then under Theme Colors click Black, Text 1, Lighter 50% (second row, second option from the left).
Custom animation effects: shrink picture circle with text(Intermediate)To reproduce the picture effects on this slide, do the following:On the Home tab, in theSlides group, click Layout, and then click Blank.On the Insert tab, in the Illustrations group, click Picture. In the InsertPicture dialog box, select a picture, and then click Insert.On the slide, select the picture. Under PictureTools, on the Format tab, in the PictureStyles group, click PictureShape, and then under BasicShapes click Oval (first row, first option from the left).Select the picture-filled oval. Under Picture Tools, on the Format tab, in the bottom right corner of the Size group, click the Size and Position dialog box launcher. In the Size and Position dialog box, on the Size tab, resize or crop the picture as needed so that under Size and rotate, the Height box is set to 6” and the Width box is set to 6”. Resize the picture under Size and rotate by entering values into the Height and Width boxes. Crop the picture under Crop from by entering values into the Left, Right, Top, and Bottom boxes. Under PictureTools, on the Format tab, in the PictureStyles group, click PictureEffects, point to Glow, and then under GlowVariations click Accent color 1, 18 pt glow (fourth row, first option from the left).Under PictureTools, on the Format tab, in the PictureStyles group, click PictureEffects, point to Glow, point to More Glow Colors, and then under ThemeColors click White, Background 1 (first row, first option from the left).On the Home tab, in the Drawing group, click the Format Shape dialog box launcher. In the Format Picture dialog box, click Shadow in the left pane. In the Shadow pane, click the button next to Presets, under Inner click InsideDiagonalBottomLeft (third row, first option from the left), and then do the following:In the Transparency box, enter 50%.In the Blur box, enter 8 pt.In the Angle box, enter 135°.In the Distance box, enter 8 pt.On the Insert tab, in the Text group, click TextBox. On the slide, drag to draw a text box.Enter text, and then select the text. On the Home tab, in the Font group, do the following:In the Font list, select Candara.In the FontSize box, enter 30.Click the arrow next to FontColor, and then click Black, Text 1, Lighter 25% (fourth row, second option from the left).On the Home tab, in the Paragraph group, click AlignTextLeft.On the slide, select the text box. Under DrawingTools, on the Format tab, in the WordArt Styles group, click TextEffects, point to Reflection, and then under ReflectionVariations click TightReflection, touching (first row, first option from the left).Drag the text box onto the right half of the slide.With the text box still selected, on the Home tab, in the Drawing group, click Arrange, and then do the following:Point to Align, and then click Align to Slide.Point to Align, and then click Align Right.Point to Align, and then click Align Middle.Click Send to Back. To reproduce the animation effects on this slide, do the following:On the Animations tab, in the Animations group, click CustomAnimation. On the slide, select the picture. In CustomAnimation task pane, do the following:Click Add Effect, point to Entrance, and then click More Effects. In the Add Entrance Effect dialog box, under Basic, click Wheel.Select the animation effect (wheel effect for the picture). Under Modify: Wheel,do the following:In the Start list, select WithPrevious.In the Spokes list, select 1 Spoke.In the Speed list, select Medium. On the slide, select the picture. In CustomAnimation task pane, do the following:Click Add Effect, point to Entrance, and then click More Effects. In the Add Entrance Effect dialog box, under Subtle, click FadedZoom.Select the second animation effect (faded zoom effect for the picture). Under Modify: FadedZoom,do the following:In the Start list, select WithPrevious.In the Speed list, select Medium. On the slide, select the picture. In CustomAnimation task pane, do the following:Click Add Effect, point to Emphasis, and then click More Effects. In the Add Emphasis Effect dialog box, under Basic, click Grow/Shrink.Select the third animation effect (grow/shrink effect for the picture). Click the arrow to the right of the selected effect, and then click EffectOptions. In the Grow/Shrink dialog box, do the following:On the Effect tab, under Settings, do the following:In the Size list, in the Custom box, enter 95%, and then press ENTER.Select SmoothStart.Select SmoothEnd.Select Auto-reverse.On the Timing tab, do the following: In the Start list, select AfterPrevious. In the Speed box, enter 0.3 seconds. On the slide, select the picture. In CustomAnimation task pane, do the following:Click Add Effect, point to Emphasis, and then click More Effects. In the Add Emphasis Effect dialog box, under Basic, click Grow/Shrink.Select the fourth animation effect (grow/shrink effect for the picture). Under Grow/Shrink, do the following:In the Start list, select AfterPrevious.In the Size list, select Smaller.In the Speed list, select Medium. On the slide, select the picture. In CustomAnimation task pane, do the following:ClickAddEffect, point to MotionPaths, and then click Left.Select the fifth animation effect (left motion path for the picture). Under Modify: Left,do the following:In the Start list, select WithPrevious.In the Speed list, select Medium.On the slide, select the text box. In the CustomAnimation task pane, do the following:Click Add Effect, point to Entrance, and then click More Effects. In the Add Entrance Effect dialog box, under Subtle, select Fade.Select the sixth animation effect (fade effect for the text box). Click the arrow to the right of the selected effect, and then click Timing. In the Fade dialog box, on the Timing tab, do the following:In the Start list, select WithPrevious.In the Delay box, enter 1.5.In the Speed list, select 1 seconds (Fast).On the slide, select the text box. In CustomAnimation task pane, do the following:ClickAddEffect, point to MotionPaths, and then click Left.Select the seventh animation effect (left motion path for the text box). Under Modify: Left,do the following:In the Start list, select WithPrevious.In the Speed list, select Fast.On the slide, right–click the selected motion path for the text box, and then clickReversePathDirection. To reproduce the rectangle on this slide, do the following: On the Home tab, in theDrawing group, clickShapes, and then under Rectangles click Rectangle (first option from the left). On the slide, drag to draw a rectangle.Select the rectangle.Under DrawingTools, on the Format tab, in the Size group, do the following:In the ShapeHeight box, enter 1.54”.In theShapeWidth box, enter 10”.Under DrawingTools, on theFormat tab, in the ShapeStyles group, click the arrow next to ShapeOutline, and then click NoOutline.Under DrawingTools, on the Format tab, in the bottom right corner of the ShapeStyles group, click the FormatShape dialog box launcher. In the Format Shape dialog box, clickFill in the left pane, selectGradientfill in the Fill pane, and then do the following:In the Type list, select Linear.Click the button next to Direction, and then click Linear Right (first row, fourth option from the left). Under Gradient stops, click Add or Remove until two stops appear in the drop-down list.Also under Gradient stops, customize the gradient stops that you added as follows:Select Stop 1 from the list, and then do the following:In the Stop position box, enter 0%.Click the button next to Color, and then under Theme Colors click White, Background 1 (first row, first option from the left).In the Transparency box, enter 88%.Select Stop 2 from the list, and then do the following: In the Stop position box, enter 100%.Click the button next to Color, and then under Theme Colors click White, Background 1 (first row, first option from the left).In the Transparency box, enter 43%.On the Home tab, in the Drawinggroup, click Arrange, and then do the following:Point to Align, and then click Align to Slide. Point to Align, and then clickAlignMiddle.Point to Align, and then clickAlignCenter.Click Send to Back. To reproduce the background effects on this slide, do the following:Right-click the slide background area, and then click Format Background. In the Format Background dialog box, click Fill in the left pane, select Gradient fill in the Fill pane, and then do the following:In the Type list, select Radial.Click the button next to Direction, and then click From Center (third option from the left).Under Gradient stops, click Add or Remove until two stops appear in the drop-down list.Also under Gradient stops, customize the gradient stops that you added as follows:Select Stop 1 from the list, and then do the following:In the Stop position box, enter 0%.Click the button next to Color, and then under Theme Colors click White, Background 1 (first row, first option from the left).Select Stop 2 from the list, and then do the following: In the Stop position box, enter 100%.Click the button next to Color, and then under Theme Colors click Black, Text 1, Lighter 50% (second row, second option from the left).
Rotating numbers on a curved path(Advanced)Tip: To draw the curved line on this slide, you will need to use the ruler and the drawing guides.To display the ruler and the drawing guides, do the following:On the View tab, in the Show/Hide group, select Ruler. Right-click the slide background area, and then click Grid and Guides. In the Grid and Guides dialog box, under Guide settings, select Display drawing guides on screen. (Note: One horizontal and one vertical guide will display on the slide at 0.00, the default position.)To reproduce the curved line on this slide, do the following:On the Insert tab, in the Illustrations group, click Shapes, and then under Lines click Curve (10th option from the left). To draw the curved line on the slide, do the following:Click the first point 0.25” to the left of the left edge of the slide and 0.75” below the horizontal drawing guide.Click the second point 3” to the left of the vertical drawing guide and 1” above the horizontal drawing guide.Click the third point 1.5” to the right of the vertical drawing guide and 0.5” below the horizontal drawing guide.Double-click the fourth and final point 0.25” to the right of the right edge of the slide and 1.5” above the horizontal drawing guide. Select the curved line. UnderDrawing Tools, on the Format tab, in the Shape Styles group, click Shape Outline, and then do the following: Under Theme Colors,clickWhite, Background 1, Darker 35% (fifth row, first option from the left). Point to Dashes, and then click Square Dot (third option from the top).Point to Weight, and then click 1 ½ pt. To reproduce the “1” on this slide, do the following:On the Home tab, in theSlides group, click Layout, and then click Blank.On the Insert tab, in the Text group, click Text Box, and then on the slide, drag to draw the text box.Enter 1 in the text box, and then select the text. On the Home tab, in the Font group, do the following:In the Font list, select Impact.In the Font Size box, enter 140.On the Home tab, in the Paragraph group, click Align Text Left to align the text left in the text box. Select the text box. Under Drawing Tools, on the Format tab, in the bottom right corner of the WordArt Styles group, click the Format Text Effects dialog box launcher. In the Format Text Effects dialog box, click Text Fill in the left pane, select Gradient fill in the Text Fill pane, and then do the following:In the Type list, select Linear.Click the button next to Direction, and then click Linear Down (first row, second option from the left).Under Gradient stops, click Add gradient stops or Remove gradient stops until two stops appear in the slider.Also under Gradient stops, customize the gradient stops that you added as follows:Select the first stop in the slider, and then do the following:In the Position box, enter 0%.Click the button next to Color, and then under Theme Colors click White, Background 1 (first row, first option from the left).In the Transparency box, enter 50%.Select the last stop in the slider, and then do the following:In the Position box, enter 85%.Click the button next to Color, and then under Theme Colors click White, Background 1 (first row, first option from the left).In the Transparency box, enter 0%.Also in the Format Text Effects dialog box, click Text Outline in the left pane. In the Text Outline pane, select Solid line, click the button next to Color, and then click More Colors. In the Colors dialog box, on the Custom tab, enter values for Red: 49, Green: 133, Blue: 156.Also in the Format Text Effects dialog box, click Outline Style in the left pane. In the Outline Style pane, in the Width box, enter 2.5 pt. Also in the Format Text Effects dialog box, click Shadow in the left pane. In the Shadow pane, click the button next to Presets, under Outer click Offset Diagonal Bottom Left (first row, third option from the left), and then do the following:In the Transparency box, enter 82%.In the Size box, enter 100%.In the Blur box, enter 8 pt.In the Angle box, enter 135°.In the Distance box, enter 30 pt. Also in the Format Text Effects dialog box, click 3-D Rotation in the left pane. In the 3-D Rotation pane, under Rotation, in the Z box, enter 15°.Also in the Format Text Effects dialog box, click Glow and Soft Edges in the left pane, and in the Glow and Soft Edges pane, do the following:In the Size box, enter 8 pt.Click the button next to Color, and then click More Colors. In the Colors dialog box, on the Custom tab, enter values for Red: 29, Green: 199, Blue: 244.Drag the text box onto the left part of the curved line, slightly to the right of the peak of the curve. To reproduce the animation effects for the “1” on this slide, do the following:On the slide, select the text box. On the Animations tab, in the Advanced Animation group, click Add Animation, and then under Entrance, click Fade.Also on the Animations tab, in the Timing group, do the following:In theStart list, selectWith Previous. In the Duration box, enter 1.00.Also on the Animations tab, in the Advanced Animation group, click Add Animation, and then under Emphasis click Spin.Also on the Animations tab, in the Animation group, click the Effect Options dialog box launcher. In the Spin dialog box, do the following:On the Effect tab, under Settings, do the following:In the Amount list, in the Custom box, enter 30°, and then press ENTER.Select Clockwise.Select Auto-Reverse.On the Timing tab, do the following:In theStart list, selectWith Previous. In the Duration list, select 1 seconds (Fast).On the Animations tab, in the Advanced Animation group, click Add Animation, and then click More Motion Paths. In the Add Motion Path dialog box, under Lines & Curves, click Arc Down.Also on the Animations tab, in the Timing group, do the following:In the Start list, select With Previous.In the Duration box, enter 2.00.On the slide, right-click the motion path and then click Edit Points. In Edit Points mode, do the following: Right-click the line and then click Add Point. Repeat until the line has five points.Select the second, third, and fourth points individually. Drag each point so that it is along the dashed curved line. Drag the end point off the right side of the slide. (Note: Click at least 1.5” off the right edge of the slide so that the text and its shadow exit completely.)On the slide, right-click the motion path, and then click Reverse Path Direction.On the View tab, in the Show/Hide group, clear Ruler.Right-click the slide background area, and then click Grid and Guides. In the Grid and Guides dialog box, under Guide settings, clear Display drawing guides on screen. To reproduce the animated “2” on this slide, do the following:Select the first text box. On the Home tab, in the Clipboard group, click the arrow to the right of Copy, and then click Duplicate.Click in the second text box, delete 1, and then enter 2.Select the second text box. UnderDrawing Tools, on the Format tab, in the bottom right corner of the WordArt Styles group, click the FormatTextEffects dialog box launcher. In the Format Text Effects dialog box, click Text Fill in the left pane, select Gradient fill in the Text Fill pane, and then do the following:In the Type list, select Linear.Click the button next to Direction, and then click Linear Down (first row, second option from the left).Under Gradient stops, click Add gradient stop or Remove gradient stop until two stops appear in the slider.Also under Gradient stops, customize the gradient stops that you added as follows:Select the first stop in the slider, and then do the following:In the Position box, enter 0%.Click the button next to Color, and then under Theme Colors click White, Background 1 (first row, first option from the left).In the Transparency box, enter 50%.Select the last stop in the slider, and then do the following:In the Position box, enter 85%.Click the button next to Color, click More Colors, and then in the Colors dialog box, on the Custom tab, enter values for Red: 198, Green: 217, Blue: 241.In the Transparency box, enter 0%.Also in the Format Text Effects dialog box, click Text Outline in the left pane. In the Text Outline pane, select Solid line, click the button next to Color, and then click More Colors. In the Colors dialog box, on the Custom tab, enter values for Red: 228, Green: 108, Blue: 10.Also in the Format Text Effects dialog box, click 3-D Rotation in the left pane. In the 3-D Rotation pane, under Rotation, in the Z box, enter 350°.Also in the Format Text Effects dialog box, click Glow and Soft Edges in the left pane, in the Glow and Soft Edges pane, click the button next to Color, and then click More Colors. In the Colors dialog box, on the Custom tab, enter values for Red: 255, Green: 144, Blue: 4.Drag the second text box onto the curved line, to the right of the “1” text box and approximately in the middle of the slide. On the Animations tab, in the Advanced Animation group, click Animation Pane.Press and hold CTRL, and then in the Animation Pane, select the fourth and fifth animation effects (fade and spin effects for the second text box). On the Animations tab, in the Timing group, do the following:In the Delay box, enter 0.5.In the Duration box, enter 0.9 seconds. In the Animation Pane, select the sixth animation effect (motion path for the second text box). On the Animations tab, in the Timing group, do the following:In the Delay box, enter 0.5.In the Duration box, enter 1.8 seconds. In the Animation Pane, select the sixth animation effect. On the slide, right-click the selected motion path, and then click Edit Points. Drag the points on the path to match the path to the curved line. (Note: The starting point will be further to the right of the right edge of the slide than the starting point for the first motion path.)To reproduce the animated “3” on this slide, do the following:On the slide, select the second text box. On the Home tab, in the Clipboard group, click the arrow to the right of Copy, and then click Duplicate.Drag the third text box away from the second text box.Click in the third text box, delete 2, and then enter 3. Select the third text box. UnderDrawing Tools, on the Format tab, in the bottom right corner of the WordArt Styles group, click the FormatTextEffects dialog box launcher. In the Format Text Effects dialog box, click Text Fill in the left pane, select Gradient fill in the Text Fill pane, and then do the following:In the Type list, select Linear.Click the button next to Direction, and then click Linear Down (first row, second option from the left).Under Gradient stops, click Add gradient stop or Remove gradient stop until two stops appear in the slider.Also under Gradient stops, customize the gradient stops that you added as follows:Select the first stop in the slider, and then do the following:In the Position box, enter 0%.Click the button next to Color, and then under Theme Colors click White, Background 1 (first row, first option from the left).In the Transparency box, enter 50%.Select the last stop in the slider,and then do the following:In the Position box, enter 85%.Click the button next to Color, click More Colors, and then in the Colors dialog box, on the Custom tab, enter values for Red: 198, Green: 217, Blue: 241.In the Transparency box, enter 0%.Also in the Format Text Effects dialog box, click Text Outline in the left pane. In the Text Outline pane, select Solid line, click the button next to Color, and then click More Colors. In the Colors dialog box, on the Custom tab, enter values for Red: 119, Green: 147, Blue: 60.Also in the Format Text Effects dialog box, click 3-D Rotation in the left pane. In the 3-D Rotation pane, under Rotation, in the Z box, enter 5°.Also in the Format Text Effects dialog box, click Glow and Soft Edges in the left pane, and in the Glow and Soft Edges pane, under Glow, click the button next to Color, and then click More Colors. In the Colors dialog box, on the Custom tab, enter values for Red: 168, Green: 224, Blue: 52.Drag the third text box to the right of the second text box, above the curve.In the Animation Pane, select the seventh animation effect (fade effect for the third text box). On the Animations tab, in the Timing group, do the following:In the Delay box, enter 0.9.In the Duration box, enter 0.7 seconds. In the Animation Pane, select the eighth animation effect (spin effect for the third text box). On the Animations tab, in the Timing group, do the following:In the Delay box, enter 0.9.In the Duration box, enter 0.75 seconds. In the Animation Pane, select the ninth animation effect (motion path for the third text box). On the Animations tab, in the Timing group, do the following:In the Delay box, enter 0.9.In the Duration box, enter 1.5 seconds. In the Animation Pane, select the ninth animation effect (motion path for the third text box). On the slide, right-click the selected motion path, and then click Edit Points. Drag the points on the path to match the path to the curved line. (Note: The endpoint will be above the curved line and the path will eventually meet the curve. The starting point will be further to the right of the right edge of the slide than the starting point for the first motion path.)To reproduce the background on this slide, do the following: Right-click the slide background area, and then click Format Background. In the Format Background dialog box, click Fill in the left pane, select Gradient fill in the Fill pane, and then do the following:In the Type list, select Radial.Click the button next to Direction, and then click From Corner (fifth option from the left).Under Gradient stops, click Add gradient stop or Remove gradient stop until two stops appear in the slider.Also under Gradient stops, customize the gradient stops that you added as follows:Select the first stop in the slider, and then do the following:In the Position box, enter 0%.Click the button next to Color, and then under Theme Colors click White, Background 1 (first row, first option from the left).Select the last stop in the slider, and then do the following: In the Position box, enter 100%.Click the button next to Color, and then under Theme Colors click White, Background 1, Darker 35% (fifth row, first option from the left).
Animated pointer and light-up text(Advanced)To reproduce the background effects on this slide, do the following:On the Home tab, in theSlides group, click Layout, and then click Blank.Right-click the slide background area, and then click Format Background. In the Format Background dialog box, click Fill in the left pane, select Solid fill in the right pane, and select White, Background 1 (first row, first option from the left).To reproduce the rectangle on this slide, do the following:On the Home tab, in the Drawing group, click Shapes, and then under Rectangles click Rounded Rectangle (second option from the left). On the slide, drag to draw a rounded rectangle.Select the rectangle. Drag the yellow diamond adjustment handle to the left to decrease the amount of rounding on the corners. With the rounded rectangle still selected, under Drawing Tools, on the Format tab, in the Size group, do the following:In the Shape Height box, enter 3.5”.In the Shape Width box, enter 0.25”.Under Drawing Tools, on the Format tab, in the bottom right corner of the Shape Styles group, click the Format Shape dialog box launcher. In the Format Shape dialog box, click Fill in the left pane. In the Fill pane, select Solid fill, click the button next to Color, and then under Theme Colors click White, Background 1, Darker 15% (third row, first option from the left).Also in the Format Shape dialog box, click Line Color in the left pane. In the Line Color pane, select No line. Also in the Format Shape dialog box, click Shadow in the left pane. In the Shadow pane, click the button next to Presets, under Outer select Offset Bottom (first row, second option from the left), and then do the following:In the Transparency box, enter 0%.In the Sizebox, enter 100%.In the Blur box, enter 8.5 pt.In the Angle box, enter 90°.In the Distance box, enter 1 pt.Also in the Format Shape dialog box, click 3-D Format in the left pane. In the 3-D Format tab, do the following:Under Bevel, click the button next to Top, and then under Bevel click Circle (first row, first option from the left). Next to Top, in the Width box, enter 5 pt, and in the Height box, enter 5 pt.Under Surface, click the button next to Material, and then under Standard clickMatte (first row, first option from the left).Click the button next to Lighting, and then under Neutral click Soft (first row, third option from the left).On the slide, select the rounded rectangle. On the Home tab, in the Clipboard group, click the arrow to the right of Copy, and then click Duplicate.Select the duplicate rectangle. On the Home tab, in the Drawing group, do the following:Click the arrow next to Shape Fill, and then click No Fill.Click the arrow next to Shape Outline, and then click No Outline.Drag the second rectangle above the first rectangle until the lower edge overlays the top edge of the first rectangle. (Note:When the spinning animation effect is created later for these rectangles, the spin will center where the edges of the rectangles meet.)Press and hold CTRL, and then select both rectangles. On the Home tab, in the Drawing group, click Arrange, and do the following:Point to Align, and then click Align Selected Objects.Point to Align, and then click Align Center.Click Group. On the slide, drag the group until it is centered horizontally on the left edge of the slide (straddling the edge).On the Home tab, in the Drawing group, click Arrange, point to Align, and then do the following:Click Align to Slide.Click Align Middle.To reproduce the dashed arc on this slide, do the following:On the Home tab, in the Drawing group, click Shapes, and then under Basic Shapes click Arc (third row, 12th option from the left). On the slide, drag to draw an arc.Select the arc. Under Drawing Tools, on the Format tab, in the Size group, do the following:In the Shape Height box, enter 7.5”.In the Shape Width box, enter 7.5”.With the arc still selected, on the Home tab, in the Drawing group, click the arrow next to Shape Outline and then do the following:Under Theme Colors, click White, Background 1, Darker 15% (third row, first option from the left).Point to Dashes, and then click Dash (fourth option from the top).On the slide, drag the yellow diamond adjustment handle on the right side of the arc to the bottom of the arc to create a half circle.Drag the arc until the yellow diamond adjustment handles are on the left edge of the slide.With the arc still selected, on the Home tab, in the Drawing group, click the arrow under Arrange, point to Align, and then do the following:Click Align to Slide. Click Align Middle. To reproduce the half circle on this slide, do the following:On the slide, select the arc. On the Home tab, in the Clipboard group, click the arrow to the right of Copy, and then click Duplicate.Select the duplicate arc. Under Drawing Tools, on the Format tab, in the Size group, do the following:In the Shape Height box, enter 3.33”.In the Shape Width box, enter 3.33”.With the second arc still selected, under Drawing Tools, on the Format tab, in the Shape Styles group, click the arrow next to Shape Fill, and then under Theme Colors click White, Background 1, Darker 5% (second row, first option from the left).Under Drawing Tools, on the Format tab, in the Shape Styles group, click the arrow next to Shape Outline,and then click No Outline.Under Drawing Tools, on the Format tab, in the Shape Styles group, click Shape Effects, point to Shadow, and then click ShadowOptions. In the Format Shape dialog box, click Shadow in the left pane. In the Shadow pane, click the button next to Presets , under Inner click Inside Right (second row, third option from the left), and then do the following:In the Transparency box, enter 86%.In the Blur box, enter 24 pt.In the Angle box, enter 315°.In the Distance box, enter 4 pt.On the slide, drag the second arc until the yellow diamond adjustment handles are on the left edge of the slide. On the Home tab, in the Drawing group, click Arrange, and then do the following:Point to Align, and then click Align to Slide. Point to Align, and then click Align Middle. Click Send to Back.To reproduce the button shapes on this slide, do the following:On the Home tab, in the Drawing group, click Shapes, and then under Basic Shapes click Oval (first row, second option from the left). On the slide, drag to draw an oval.Select the oval. Under Drawing Tools, on the Format tab, in the Size group, do the following:In the Shape Height box, enter 0.34”.In the Shape Width box, enter 0.34”.Under Drawing Tools, on the Format tab, in the Shape Styles group, click More, and then click Light 1 Outline, Colored Fill – Olive Green, Accent 3 (third row, first option from the left).Under Drawing Tools, on the Format tab, in the bottom right corner of the Shape Styles group, click the Format Shape dialog box launcher. In the Format Shape dialog box, click Fill in the left pane. In the Fill pane, select Solid Fill. Click the button next to Color, and then under Theme Colors click Olive Green, Accent 3, Lighter 80°(second row, seventh option from the left).Also in the Format Shape dialog box, click Line Color in the left pane. In the Line Color pane, select No line. Also in the Format Shape dialog box, click Shadow in the left pane. In the Shadow pane, click the button next to Presets, under Outer click Offset Bottom (first row, second option from the left), and then do the following:In the Transparency box, enter 0%.In the Size box, enter 100%.In the Blur box, enter 8.5 pt.In the Angle box, enter 90°.In the Distance box, enter 1 pt.Also in the Format Shape dialog box, click 3-D Format in the left pane, and then do the following in the 3-D Format pane:Under Bevel, click the button next to Top, and then under Bevel click Art Deco (third row, fourth option from the left). Next to Top, in the Width box, enter 5 pt, and in the Height box, enter 5 pt.UnderContour, click the button next to Color, and then under Theme Colors click White, Background 1 (first row, first option from the left). In the Size box, enter 3.5 pt.Under Surface, click the button next to Material, and then under Standard click Matte (first row, first option from the left). Click the button next to Lighting, and then under Neutral click Soft (first row, third option from the left).On the slide, select the oval. Under Drawing Tools, on the Format tab, in the bottom right corner of the Size group, click the Size and Position dialog box launcher. In the Format Shape dialog box, click Position in the left pane, and in the Position pane, do the following to position the third and fourth ovals:In the Horizontal box, enter 2.98”.In the Vertical box, enter 1.5”.Select the oval. On the Home tab, in the Clipboard group, click the arrow under Paste, and then click Duplicate.Select the duplicate oval. Under Drawing Tools, on the Format tab, in the bottom right corner of the Size group, click the Size and Position dialog box launcher. In the Format Shape dialog box, click Position in the left pane, and in the Position pane, do the following to position the third and fourth ovals:In the Horizontal box, enter 3.52”.In the Vertical box, enter 2.98”. Repeat step 9 two more times, for a total of four ovals. Under Drawing Tools, on the Format tab, in the bottom right corner of the Size group, click the Size and Position dialog box launcher. In the Format Shape dialog box, click Position in the left pane, and in the Position pane, do the following to position the third and fourth ovals:Select the third oval on the slide, and then enter 3.52” in theHorizontal box and 4.27” in the Vertical box.Select the fourth oval on the slide, and then enter 2.99” in theHorizontal box and 5.66” in the Vertical box.To reproduce the text on this slide, do the following:On the Insert tab, in the Text group, click Text Box, and then on the slide, drag to draw the text box. Enter text in the text box and select the text. On the Home tab, in the Font group, do the following: In the Font list, select Corbel.In the Font Size list, select 22.Click the arrow next to Font Color, and then under Theme Colors click White, Background 1, Darker 50% (sixth row, first option from the left).On the Home tab, in the Paragraph group, click Align Text Left to align the text left in the text box.On the slide, drag the text box to the right of the first oval.Select the text box. On the Home tab, in the Clipboard group, click the arrow to the right of Copy, and then click Duplicate. Click in the text box and edit the text. Drag the second text box to the right of the second oval.Repeat steps 5-7 to create the third and fourth text boxes, dragging them to the right of the third and fourth ovals. To reproduce the animation effects on this slide, do the following:On the Home tab, in the Editing group, click Select, and then click Selection Pane. In the Selection and Visibility task pane, select the rectangle group. On the Animations tab, in the Advanced Animation group, click Add Animation, and then under Emphasis click Spin.Also on the Animations tab, in the Animation group, click the Effect Options dialog box launcher. In the Spin dialog box, do the following:On the Effects tab, in the Amount list, in the Custom box, enter 123°,and then press ENTER. Also in the Amount list, clickCounterclockwise.On the Timing tab, in the Duration box, select 1.00. On the Timing tab, in theStart list, selectWith Previous. On the slide, select the first oval. On the Animations tab, in the Advanced Animation group, click Add Animation, and then click More Emphasis Effects.In the Add Emphasis Effect dialog box, under Basic, click Fill Color. On the Animations tab, in the Animation group, click the Effect Options dialog box launcher. In Fill Color dialog box, the do the following:On the Effects tab, in the Fill Color list, click More Colors. In the Colors dialog box, on the Custom tab, enter values for Red:130, Green:153, Blue: 117. On the Timing tab, in the Duration box, , enter 0.50.On the Timing tab, in the Startlist, select After Previous. On the slide, select the first text box. On the Animations tab, in the Advanced Animation group, click Add Animation, and then under Entrance click Fade.Also on the Animations tab, in the Timing group, do the following:In theStart list, selectWith Previous.In the Duration box, enter 0.50. In the Selection and Visibility task pane, select the rectangle group. On the Animations tab, in the Advanced Animation group, click Add Animation, and then under Emphasis click Spin. Also on the Animations tab, in the Animation group, click the Effect Options dialog box launcher. In the Spin dialog box, do the following:On the Effects tab, in the Amount list, in the Custom box, enter 22°, and then press ENTER. Also in the Amount list, click Clockwise.On the Timing tab, in theStart list, selectOn Click. On the Timing tab, in the Duration box, enter 0.50.On the slide, select the second oval. On the Animations tab, in the Advanced Animation group, click AddAnimation, and then click More Emphasis Effects. In the Add Emphasis Effect dialog box, under Basic, click Fill Color. On the Animations tab, in the Animation group, click the Effect Options dialog box launcher. In the Fill Color dialog box, do the following:On the Effects tab, in the Fill Color list, click More Colors. In the Colors dialog box, on the Custom tab, enter values for Red:130, Green:153, Blue: 117. On the Timing tab, in the Startlist, select After Previous. On the Timing tab, in the Duration box, enter 0.50.On the slide, select the second text box. On the Animations tab, in the Advanced Animation group, click Add Animation, and then under Entrance click Fade.Also on the Animations tab, in the Timing group, do the following:In theStart list, selectWith Previous.In the Duration box, enter 0.50. On the slide, select the third oval. On the Animations tab, in the Advanced Animation group, click Add Animation, and then click More Emphasis Effects. In the Add Emphasis Effect dialog box, under Basic, click Fill Color. On the Animations tab, in the Animation group, click the Effect Options dialog box launcher. In the Fill Color dialog box, do the following:On the Effects tab, in the Fill Color list, click More Colors. In the Colors dialog box, on the Custom tab, enter values for Red:130, Green:153, Blue: 117. On the Timing tab, in the Startlist, select After Previous. On the Timing tab, in the Speedlist, select Very Fast.On the slide, select the third text box. On the Animations tab, in the Advanced Animation group, click Add Animation, and then under Entrance clickFade. Also on the Animations tab, in the Timing group, do the following:In theStart list, selectWith Previous.In the Duration box, enter 0.50.On the slide, select the fourth oval. On the Animations tab, in the Advanced Animation group, click Add Animation, and then click More Emphasis Effects. In the Add Emphasis Effect dialog box, under Basic, click Fill Color. On the Animations tab, in the Animation group, click the Effect Options dialog box launcher. In the Fill Color dialog box, do the following:On the Effects tab, in the Fill Color list, click More Colors. In the Colors dialog box, on the Custom tab, enter values for Red:130, Green:153, Blue: 117. On the Timing tab, in the Startlist, select After Previous. On the Timing tab, in the Duration box, enter 0.50.On the slide, select the fourth text box. On the Animations tab, in the Advanced Animation group, click Add Animation,and then under Entrance click Fade. On the Animations tab, in the Timing group, do the following:In theStart list, selectWith Previous.In the Duration box, enter 0:50.