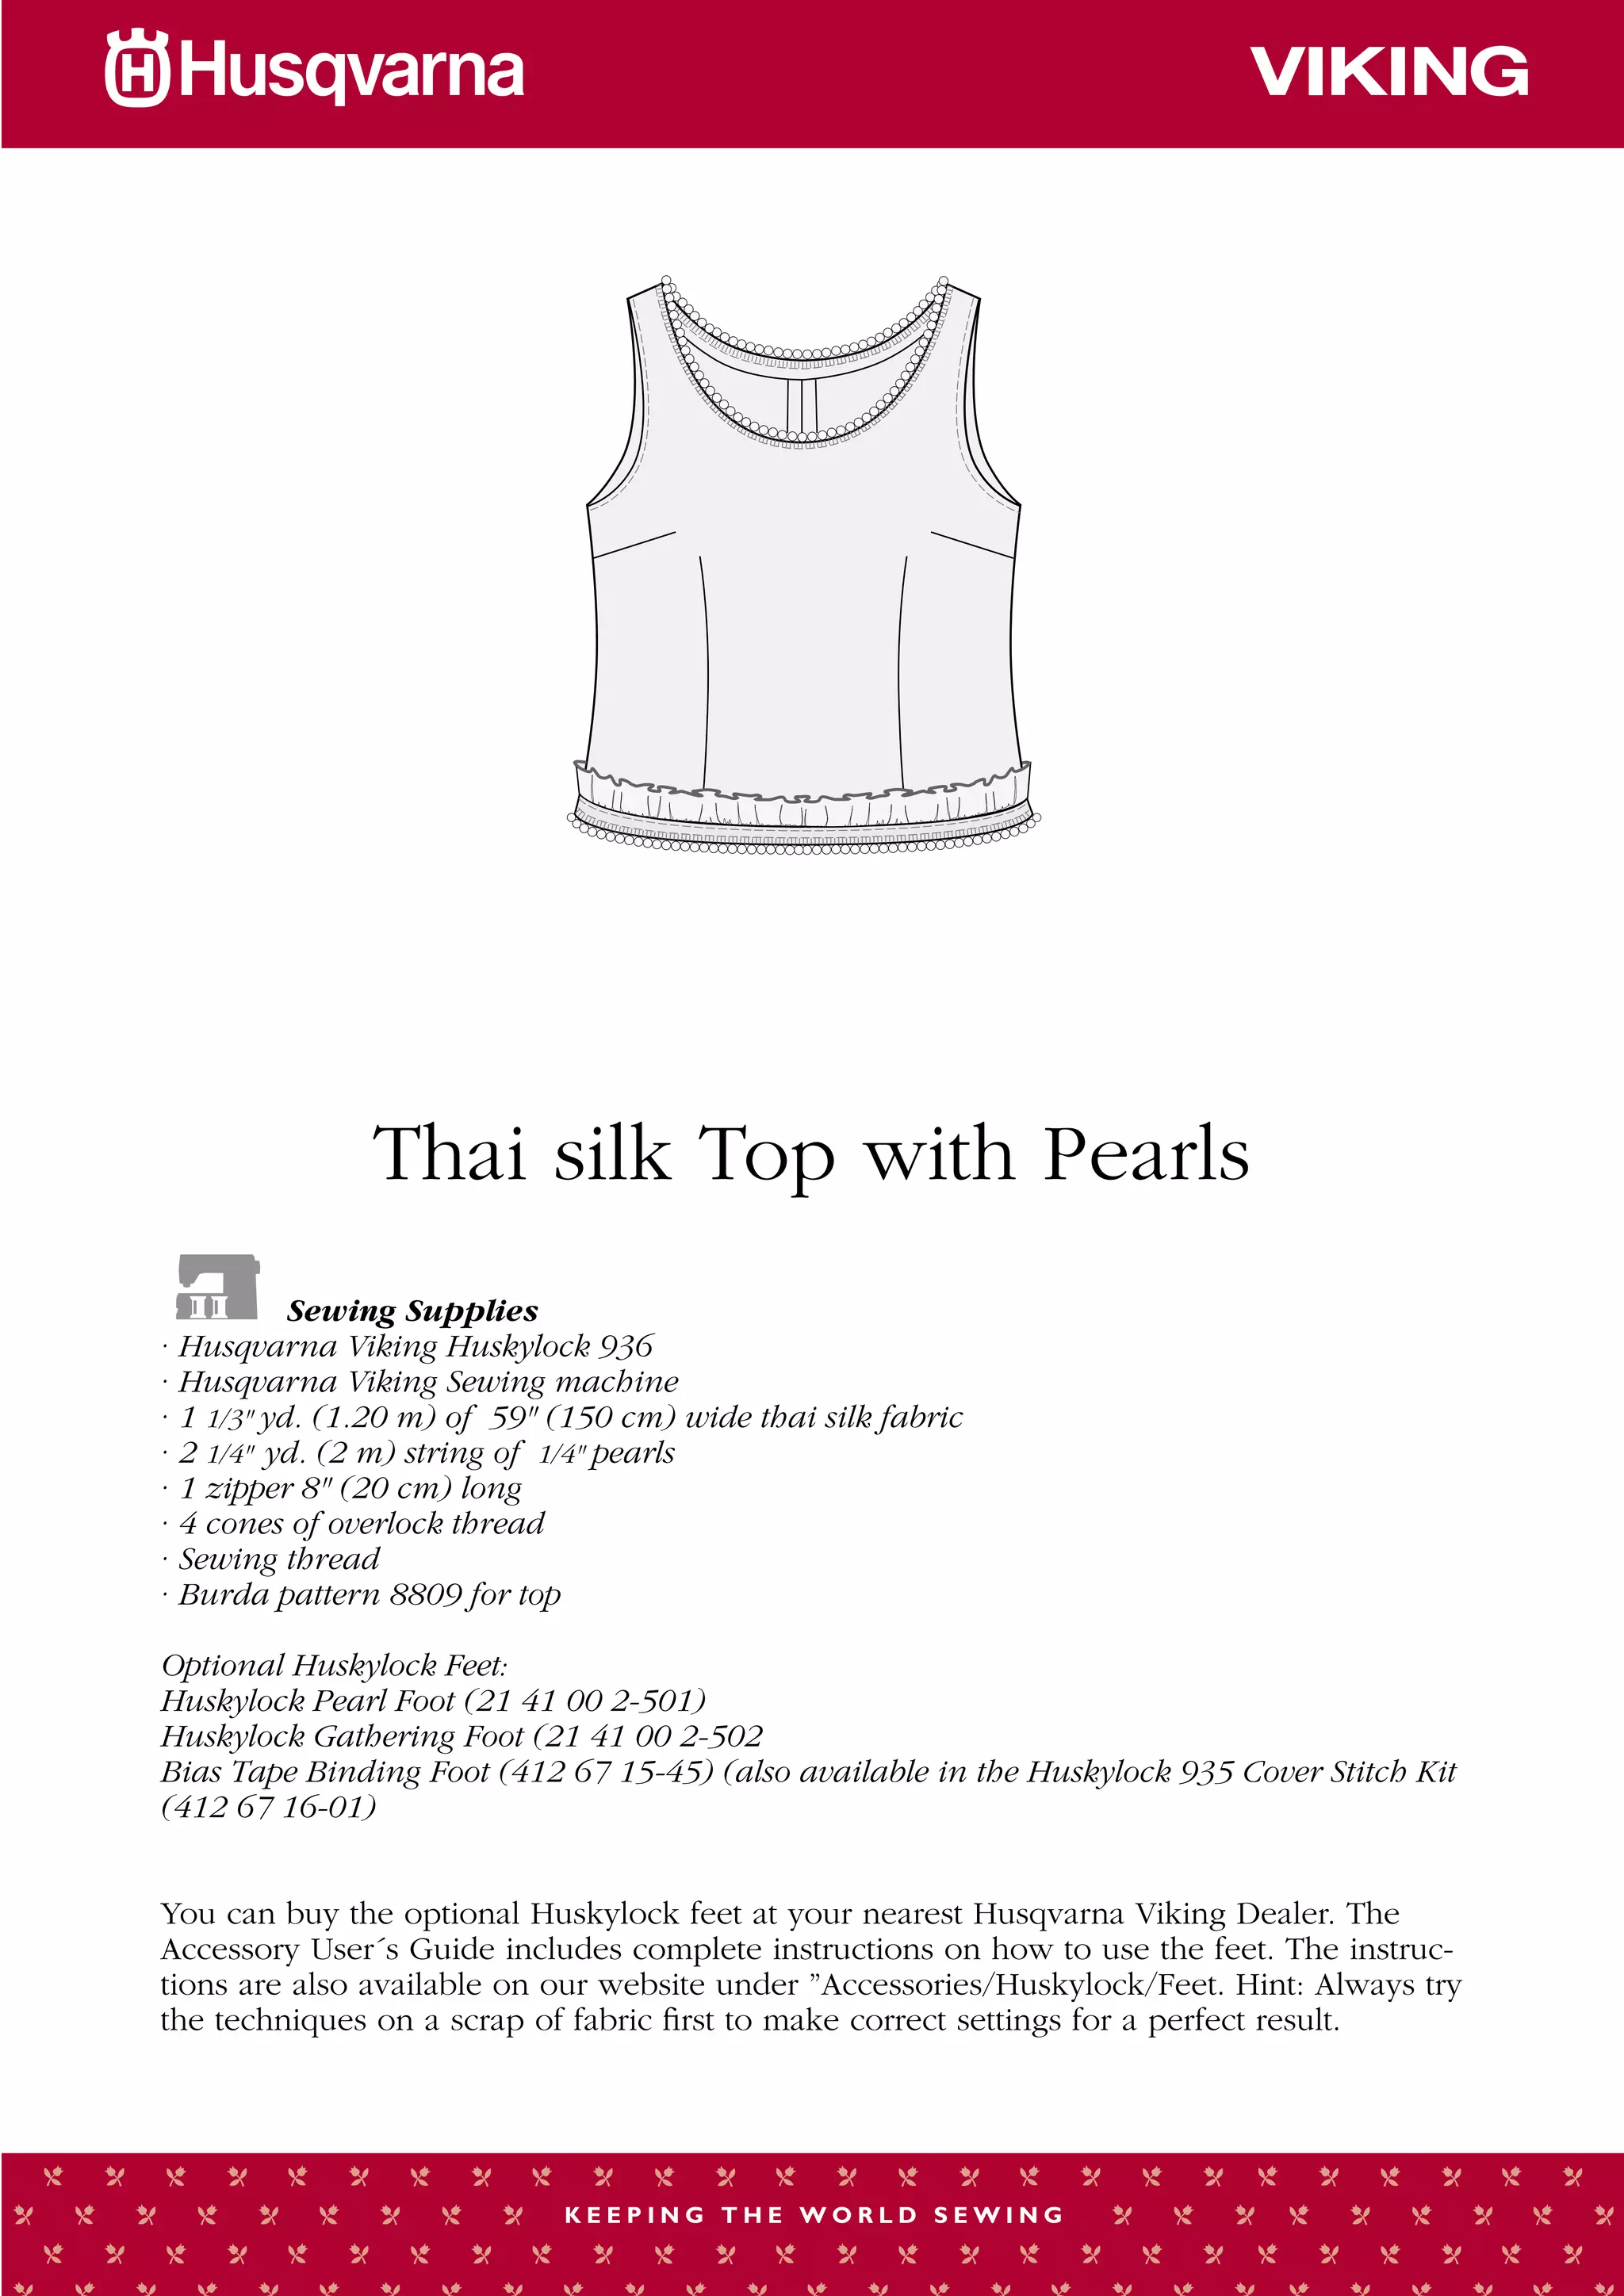
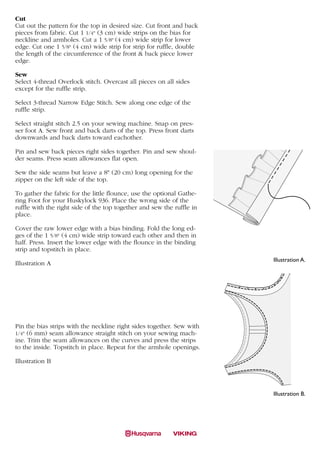
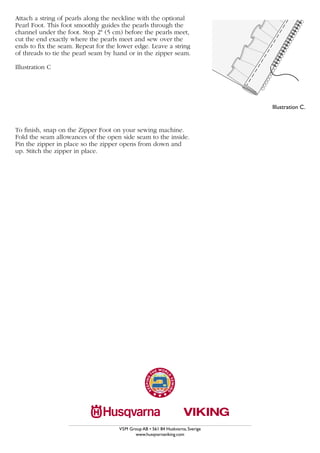
Thai silk top with pearl


A                                                                     B


                       Thai silk Top with Pearls
                   Sewing Supplies
        · Husqvarna Viking Huskylock 936
        · Husqvarna Viking Sewing machine
        · 1 1/3" yd. (1.20 m) of 59" (150 cm) wide thai silk fabric
        · 2 1/4" yd. (2 m) string of 1/4" pearls
        · 1 zipper 8" (20 cm) long
        · 4 cones of overlock thread
        · Sewing thread
        · Burda pattern 8809 for top

        Optional Huskylock Feet:
        Huskylock Pearl Foot (21 41 00 2-501)
        Huskylock Gathering Foot (21 41 00 2-502
        Bias Tape Binding Foot (412 67 15-45) (also available in the Huskylock 935 Cover Stitch Kit
        (412 67 16-01)


        You can buy the optional Huskylock feet at your nearest Husqvarna Viking Dealer. The
C       Accessory User´s Guide includes complete instructions on how to use the feet. The instruc-
        tions are also available on our website under ”Accessories/Huskylock/Feet. Hint: Always try
        the techniques on a scrap of fabric first to make correct settings for a perfect result.


                                     ������������������������
Cut
Cut out the pattern for the top in desired size. Cut front and back
pieces from fabric. Cut 1 1/4" (3 cm) wide strips on the bias for
neckline and armholes. Cut a 1 5/8" (4 cm) wide strip for lower
edge. Cut one 1 5/8" (4 cm) wide strip for strip for ruffle, double
the length of the circumference of the front & back piece lower
edge.

Sew
Select 4-thread Overlock stitch. Overcast all pieces on all sides
except for the ruffle strip.

Select 3-thread Narrow Edge Stitch. Sew along one edge of the
ruffle strip.

Select straight stitch 2.5 on your sewing machine. Snap on pres-       A
ser foot A. Sew front and back darts of the top. Press front darts
         Thai silk top with pearl
downwards and back darts toward eachother.

Pin and sew back pieces right sides together. Pin and sew shoul-
der seams. Press seam allowances flat open.

Sew the side seams but leave a 8" (20 cm) long opening for the
zipper on the left side of the top.

To gather the fabric for the little flounce, use the optional Gathe-
ring Foot for your Huskylock 936. Place the wrong side of the
ruffle with the right side of the top together and sew the ruffle in
place.

Cover the raw lower edge with a bias binding. Fold the long ed-
ges of the 1 5/8" (4 cm) wide strip toward each other and then in
half. Press. Insert the lower edge with the flounce in the binding
strip and topstitch in place.
                                                                               Illustration A.
Illustration A
        A                                                                  B


                                                                       C


Pin the bias strips with the neckline right sides together. Sew with
1/4" (6 mm) seam allowance straight stitch on your sewing mach-
ine. Trim the seam allowances on the curves and press the strips
to the inside. Topstitch in place. Repeat for the armhole openings.

Illustration B


                                                                               Illustration B.


       C
C
Attach a string of pearls along the neckline with the optional
Pearl Foot. This foot smoothly guides the pearls through the
channel under the foot. Stop 2" (5 cm) before the pearls meet,
cut the end exactly where the pearls meet and sew over the
ends to fix the seam. Repeat for the lower edge. Leave a string
of threads to tie the pearl seam by hand or in the zipper seam.

Illustration C


                                                                                    Illustration C.


To finish, snap on the Zipper Foot on your sewing machine.
Fold the seam allowances of the open side seam to the inside.
Pin the zipper in place so the zipper opens from down and
up. Stitch the zipper in place.


                                     VSM Group AB • 561 84 Huskvarna, Sverige
                                           www.husqvarnaviking.com

Taisilktop

  • 1.
    Thai silk topwith pearl A B Thai silk Top with Pearls Sewing Supplies · Husqvarna Viking Huskylock 936 · Husqvarna Viking Sewing machine · 1 1/3" yd. (1.20 m) of 59" (150 cm) wide thai silk fabric · 2 1/4" yd. (2 m) string of 1/4" pearls · 1 zipper 8" (20 cm) long · 4 cones of overlock thread · Sewing thread · Burda pattern 8809 for top Optional Huskylock Feet: Huskylock Pearl Foot (21 41 00 2-501) Huskylock Gathering Foot (21 41 00 2-502 Bias Tape Binding Foot (412 67 15-45) (also available in the Huskylock 935 Cover Stitch Kit (412 67 16-01) You can buy the optional Huskylock feet at your nearest Husqvarna Viking Dealer. The C Accessory User´s Guide includes complete instructions on how to use the feet. The instruc- tions are also available on our website under ”Accessories/Huskylock/Feet. Hint: Always try the techniques on a scrap of fabric first to make correct settings for a perfect result. ������������������������
  • 2.
    Cut Cut out thepattern for the top in desired size. Cut front and back pieces from fabric. Cut 1 1/4" (3 cm) wide strips on the bias for neckline and armholes. Cut a 1 5/8" (4 cm) wide strip for lower edge. Cut one 1 5/8" (4 cm) wide strip for strip for ruffle, double the length of the circumference of the front & back piece lower edge. Sew Select 4-thread Overlock stitch. Overcast all pieces on all sides except for the ruffle strip. Select 3-thread Narrow Edge Stitch. Sew along one edge of the ruffle strip. Select straight stitch 2.5 on your sewing machine. Snap on pres- A ser foot A. Sew front and back darts of the top. Press front darts Thai silk top with pearl downwards and back darts toward eachother. Pin and sew back pieces right sides together. Pin and sew shoul- der seams. Press seam allowances flat open. Sew the side seams but leave a 8" (20 cm) long opening for the zipper on the left side of the top. To gather the fabric for the little flounce, use the optional Gathe- ring Foot for your Huskylock 936. Place the wrong side of the ruffle with the right side of the top together and sew the ruffle in place. Cover the raw lower edge with a bias binding. Fold the long ed- ges of the 1 5/8" (4 cm) wide strip toward each other and then in half. Press. Insert the lower edge with the flounce in the binding strip and topstitch in place. Illustration A. Illustration A A B C Pin the bias strips with the neckline right sides together. Sew with 1/4" (6 mm) seam allowance straight stitch on your sewing mach- ine. Trim the seam allowances on the curves and press the strips to the inside. Topstitch in place. Repeat for the armhole openings. Illustration B Illustration B. C
  • 3.
    C Attach a stringof pearls along the neckline with the optional Pearl Foot. This foot smoothly guides the pearls through the channel under the foot. Stop 2" (5 cm) before the pearls meet, cut the end exactly where the pearls meet and sew over the ends to fix the seam. Repeat for the lower edge. Leave a string of threads to tie the pearl seam by hand or in the zipper seam. Illustration C Illustration C. To finish, snap on the Zipper Foot on your sewing machine. Fold the seam allowances of the open side seam to the inside. Pin the zipper in place so the zipper opens from down and up. Stitch the zipper in place. VSM Group AB • 561 84 Huskvarna, Sverige www.husqvarnaviking.com