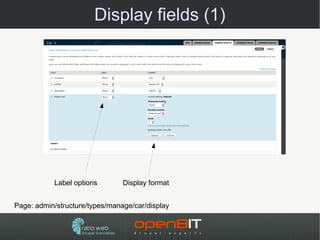
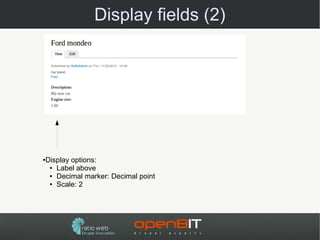
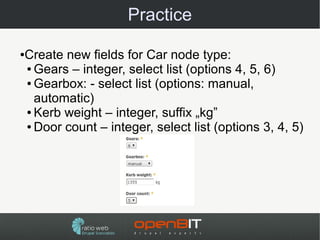
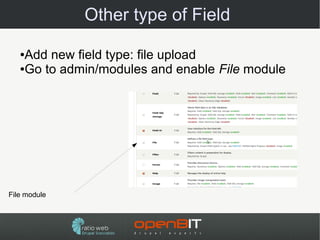
Download as ODP, PPTX

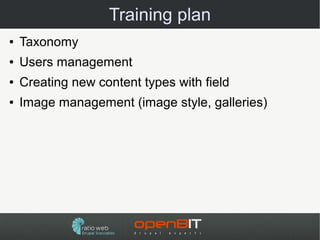
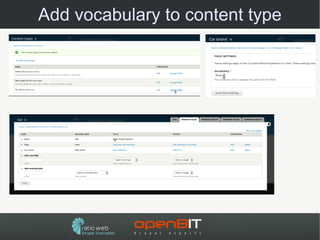

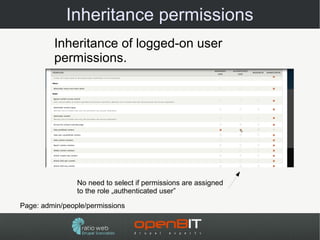
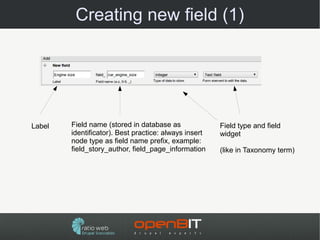
![Page taxonomy/term/TID
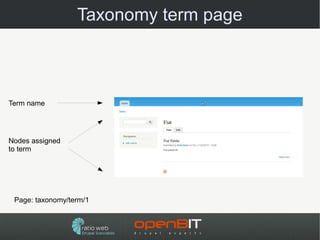
●taxonomy/term/[TID] – display nodes assigned to
term [TID]
●taxonomy/term/[TID1]+[TID2]+[TID3] – display
nodes assigned to term [TID1] or [TID2] or [TID3]
●taxonomy/term/[TID1],[TID2] – display nodes
assigned to term [TID1] and [TID2]](https://image.slidesharecdn.com/szkolenie-drupal-podstawy2-121122093034-phpapp02/85/Szkolenie-drupal-podstawy-2-13-320.jpg)

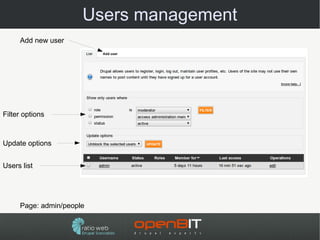
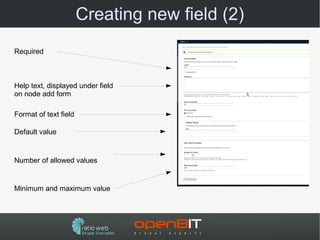
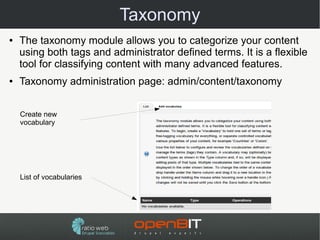
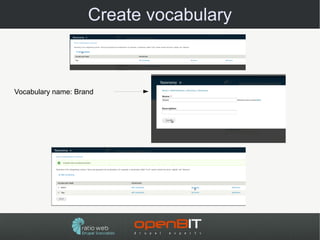
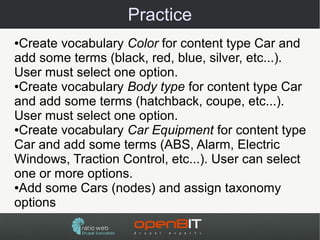
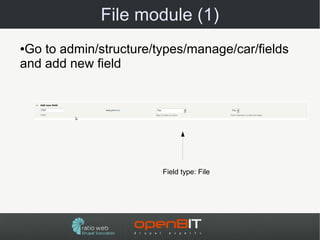
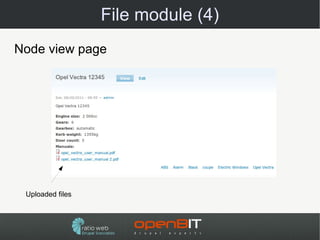
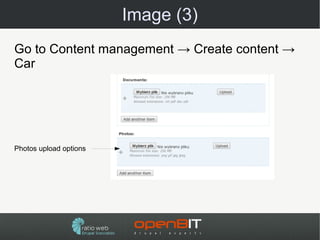
![Creating new field (5)
Node view page: node/[nid]
Node title
File field
New field
Taxonomy terms](https://image.slidesharecdn.com/szkolenie-drupal-podstawy2-121122093034-phpapp02/85/Szkolenie-drupal-podstawy-2-32-320.jpg)


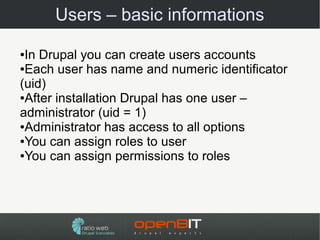
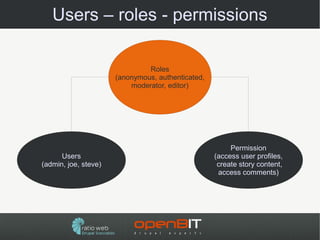
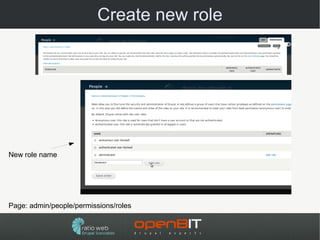
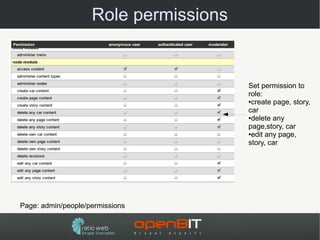
The document discusses Drupal taxonomy, user management, and creating custom fields for content types using the Field module, including creating image fields and using ImageCache presets to style images uploaded through fields. It provides instructions and examples for setting up taxonomy vocabularies and terms, creating user roles and permissions, and building out content types with various field types like text, files, images, and references.


![[HKDUG] #20160626 - HKOSCon 2015 - Website DIY with Drupal 8](https://cdn.slidesharecdn.com/ss_thumbnails/hkdug20160626-hkoscon2015-websitediywithdrupal8-150625092111-lva1-app6891-thumbnail.jpg?width=640&height=640&fit=bounds)


![Podstawowe informacje o szablonach w Drupalu [openBIT]](https://cdn.slidesharecdn.com/ss_thumbnails/openbit-szablony-podstawy-121213043323-phpapp02-thumbnail.jpg?width=640&height=640&fit=bounds)

