This document provides a user guide for SuiteFlow, Oracle's workflow management system. It includes information on setting up and configuring workflows such as defining states, actions, triggers, and transitions. The guide also covers administering workflows through searches, mass updates, and record management. Finally, it provides references and examples for various SuiteFlow elements like actions, triggers, states, and templates.
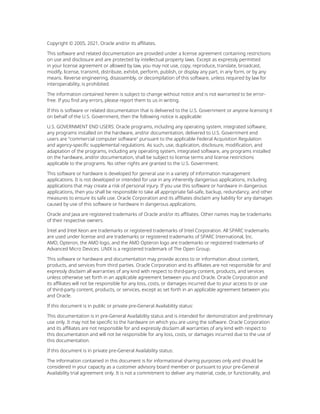
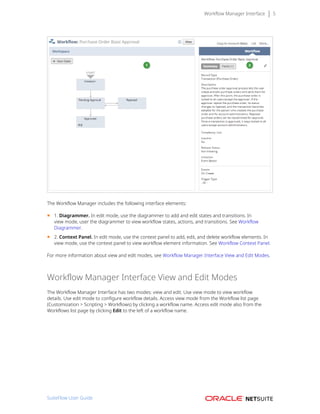


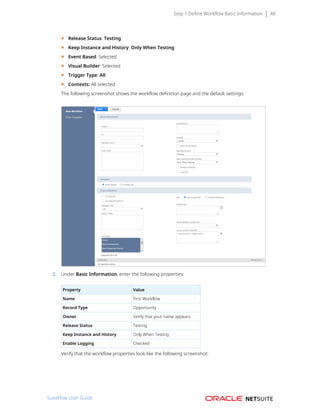


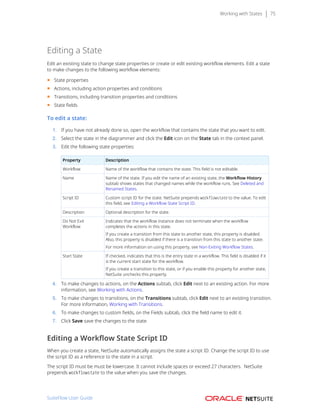


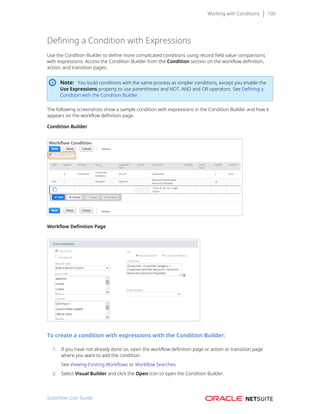

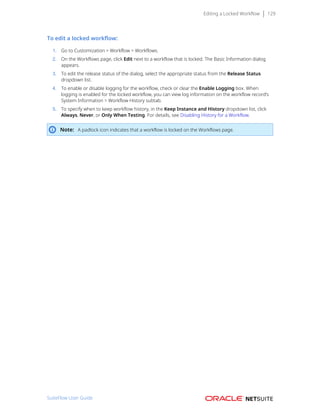

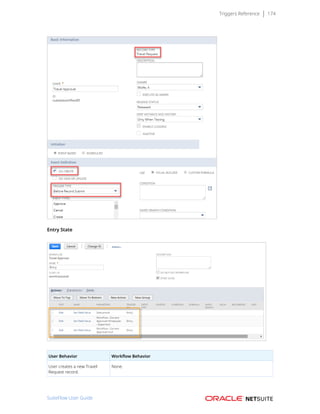


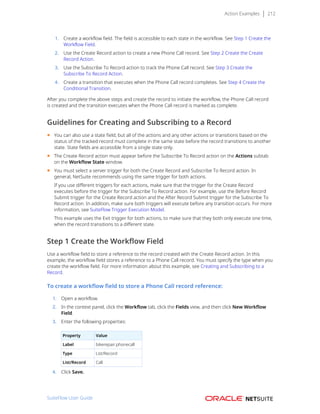

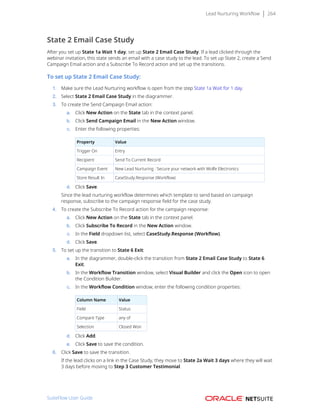
![Condition Examples 219
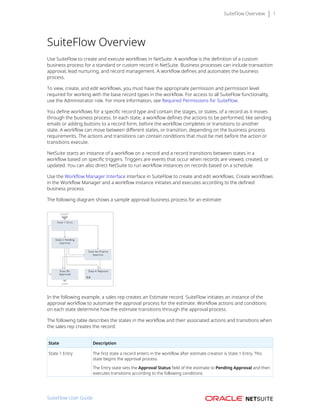
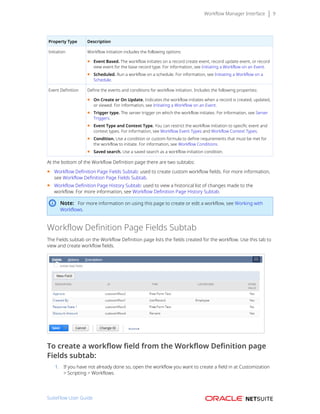
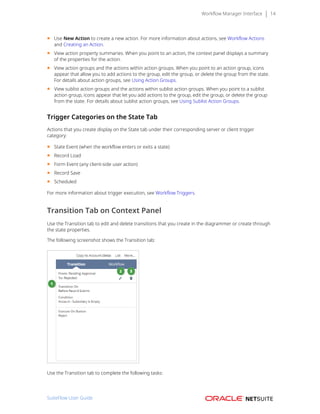
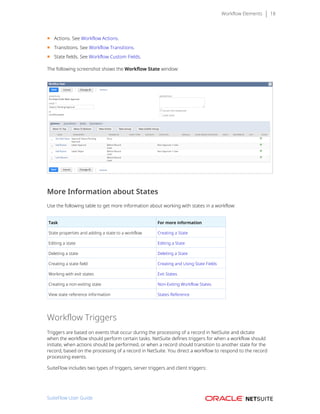
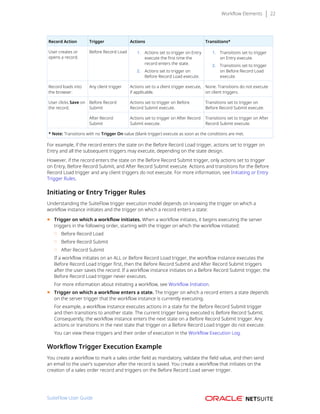
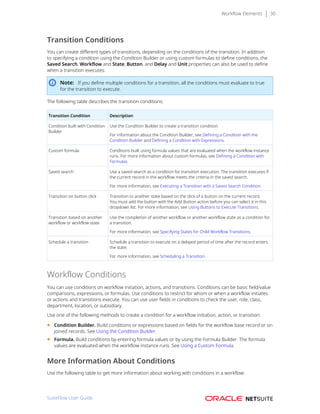
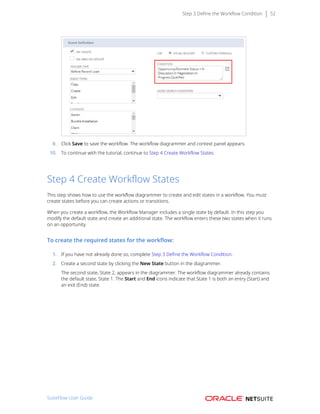
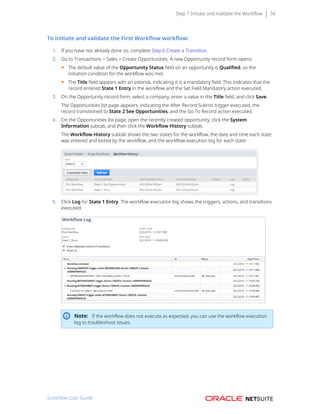
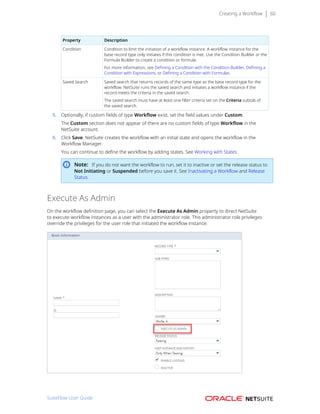
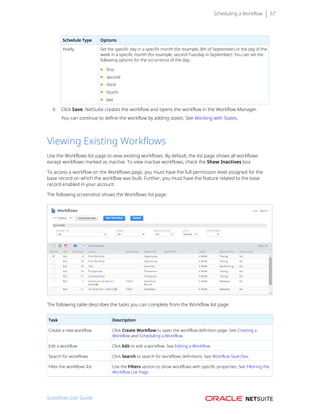
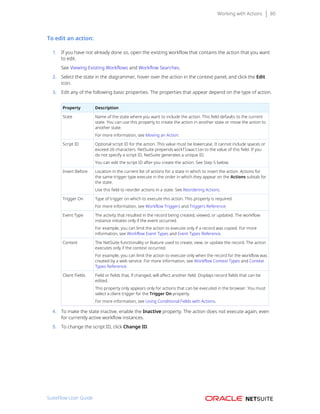
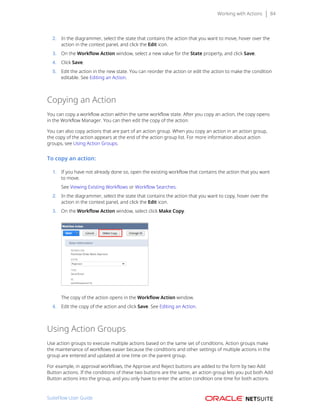
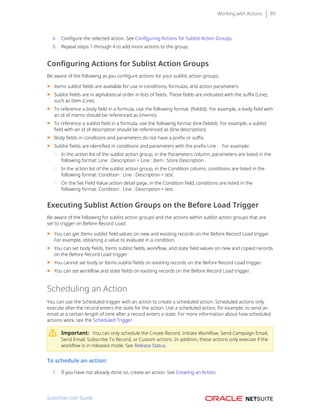
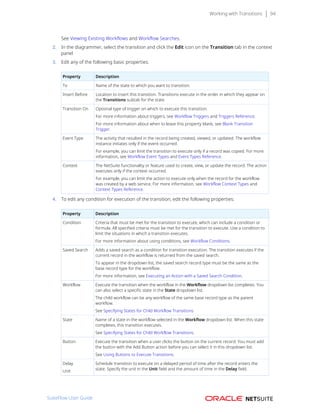
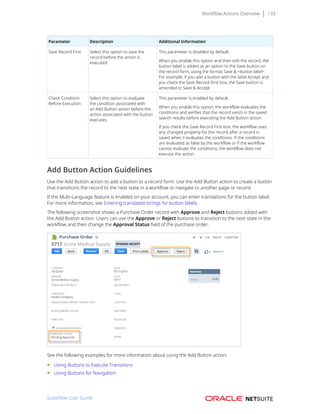
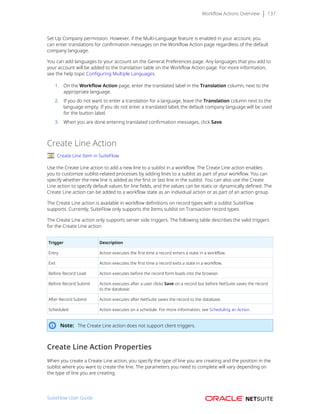
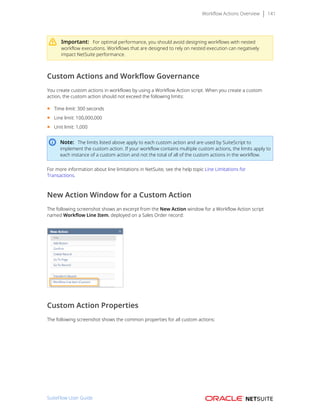
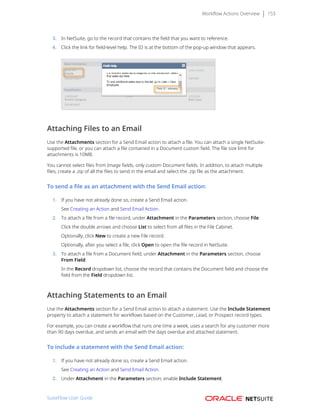
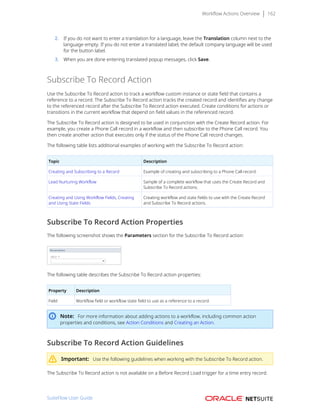
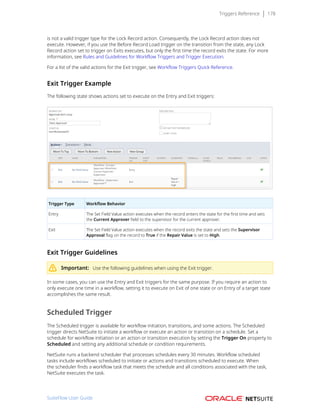
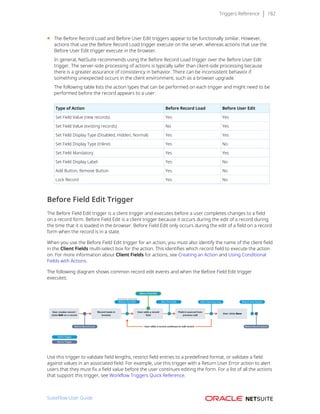
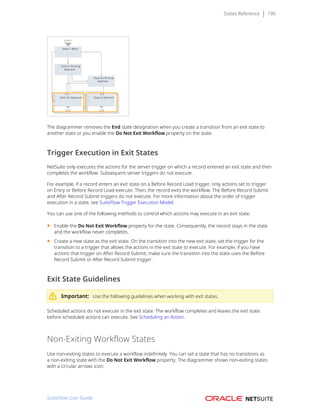
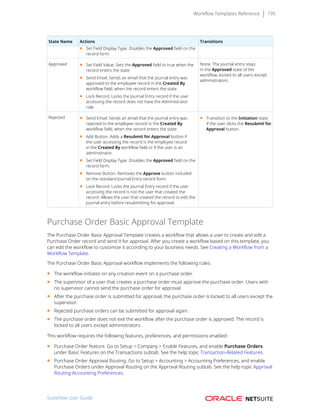
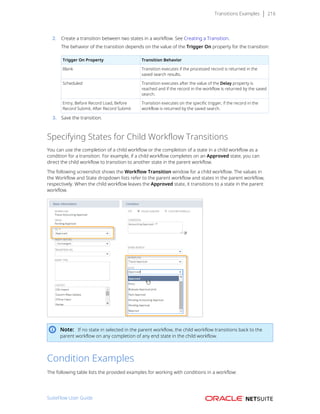
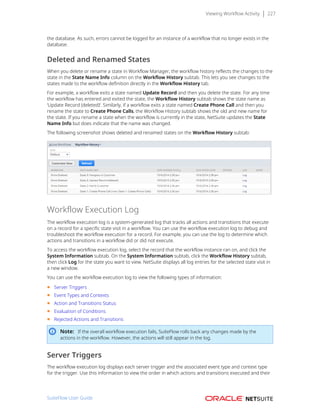
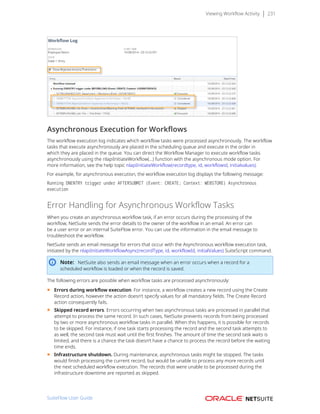
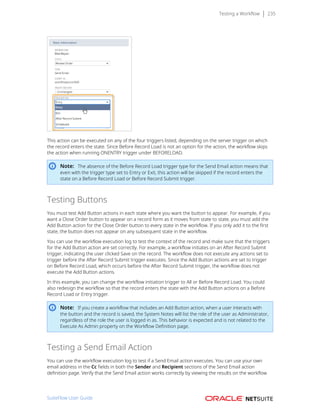
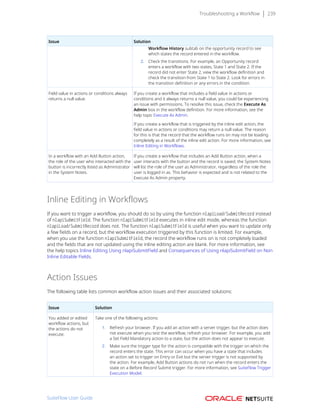
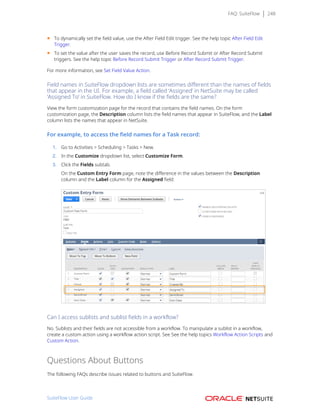
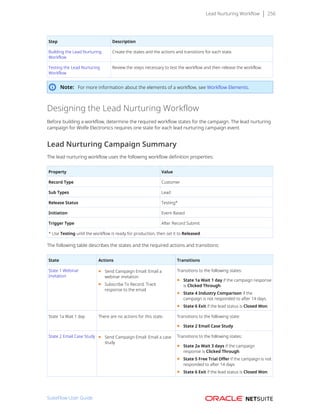
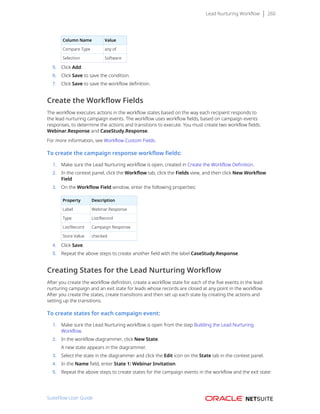
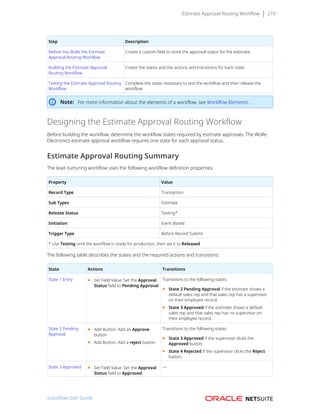
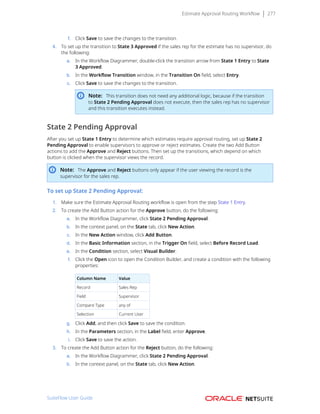
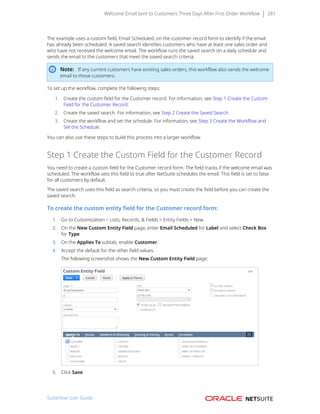
Hold Field Value creditholdoverride Value manualcredithold Value
On F T
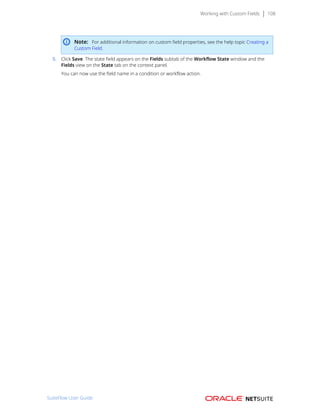
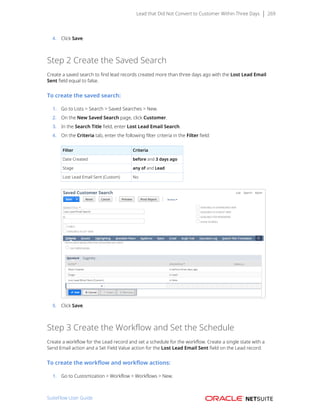
Off T F
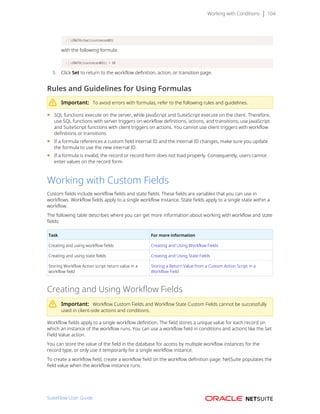
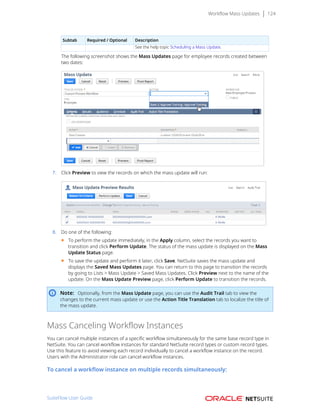
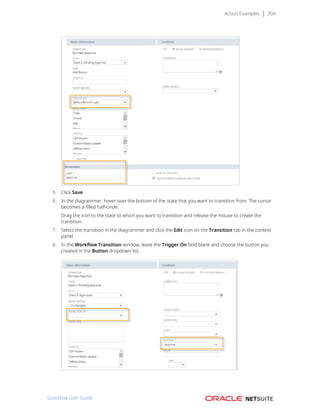
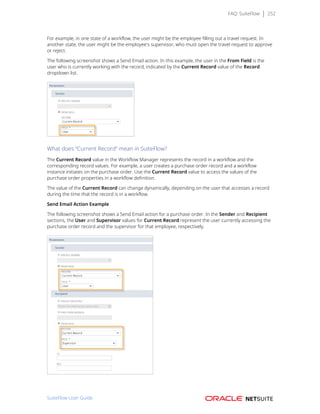
For conditions on workflow initiation, actions, and transitions, use the following formula with the mapping
from the previous table for the condition. For example, to check that the Hold field is On:
{company.creditholdoverride}='F' and {company.manualcredithold}='T'
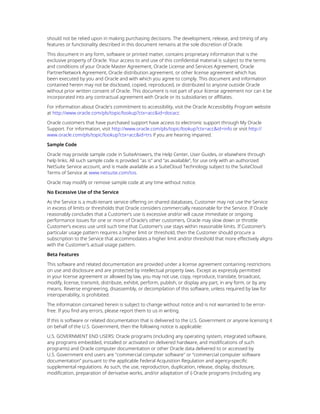
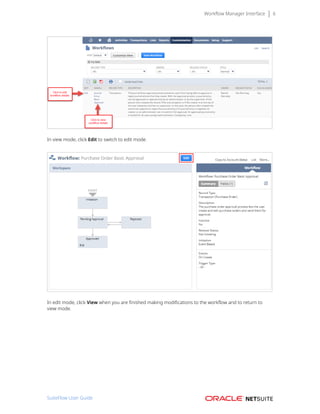
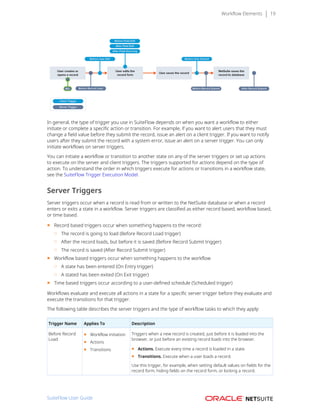
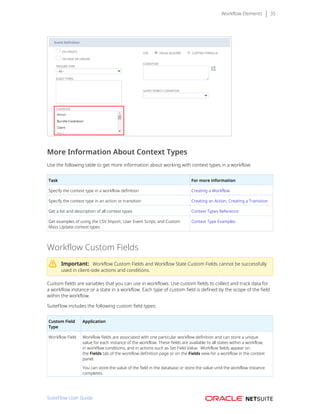
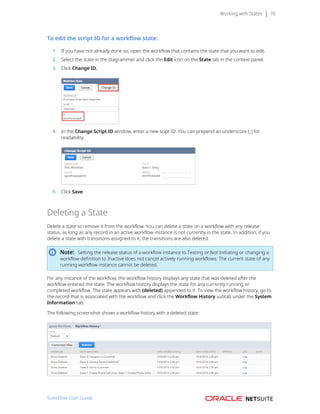
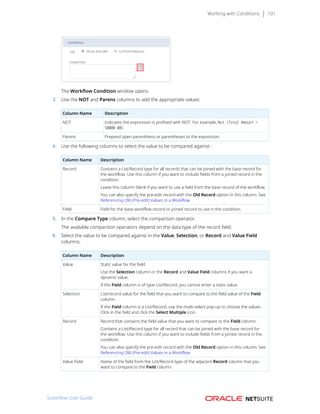
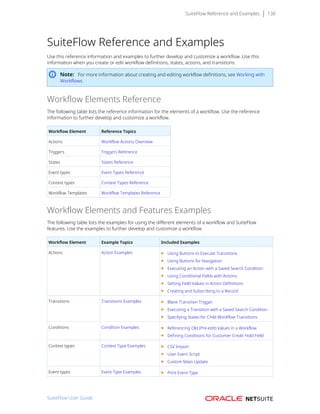
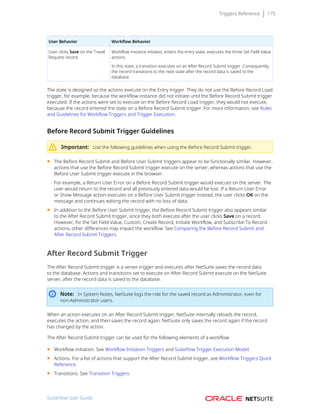
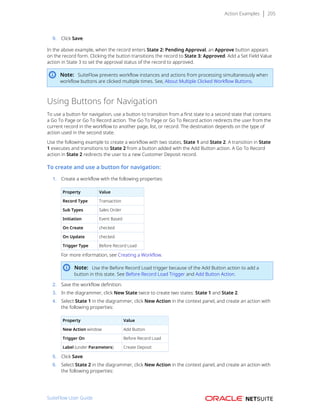
Context Type Examples
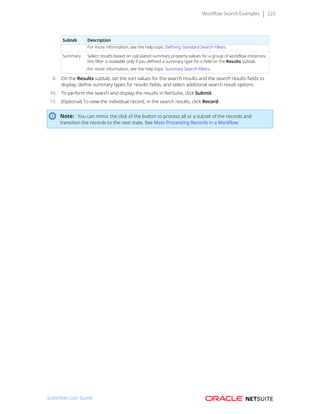
Use the following examples for sample workflow definition settings that initiate a workflow instance or
execute actions and transitions for a specific context type.
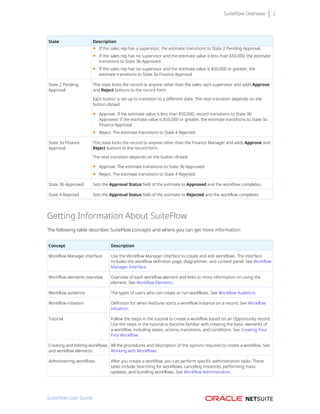
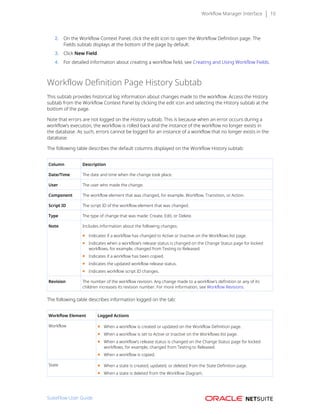
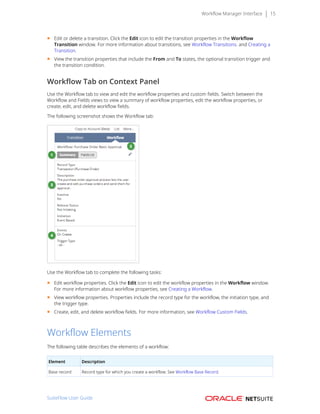
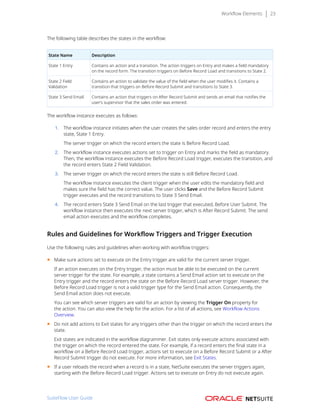
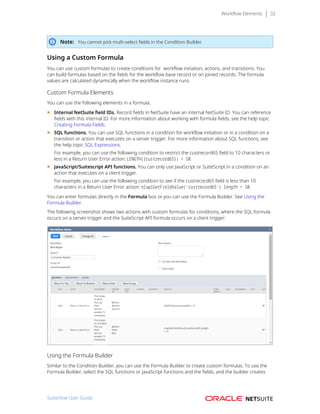
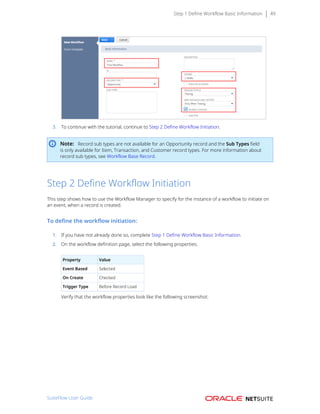
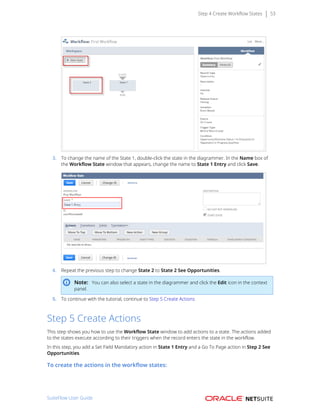
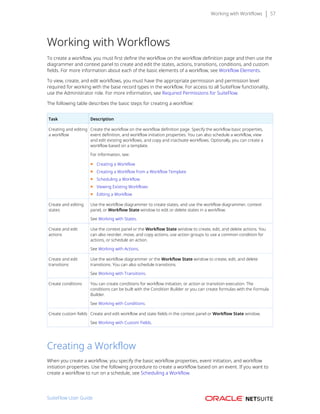
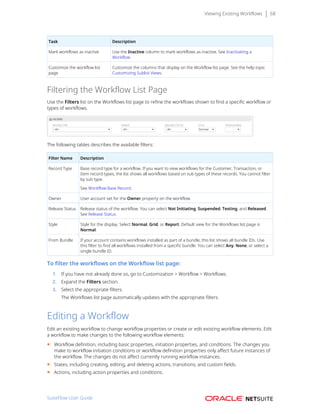
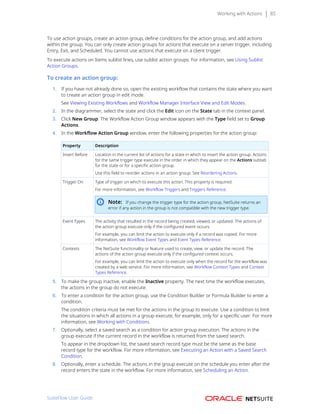
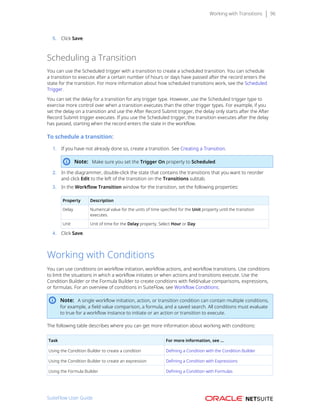
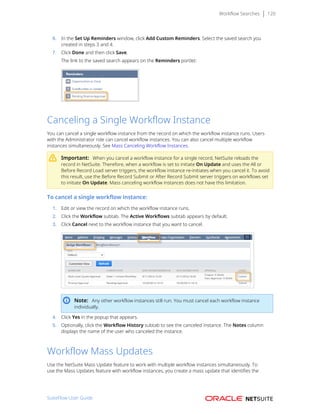
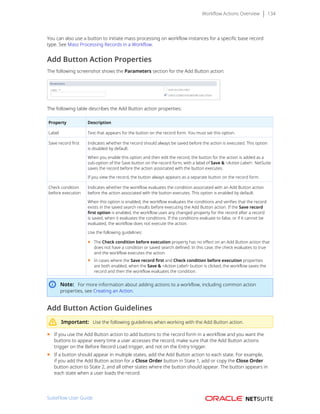
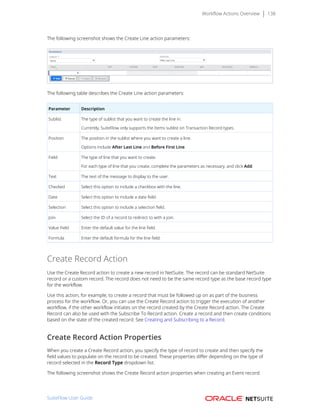
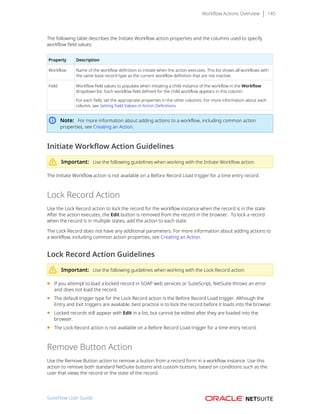
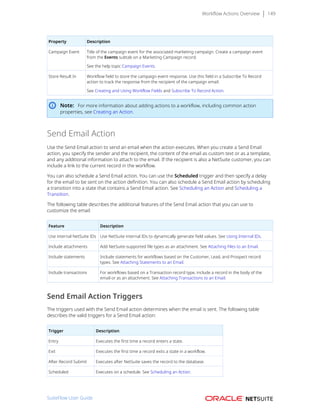
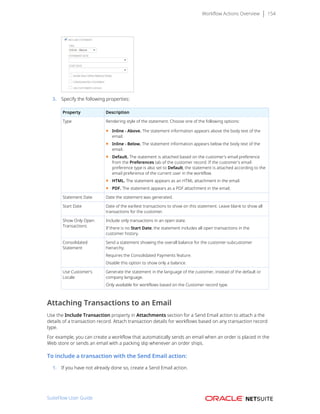
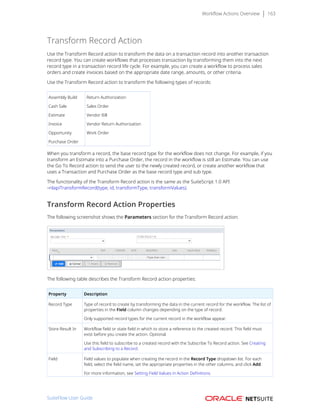
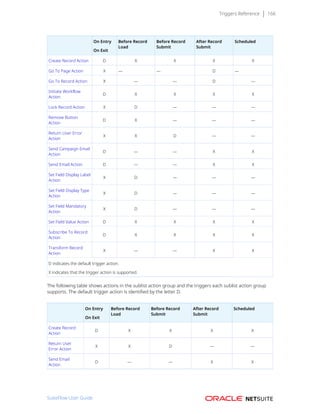
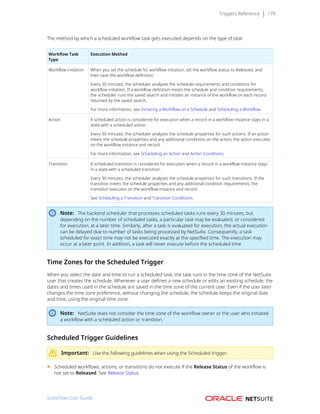
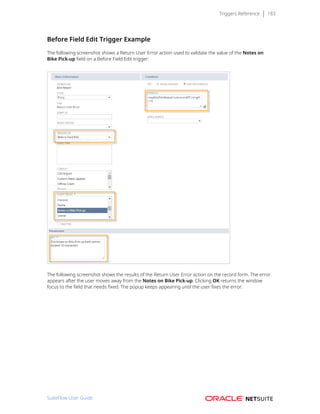
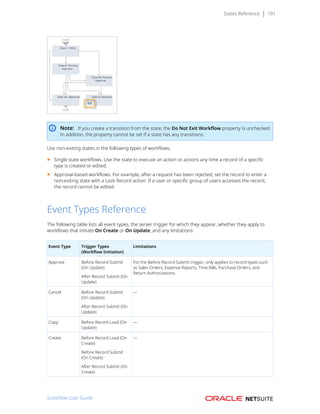
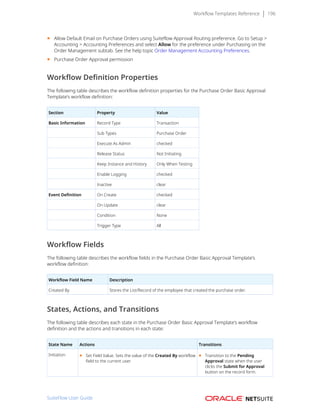
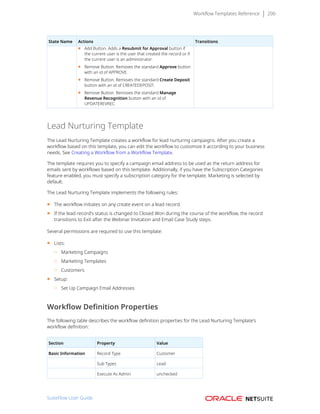
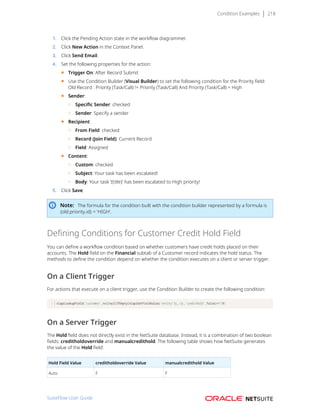
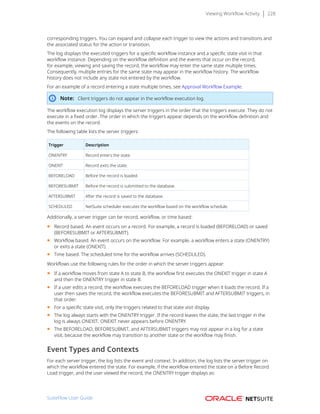
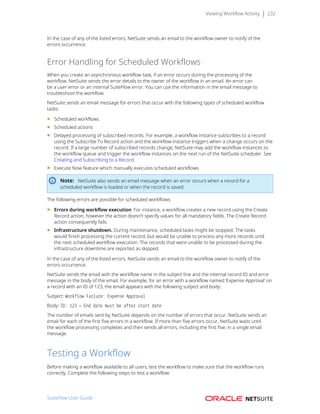
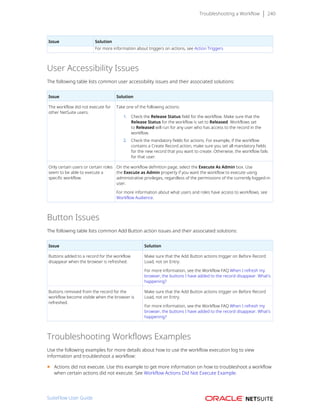
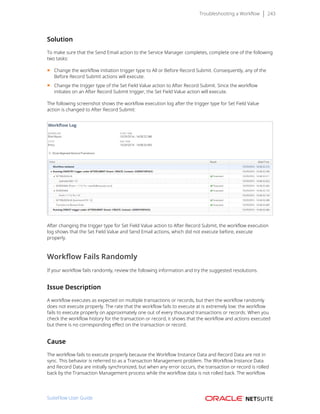
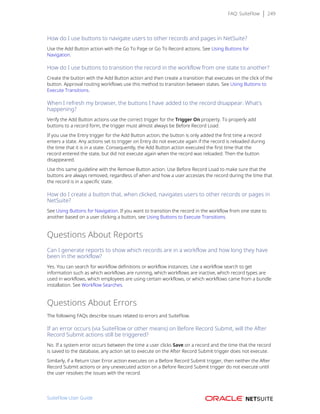
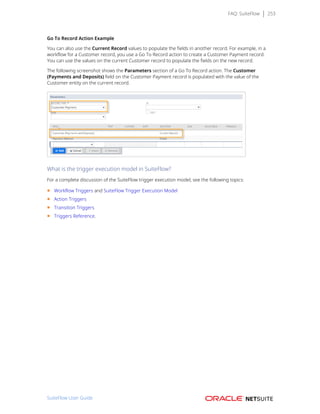
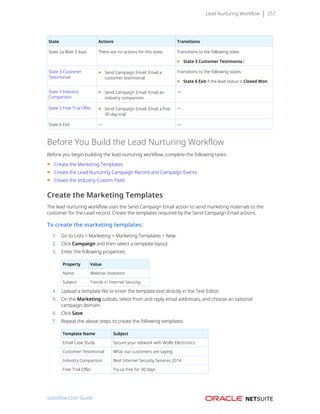
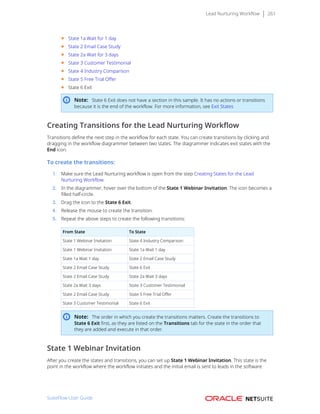
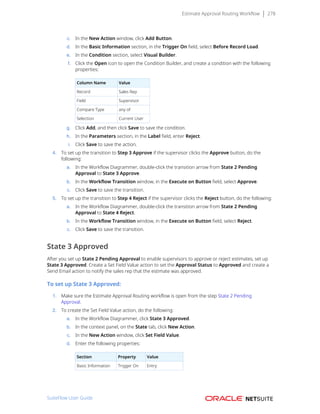
CSV Import
Use the following sample settings to initiate a workflow and execute actions and transitions for a sales
order submitted via CSV import:
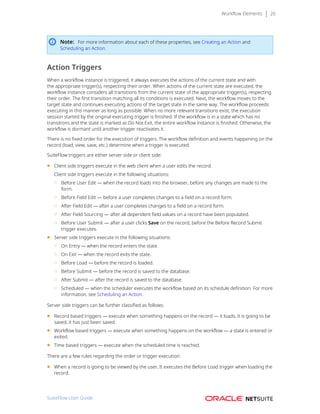
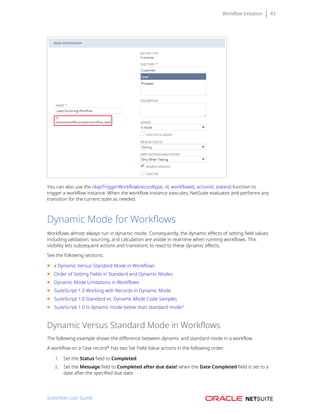
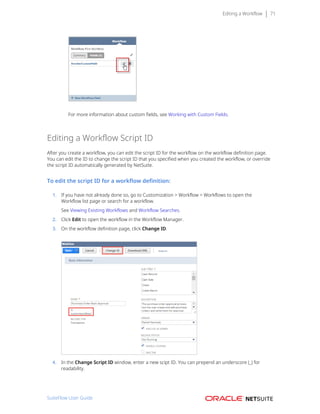
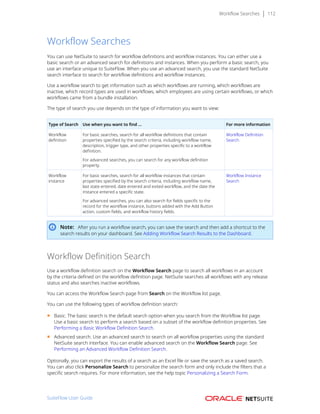
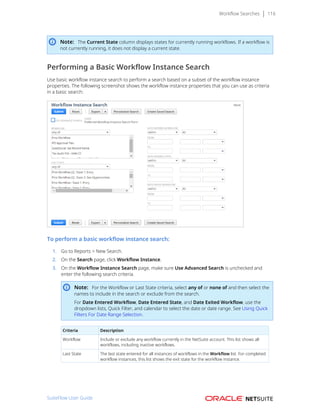
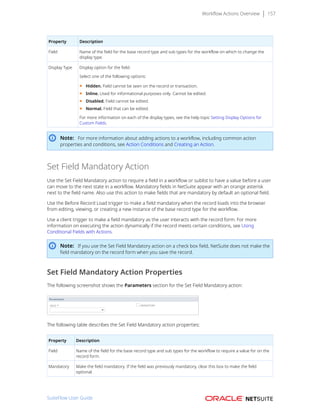
Task Type Description Settings
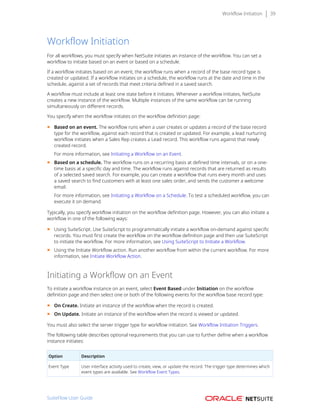
Workflow initiation Initiate workflow instance on new sales orders submitted
via CSV import.
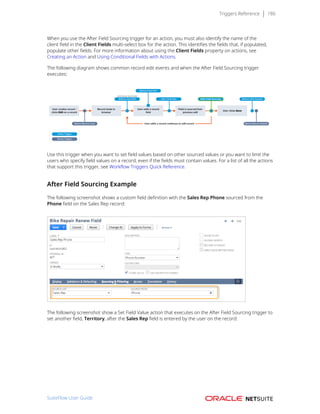
Trigger On: After Record Submit
On Create: checked
On Update: unchecked
Context Type: CSV Import
Action, Transition Action or transition executes if sales order submitted via
CSV import.
Trigger On: After Record Submit
Context Type: CSV Import
User Event Script
Important: The User Event script context only works with NetSuite back-end user events such
as email
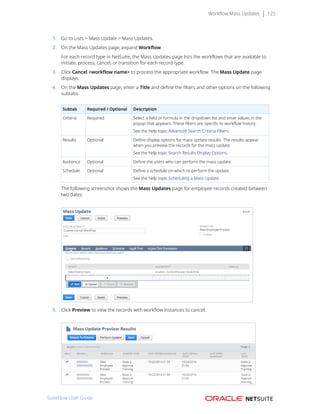
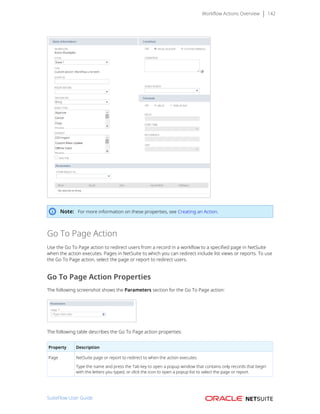
Use the following sample settings to initiate a workflow and execute actions and transitions for a sales
order created with the following user event script:
/**
* @NAPIVersion 2.0
* @NScriptType UserEventScript
*/
define(["N/record"], function (record) {
function createSalesOrd() {
var salesOrd = record.create({ type: record.Type.SALES_ORDER, isDynamic: true });
salesOrd.setValue({ fieldId: 'entity', value: 185 });
salesOrd.setValue({ fieldId: 'memo', value: 'created via user event' });
salesOrd.selectNewLine({ sublistId: 'item' });
salesOrd.setCurrentSublistValue({ sublistId: 'item', fieldId: 'item', value: 42 });
salesOrd.commitLine({ sublistId: 'item' });
salesOrd.save();
}
SuiteFlow User Guide](https://image.slidesharecdn.com/suiteflowuserguide-220324135410/85/SuiteFlowUserGuide-pdf-228-320.jpg)
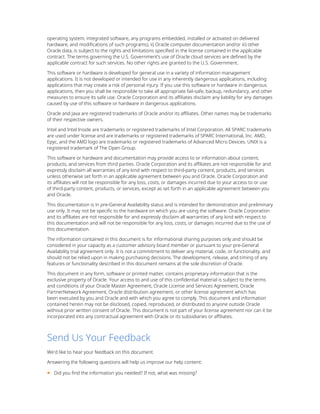
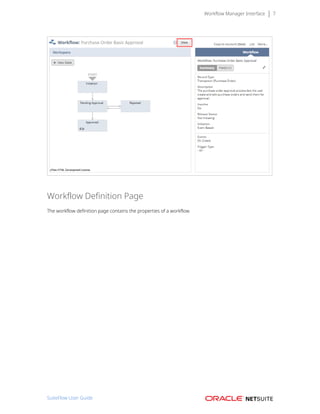
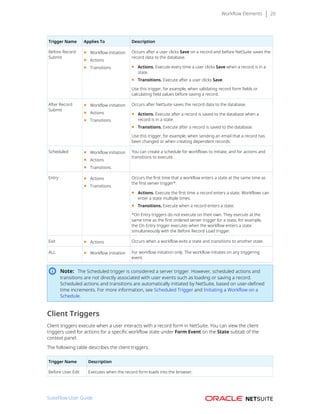
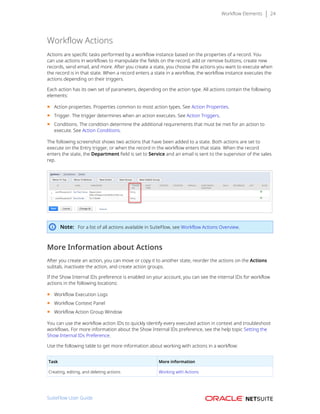
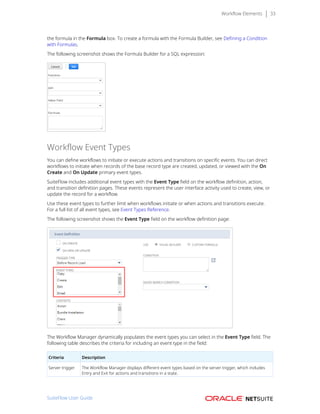
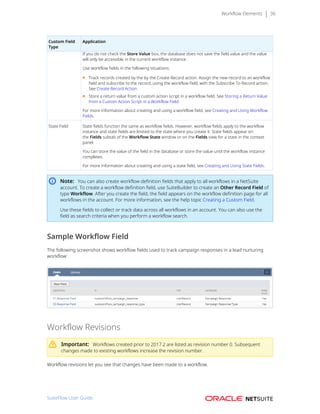
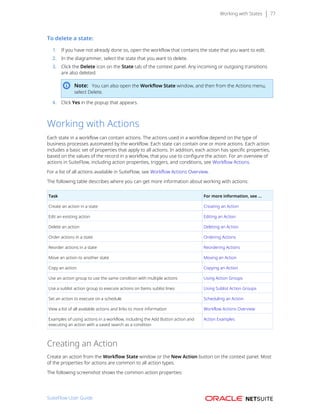
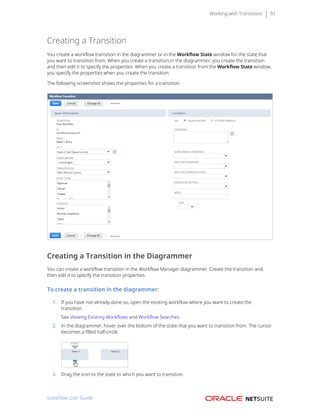
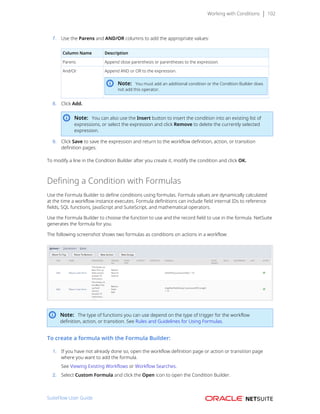
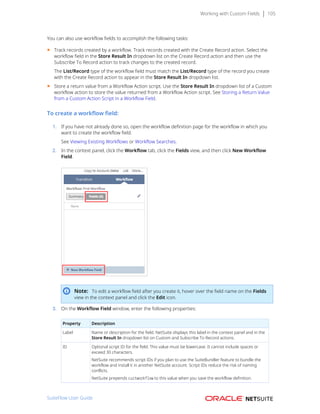
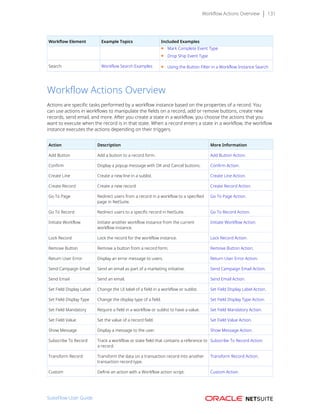
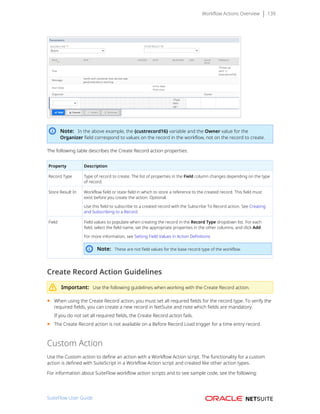
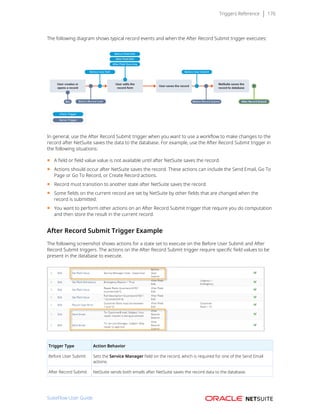
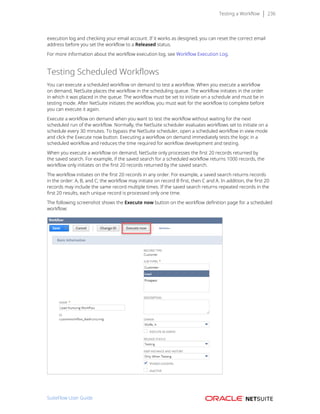
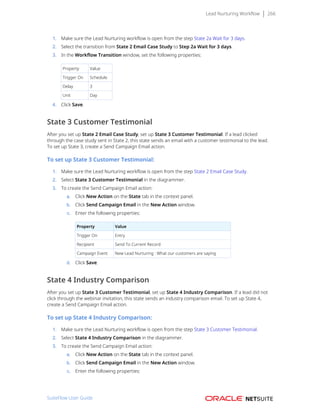
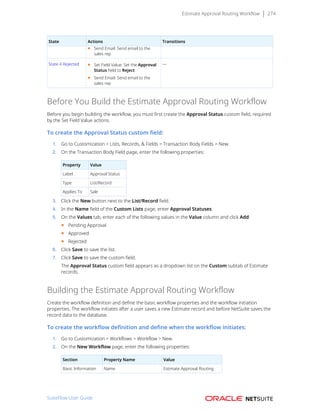
![Context Type Examples 220
return {
afterSubmit: createSalesOrd
};
});
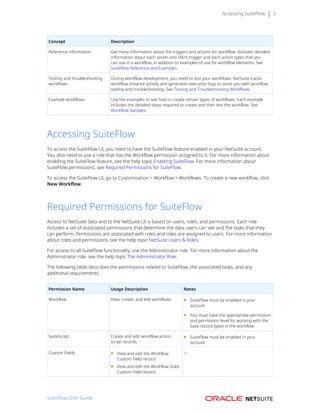
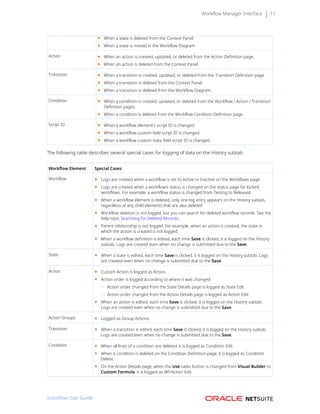
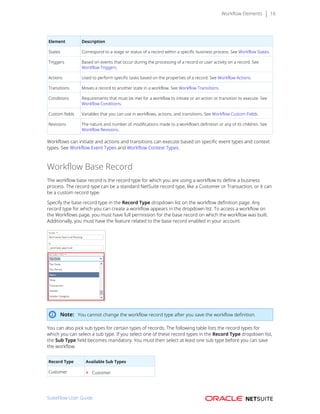
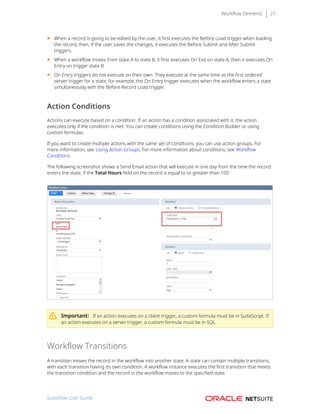
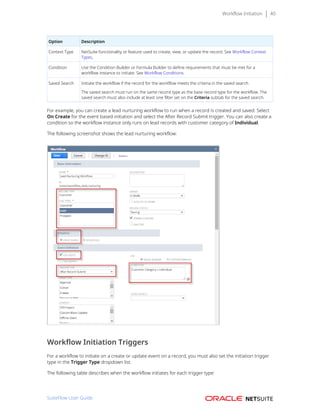
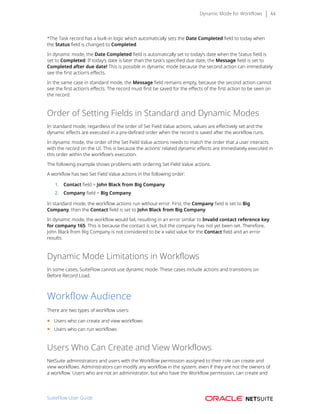
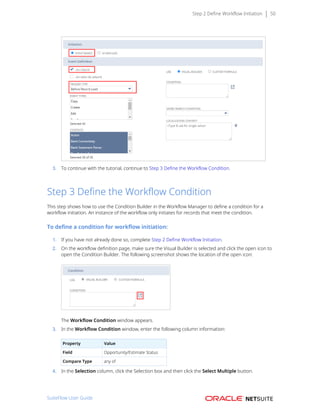
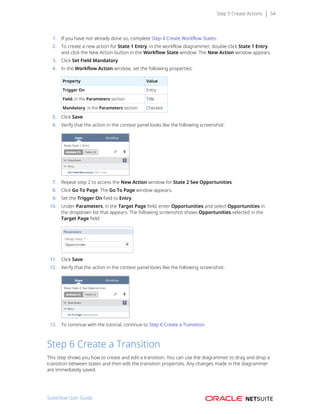
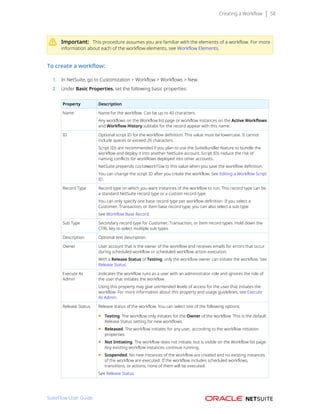
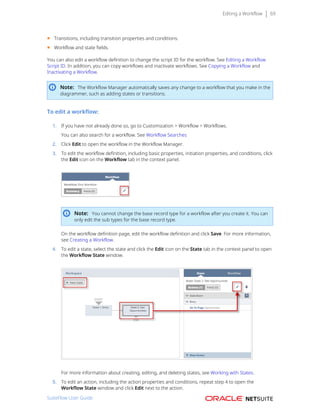
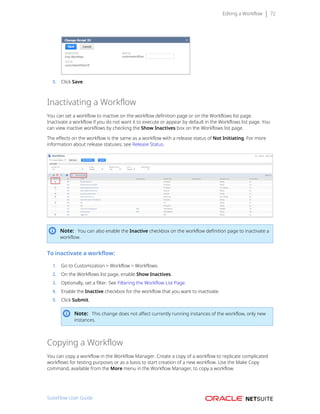
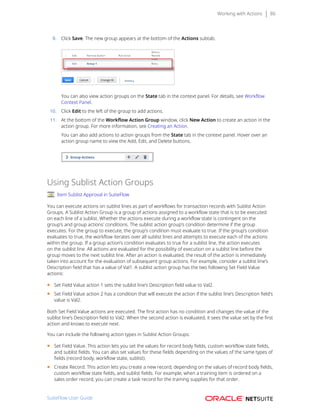
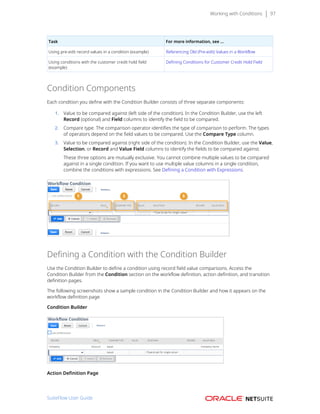
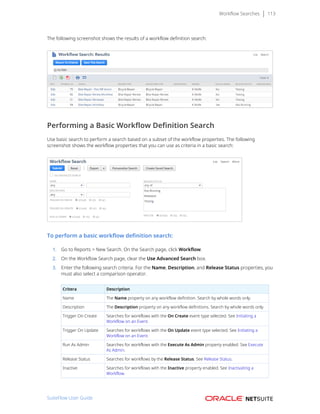
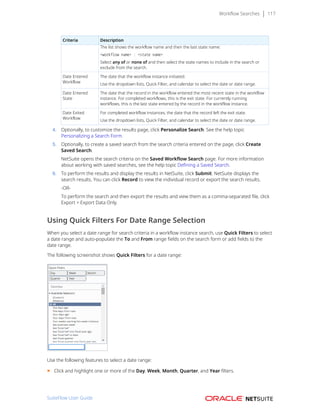
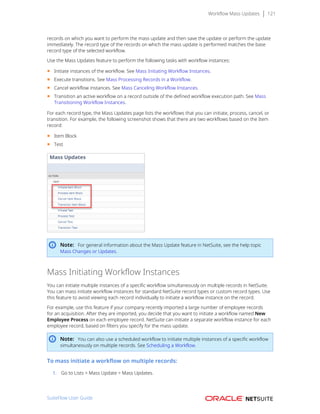
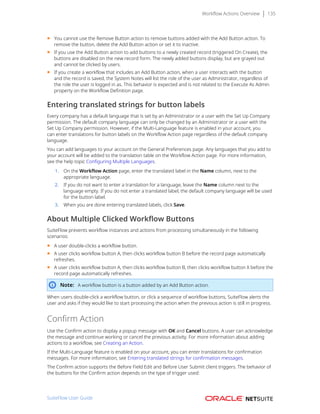
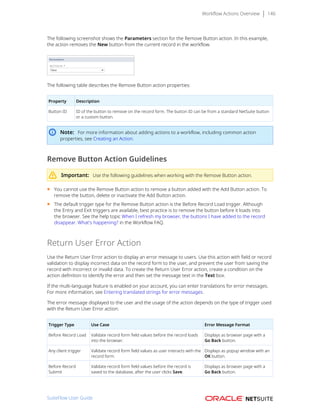
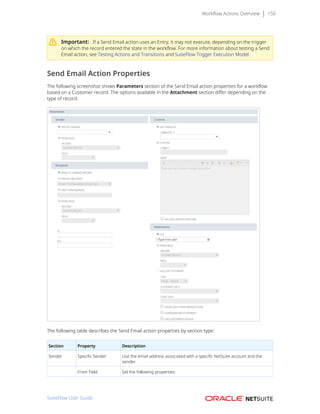
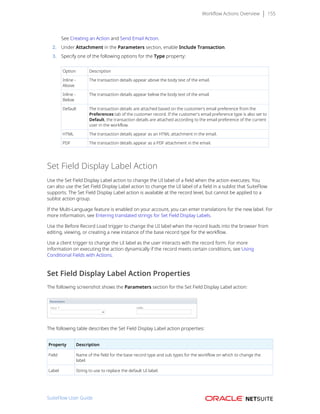
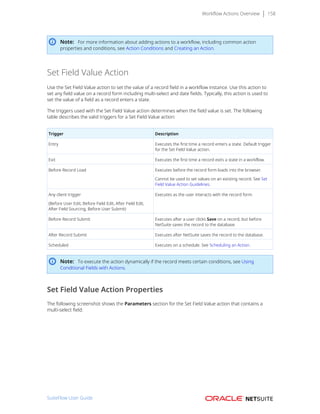
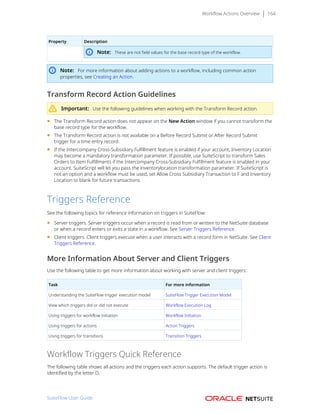
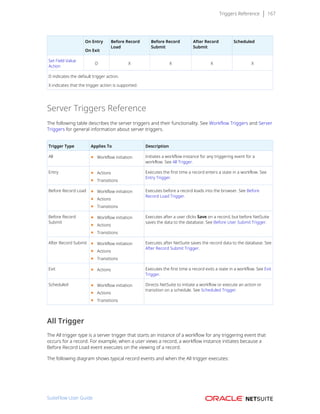
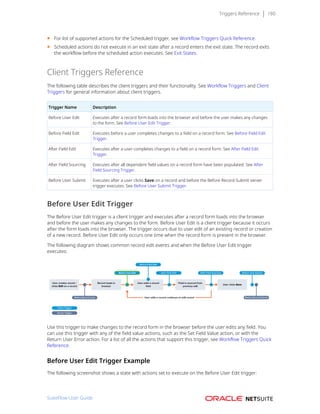
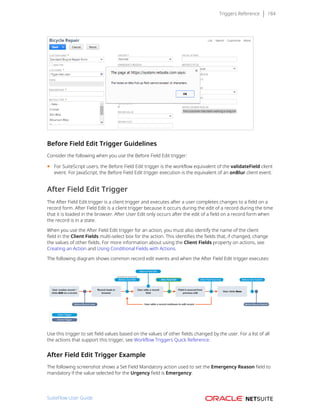
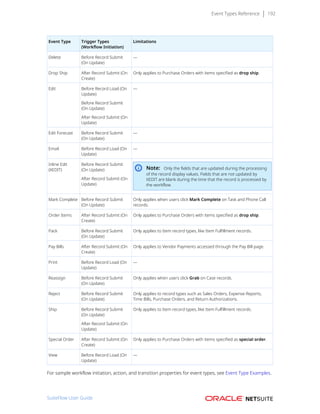
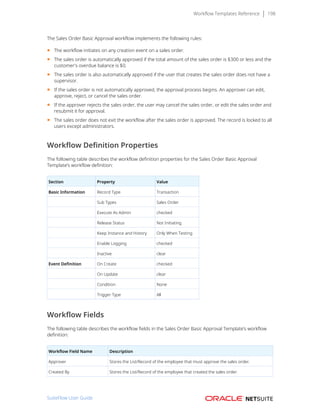
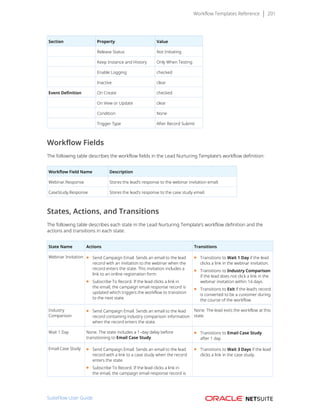
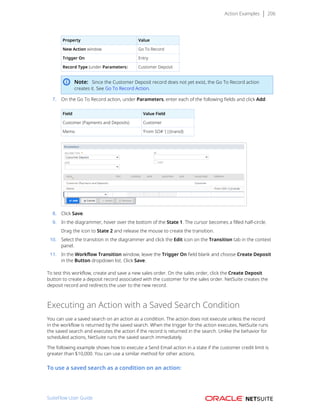
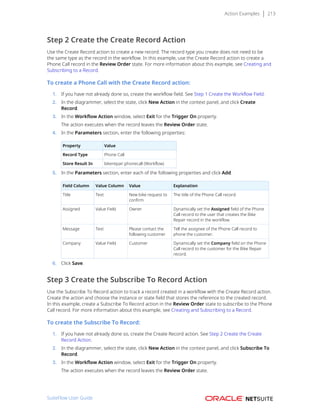
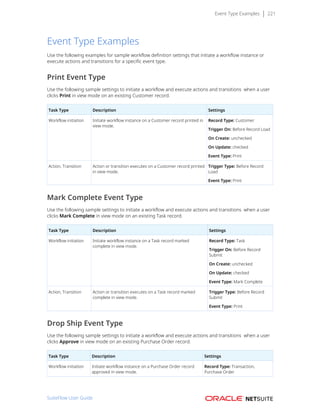
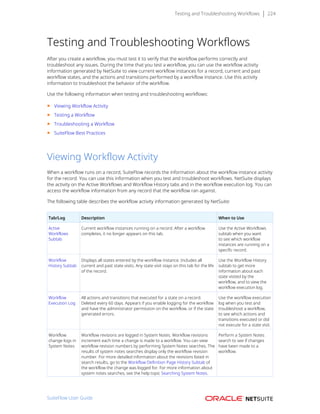
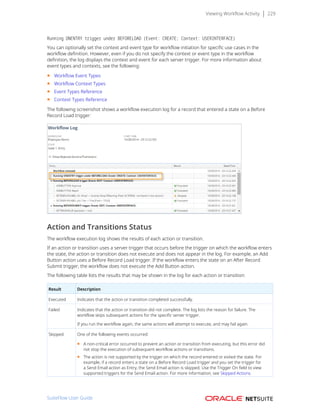
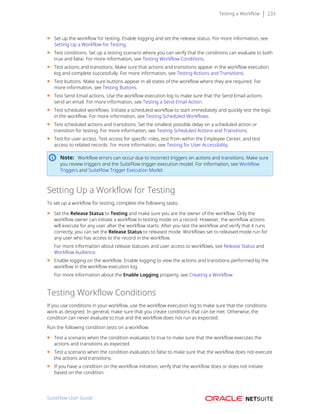
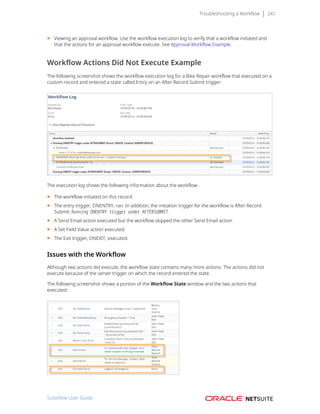
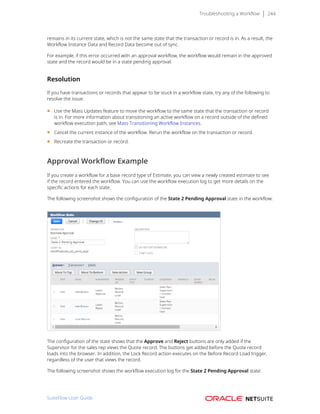
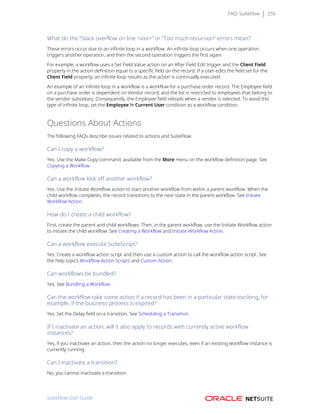
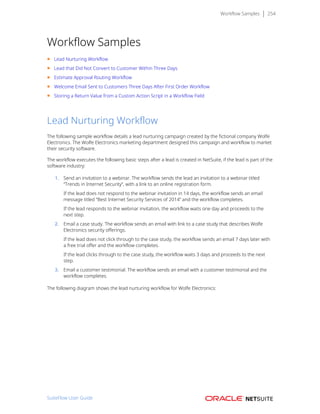
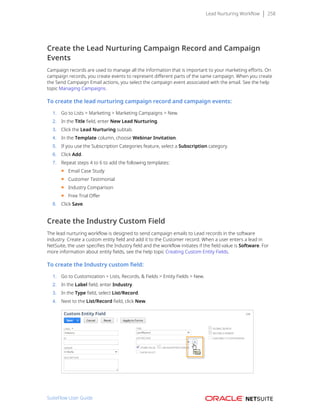
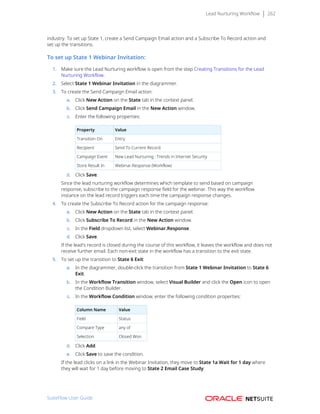
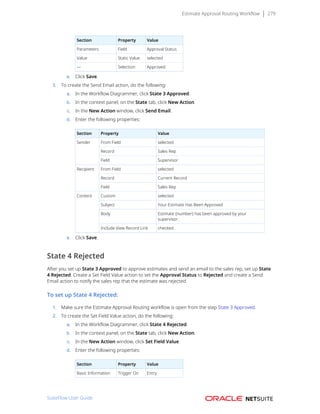
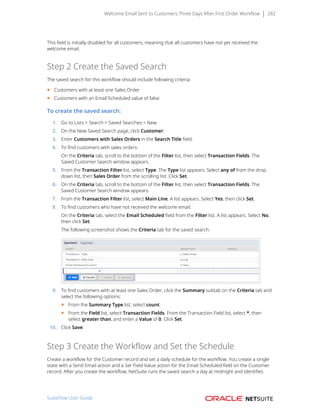
Task Type Description Settings
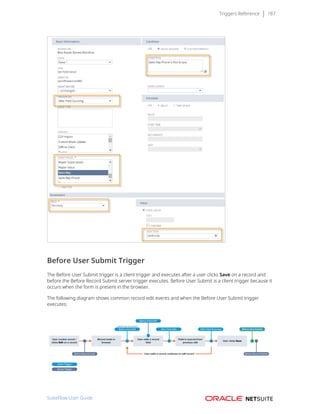
Workflow initiation Initiate a workflow instance on new sales orders created with
a user event script.
Trigger On: After Record
Submit
On Create: checked
On Update: unchecked
Context Type: User Event
Script
Action, Transition Action or transition executes on a sales order created with a
user event script.
Trigger On: After Record
Submit
Context Type: User Event
Script
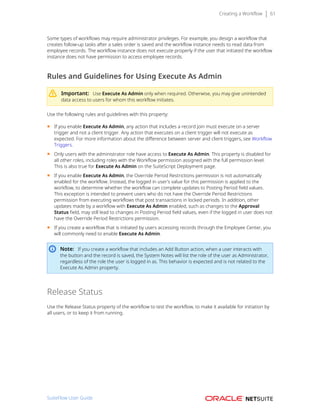
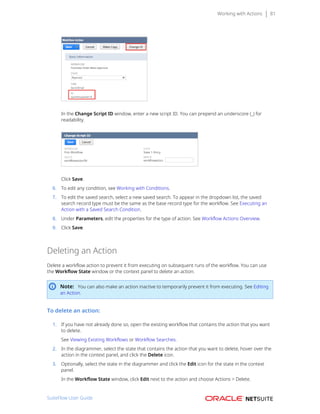
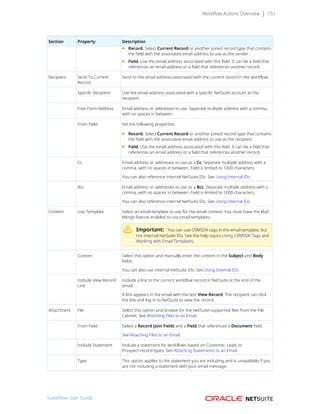
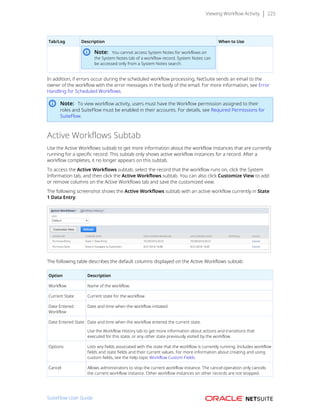
Custom Mass Update
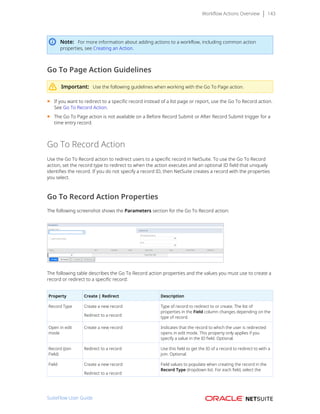
Use the following sample settings to initiate a workflow and execute actions and transitions for a
Customer record updated with the following mass update script.
/**
* @NApiVersion 2.0
* @NScriptType MassUpdateScript
*/
define(["N/record"], function (record) {
function customerMassUpdate(params) {
record.submitFields({
type: params.type,
id: params.id,
values: {
comments: 'Specifying Customer Mass Update context'
}
});
}
return {
each: customerMassUpdate
};
});
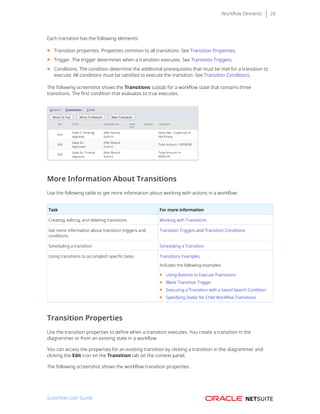
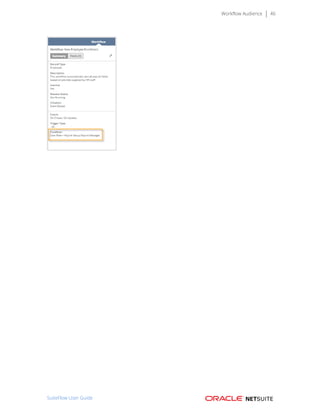
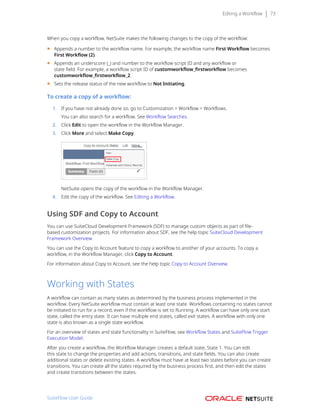
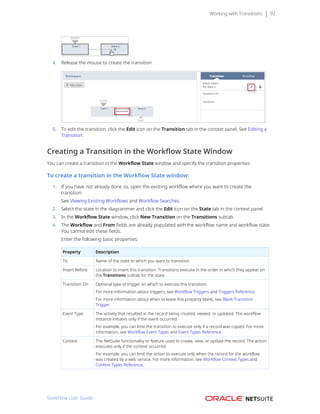
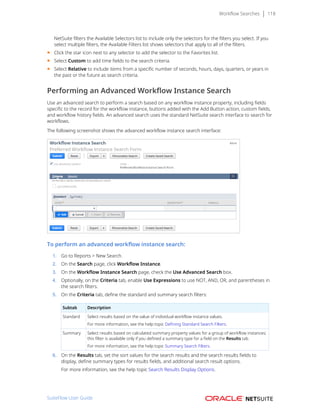
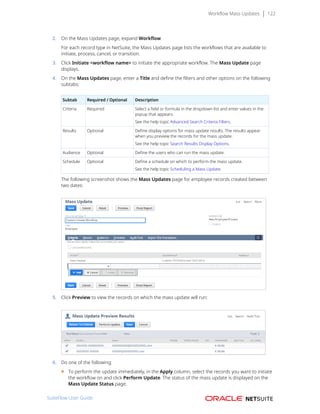
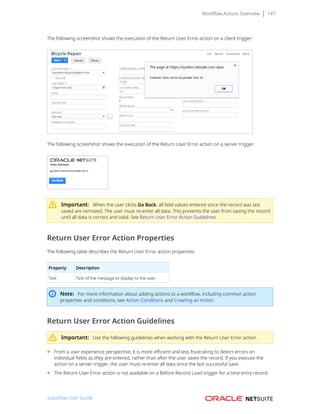
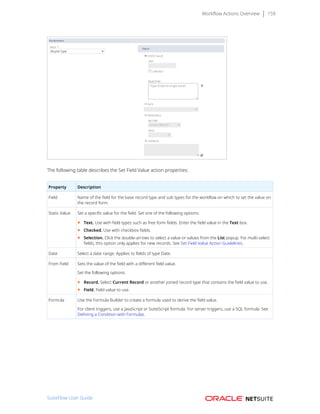
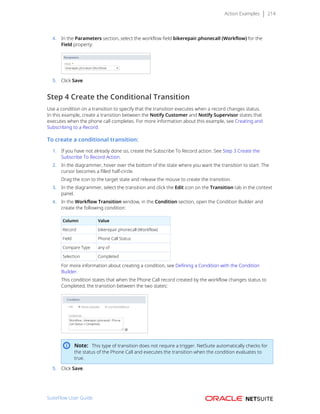
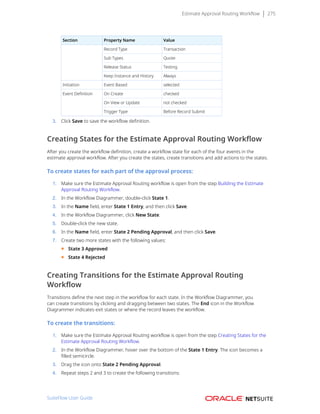
Task Type Description Settings
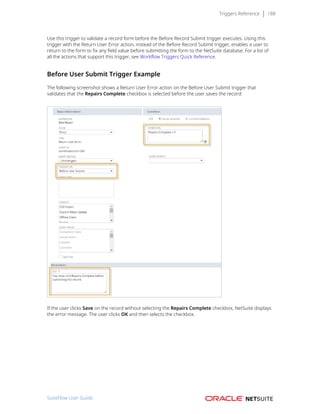
Workflow initiation Initiate workflow instance on a Customer record updated
with a mass update script.
Trigger On: After Record
Submit
On Create: checked
On Update: unchecked
Context: Custom Mass Update
Action, Transition Action or transition executes on a Customer record updated
with a mass update script.
Trigger On: After Record
Submit
Context Type: Custom Mass
Update
SuiteFlow User Guide](https://image.slidesharecdn.com/suiteflowuserguide-220324135410/85/SuiteFlowUserGuide-pdf-229-320.jpg)


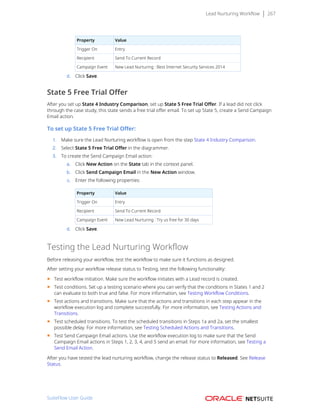
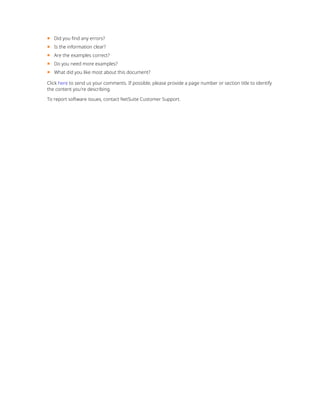
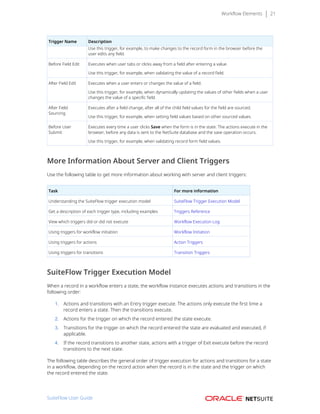
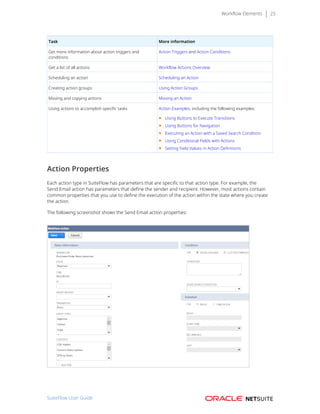
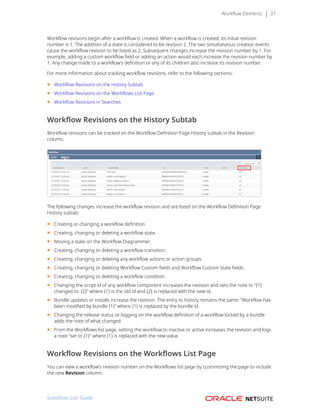
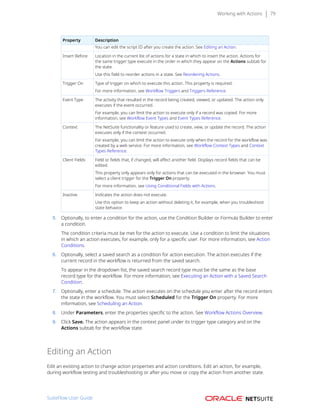
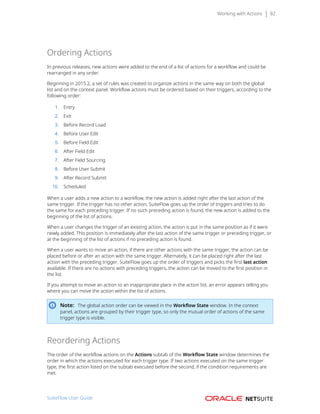
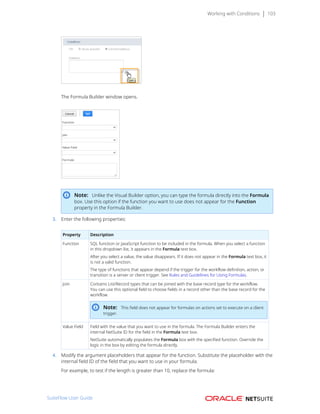
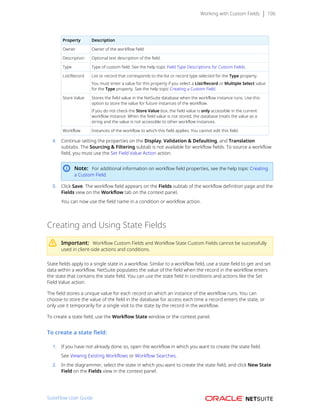
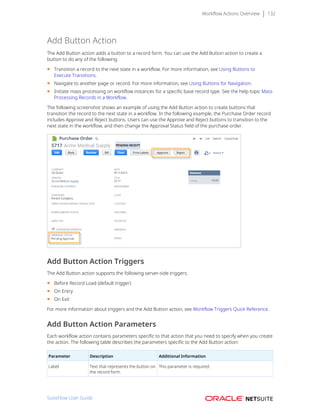
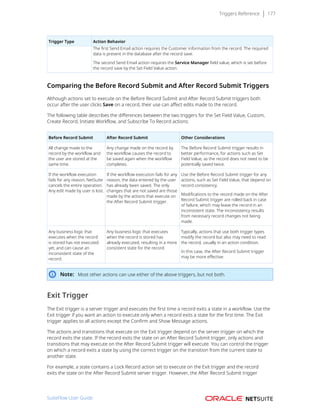
![Welcome Email Sent to Customers Three Days After First Order Workflow 284
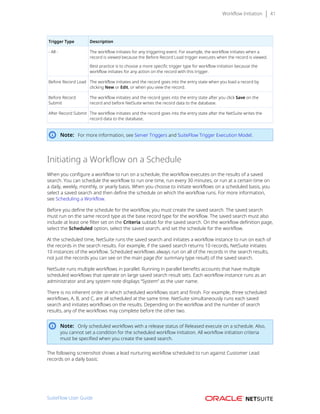
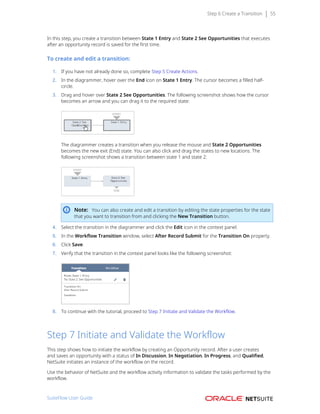
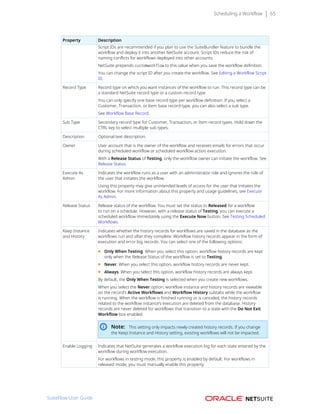
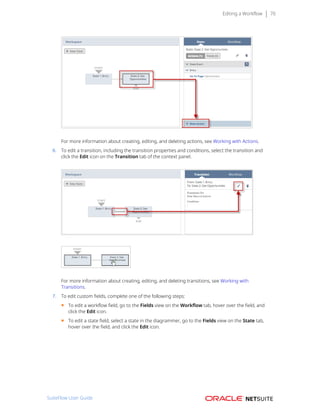
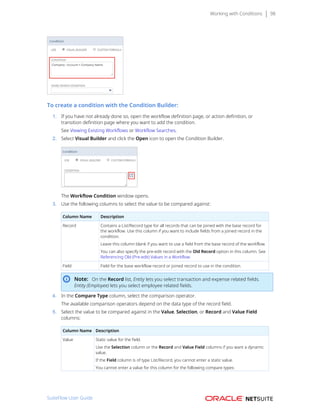
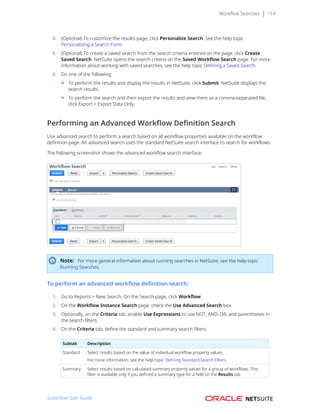
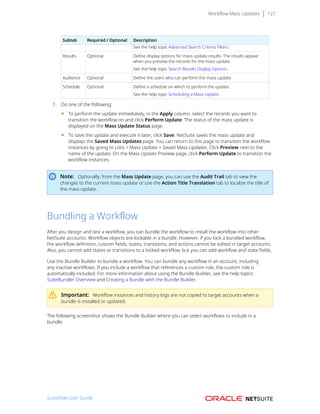
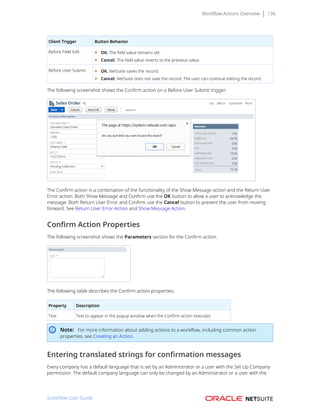
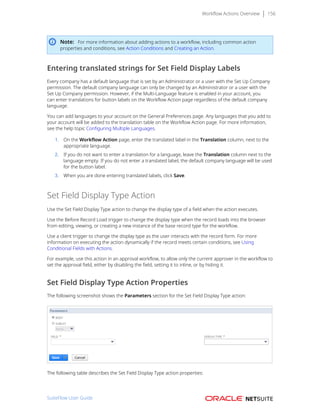
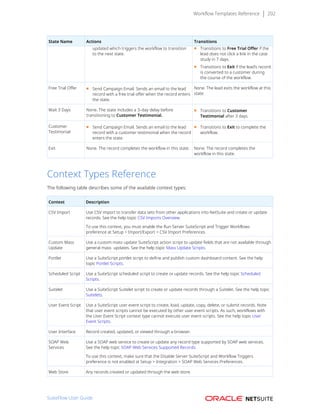
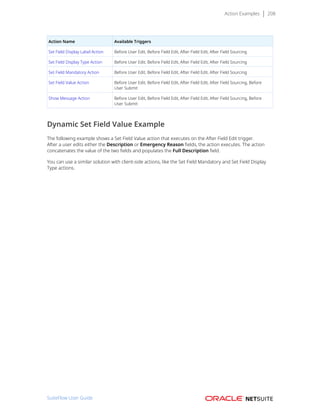
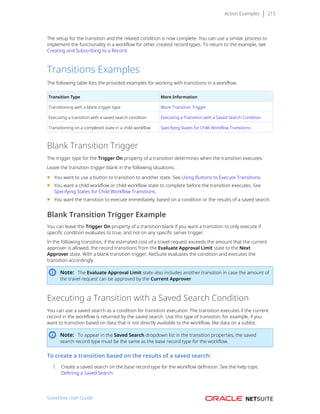
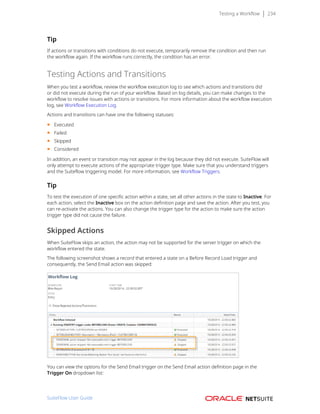
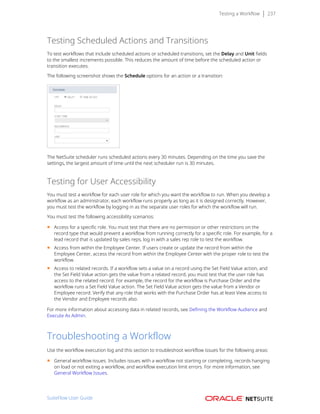
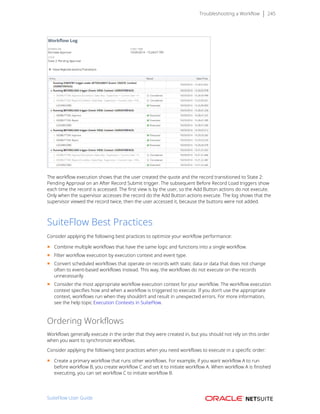
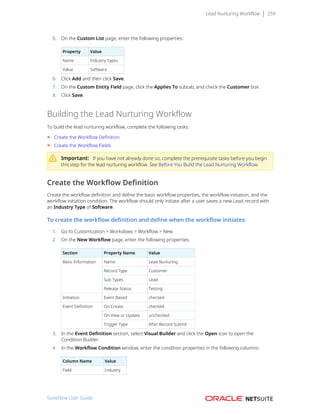
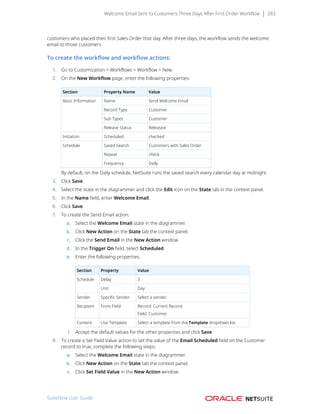
d. In the Parameters section, select Email Scheduled in the Field dropdown list.
e. In the Value section, select Static Value and enable Checked.
f. Accept the default values for the other properties and click Save.
For testing purposes, you can set the Delay on the Send Email action to a smaller time period and use a
test email address to verify the email content before you send the email to actual customers. For more
information, see Testing Scheduled Actions and Transitions and Testing a Send Email Action.
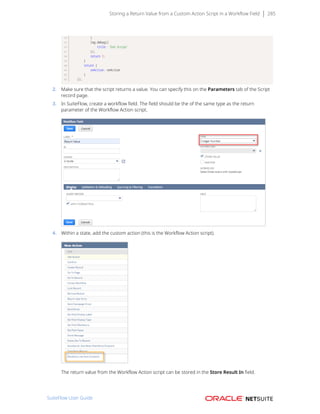
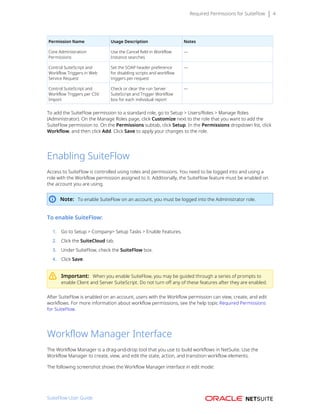
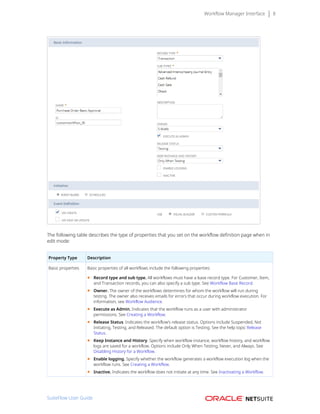
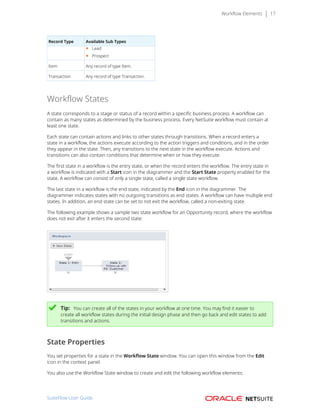
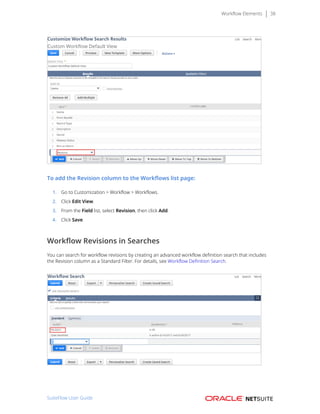
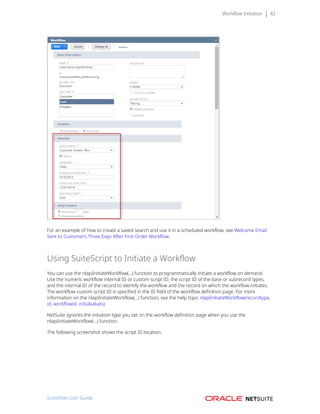
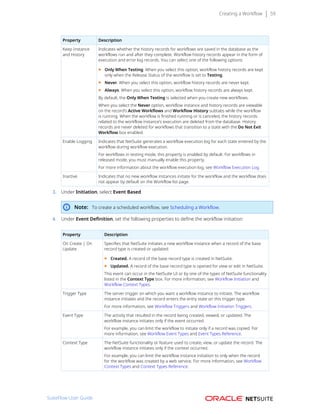
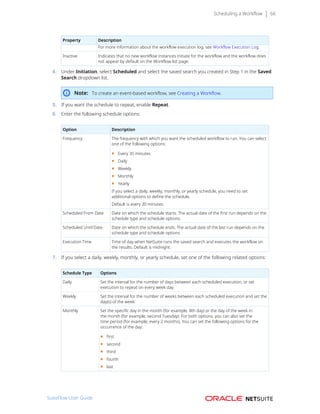
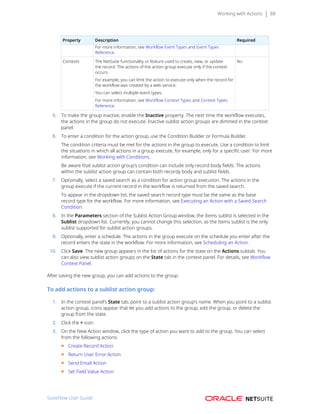
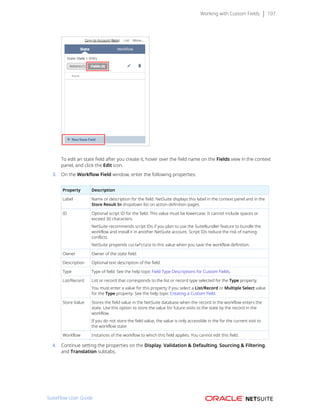
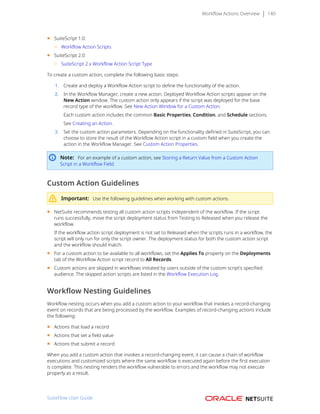
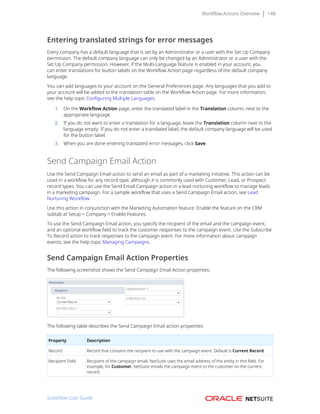
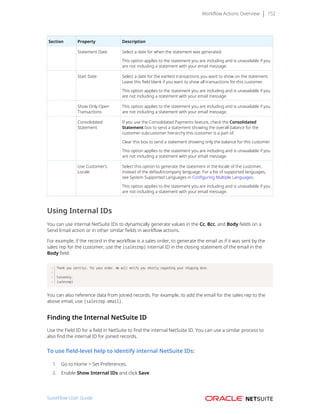
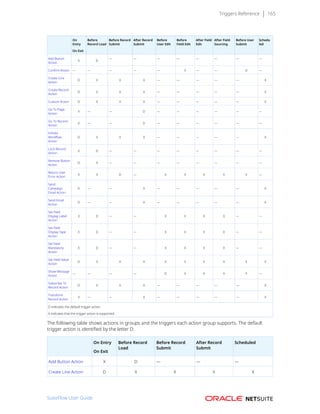
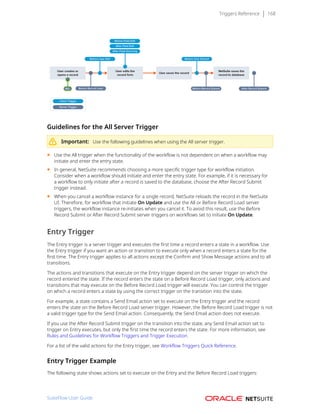
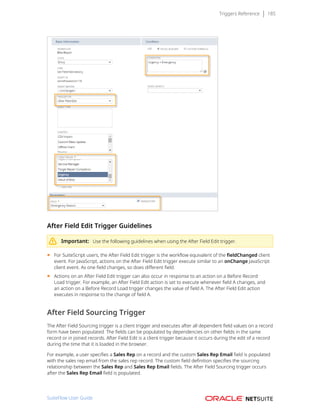
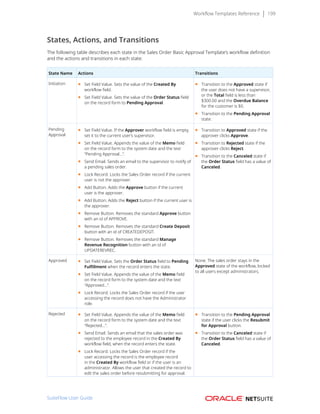
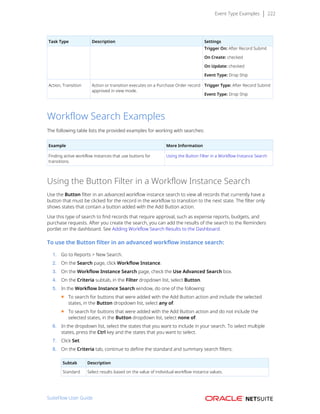
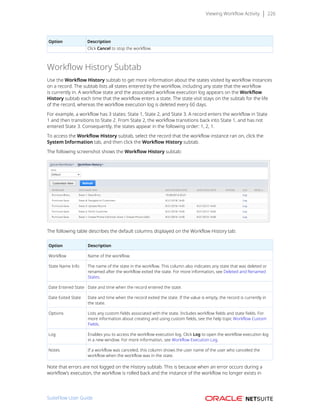
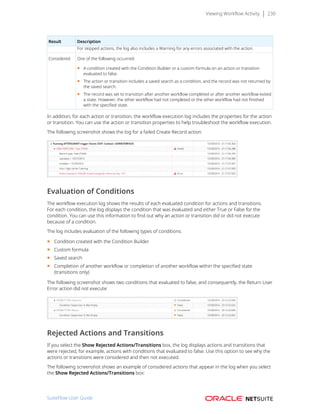
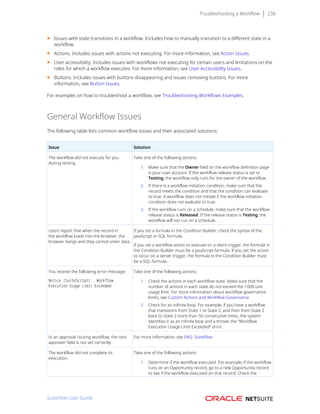
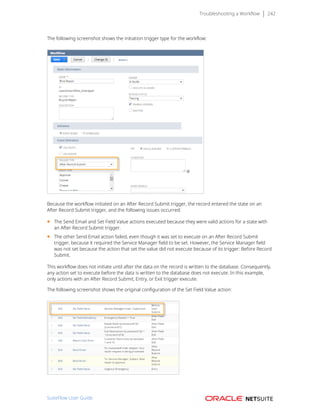
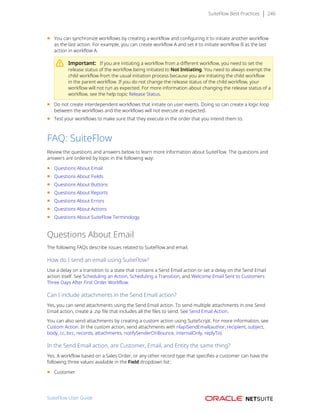
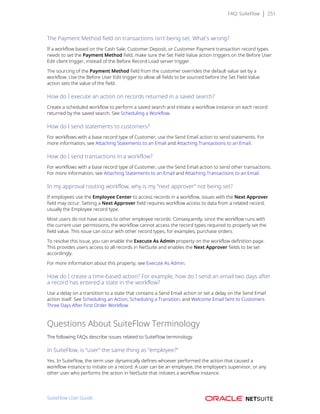
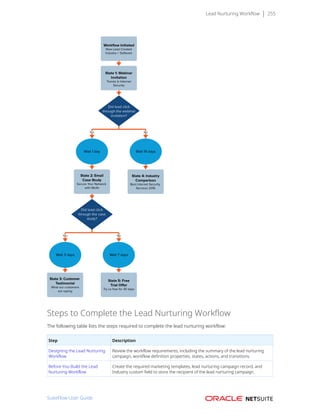
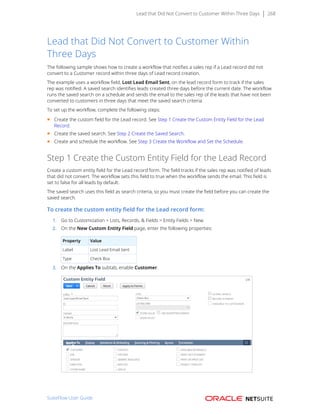
Storing a Return Value from a Custom Action Script
in a Workflow Field
This sample shows how to store a return value from a custom action script into a workflow field. This
example can be useful in the following cases:
1. You want to get a value from the Item sublist and use this value as a condition in the workflow.
You use obj.getSublistValue in the script and return this in the workflow.
2. You want to check if a certain item is existing in the Item sublist. The script returns "0" if item is
not existing and "1" if it does.
3. You want to make sure that all items in the Item sublist have a quantity equal to or greater than 1
(similar case as #2).
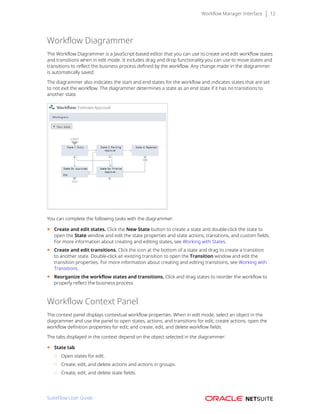
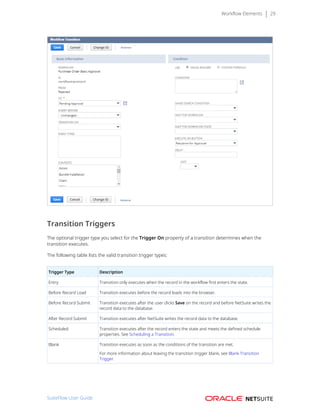
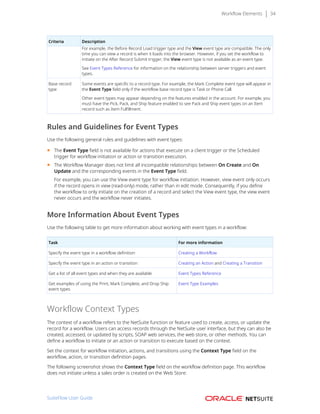
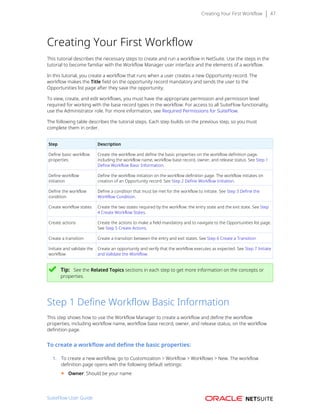
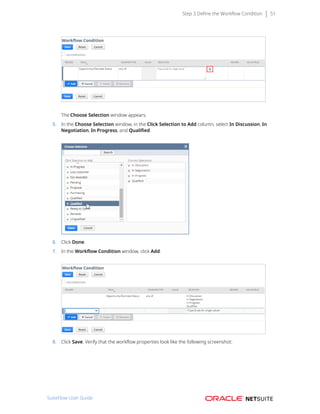
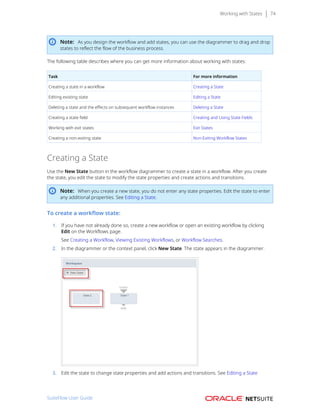
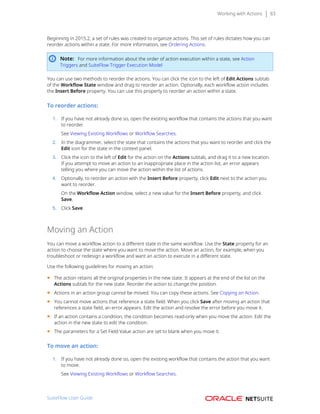
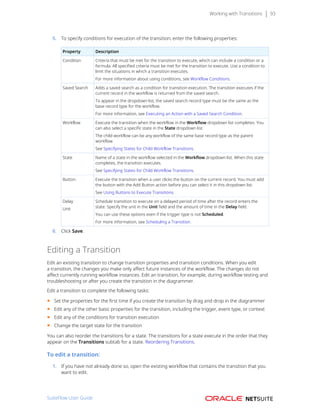
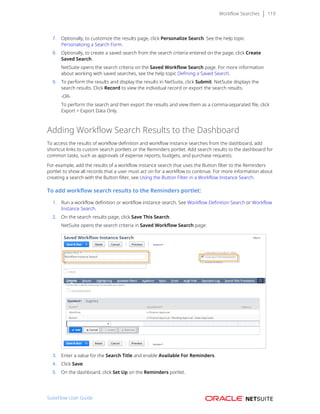
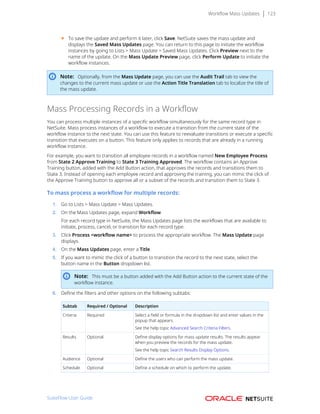
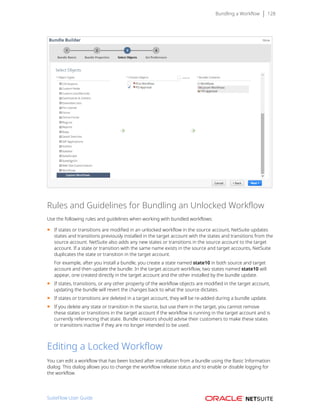
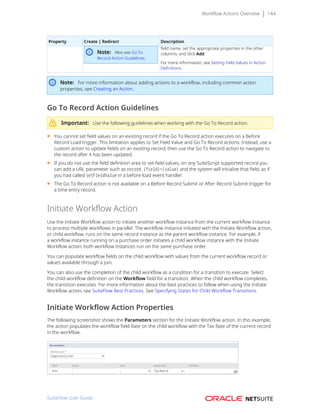
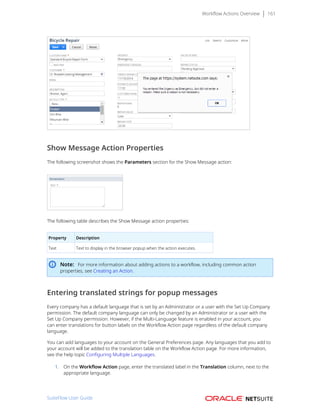
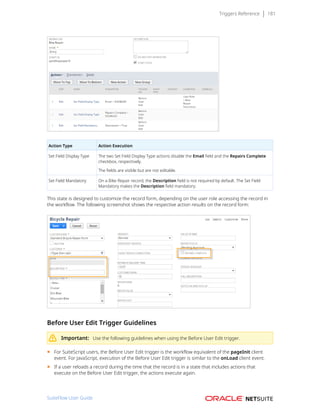
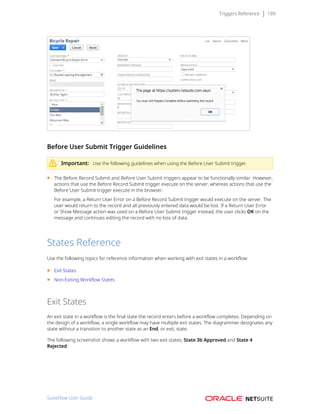
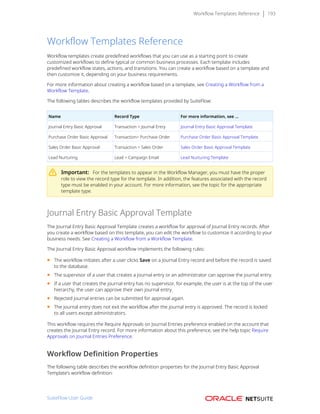
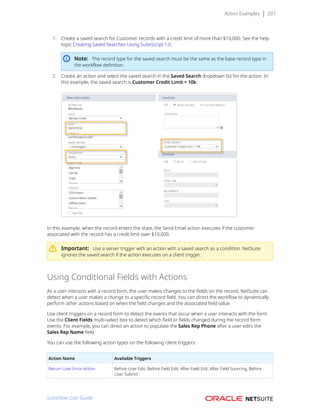
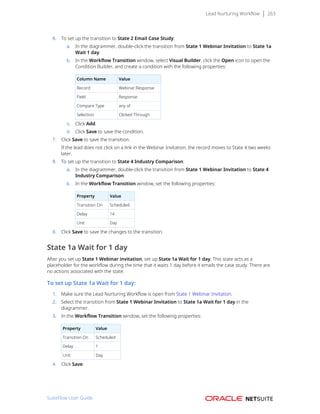
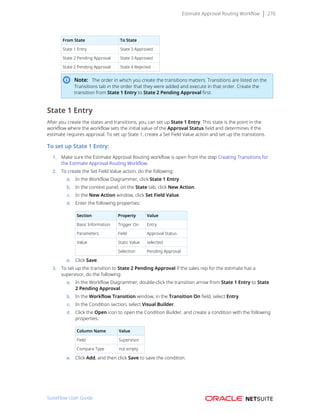
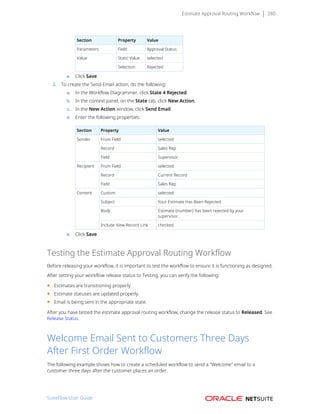
To store a return value from a custom action script in a custom field:
1. Create a new Workflow Action script.
This script is an example.
/**
* @NApiVersion 2.x
* @NScriptType WorkflowActionScript
*/
define([],
function() {
function onAction(scriptContext) {
log.debug({
title: 'Start Script'
});
var newRecord = scriptContext.newRecord;
var itemCount = newRecord.getLineCount({
sublistId: 'item'
});
log.debug({
title: 'Item Count',
details: itemCount
});
for(var i = 0; i < itemCount; i++)
{
var quantity = newRecord.getSublistValue({
sublistId: 'item',
fieldId: 'quantity',
line: i
});
log.debug({
title: 'Quantity of Item ' + i,
details: quantity
});
if(quantity === 0)
{
return 0;
}
SuiteFlow User Guide](https://image.slidesharecdn.com/suiteflowuserguide-220324135410/85/SuiteFlowUserGuide-pdf-293-320.jpg)