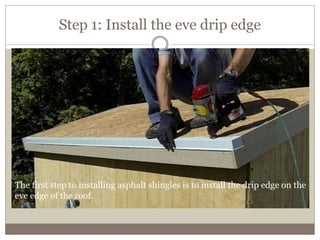
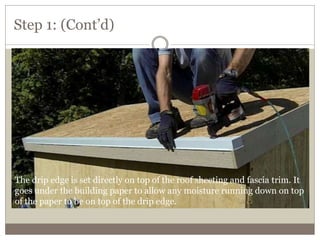
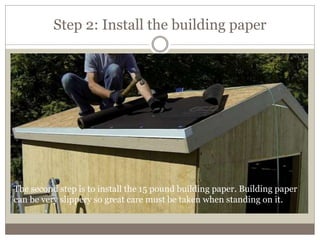
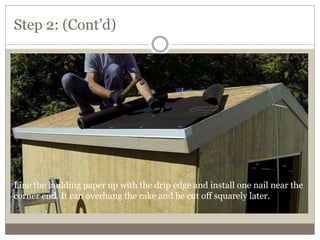
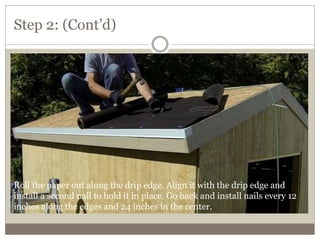
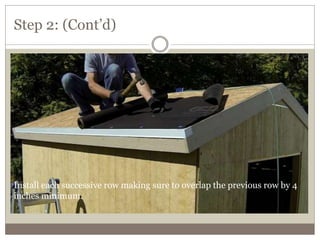
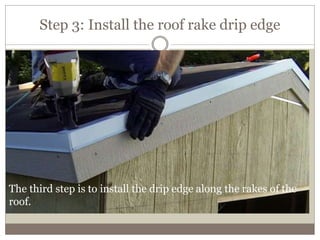
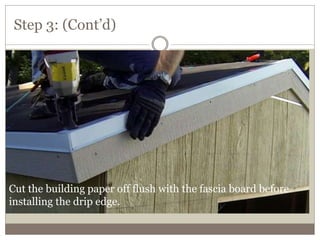
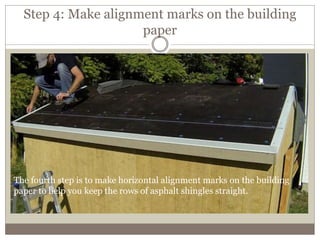
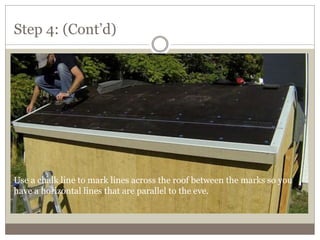
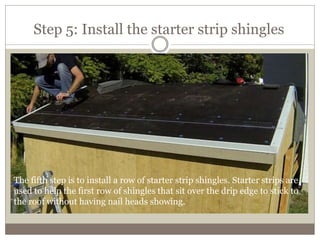
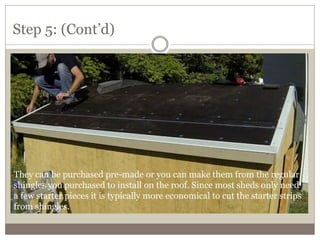
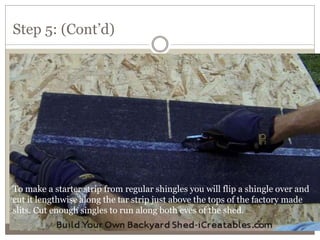
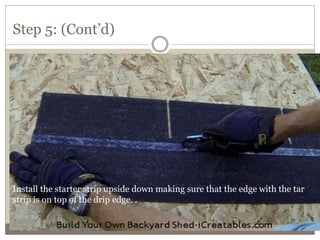
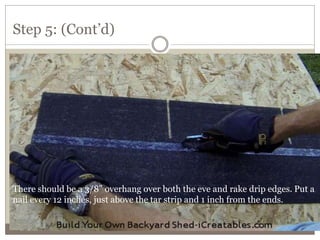
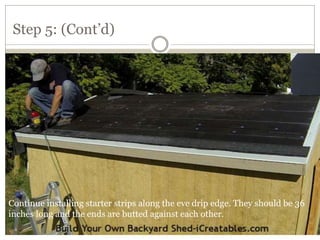
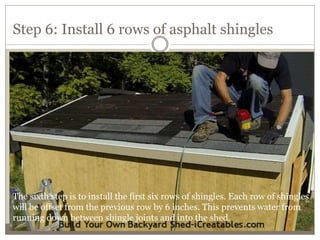
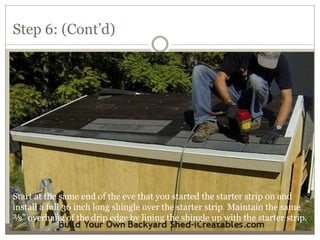
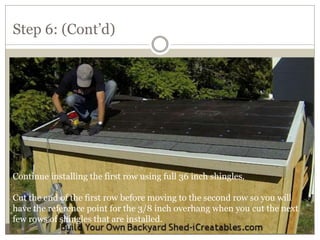
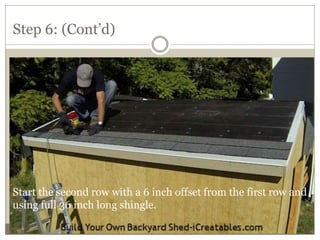
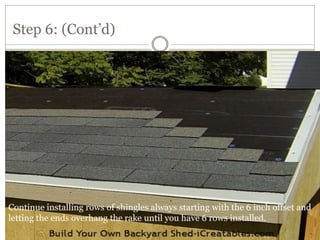
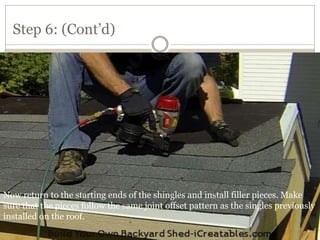
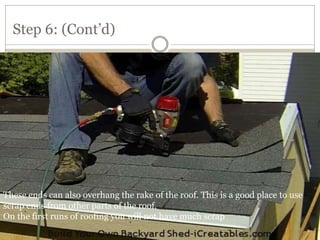
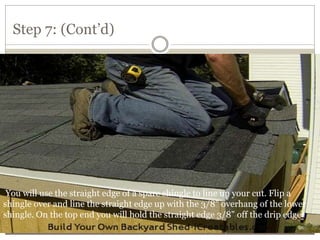
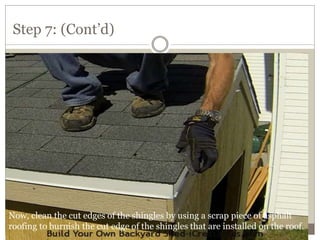
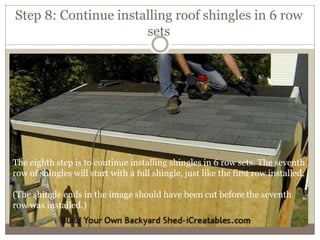
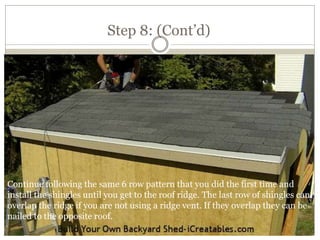
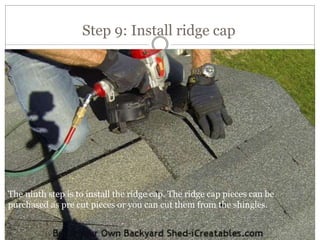
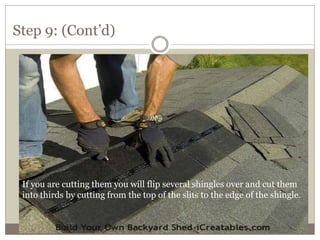
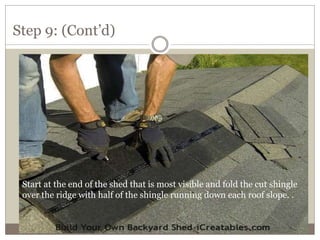
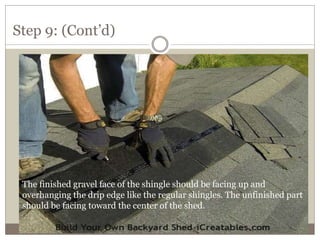
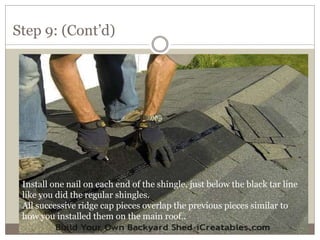
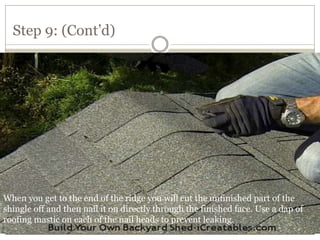
This document provides a step-by-step guide for installing asphalt roofing on a shed, beginning with the installation of the drip edge and building paper, followed by the placement of starter strip shingles. The process continues with the installation of six rows of asphalt shingles, ensuring proper alignment and overlap to prevent water leakage, and concludes with the installation of the ridge cap. Detailed instructions on nailing practices and offsets are included to ensure a secure and effective roofing installation.