Download to read offline


![Noise Protection Information
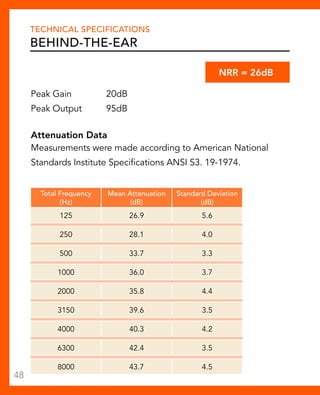
Required Information
The level of noise entering a person’s ear, when hearing
protector is worn as directed, is closely approximated by
the difference between the A-weighted environmental noise
level and the NRR.
Example
1. The environmental noise level as measured at the ear is
92dB(A).
2. The NRR is 25 decibels (dB).
3. The level of noise entering the ear is approximately equal
to [92dB(A) – 25dB] dB(A).
Caution: For noise environments dominated by frequencies
below 500 Hertz (Hz), the C-weighted environmental noise
levels should be used.
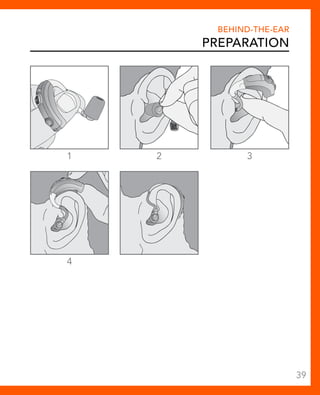
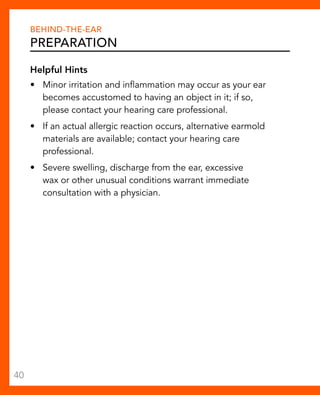
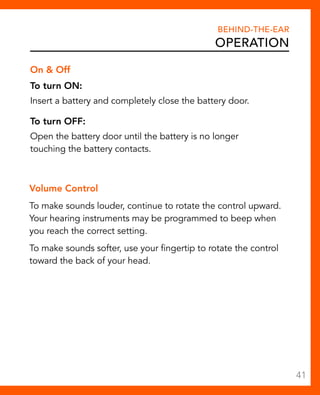
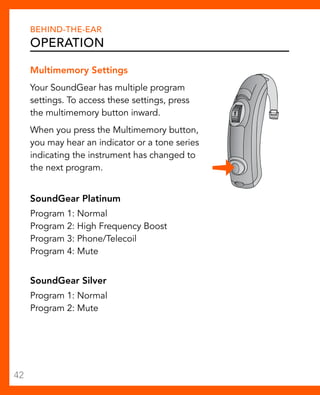
Improper fit of this device will reduce its effectiveness in
attenuating noise. Consult the enclosed instructions for
proper fit.
Although hearing protectors can be recommended for
protection against the harmful effects of impulsive noise, the
Noise Reduction Rating (NRR) is based on the attenuation of
continuous noise and may not be an accurate indicator of the
protection attainable against impulsive noise such as gunfire.
49](https://image.slidesharecdn.com/soundgearopsmanual-140902111459-phpapp02/85/SoundGear-hearing-protection-operations-manual-51-320.jpg)


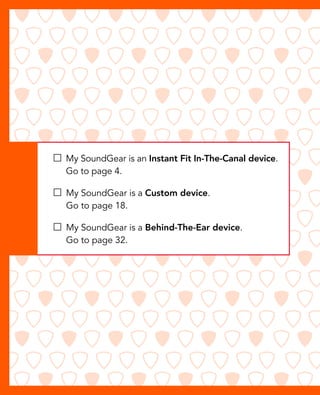
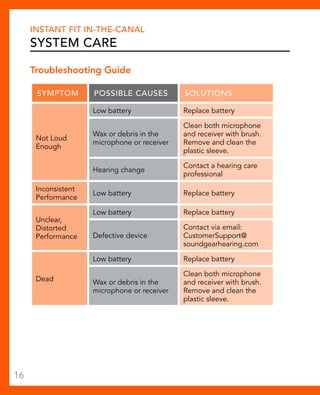
This document is an operations manual for SoundGear hearing protection devices. It provides information on three types of devices: instant fit in-the-canal, custom molded, and behind-the-ear devices. The manual covers device features, battery replacement, cleaning instructions, troubleshooting, and specifications for each type. It also includes safety warnings and limited warranty information.