Download to read offline


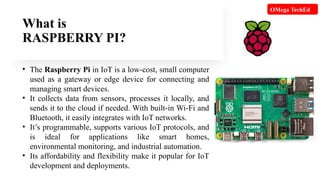
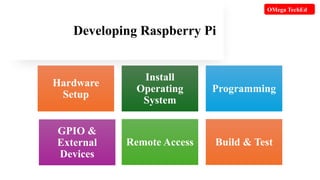

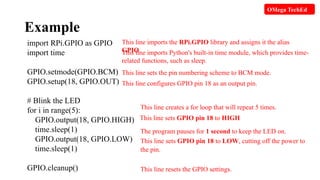


The document discusses the Raspberry Pi as a low-cost, versatile single-board computer ideal for IoT applications, supporting various programming languages and protocols for managing smart devices. It outlines the steps for developing on Raspberry Pi, including hardware setup, OS installation, programming, and remote access. Additionally, it compares Raspberry Pi with Arduino, highlighting their respective capabilities, use cases, and hardware requirements.