Download to read offline
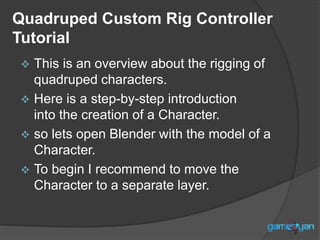
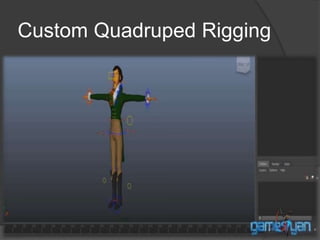
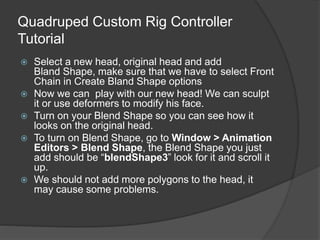

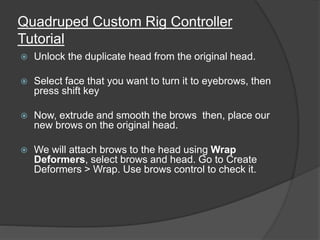
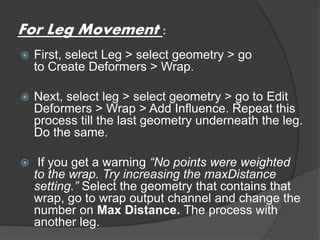
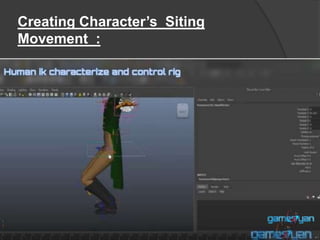
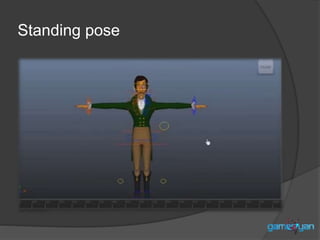

This document is a tutorial on rigging quadruped characters in Blender, providing a step-by-step guide for custom rig creation. It covers processes such as adding blend shapes for facial features, creating leg and hand movements, and using deformers for proper character articulation. Additional resources for character models are also mentioned at the end.


![[대구] Contz 홍보자료](https://cdn.slidesharecdn.com/ss_thumbnails/contz-151105091118-lva1-app6892-thumbnail.jpg?width=640&height=640&fit=bounds)