Download to read offline
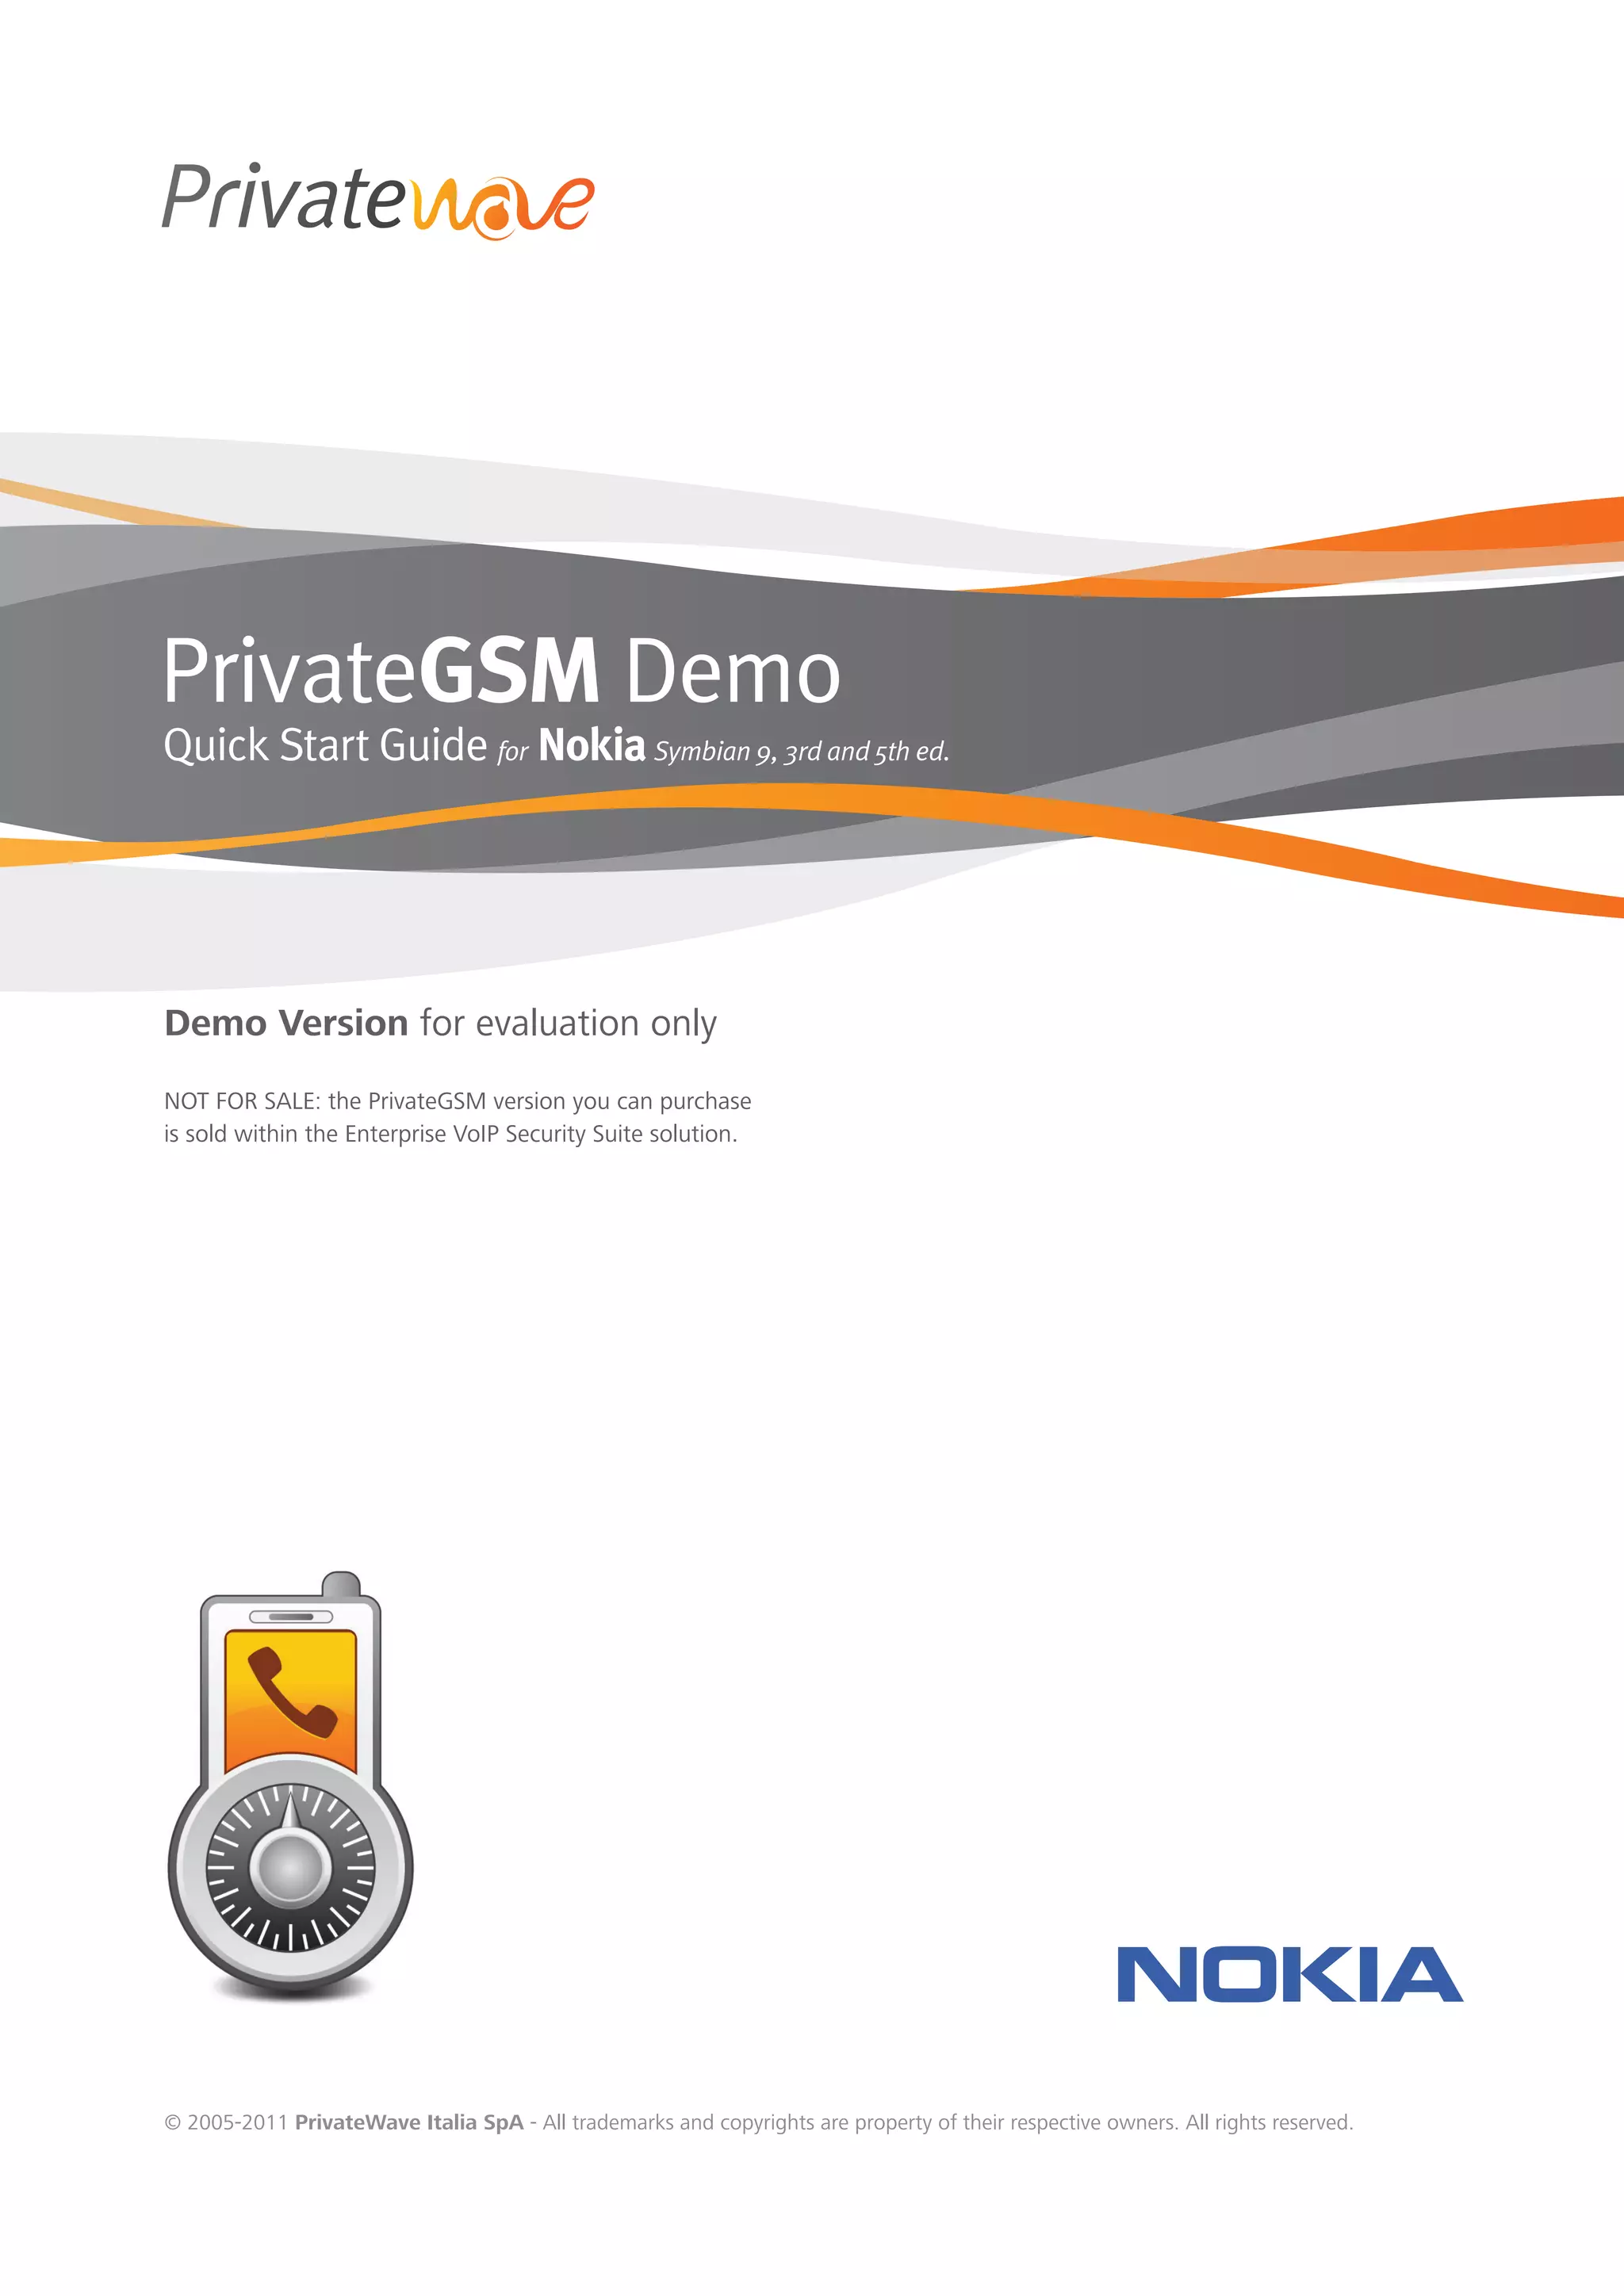


This 3-sentence summary provides the essential information about the PrivateGSM demo software: The PrivateGSM demo allows users to make encrypted phone calls through a VoIP connection for evaluation purposes only and is not intended for commercial use. The demo guides users through a 3-step activation process of installing the app, selecting an internet connection, and activating the software. It then explains how to make and receive secure calls, check call security, and access support when the trial period expires.