Download to read offline
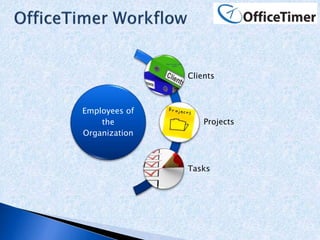
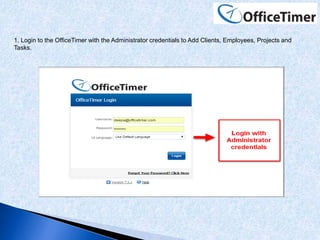
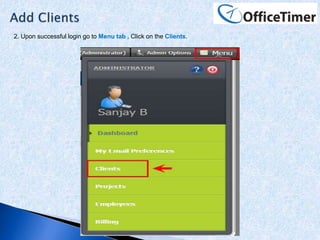
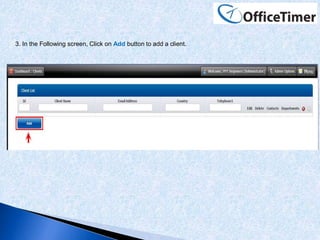
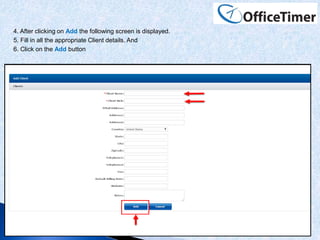
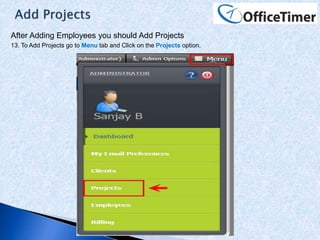
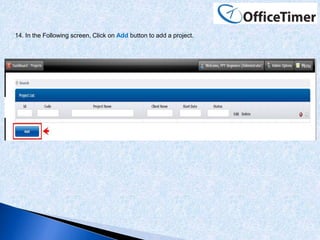


This document provides a tutorial for adding clients, employees, projects, and tasks in OfficeTimer. It outlines 33 steps to log in as an administrator, add clients and their details by clicking add and filling in the form, then do the same to add employees, projects, and tasks. Projects involve selecting a template, type, and managers as well as adding billing details and attachments. Tasks can be set as parent or shared and involve assigning employees, status, estimates, billing rates, and attachments.