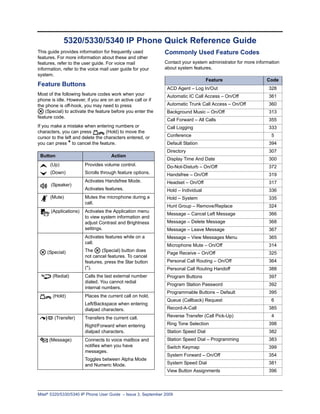
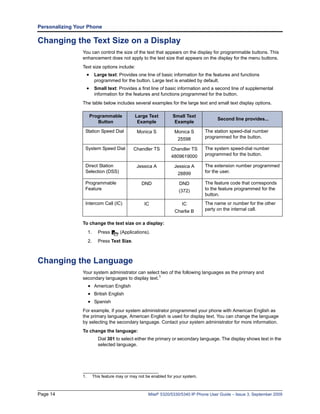
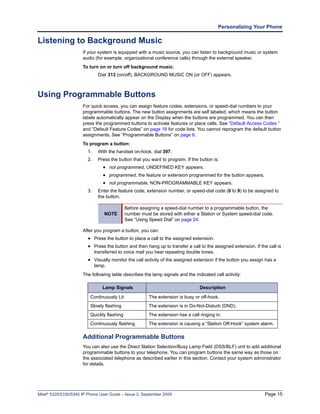
This document provides a quick reference guide for the Mitel 5320/5330/5340 IP phone. It lists commonly used feature codes for call forwarding, do not disturb, messaging, conferencing, and other phone features. The guide also describes how to place and answer calls, transfer calls, view messages, and adjust settings like ringtone and volume.

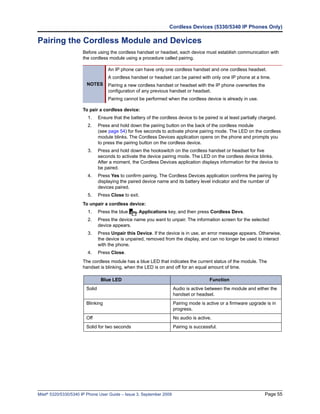
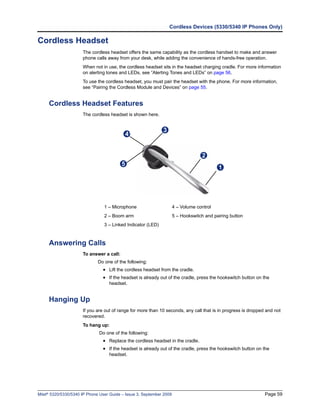
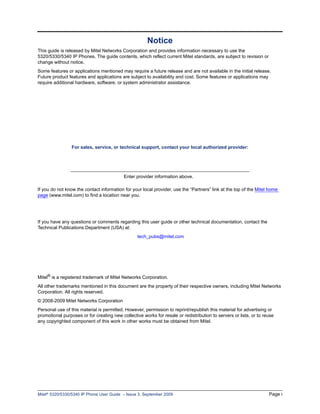
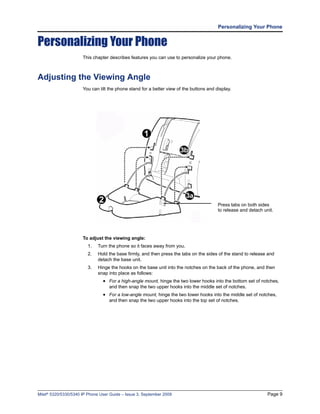
![Answering Calls Placing Conference Calls
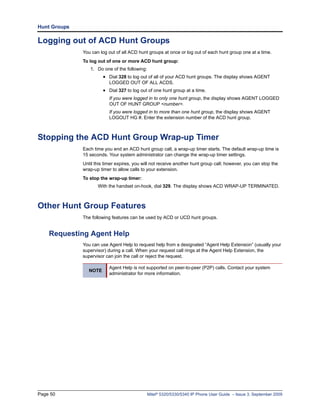
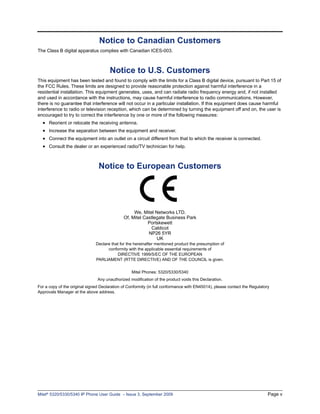
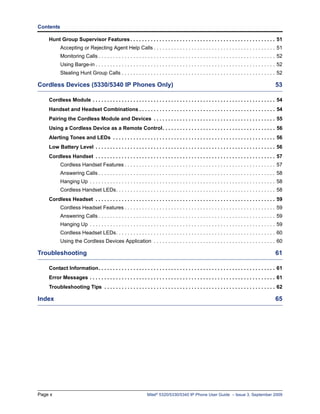
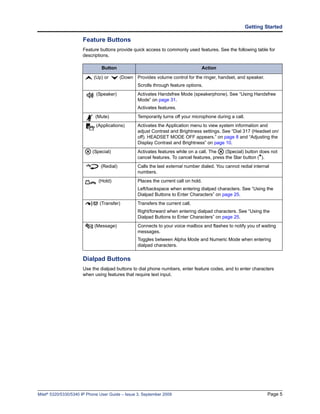
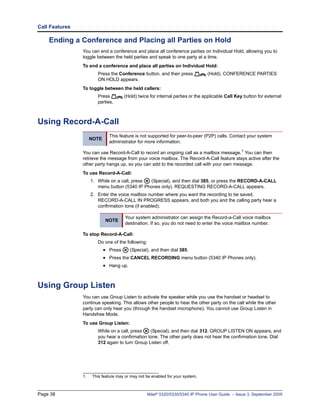
Lift the handset, or press (Speaker) to 1. While on the first call, press the Conf button to
answer a call while using a headset or to answer place the call on hold. CALL NEXT PARTY TO
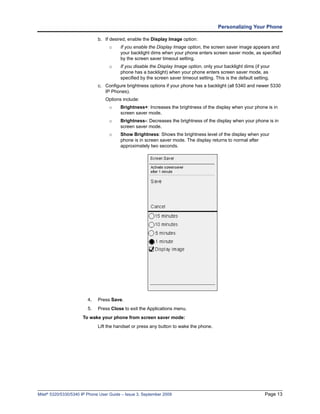
a call in Handsfree Mode. CNF appears.
2. Place a call to the next conference party. For
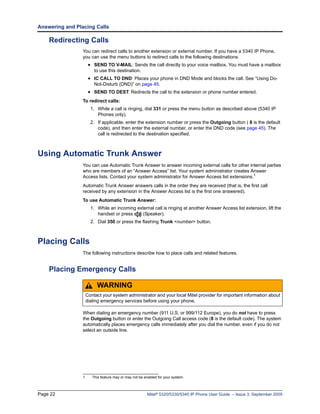
Placing Emergency Calls external calls, press the Outgoing button or
Dial the emergency number (911 U.S. or enter the Outgoing Call access code (8 is the
999/112 Europe). The system immediately places default code), and then dial the number.
the emergency call as soon as you dial the 3. After the party answers, announce the
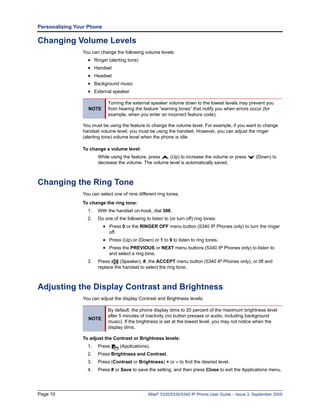
number, even if you do not select an outside line. conference, and then press the Conf button to
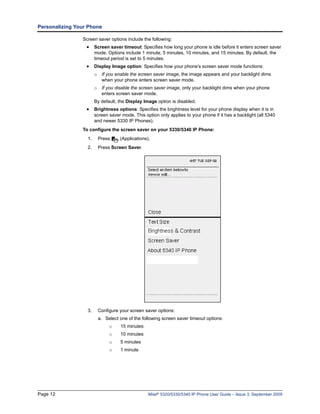
place the call on hold. If necessary, repeat this
Placing Internal (Intercom) Calls step to add the remaining conference party.
With or without the handset lifted, dial the 4. Press the Conf button again to start the
extension number. If you enter incorrect digits, conference. CNF IN PROGRESS appears.
you can press (Hold) to move the cursor
backward, deleting the last digits entered. If you Viewing and Responding to Messages
are using Handsfree Mode, listen for the double
tone, and then begin to speak. 1. With the handset on-hook, press (Message)
or the VIEW MESSAGE menu button (5340 IP
Phones only). Messages are displayed as first in/
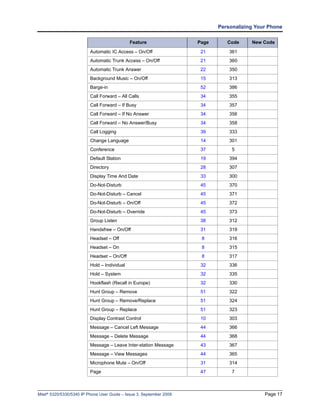
Placing External Calls first out. If there is more than one message, you
Press the Outgoing button, an unlit Call button, can repeatedly press (Message) to scroll
or enter the Outgoing Call access code (8 is the through the messages.
default code), and then dial the number. 2. When the desired message is displayed, press #,
or lift the handset for privacy, and then press # to
Redialing External Numbers respond. (If your handset is off-hook and you
With or without the handset lifted, press the press [Message], you automatically place a
(Redial). The system automatically selects call to the party or message center who left the
a line and dials the number. message.)
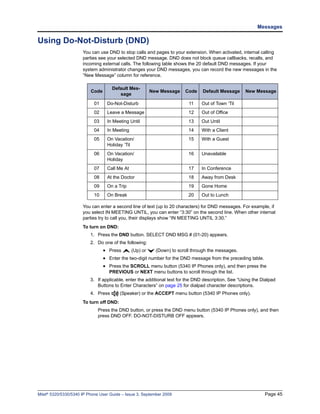
Transferring Calls to Other Extensions Using Do-Not-Disturb
1. While on the call, press (Transfer), and 1. Press the DND button, and then do one of the
then enter the extension number. following:
2. Do one of the following: • Press (Up) or (Down) to scroll
through the messages.
• Wait for an answer, announce the call, and
then hang up. If the extension is • Enter the two-digit number for the DND
unavailable, press the flashing IC or Call message.
button to return to the caller. 2. If applicable, enter the additional text for the
• Hang up to transfer the call and disconnect DND description.
the call from your phone. 3. Press (Speaker), or lift and replace the
handset.
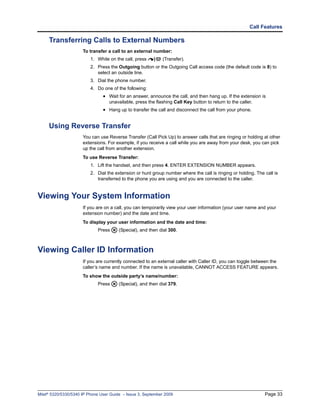
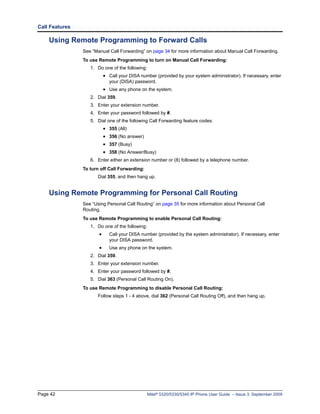
Forwarding Calls
1. Press the Fwd button, and then enter the feature Placing a Page Announcement
code, if applicable. ENTER FORWARD DEST 1. Press 7.
appears.
2. Enter the page-zone number (0 to 9).
2. Enter the extension number, or press the
Outgoing button or enter the Outgoing Call 3. After the tone, make your announcement, and
access code (8 is the default code), and then dial then hang up.
the telephone number.
Mitel® 5320/5330/5340 IP Phone User Guide – Issue 3, September 2009](https://image.slidesharecdn.com/mitelphoneguide-110118044504-phpapp02/85/Mitel-phoneguide-4-320.jpg)
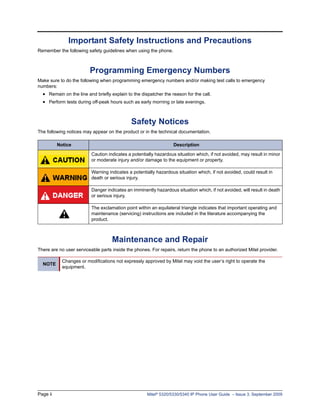


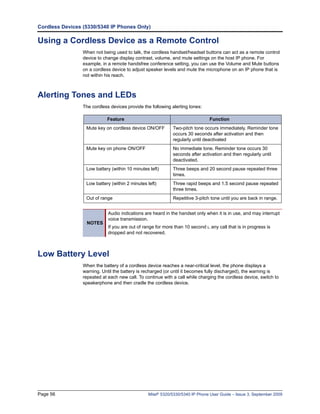
![Answering and Placing Calls
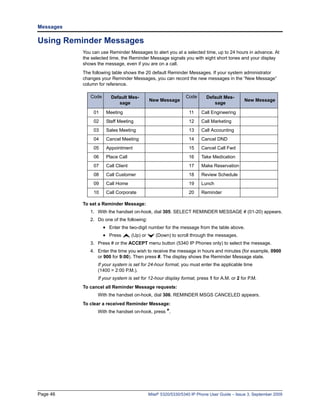
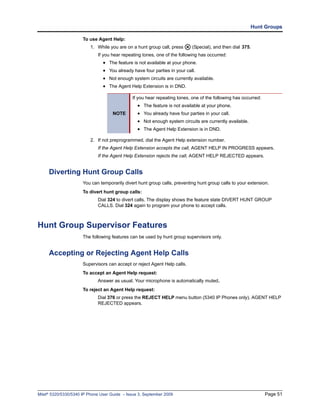
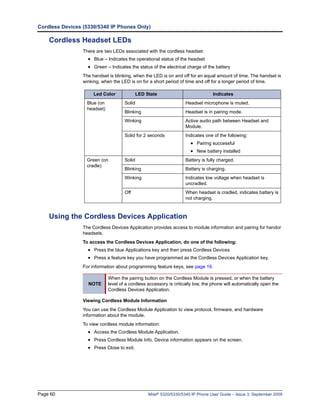
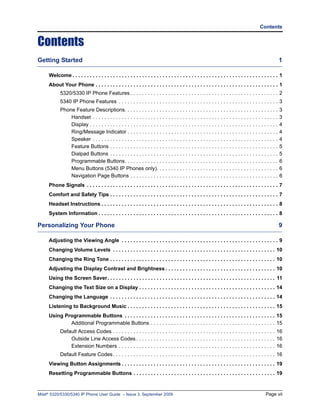
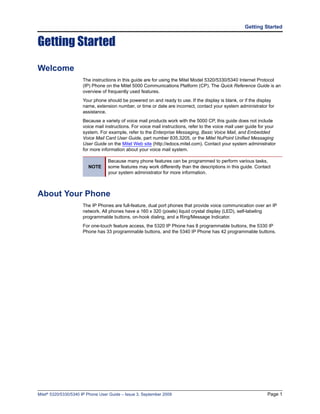
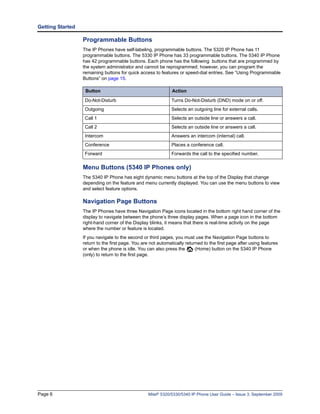
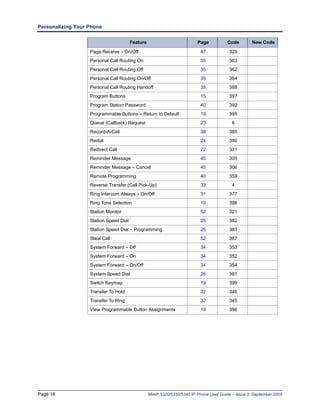
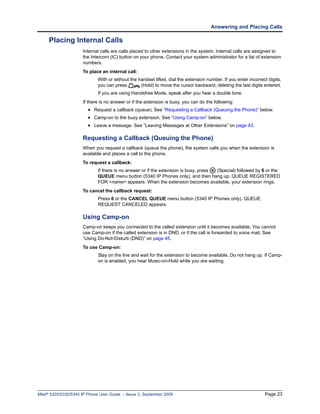
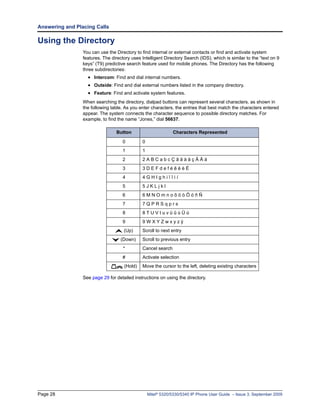
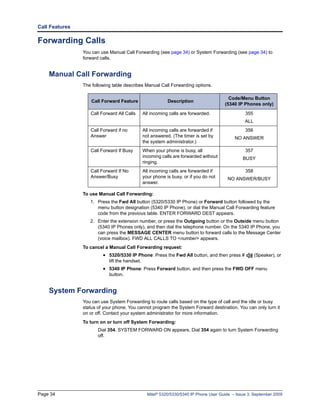
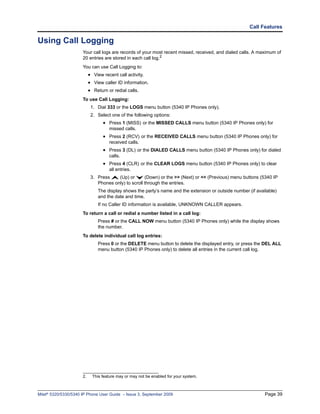
To use the dialpad to enter characters:
Press the dialpad buttons as shown in the following table.
Characters Represented
Button
(in Alpha Mode)
0 @:.,0
1 -&()1
2 ABC‘2
3 DEF!3
4 GHI*4
5 JKL#5
6 MNOñ6
7 PQRS7
8 TUV?8
9 WXYZ9
For example, to enter May 31, you could use the following sequence:
1. In Alpha Mode ( [Message] button is lit), press 6 once to enter an “M.”
2. Press 2 once to enter an “A.”
3. Press 9 three times to enter a “Y.”
4. Press (Transfer) to enter a space.
5. Press (Message) to switch to Numeric Mode.
6. Press 3.
7. Press 1.
8. Press (Speaker), #, or lift the handset to save the entry.
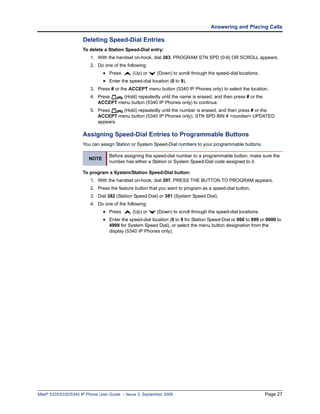
Dialing Station Speed-Dial Numbers
To dial a Station Speed-Dial number:
Do one of the following:
• Dial 382, and then enter the Station Speed-Dial location number (0 to 9). The
system dials the number.
• Press (Up) or (Down) to scroll through the speed-dial locations, and then
press # to select the location and dial the number.
You can also use a Station Speed-Dial button assigned to the number
NOTE you are dialing. See “Assigning Speed-Dial Entries to Programmable
Buttons” on page 27.
Page 26 Mitel® 5320/5330/5340 IP Phone User Guide – Issue 3, September 2009](https://image.slidesharecdn.com/mitelphoneguide-110118044504-phpapp02/85/Mitel-phoneguide-40-320.jpg)
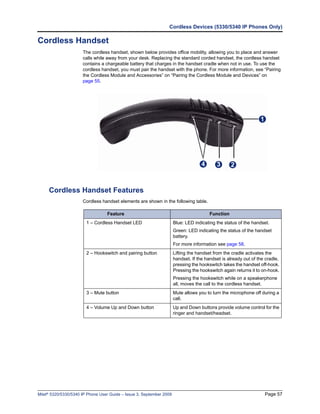
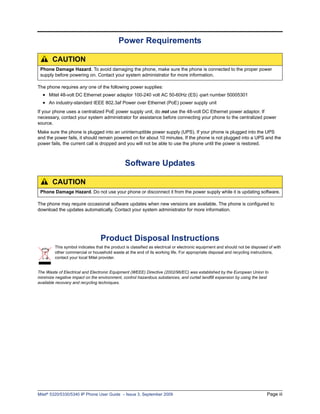
![Answering and Placing Calls
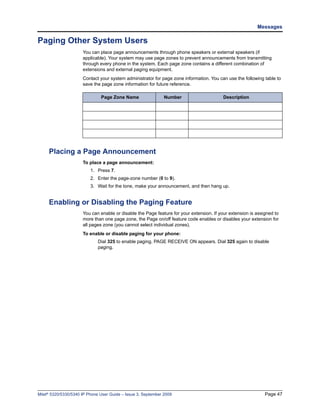
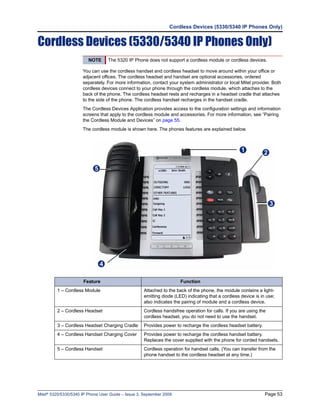
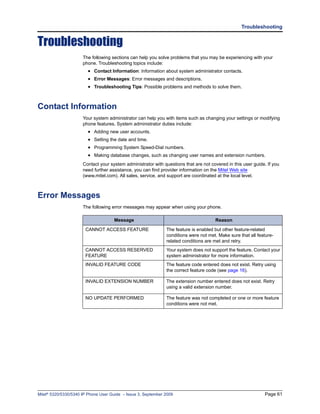
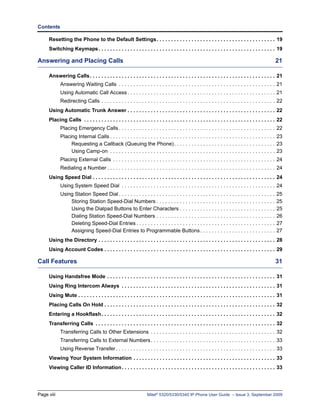
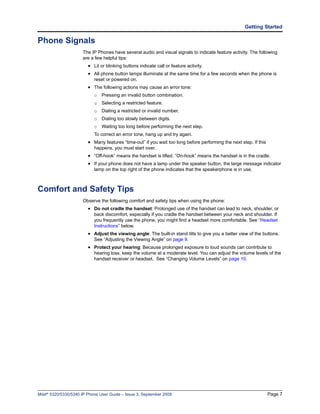
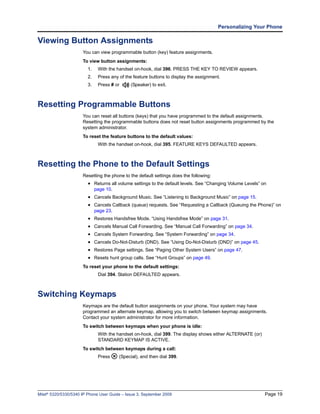
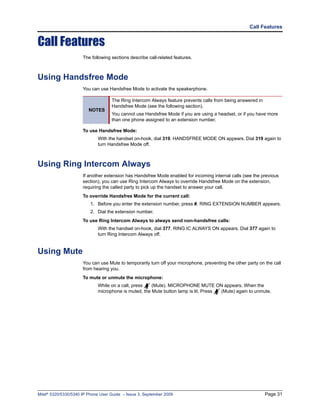
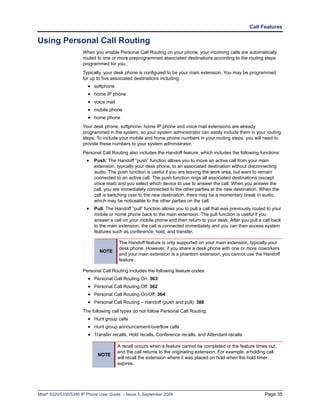
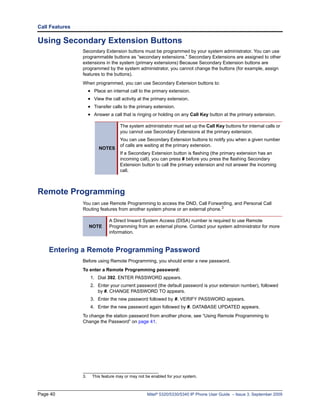
To search for a directory name or feature:
1. Dial 307, and then press one of the following:
• 1 for the IC directory.
• 2 for the Outside directory.
• 3 for the Feature directory.
• The directory menu button (IC, OUTSIDE, or FEATURE—5340 IP Phones only).
2. Press the dialpad buttons to enter (up to 20) characters. See the table on page 28 for
dialpad button character descriptions.
3. Press (Up) or (Down) or the >> (Next) or << (Previous) menu buttons (5340 IP
Phones only) to scroll through the entries.
The IC directory may display two similar entries, one without an asterisk
NOTE and one with an asterisk. The entry without an asterisk is the primary
extension—the entry with an asterisk is a secondary extension.
4. Press # (or the menu button next to the entry [5340 IP Phones only]) while the display
shows the entry to dial a number or activate a feature code.
Using Account Codes
Account codes record information for telephone record reports. You may be required to enter
account codes when placing calls. Contact your system administrator for more information
about using account codes.
There are three types of account codes:
• Standard account codes: Automatically entered into the telephone record report
whenever you place a call.
• Forced account codes: Entered before you can place an outside call.
• Optional account codes: Entered at any time during a call.
To enter an optional account code:
1. While off-hook, press (Special), and then dial 390.
2. Enter the optional account code, and then press #.
To set an account code for all calls placed from your phone:
Dial 391 followed by the account code, and then press #. This code is used for all calls
made from your phone until it is disabled.
To disable the code:
Dial 391, and then press #. ACCOUNT CODE CLEARED appears.
Mitel® 5320/5330/5340 IP Phone User Guide – Issue 3, September 2009 Page 29](https://image.slidesharecdn.com/mitelphoneguide-110118044504-phpapp02/85/Mitel-phoneguide-43-320.jpg)

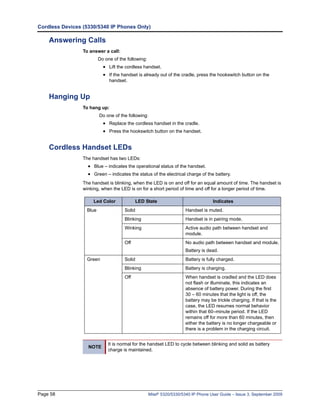
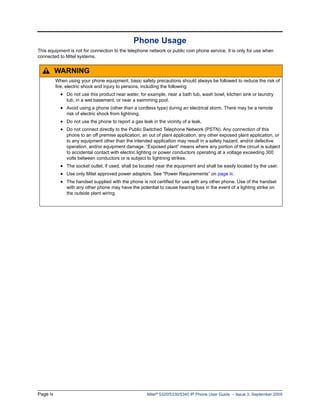
![Call Features
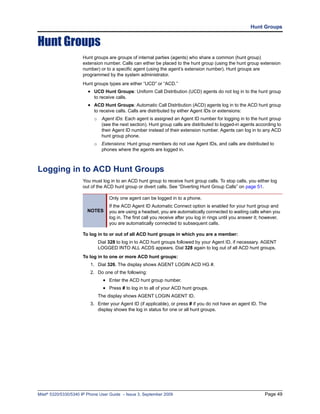
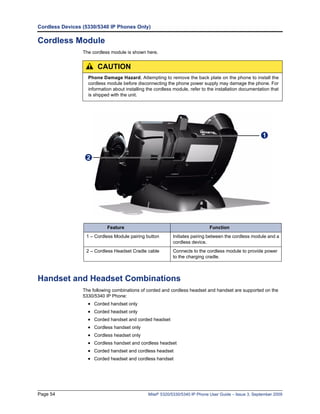
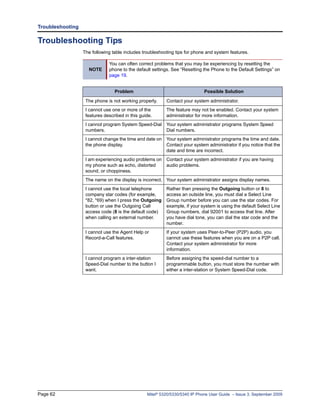
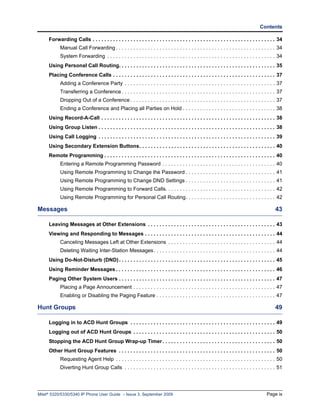
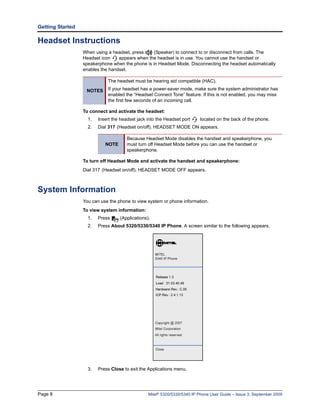
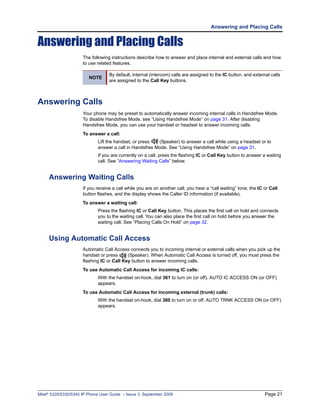
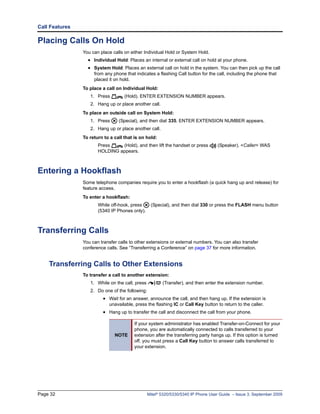
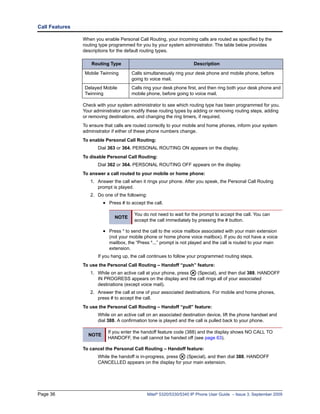
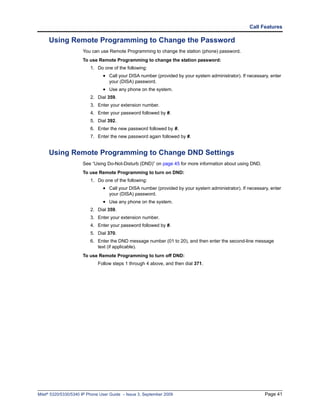
Placing Conference Calls
You can place a conference call with up to three internal or external parties (for a total of four
parties, including yourself).
To place a conference call:
1. While on the first call, press the Conference button to place the call on hold. CALL
NEXT PARTY TO CNF appears.
2. Place a call to the next conference party (for external calls, press the Outgoing button
or the Outgoing Call access code [8 is the default code], and then dial the number).
3. After the party answers, announce the conference, and then press the Conference
button to place the call on hold. If necessary, repeat this step to add the remaining
conference party.
4. Press the Conference button again or the CONNECT TO CNF menu button (5340 IP
Phones only) to start the conference. CNF IN PROGRESS appears.
Adding a Conference Party
You can add a conference party during the conference.
To add a conference party:
1. Press the Conference button or the ADD PARTY menu button (5340 IP Phones only).
This leaves the conference parties connected.
2. Place a call to the party to be added to the conference, and then announce the
conference. Press the Conference button (twice) or the CONNECT TO CNF menu
button (5340 IP Phones only) to add the party and rejoin the conference.
Transferring a Conference
You can transfer an existing conference to another extension.
To transfer a conference:
1. During the conference, press (Transfer), and then dial the extension number.
2. Announce the conference (if desired), and then hang up. CONFERENCE TFR from
<name> appears on the called party’s display. The party must then press the flashing
Conference button to connect to the conference.
Dropping Out of a Conference
You can drop out of a conference and return to the conference later.
To drop out of a conference:
Press the Conference button or (Hold), and then hang up. ENTER EXTENSION
NUMBER appears. This removes you from the conference but leaves the other parties
connected.
To return to the conference:
Press the flashing Call Key button. CONFERENCE WAS HOLDING appears, and you
are reconnected to the conference.
Mitel® 5320/5330/5340 IP Phone User Guide – Issue 3, September 2009 Page 37](https://image.slidesharecdn.com/mitelphoneguide-110118044504-phpapp02/85/Mitel-phoneguide-51-320.jpg)
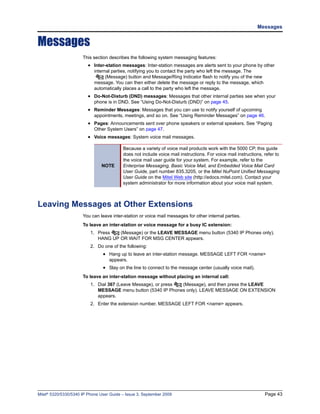
![Messages
Viewing and Responding to Messages
When you have waiting messages, the (Message) button and Message/Ring Indicator flash
and the display shows the number of waiting messages.
If your handset or speakerphone is off-hook when you view an inter-station
NOTE
message, you automatically call the party who left the message.
The display shows new messages as follows:
• Inter-station messages sent by other internal parties are indicated by the party’s
programmed user name.
• Voice messages are indicated by FROM MBOX <your extension number>.
To view or respond to messages:
1. With the handset on-hook, press (Message) or the VIEW MESSAGE menu button
(5340 IP Phones only). Messages are displayed as first in/first out. If there is more than
one message, you can repeatedly press (Message) to scroll through the messages.
2. When the desired message is displayed, press #, or lift the handset for privacy, and then
press # to respond. [If your handset is off-hook and you press (Message), you
automatically place a call to the party or message center who left the message.]
Canceling Messages Left at Other Extensions
You can cancel messages left at other extensions.
To cancel a message left at another extension:
1. Dial 366 or press (Message), and then press the CANCEL MESSAGE menu
button. CANCEL MESSAGE ON EXT # appears.
2. Enter the extension number where you left the message. MESSAGE CANCELED FOR
<name> appears.
Deleting Waiting Inter-Station Messages
You can delete waiting inter-station messages.
NOTE To delete waiting voice messages, you must connect to your voice mailbox.
To delete waiting inter-station messages:
1. Press (Message) or the VIEW MESSAGE menu button (5340 IP Phones only).
MSG <message information> appears.
2. Press * or the DELETE menu button (5340 IP Phones only) to delete the displayed
message.
Page 44 Mitel® 5320/5330/5340 IP Phone User Guide – Issue 3, September 2009](https://image.slidesharecdn.com/mitelphoneguide-110118044504-phpapp02/85/Mitel-phoneguide-58-320.jpg)