Download as PDF, PPTX
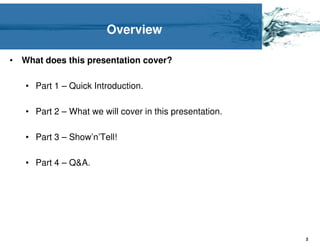


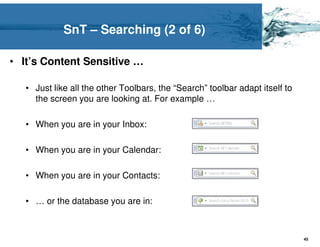
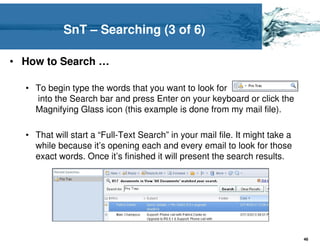
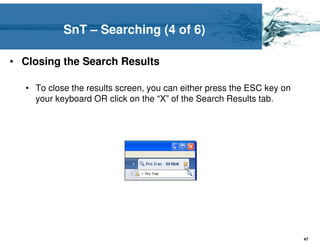
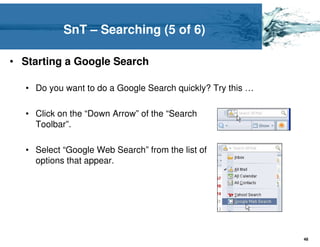
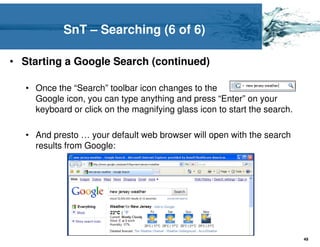


The Lotus Notes R8.5.1 training session overview outlines the presentation structure, including an introduction by expert developers and discussions on key features of the software. The topics covered include the bookmark bar, unified preferences, Sametime client, tabbed chat, toolbars, and improved search functionalities. The session aims to provide tips and tricks to enhance user experience with the software's new features.
![Trabajo en ingles[1]](https://cdn.slidesharecdn.com/ss_thumbnails/trabajoeningles1-101206133007-phpapp01-thumbnail.jpg?width=640&height=640&fit=bounds)


![What's new in lotus notes 8[1].5, 8.5.1, and 8.5](https://cdn.slidesharecdn.com/ss_thumbnails/whatsnewinlotusnotes81-130905095006--thumbnail.jpg?width=640&height=640&fit=bounds)