The document provides instructions for lip syncing video clips to music in Adobe Premier Pro. It involves:
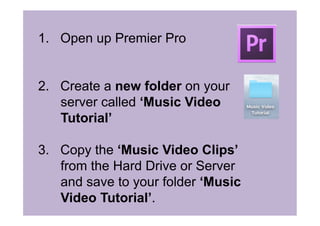
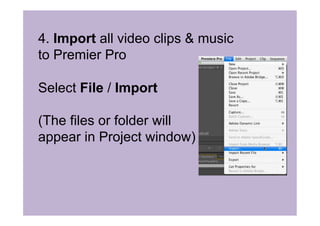
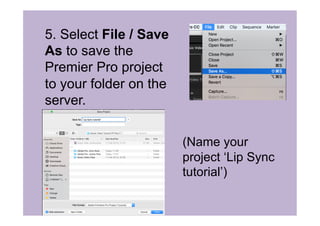
1. Importing video clips and music into a new Premier Pro project.
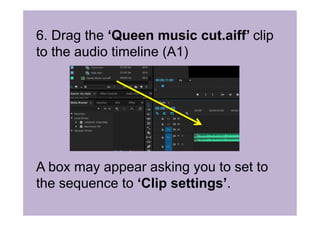
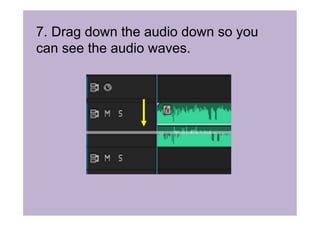
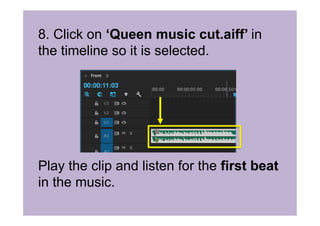
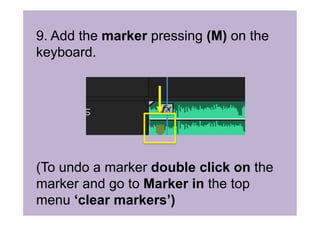
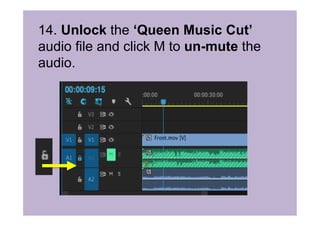
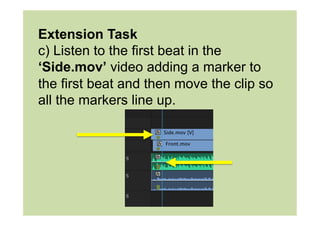
2. Dragging the music file onto the audio timeline and adding markers to the first beat.
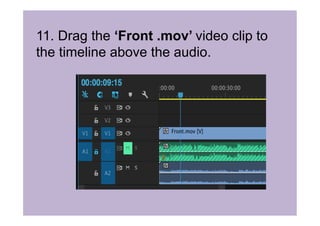
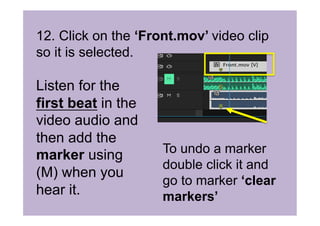
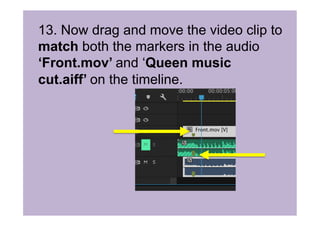
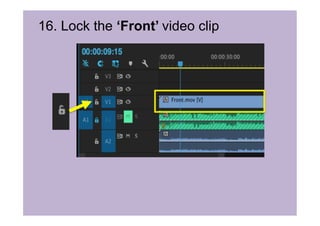
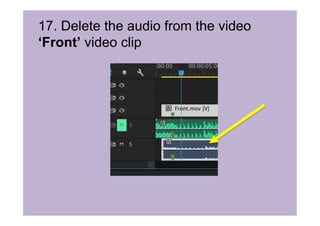
3. Dragging the first video clip above the music, adding a marker to the first beat, and adjusting the clip to sync the markers.
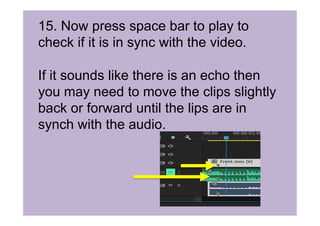
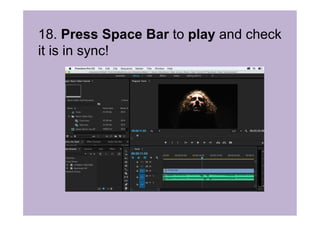
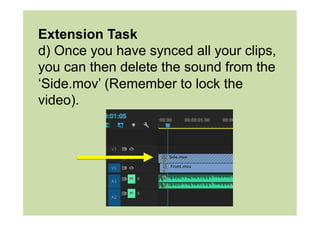
4. Playing the synchronized audio and video to check for proper lip sync.