The document provides information about the history of Glock and the features of the Glock 17 Gen4 pistol, including:
1) Glock was founded in 1963 in Austria and first introduced pistols in 1980 that were adopted by the Austrian military.
2) The Glock 17 Gen4 has interchangeable backstraps, an enlarged reversible magazine catch, and a rough textured frame. It has a 17 round magazine capacity.
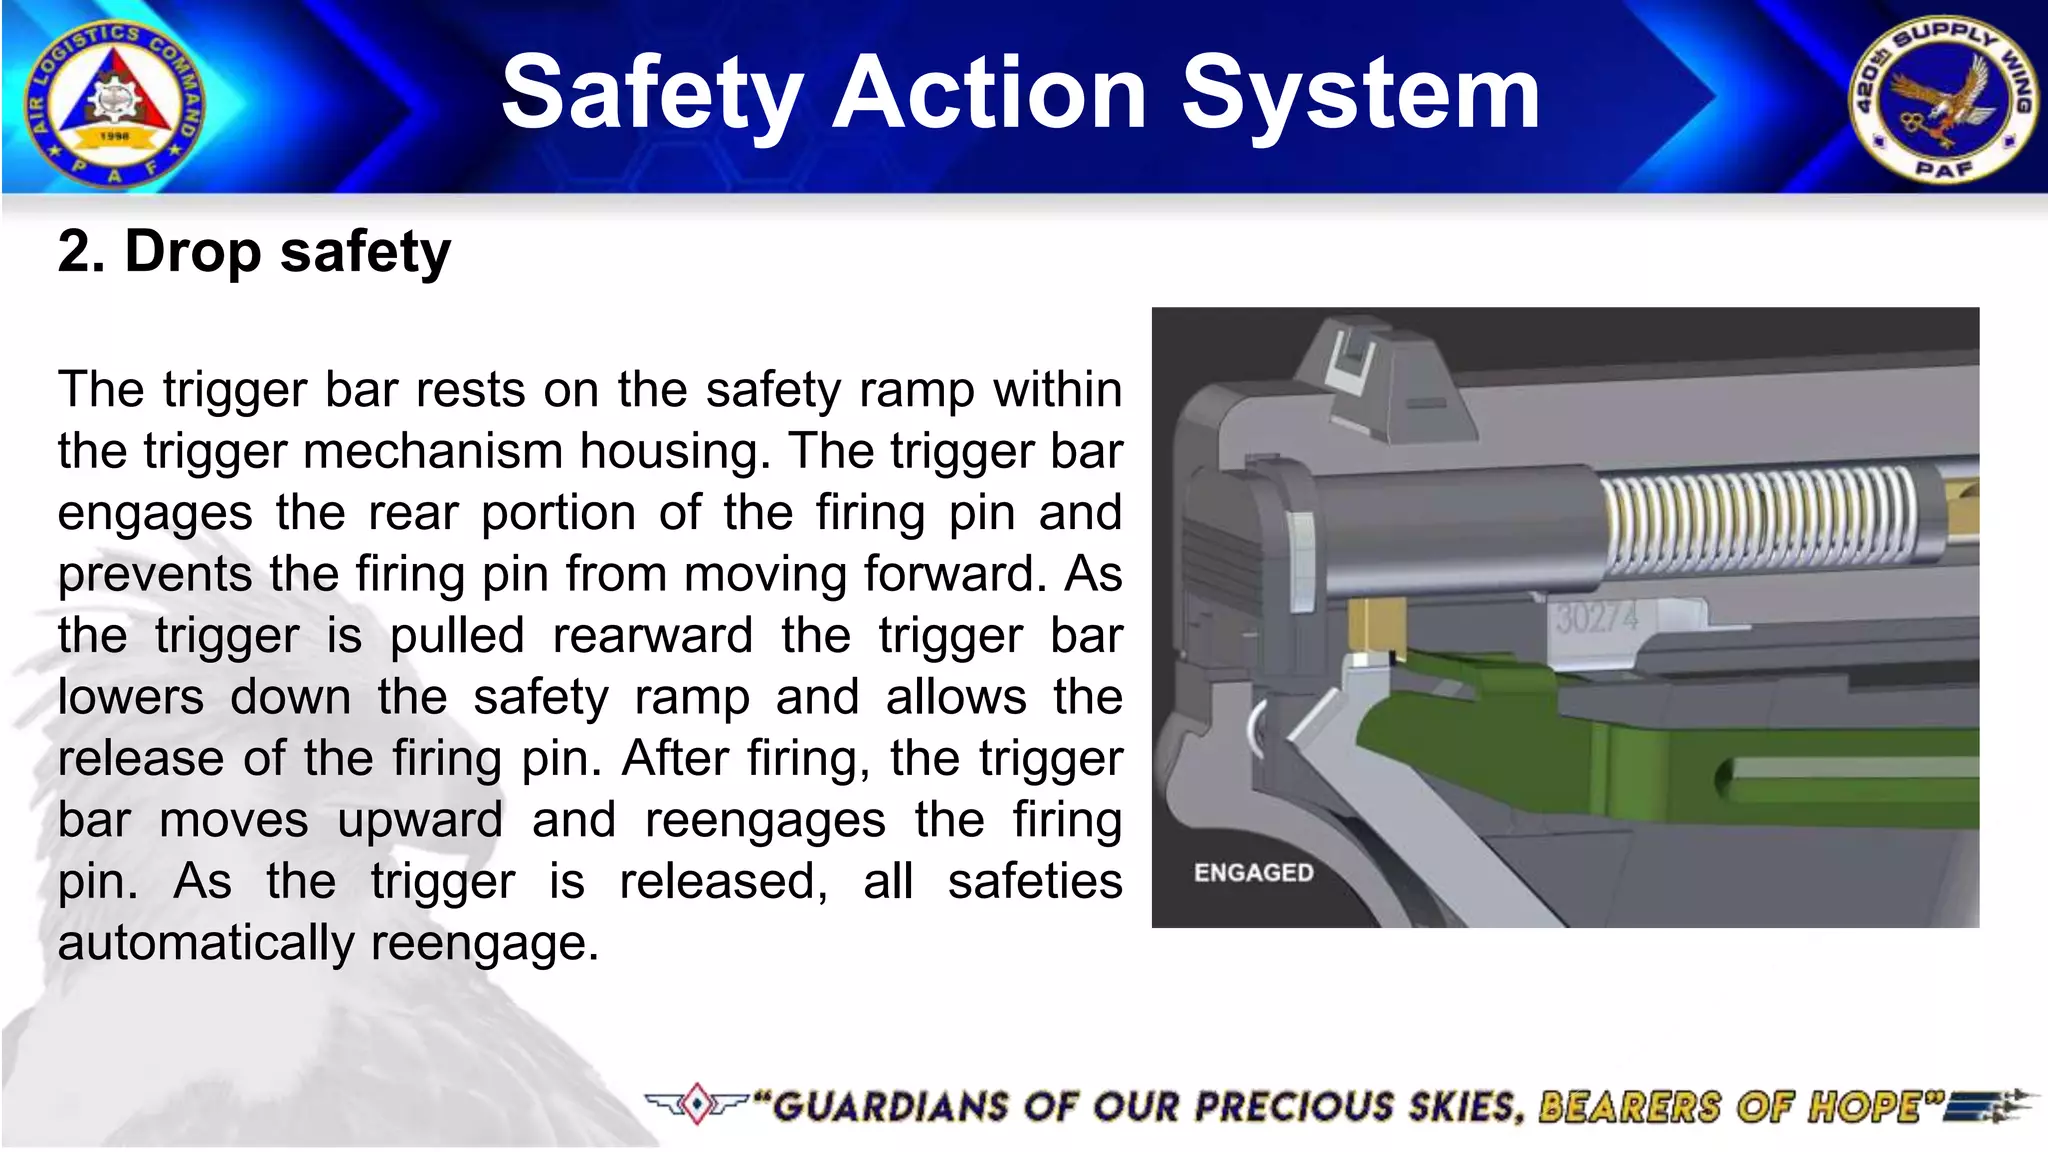
3) Glock pistols have 3 independent safeties - a trigger safety, firing pin safety, and drop safety that prevent firing unless the trigger is pulled fully rearward.