Download to read offline
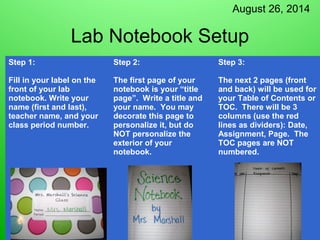
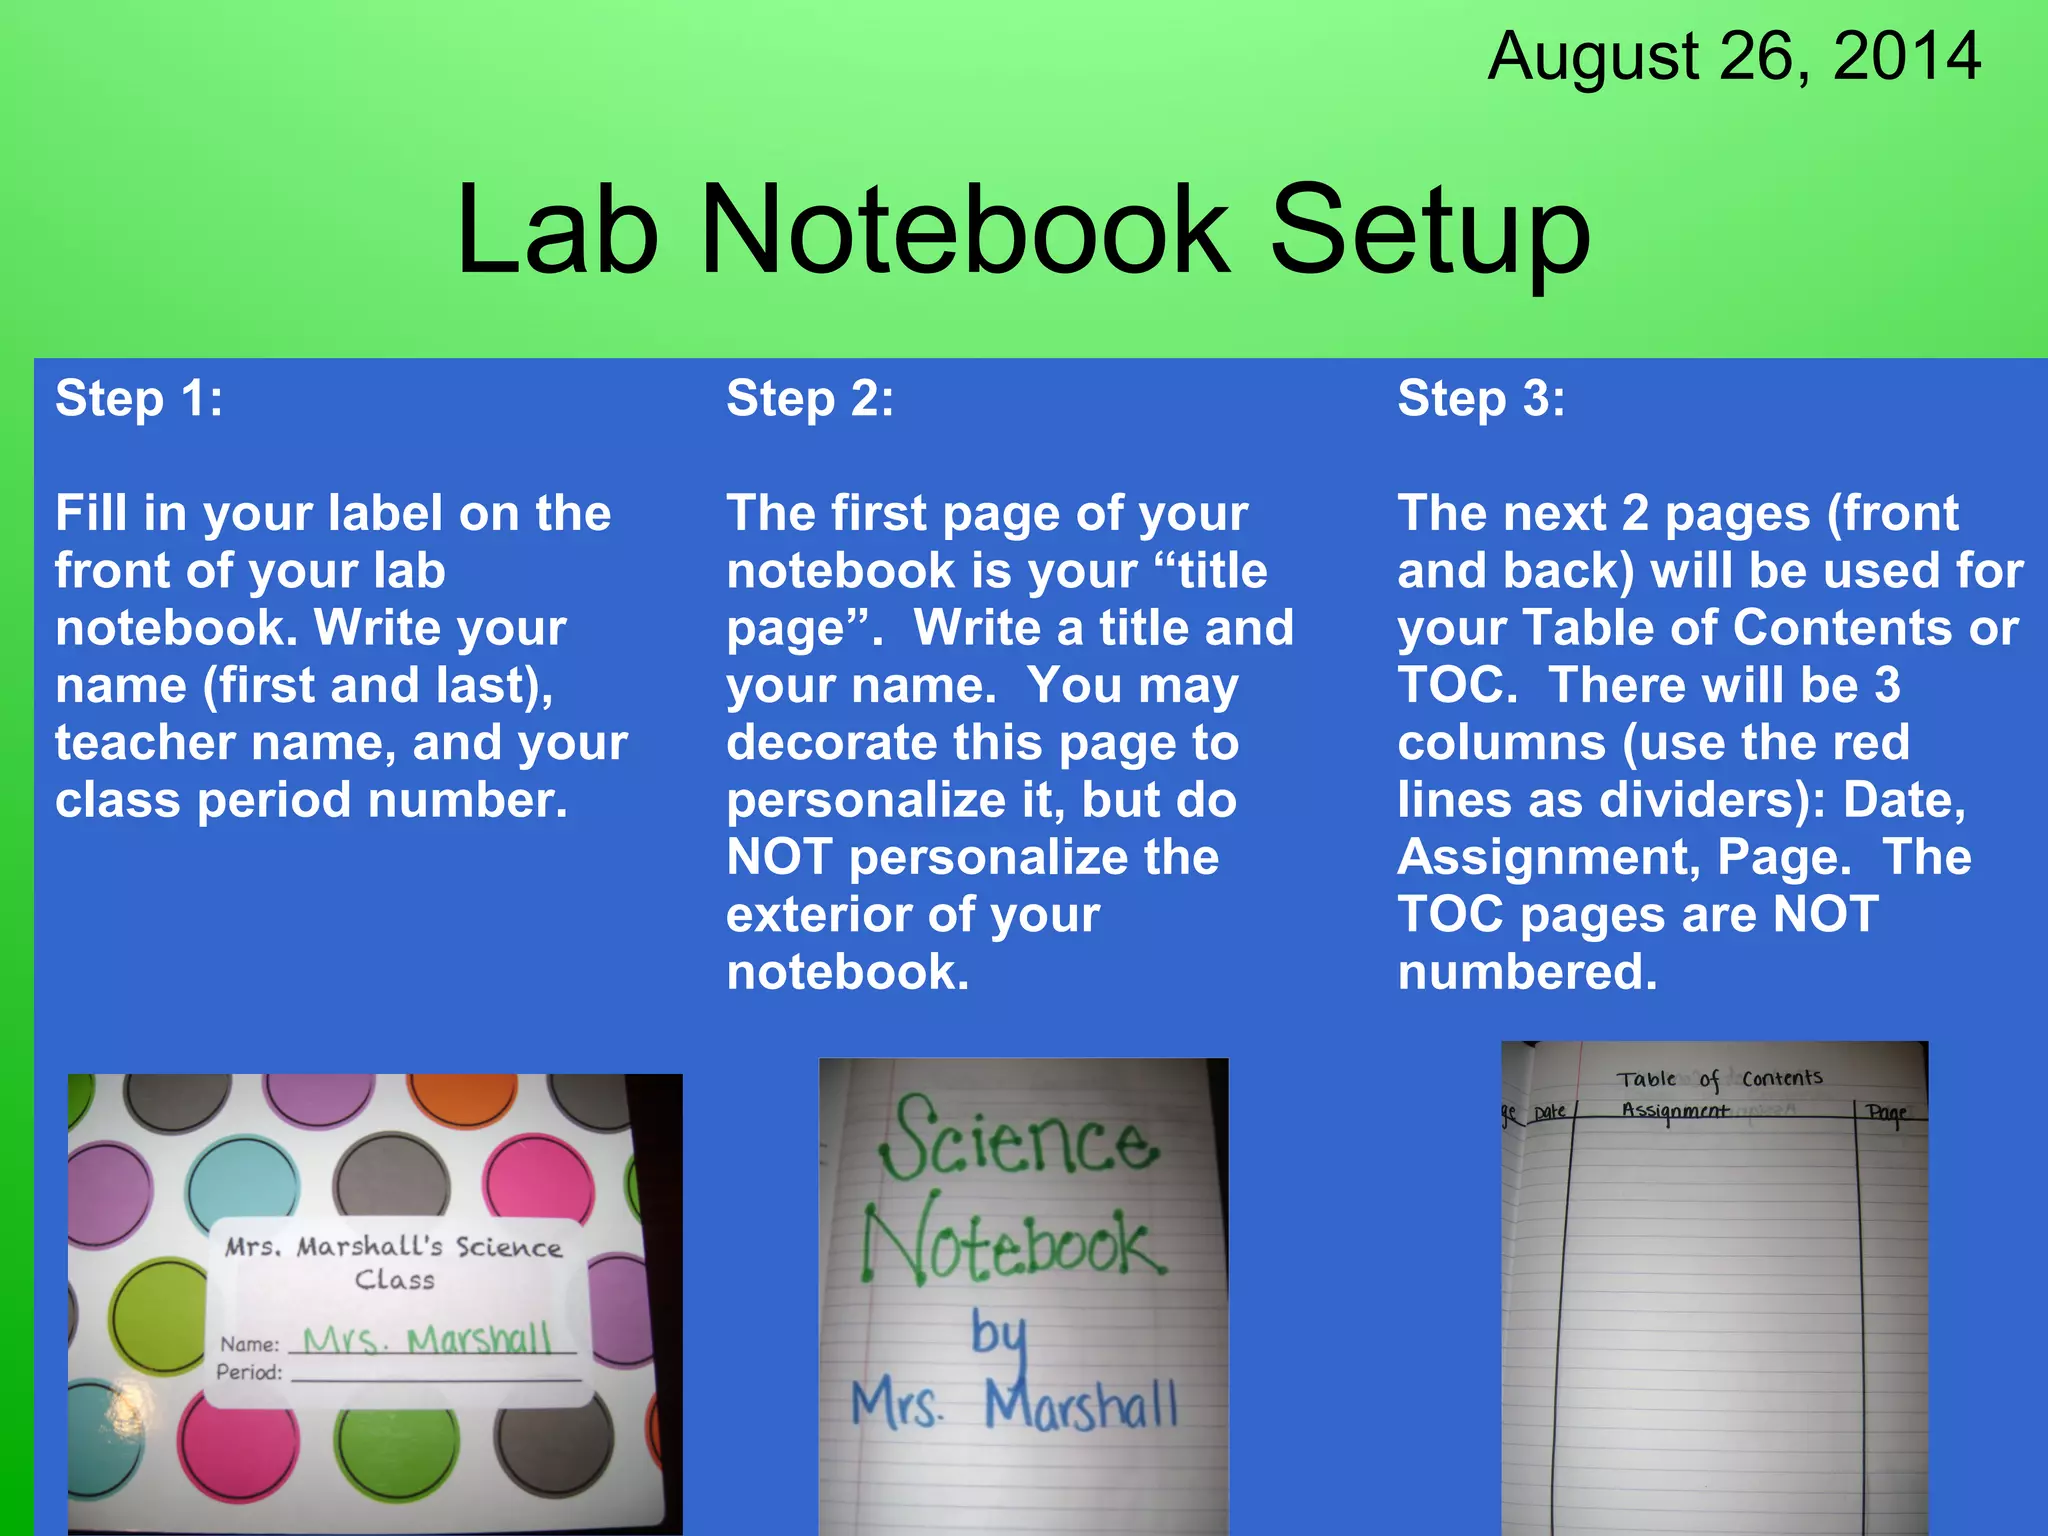
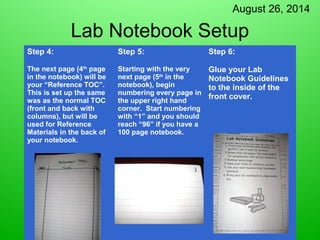
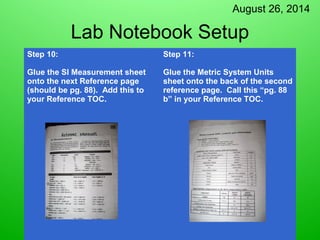

The document provides instructions for setting up a lab notebook. It outlines 11 steps for filling in identifying information on the cover, creating a title page and table of contents, numbering pages starting with page 5, and gluing reference materials such as the scientific method and measurement guides to the back of the notebook. The reference section takes up pages 87-96 and the table of contents is used to track the location of these materials.


