Download to read offline
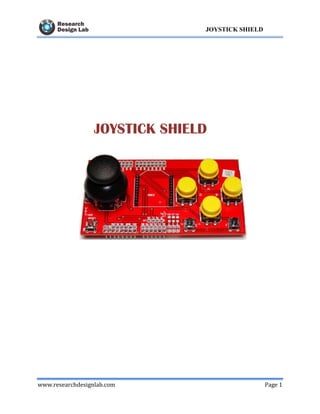

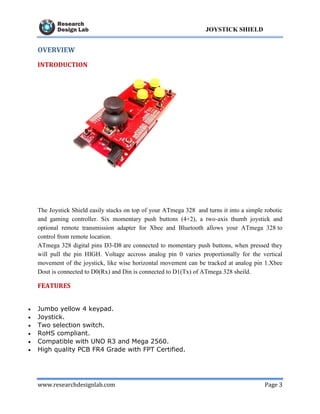
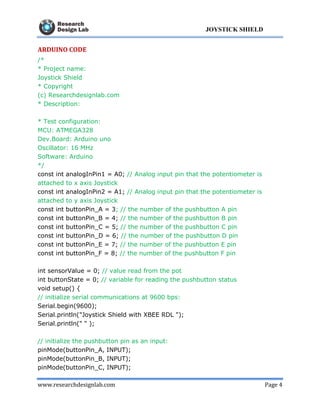
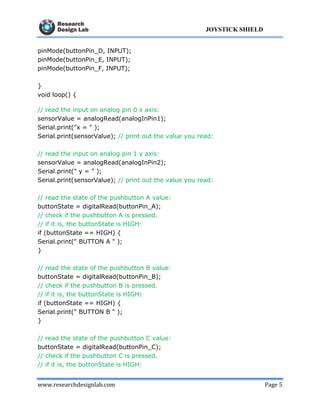

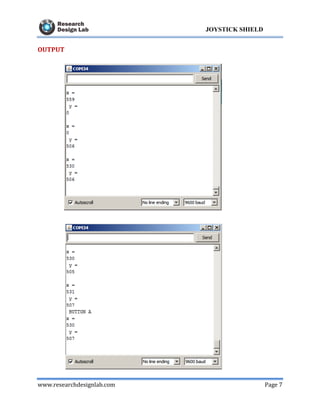
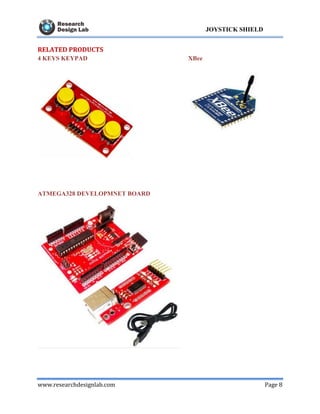

The document provides an overview of a joystick shield that can be used with an ATmega 328 microcontroller, enabling it to function as a robotic and gaming controller. It outlines its features, including two-axis joystick functionality and compatibility with various Arduino boards. Additionally, it contains Arduino code for interfacing with the joystick shield and details about related products.