Download to read offline

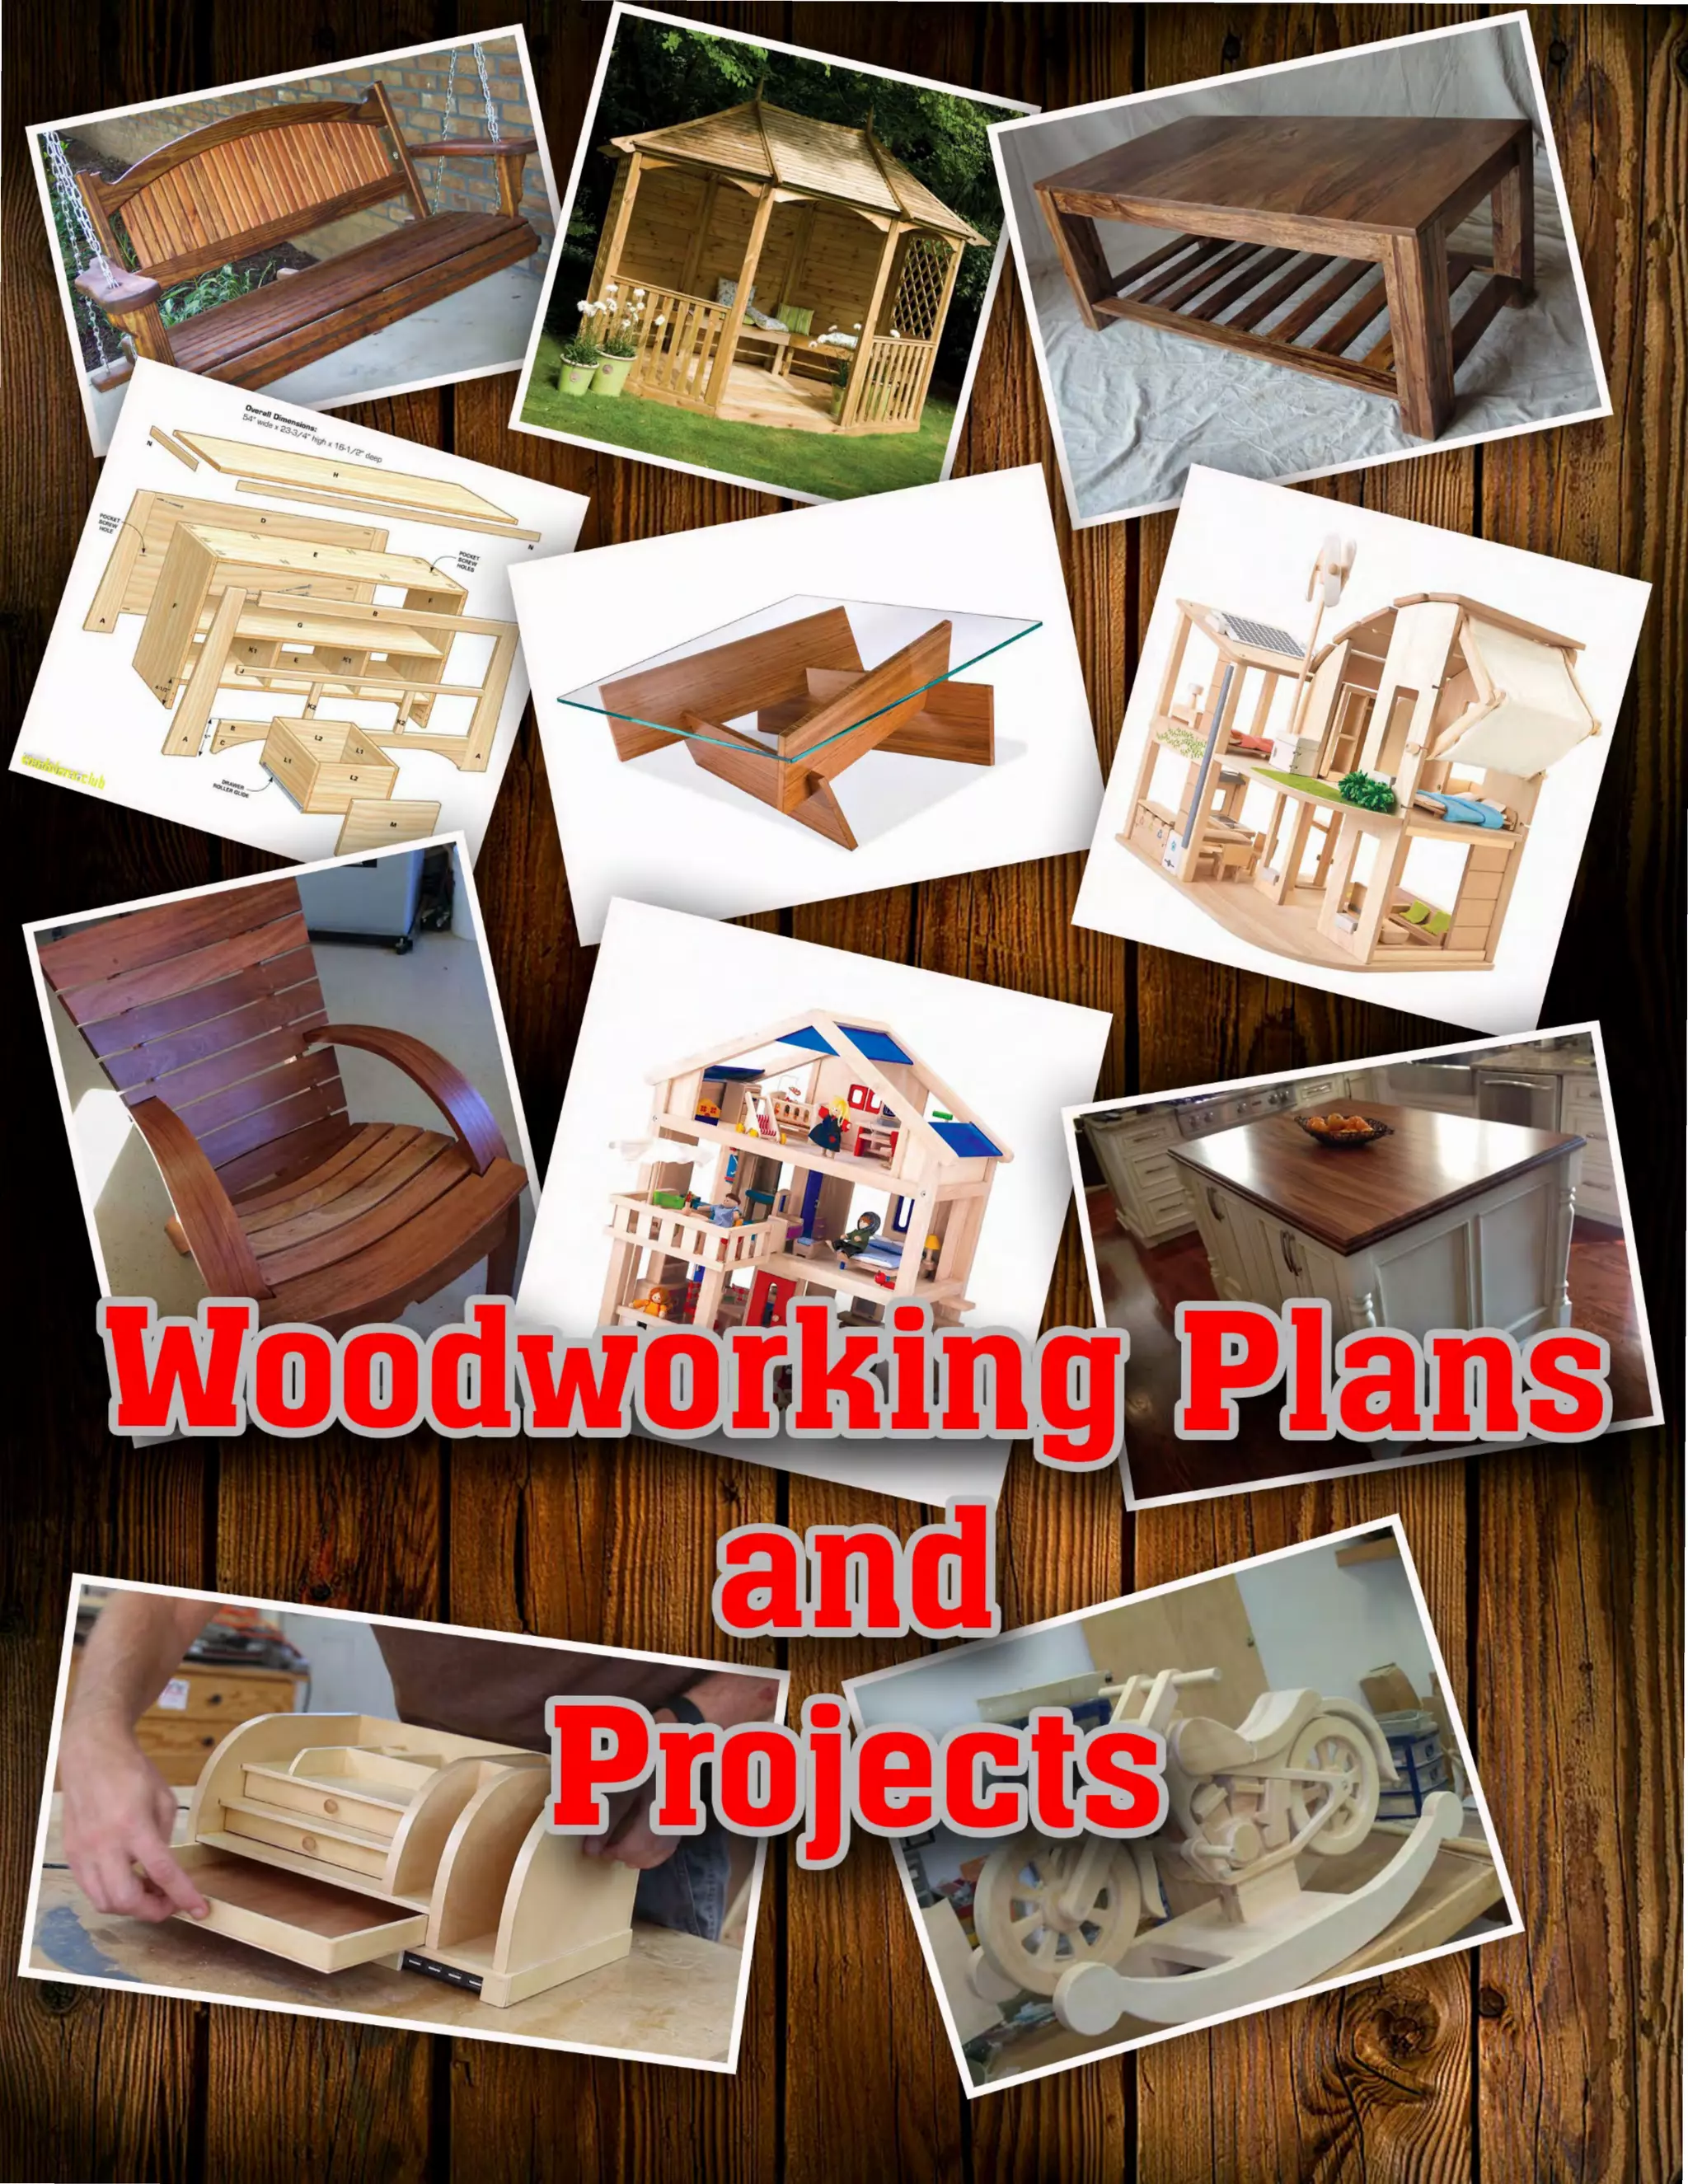
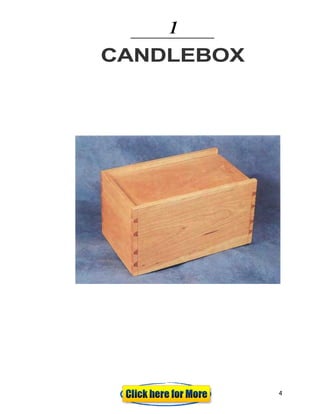


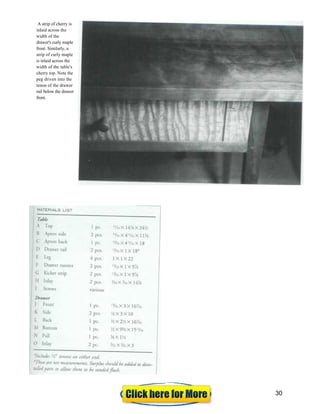


The document outlines essential safety tips for woodworking, emphasizing the importance of mental awareness and maintaining a clean, distraction-free environment. It also provides detailed instructions for constructing various wooden projects, including a candlebox, bentwood boxes, and a chess table, highlighting techniques such as joint making and finishing. A disclaimer addresses the lack of warranties on content provided, limiting liability for damages associated with using the materials.


