Downloaded 775 times


![Step 1: ‚Add Person‘ dialog (3) 3. Create form „fa_DialogPerson“ Add WebQuerySave-Code: @Command([ToolsRunMacro]; "(WEBQuerySavePerson)") Remark: The agent re-opens the page. „ Save“ „ Close“](https://image.slidesharecdn.com/introduction-dojo-toolkit-ibm-lotus-domino-120388704038973-2/75/Introduction-Dojo-Toolkit-IBM-Lotus-Domino-20-2048.jpg)


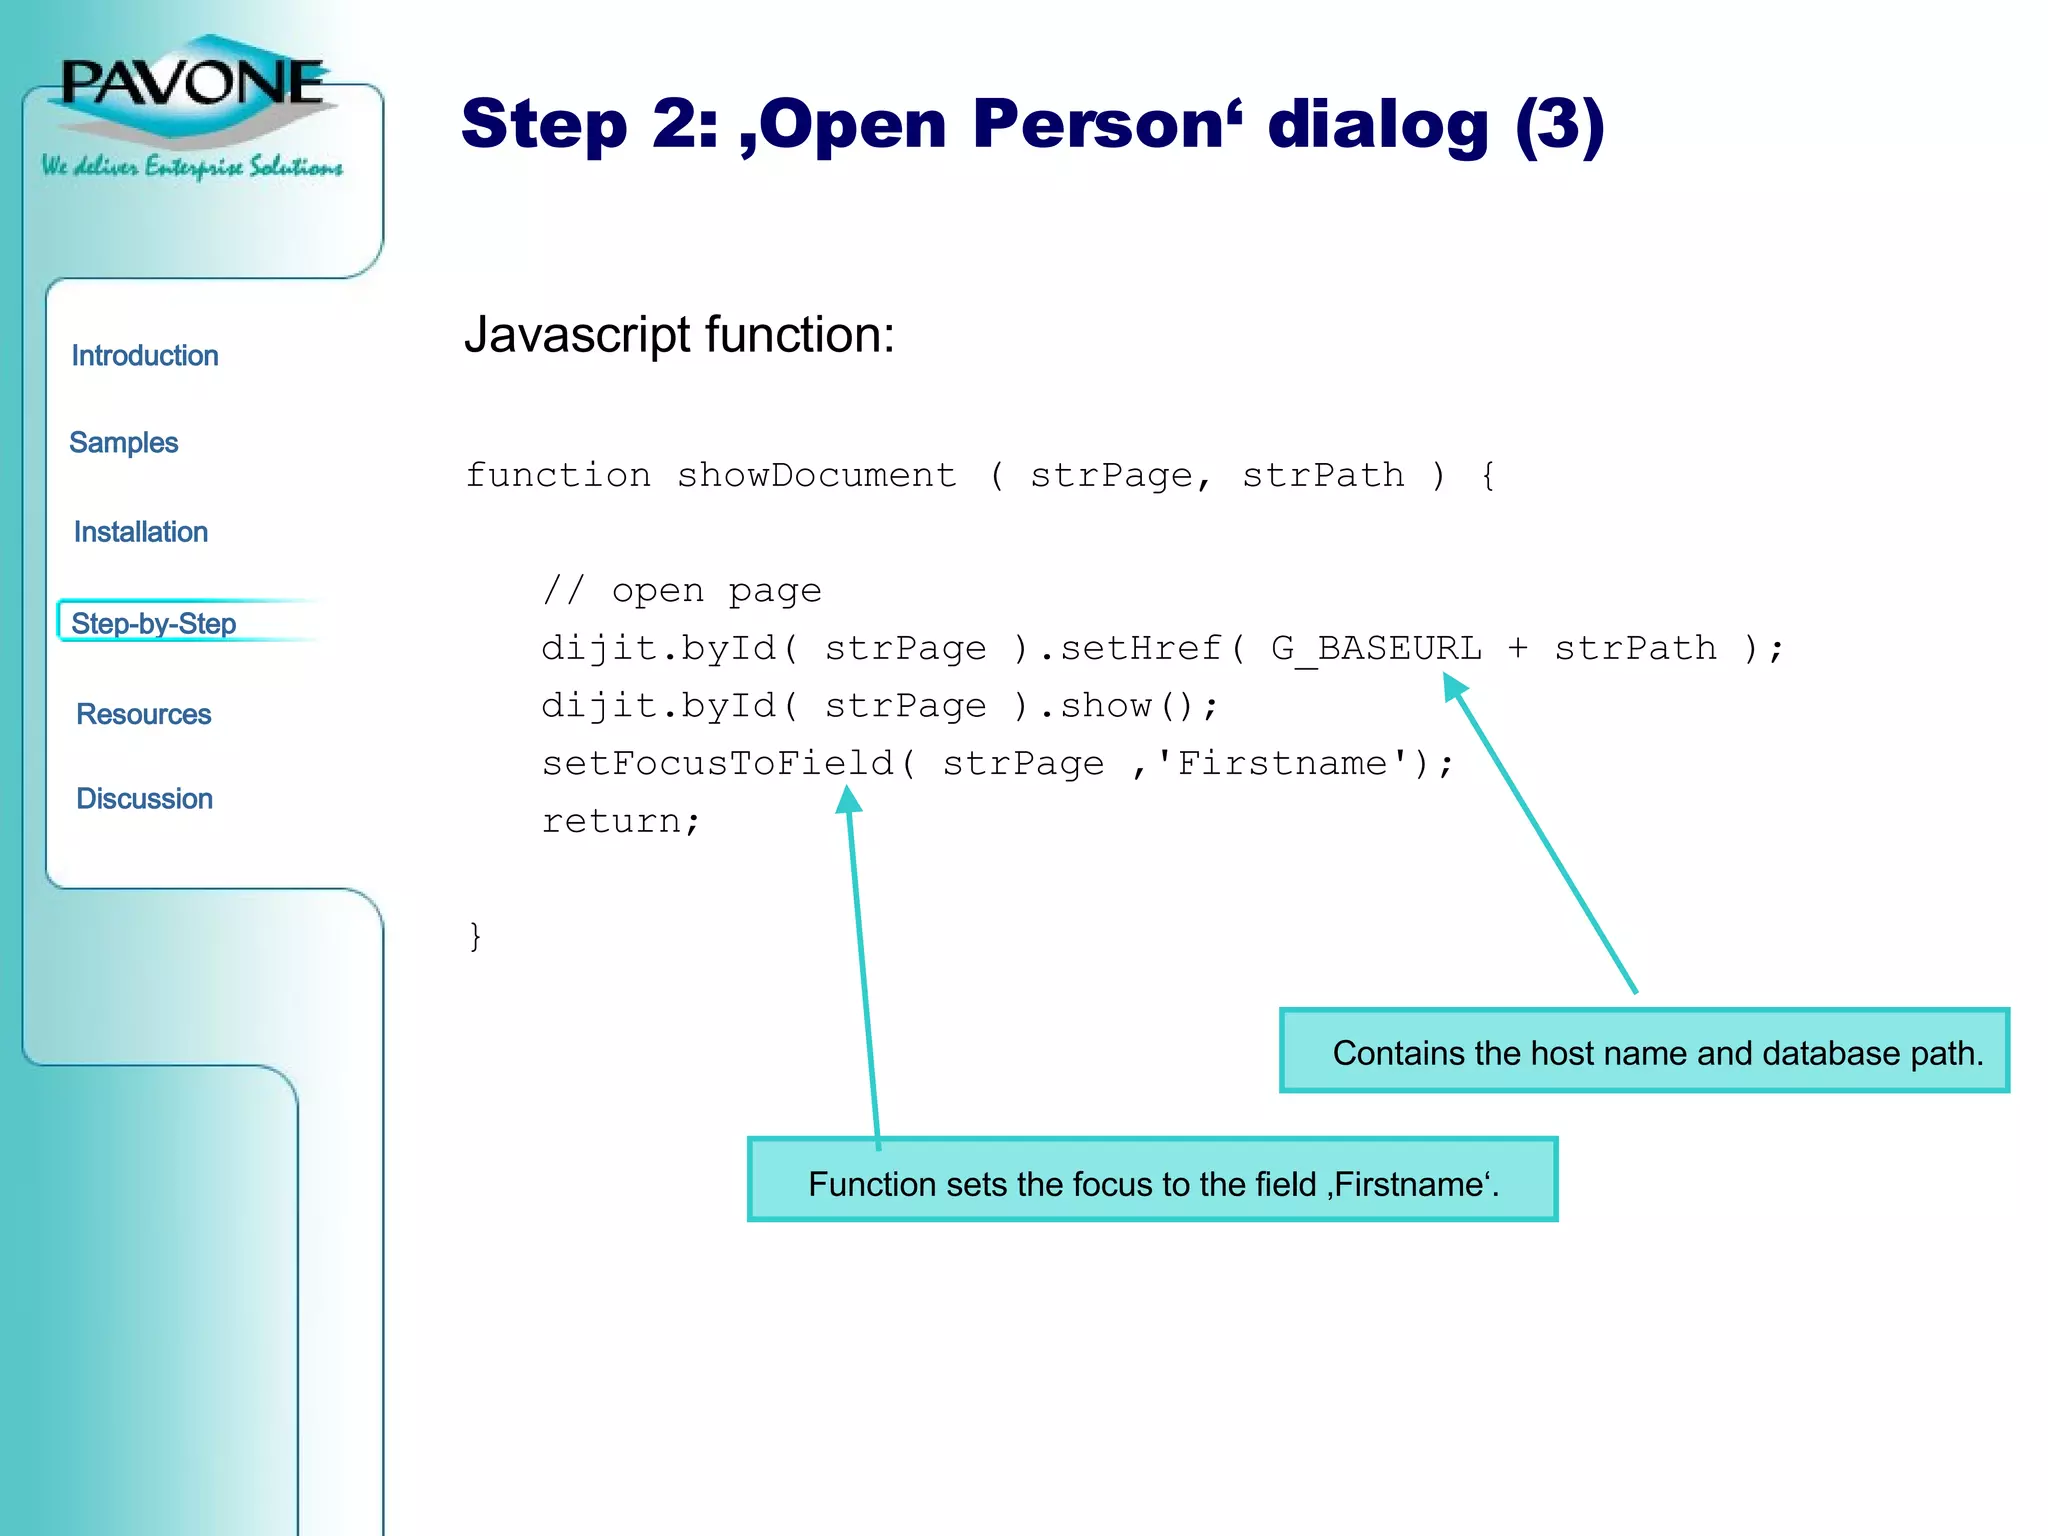
![Step 2: ‚Open Person‘ dialog (4) Javascript function: function setFocusToField ( strDialog, strFieldName ) { // wait 500 ms to open the form, then set the focus to the first field setTimeout(dojo.hitch( strDialog, function(){ document.getElementsByName( strFieldName )[0].focus(); }), 500); } If the loading process required more than 500 ms an error occured.](https://image.slidesharecdn.com/introduction-dojo-toolkit-ibm-lotus-domino-120388704038973-2/75/Introduction-Dojo-Toolkit-IBM-Lotus-Domino-26-2048.jpg)

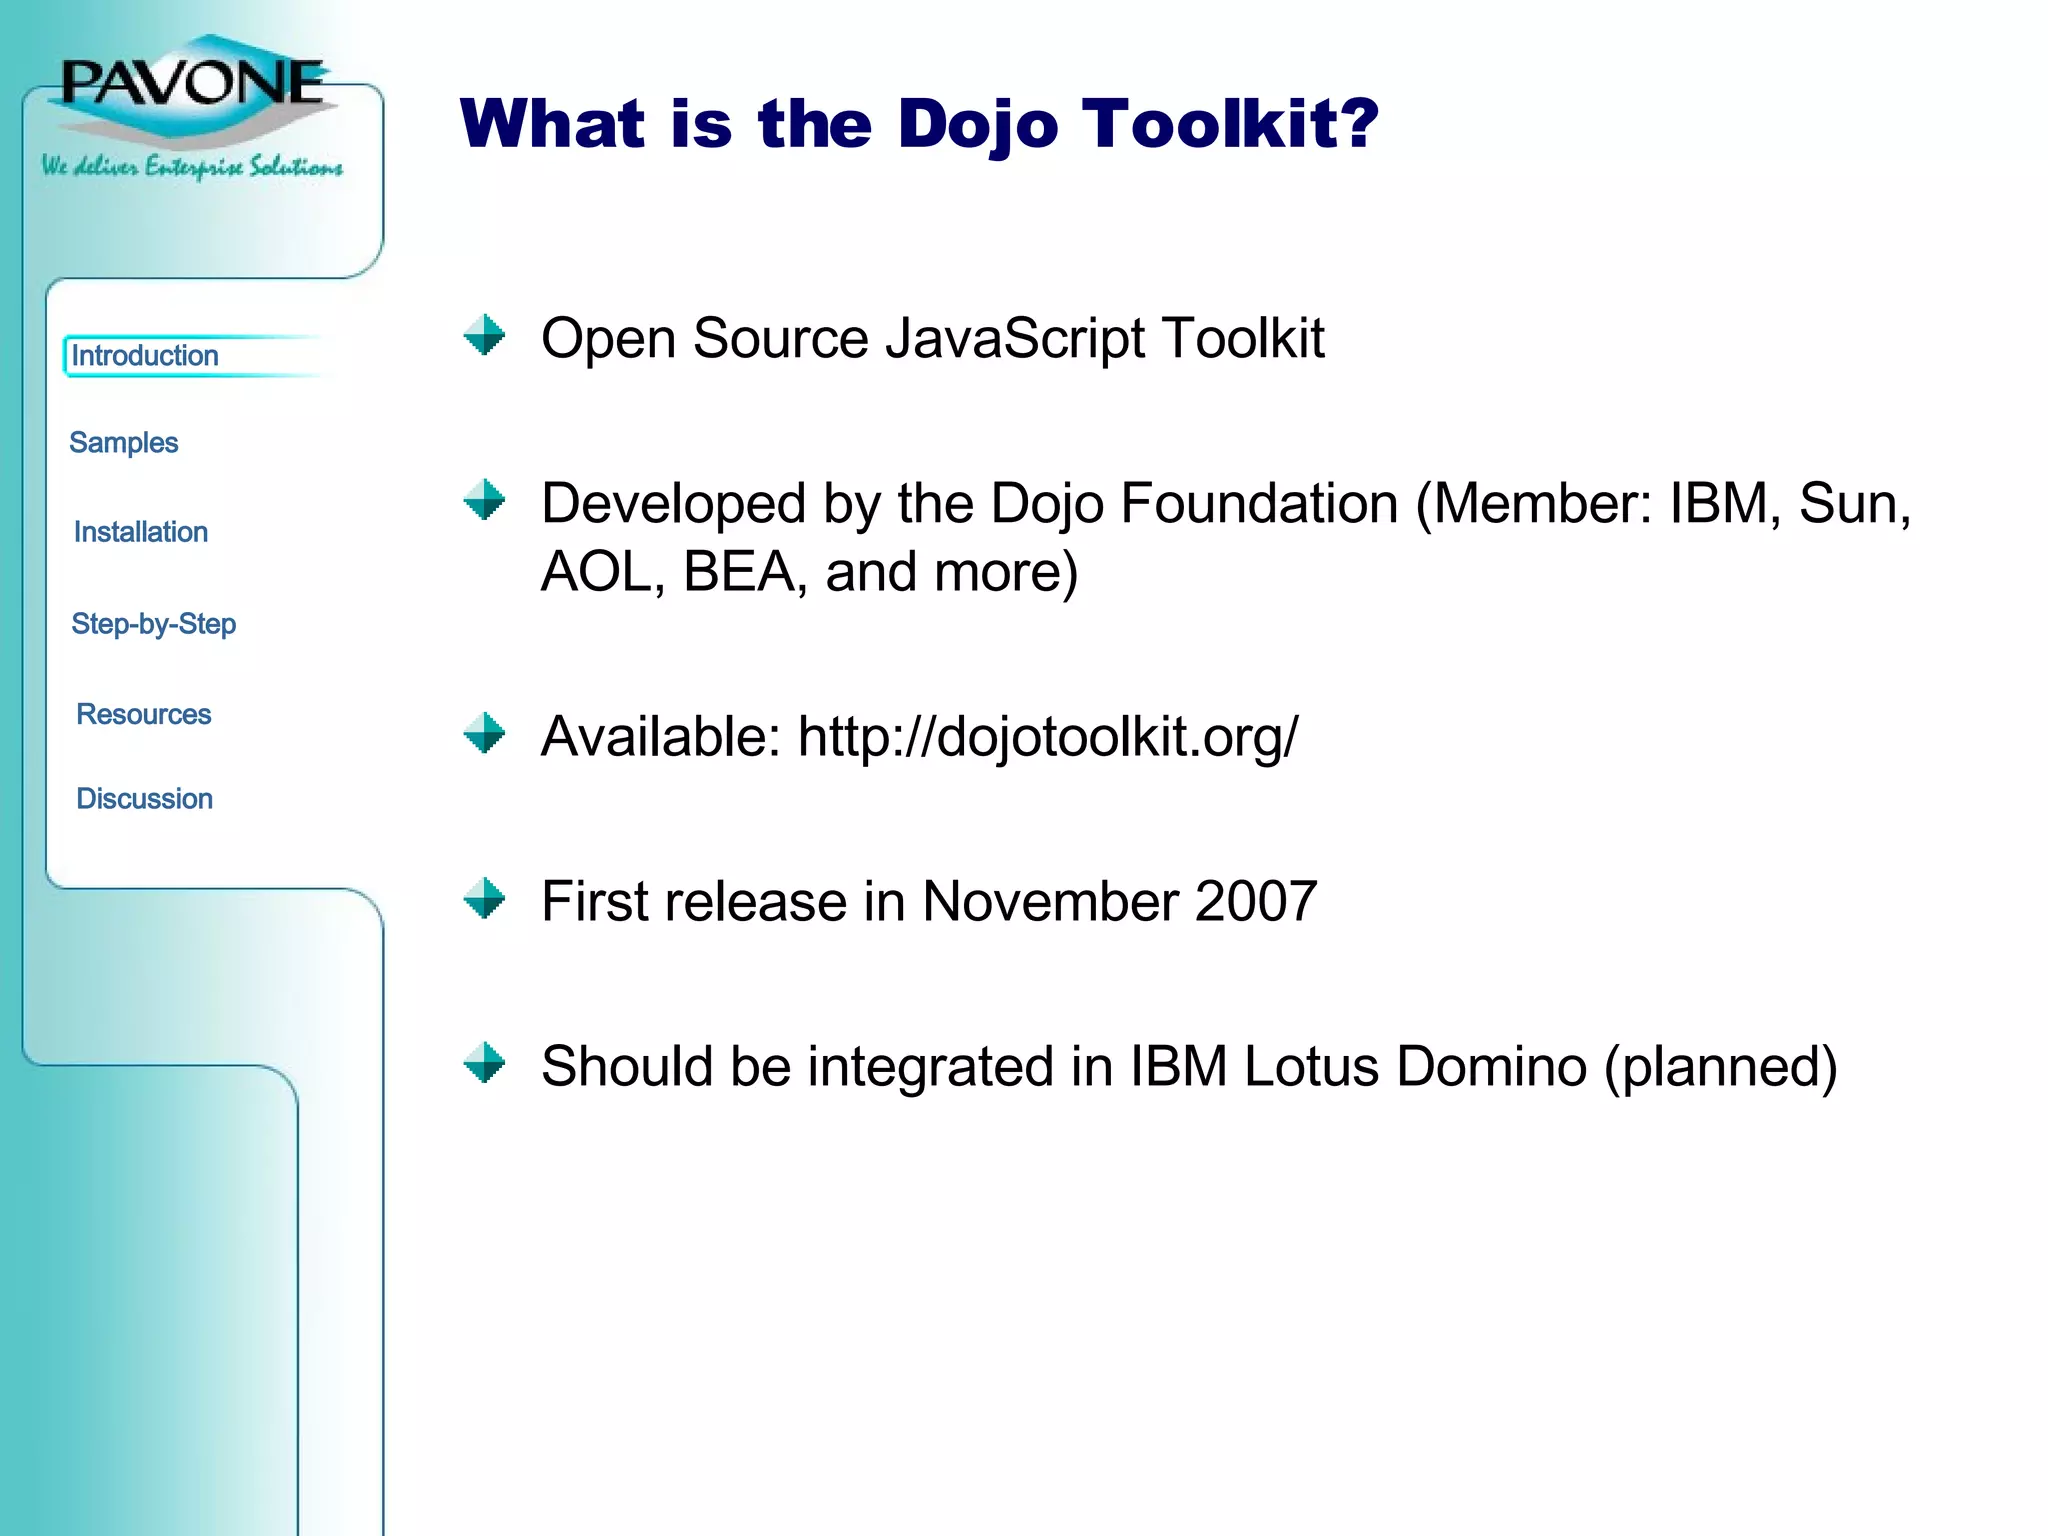
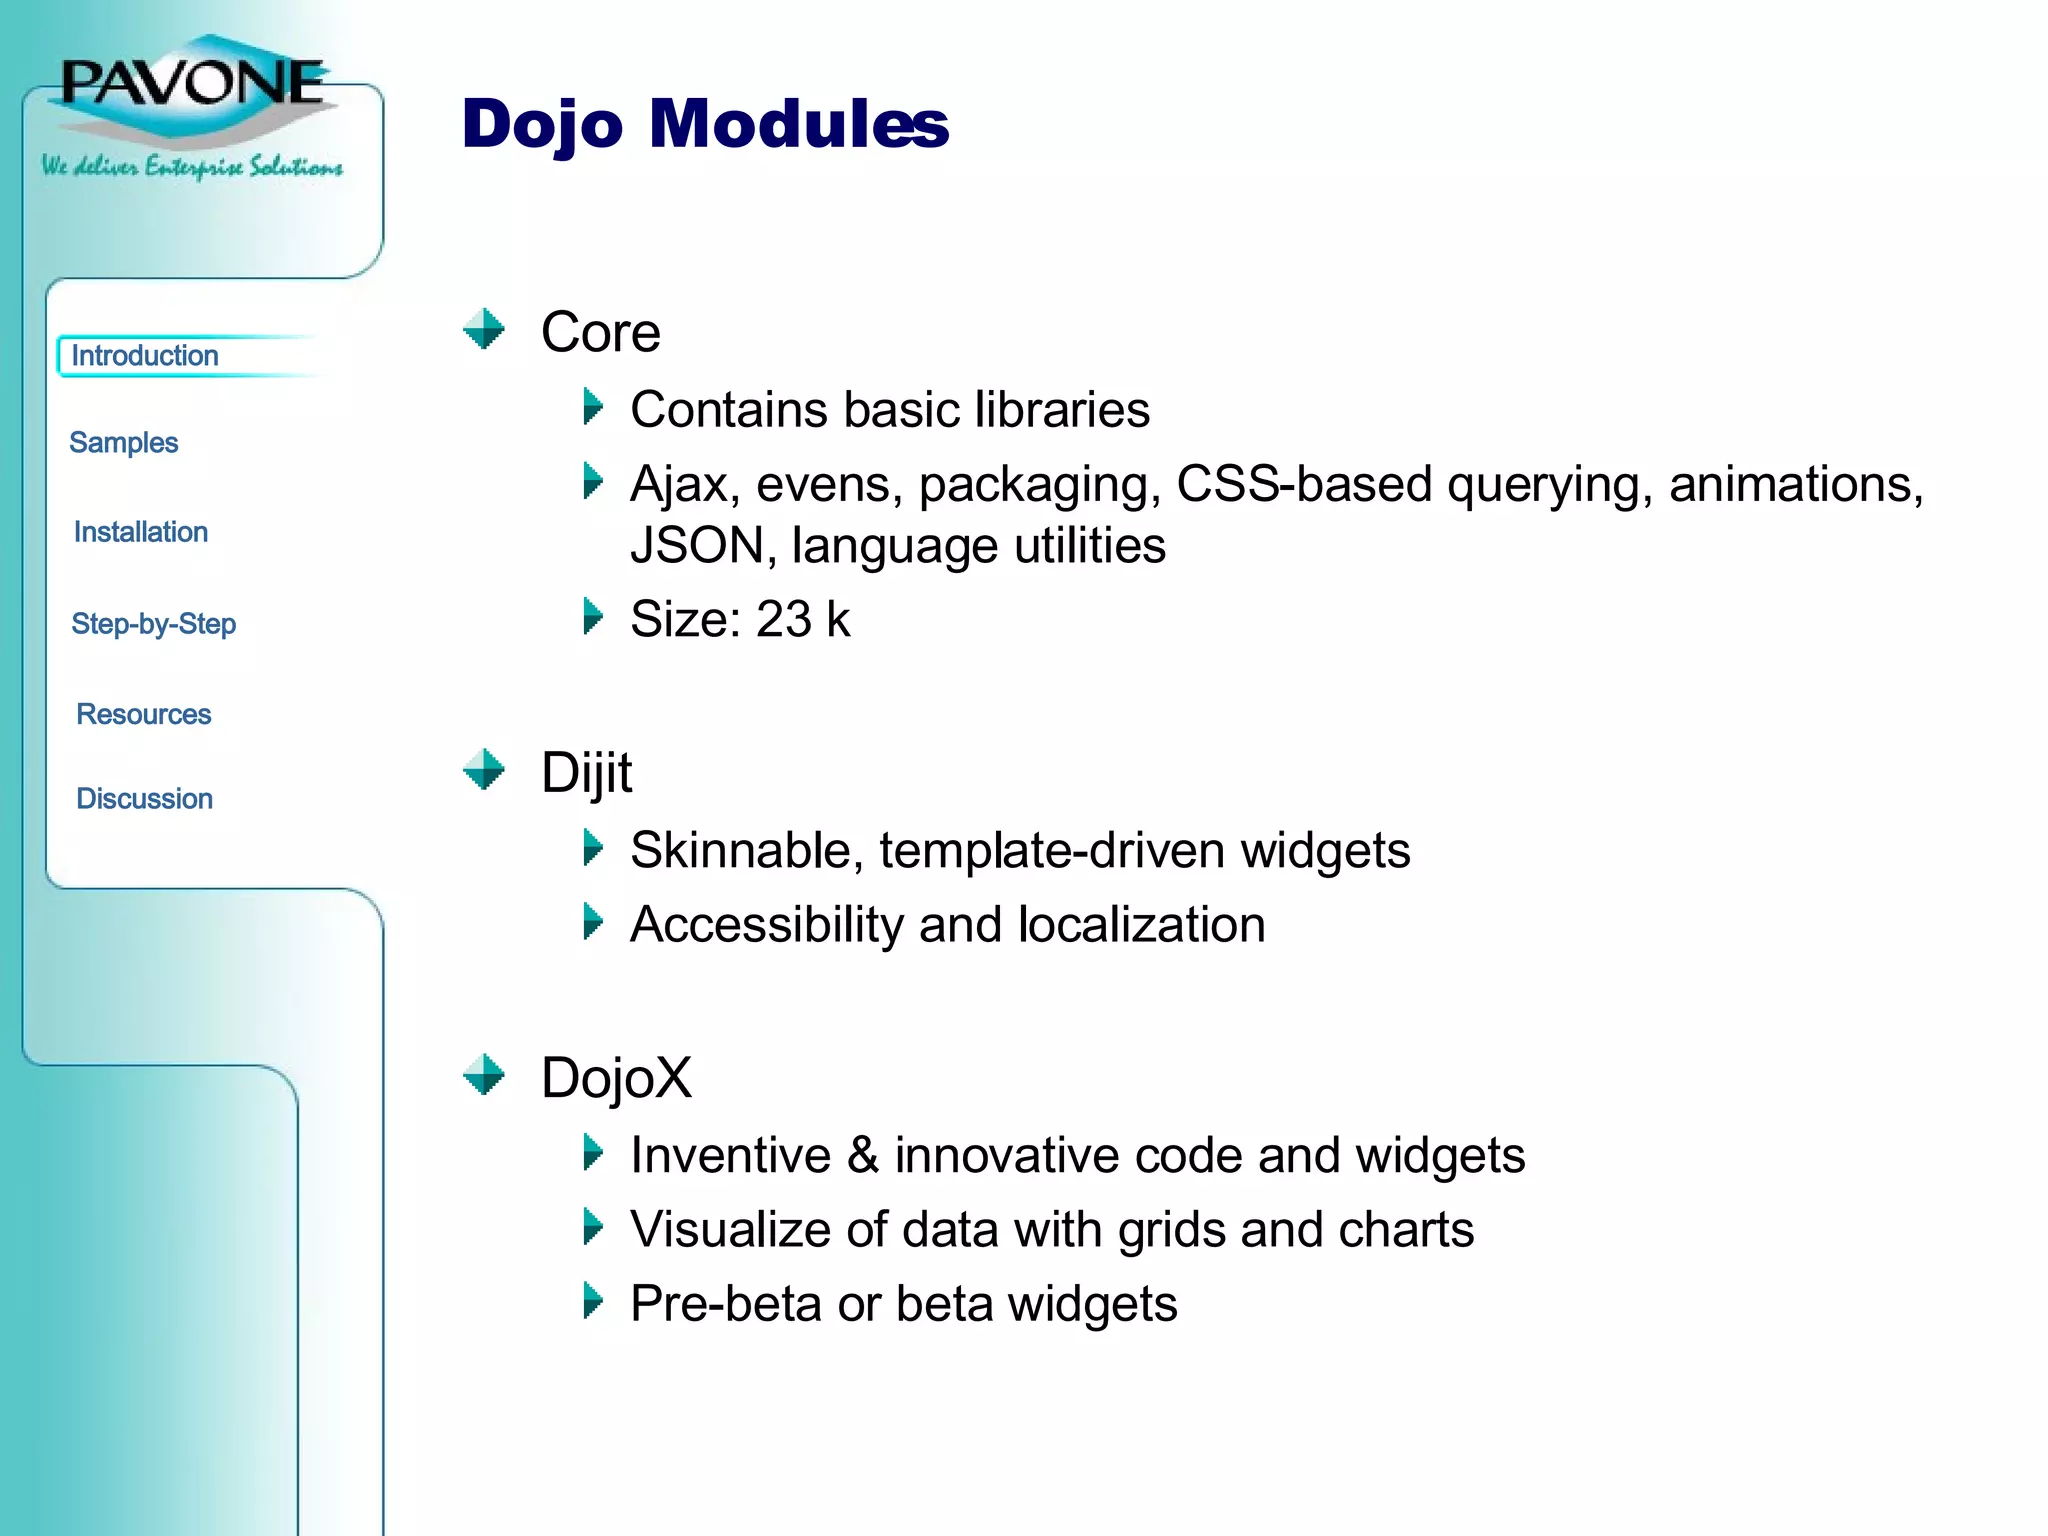
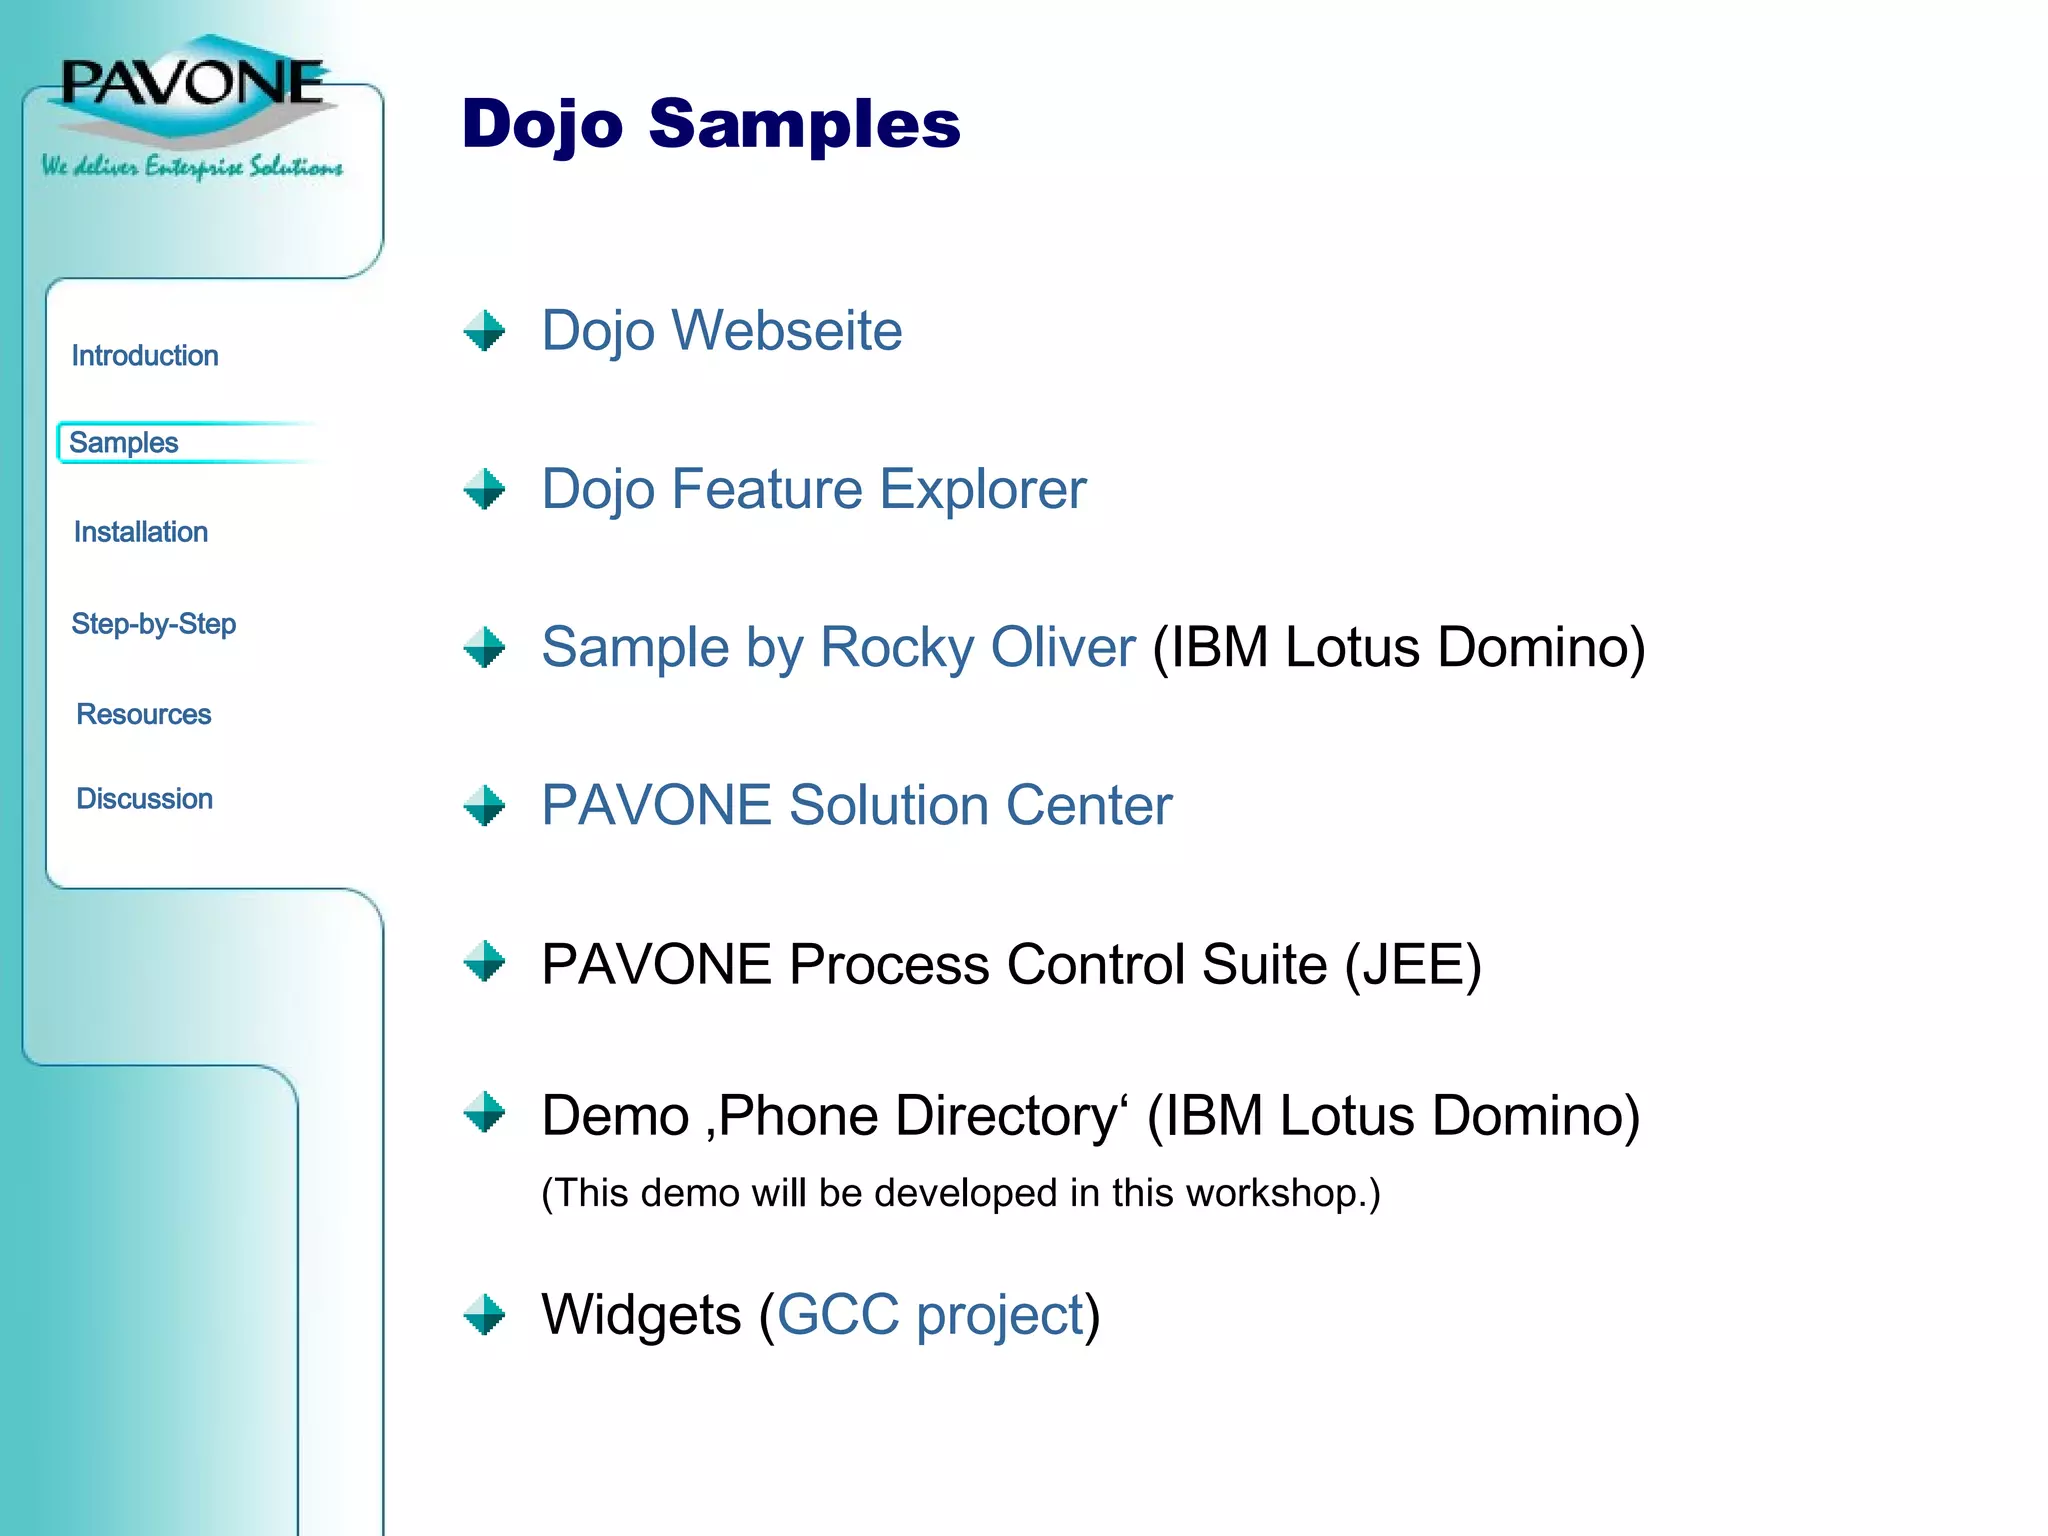
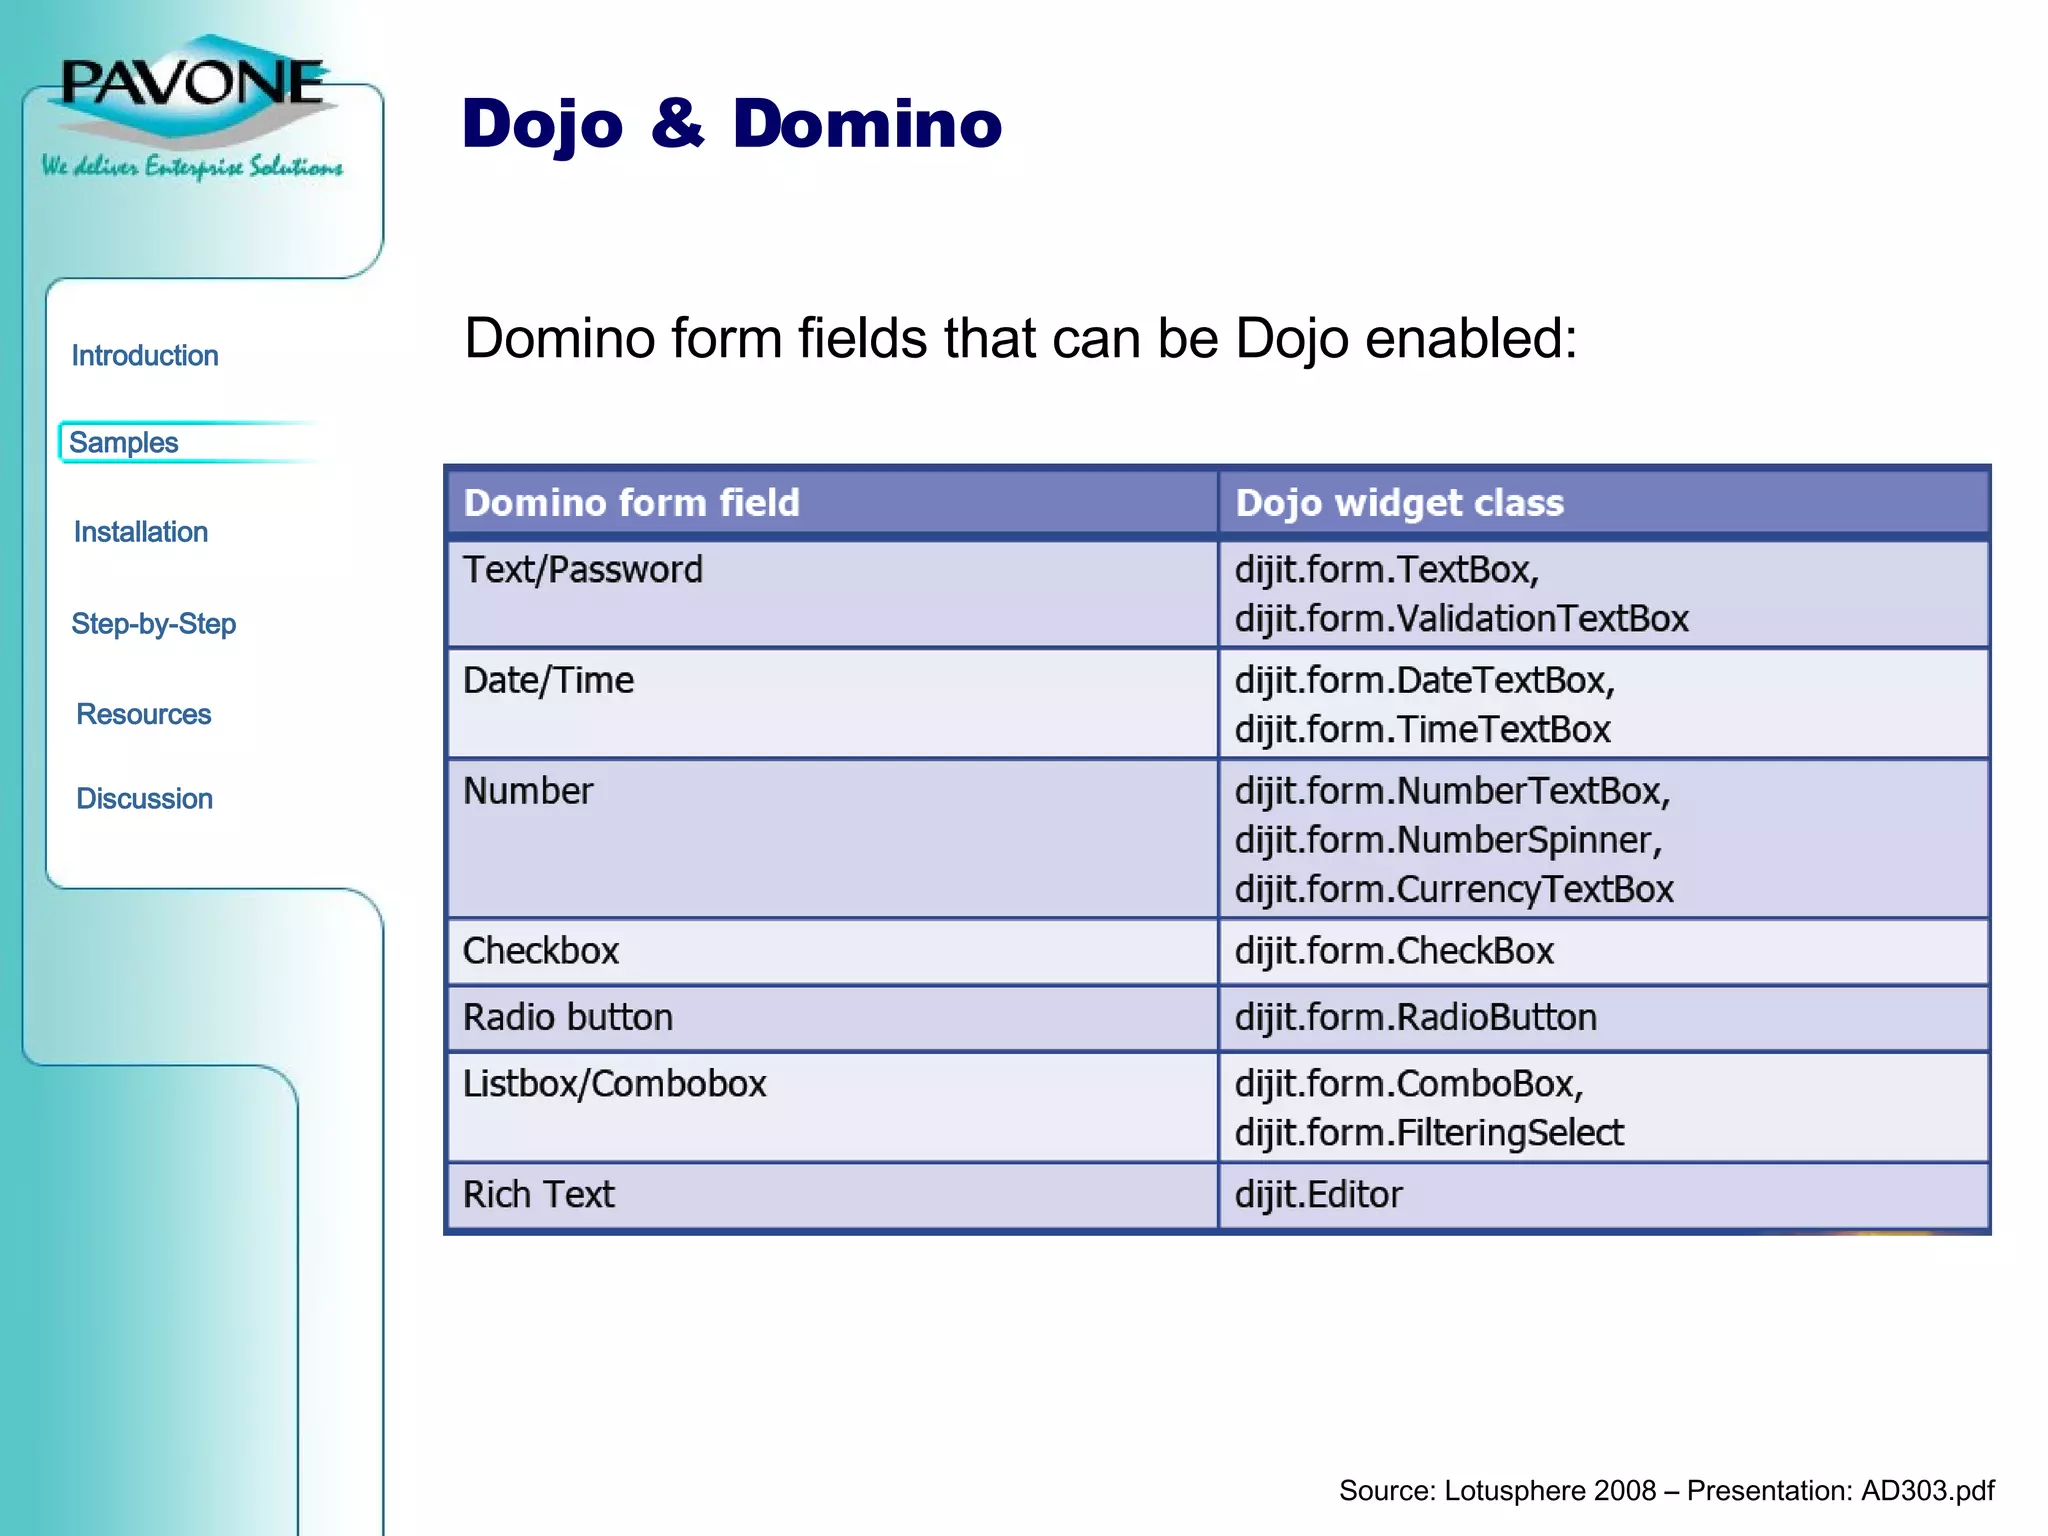
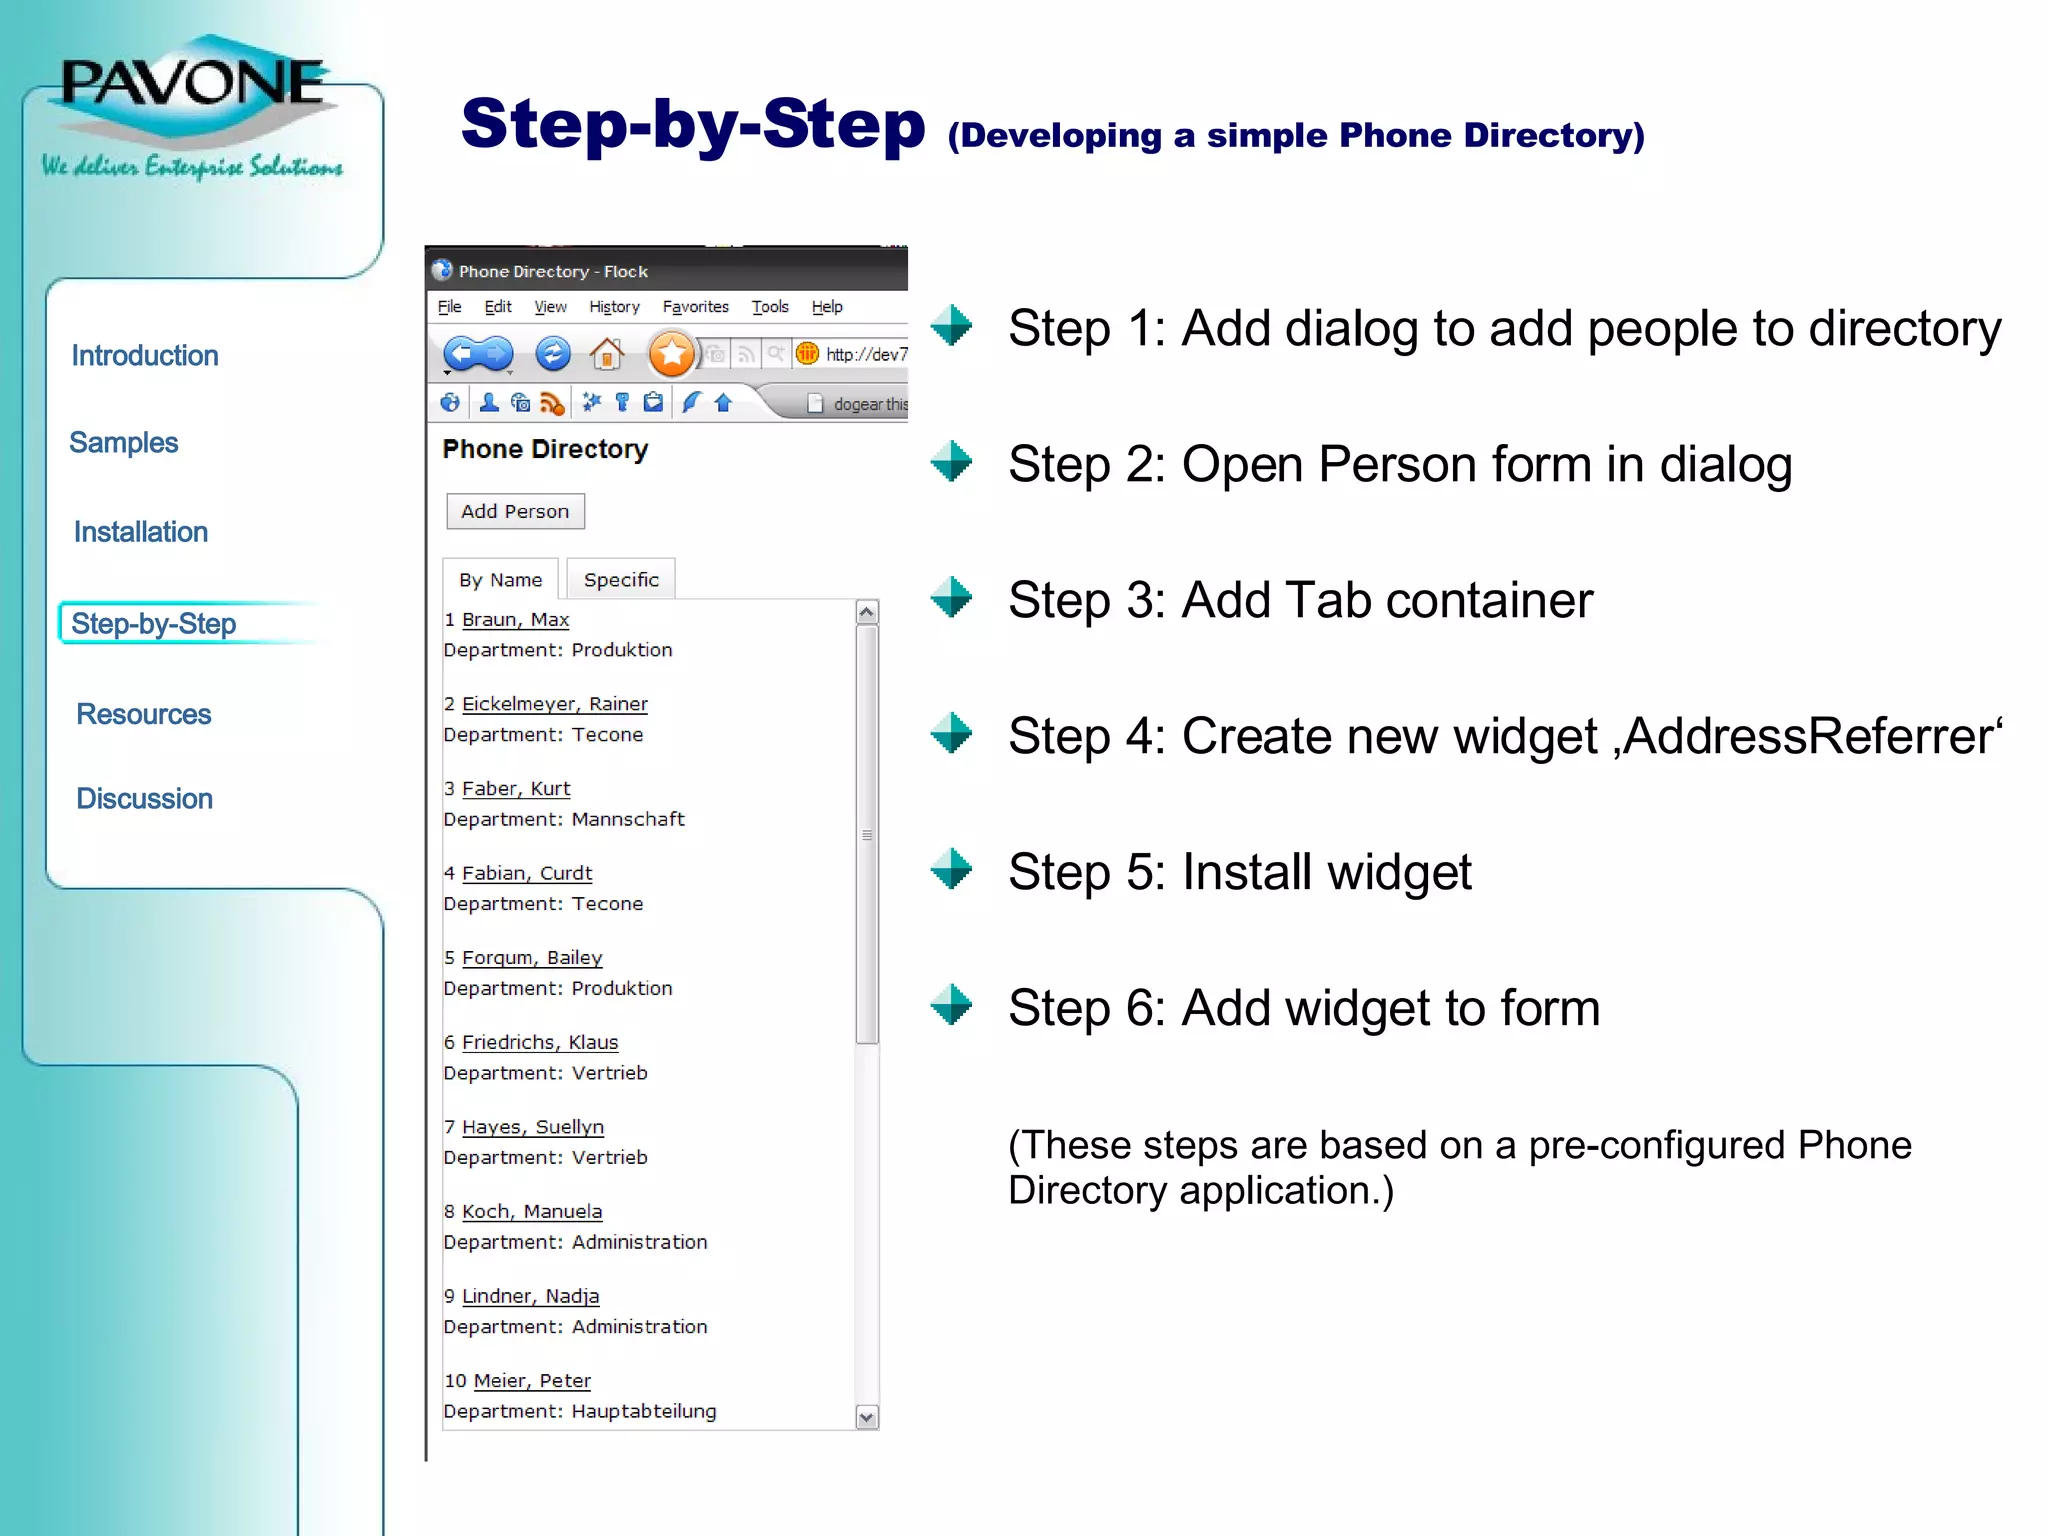
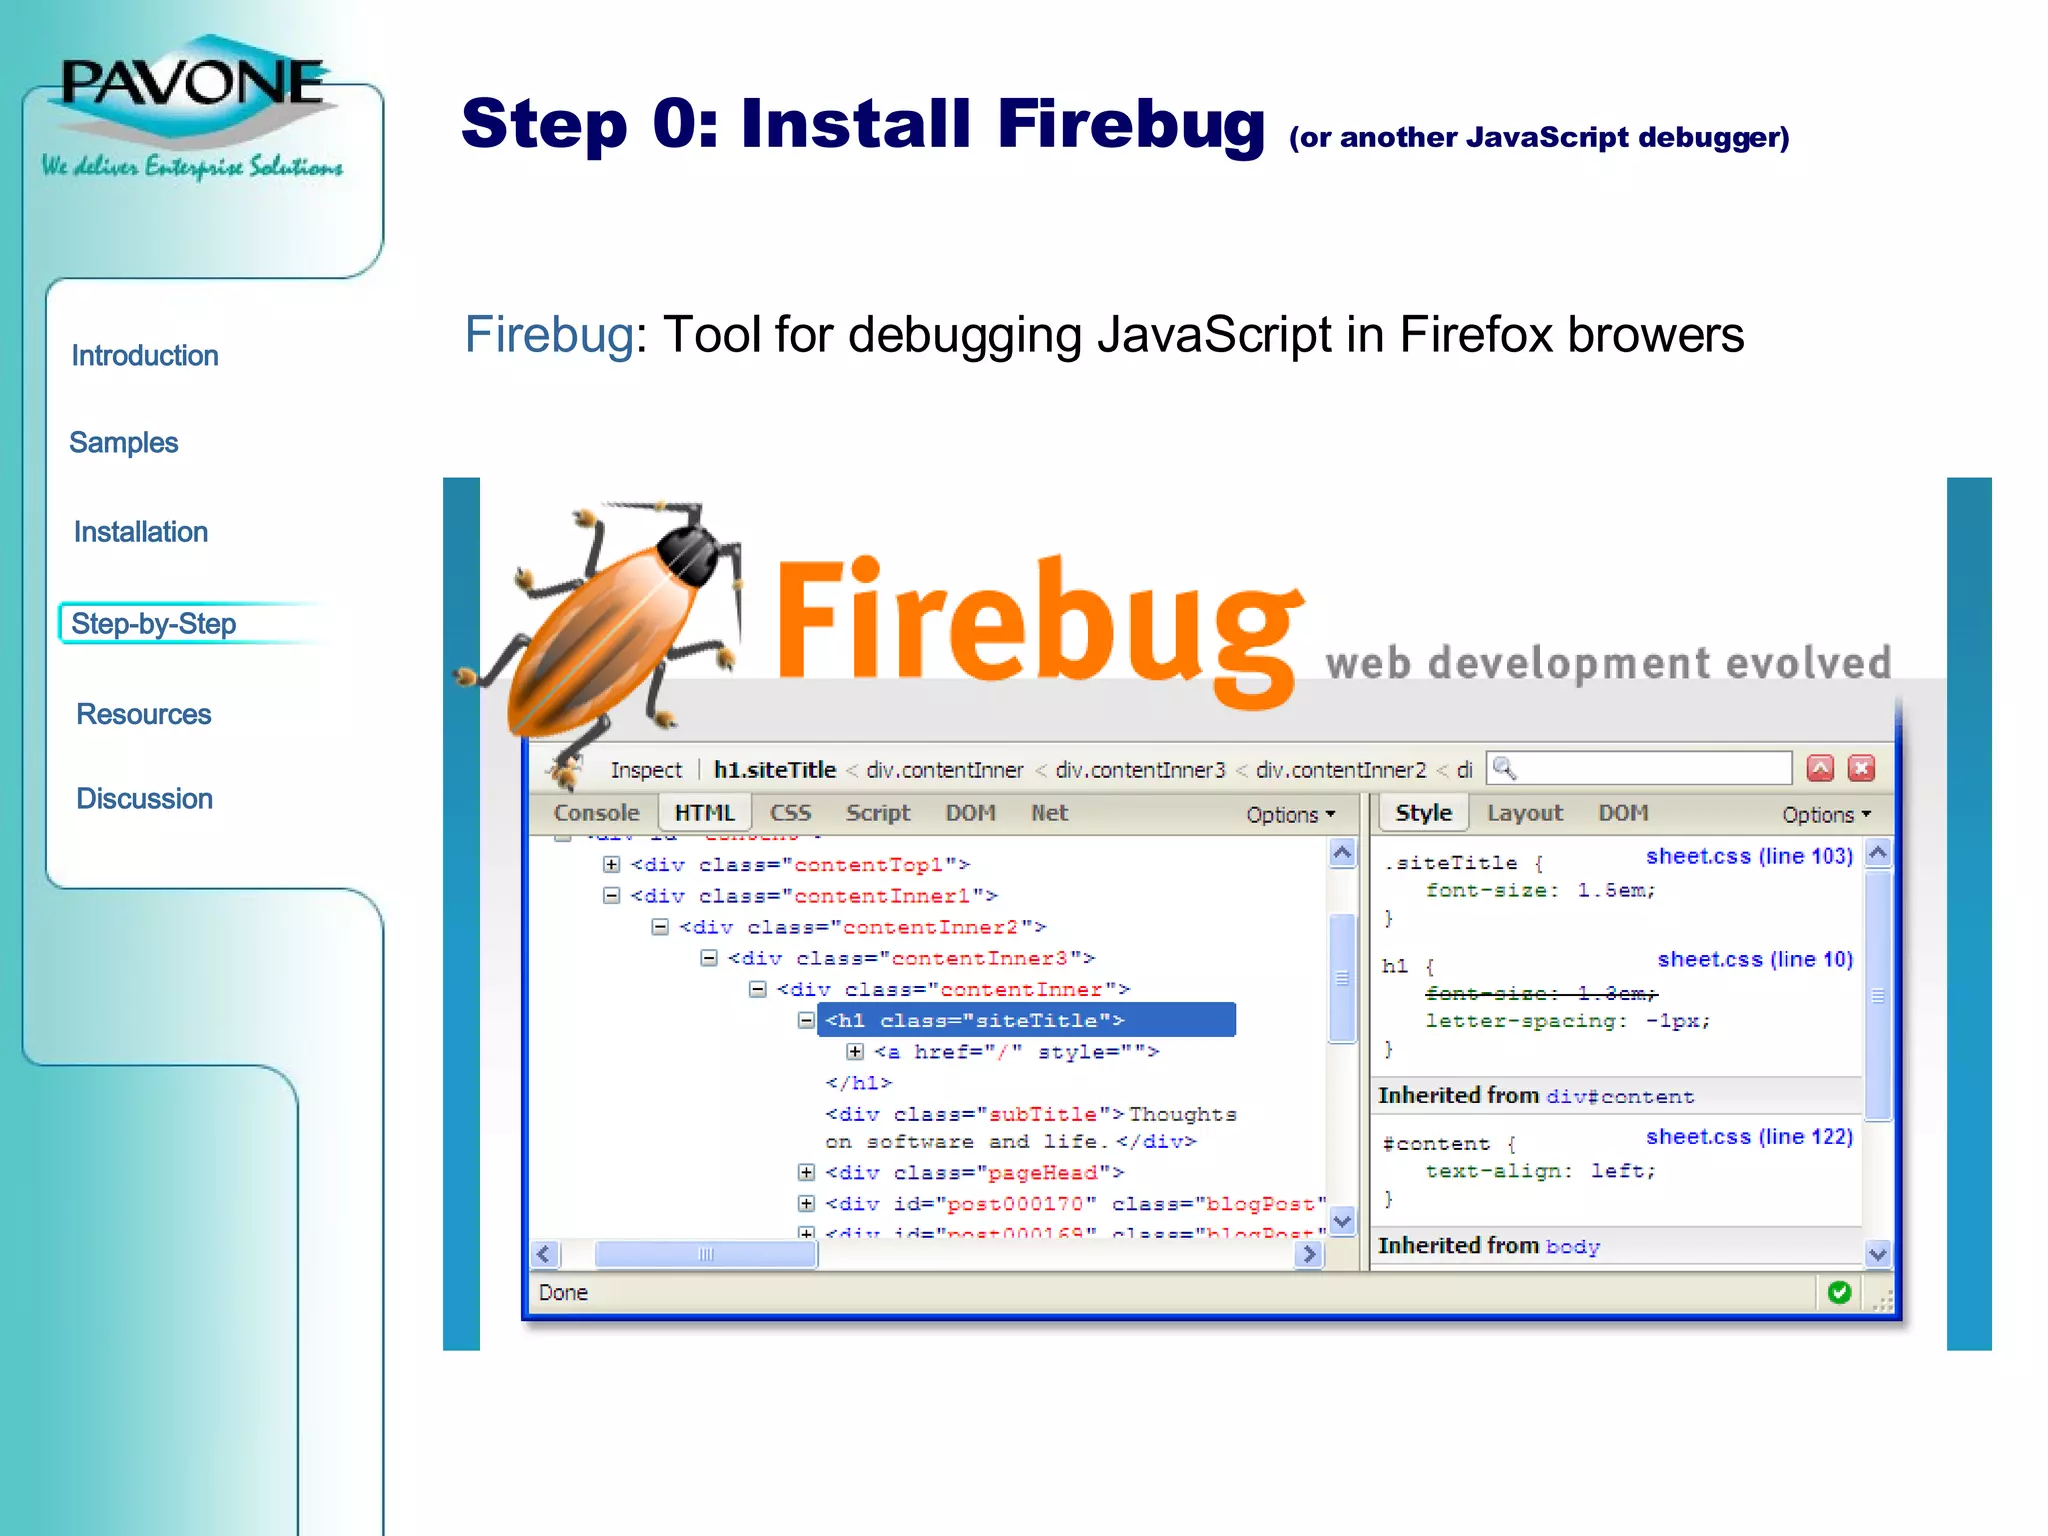
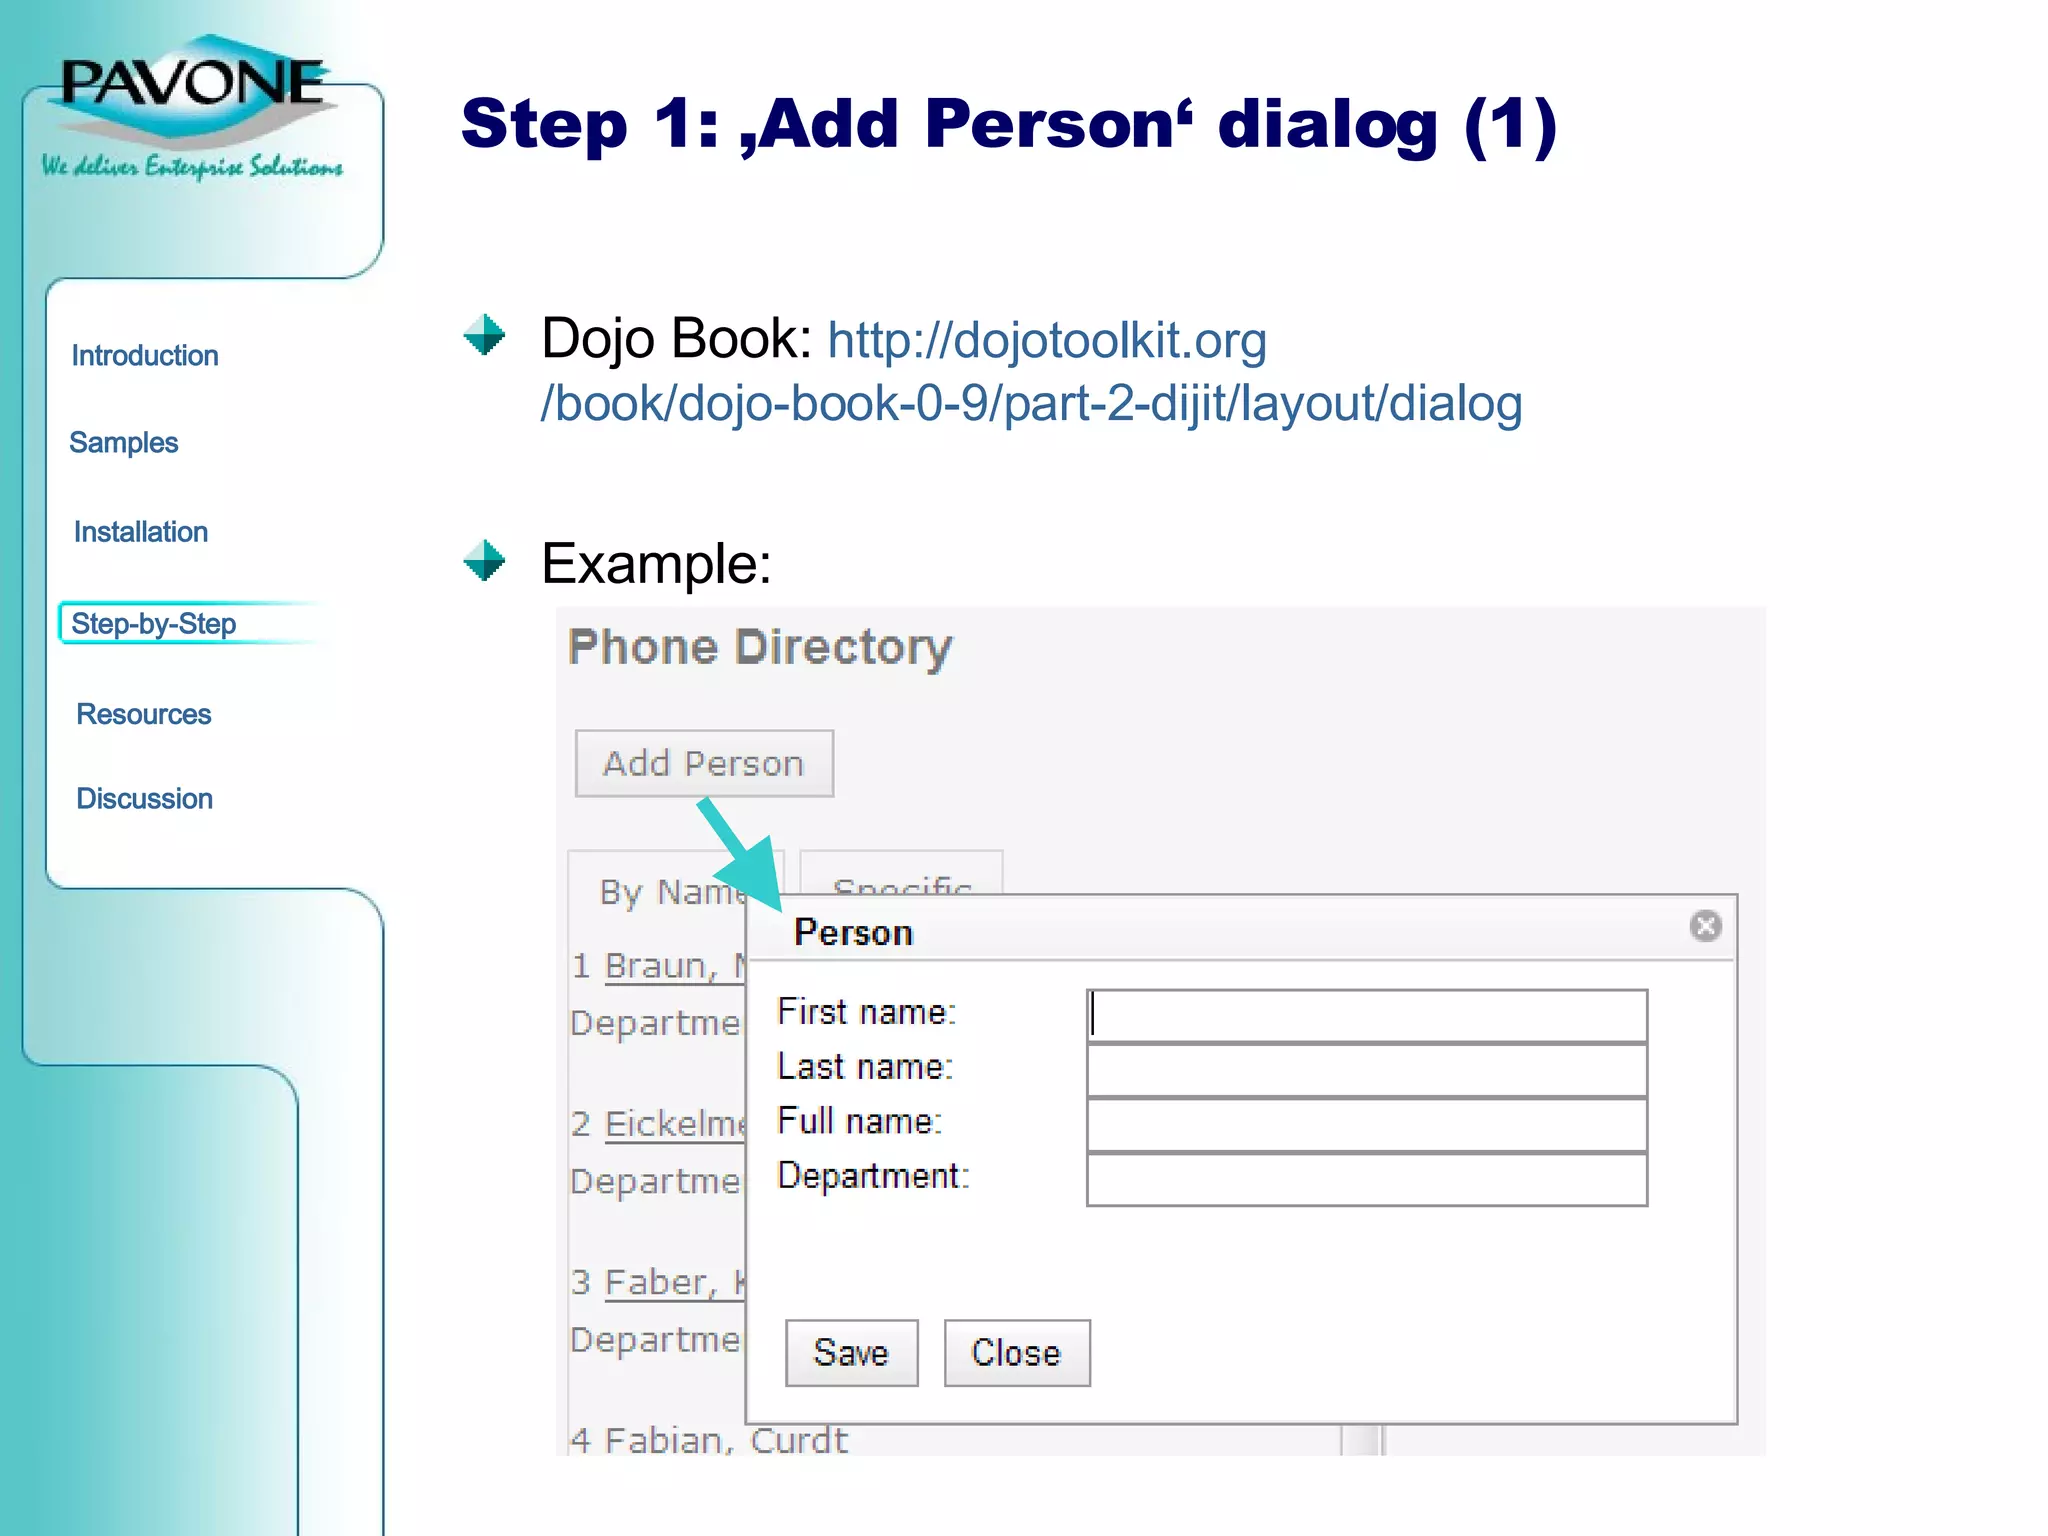
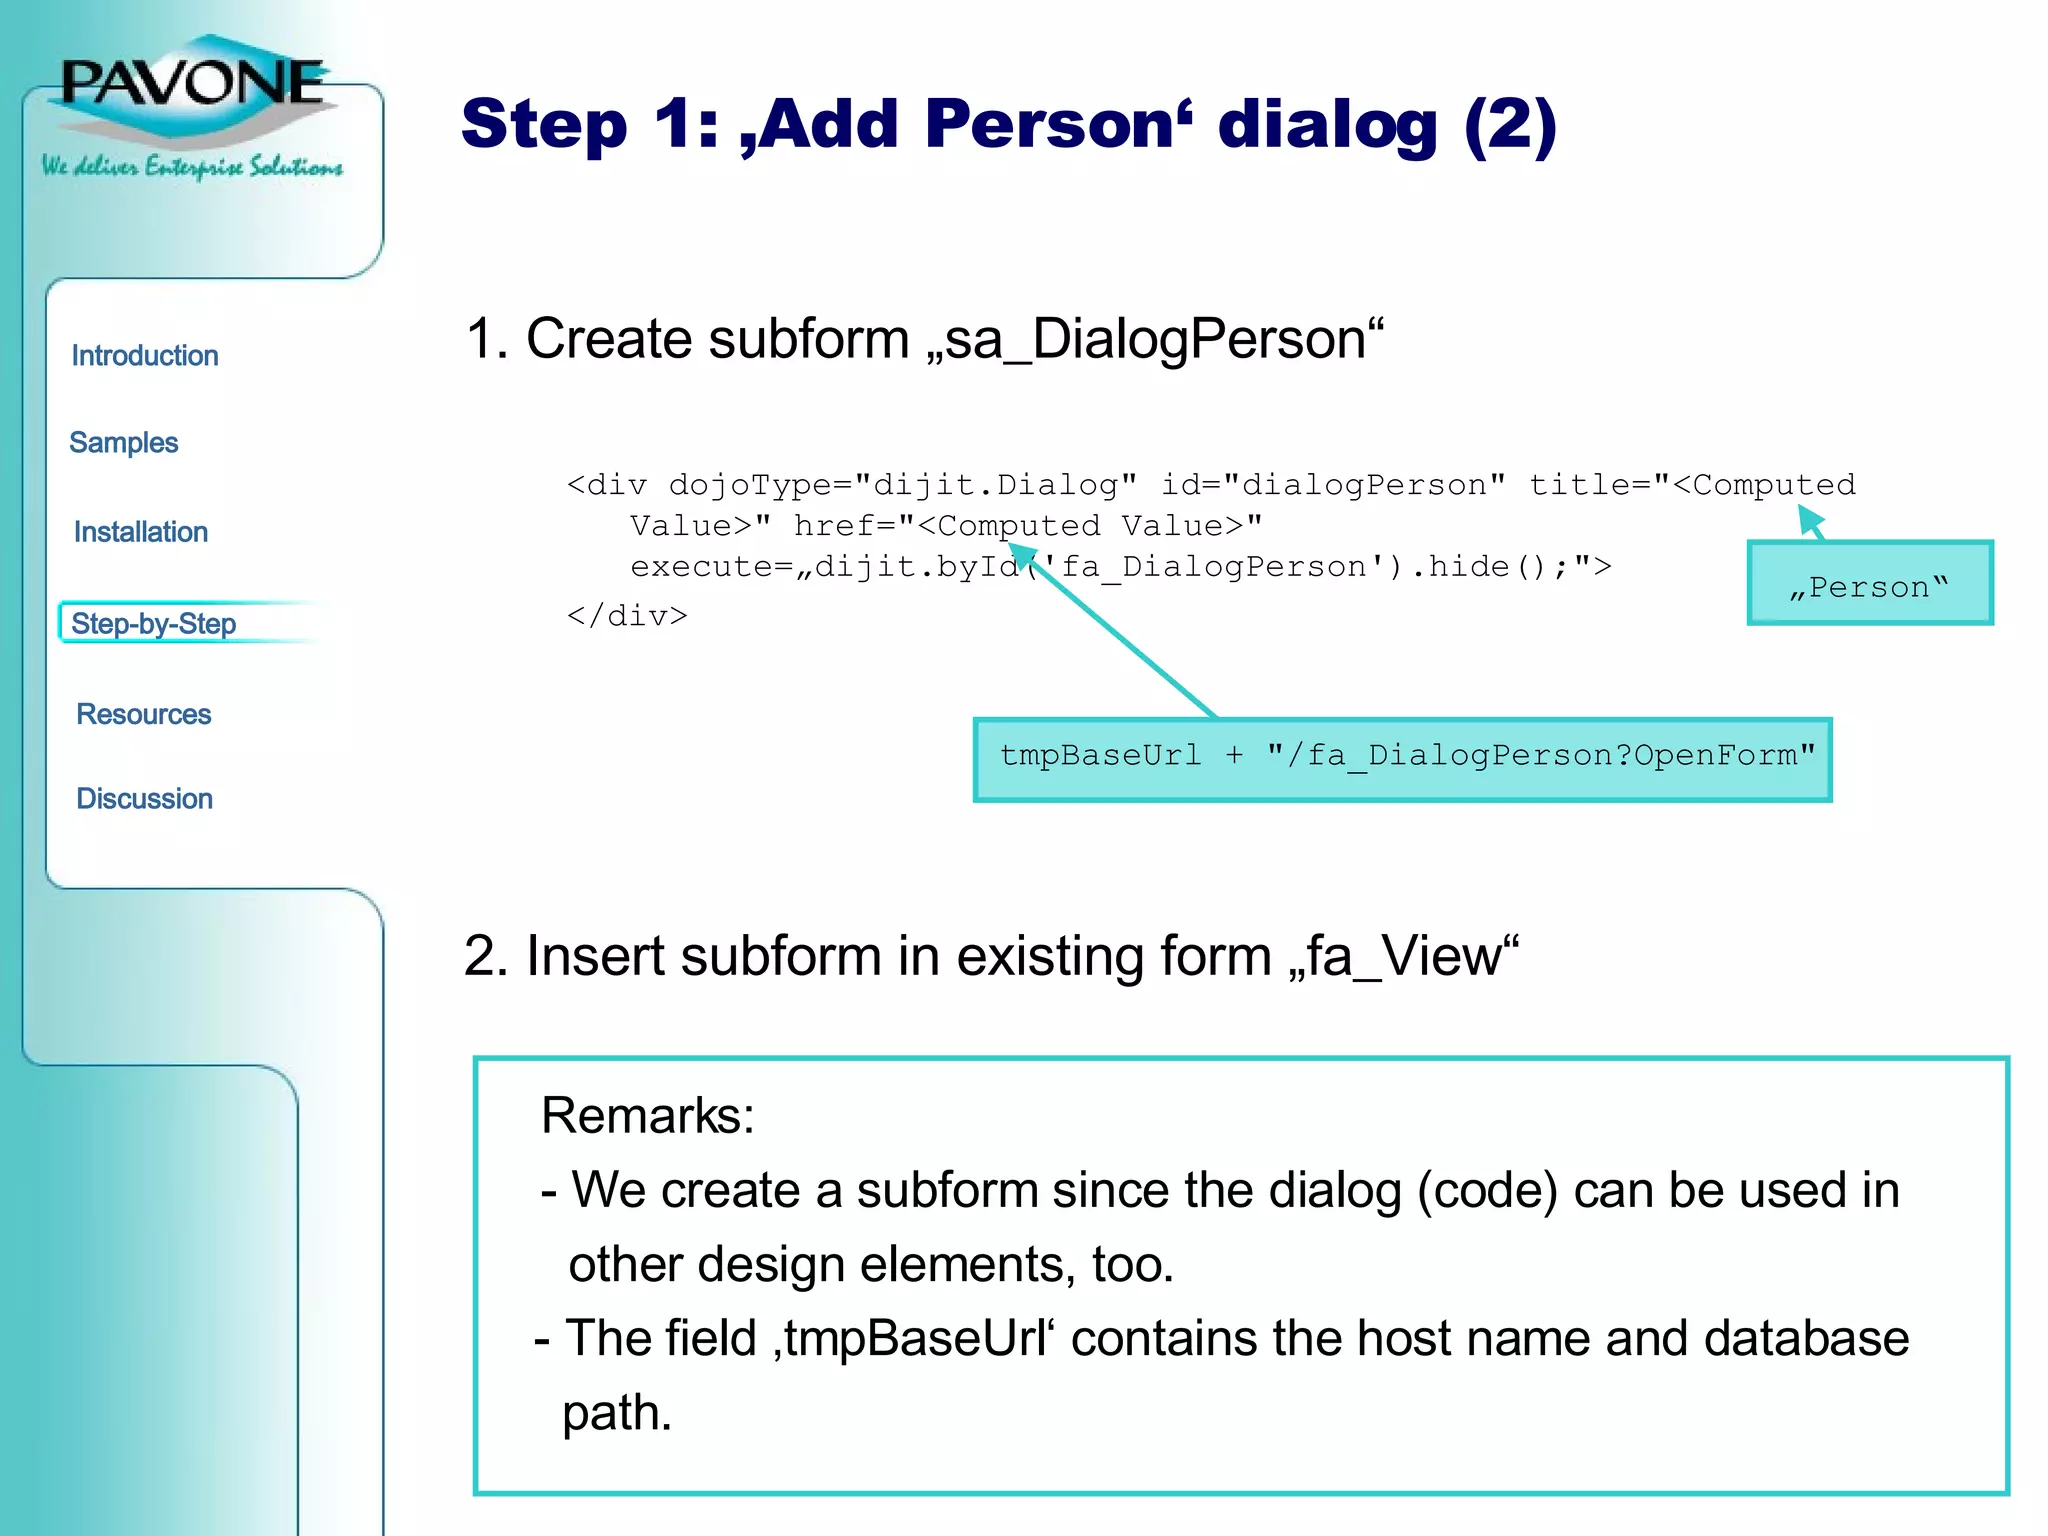
The document outlines the Dojo Toolkit, an open-source JavaScript library intended for integration with IBM Lotus Domino, detailing its history, roadmap, and installation options. It provides step-by-step instructions for developing a simple phone directory application using Dojo components, including dialog forms and custom widgets. Additionally, it lists resources for further information and support regarding the Dojo Toolkit.


![Governance, Deployment & Methodologies for Agentic Automation [2/3]](https://cdn.slidesharecdn.com/ss_thumbnails/agenticcommunityseries-day2-251112135038-a386476d-thumbnail.jpg?width=640&height=640&fit=bounds)


