Download as PDF, PPTX


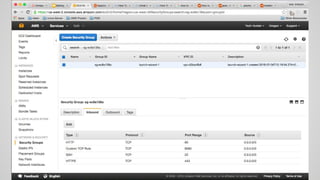

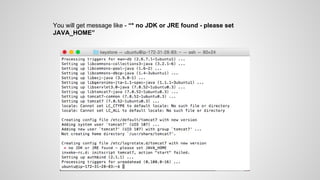
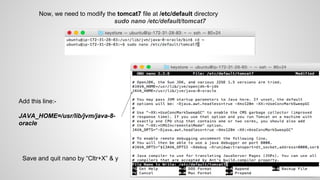
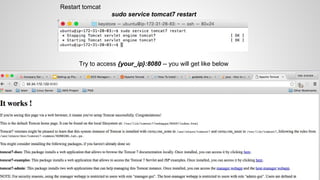


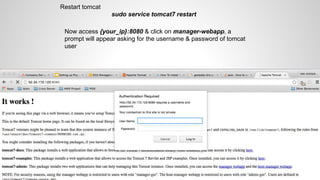
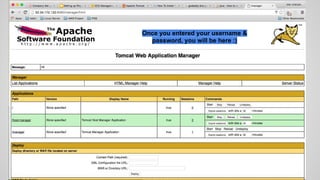

The document provides instructions for installing Tomcat 7 on an Ubuntu 14.04 LTS instance hosted on AWS. It involves updating the instance, installing Tomcat 7 which requires setting the JAVA_HOME variable, restarting Tomcat, and installing the Tomcat admin to allow for management of Tomcat through a web interface.


![[Js hcm] Deploying node.js with Forever.js and nginx](https://cdn.slidesharecdn.com/ss_thumbnails/js-hcmdeployingnode-131016220832-phpapp01-thumbnail.jpg?width=640&height=640&fit=bounds)


