
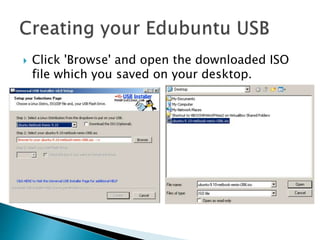
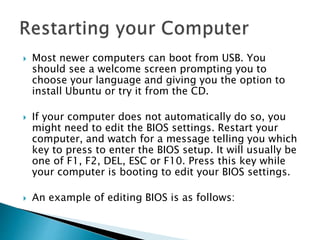

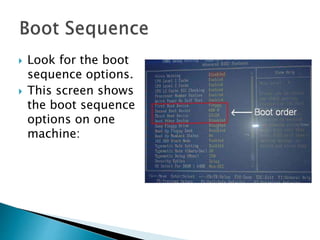
![ Change the boot order using the PAGE UP and PAGE DOWN
keys on your keyboard (read the keyboard shortcuts to
find out which keys are for your BIOS screen.) The idea is
to set the USB as the first boot device and the HARD DISK
DRIVE as the second boot device, so when your computer
starts, it looks for what's inside the USB and if it doesn't
find a boot disk, then it will move on the hard drive and
start Windows. It doesn't matter what the third boot device
is; you can leave it as it is or disabled, just make sure that
you set the HDD-0 as any of the devices or your computer
will not boot into Windows when the Ubuntu USB is not in
the drive. The options on your screen should look like this:
First Boot Device [USB]
Second Boot Device [HDD-0]
Third Boot Device [Disabled]](https://image.slidesharecdn.com/installingedubuntu-101107025529-phpapp02/85/Installing-edubuntu-20-320.jpg)


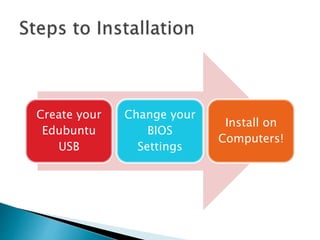
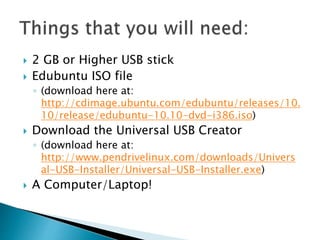
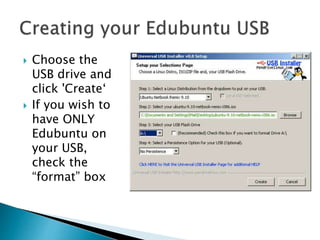
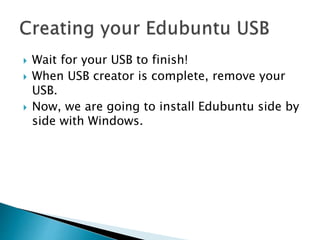
This document provides instructions for installing Edubuntu, an educational version of Ubuntu Linux, on computers alongside existing Windows installations. It describes downloading the Edubuntu ISO file, using Universal USB Installer to create an install USB drive, adjusting BIOS settings to allow booting from USB, and walking through the installation process. The process allows users to choose whether to boot Edubuntu or Windows at startup.