Quickly access the assistant by
shaking your phone.
11
Getting started
- Pick up: Lift the phone to your ear to answer an incoming call.
- Wave hand: Wave your hand over the screen to reject an incoming call.
- Draw V: Draw the letter V on the screen to turn on the flashlight.
- Draw O: Draw the letter O on the screen to open the camera.
- Draw S: Draw the letter S on the screen to start screen recording.
4. Touch OK to save the settings.
You can now control your phone using the selected motions.
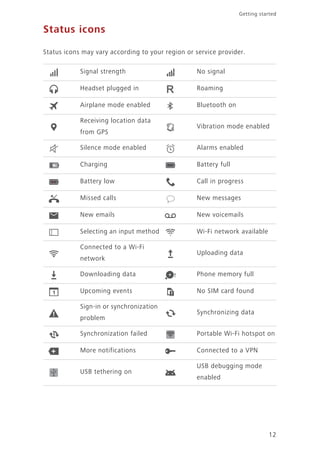
Status icons
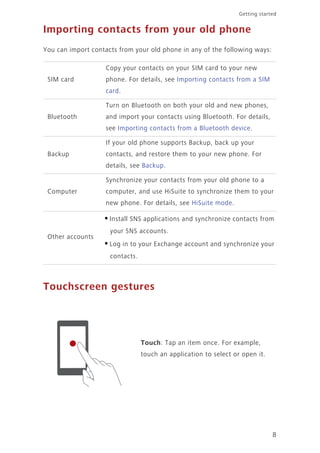
The status bar at the top of the home