Downloaded 86 times
![Figure 1.3. Webdev Toolbar (Firefox)
Paragraph Breaks
In Chapter 1, Getting Started, we covered some basic HTML concepts, including the fact that
HTML ignores whitespace. This seems a little crazy, doesn’t it? How can we do we compose a
readable webpage without everything collapsing into a single giant glob of text?
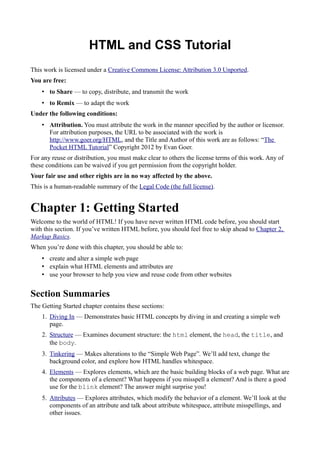
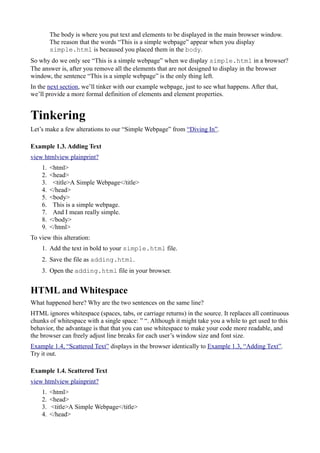
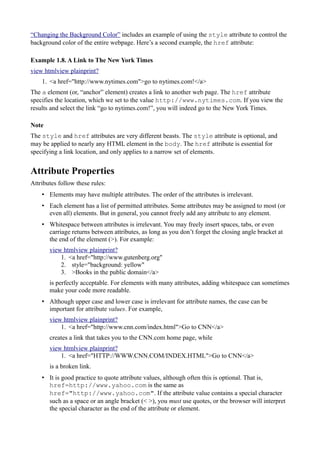
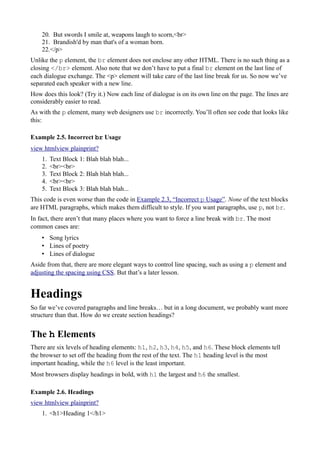
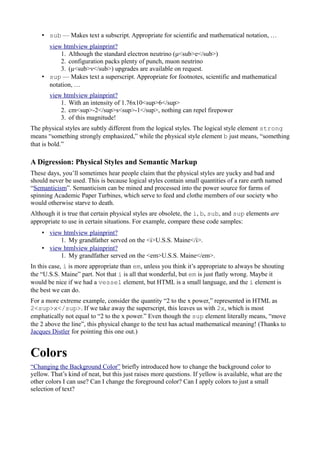
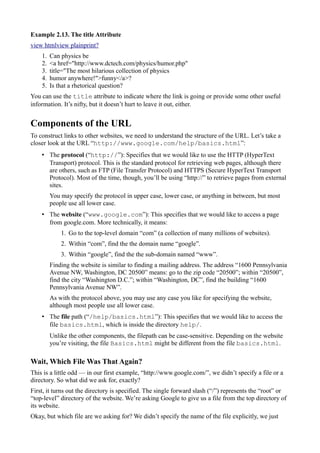
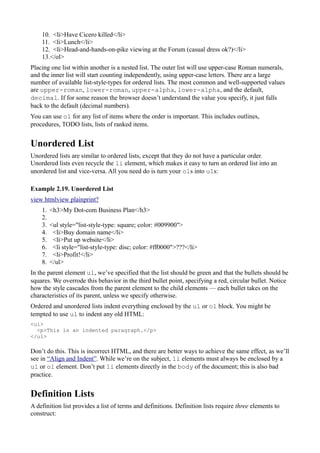
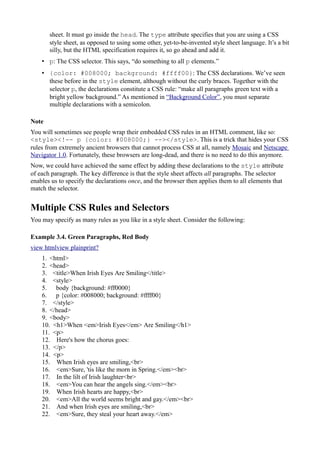
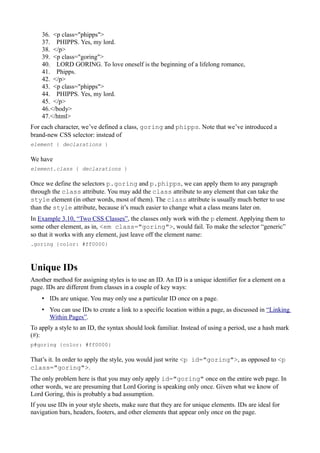
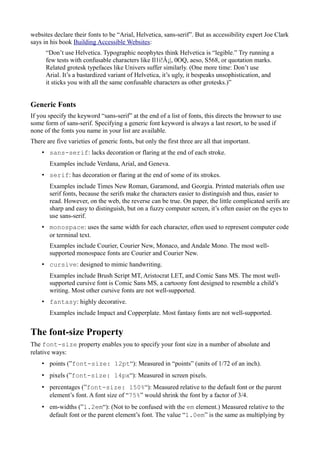
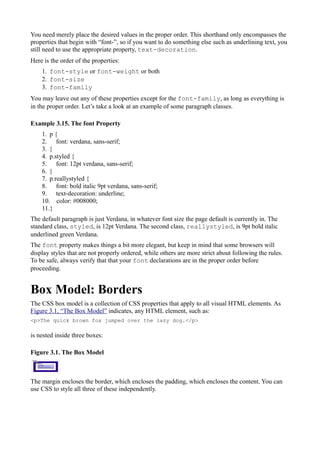
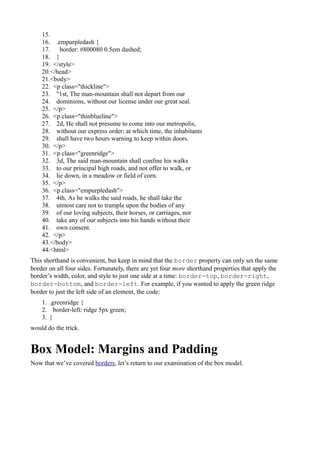
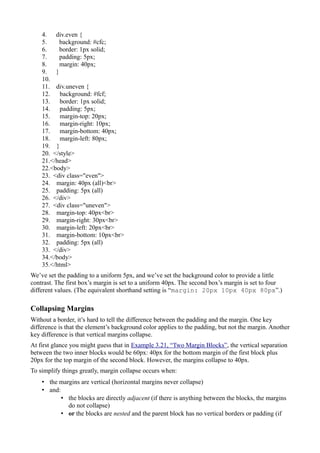
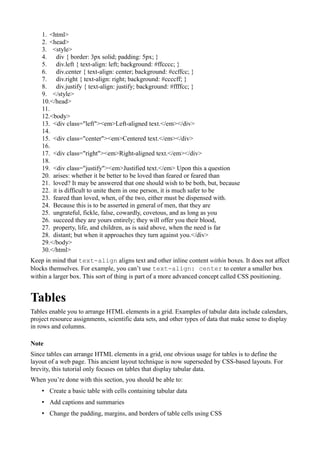
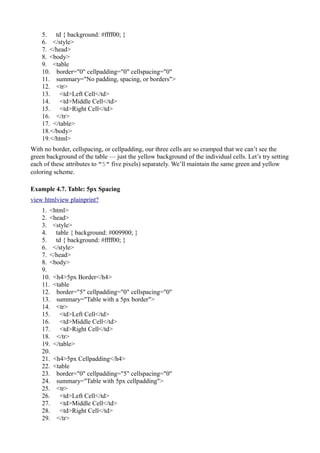
Let’s say we want our website to display some lines from an obscure playwright:
Example 2.1. Unformatted Text
view htmlview plainprint?
1. <html>
2. <head>
3. <title>Macbeth: 1, Reckless Youngsters: 0</title>
4. </head>
5. <body>
6. MACBETH: My name's Macbeth.
7.
8. YOUNG SIWARD: The devil himself could not pronounce a title
9. More hateful to mine ear.
10.
11. MACBETH: No, nor more fearful.
12.
13. YOUNG SIWARD: Thou liest, abhorred tyrant; with my sword
14. I'll prove the lie thou speak'st.
15.
16. [They fight, and young Seward is slain.]
17.
18. MACBETH: Thou wast born of woman.--
19. But swords I smile at, weapons laugh to scorn,
20. Brandish'd by man that's of a woman born.
21. </body>
22.</html>](https://image.slidesharecdn.com/html-tutorial-140814153142-phpapp01/85/Html-Tutorial-13-320.jpg)
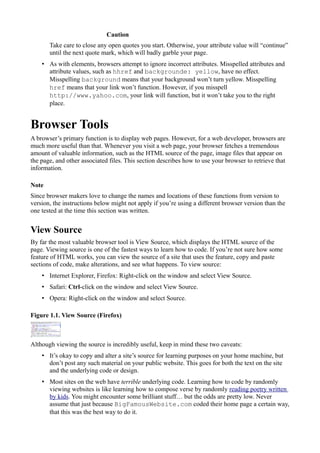
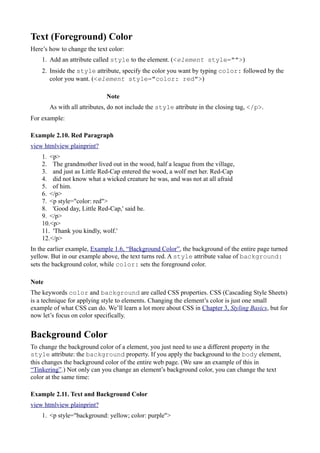
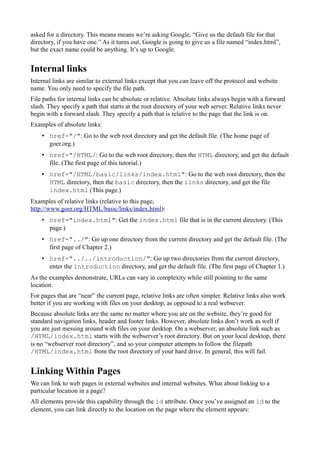
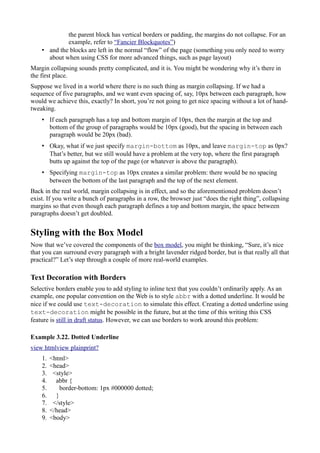
![Now, this is a perfectly acceptable web page. The html, head, title, and body elements are all
in the right places. In fact, this example is just like the “Simple Web Page” from Diving In, except
that the text is a little different.
There is one small problem, however. HTML collapses whitespace, which means that all our text
will collapse into a single paragraph and look something like this:
MACBETH: My name’s Macbeth. YOUNG SIWARD: The devil himself could not
pronounce a title More hateful to mine ear. MACBETH: No, nor more fearful. YOUNG
SIWARD: Thou liest, abhorred tyrant; with my sword I’ll prove the lie thou speak’st.
[They fight, and young Seward is slain.] MACBETH: Thou wast born of woman.– But
swords I smile at, weapons laugh to scorn, Brandish’d by man that’s of a woman born.
This is terrible! Let’s try to make this page more readable.
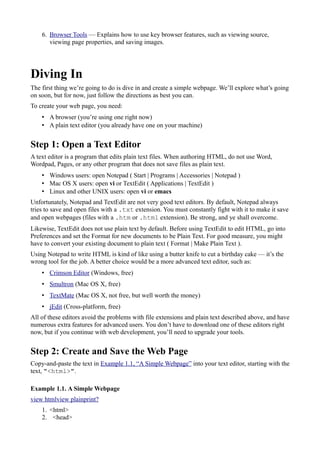
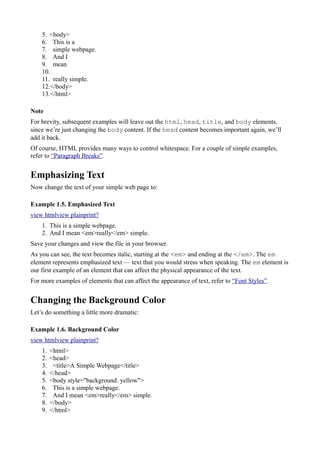
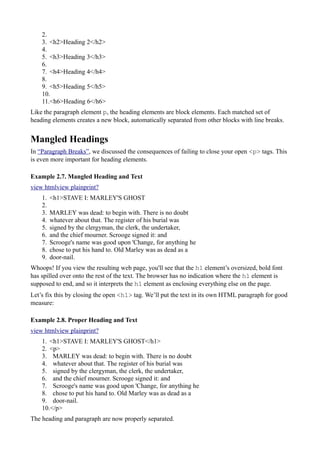
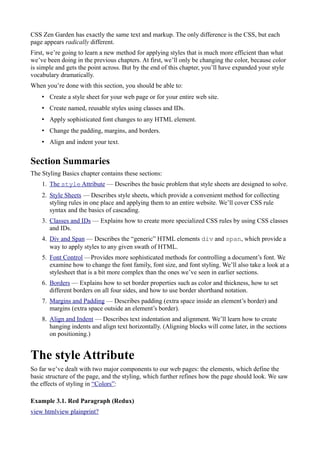
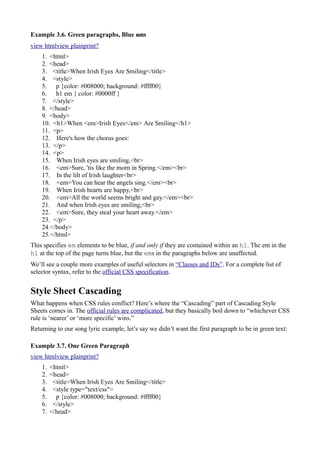
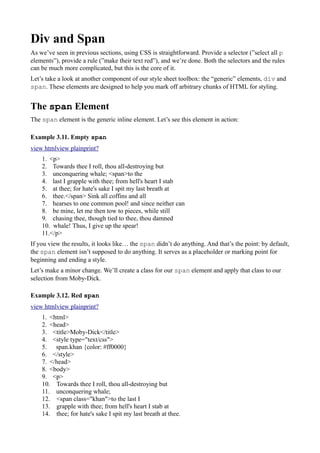
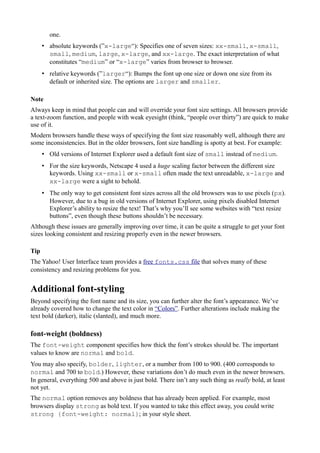
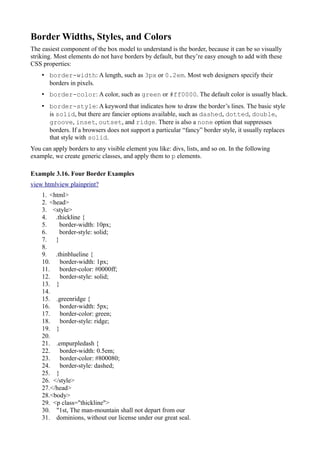
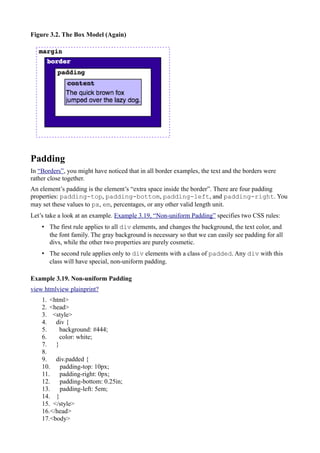
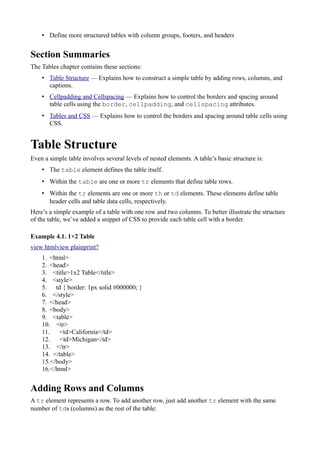
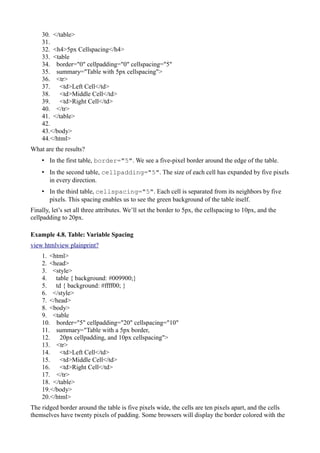
The p Element
The p element breaks text into paragraphs. Any text that you surround with a <p> and a closing
</p> becomes a separate block. Let’s see how this works. For brevity, we will start to leave off the
structural elements: html, head, and body.
Example 2.2. Paragraphs
view htmlview plainprint?
1. <p>
2. MACBETH: My name's Macbeth.
3. </p>
4. <p>
5. YOUNG SIWARD: The devil himself could not pronounce a title
6. More hateful to mine ear.
7. </p>
8. <p>
9. MACBETH: No, nor more fearful.
10.</p>
11.<p>
12. YOUNG SIWARD: Thou liest, abhorred tyrant; with my sword
13. I'll prove the lie thou speak'st.
14.</p>
15.<p>
16. [They fight, and young Seward is slain.]
17.</p>
18.<p>
19. MACBETH: Thou wast born of woman.--
20. But swords I smile at, weapons laugh to scorn,
21. Brandish'd by man that's of a woman born.
22.</p>
Each block is followed by two line breaks. This is a good start!
Each paragraph is surrounded by an opening tag, <p>, and a closing tag, </p>. The p element is a
block element; it “does something” to a block of text. The browser must identify where the block
ends, so the <p> open tag needs a closing tag, </p>.
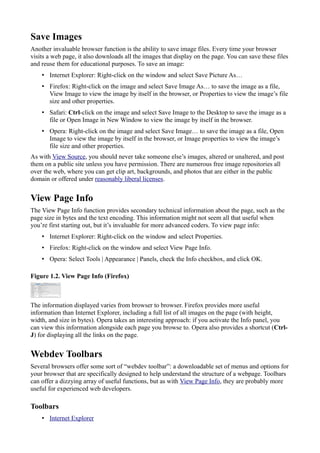
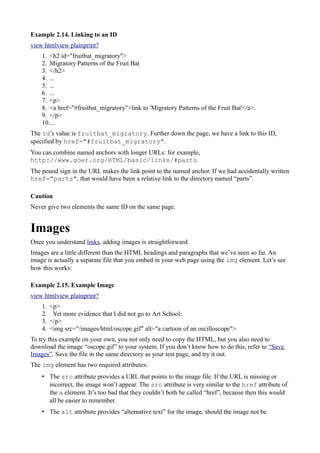
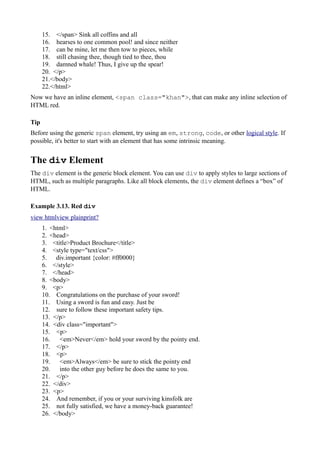
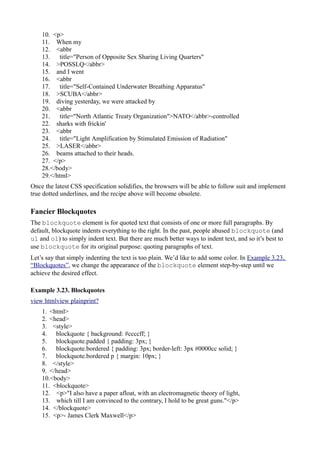
Unfortunately, many people take the p element to mean “make a new paragraph here” or “put two](https://image.slidesharecdn.com/html-tutorial-140814153142-phpapp01/85/Html-Tutorial-14-320.jpg)
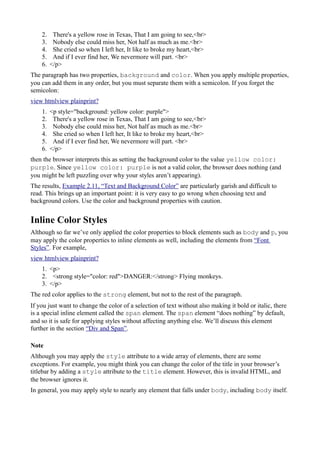
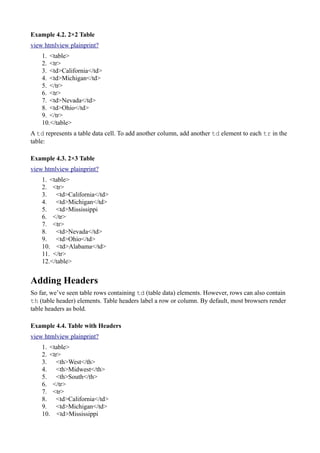
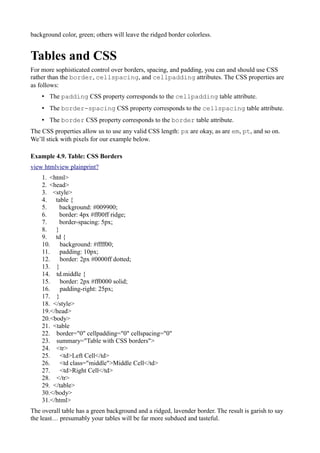
![line breaks here,” rather than “enclose this text and make it a paragraph.” And thus, you see a lot of
code that looks like this:
Example 2.3. Incorrect p Usage
view htmlview plainprint?
1. Text Block 1: Blah blah blah... <p>
2.
3. Text Block 2: Blah blah blah... <p>
4.
5. Text Block 3: Blah blah blah...
What happens? (Try it.) Text Block 2 and 3 are paragraphs (the browser “inserts” a closing </p>
element right before each <p> element). Text Block 1 is not actually a HTML paragraph. However,
the page displays with two line breaks between each text block, which appears to result in the same
thing as doing it the proper way.
So what’s the big deal? Why not do it the “improper” way, and avoid typing all those </p> closing
tags? Well, later we’ll talk about how to use a technique called Cascading Style Sheets (CSS) to
control the appearance of all elements of a particular type. For example, you can use CSS to set all
your paragraphs to be red 12pt Times New Roman. But if you’re using p incorrectly, you’ll be in
for an unpleasant surprise, as many of your paragraphs (or rather, what you thought were
paragraphs) won’t get the proper style applied.
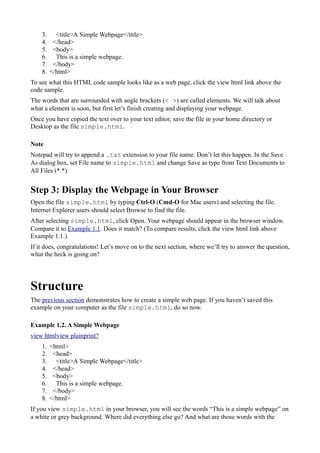
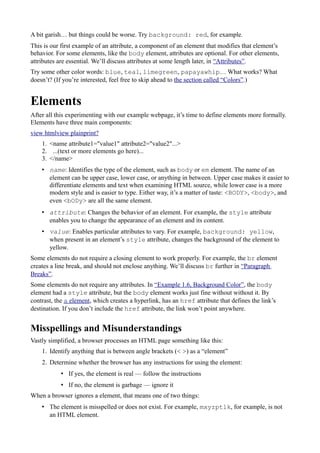
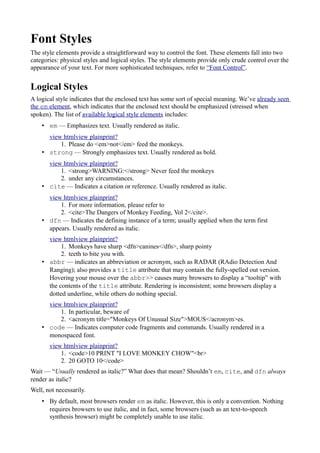
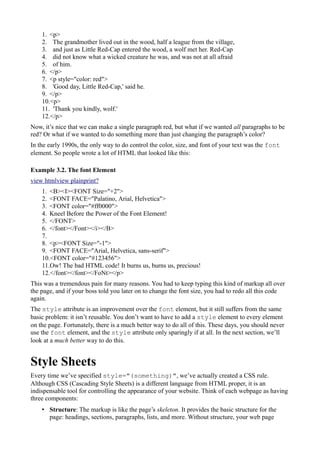
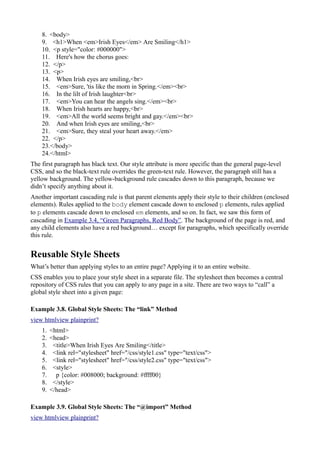
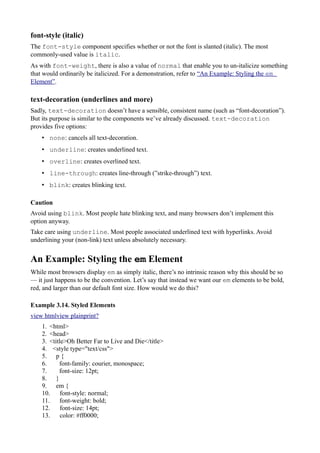
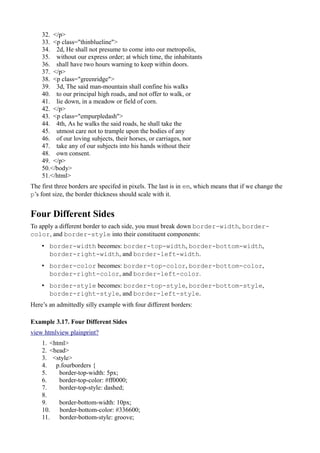
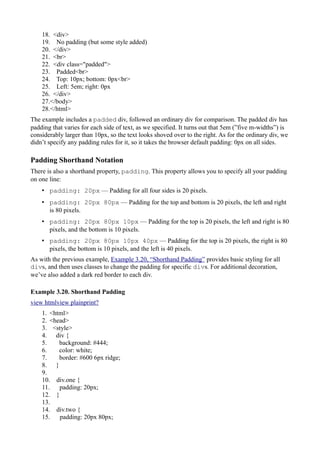
The br element
We still need to break up the dialogue into lines, as they appear in the original play. Now, we could
do this with the p element, but then all lines would be equally spaced. and so it wouldn’t be clear
which line belongs with which speaker. How do we get finer control… say, one line break?
Example 2.4. Line Breaks
view htmlview plainprint?
1. <p>
2. MACBETH: My name's Macbeth.
3. </p>
4. <p>
5. YOUNG SIWARD: The devil himself could not pronounce a title<br>
6. More hateful to mine ear.
7. </p>
8. <p>
9. MACBETH: No, nor more fearful.
10.</p>
11.<p>
12. YOUNG SIWARD: Thou liest, abhorred tyrant; with my sword<br>
13. I'll prove the lie thou speak'st.
14.</p>
15.<p>
16. [They fight, and young Seward is slain.]
17.</p>
18.<p>
19. MACBETH: Thou wast born of woman.-- <br>](https://image.slidesharecdn.com/html-tutorial-140814153142-phpapp01/85/Html-Tutorial-15-320.jpg)
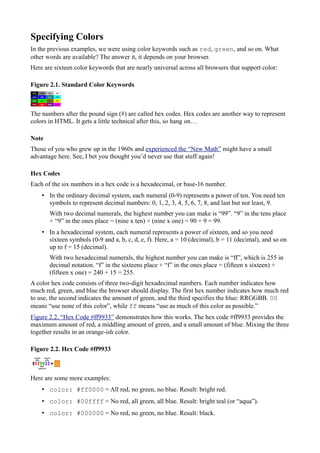

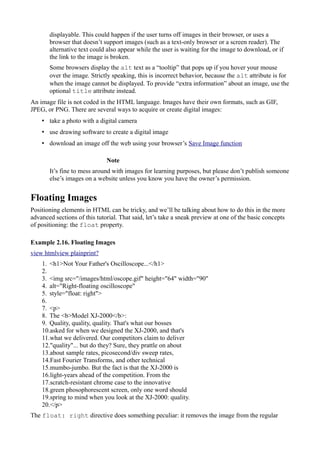

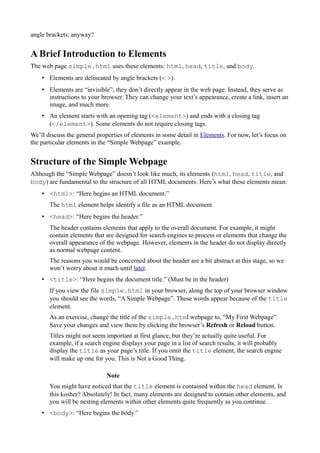
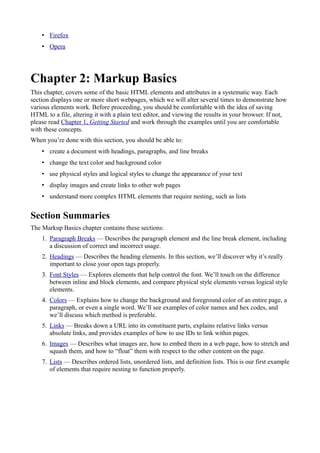
![• dl: Denotes the definition list itself. Within the dl you may only include dt and dd
elements.
• dt: Denotes a term within the definition list. Within the dt you may only include inline
content, such as plain text and inline style elements.
• dd: Denotes a definition for a term. Within the dd you may include any block or inline
content: paragraphs, other lists, whatever you like.
A definition list consists of terms (dt) immediately followed by definitions (dd).
Example 2.20. Definition List
view htmlview plainprint?
1. <h1>The Devil's Dictionary</h1>
2.
3. <dl>
4. <dt>ABSURDITY, n.</dt>
5. <dd>A statement or belief manifestly inconsistent with
6. one's own opinion.</dd>
7.
8. <dt>ACADEME, n.</dt>
9. <dd>An ancient school where morality and philosophy were
10. taught.</dd>
11.
12. <dt>ACADEMY, n.</dt>
13. <dd>[from ACADEME] A modern school where football is
14. taught.</dd>
15.
16. <dt>ACCIDENT, n.</dt>
17. <dd>An inevitable occurrence due to the action of immutable
18. natural laws.</dd>
19.</dl>
You may provide multiple definitions for a term, or even multiple definitions and multiple terms,
although this is less common. Some people also use definition lists to mark up screenplays and
other exchanges of dialogue: the speaker is a dt and their dialogue is a dd. If you’re writing
technical manuals, you can use definition lists to document variables, interface components, and
more. Definition lists are good for any “listed information that comes in pairs.”
Congratulations, you’ve finished the basic section! In the next section we learn about advanced font
styling, alignment, margins, and borders. Read on for more…
Chapter 3: Styling Basics
So far we’ve learned some basic HTML constructs: paragraphs, headings, and lists. That’s all very
nice, but by themselves, these elements are kind of lifeless. An h1 is just like any other h1 out
there… right?
Fortunately, no. We can customize the appearance of our h1s (and any other element) using a
language called Cascading Style Sheets (CSS). We already saw a hint of what style sheets can do
when we were mucking around with the foreground color and background color. But CSS can do
much more than this.
As an example of what CSS can do, take a walk through the CSS Zen Garden. Each page in the](https://image.slidesharecdn.com/html-tutorial-140814153142-phpapp01/85/Html-Tutorial-31-320.jpg)

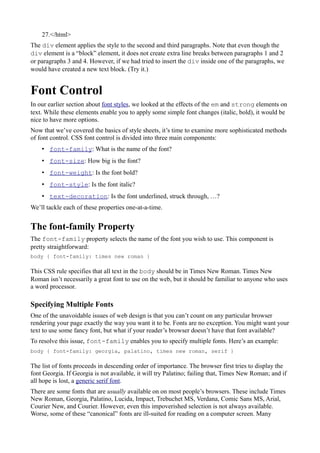
![But what if we want only some paragraphs to be red? We could override our “red-text” rule by
making copious use of the style attribute: <p style="color: black">. However, as “The
style Attribute” points out, this is not a good solution in the long term.
Fortunately, there is a way to “name” a style and re-use it over and over. This method is called a
style sheet class.
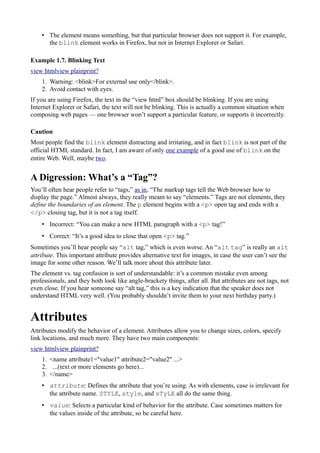
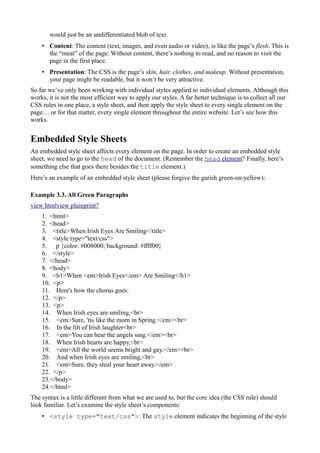
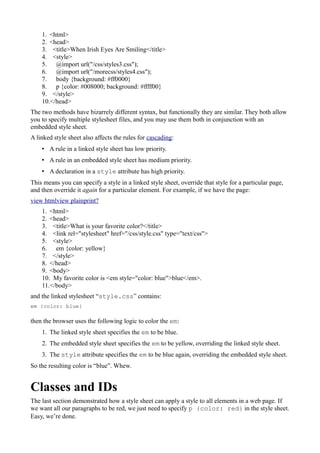
Style Sheet Classes
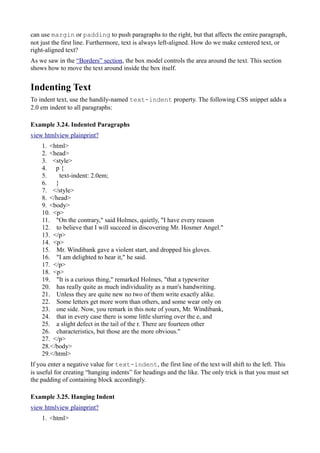
In Example 3.10, “Two CSS Classes”, we have an exchange of dialogue between two characters.
We’ll differentiate each character’s lines by applying a unique style. It would be tedious and
counterproductive to write out the full style in each p element, so instead we’ll define each style
once in the style sheet and use a class to call it multiple times.
Example 3.10. Two CSS Classes
view htmlview plainprint?
1. <html>
2. <head>
3. <title>An Ideal Husband</title>
4. <style type="text/css">
5. p {color: #000000}
6. p.goring {color: #ff0000}
7. p.phipps {color: #008000}
8. </style>
9. </head>
10.<body>
11. <p class="goring">
12. LORD GORING. [Taking out old buttonhole.] You see, Phipps, Fashion
13. is what one wears oneself. What is unfashionable is what other
14. people wear.
15. </p>
16. <p class="phipps">
17. PHIPPS. Yes, my lord.
18. </p>
19. <p class="goring">
20. LORD GORING. Just as vulgarity is simply the conduct of other
21. people.
22. </p>
23. <p class="phipps">
24. PHIPPS. Yes, my lord.
25. </p>
26. <p class="goring">
27. LORD GORING. [Putting in a new buttonhole.] And falsehoods the
28. truths of other people.
29. <p class="phipps">
30. PHIPPS. Yes, my lord.
31. </p>
32. <p class="goring">
33. LORD GORING. Other people are quite dreadful. The only possible
34. society is oneself.
35. </p>](https://image.slidesharecdn.com/html-tutorial-140814153142-phpapp01/85/Html-Tutorial-40-320.jpg)
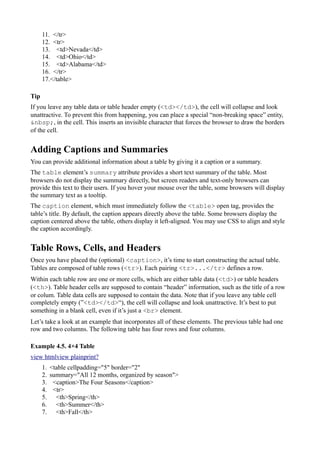
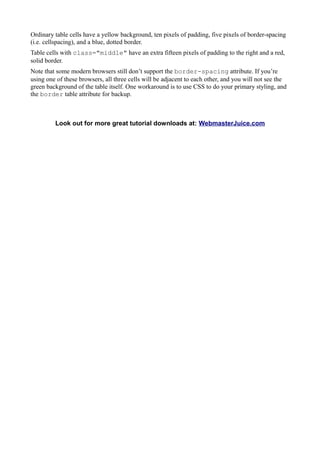
![16.
17. <blockquote class="padded">
18. <p>"An expert is a person who has made all the mistakes that
19. can be made in a very narrow field."</p>
20. <p>"Your theory is crazy, but it's not crazy enough to be true."
21. </blockquote>
22. <p>- Niels Bohr</p>
23.
24. <blockquote class="bordered">
25. <p>[As a student, attending a lecture by Einstein]
26. "You know, what Mr. Einstein said is not so stupid..."</p>
27. <p>[On his wife leaving him for a chemist]
28. "Had she taken a bullfighter, I would have understood, but an
29. ordinary chemist..."</p>
30. </blockquote>
31. <p>- Wolfgang Pauli</p>
32.</body>
33.</html>
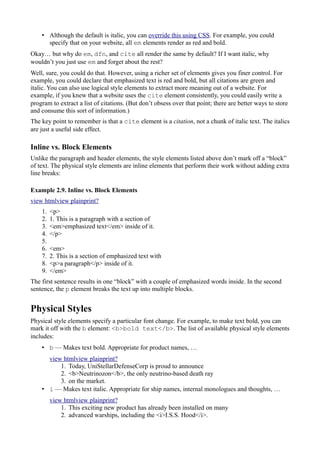
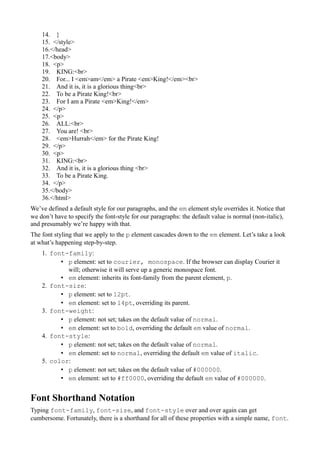
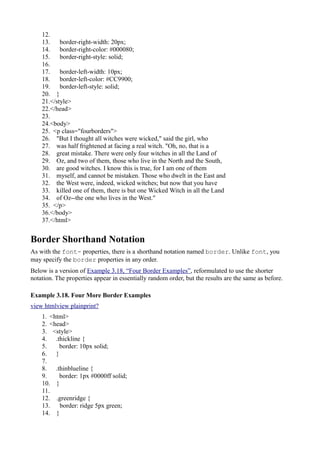
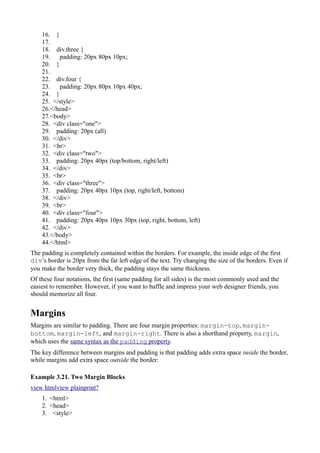
1. blockquote { background: #ccccff; }
First, we try setting the background to pale blue. Unfortunately, since the blockquote has no
padding, the colored space looks crowded.
2. blockquote.padded { padding: 3px; }
Next, we’ll try fixing this up by creating a new class, padded. This class inherits the
background color assigned to all blockquotes, and includes a little extra padding so that
the child paragraphs don’t look so crowded. Whoops! A whole lot of extra space appears
above and below the paragraphs. This looks even worse. What happened?
Adding padding to blockquote has triggered an interesting side-effect of the rules for
collapsing margins. As soon as you add padding or borders to the parent blockquote
element, margin collapsing goes away. This causes the paragraph’s margins to suddenly push
out the blockquote above and below.
3. blockquote.bordered { padding: 3px; border-left: 3px #0000cc
solid; }
Let’s try one more time. We’ll create another class, bordered, that includes the padding
and adds a decorative dark blue border to the left side of the blockquote.
4. blockquote.bordered p { margin: 10px; }
Finally, we’ll try to account for the problem introduced by the padding. The selector
blockquote.bordered p directs the browser to “apply this style to all p elements that
are inside a blockquote with a class of bordered.” As a quick fix, we’ll assign these
paragraphs a uniform margin of 10px. This pushes the paragraphs out to the right, and
provides a more uniform spacing around each paragraph. The spacing between each
paragraph is 10px, while the spacing between the blockquote and the paragraphs is 13px.
To make the spacing even more uniform, you could reduce the blockquote padding to
1px, or play a few more tricks with margins and padding, but let’s move on.
Align and Indent
You’ve probably noticed that most of your HTML paragraphs don’t have an initial indentation. You](https://image.slidesharecdn.com/html-tutorial-140814153142-phpapp01/85/Html-Tutorial-60-320.jpg)


This document provides an introduction and overview of HTML and CSS concepts through a tutorial. It begins with an introductory chapter that teaches the basics of creating a simple webpage with HTML elements like <html>, <head>, <title>, and <body>. It then covers topics like document structure, adding text, emphasizing text with <em> tags, and changing the background color with CSS. The document defines what elements, attributes, and values are in HTML. It discusses issues like misspellings and browser support for different elements.