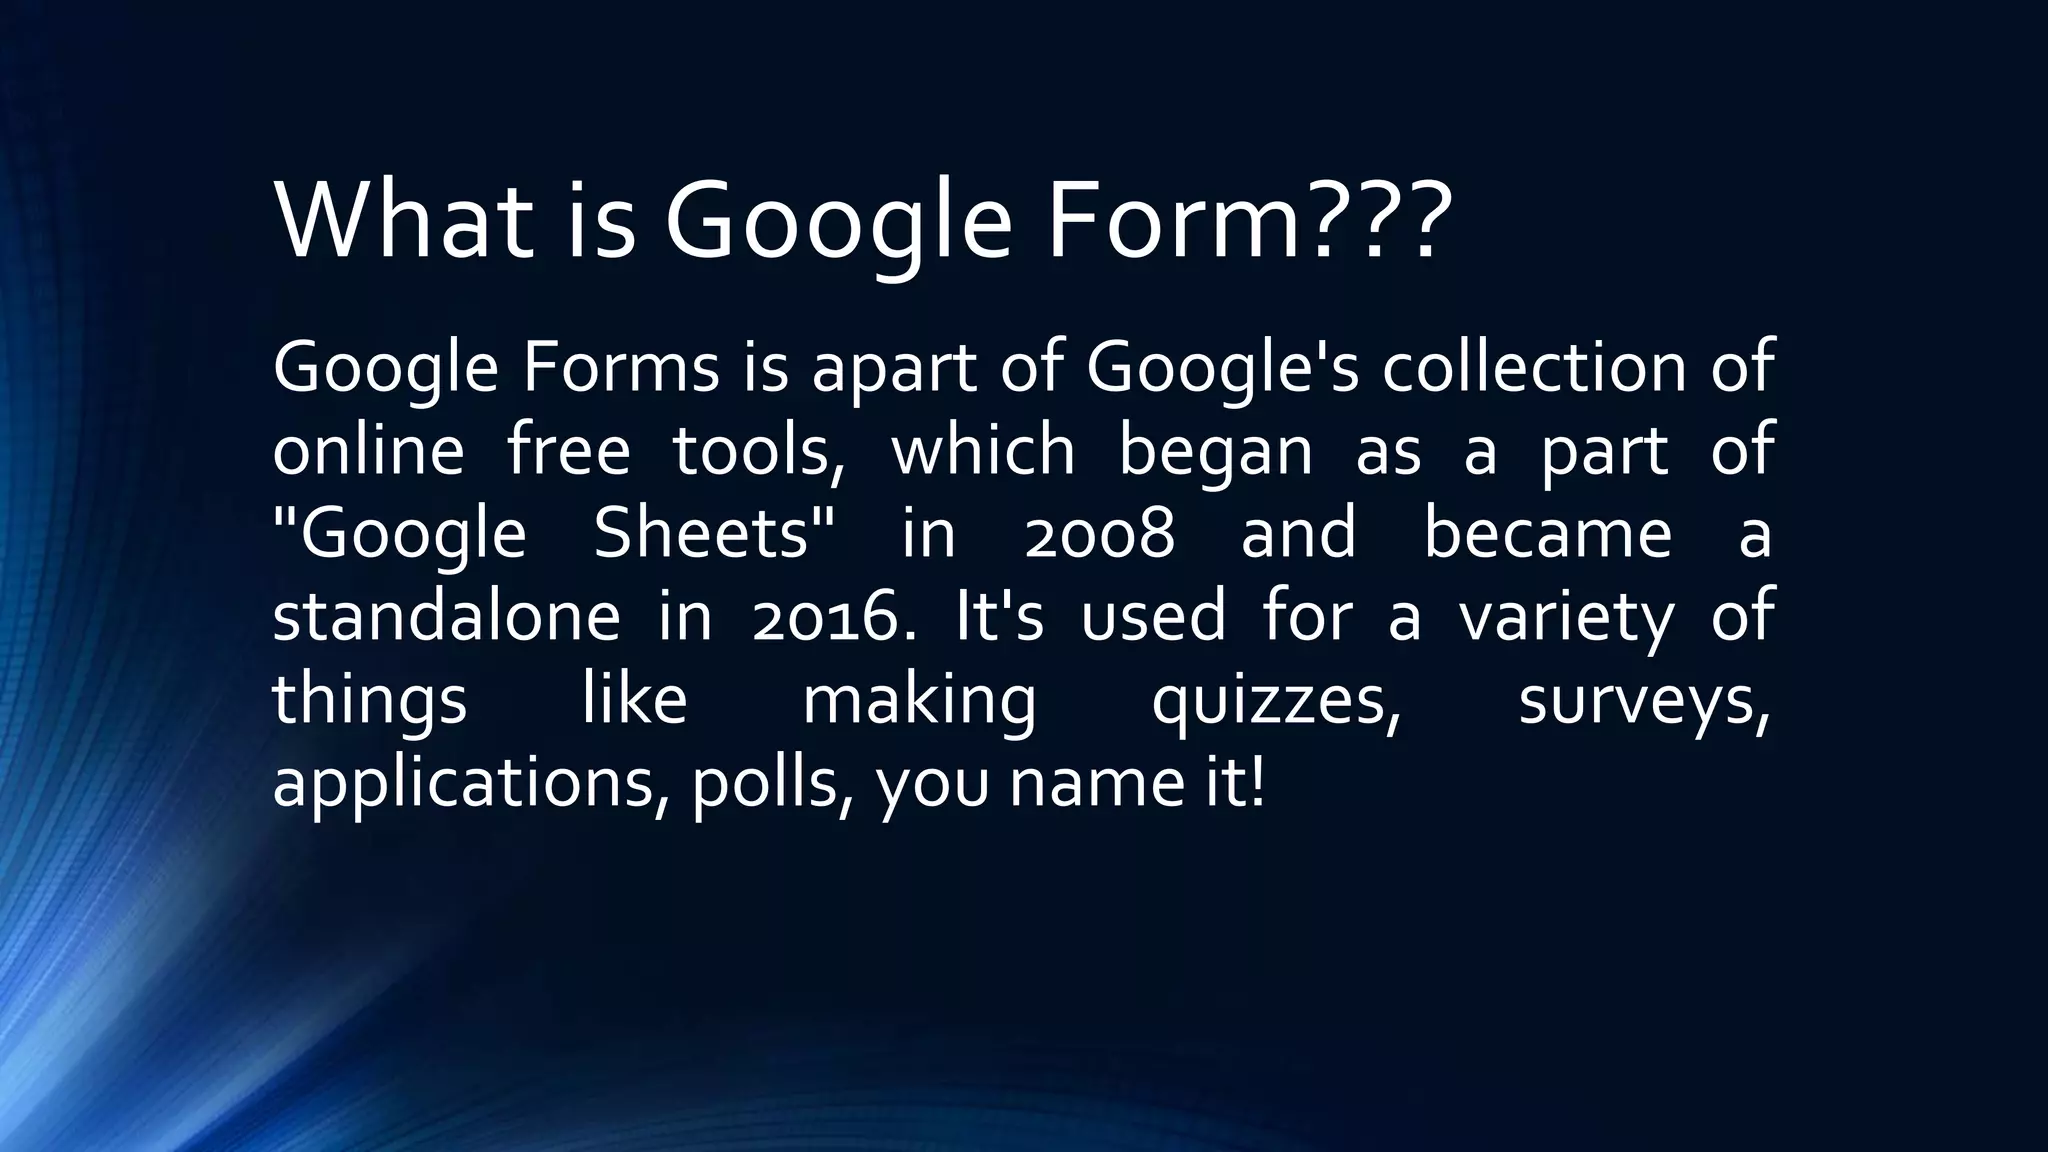
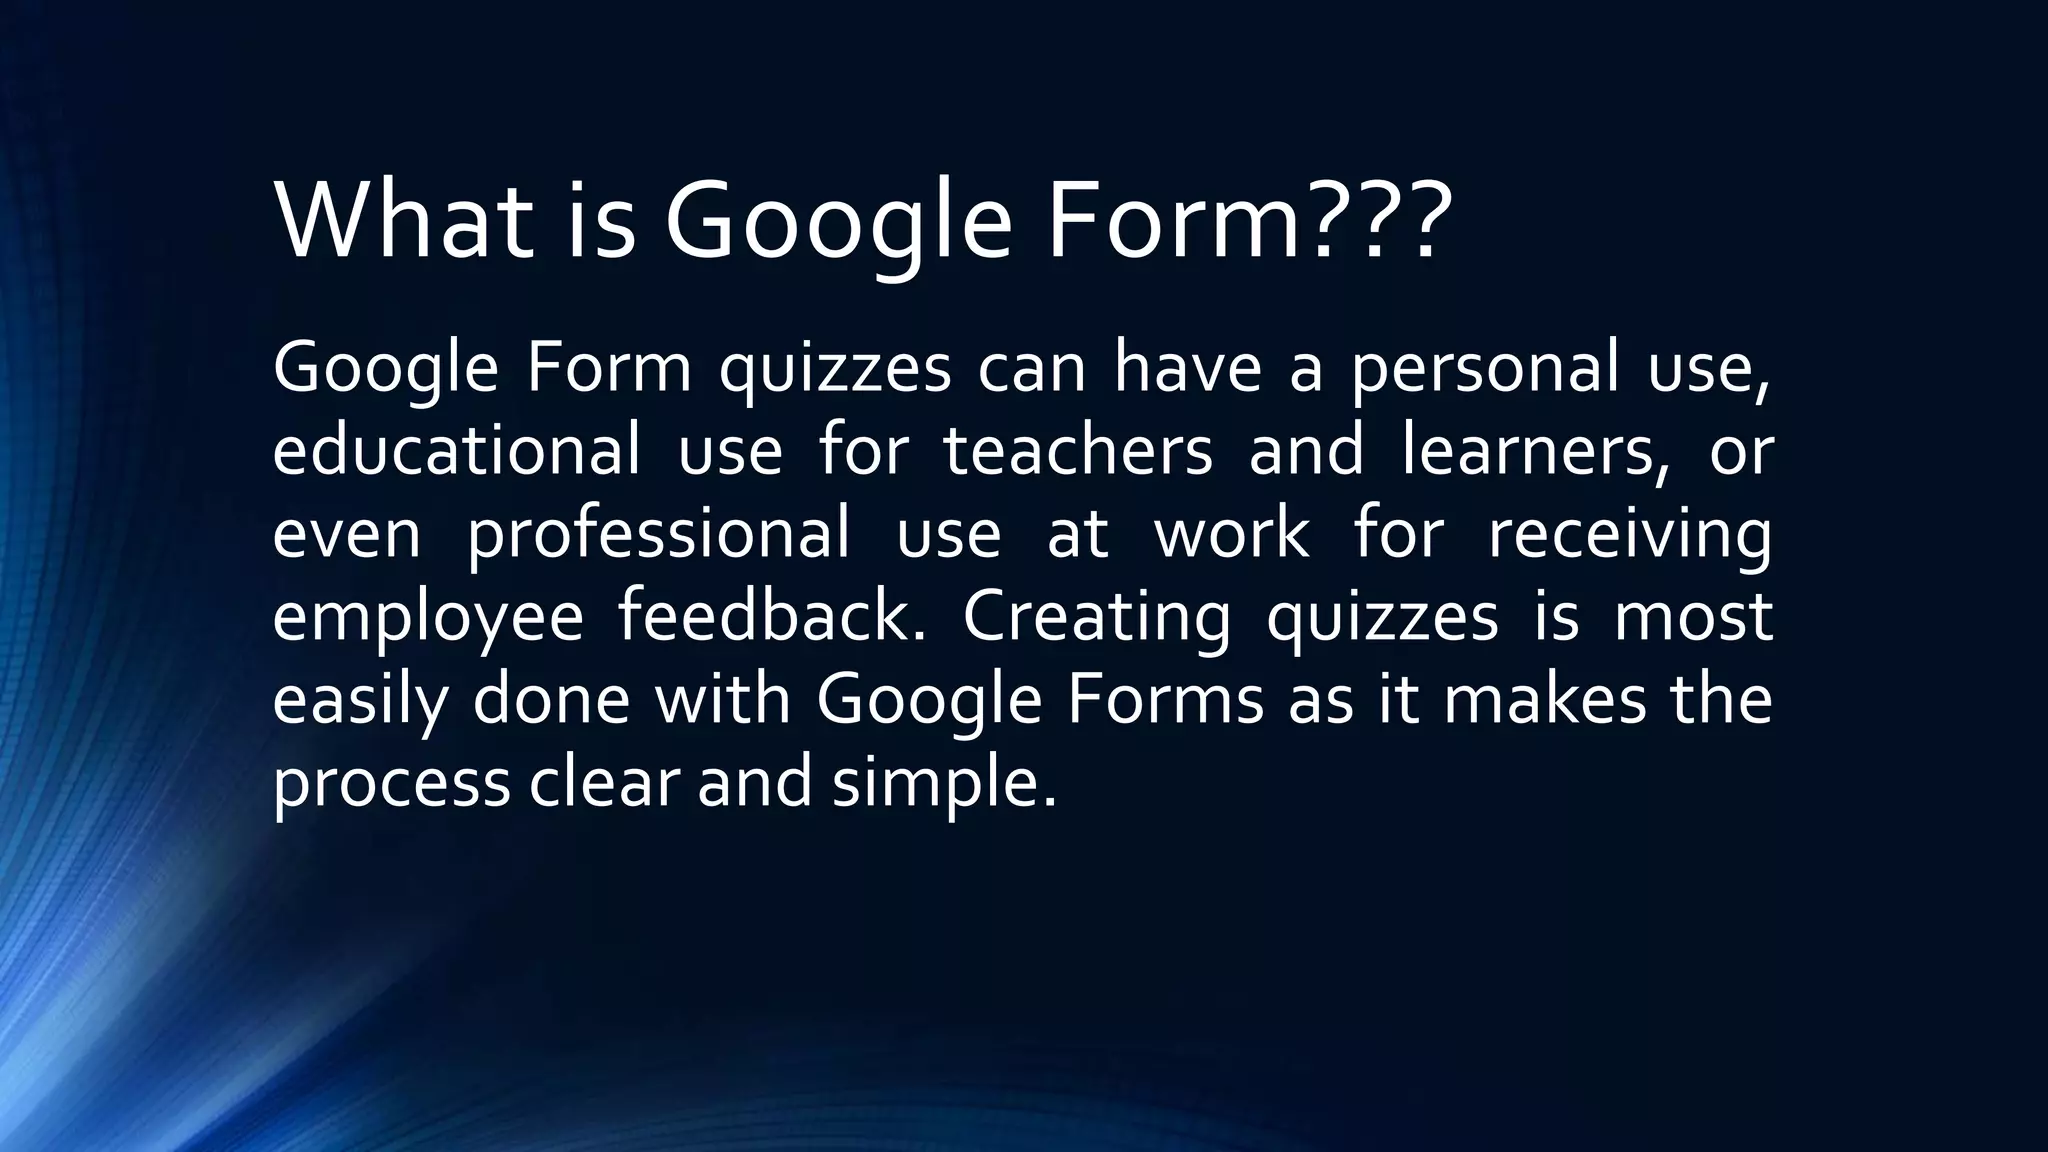
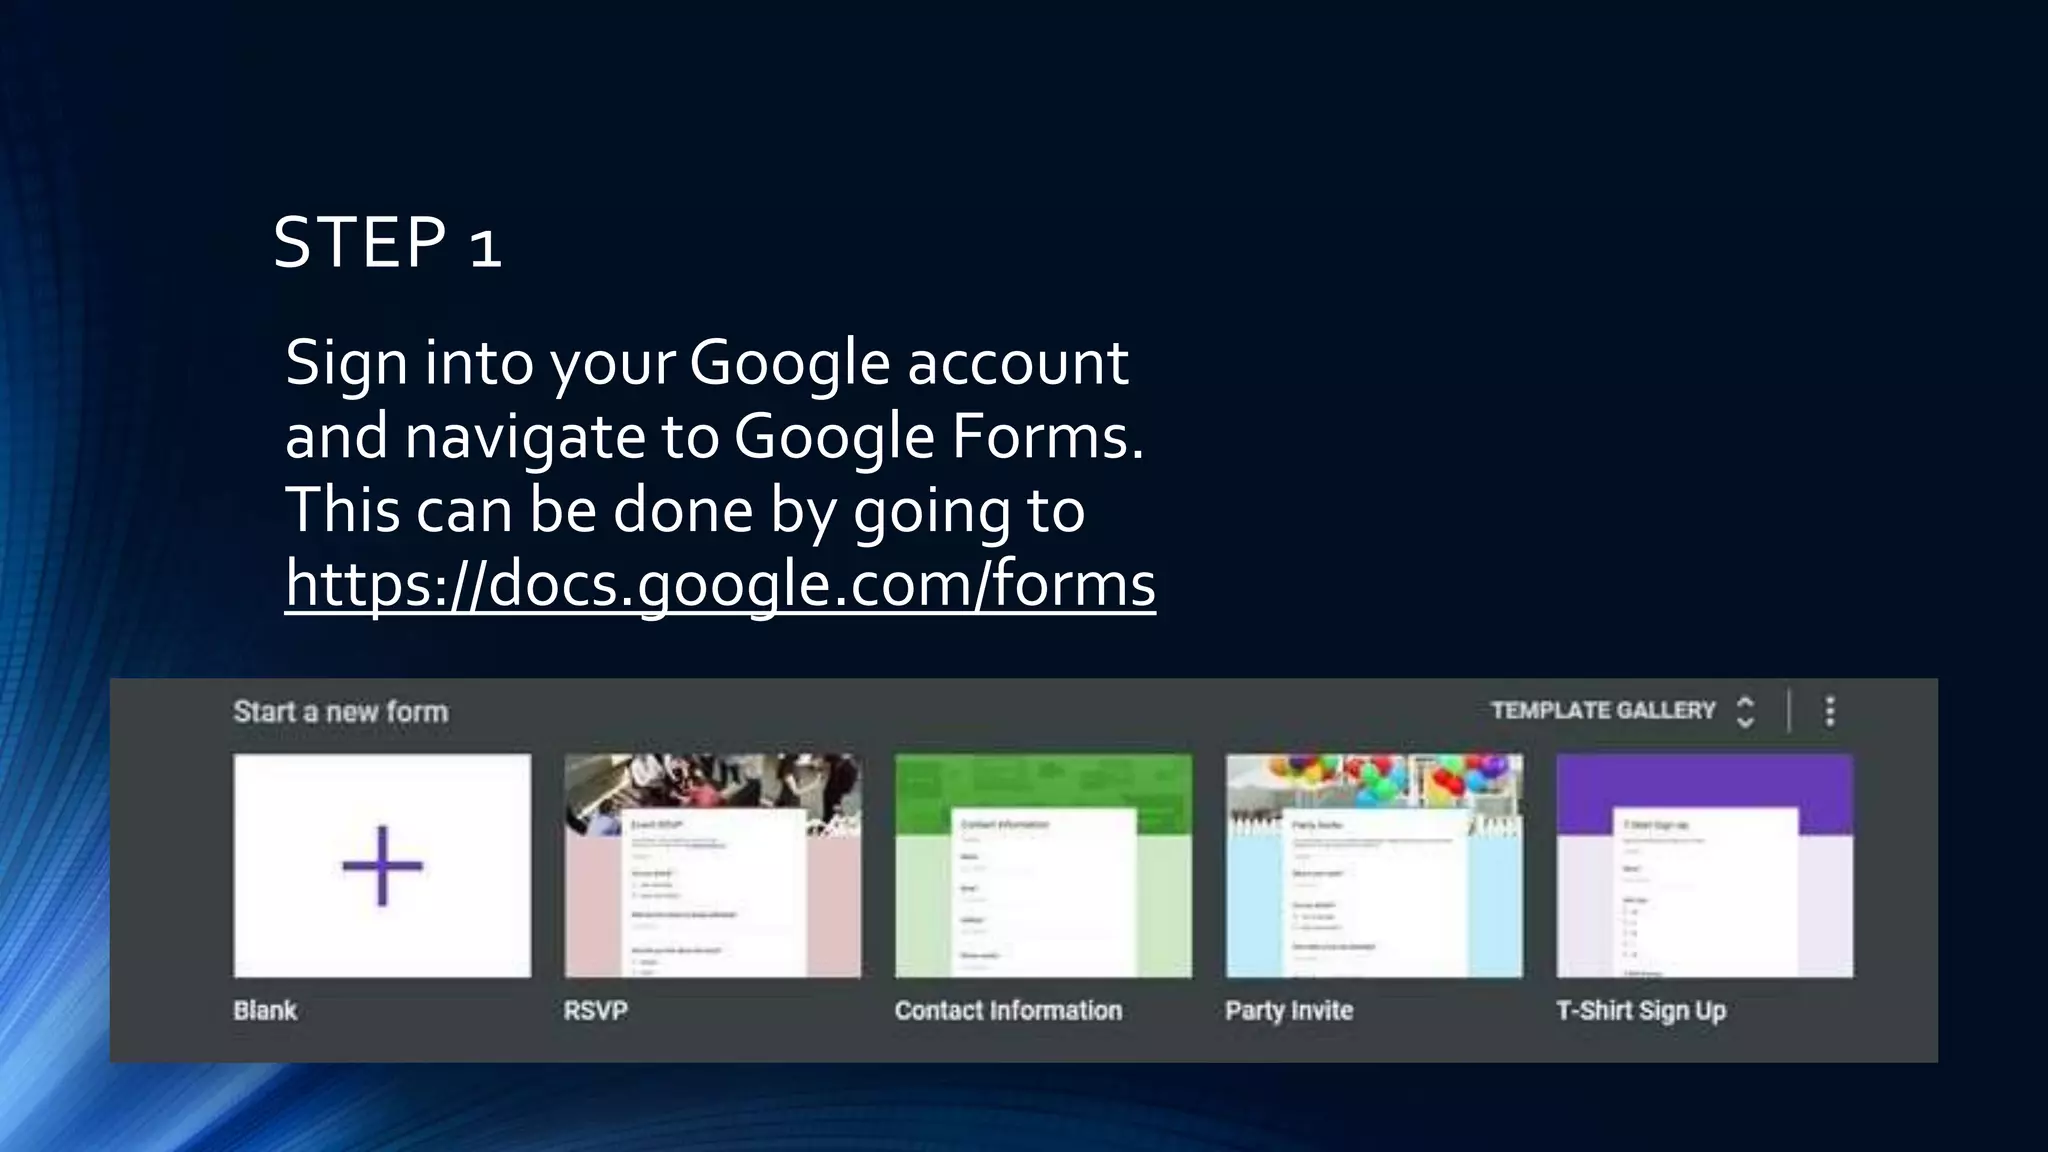
Google Forms
BASIC CONCEPTS AND FEATURES
How to Make a Quiz Using
What is Google Form???
Google Forms is apart of Google's collection of
online free tools, which began as a part of
"Google Sheets" in 2008 and became a
standalone in 2016. It's used for a variety of
things like making quizzes, surveys,
applications, polls, you name it!
What is Google Form???
Google Form quizzes can have a personal use,
educational use for teachers and learners, or
even professional use at work for receiving
employee feedback. Creating quizzes is most
easily done with Google Forms as it makes the
process clear and simple.
Steps in Making a Quiz
Using Google Forms
STEP 1
Sign into your Google account
and navigate to Google Forms.
This can be done by going to
https://docs.google.com/forms
STEP 2
Start a new blank form.
STEP 3
Title your form. A good title for a quiz could be something
like "<topic here> Quiz".
STEP 4
Write a quick description. Since you're making a quiz, you
could write something like "A quiz about <topic here>!"
STEP 5
Add the first question. Make sure that it's related to your
topic.
STEP 6
Add any additional questions to your quiz, along with the
answers.
STEP 7
Mark any questions required, if desired. Using the "Required"
designation will make it so that the quiz cannot be submitted
unless these questions are answered
STEP 8
Go to the "Quizzes" tab
under "Settings" and enable
"Make this a quiz". You can
also adjust the quiz settings
to your preference.
STEP 9
Click the "Answer Key"
option for each answer
and select the correct
answers. You can also add
points for each correct
answer if you like.
STEP 10
Add answer feedback for
correct/incorrect answers
(optional).
STEP 11
Customize the theme of
the quiz. There are all
sorts of different colors
and fonts. Experiment
with what you like most!
STEP 12
Open the quiz in view
mode. After you adjust it
to your liking, view it in a
separate tab by clicking
the eye icon on the
toolbar.
STEP 13
Take the quiz to ensure
that everything works
properly.
STEP 14
Navigate back to the
editing tab for your quiz.
Select the responses tab
to view the response you
submitted as well as any
other responses
submitted.
STEP 15
Finished! Your quiz is completed, and you
can e-mail it to whoever you want to take
the quiz.
Thank you so
much for
Listening
District_Name_School
Calasiao2_Ronald
Asuncion_Doyong-
Malabago NHS

How to Make a Quiz Using Google Forms ppt.pptx

  • 1.
    Google Forms BASIC CONCEPTSAND FEATURES How to Make a Quiz Using
  • 2.
    What is GoogleForm??? Google Forms is apart of Google's collection of online free tools, which began as a part of "Google Sheets" in 2008 and became a standalone in 2016. It's used for a variety of things like making quizzes, surveys, applications, polls, you name it!
  • 3.
    What is GoogleForm??? Google Form quizzes can have a personal use, educational use for teachers and learners, or even professional use at work for receiving employee feedback. Creating quizzes is most easily done with Google Forms as it makes the process clear and simple.
  • 4.
    Steps in Makinga Quiz Using Google Forms
  • 5.
    STEP 1 Sign intoyour Google account and navigate to Google Forms. This can be done by going to https://docs.google.com/forms
  • 6.
    STEP 2 Start anew blank form.
  • 7.
    STEP 3 Title yourform. A good title for a quiz could be something like "<topic here> Quiz".
  • 8.
    STEP 4 Write aquick description. Since you're making a quiz, you could write something like "A quiz about <topic here>!"
  • 9.
    STEP 5 Add thefirst question. Make sure that it's related to your topic.
  • 10.
    STEP 6 Add anyadditional questions to your quiz, along with the answers.
  • 11.
    STEP 7 Mark anyquestions required, if desired. Using the "Required" designation will make it so that the quiz cannot be submitted unless these questions are answered
  • 12.
    STEP 8 Go tothe "Quizzes" tab under "Settings" and enable "Make this a quiz". You can also adjust the quiz settings to your preference.
  • 13.
    STEP 9 Click the"Answer Key" option for each answer and select the correct answers. You can also add points for each correct answer if you like.
  • 14.
    STEP 10 Add answerfeedback for correct/incorrect answers (optional).
  • 15.
    STEP 11 Customize thetheme of the quiz. There are all sorts of different colors and fonts. Experiment with what you like most!
  • 16.
    STEP 12 Open thequiz in view mode. After you adjust it to your liking, view it in a separate tab by clicking the eye icon on the toolbar.
  • 17.
    STEP 13 Take thequiz to ensure that everything works properly.
  • 18.
    STEP 14 Navigate backto the editing tab for your quiz. Select the responses tab to view the response you submitted as well as any other responses submitted.
  • 19.
    STEP 15 Finished! Yourquiz is completed, and you can e-mail it to whoever you want to take the quiz.
  • 20.
    Thank you so muchfor Listening
  • 21.