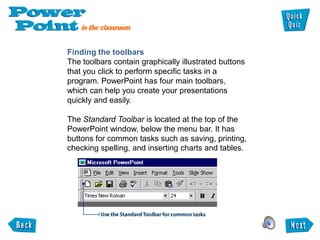
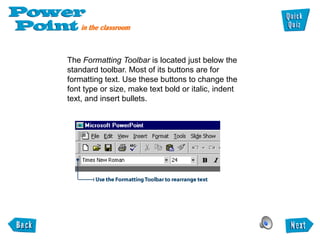
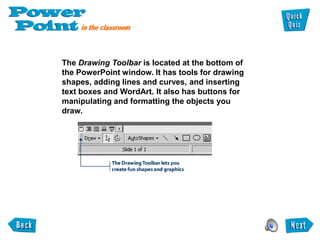
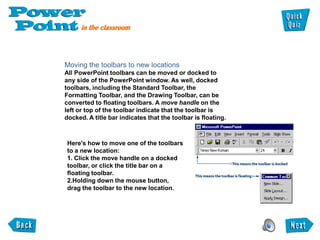
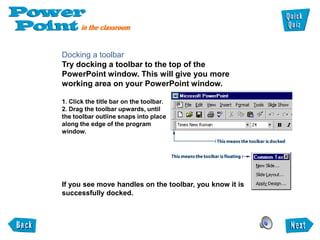
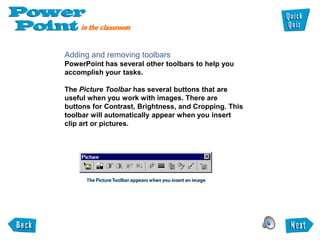
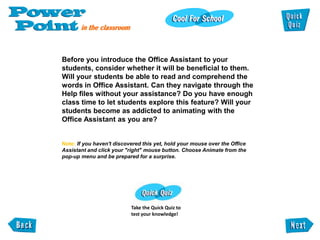
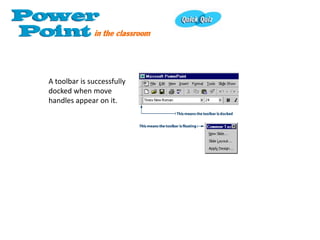
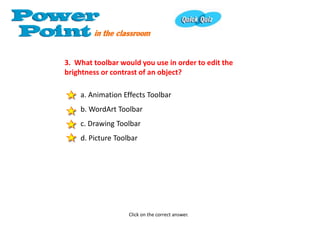
The document provides an overview of PowerPoint basics including toolbars, the Office Assistant, and key terminology. It discusses the four main toolbars in PowerPoint - the Standard, Formatting, Drawing, and Picture toolbars. It describes how to move and dock toolbars. It also summarizes how to activate and use the Office Assistant animated help system to get tips and assistance. Key terms introduced include slides, presentations, objects, slide shows, and transitions. The document concludes with a quick quiz to test the reader's understanding of the covered topics.

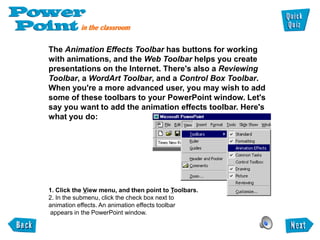
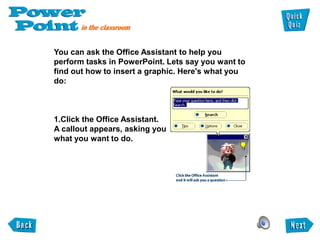
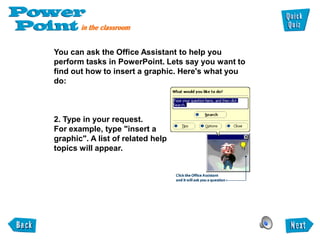
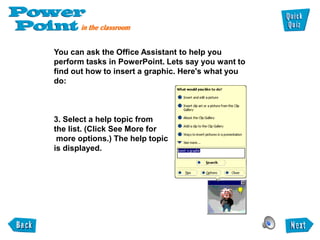
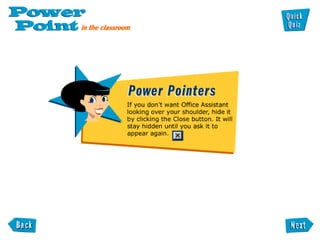


![Duke%20 %20 assignmet%20#1%20tutorial%20&%20quiz.ppt%20(1a2)[1]](https://cdn.slidesharecdn.com/ss_thumbnails/duke20-20assignmet20120tutorial2020quiz-ppt201a21-100721124020-phpapp01-thumbnail.jpg?width=640&height=640&fit=bounds)


