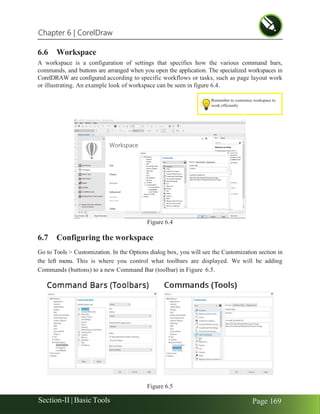
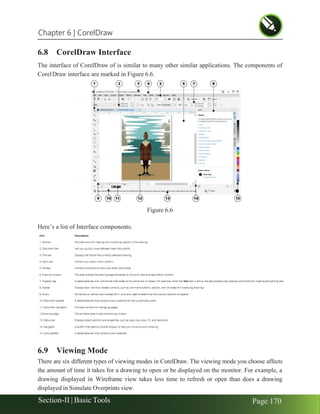
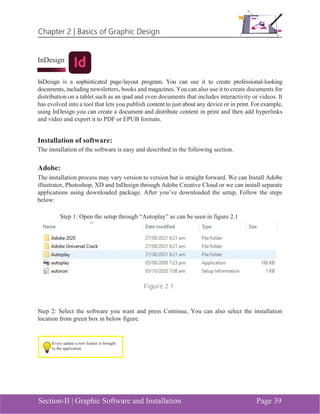
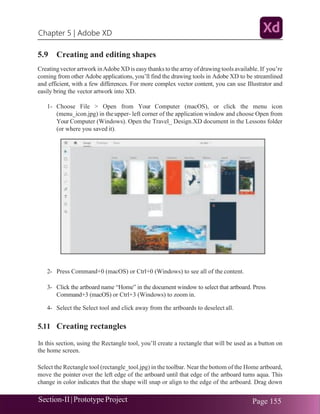
The document is a textbook for a Grade 9 course in Graphics Designing published by the National Vocational and Technical Training Commission (NAVTTC) aimed at preparing students for technical careers. It encompasses both theoretical and practical aspects of graphics, including computer fundamentals, software tools, and various graphic design techniques, with hands-on activities and evaluations included. This innovative course is introduced for the first time in Pakistan to cultivate a skilled workforce in the field of graphics and media production.


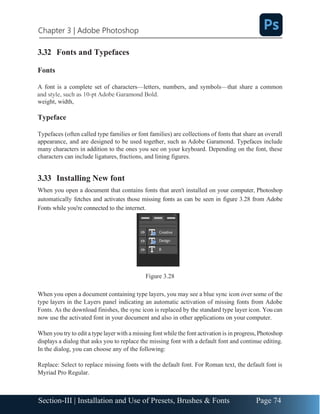


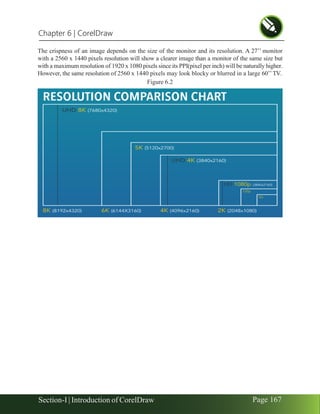
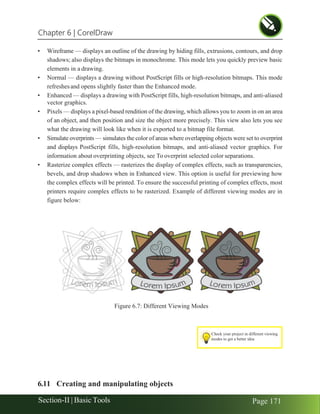
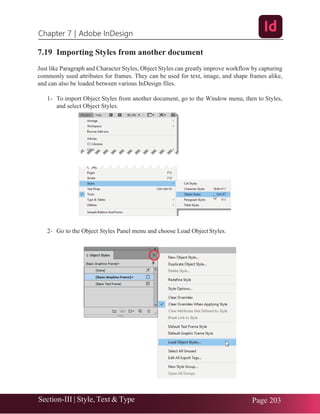
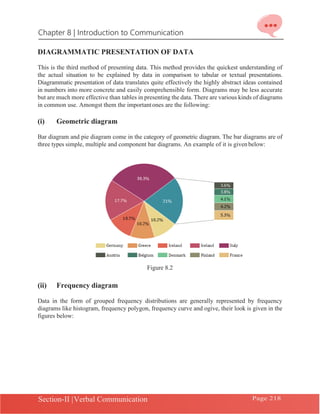
![Chapter 3 | Adobe Photoshop
Page 100
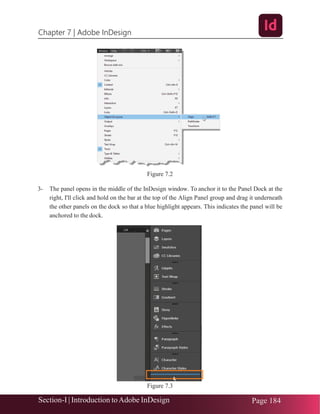
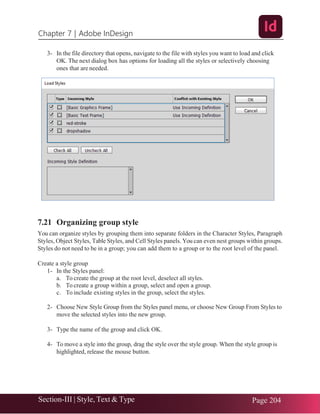
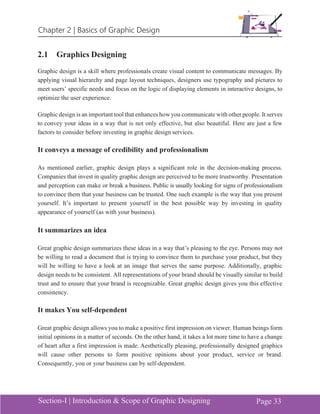
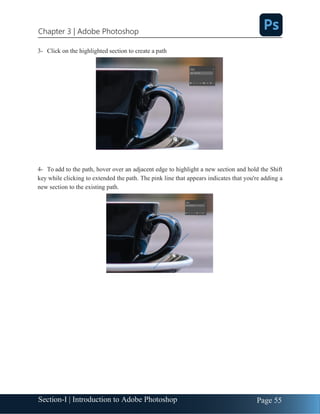
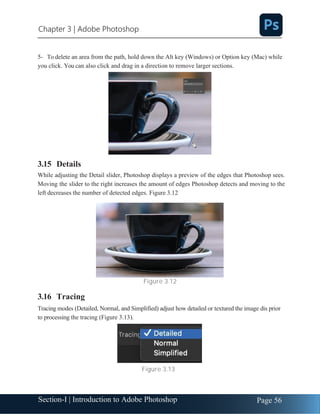
Section-VII | Quick fixing and Retouching
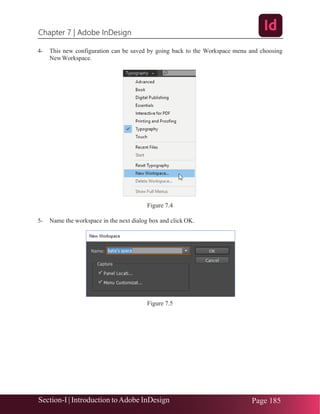
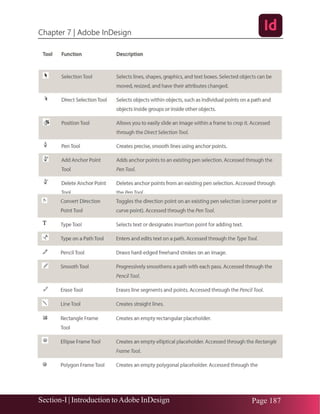
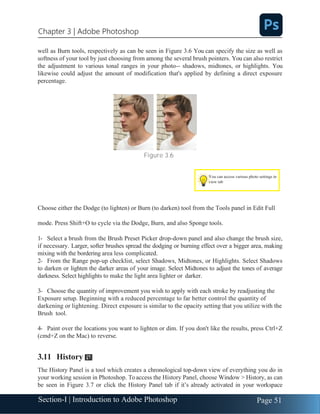
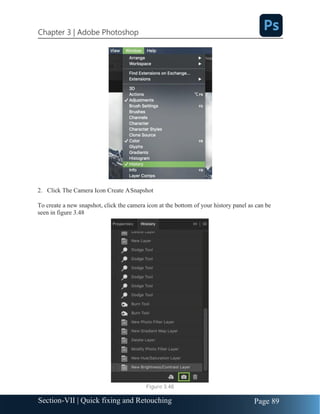
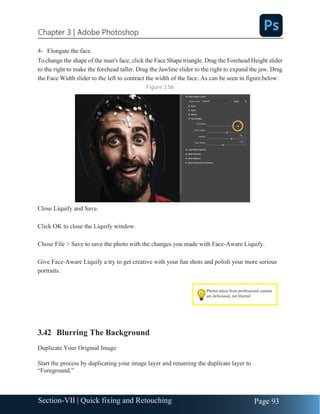
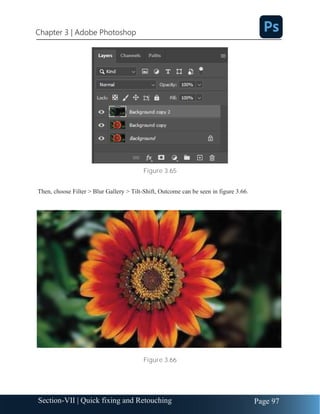
Maintain the same exposure
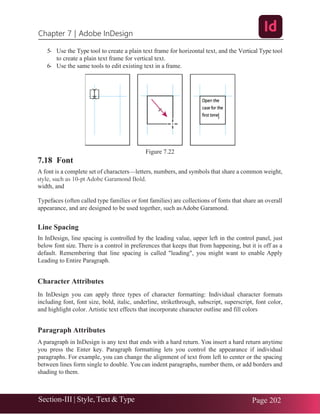
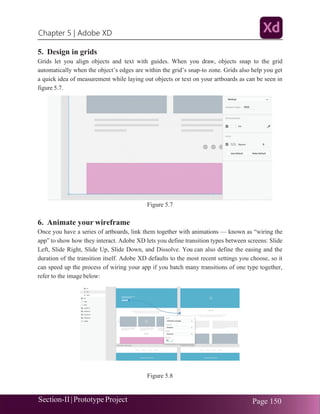
Avoid using the flash in some pictures and not in others. The blending features in Photomerge helps
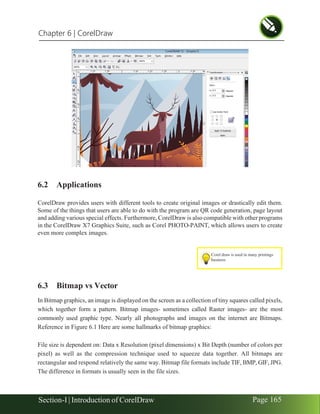
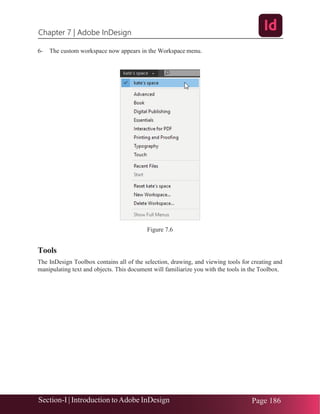
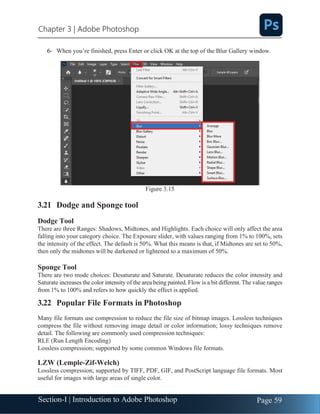
smooth out different exposures, but extreme differences make alignment difficult. Some digital
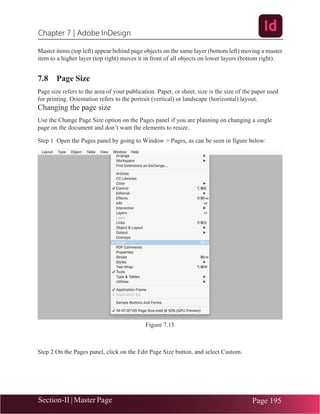
cameras change exposure settings automatically as you take pictures, so you may need to check
your camera settings to be sure that all the images have the same exposure.
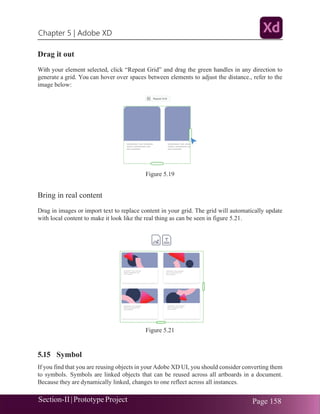
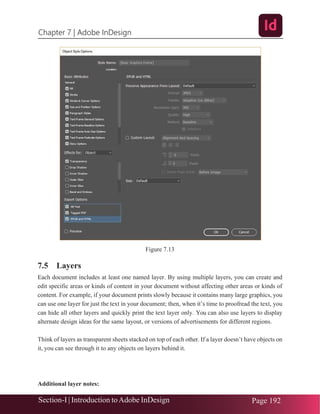
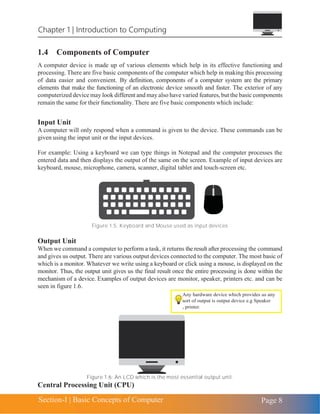
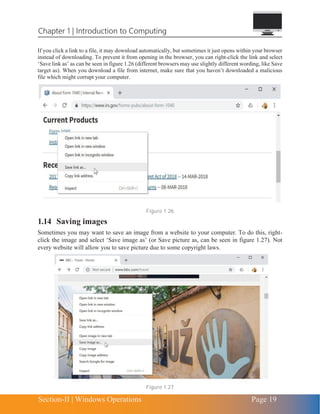
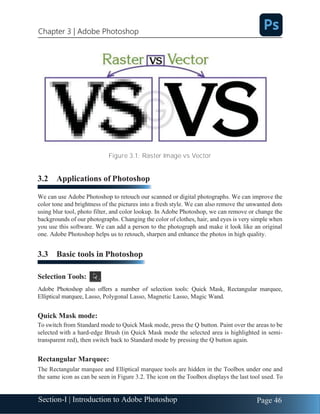
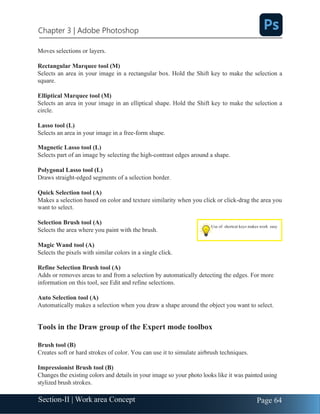
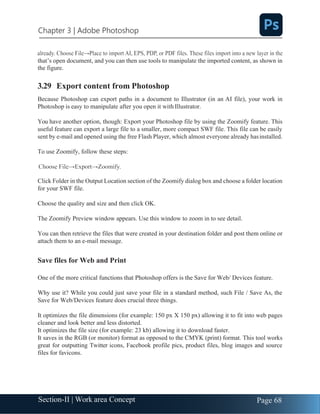
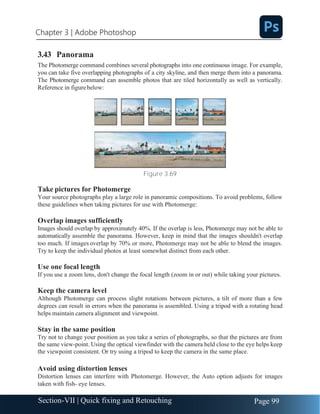
Image cropping and slicing
We use this tool to crop an image and it is similar to the Rectangular Marquee tool. The difference
is that when you press the [Enter/Return] key, it crops your image to the size of the box. And outside
of the box information is not shown whenever you do not press "Ctrl+Z". Reference in figure
below:
Figure 3.71
Figure 3.72
On the other hand, the slice tool creates multiple images from one image or layer.](https://image.slidesharecdn.com/graphicdesigningfor9th-240330125156-f0caeaf5/85/GraphicDesigningfor9th-pdf-107-320.jpg)
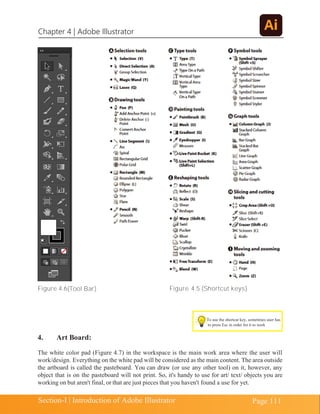
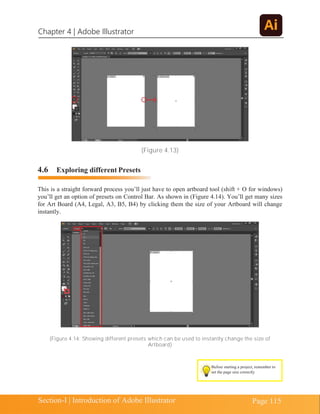

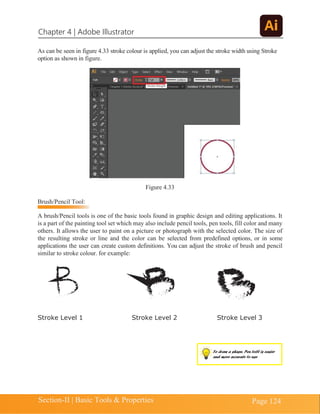

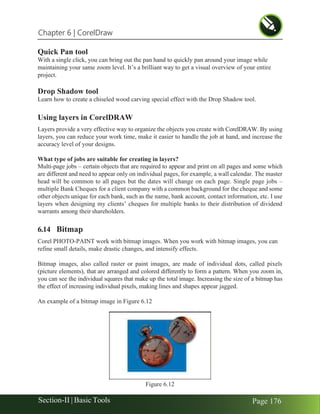
![Chapter 4 | Adobe Illustrator
Section-II | Basic Tools & Properties Page 127
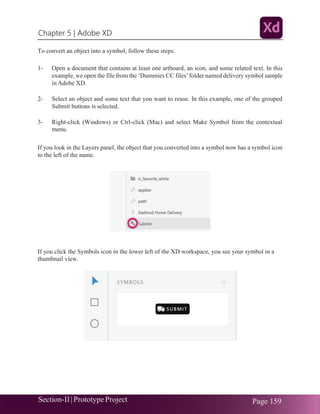
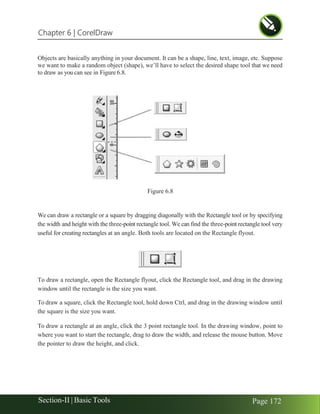
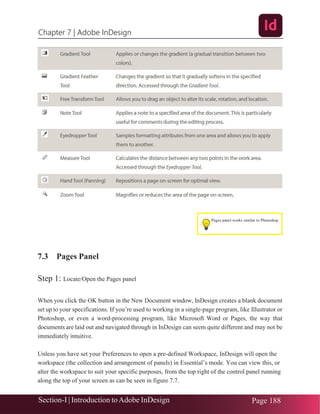
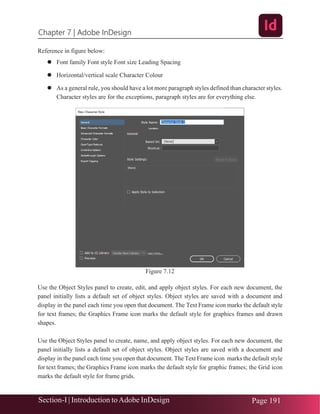
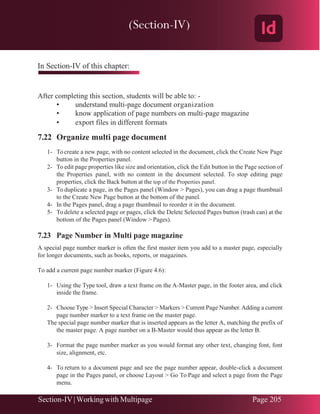
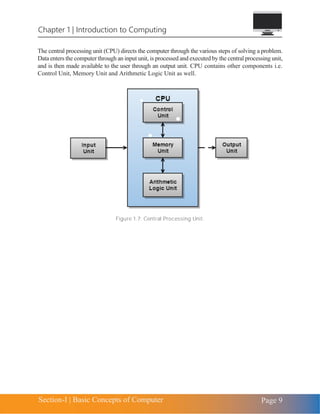
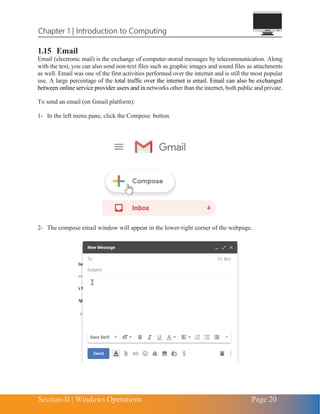
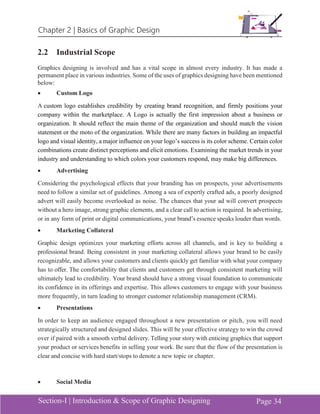
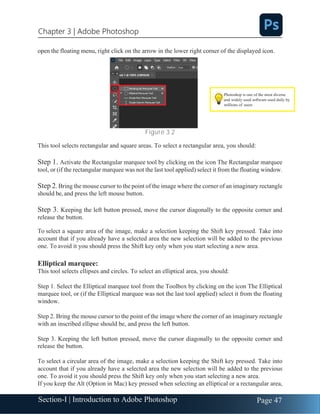
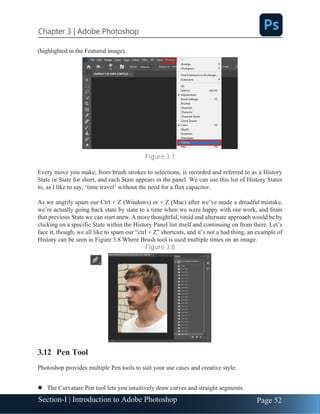
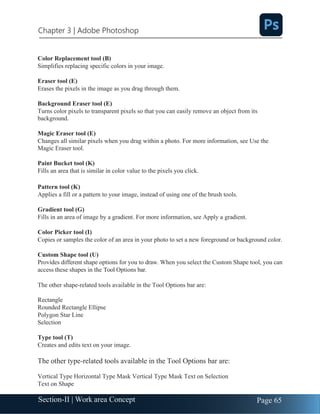
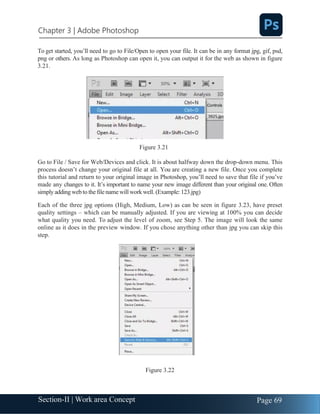
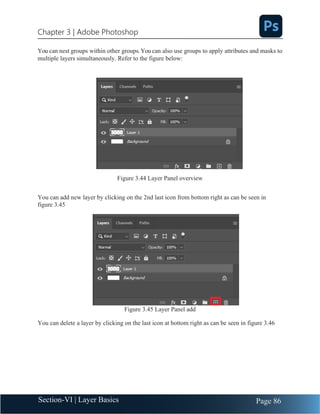
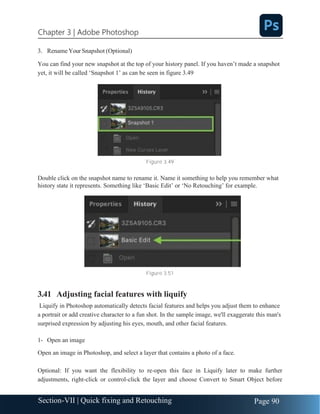
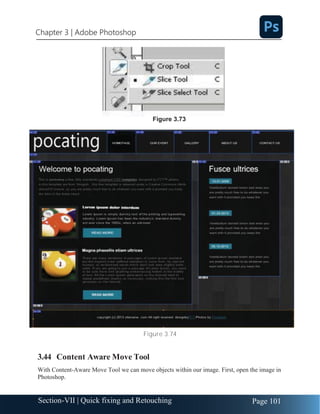
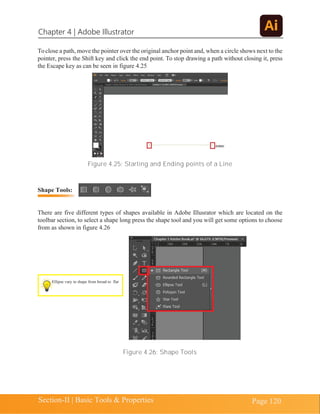
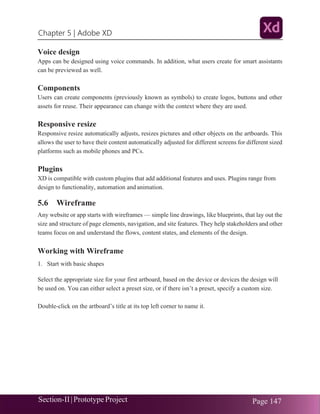
I also need to combine the overlapping sections of the fins with the body, so using the Selection
Tool, I'll select the fins and body, then switch back to the Shape Builder Tool and drag through the
overlapping section of the top fin shape, through the body and into the overlapping part of the
bottom fin to combine them.
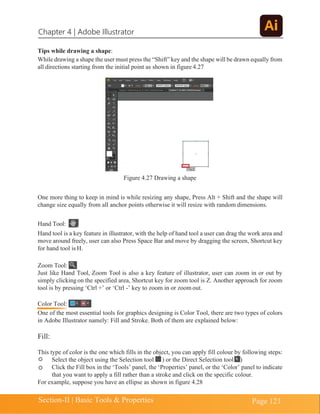
Here I've added another shape for the mouth, which I want to subtract from the body. I'll select the
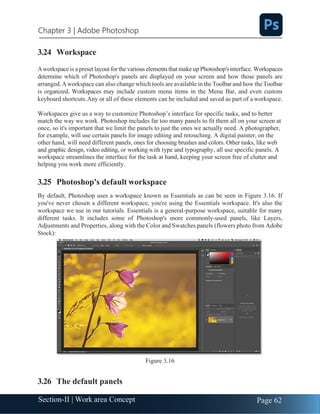
body and mouth shapes, then choose the Shape Builder Tool. This time I'll hold down theAlt and drag
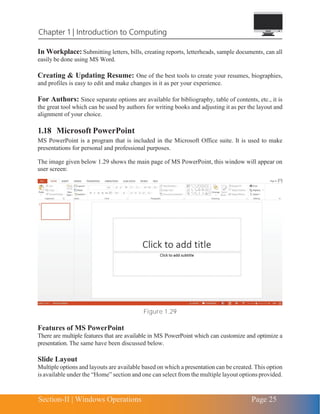
through just the mouth shape. Notice the minus sign [-] that appears in the cursor.
Here's the cartoon fish illustration with color applied.](https://image.slidesharecdn.com/graphicdesigningfor9th-240330125156-f0caeaf5/85/GraphicDesigningfor9th-pdf-134-320.jpg)


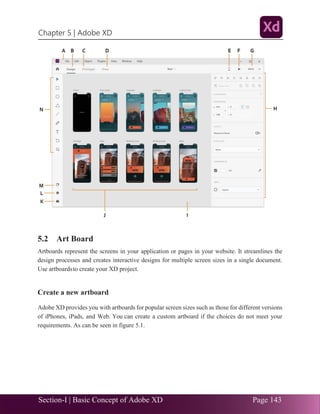

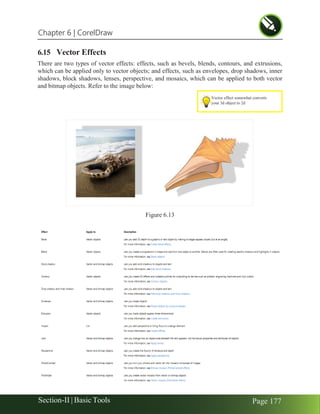
![Chapter 5 | Adobe XD
Section-II|Prototype Project Page 156
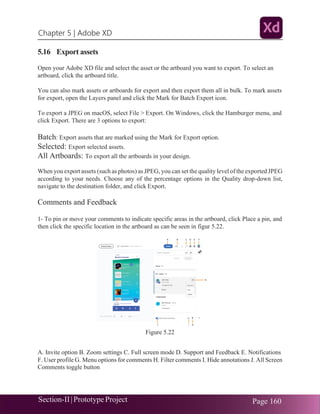
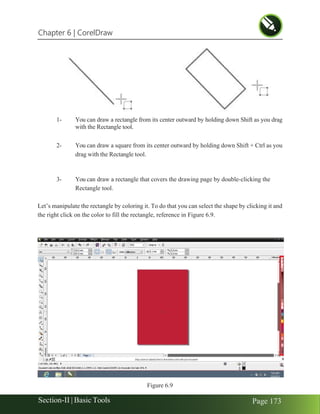
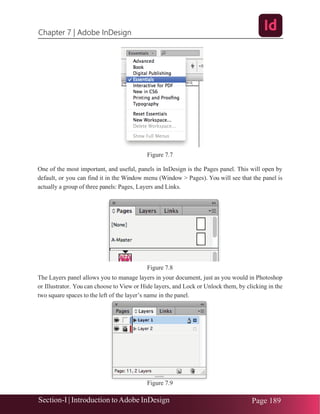
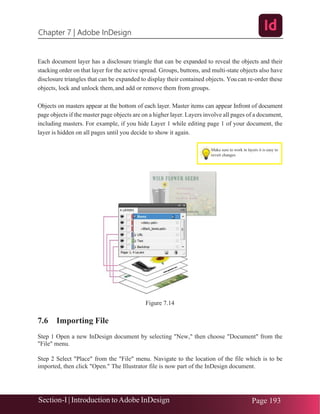
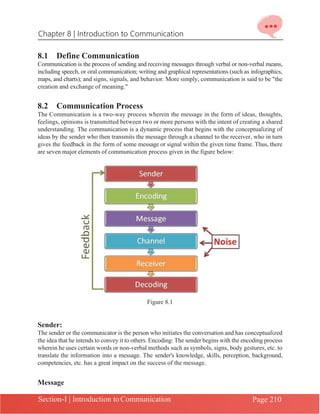
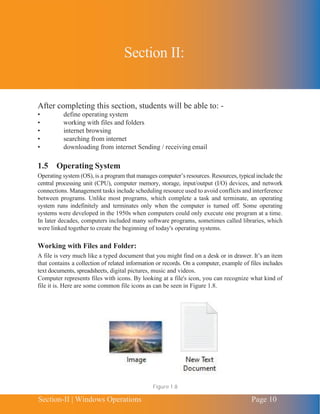
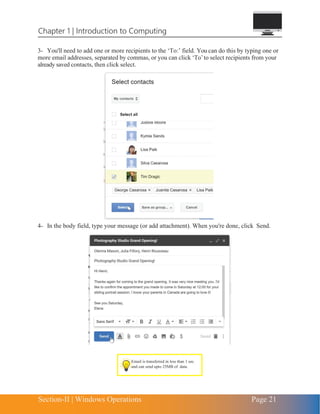
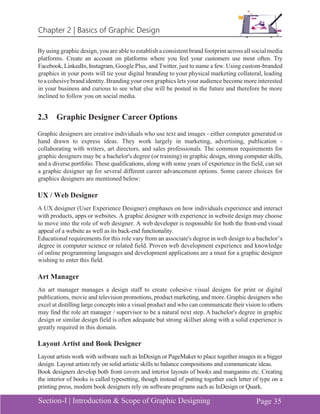
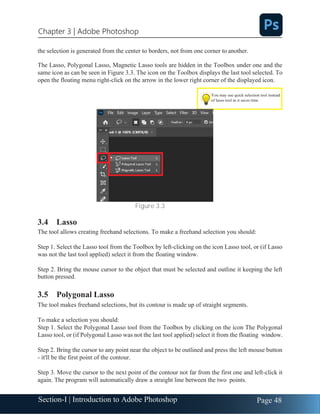
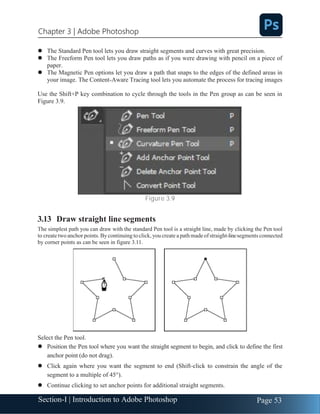
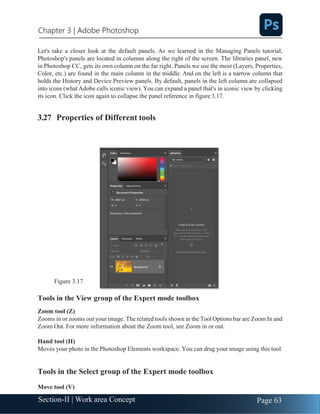
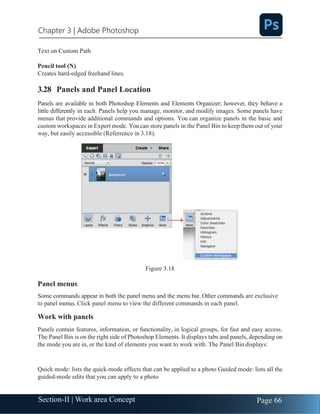
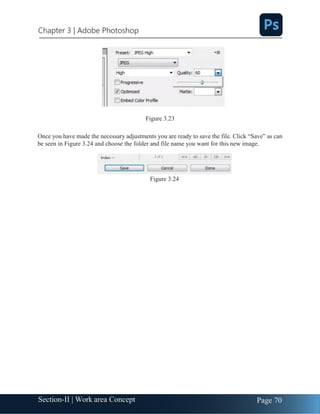
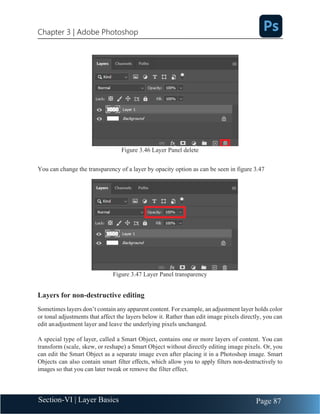
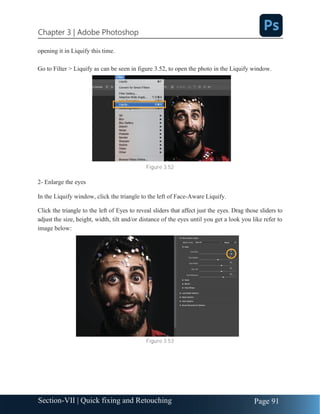
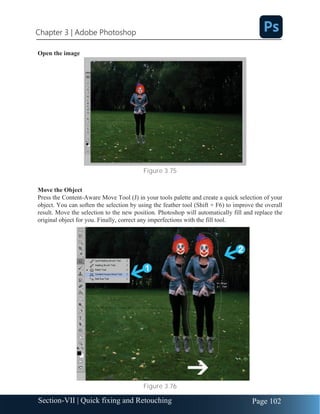
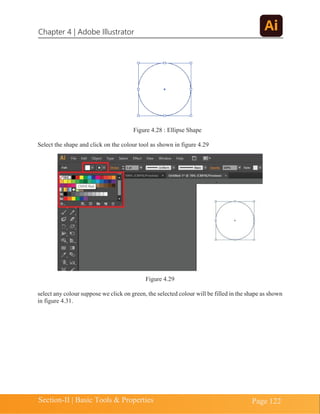
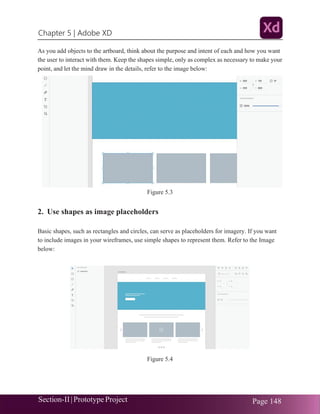
and to the right to draw a rectangle, stopping on the right edge of the artboard. When alignment
guides appear on the right, release the mouse button. Don’t worry about the height for now, refer to
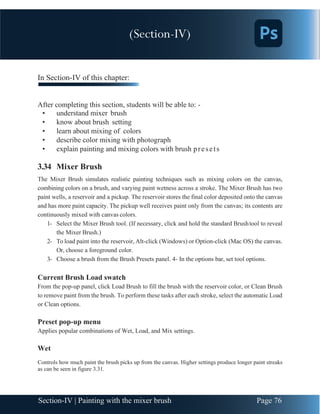
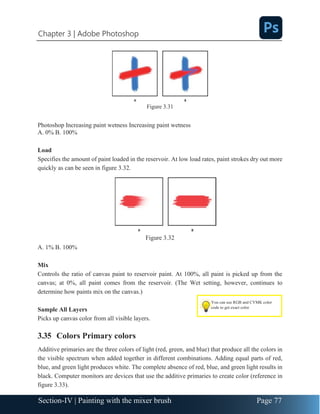
the figure below:
Figure 5.16
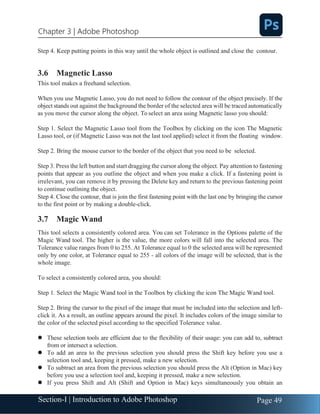
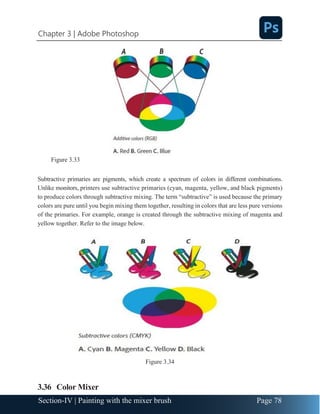
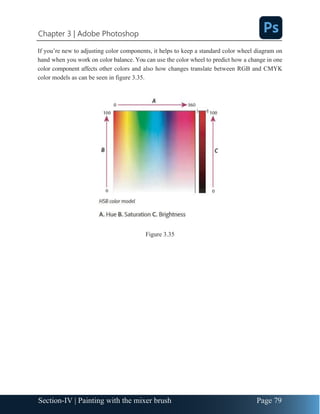
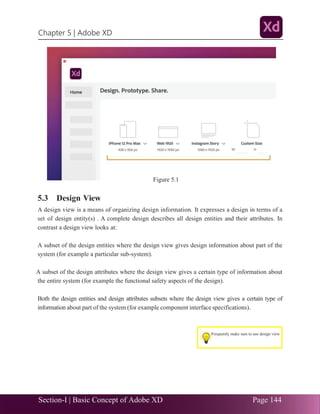
5.12 Creating ellipses
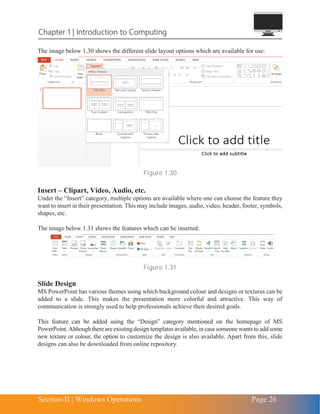
Another drawing tool you can use is the Ellipse tool. In this section, you’ll create several circles
that will be used as a button in the app footer.
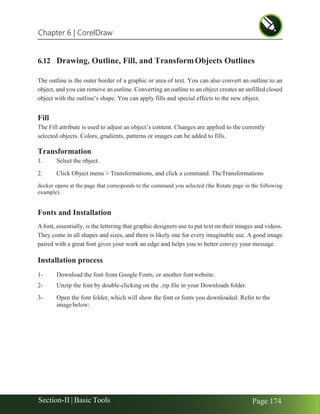
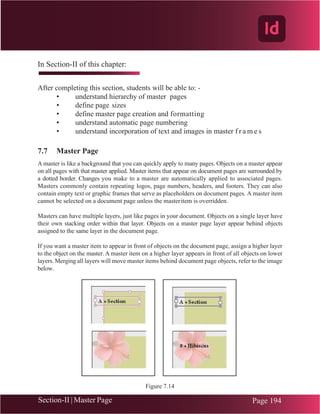
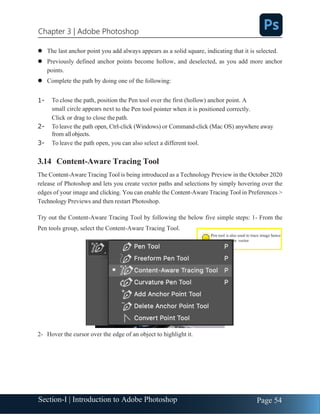
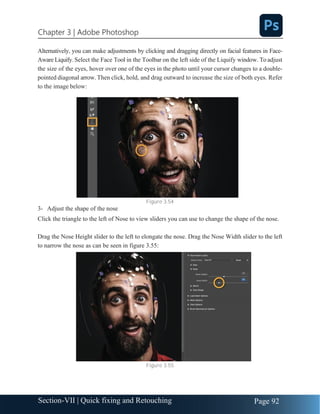
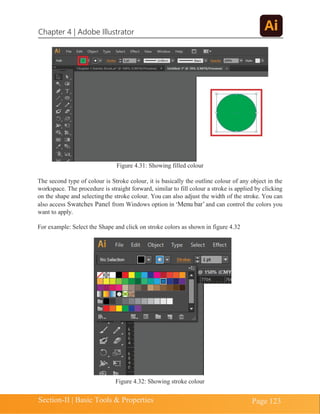
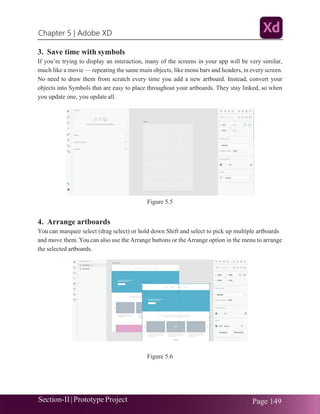
Press Command+Shift+A (macOS) or Ctrl+Shift+A (Windows) to deselect all so that you will be
able to see all of the artboards in the Layers panel.
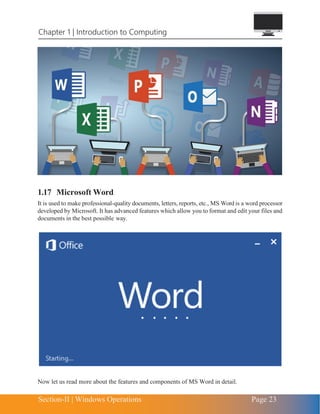
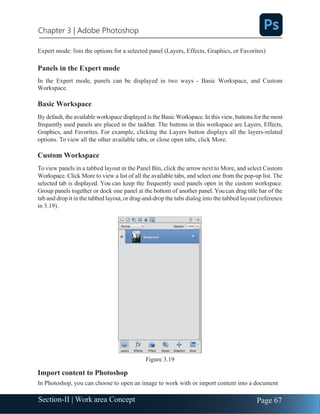
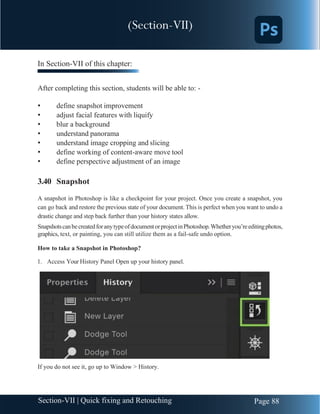
Click the Layers panel button (layers_panel.jpg) in the lower-left corner or Ctrl+Y [Windows]) to
open the Layers panel, if it isn’t already open. Double-click the artboard icon to the left of the
artboard name “Icons” in the Layers panel to fit the artboard in the document window.
Figure 5.17
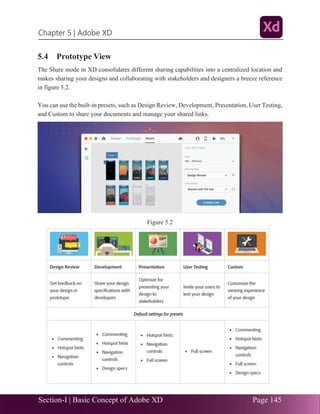
5.13 Repeat Grid Function
Simply click-and-drag to turn a single element into repeating grids. Create sets of replicated
elements like photo galleries, product listings, contact lists, menus, and more. You can also add
states to repeat effects and interactions across elements, all at once.](https://image.slidesharecdn.com/graphicdesigningfor9th-240330125156-f0caeaf5/85/GraphicDesigningfor9th-pdf-163-320.jpg)