Download to read offline


![41
Using the directory and lists
Gigaset SL400/400 A / GBR / A31008-M2103-L101-4-7619 / direct_charges.fm / 30.07.2014Version4,16.09.2005
Listscontainingnew messagesareatthetop
of the list and are marked in a bold font.
Select a list with q. To open, press §OK§.
Disable/enable flashing of the
message key
You can select whether the message key
f flashes (default setting) or does not
flash when new messages arrive. Please do
the following:
¤ Press the key sequence:
v ¢*#Q5#M
The following is displayed:
¤ Press one of the following keys to select
the message type:
Your selection is displayed (e.g. 5 for
missed calls); the current setting flashes:
¤ Press key Q or
, to set the behav-
ior for new messages:
Your selection is displayed (e.g. 1):
¤ Press the display key §OK§.
Missed alarms list
Missed (unacknowledged) appointments
from the calendar (¢page 56) and anniver-
saries (¢page 38) are saved in the Missed
Alarms list under the following circum-
stances:
u You do not accept an appointment/anni-
versary.
u The appointment/anniversary was sig-
nalled during a phone call.
u The handset is deactivated at the time of
the appointment/anniversary.
u Automatic redial was activated at the
time of an appointment/anniversary
(¢page 39).
u Open the list by pressing the message
key f (¢page 40).
Each entry is displayed with:
u Number or name
u Date and time
The most recent entry is at the head of the
list.
Press the display key §Delete§, to delete the
selected entry.
If 10 entries are already stored in the list, the
next appointment reminder will delete the
oldest entry.
4 for messages on the net-
work mailbox
or 5 for missed calls
or L for new SMS
or M for messages on the answer-
ing machine (Gigaset
SL400A only)
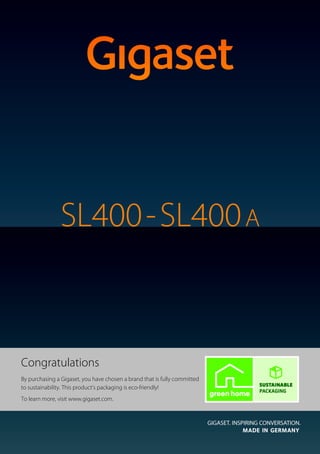
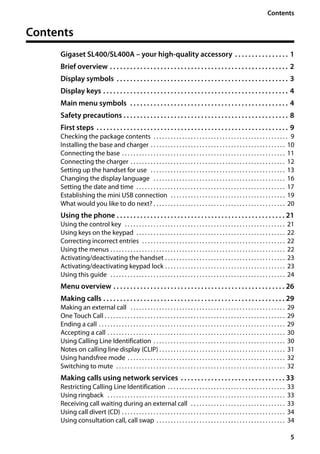
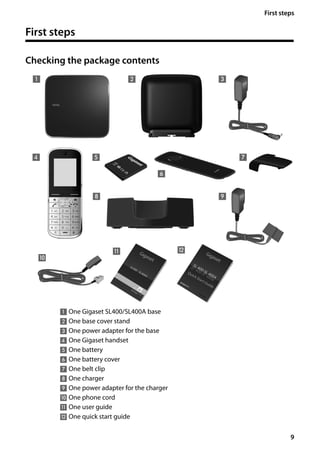
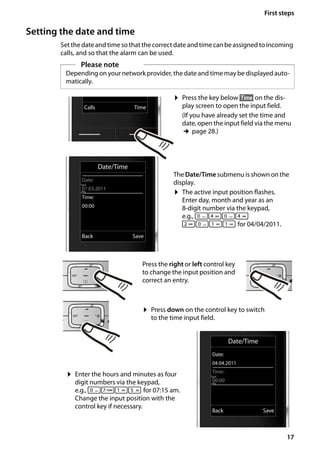
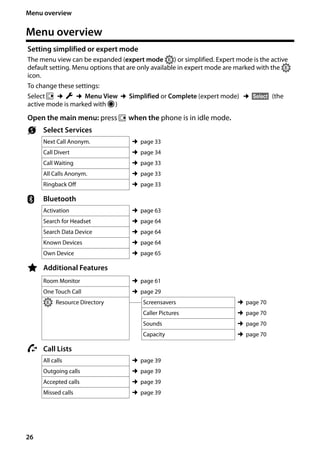
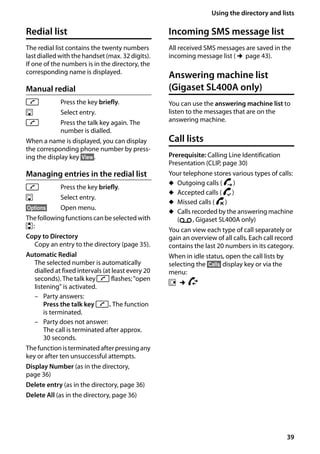
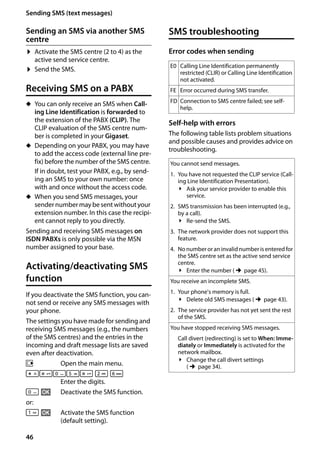
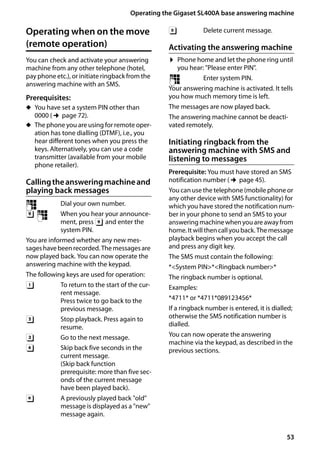
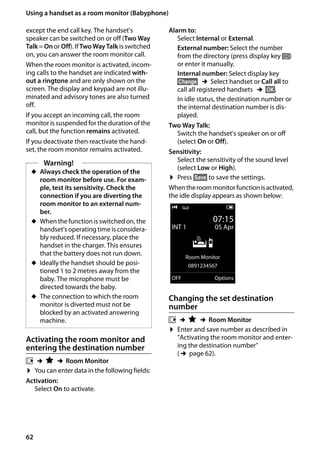
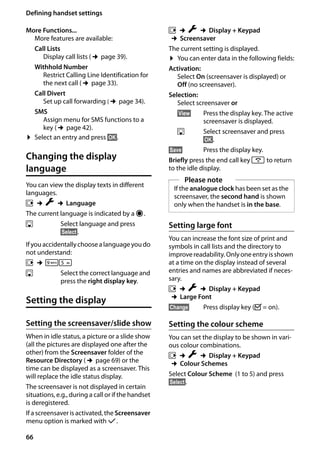
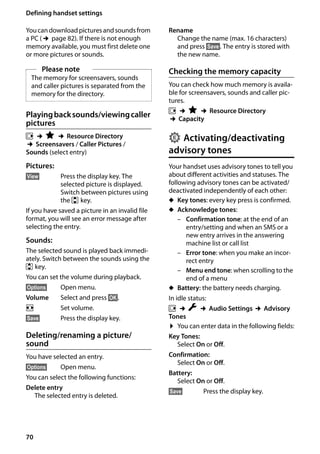
Messages & Calls
Calls: (3)
Missed Alarms: (1)
SMS: (2)
Back OK
System
97
System
975 SET:
[ 0 ]
Q message key flashes (it stops
when the key is pressed)
or
message key does not flash
System
975 SET:
[ 1 ]](https://image.slidesharecdn.com/gigasetsl400adigitalcordlesstelephoneuserguide-160718135242/85/Gigaset-SL400A-Digital-Cordless-Telephone-User-Guide-43-320.jpg)


![71
Setting the base
Gigaset SL400/400 A / GBR / A31008-M2103-L101-4-7619 / registr_sett.fm / 30.07.2014Version4,16.09.2005
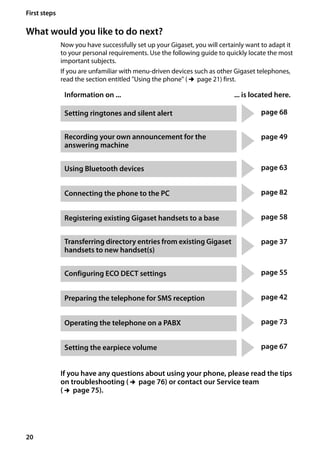
Setting your own area
code
To transfer phone numbers (e.g., in vCards),
it is essential that your area code (interna-
tional and local area code) is saved on the
phone.
Some of these numbers are already preset.
v ¢Ï ¢Telephony ¢Area Codes
Check that the (pre)set area code is correct.
¤ You can enter data in the following fields:
q Select/change input field.
r Navigate in the input field.
Ñ If necessary, delete number:
press the display key.
~ Enter number.
§Save§ Press the display key.
Example:
Restoring the handset
default settings
You can reset individual settings and
changes that you have made.
The following settings are not affected by a
reset:
u Registration of the handset to the base
u Date and time
u Entries in the calendar
u Entries in the directory, SMS lists and the
contents of the resource directory
v ¢Ï ¢System ¢Handset Reset
§Yes§ Press the display key.
Setting the base
The base settings are carried out using a reg-
istered Gigaset handset.
Activating/deactivating
music on hold
v ¢Ï ¢Audio Settings
¢Music on hold
Press §Change§ to activate or deactivate the
music on hold (³ = on).
Operating a repeater
Youcanuse theGigaset Repeaterto increase
the range of your Gigaset handset.
The function and setting of your repeater
depends on the repeater version used. The
repeater version can be identified by the
item number on the product label:
Gigaset Repeater (earlier than version 2.0)
S30853-S601-...
Gigaset Repeater 2.0
S30853-S602-...
For additional information, see the repeater
user guide and our website at
www.gigaset.com/gigasetrepeater
Gigaset Repeater (earlier than
version 2.0)
Prerequisites:
u ECO DECT function Maximum Range
must be activated.
u ECO DECT function No Radiation must
be deactivated.
u Encryption must be deactivated:
v ¢Ï ¢System ¢Encryption
¢§Change§ (´ = deactivated)
Modifying the ECO DECT functions
¢page 55.
Registering a repeater:
¤Connect the repeater to the mains power
supply. ¤ Press and hold (min. 3 secs) the
•
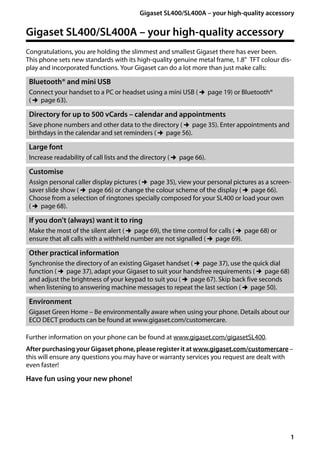
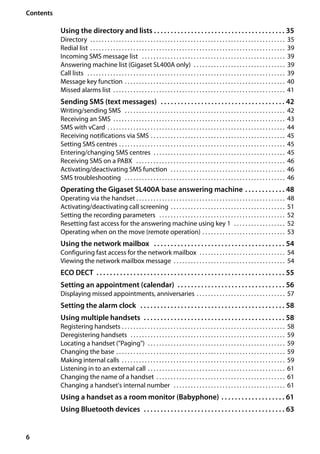
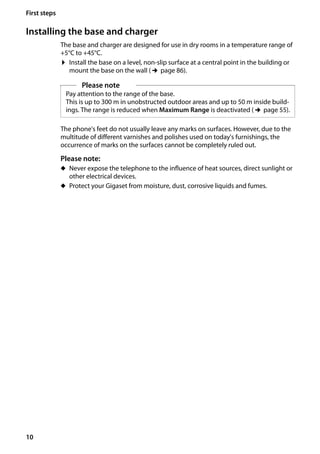
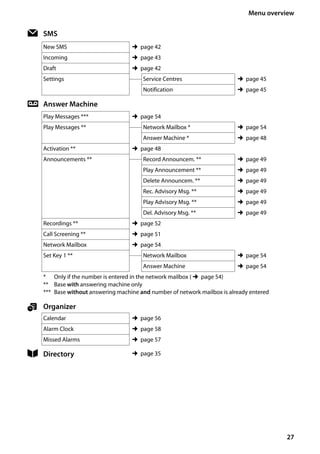
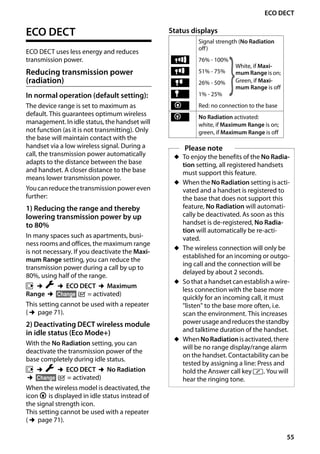
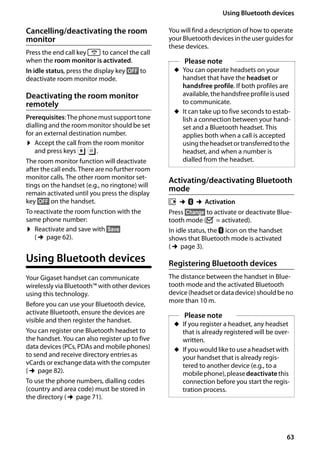
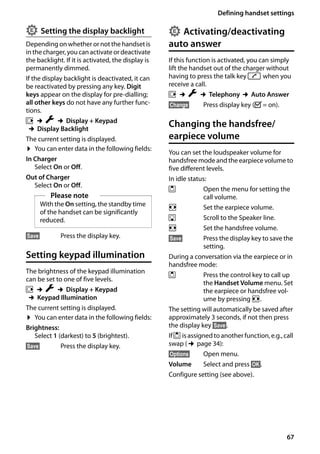
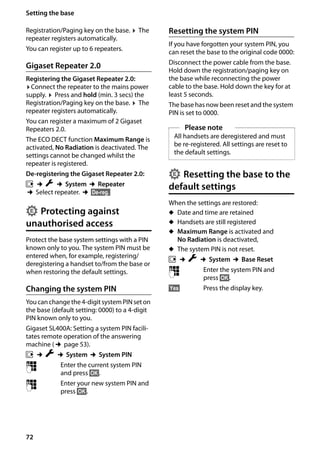
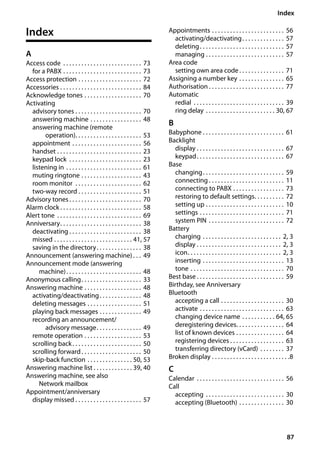
Area Codes
International code:
00 - 44
Local area code:
0 - [ ]
Û Save
•](https://image.slidesharecdn.com/gigasetsl400adigitalcordlesstelephoneuserguide-160718135242/85/Gigaset-SL400A-Digital-Cordless-Telephone-User-Guide-73-320.jpg)


![83
Accessing additional functions via the PC interface
Gigaset SL400/400 A / GBR / A31008-M2103-L101-4-7619 / appendix.fm / 30.07.2014Version4,16.09.2005
Start the "Gigaset QuickSync" program. You
can now:
u Synchronise your handset directory with
Outlook
u Download caller pictures (.bmp) from the
computer to the handset
u Download pictures (.bmp) as a screen-
saver from the computer to the handset
u Download sounds (ringtones) from the
computer to the handset
During the transferofdata betweenhandset
and PC, you will see Data transfer in pro-
gress on the display. During this time the
keypad is disabled, and incoming calls will
be ignored.
Completing a firmware update
¤ Connect your phone to your PC using a
USB data cable (¢page 19).
¤ Start the "Gigaset QuickSync" program
on your PC.
¤ Establish a connection to your handset.
¤ Select [Settings] ¢[Device properties]
to open the [Device] tab.
¤ Click on [Firmware update].
This launches the firmware update.
The update process can take up to 10 min-
utes (not including the download time). Do
not interrupt the process or remove the
USB data cable.
The data is initially loaded from the update
server on the Internet. The amount of time
this takes is dependent on the speed of your
Internet connection.
The display on your phone is switched off
and the message key f and the talk key
c start flashing.
Once the update is complete, your phone
will automatically restart.
Procedure in the event of an error
If the update procedure fails or your phone
does not work properly following the
update, repeat the update procedure as fol-
lows:
¤ Close the "Gigaset QuickSync" program
on the PC.
¤ Remove the USB data cable from the tel-
ephone.
¤ Remove the battery (¢page 13).
¤ Replace the battery.
¤ Complete the firmware update as
described.
If the update procedure fails several times or
you can no longer connect to the PC, pro-
ceed as follows:
¤ Close the "Gigaset QuickSync" program
on the PC.
¤ Remove the USB data cable from the tel-
ephone.
¤ Remove the battery (¢page 13).
¤ Press and hold keys 4 and L with
the index and middle finger.
¤ Replace the battery.
¤ Release keys 4and L. The message
key f and the talk key c will flash
alternately.
¤ Complete the firmware update as
described.](https://image.slidesharecdn.com/gigasetsl400adigitalcordlesstelephoneuserguide-160718135242/85/Gigaset-SL400A-Digital-Cordless-Telephone-User-Guide-85-320.jpg)


The document provides instructions for setting up and using a Gigaset SL400/SL400A cordless phone. It includes steps for checking contents, installing the base and charger, connecting to power, and setting up the handset. The document also provides overviews of the phone's display symbols, menu system, and key functions. Users are instructed to register the phone online for warranty and support.


![Getting Started with Apache Spark: Big Data Made Simple [Free Meetup]](https://cdn.slidesharecdn.com/ss_thumbnails/apachesparkgettingstarted-260203175547-8361bcc3-thumbnail.jpg?width=640&height=640&fit=bounds)


