Download to read offline


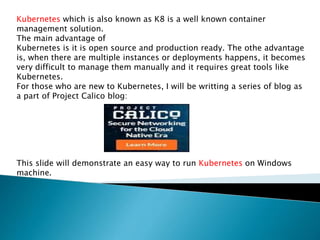

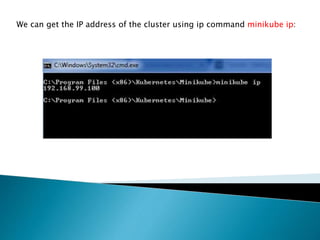
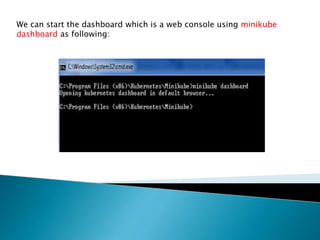
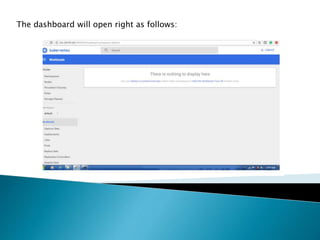
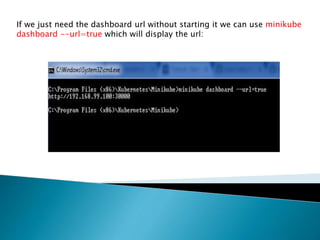
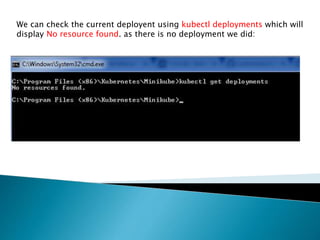
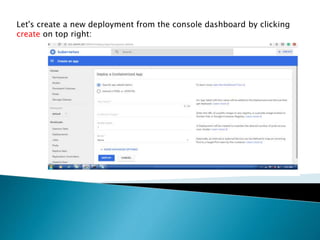
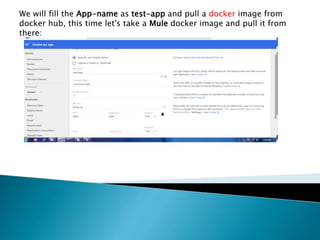
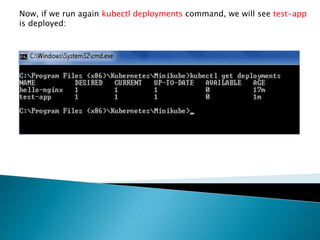


This document demonstrates how to easily run Kubernetes locally on a Windows machine using Minikube. It outlines downloading and configuring Minikube and kubectl, and shows how to start a Kubernetes cluster on the local system. Then it provides examples of checking the cluster status and version information, getting the cluster IP, starting the dashboard, and deploying a sample application to demonstrate a basic Kubernetes workflow on Windows.