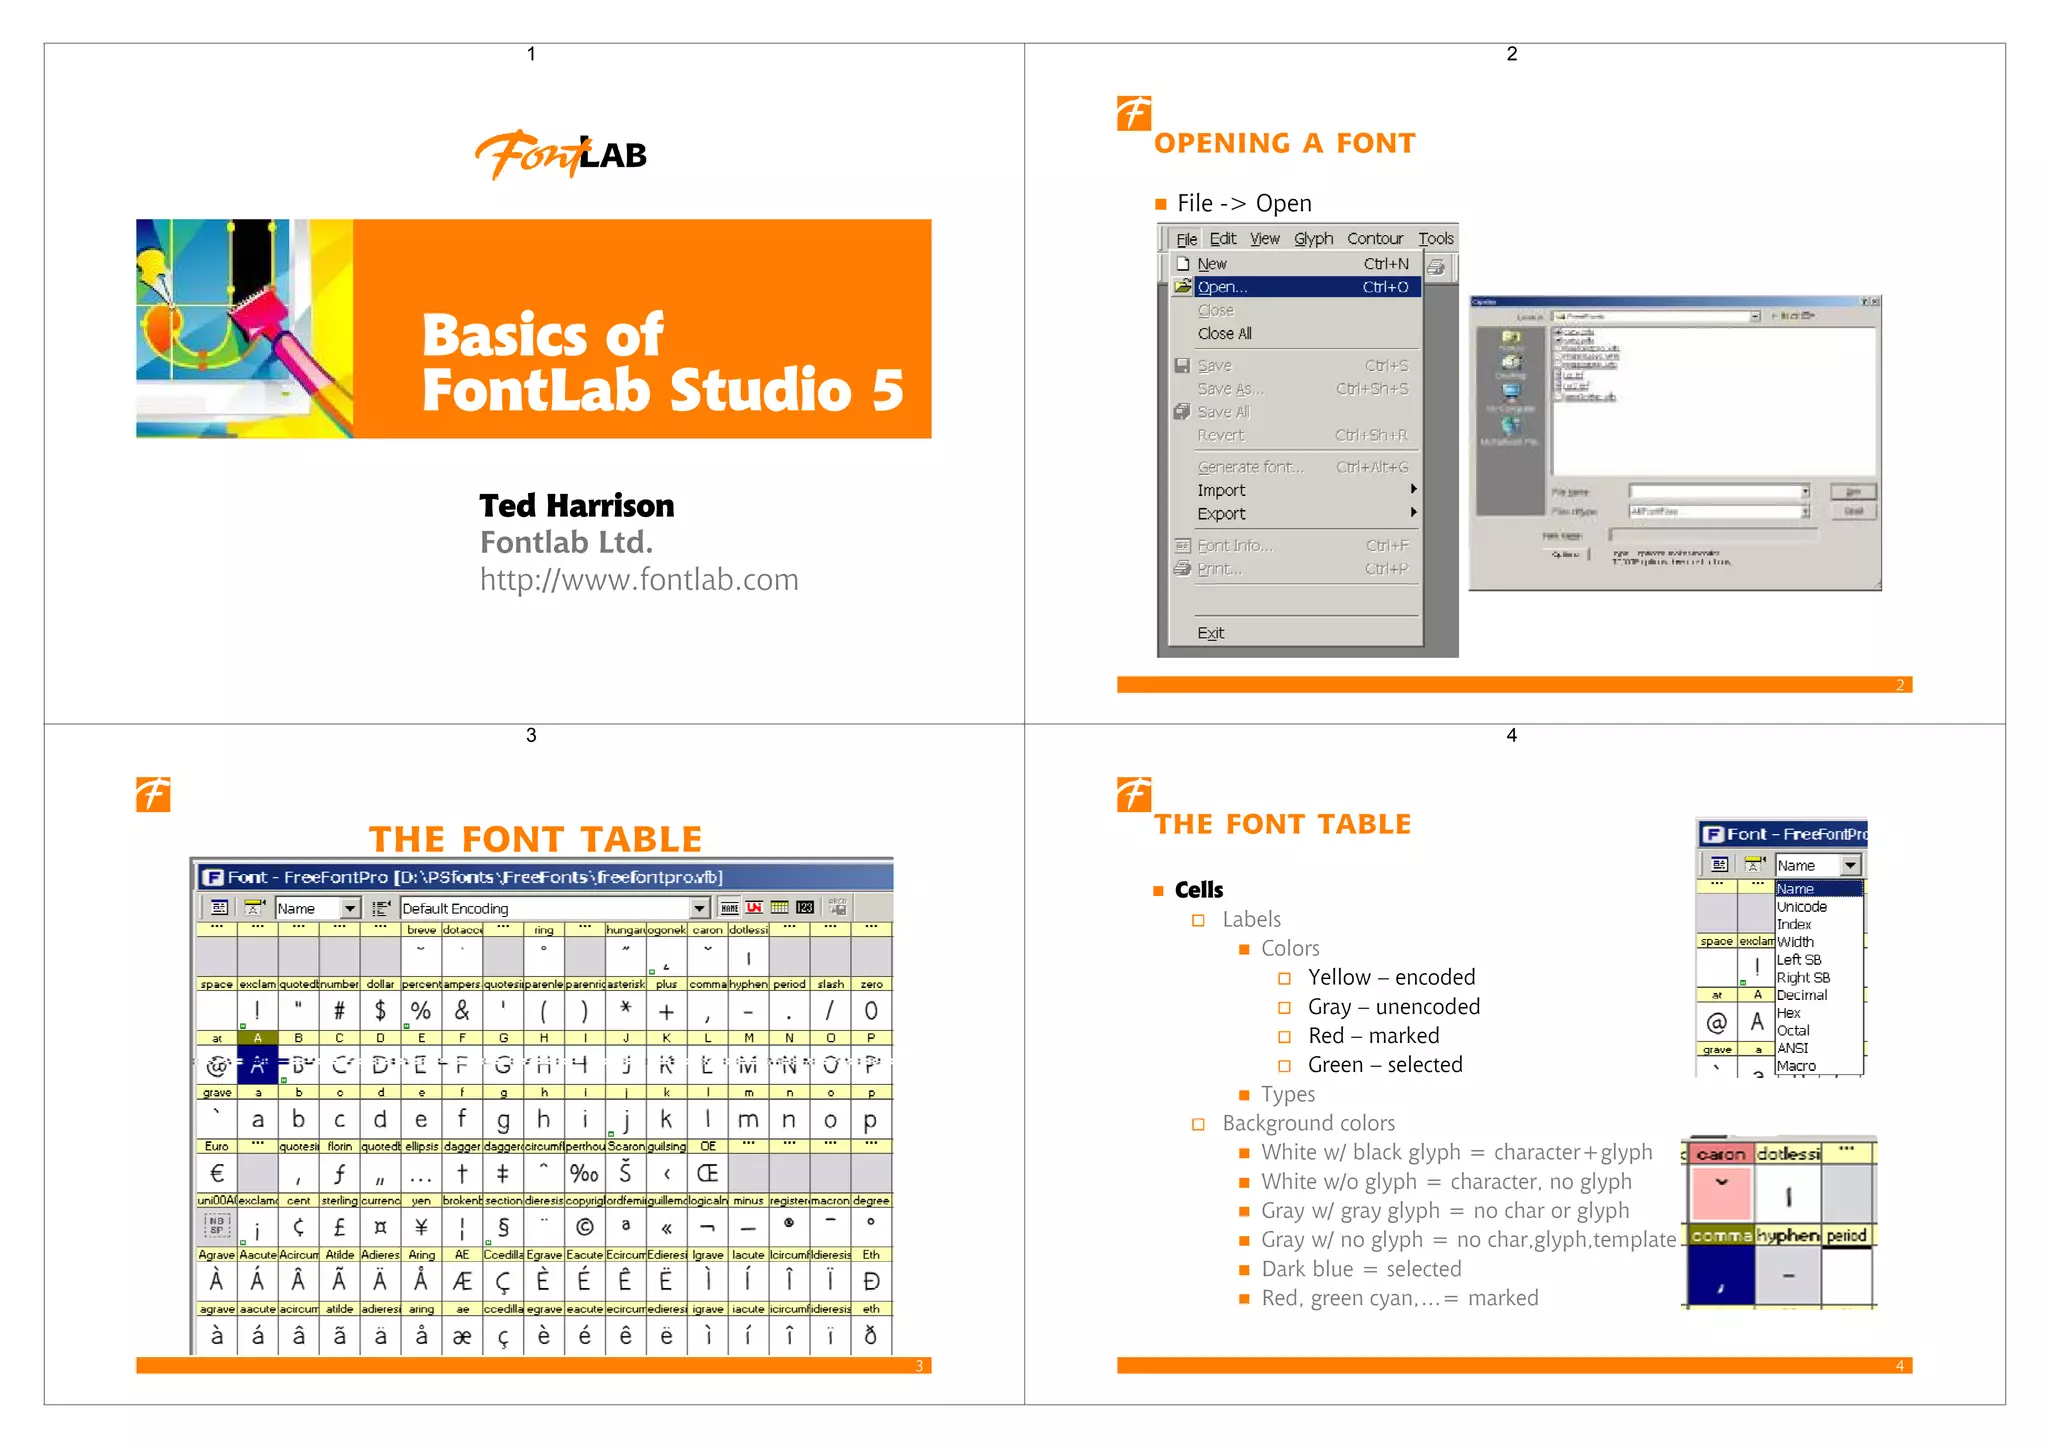
Fontlab Ltd.
http://www.fontlab.com
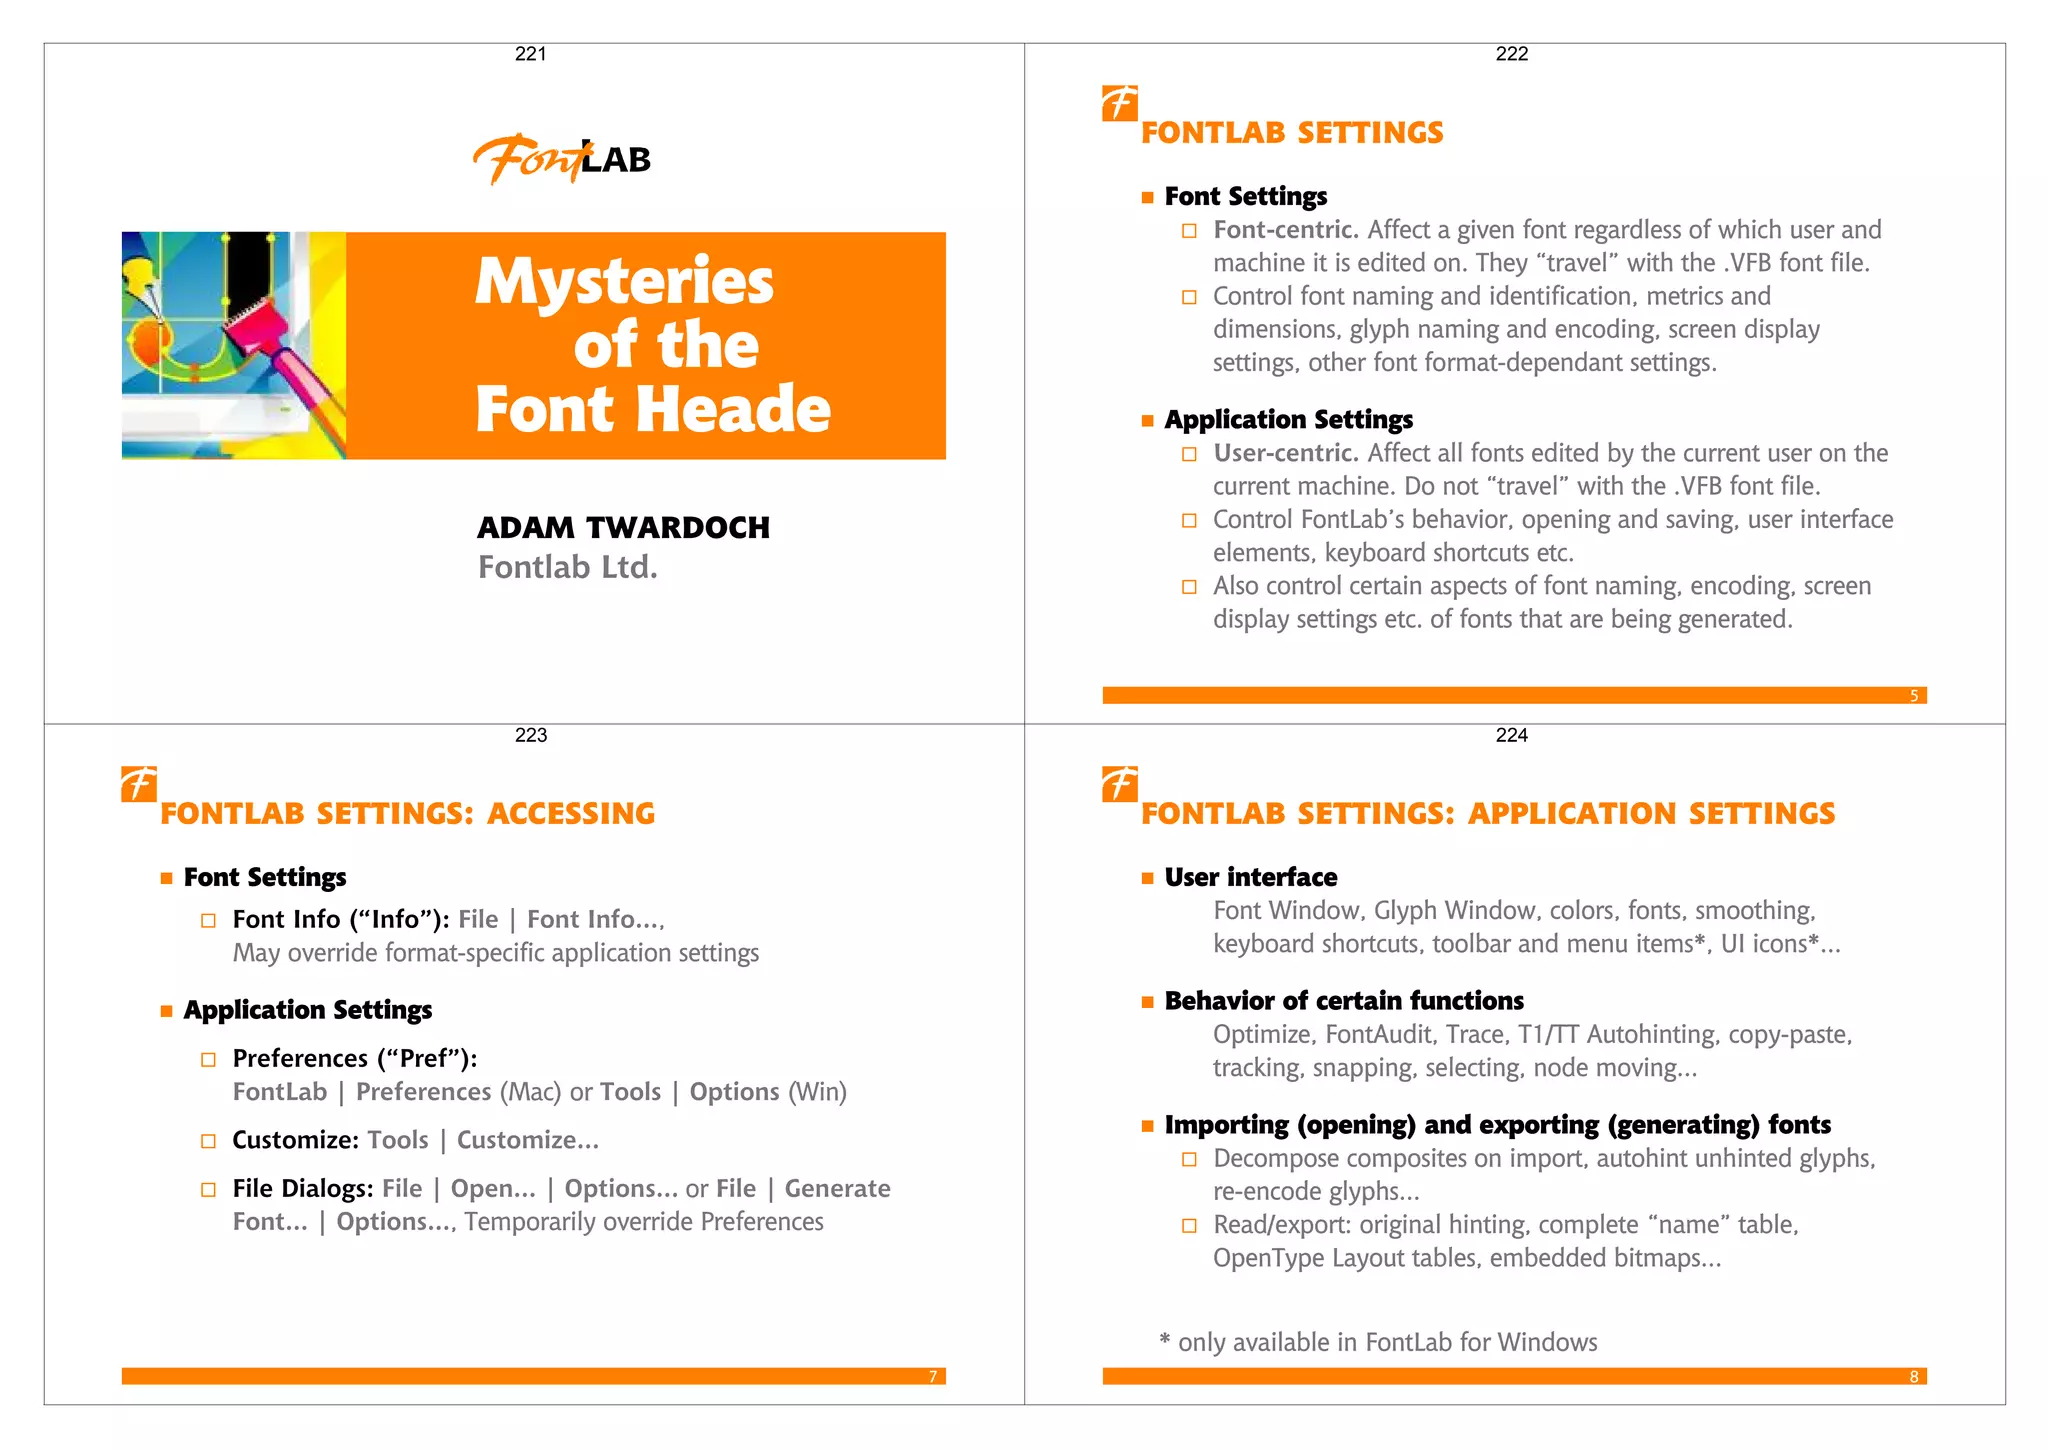
Basics of
FontLab Studio 5
Ted Harrison
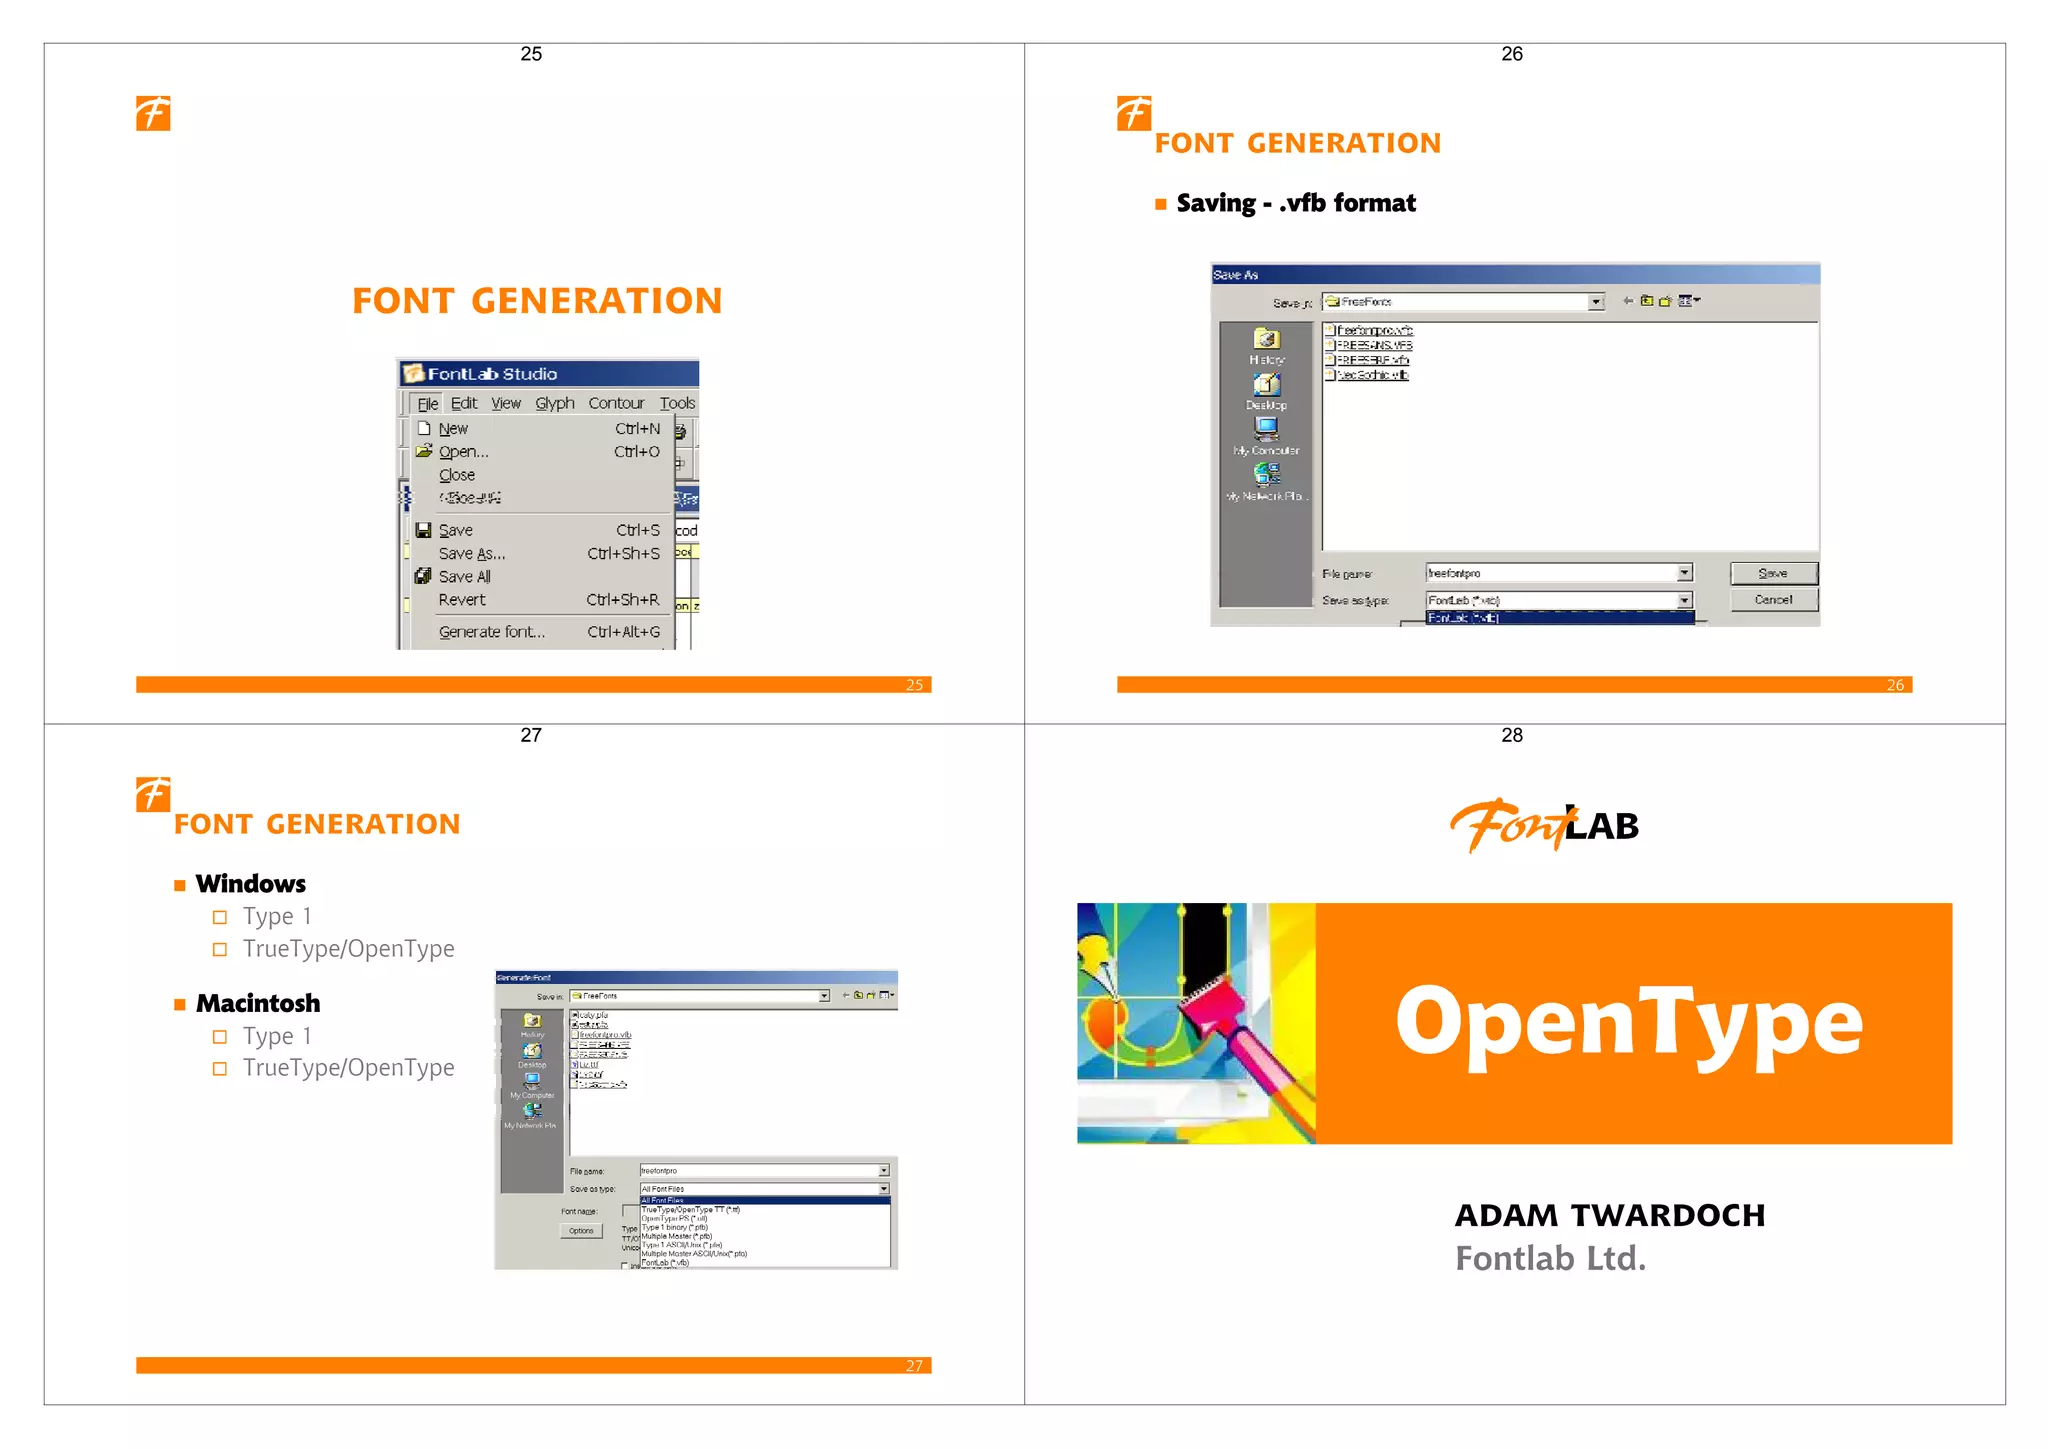
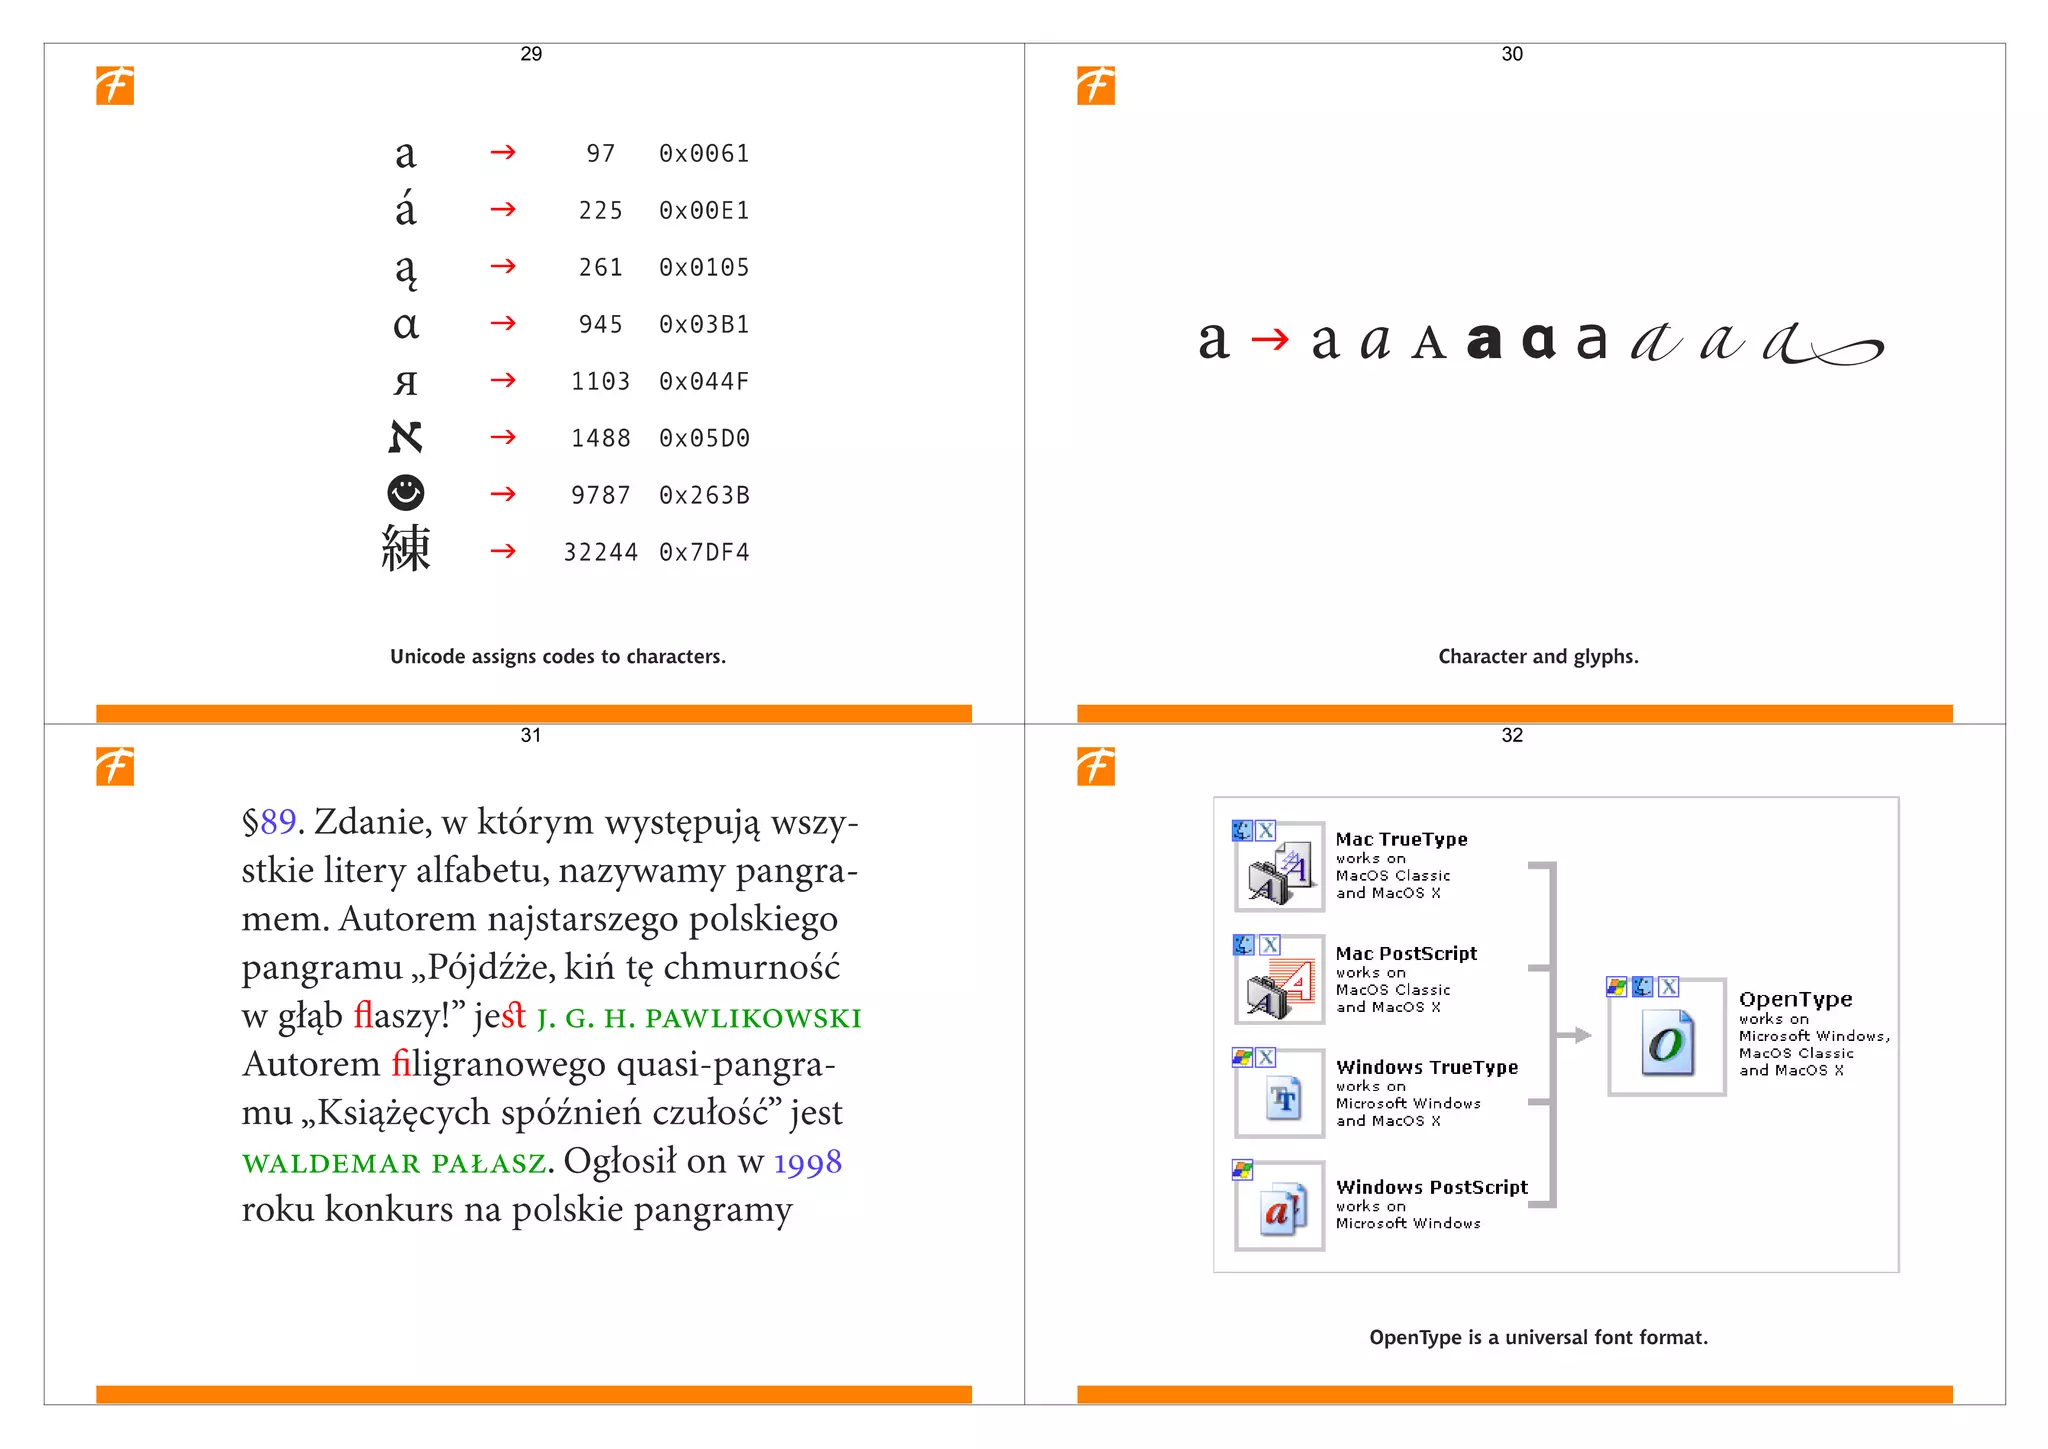
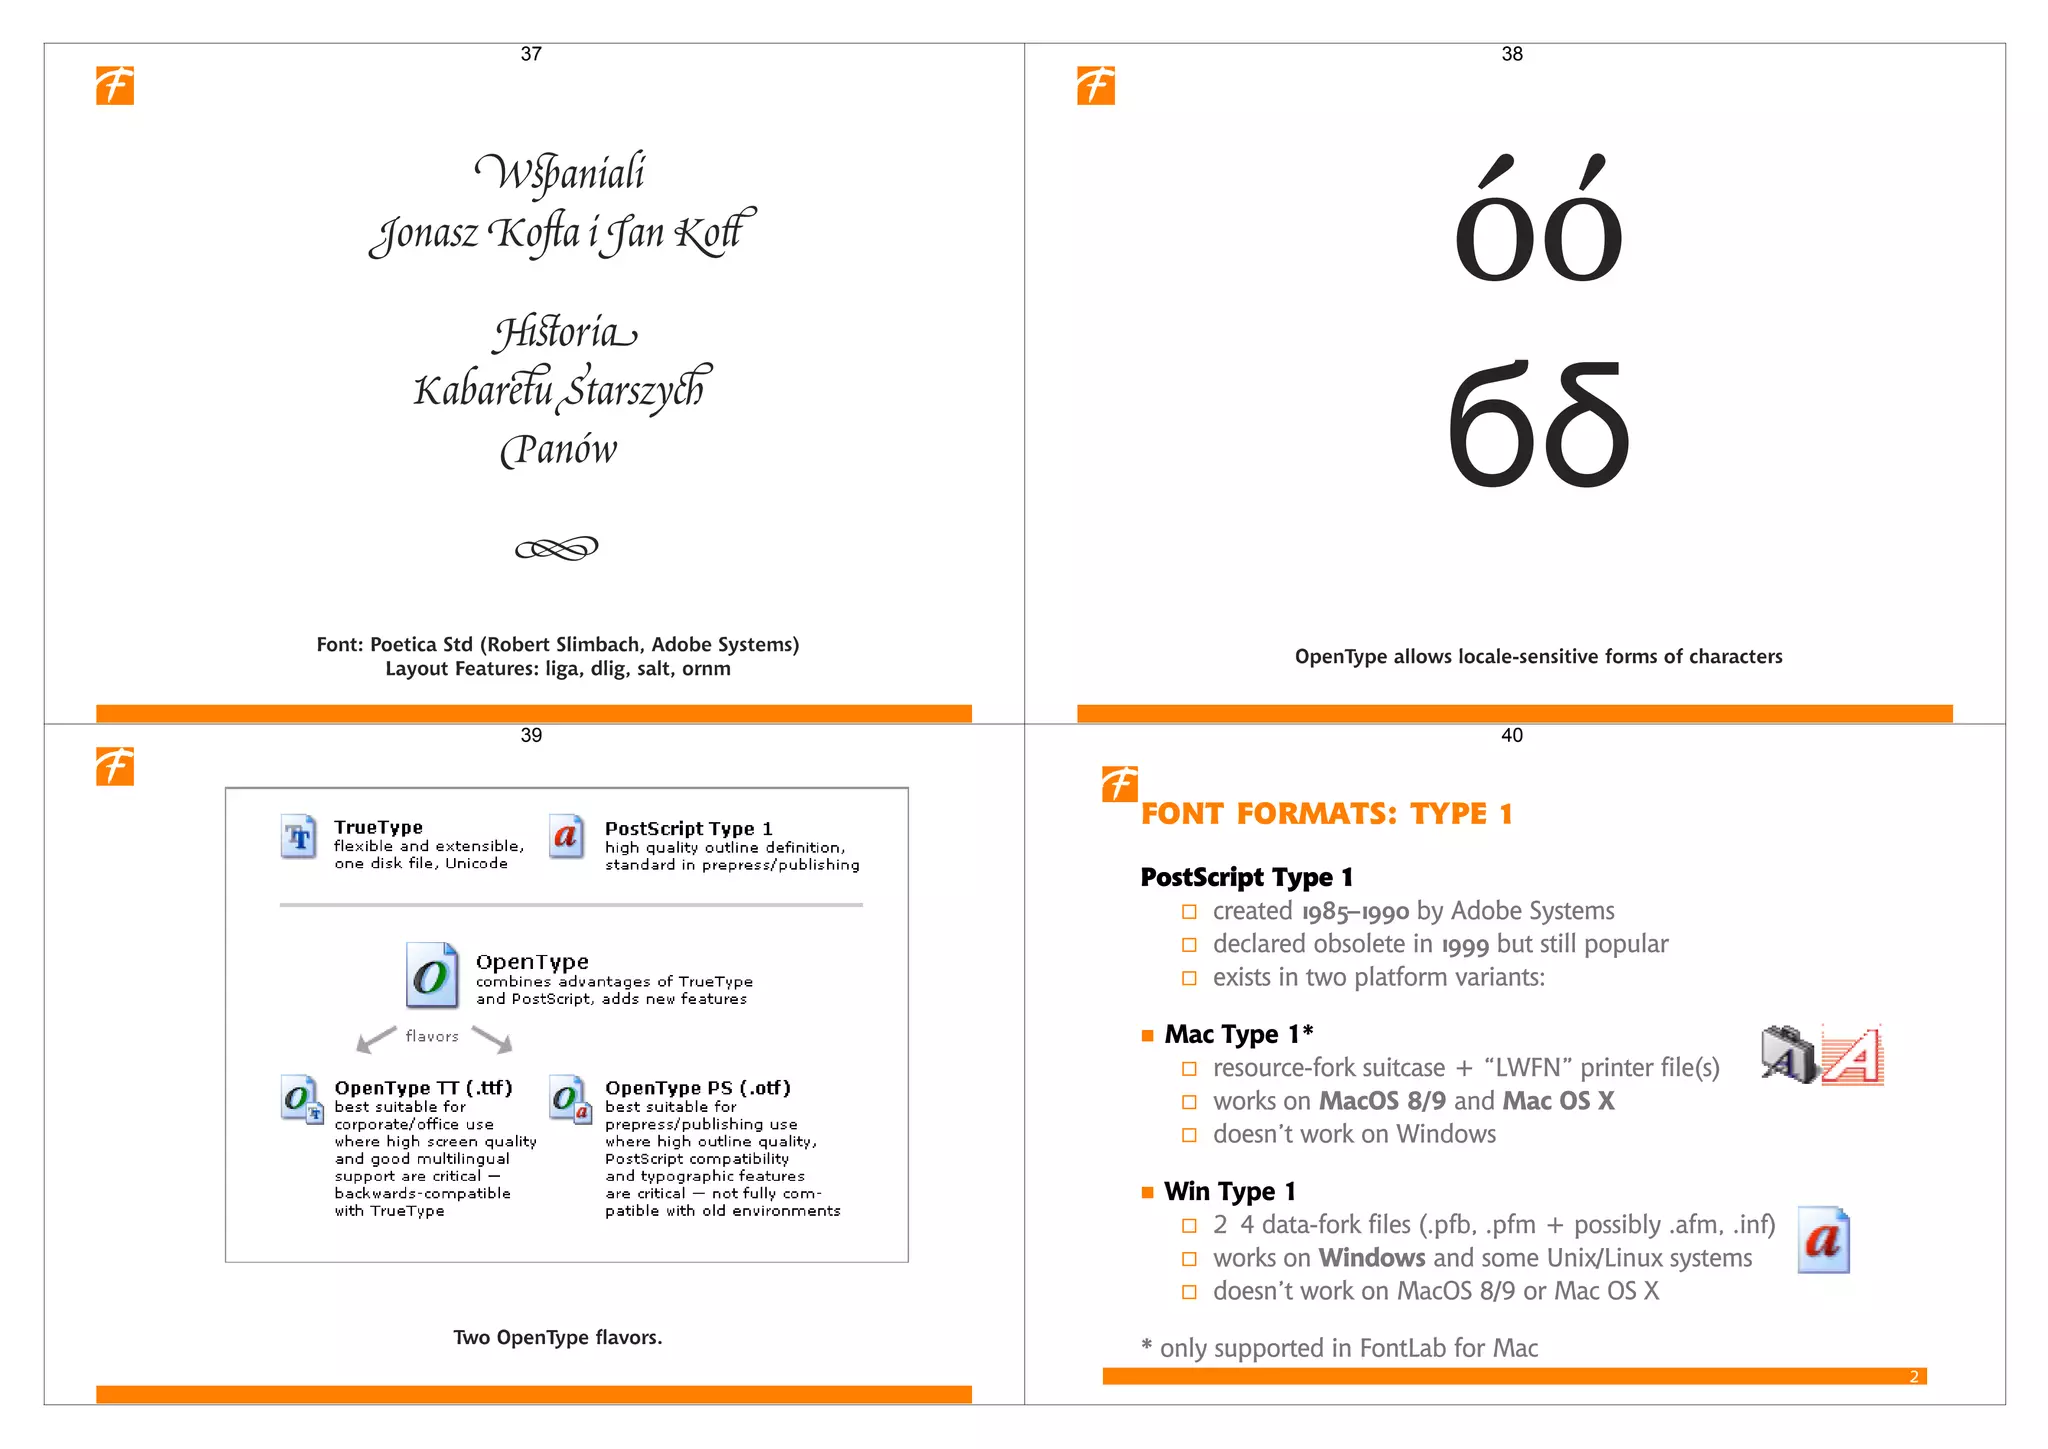
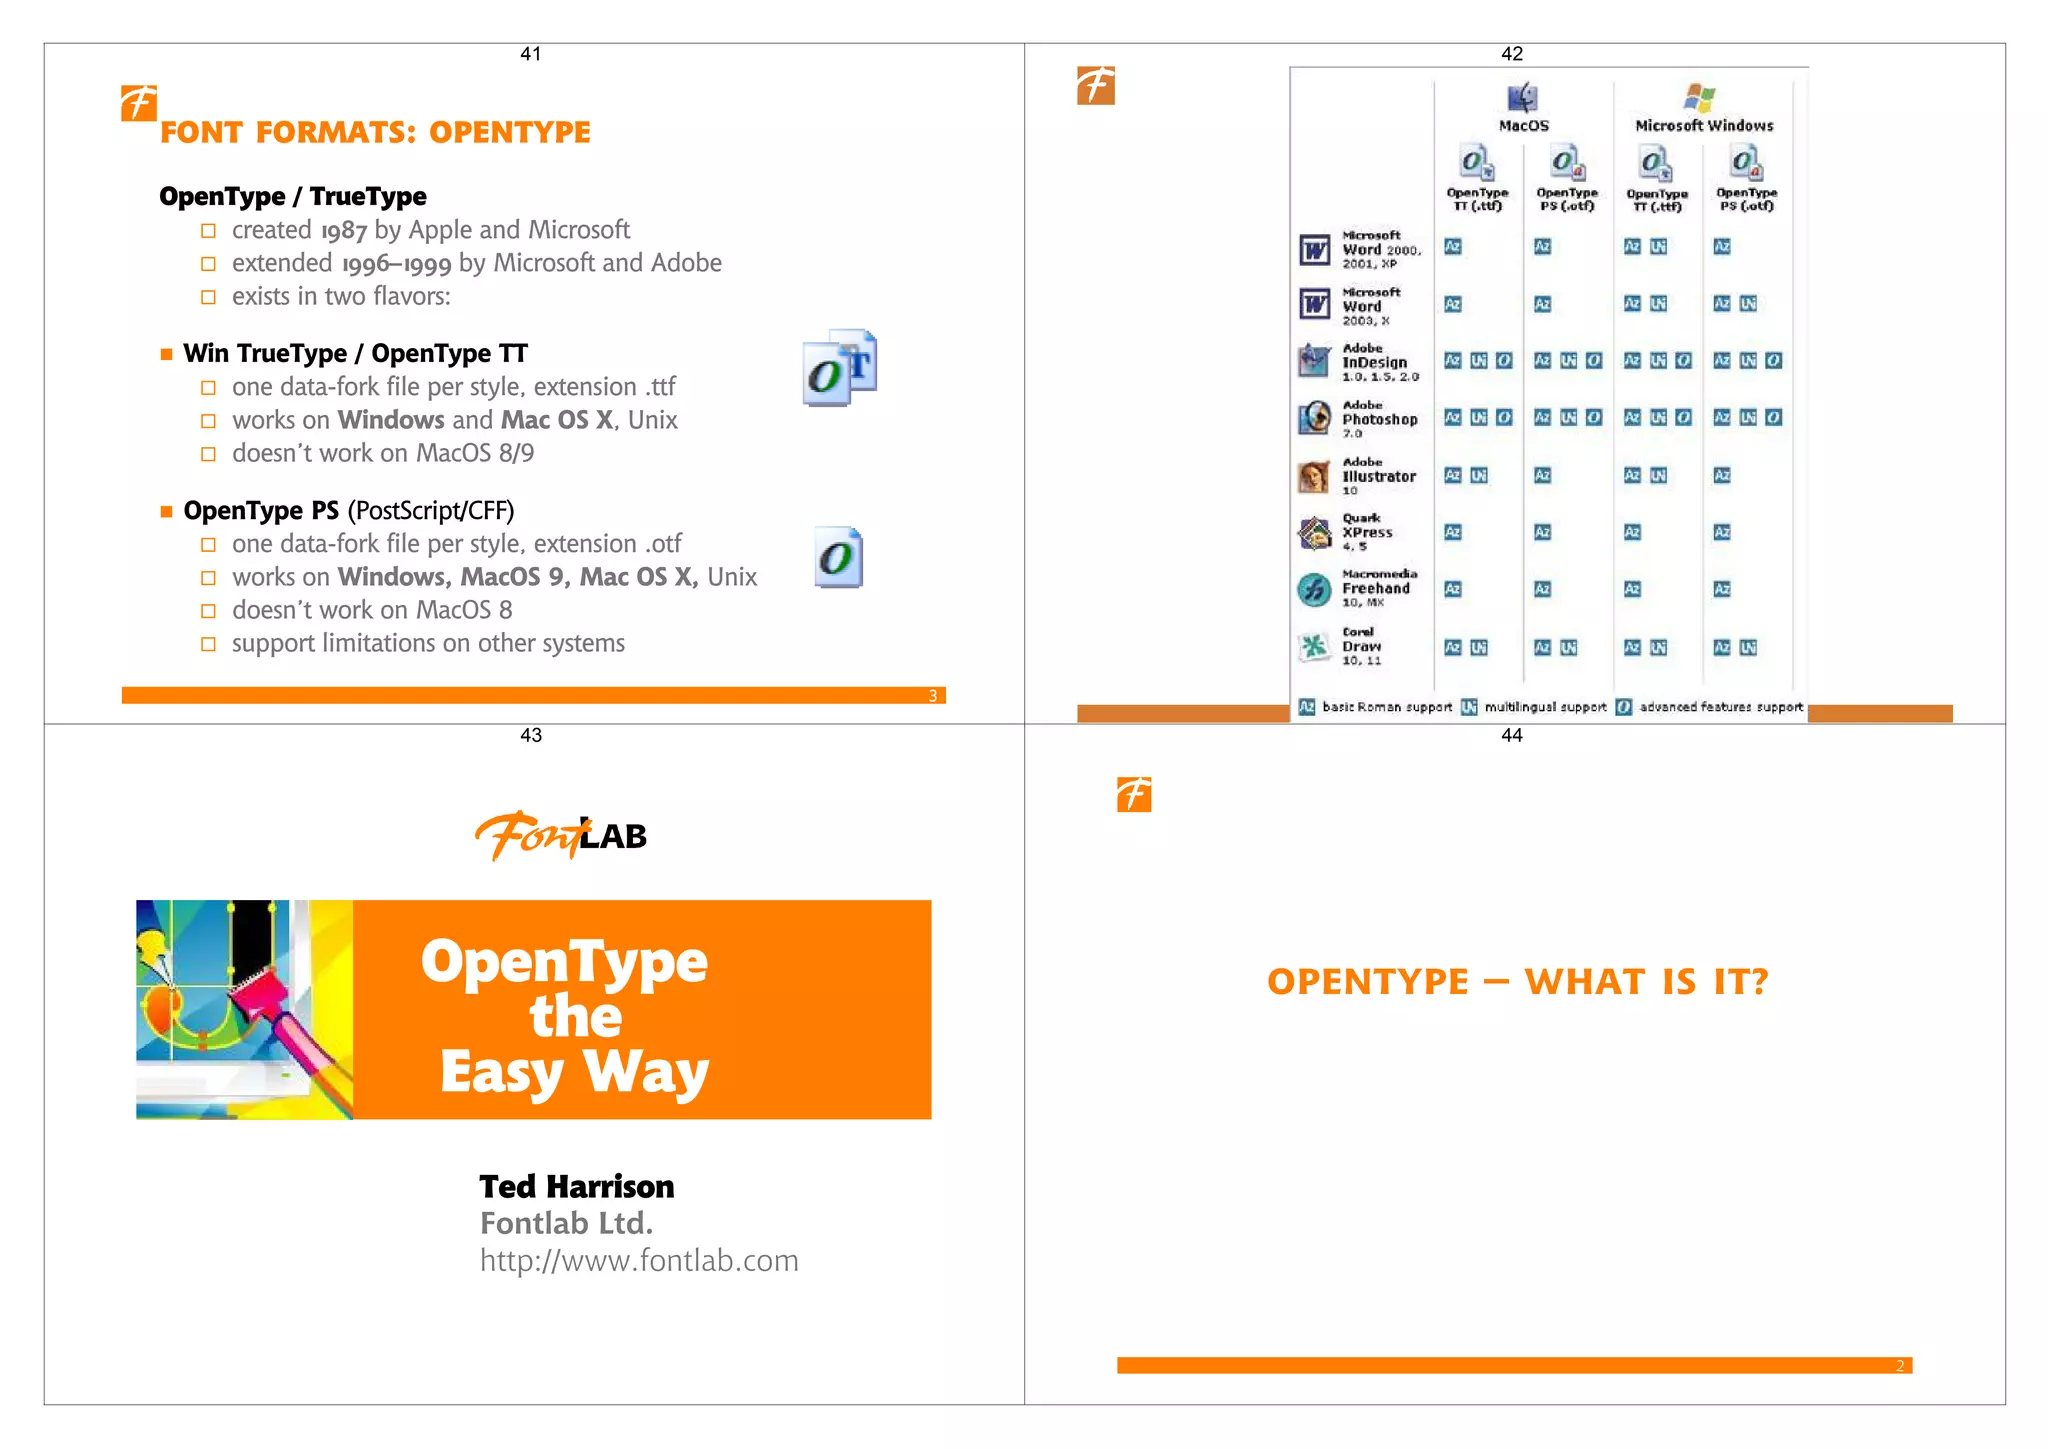
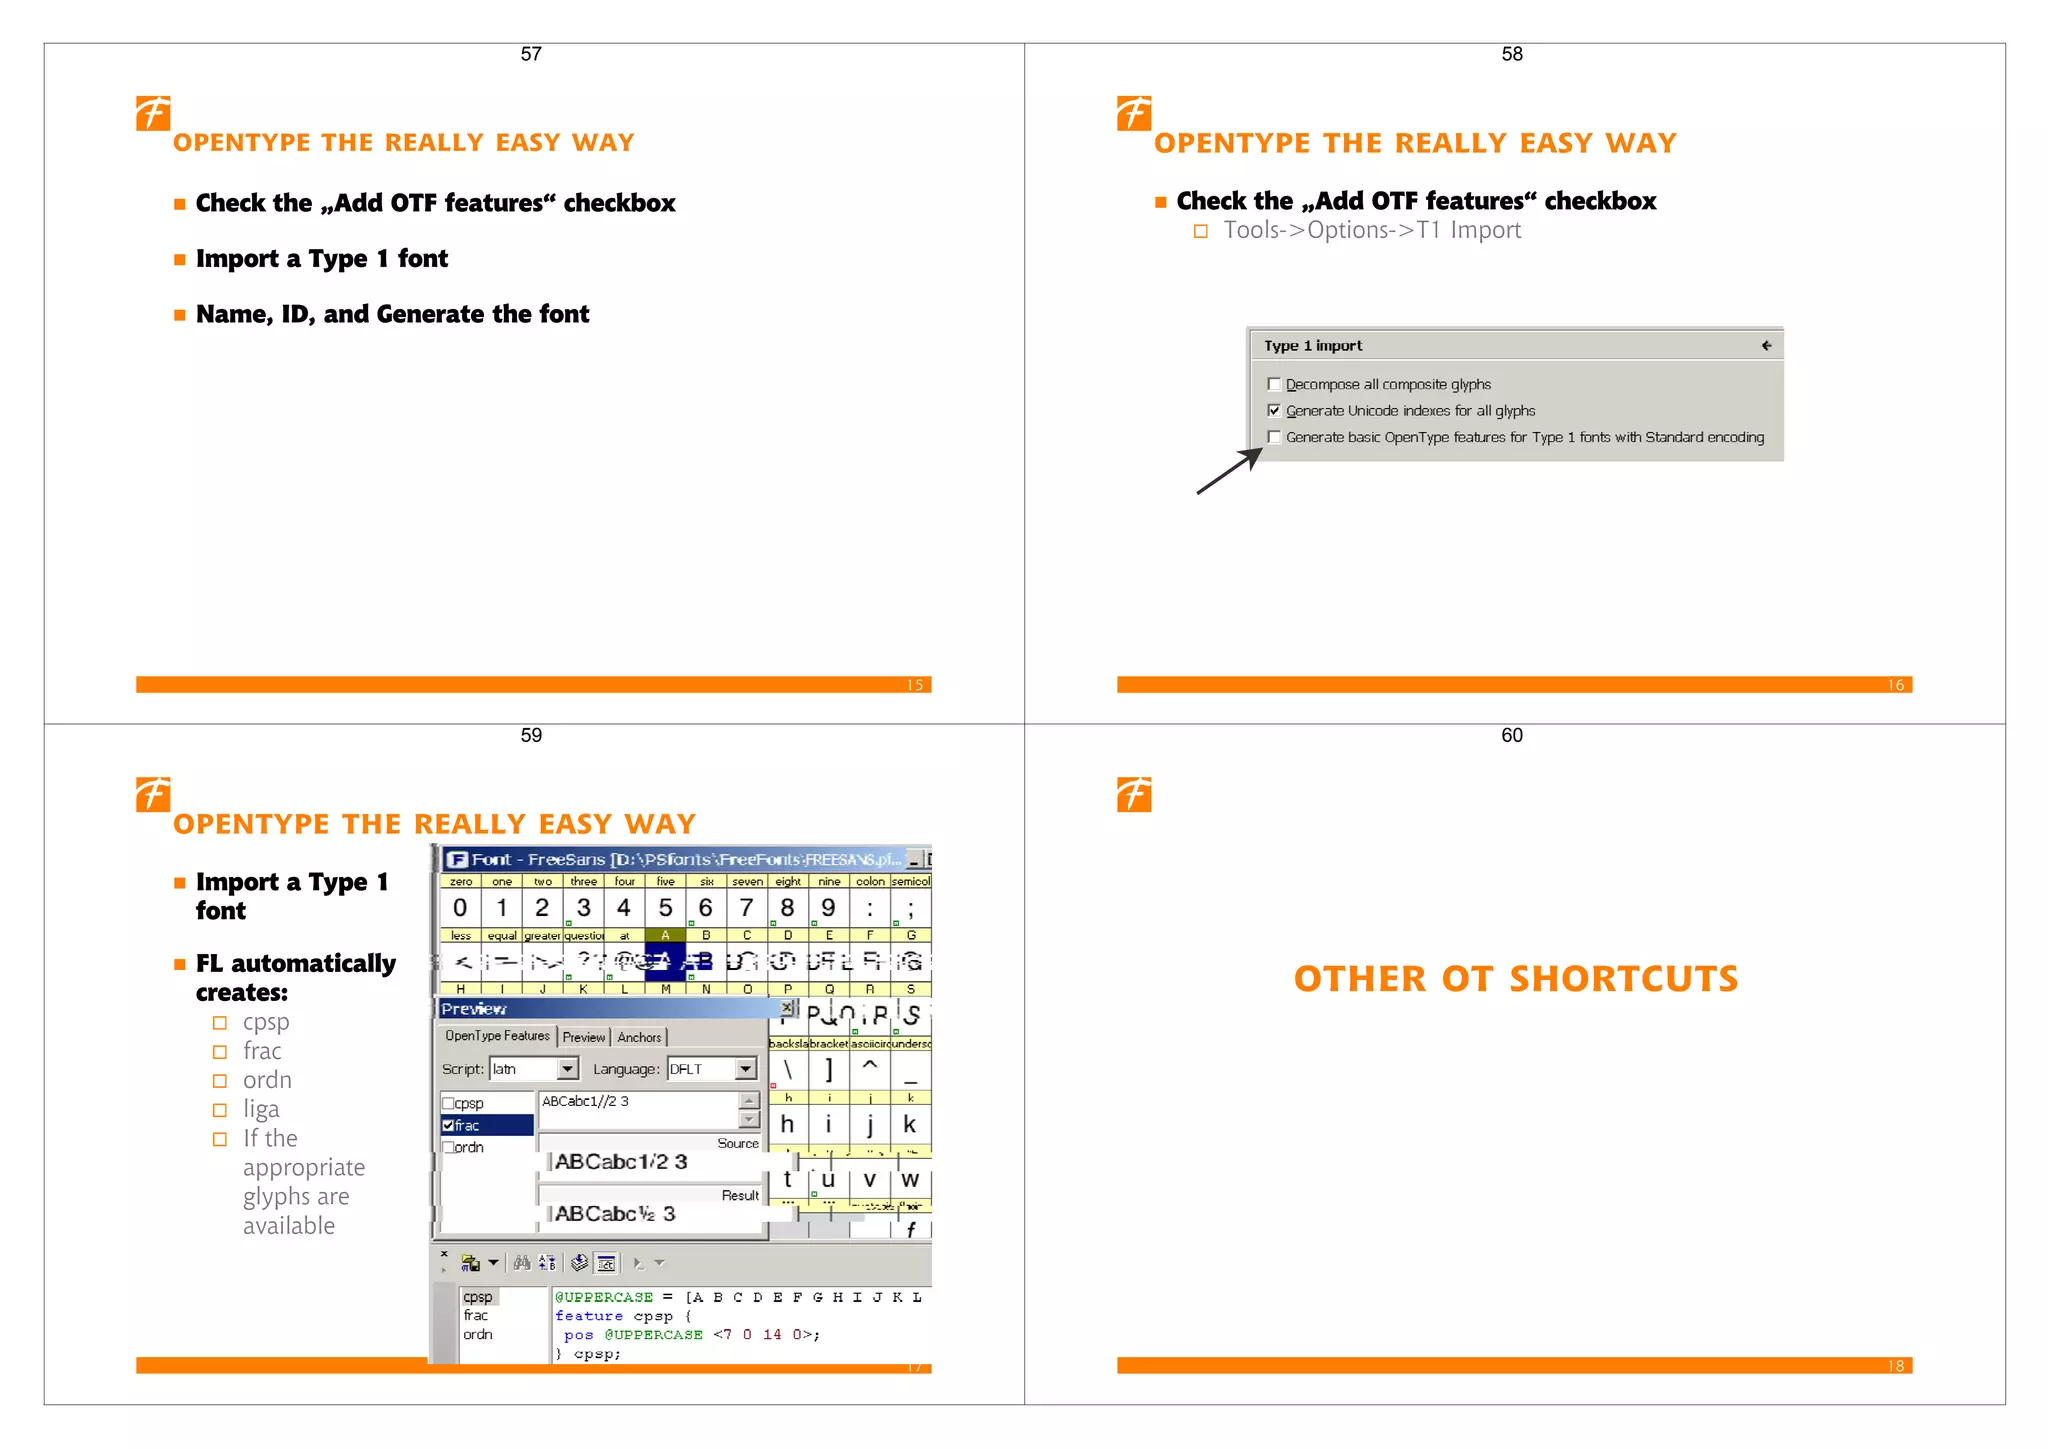
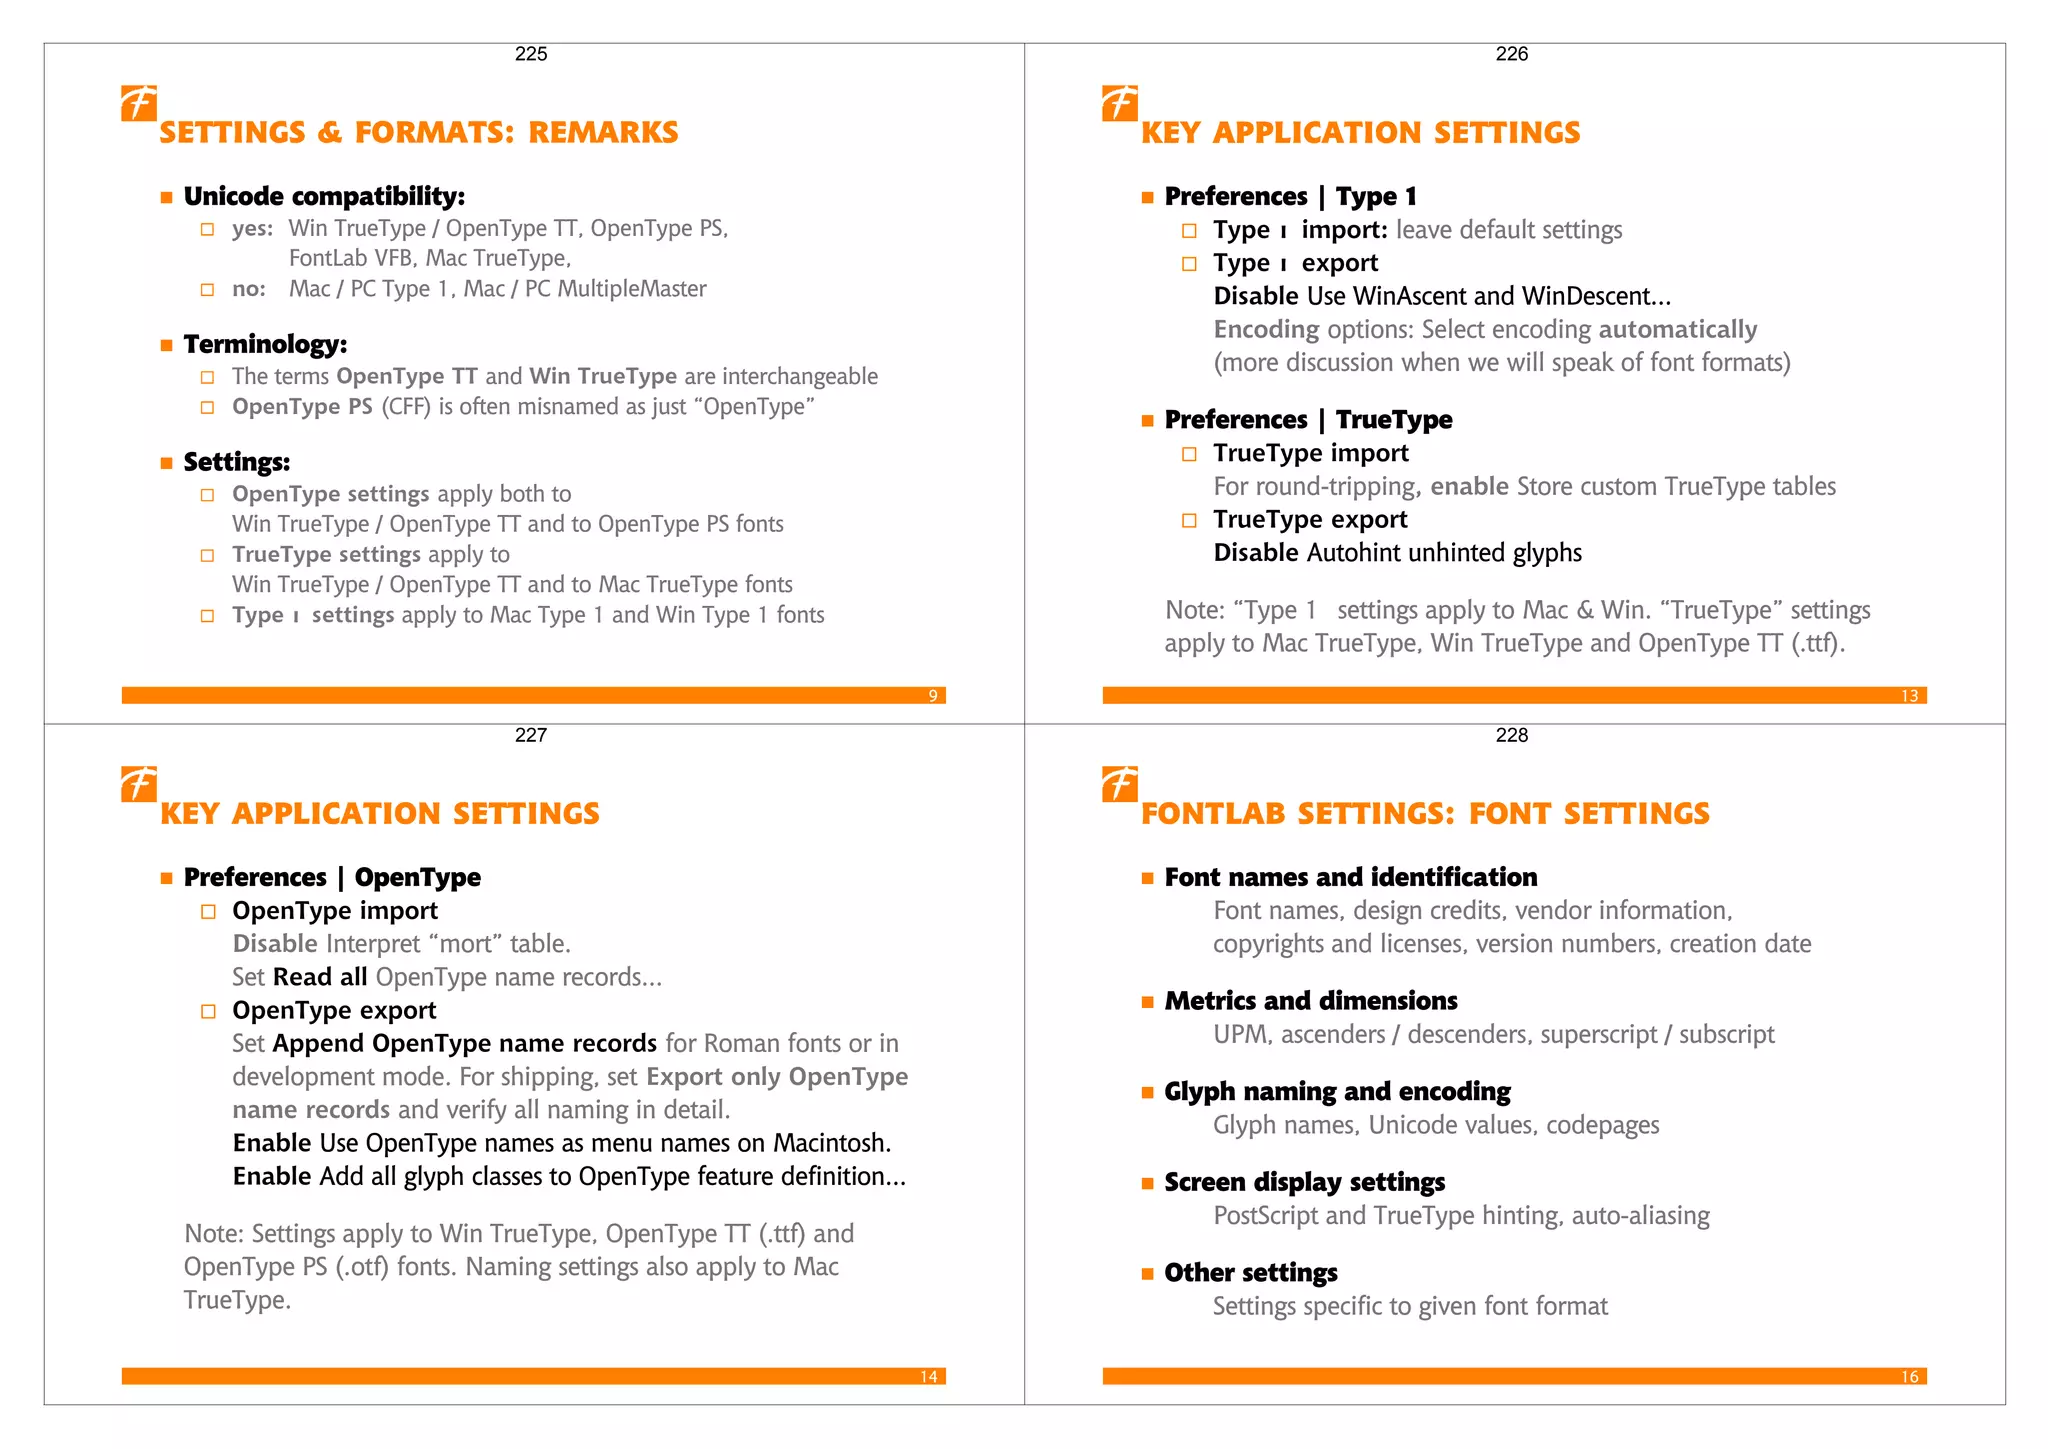
OpenType / TrueType fonts exist in two flavors: Windows TrueType (.ttf) and OpenType PostScript (.otf). They can use either TrueType or Type 1 glyphs and work across Windows, Mac and Unix platforms.
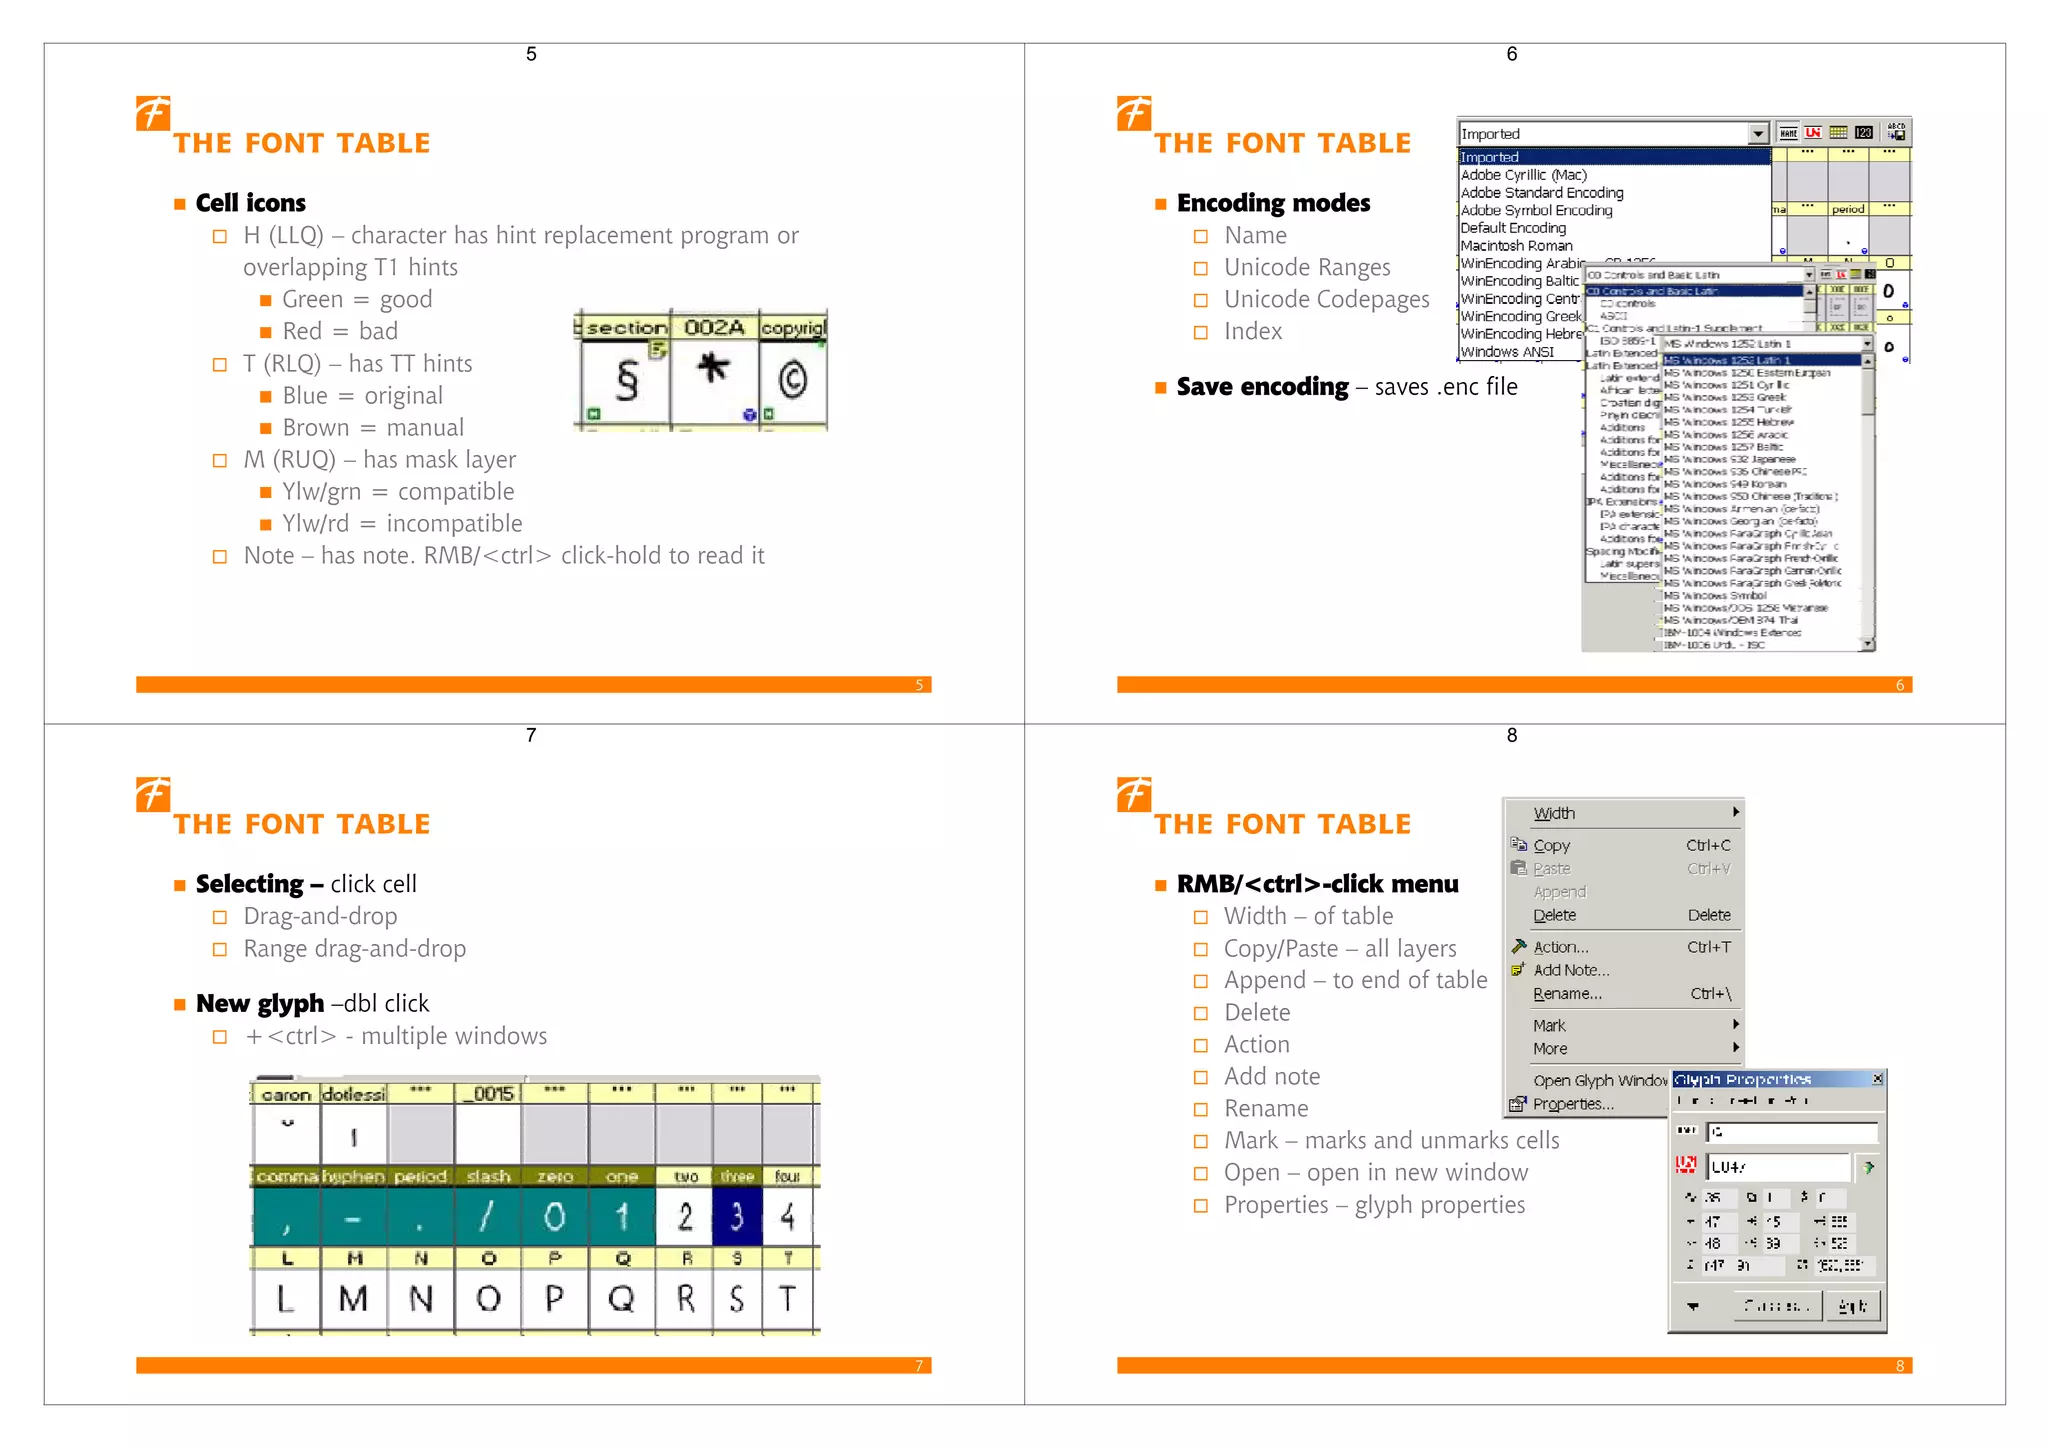
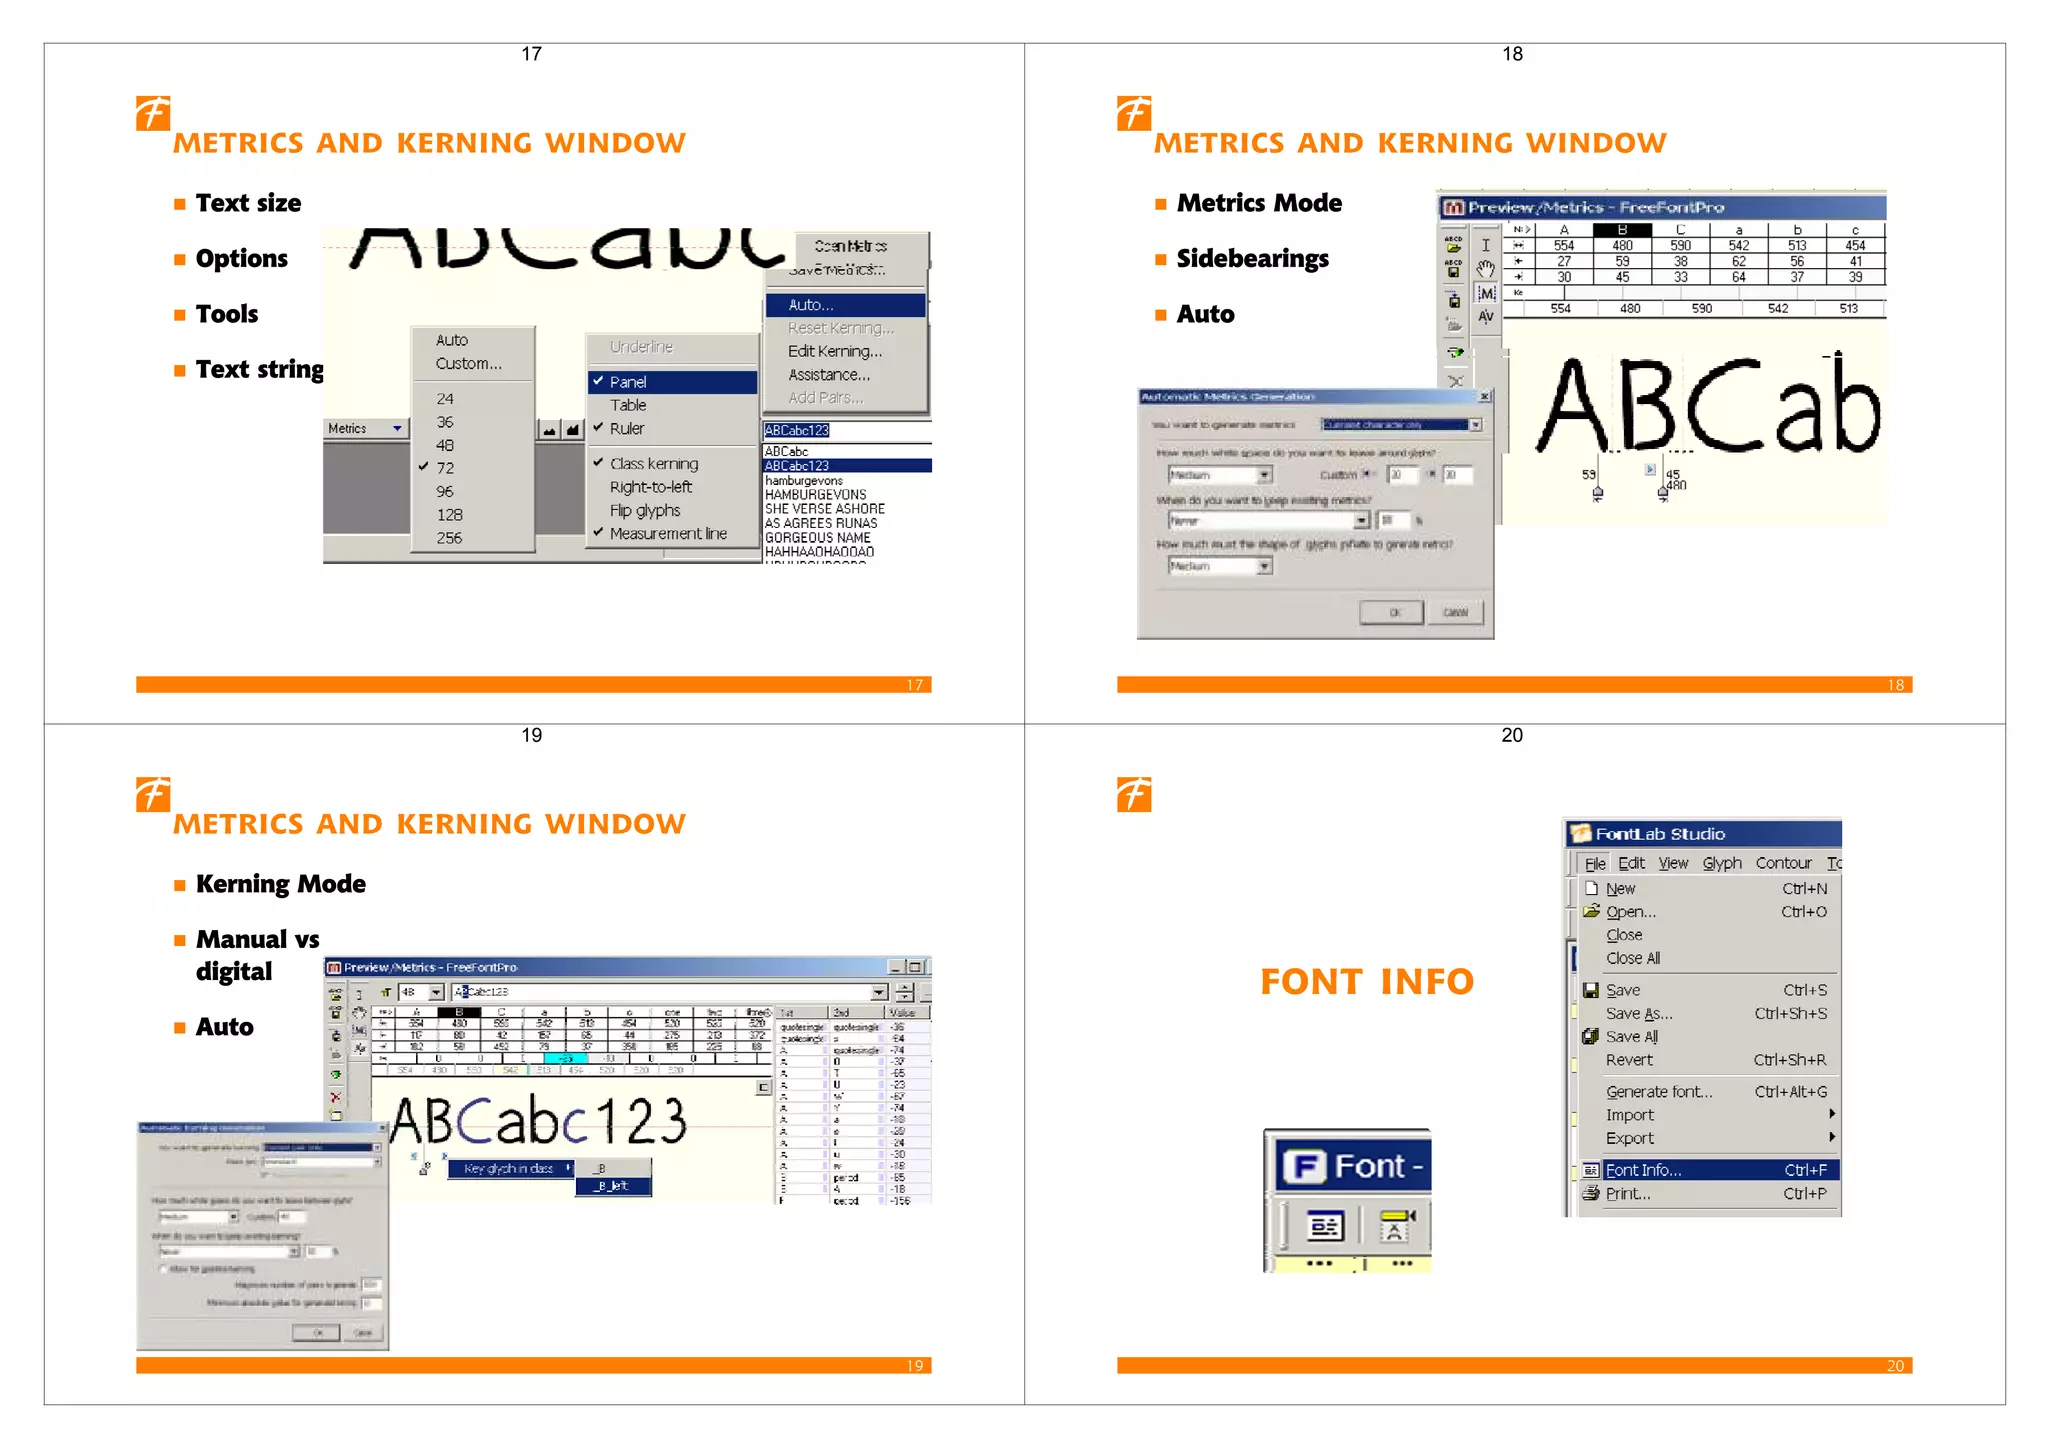
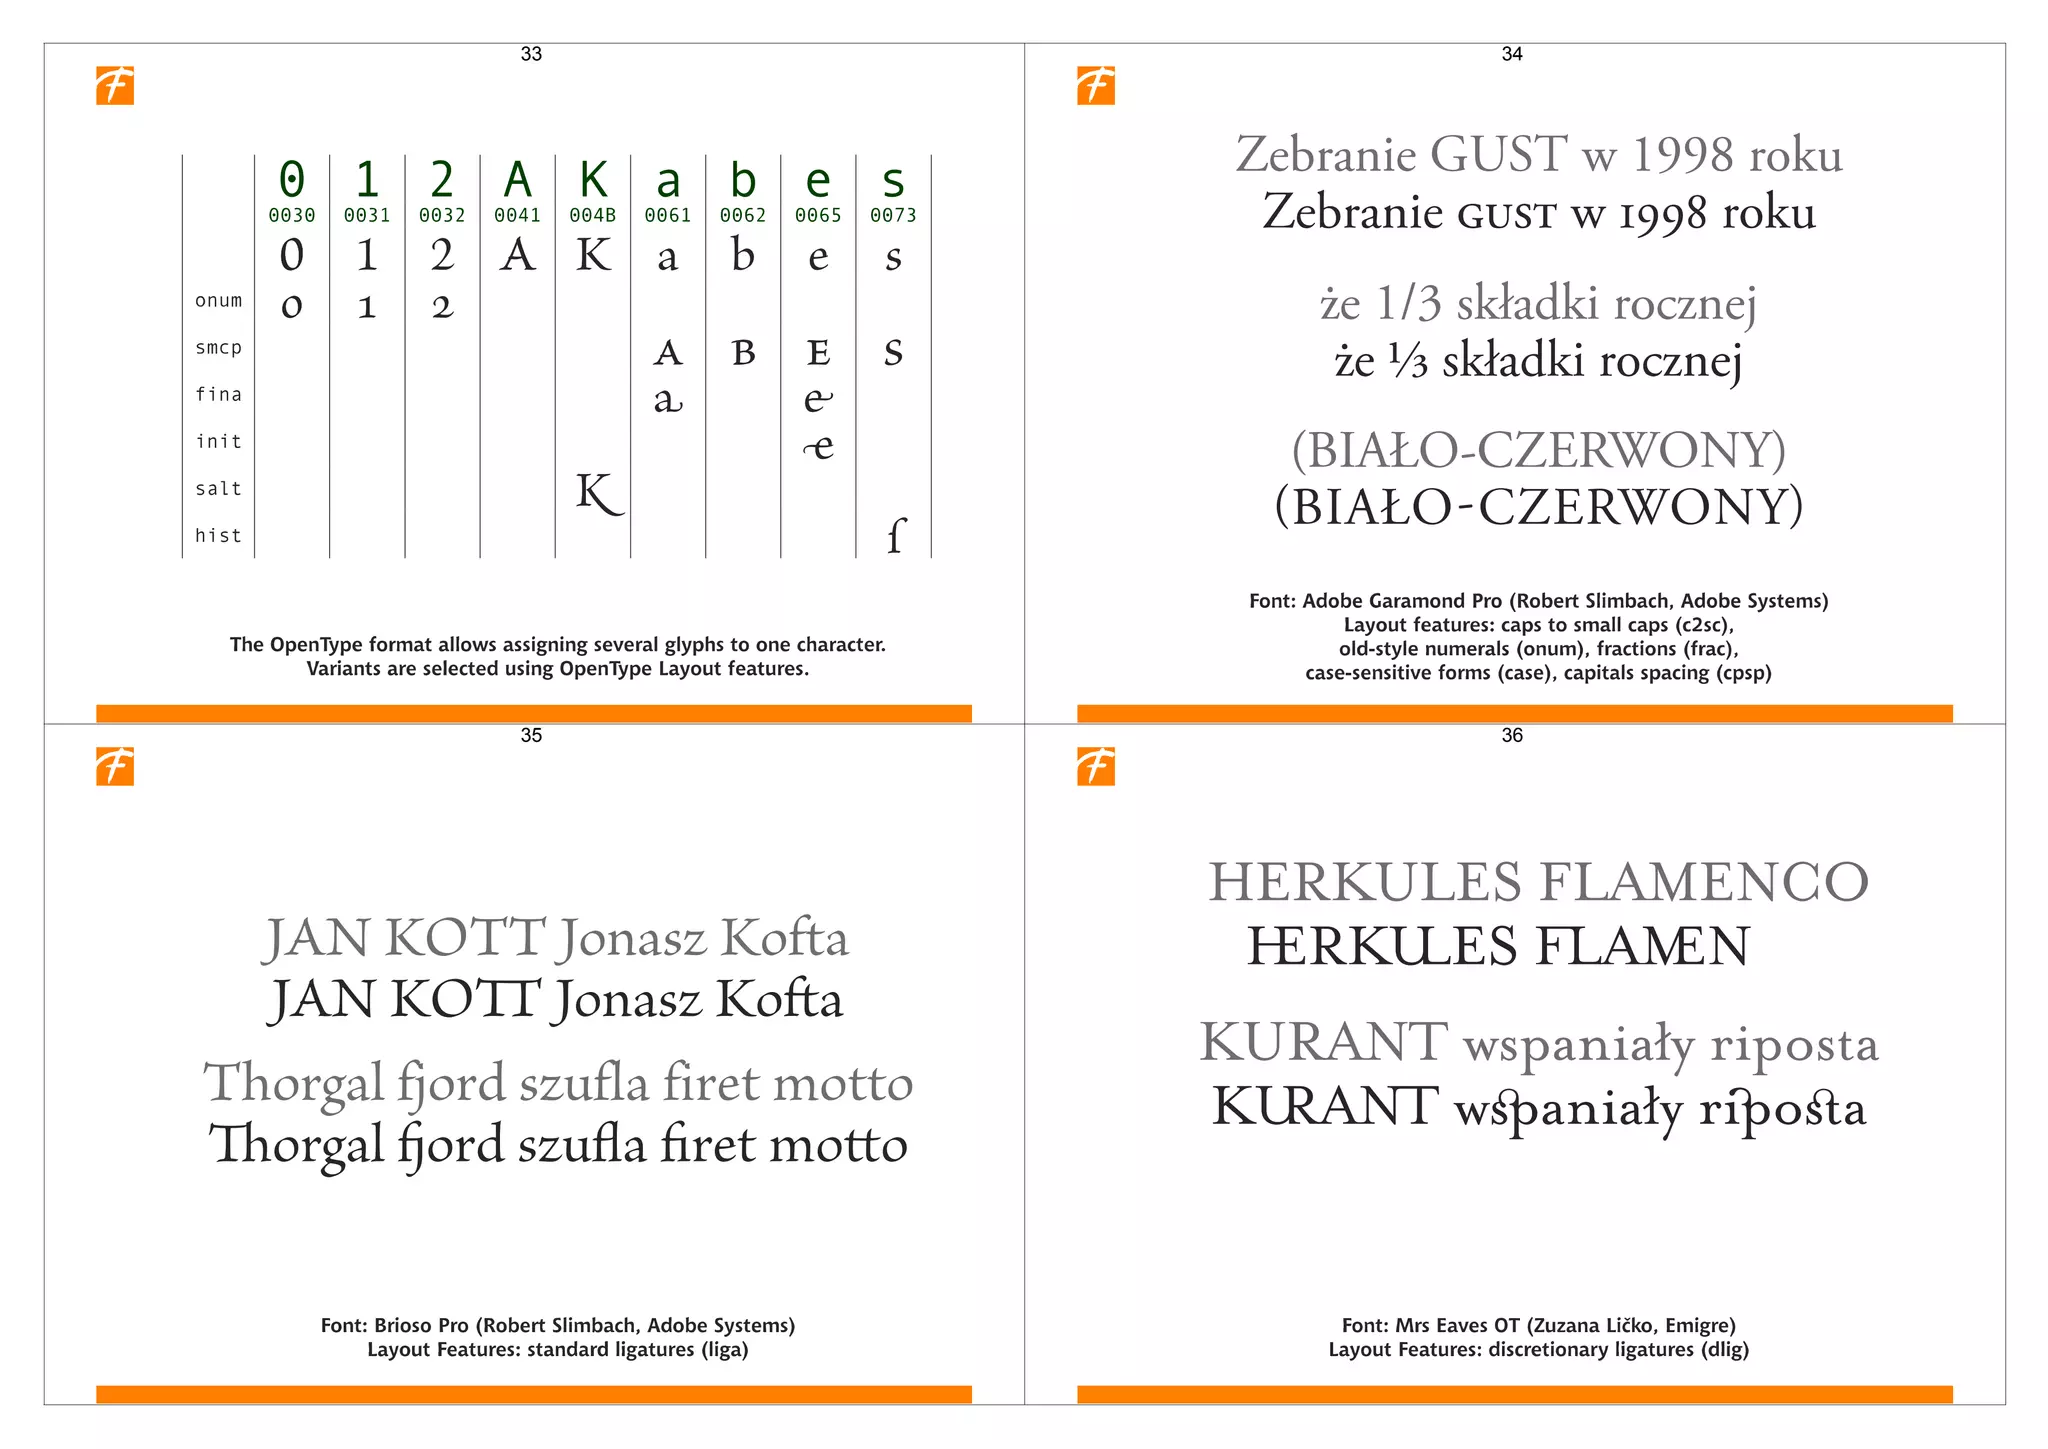
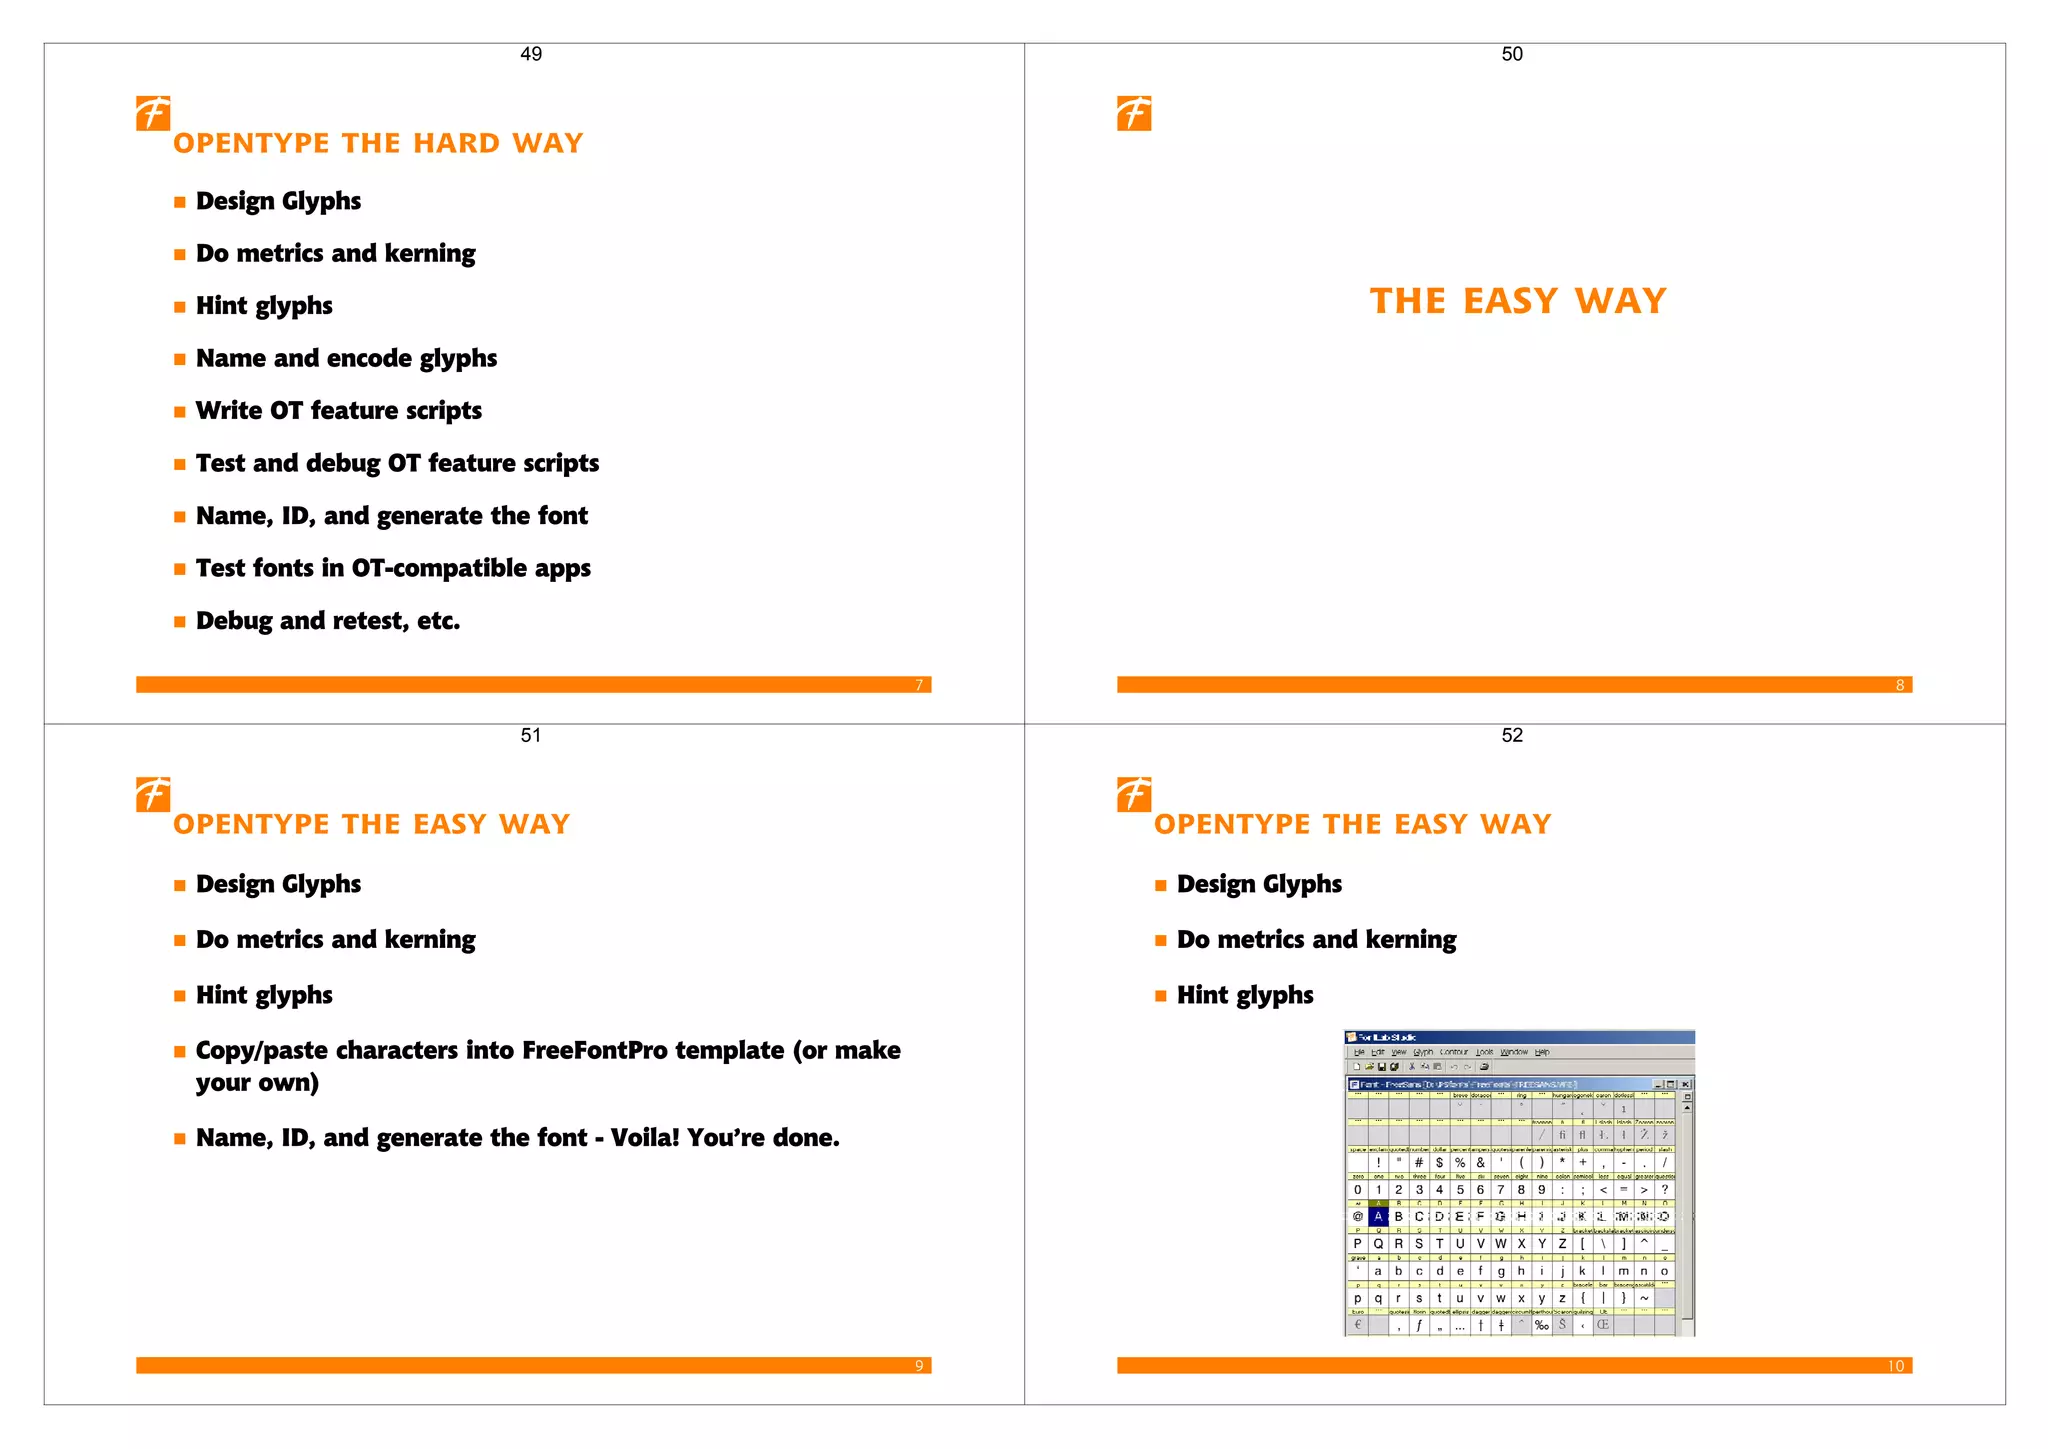
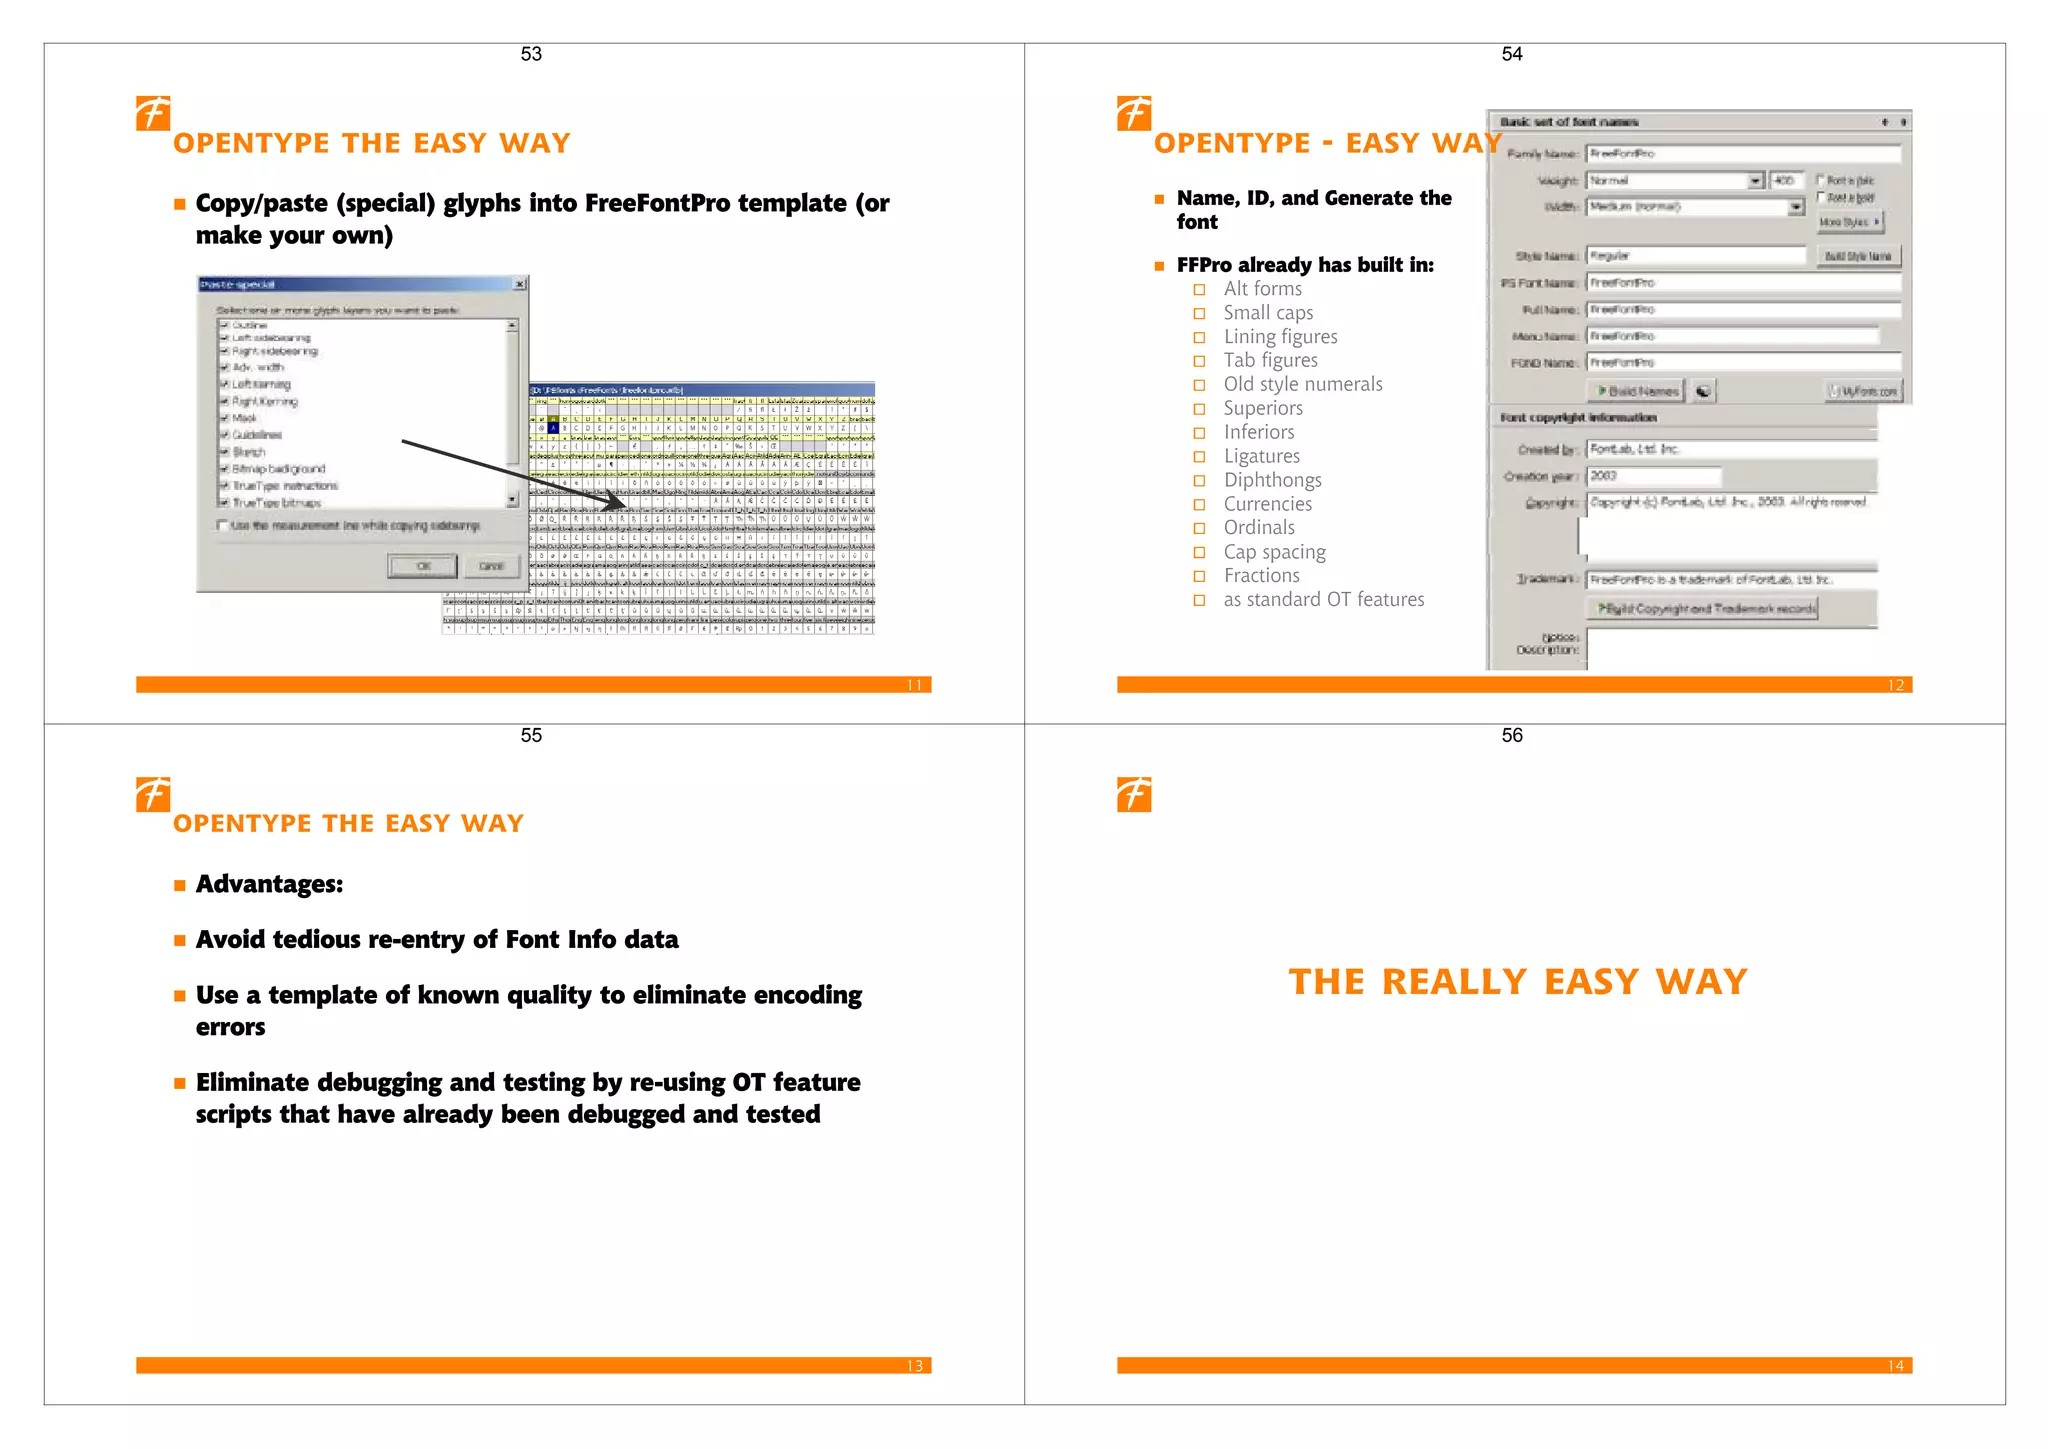
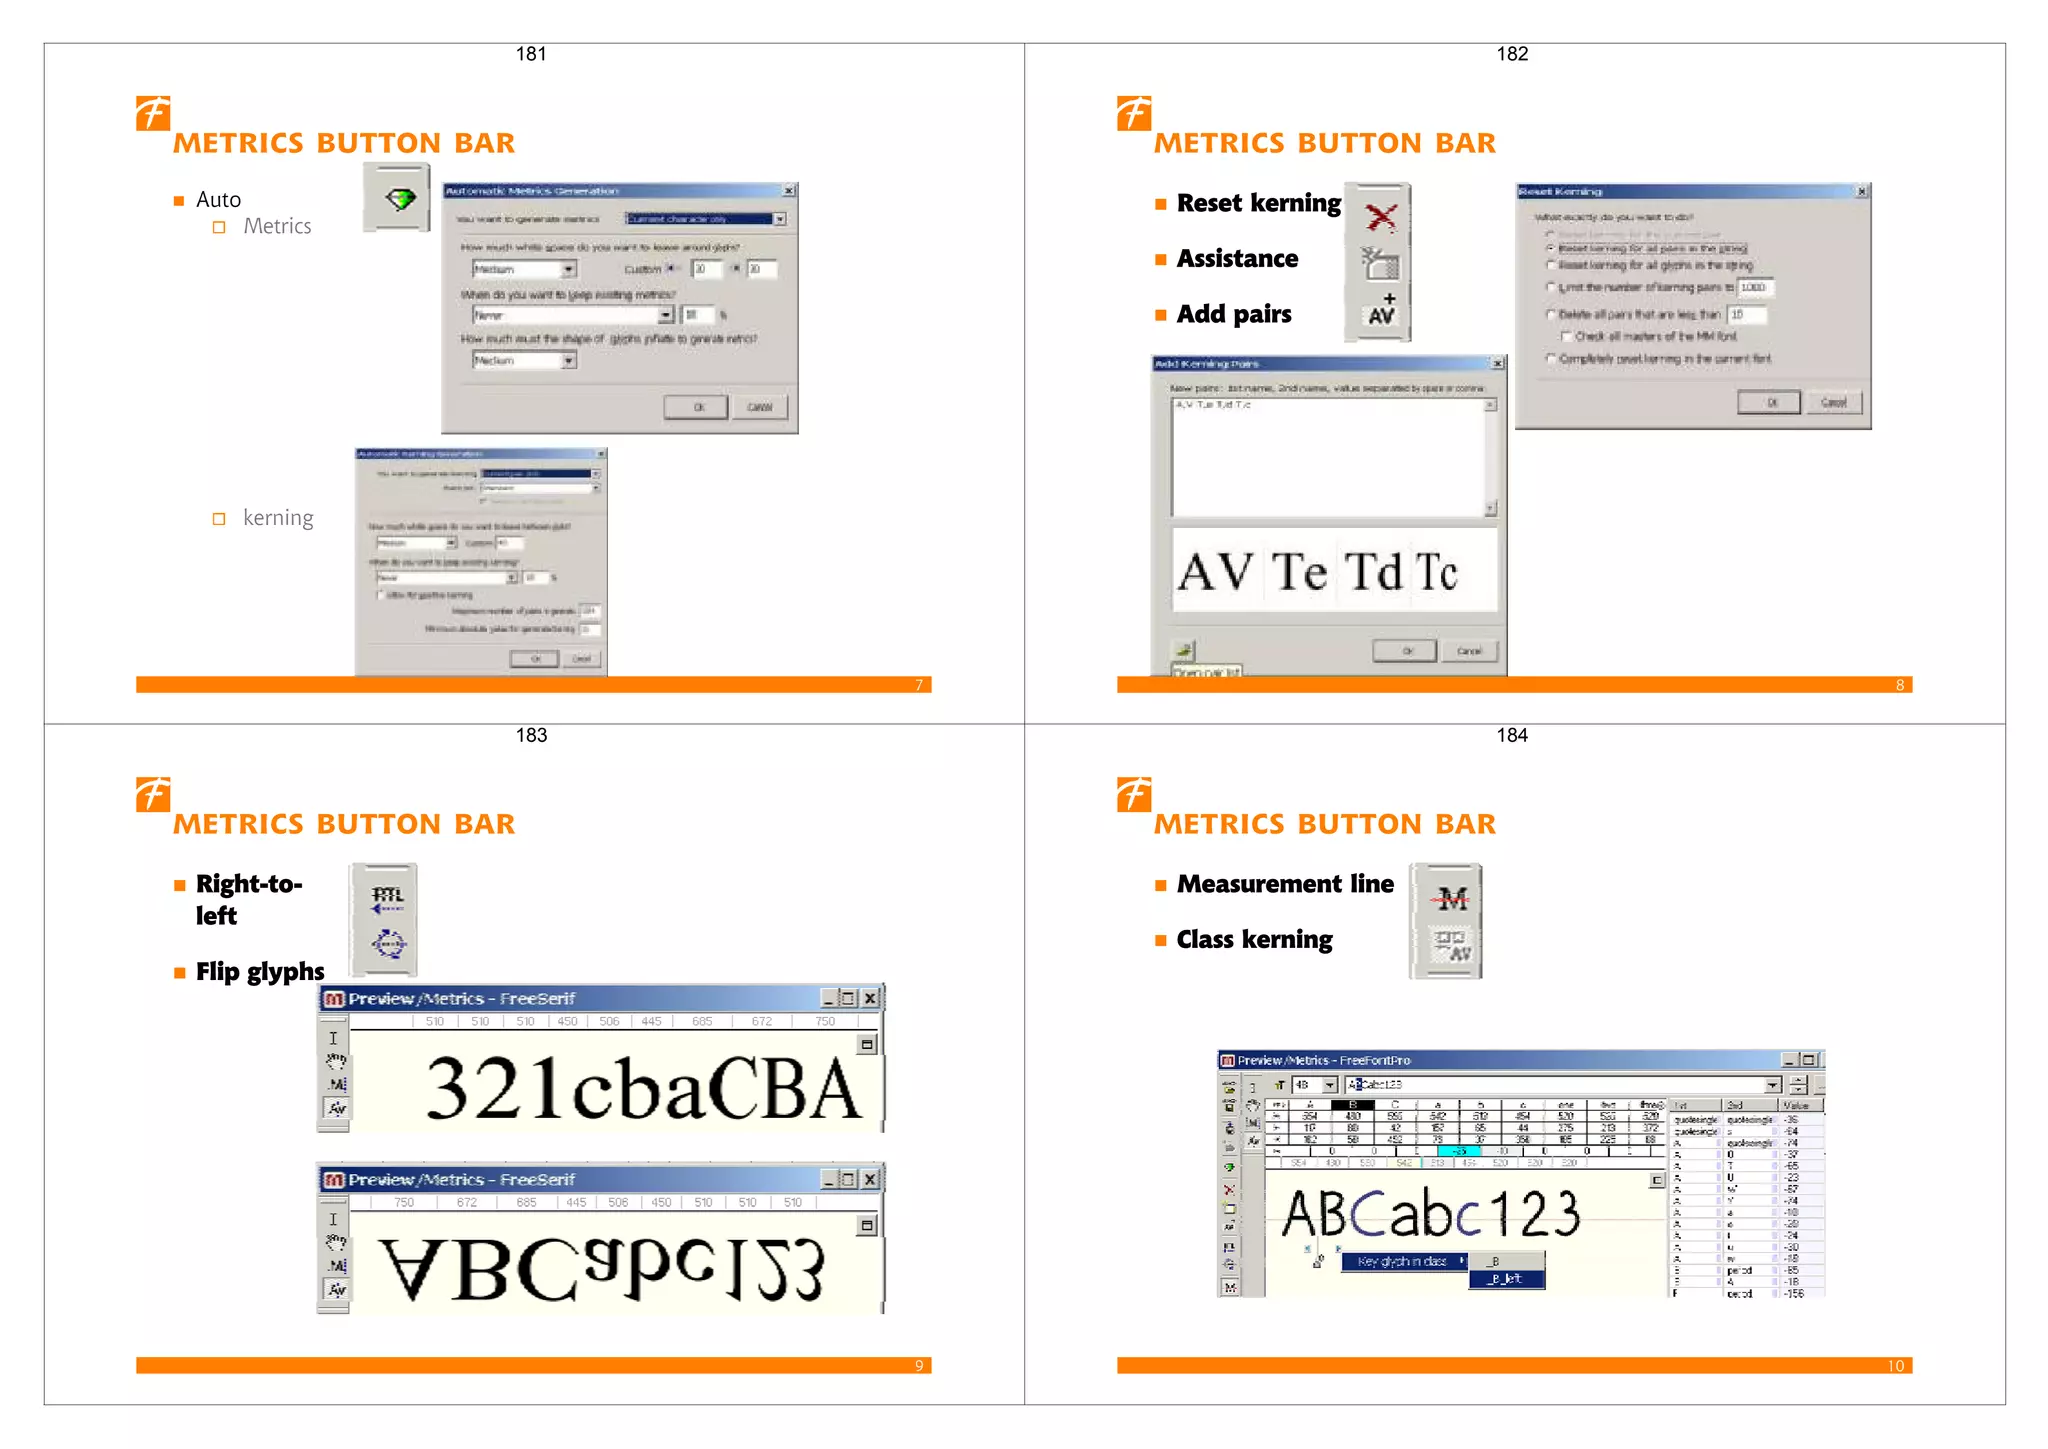
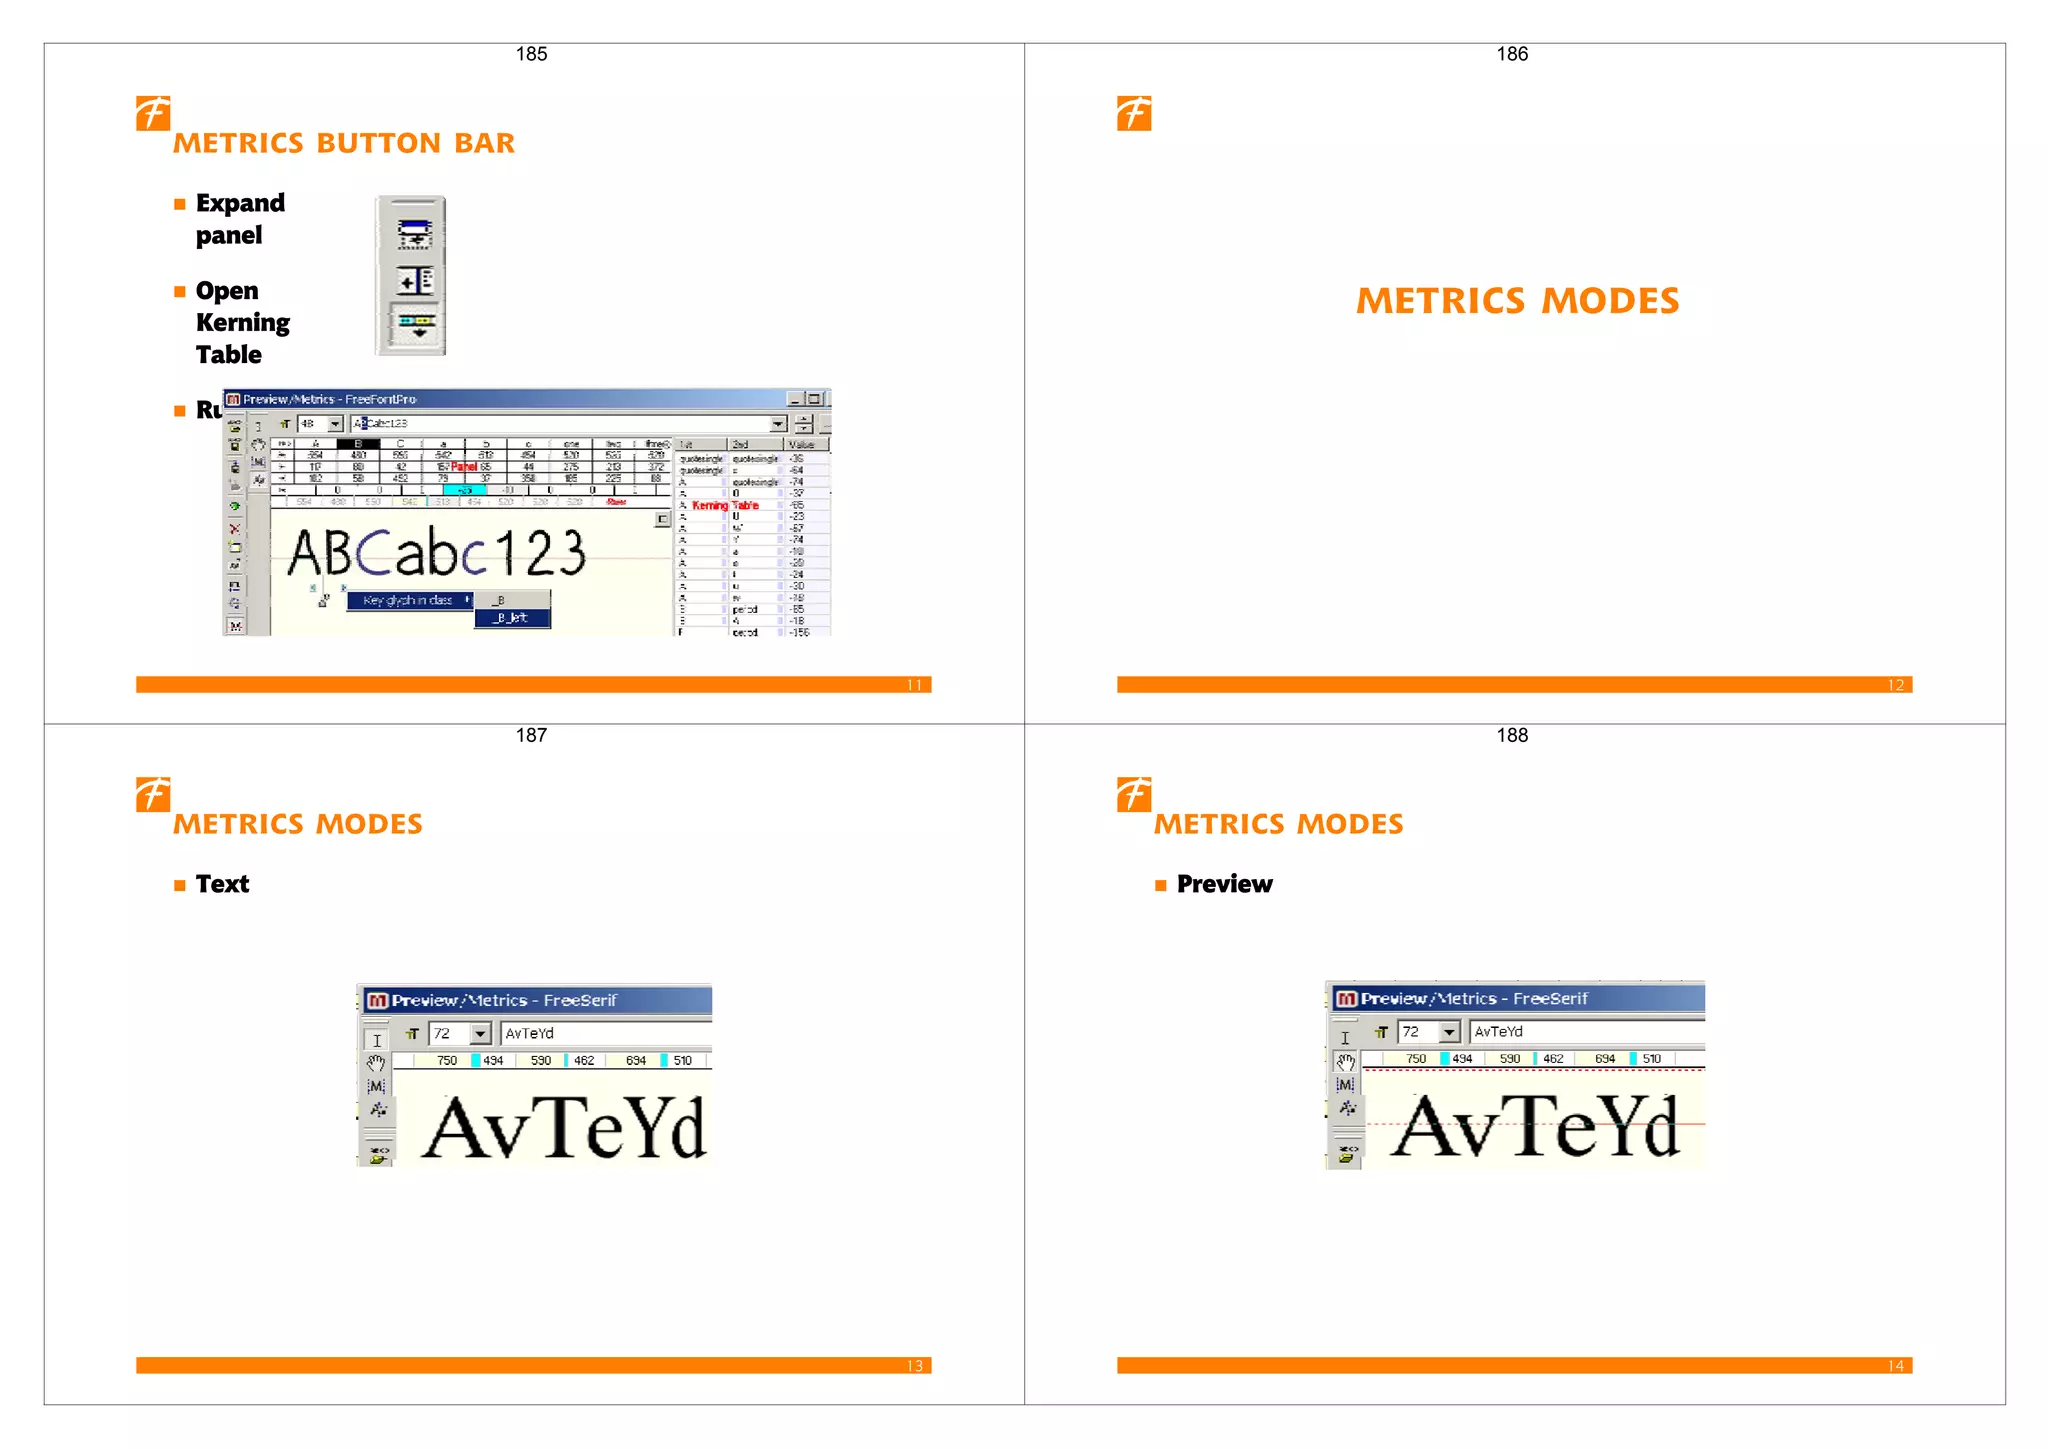
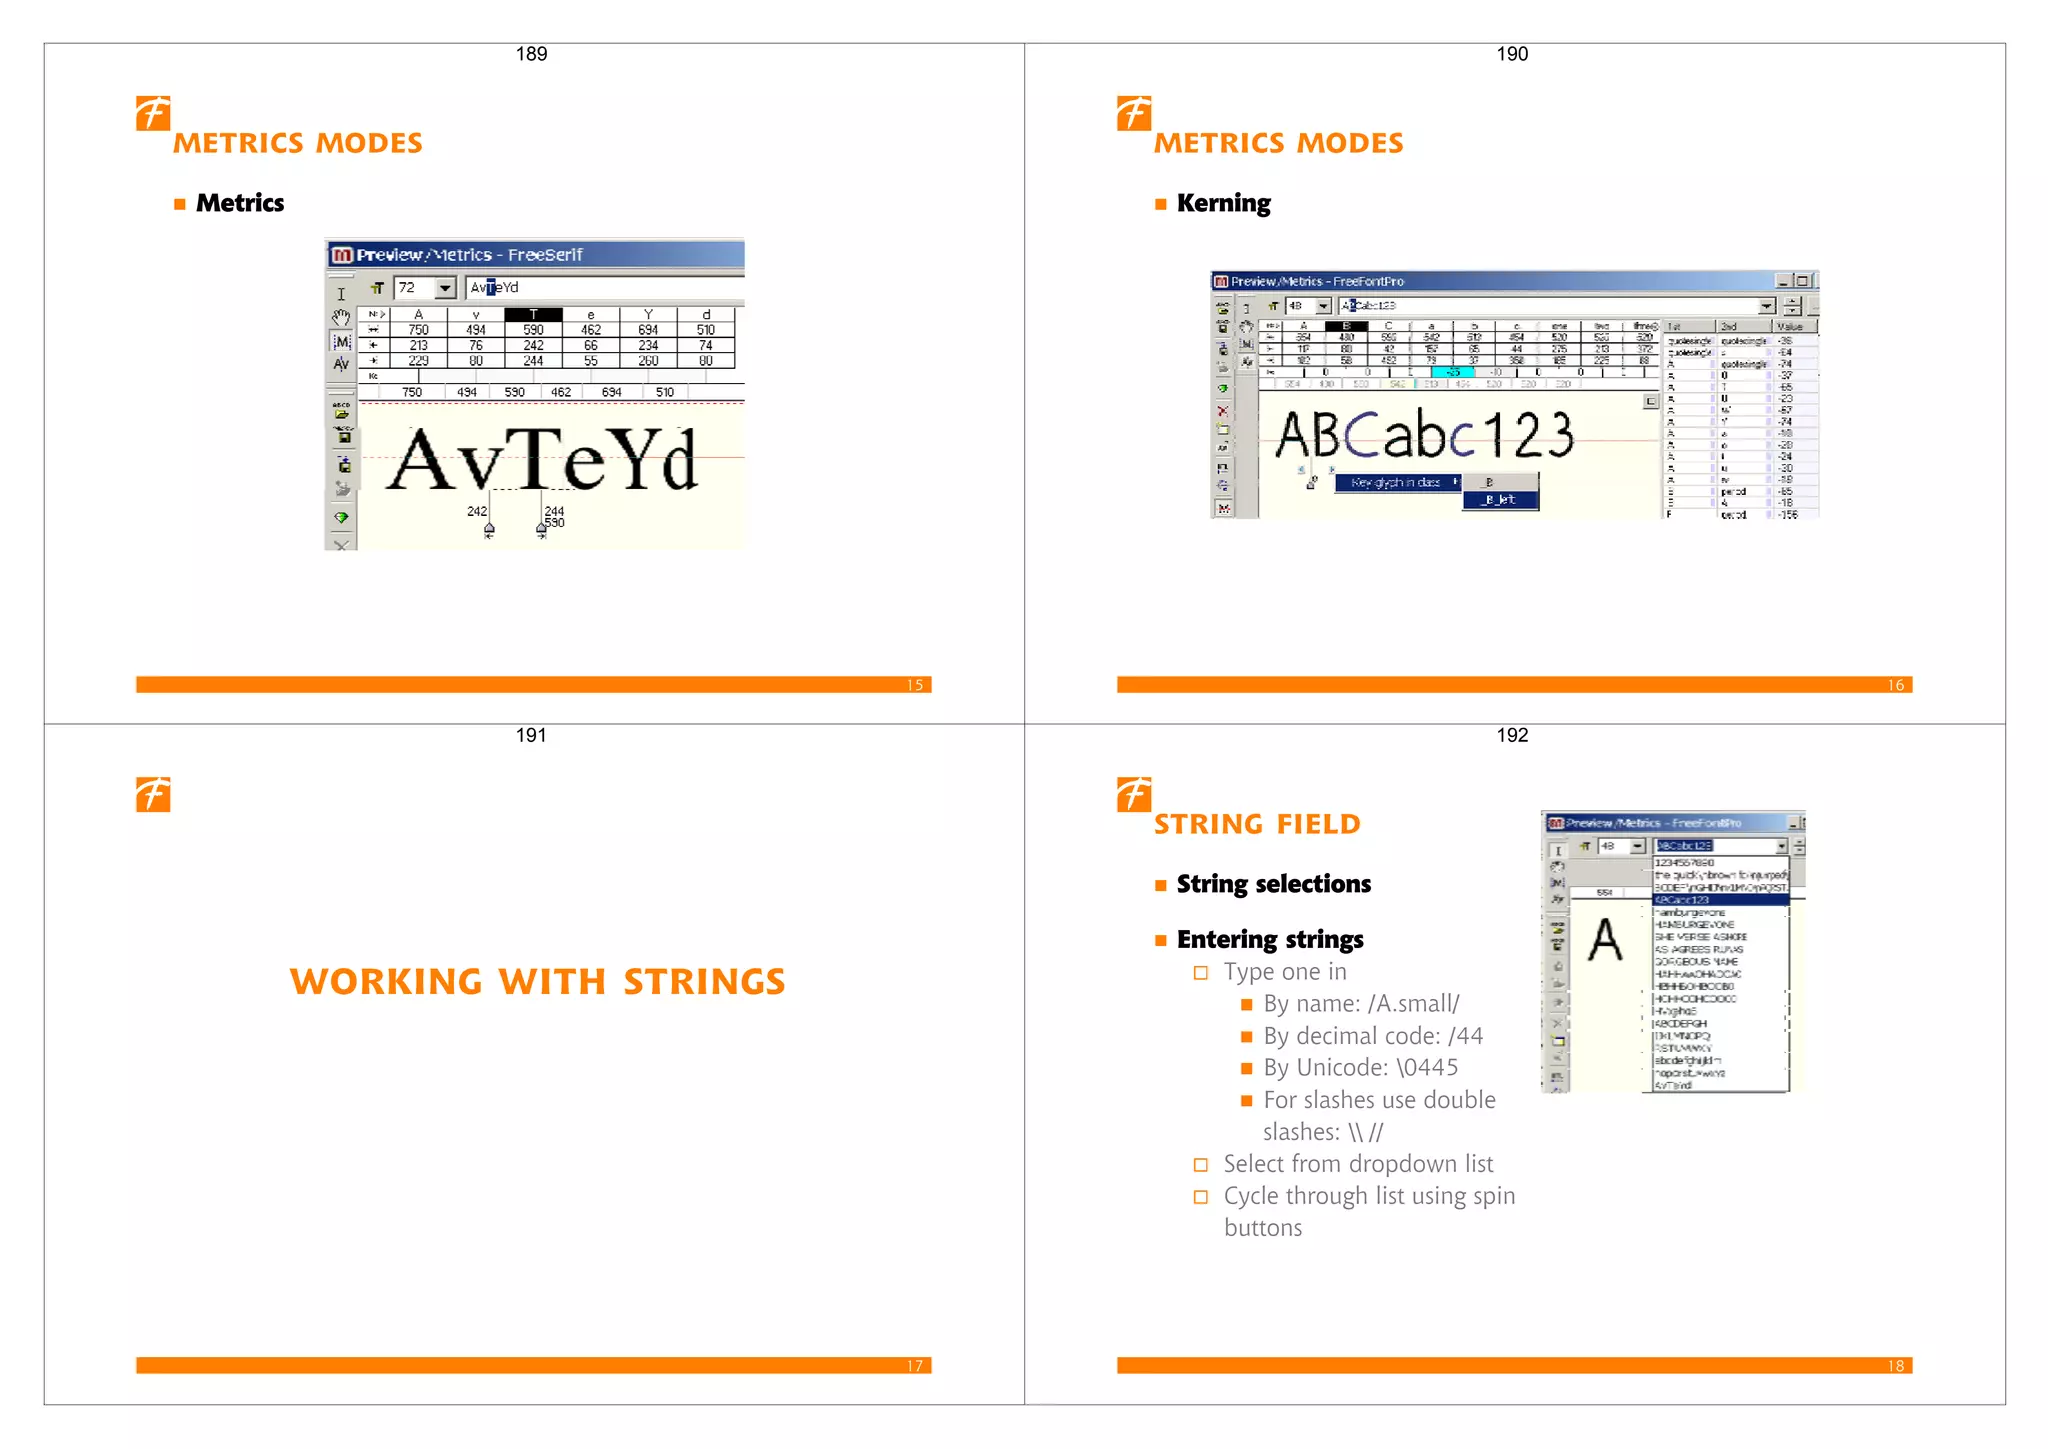
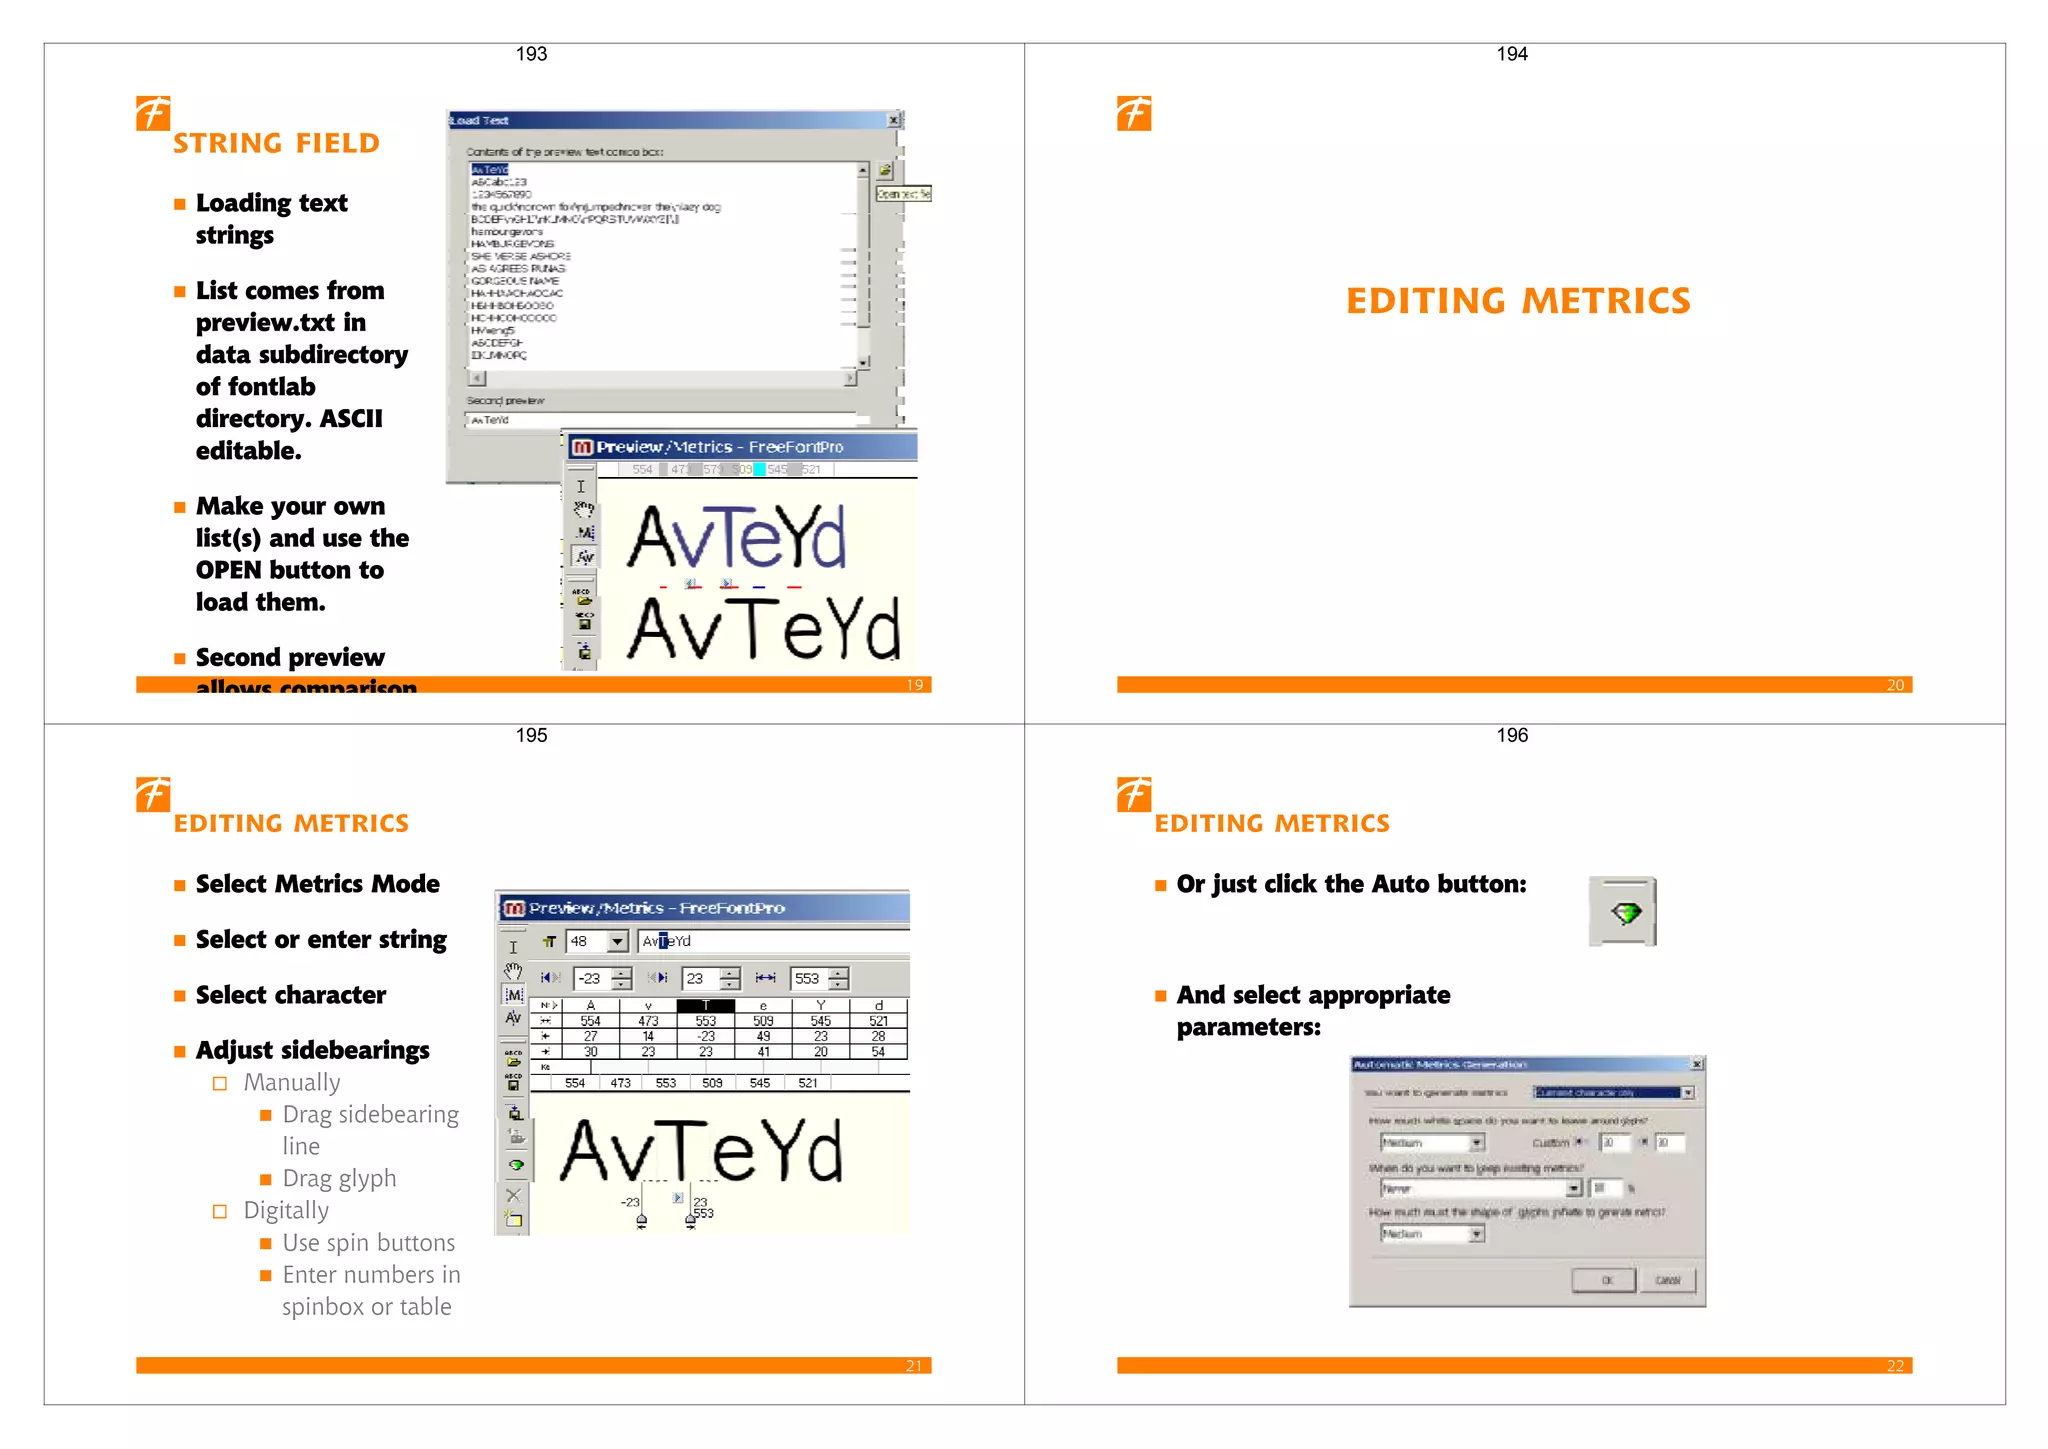
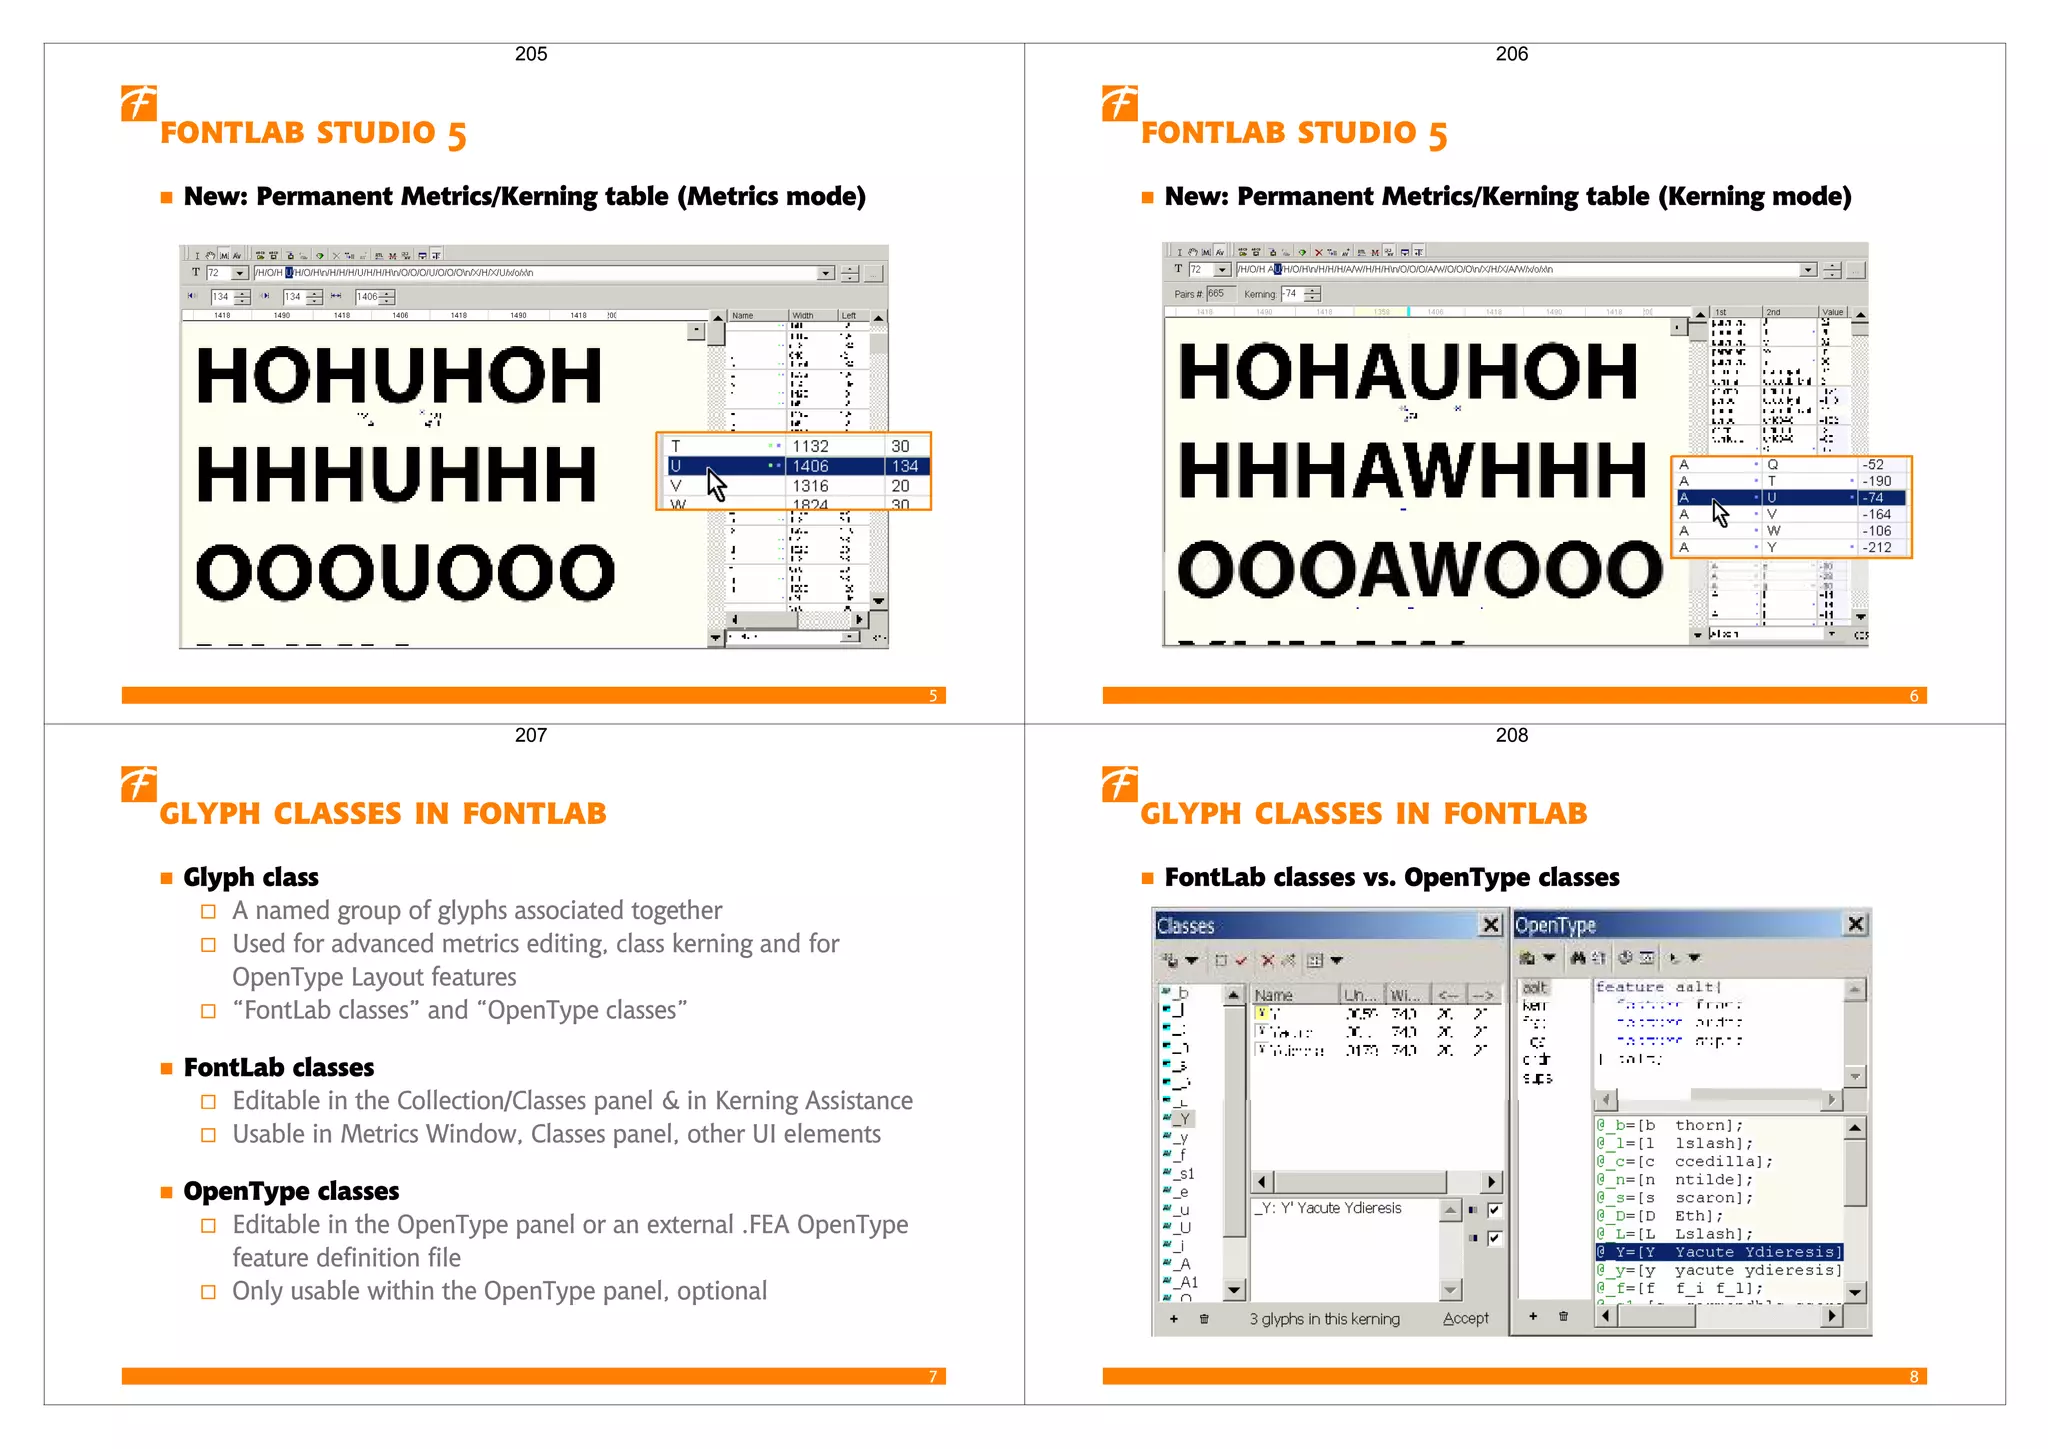
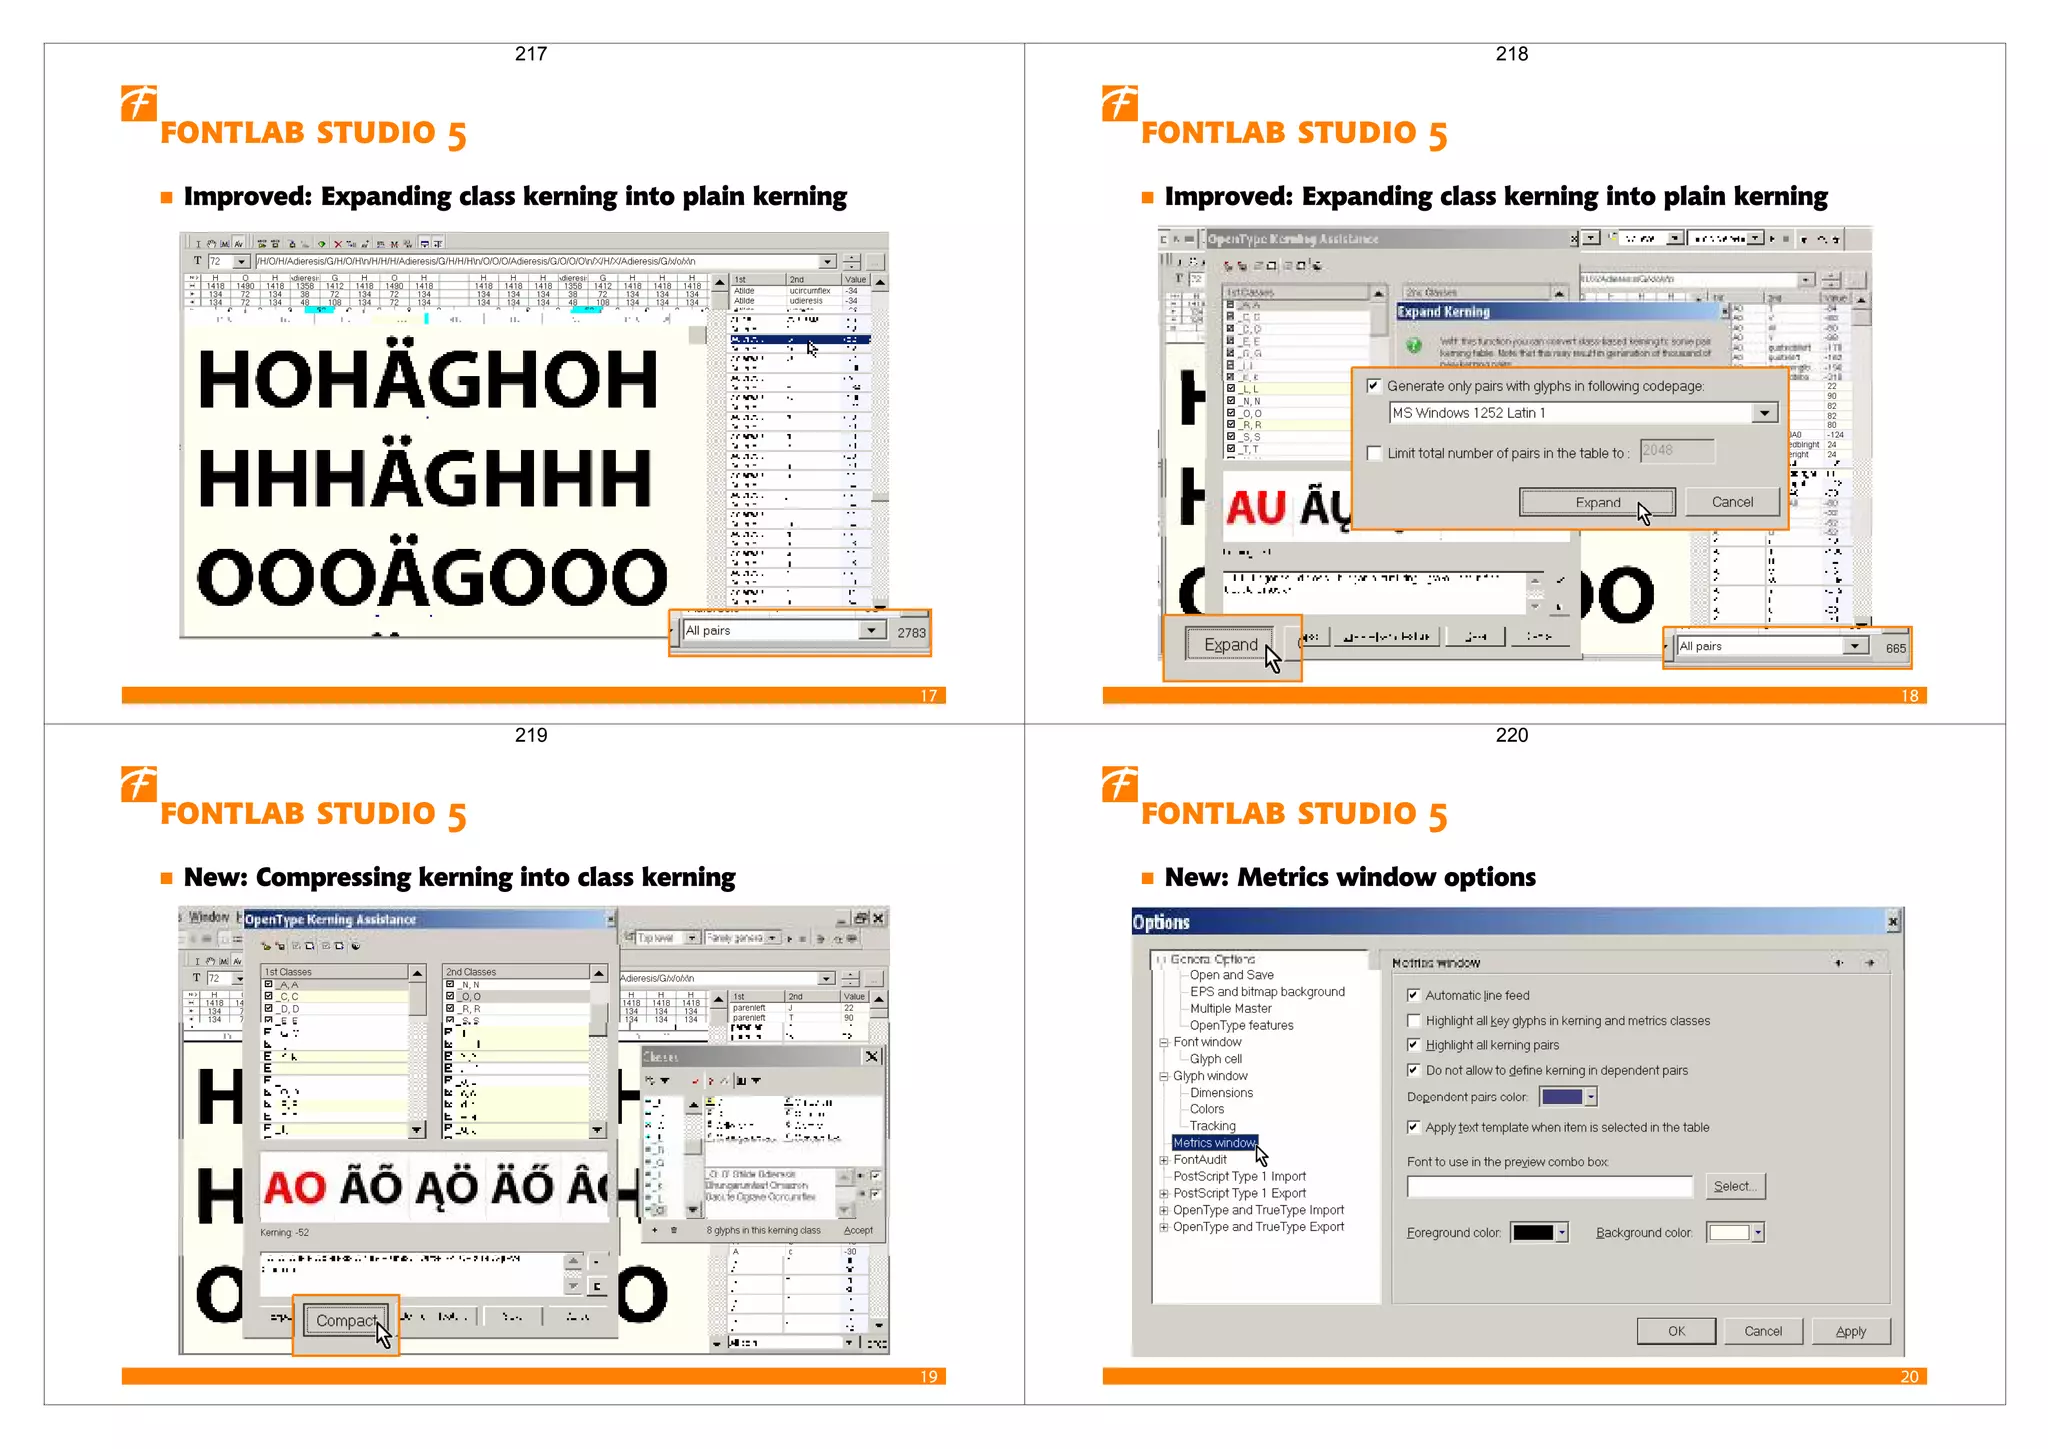
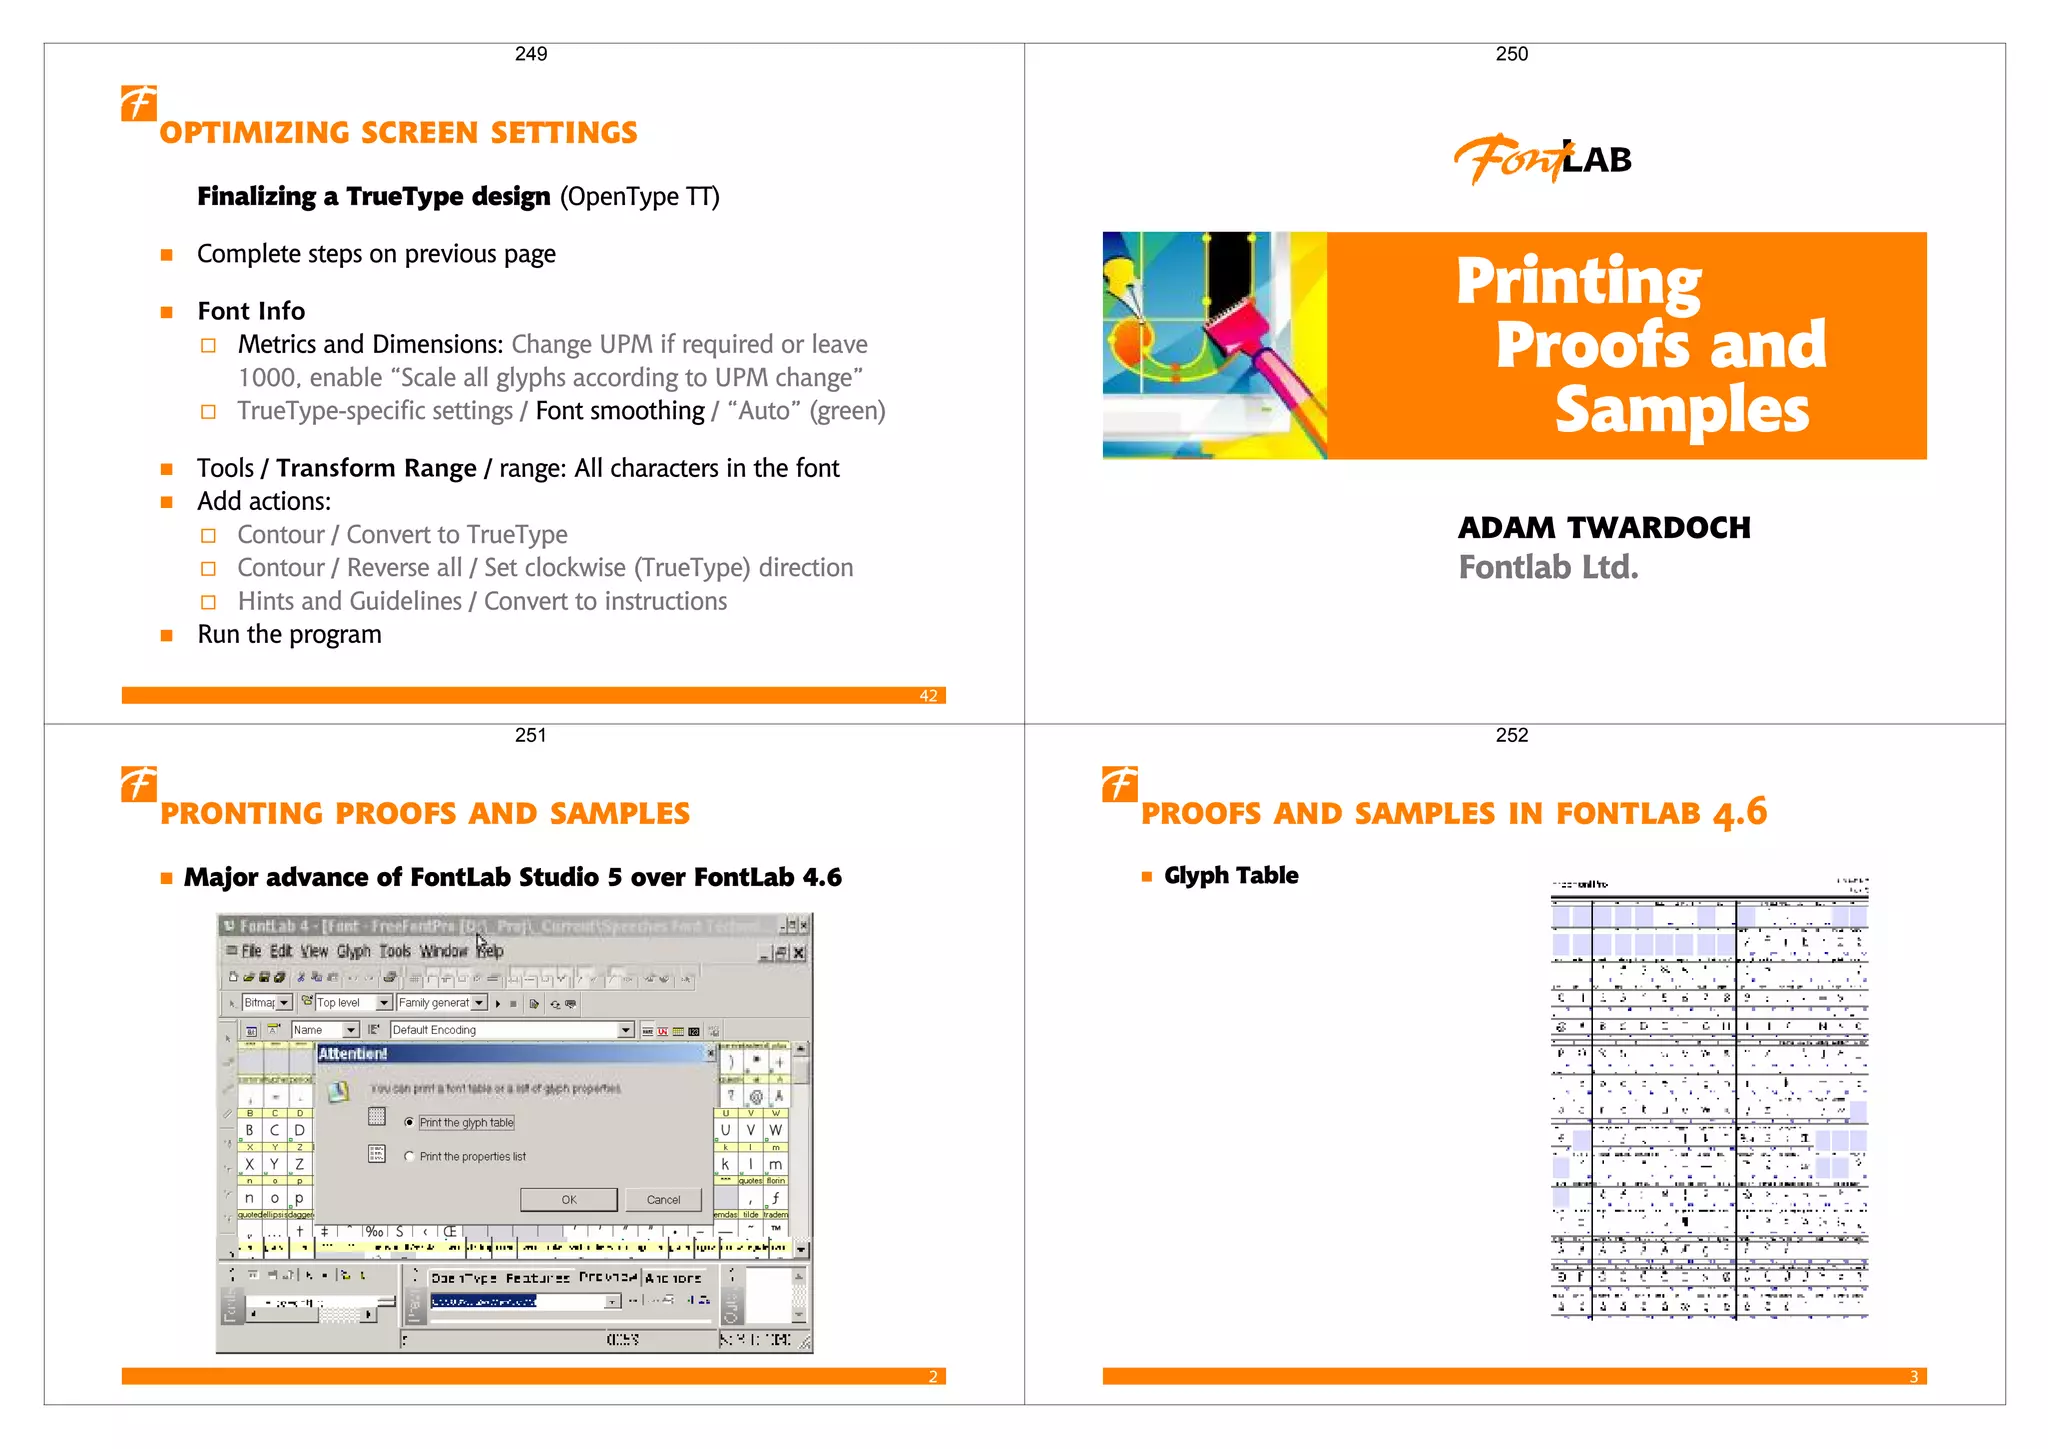
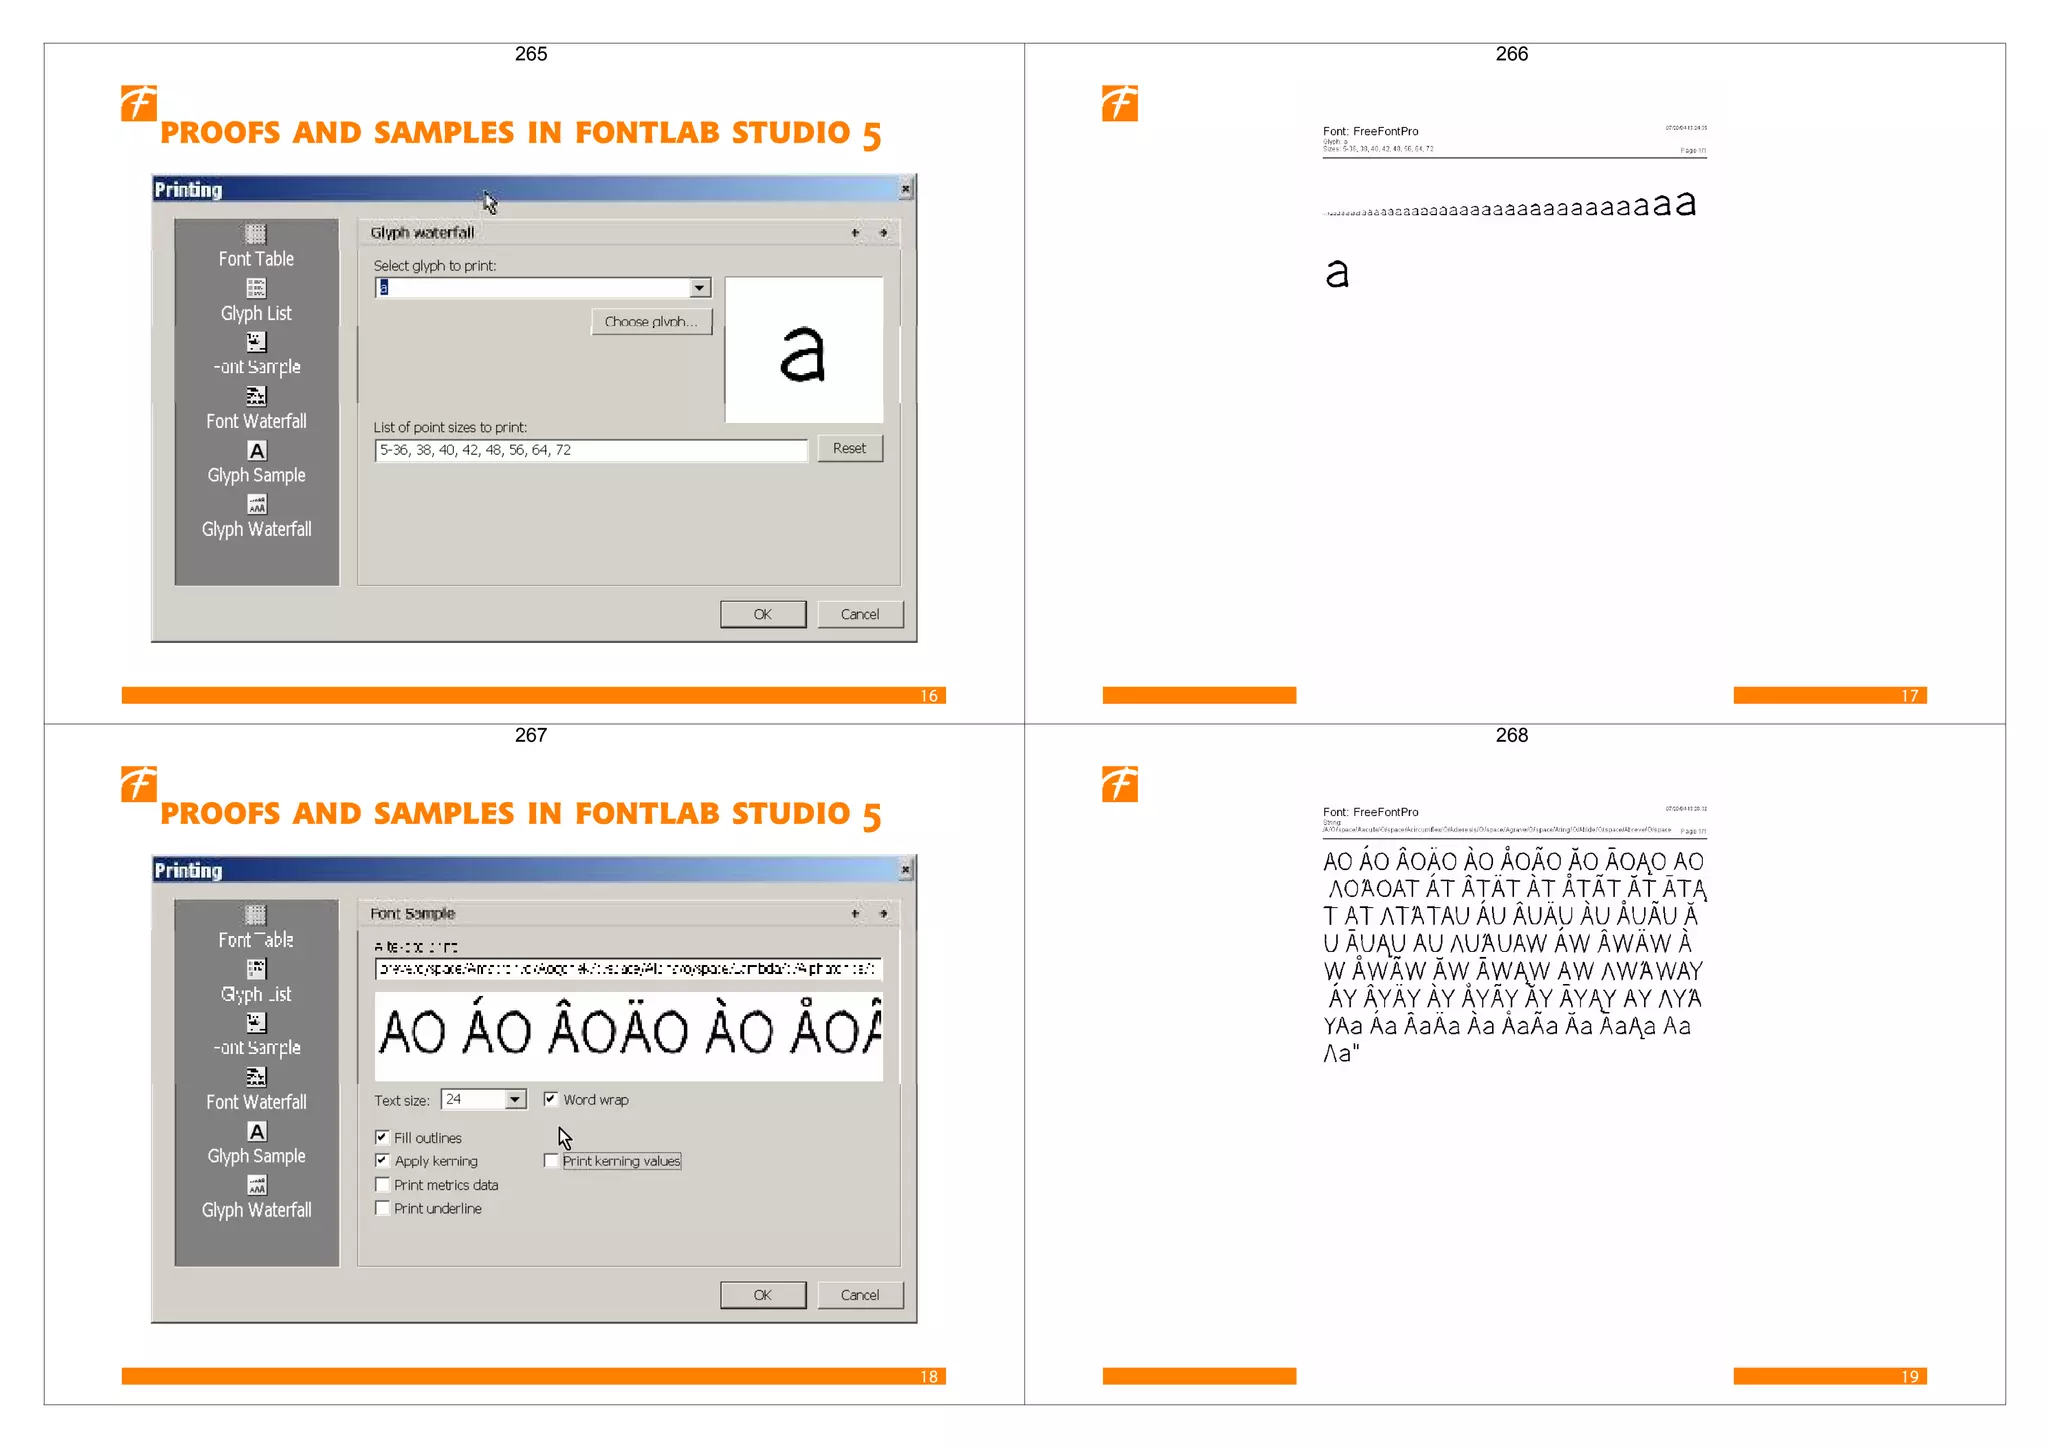
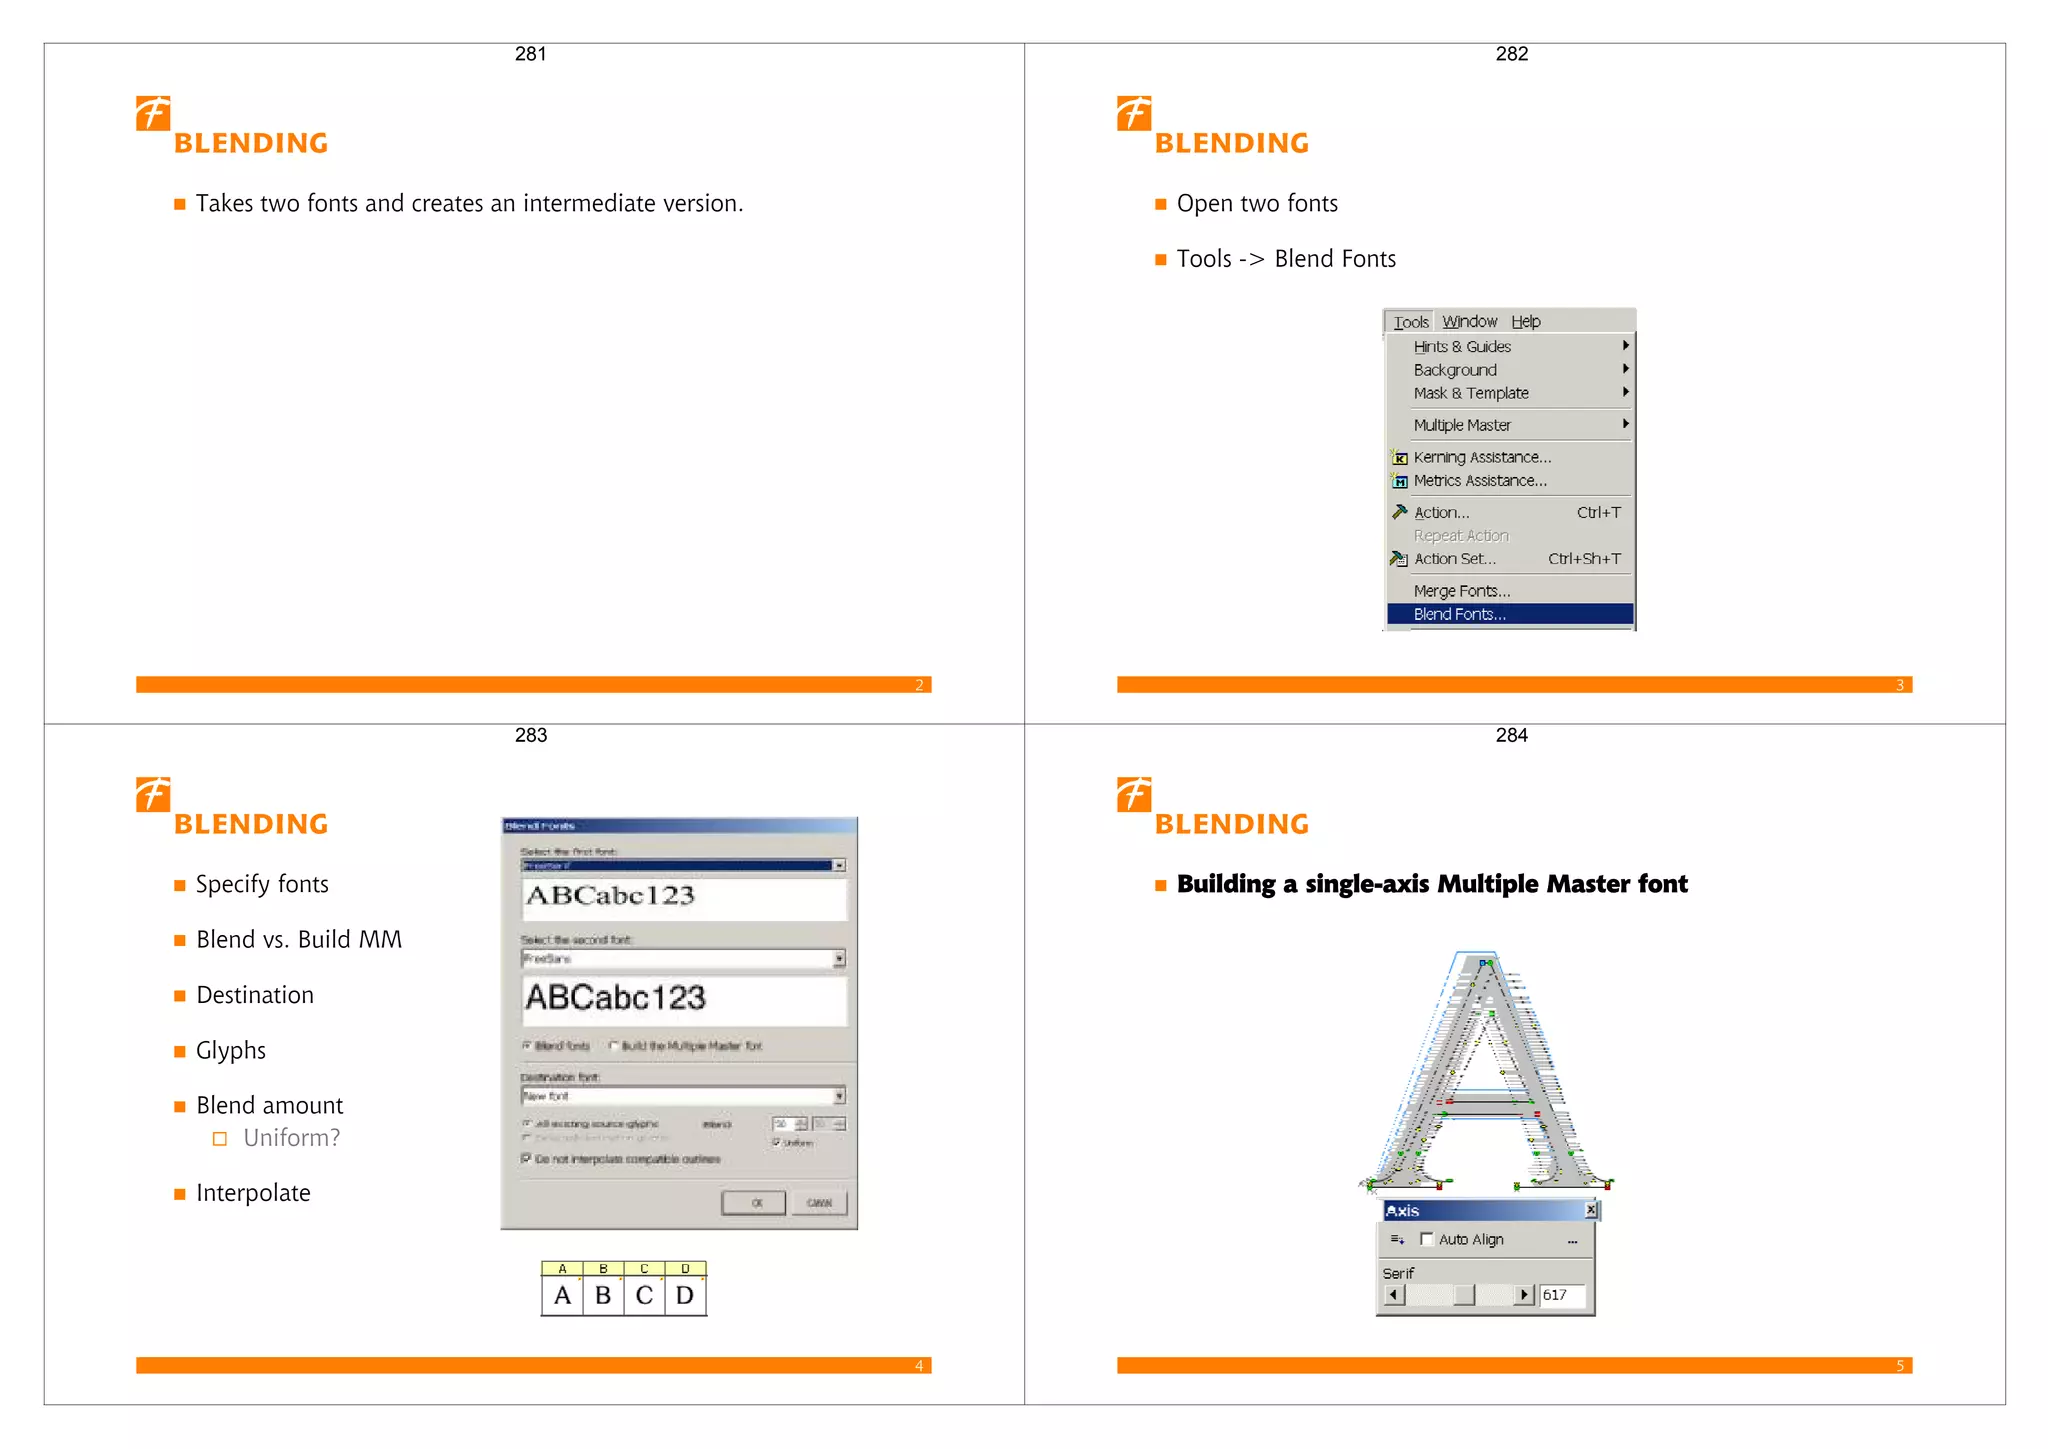
The font table in FontLab Studio displays information about glyphs and allows editing characters. Cells are color coded to indicate encoding status. Context menus provide glyph editing and encoding options.
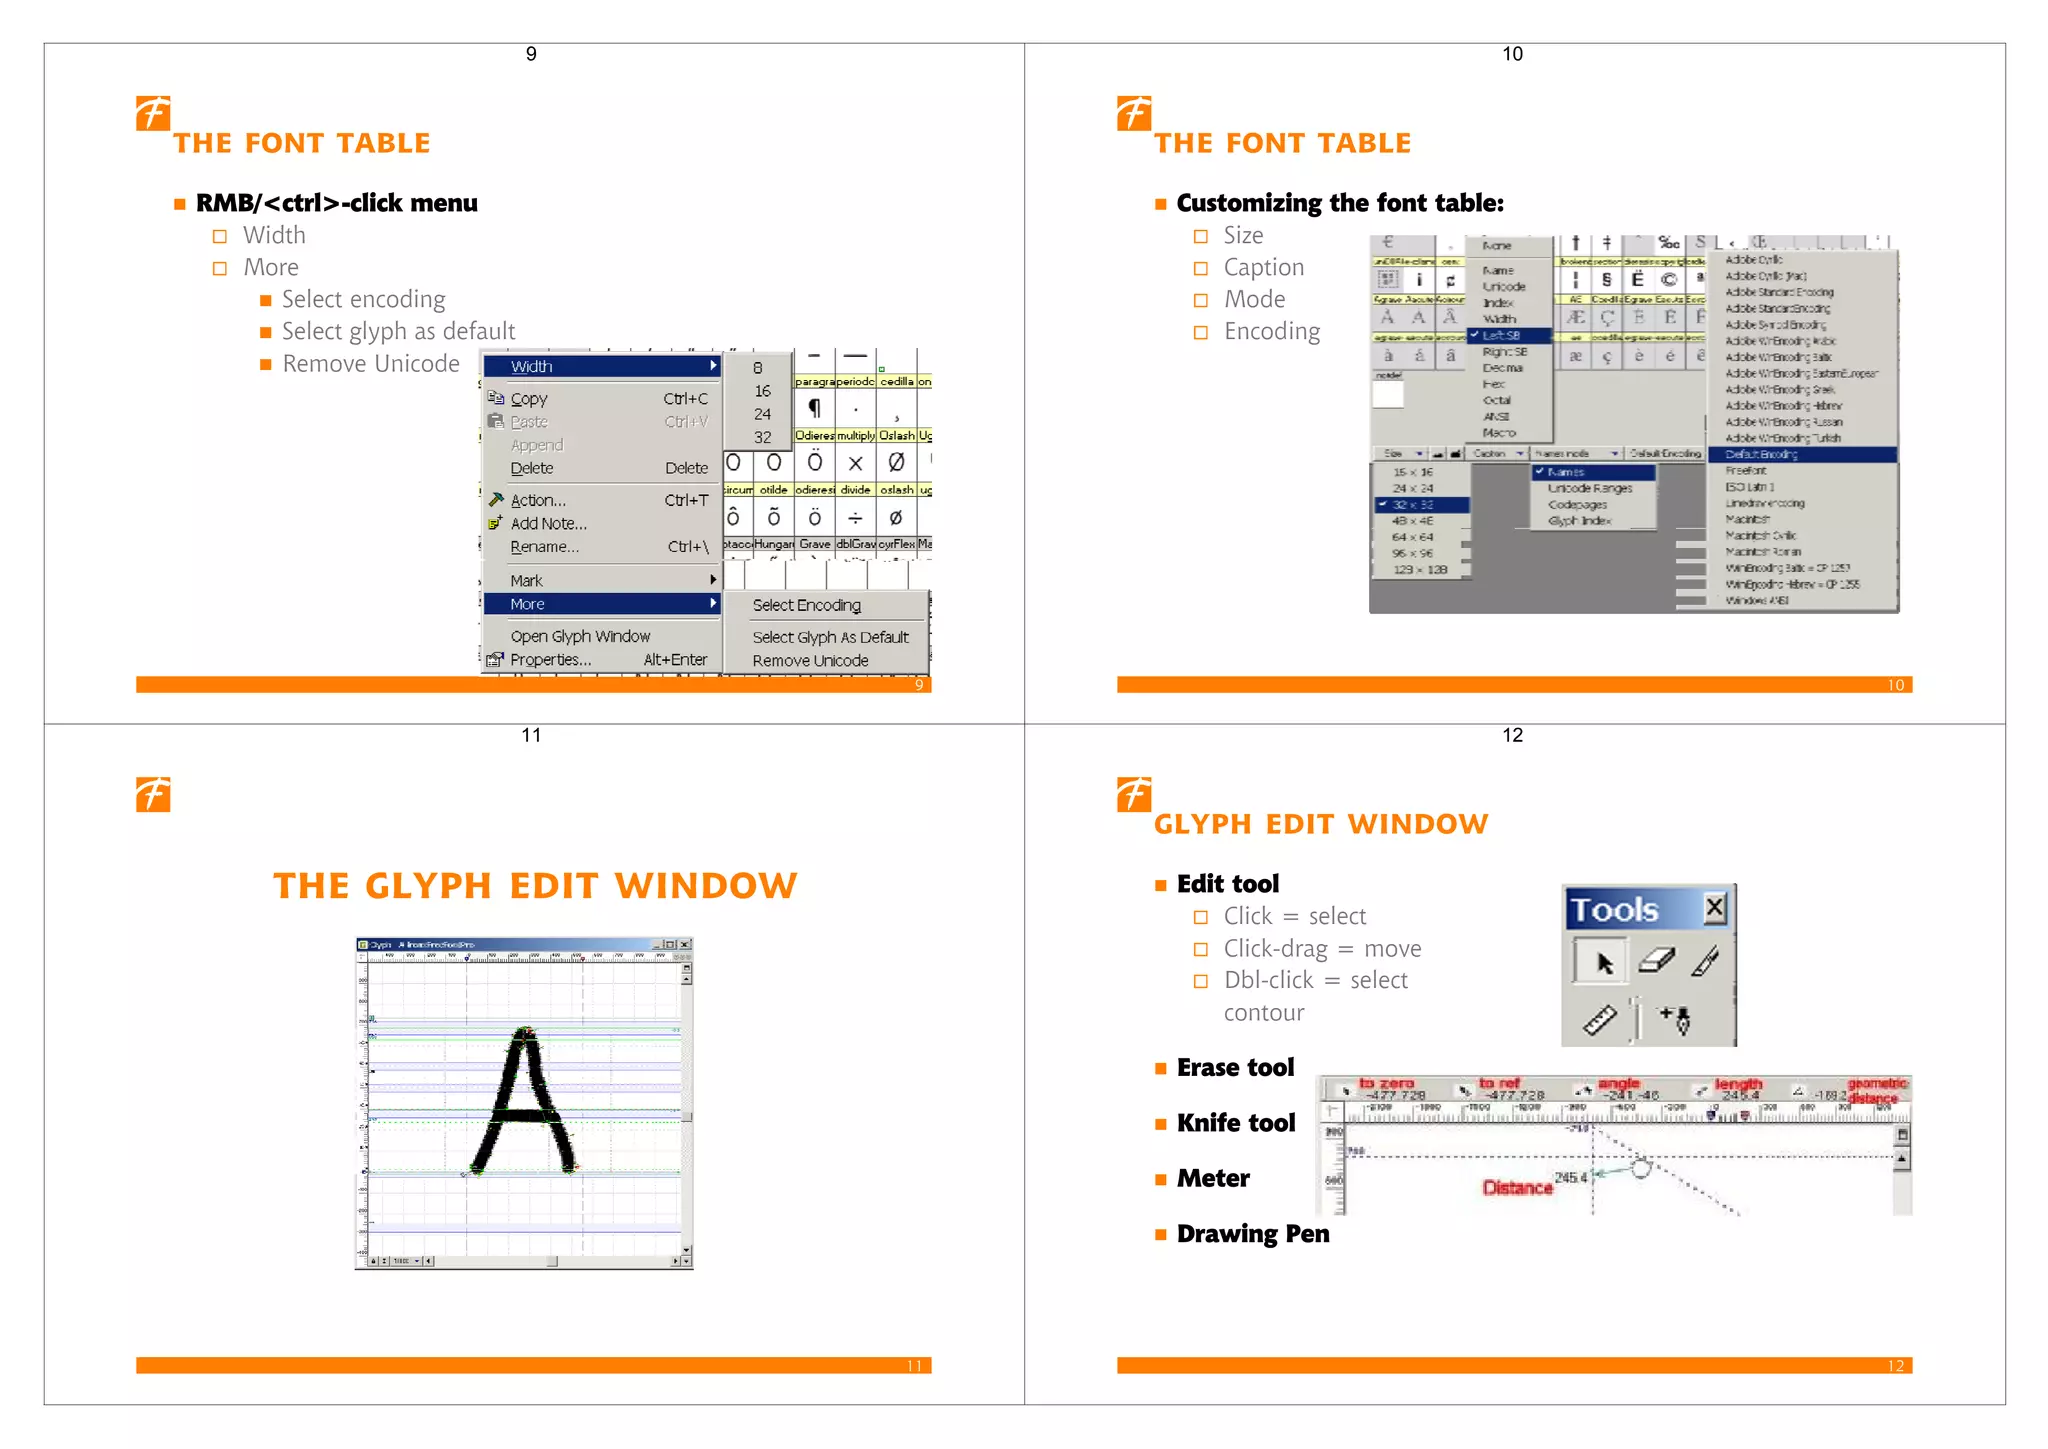
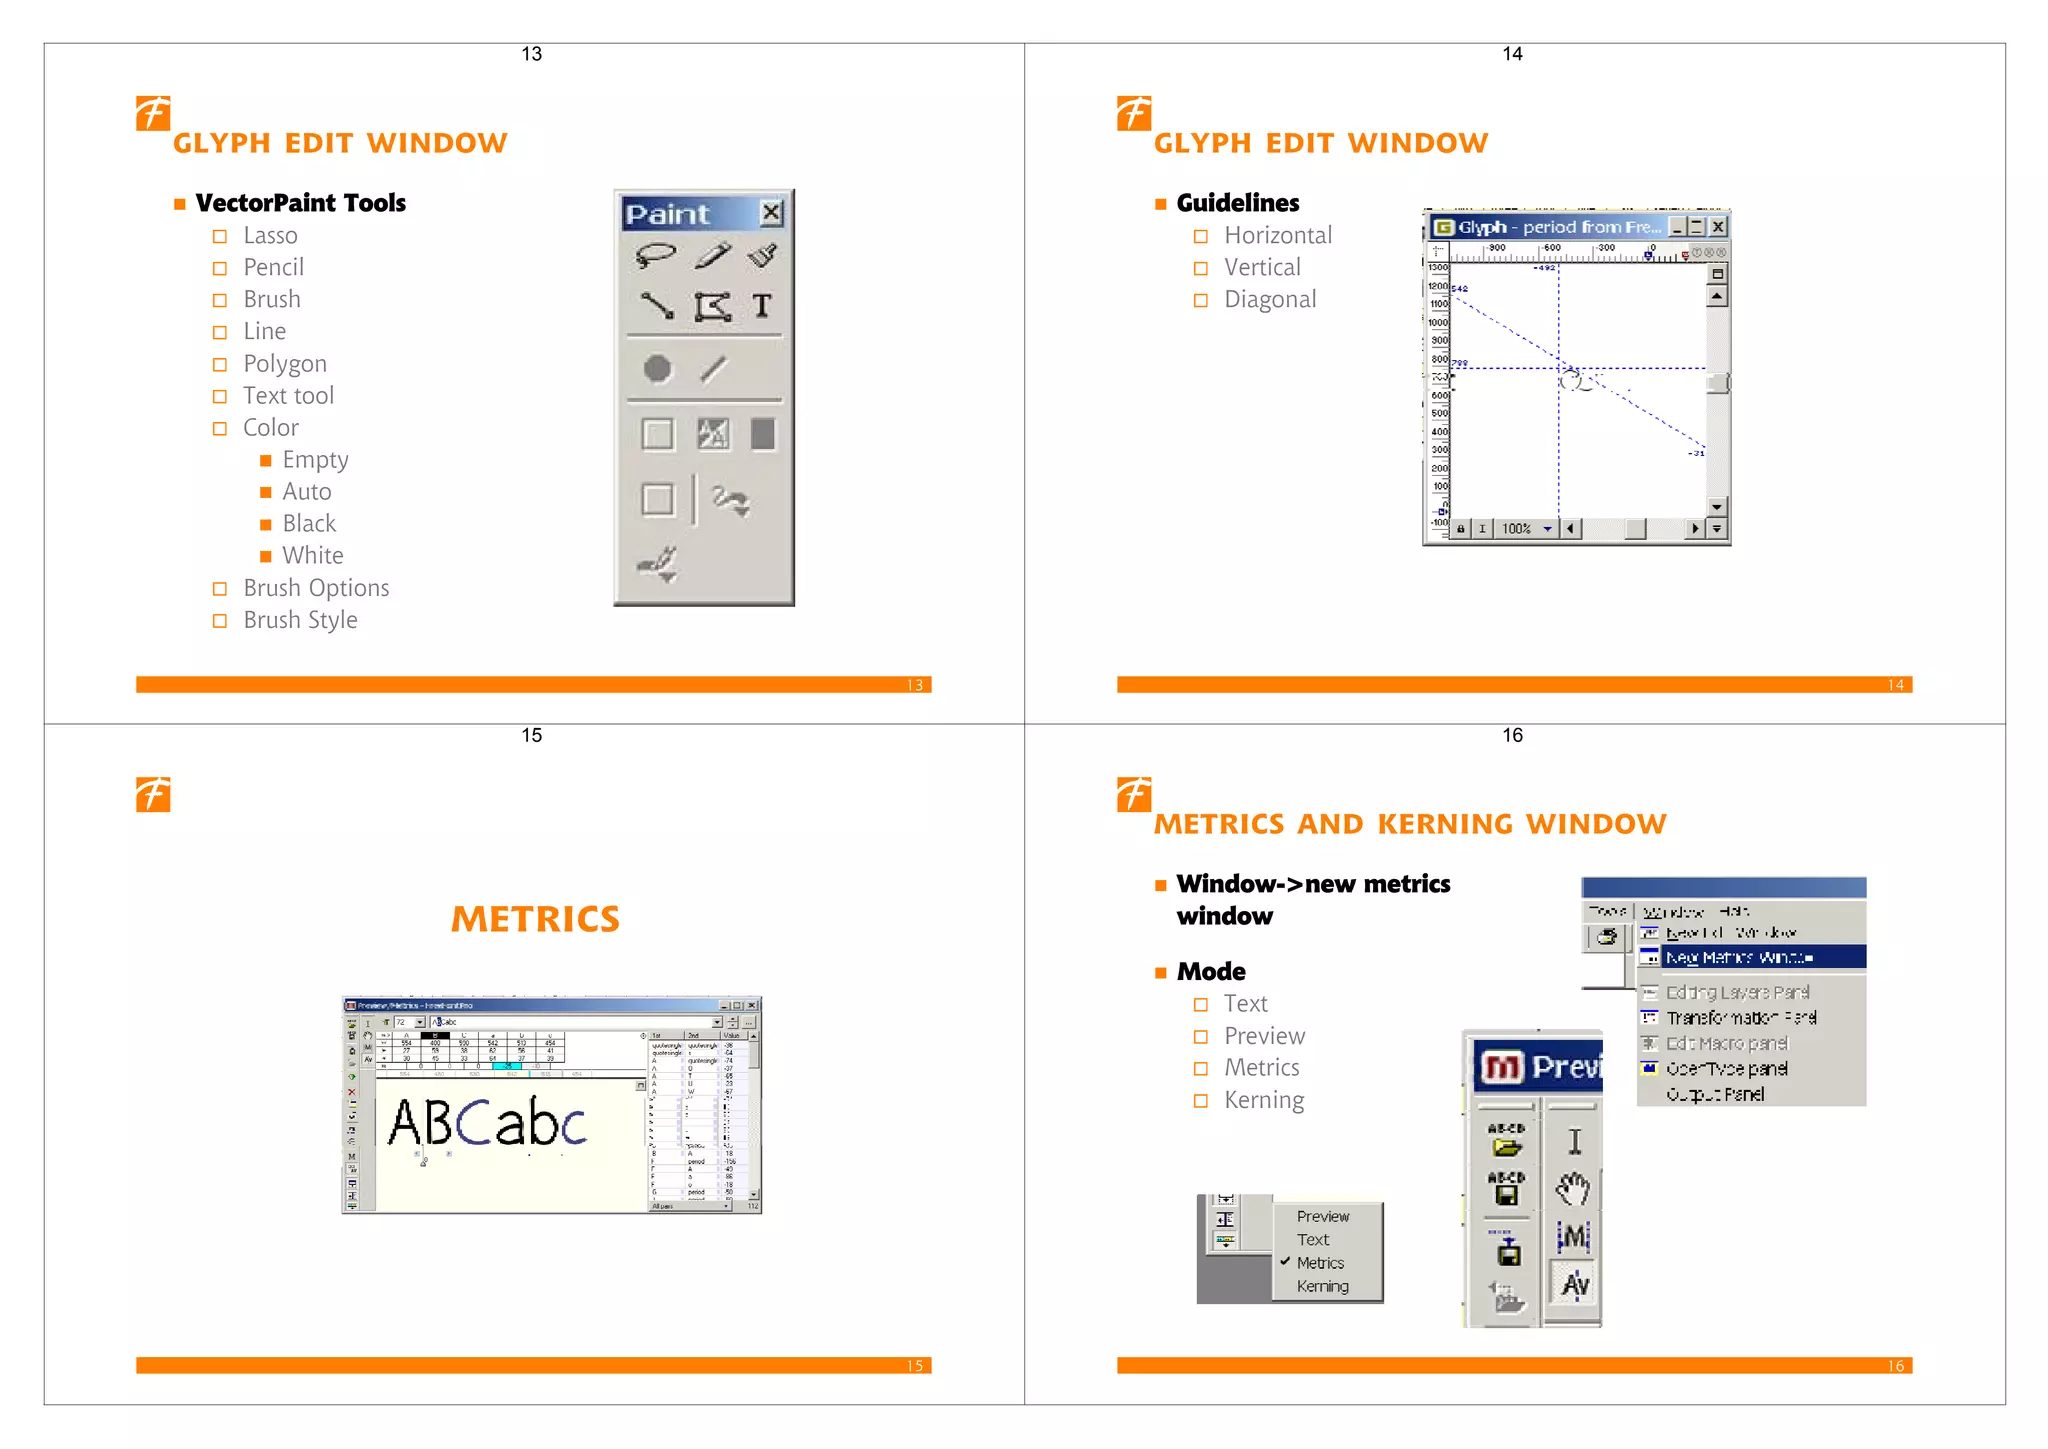
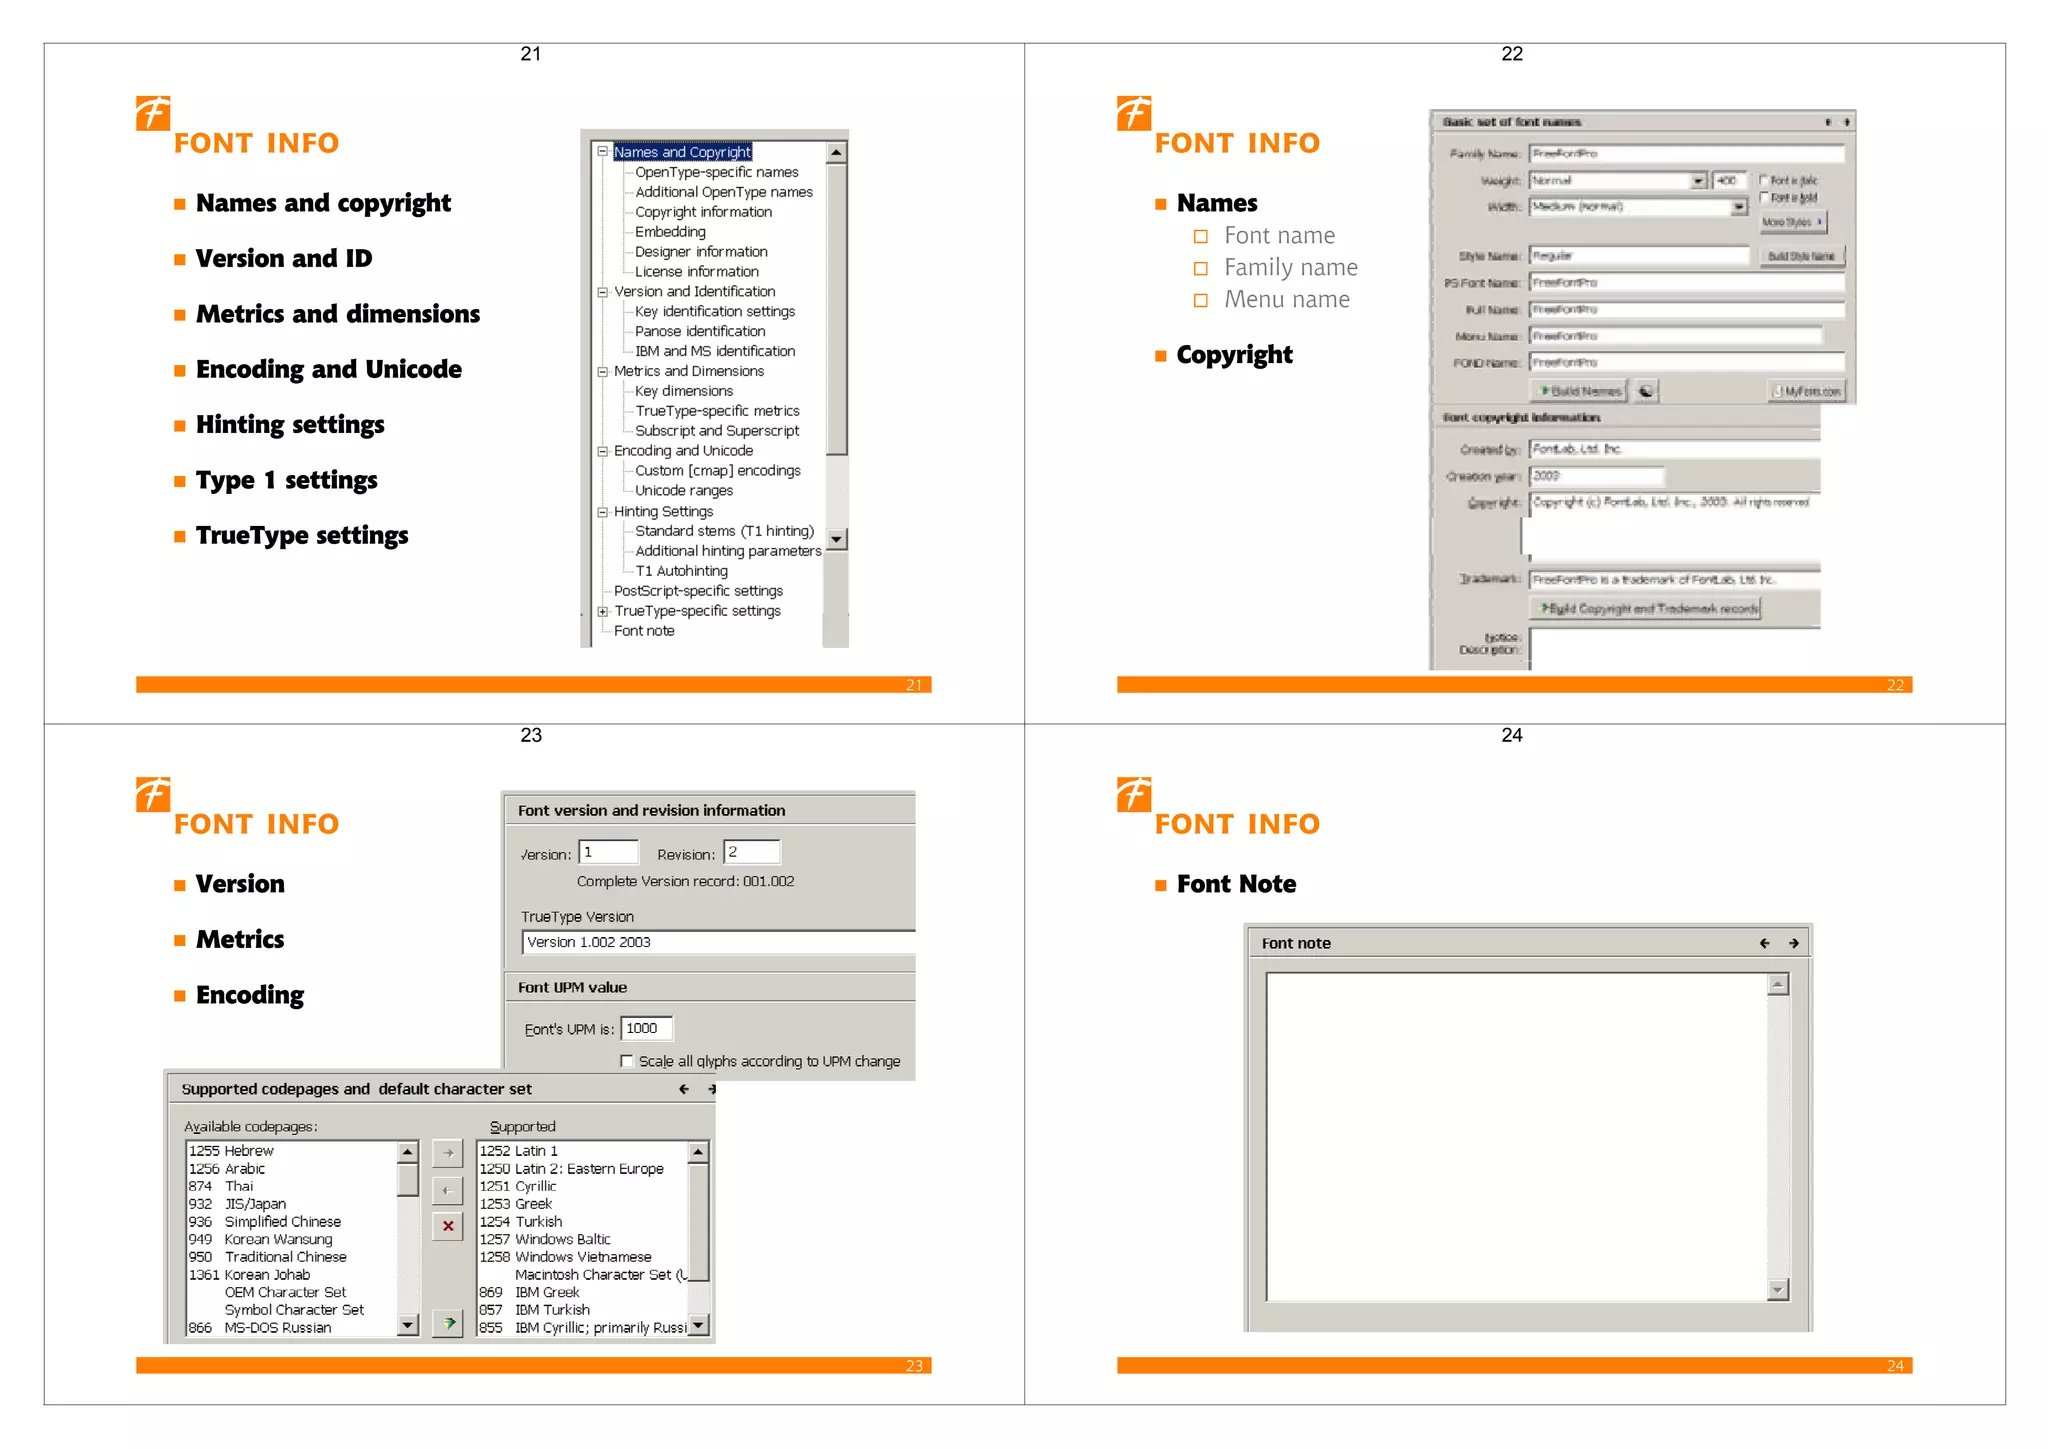
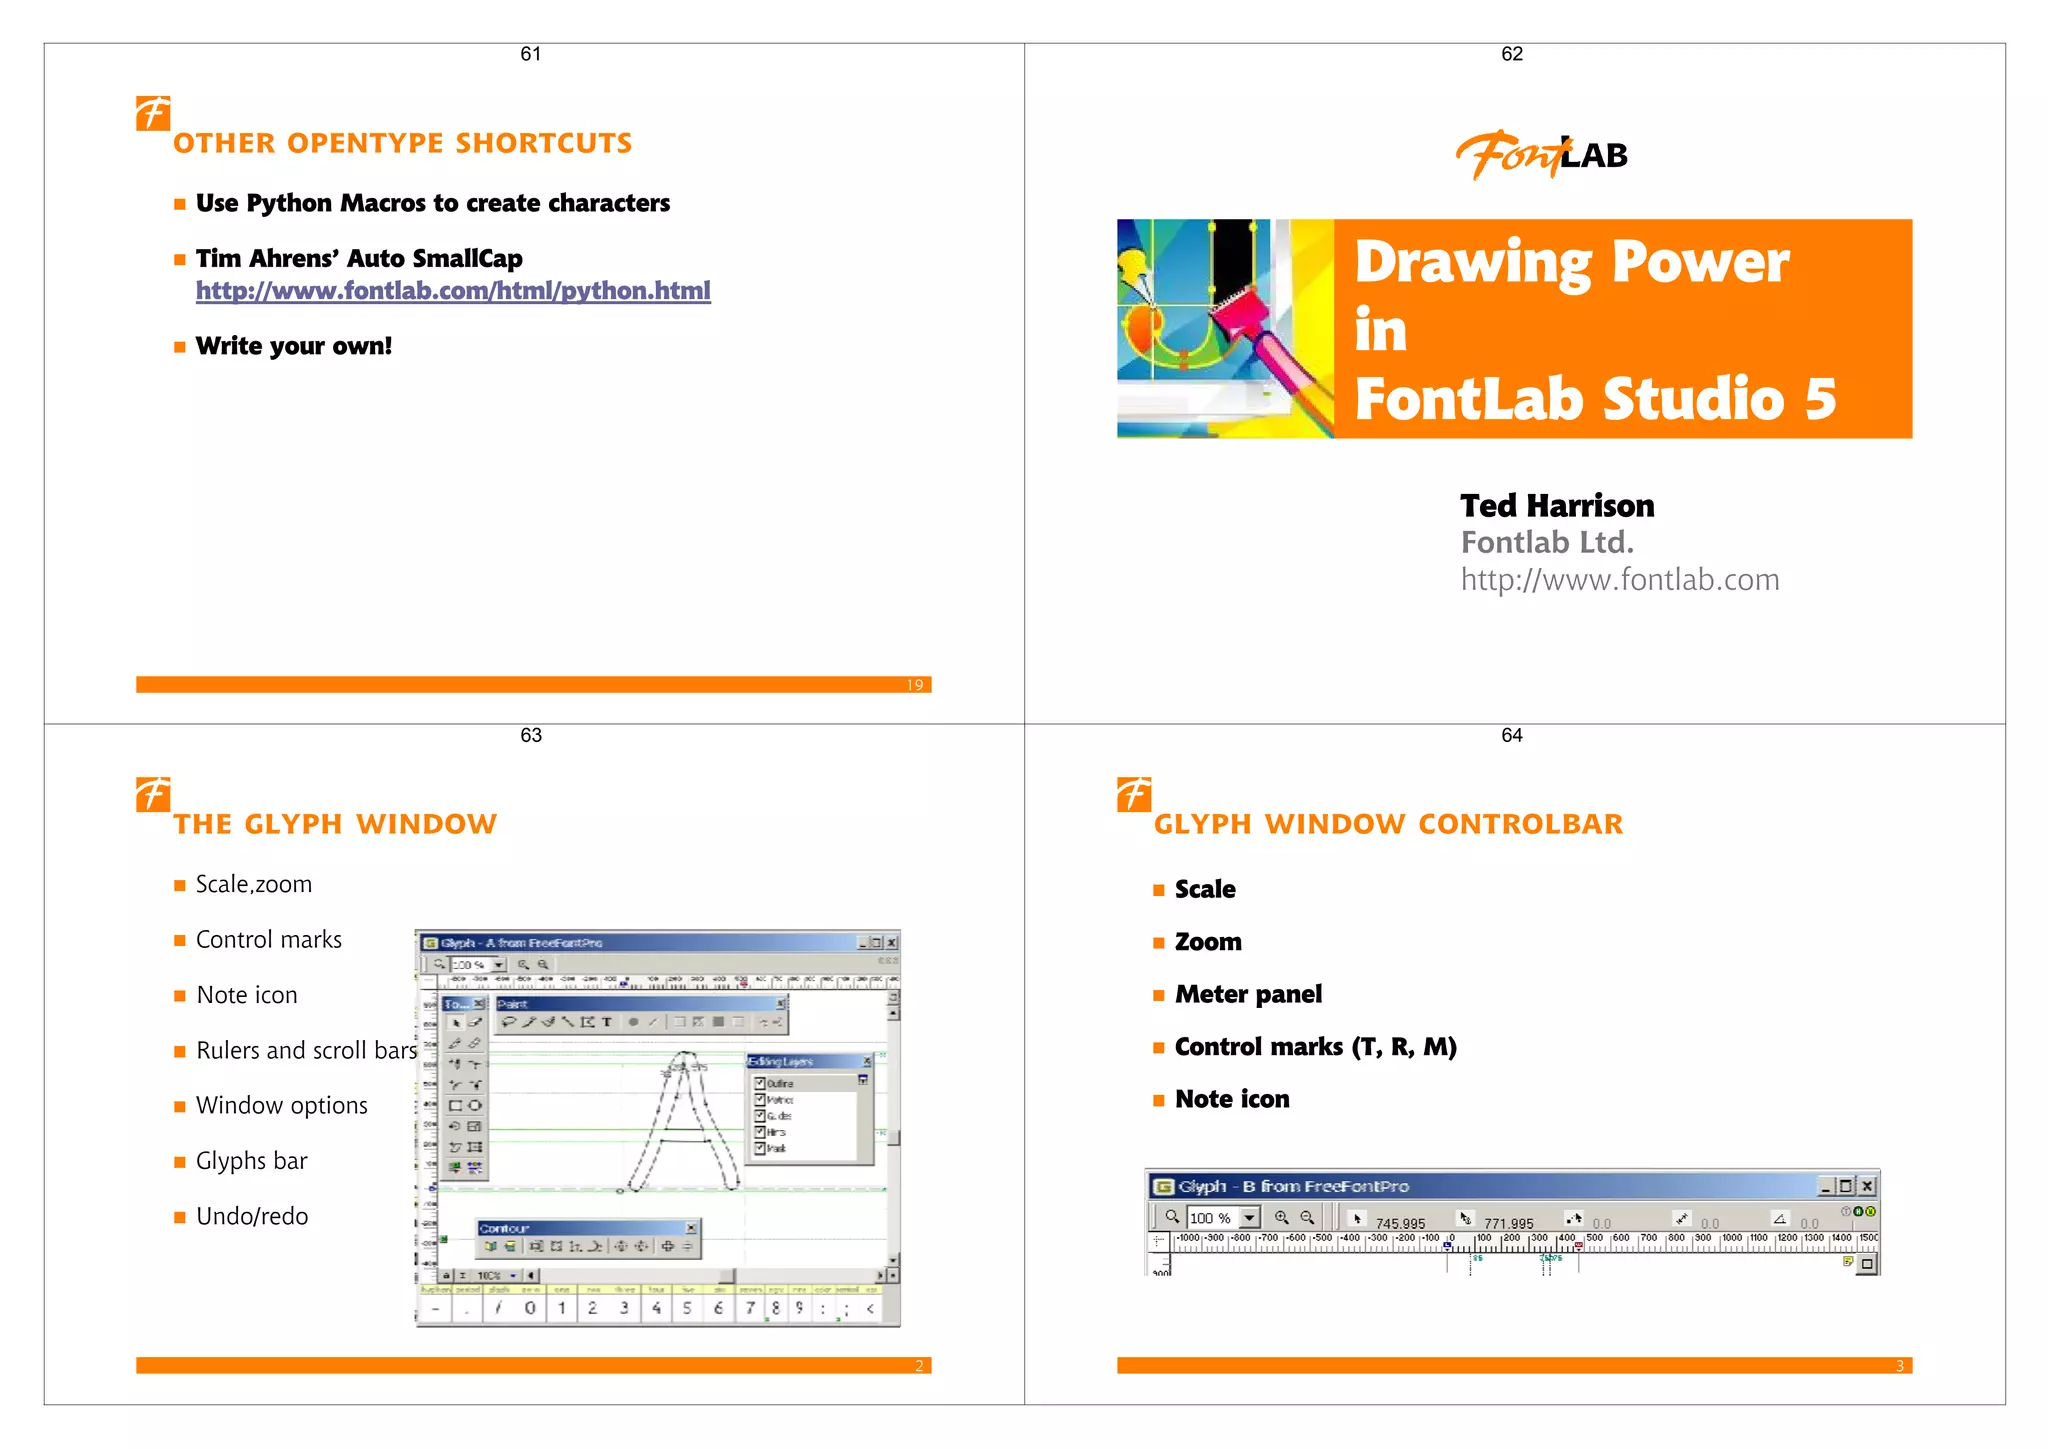
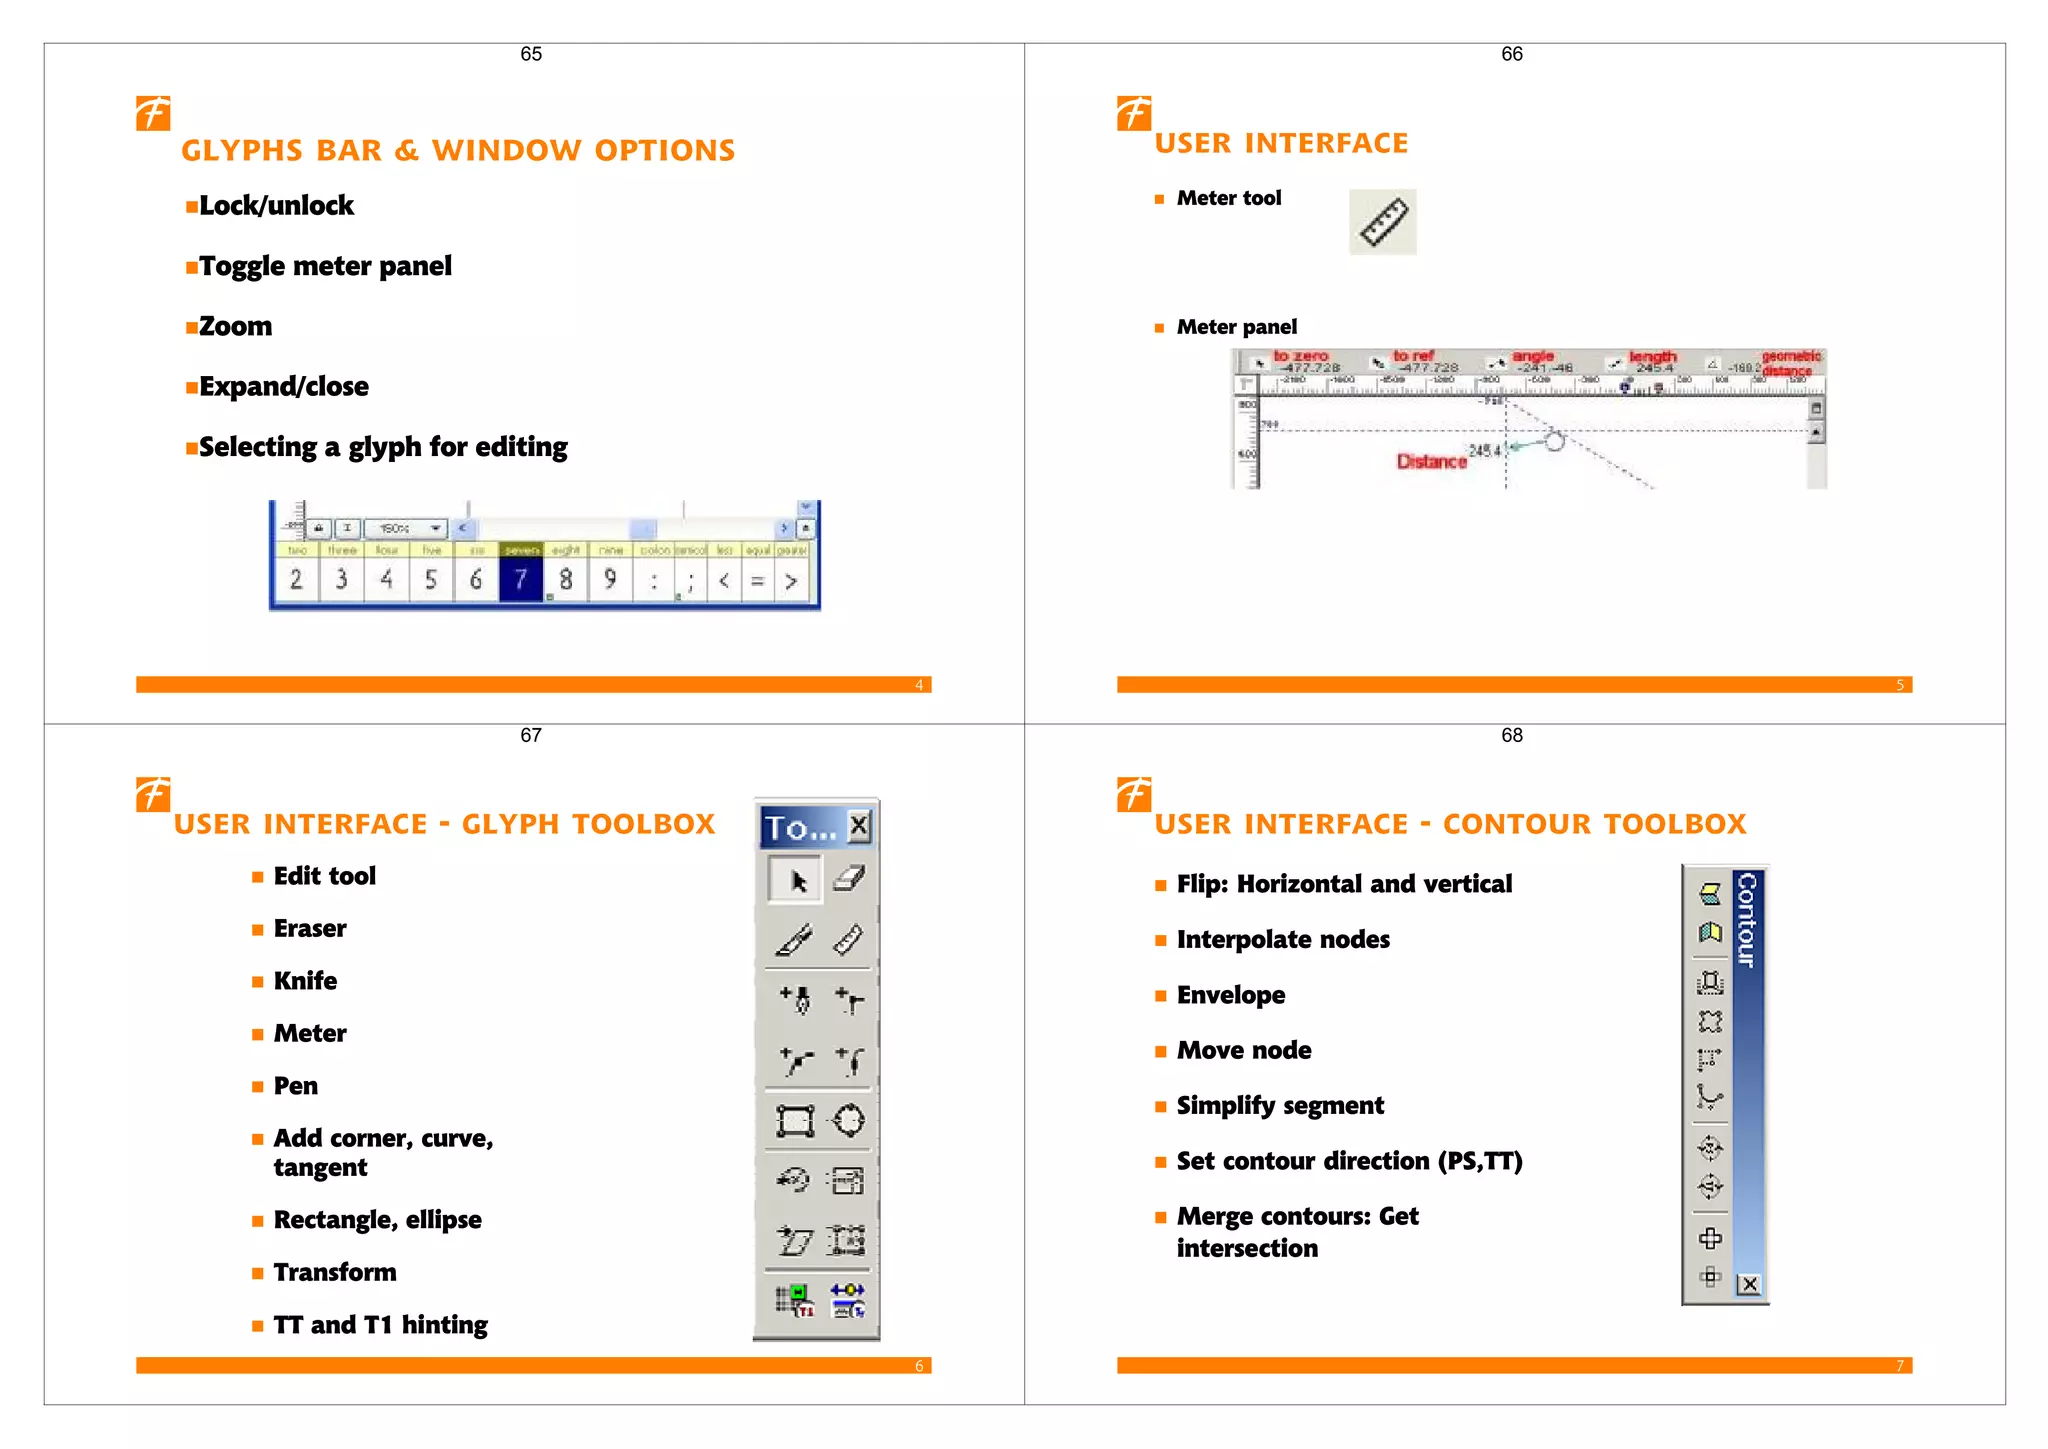
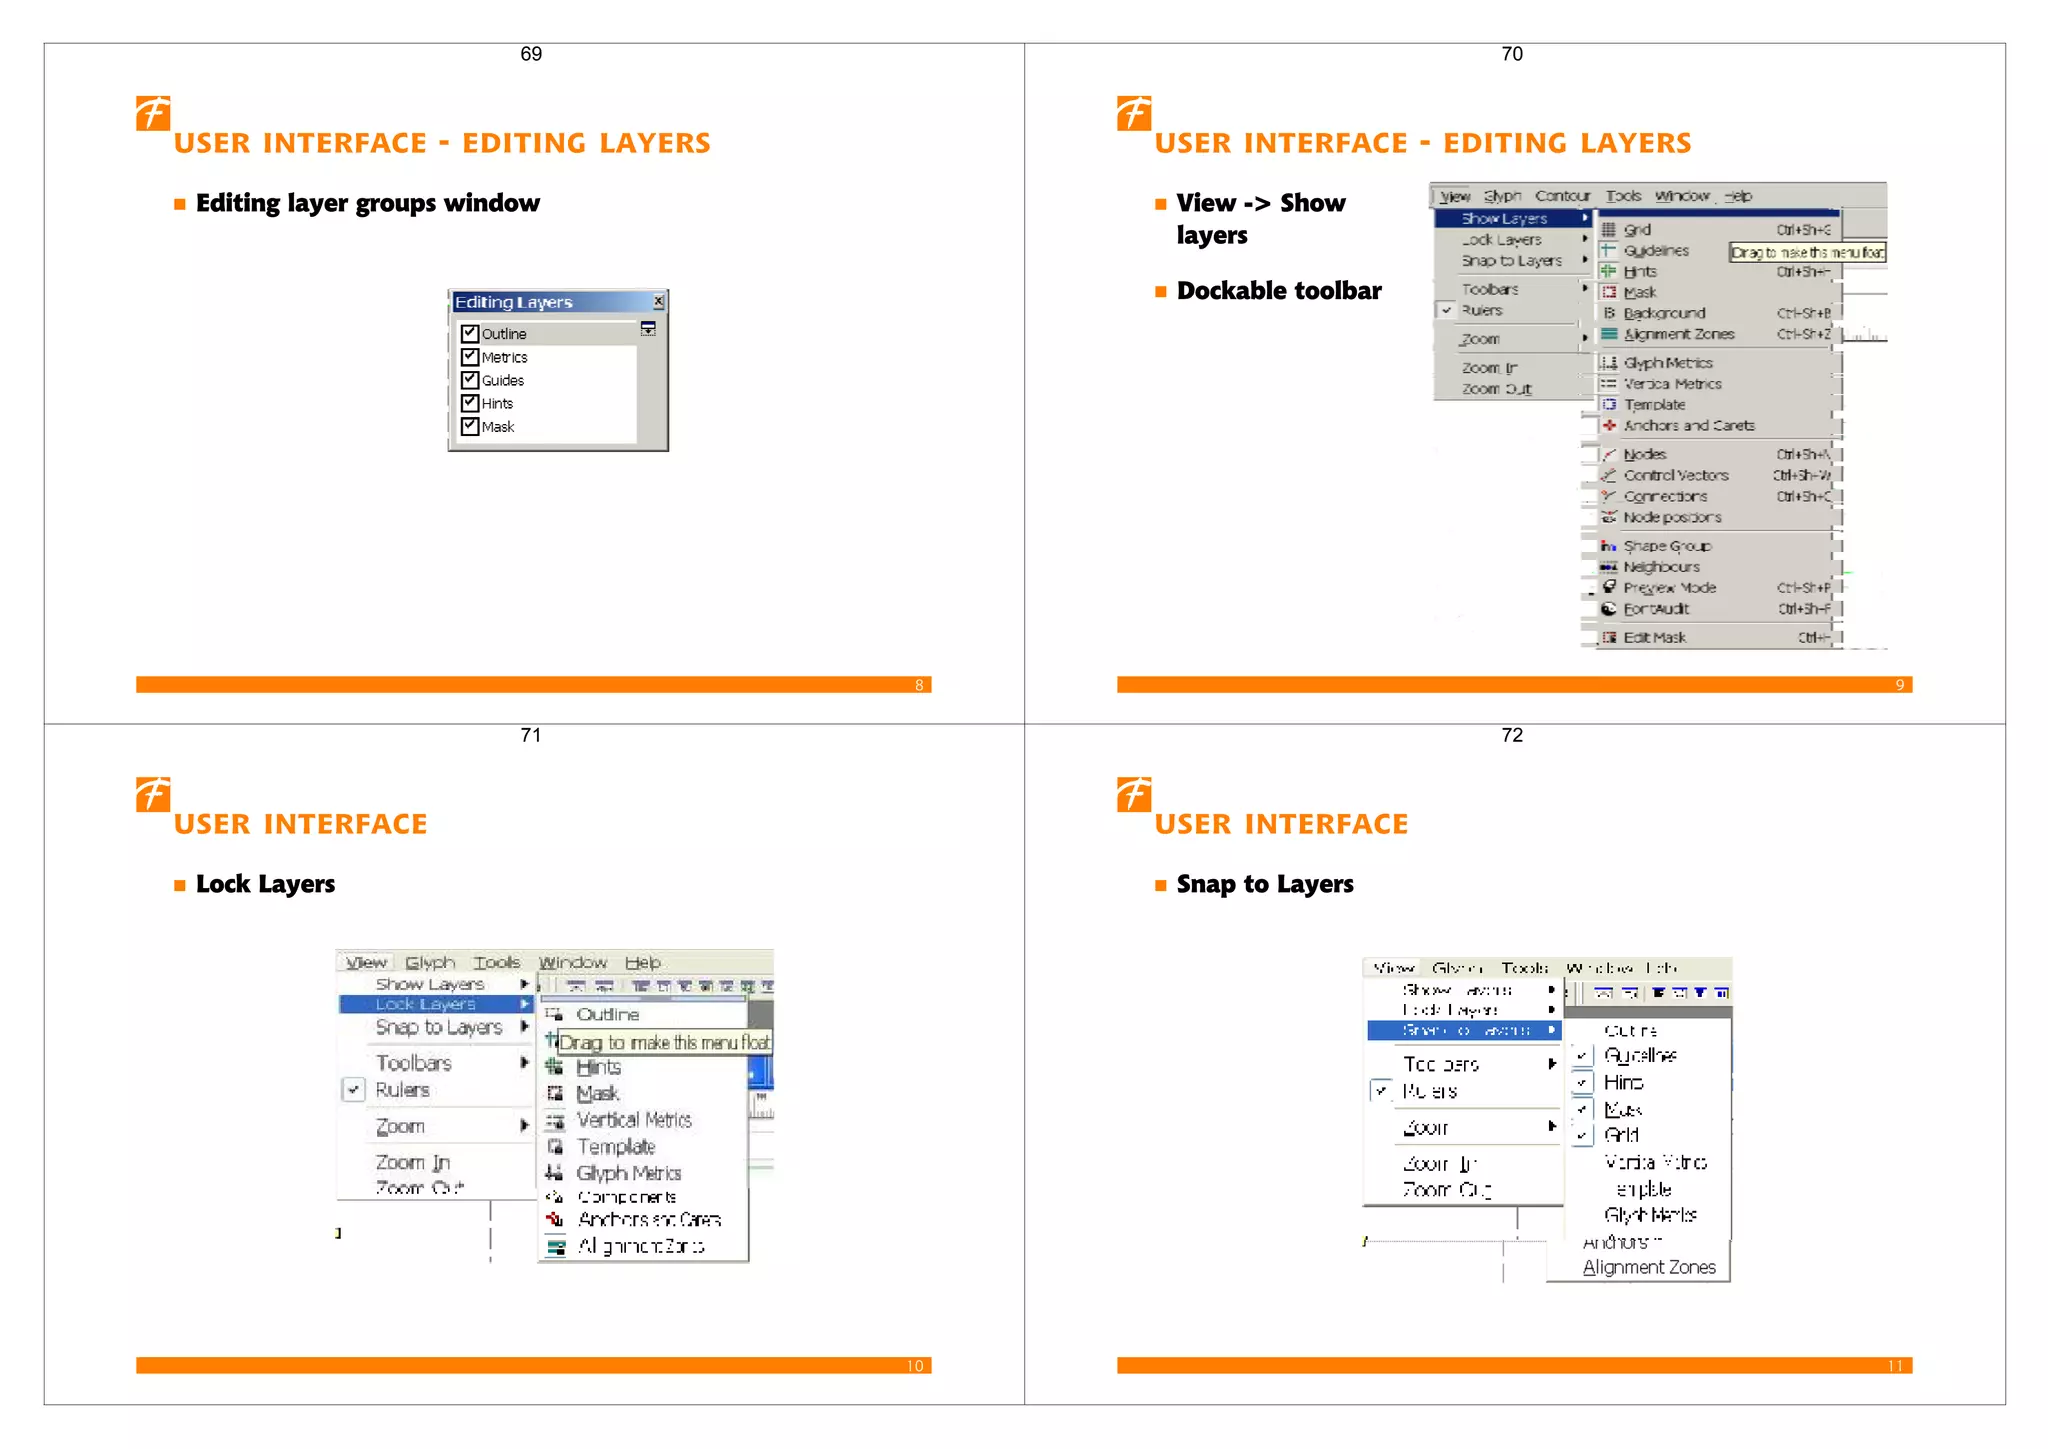
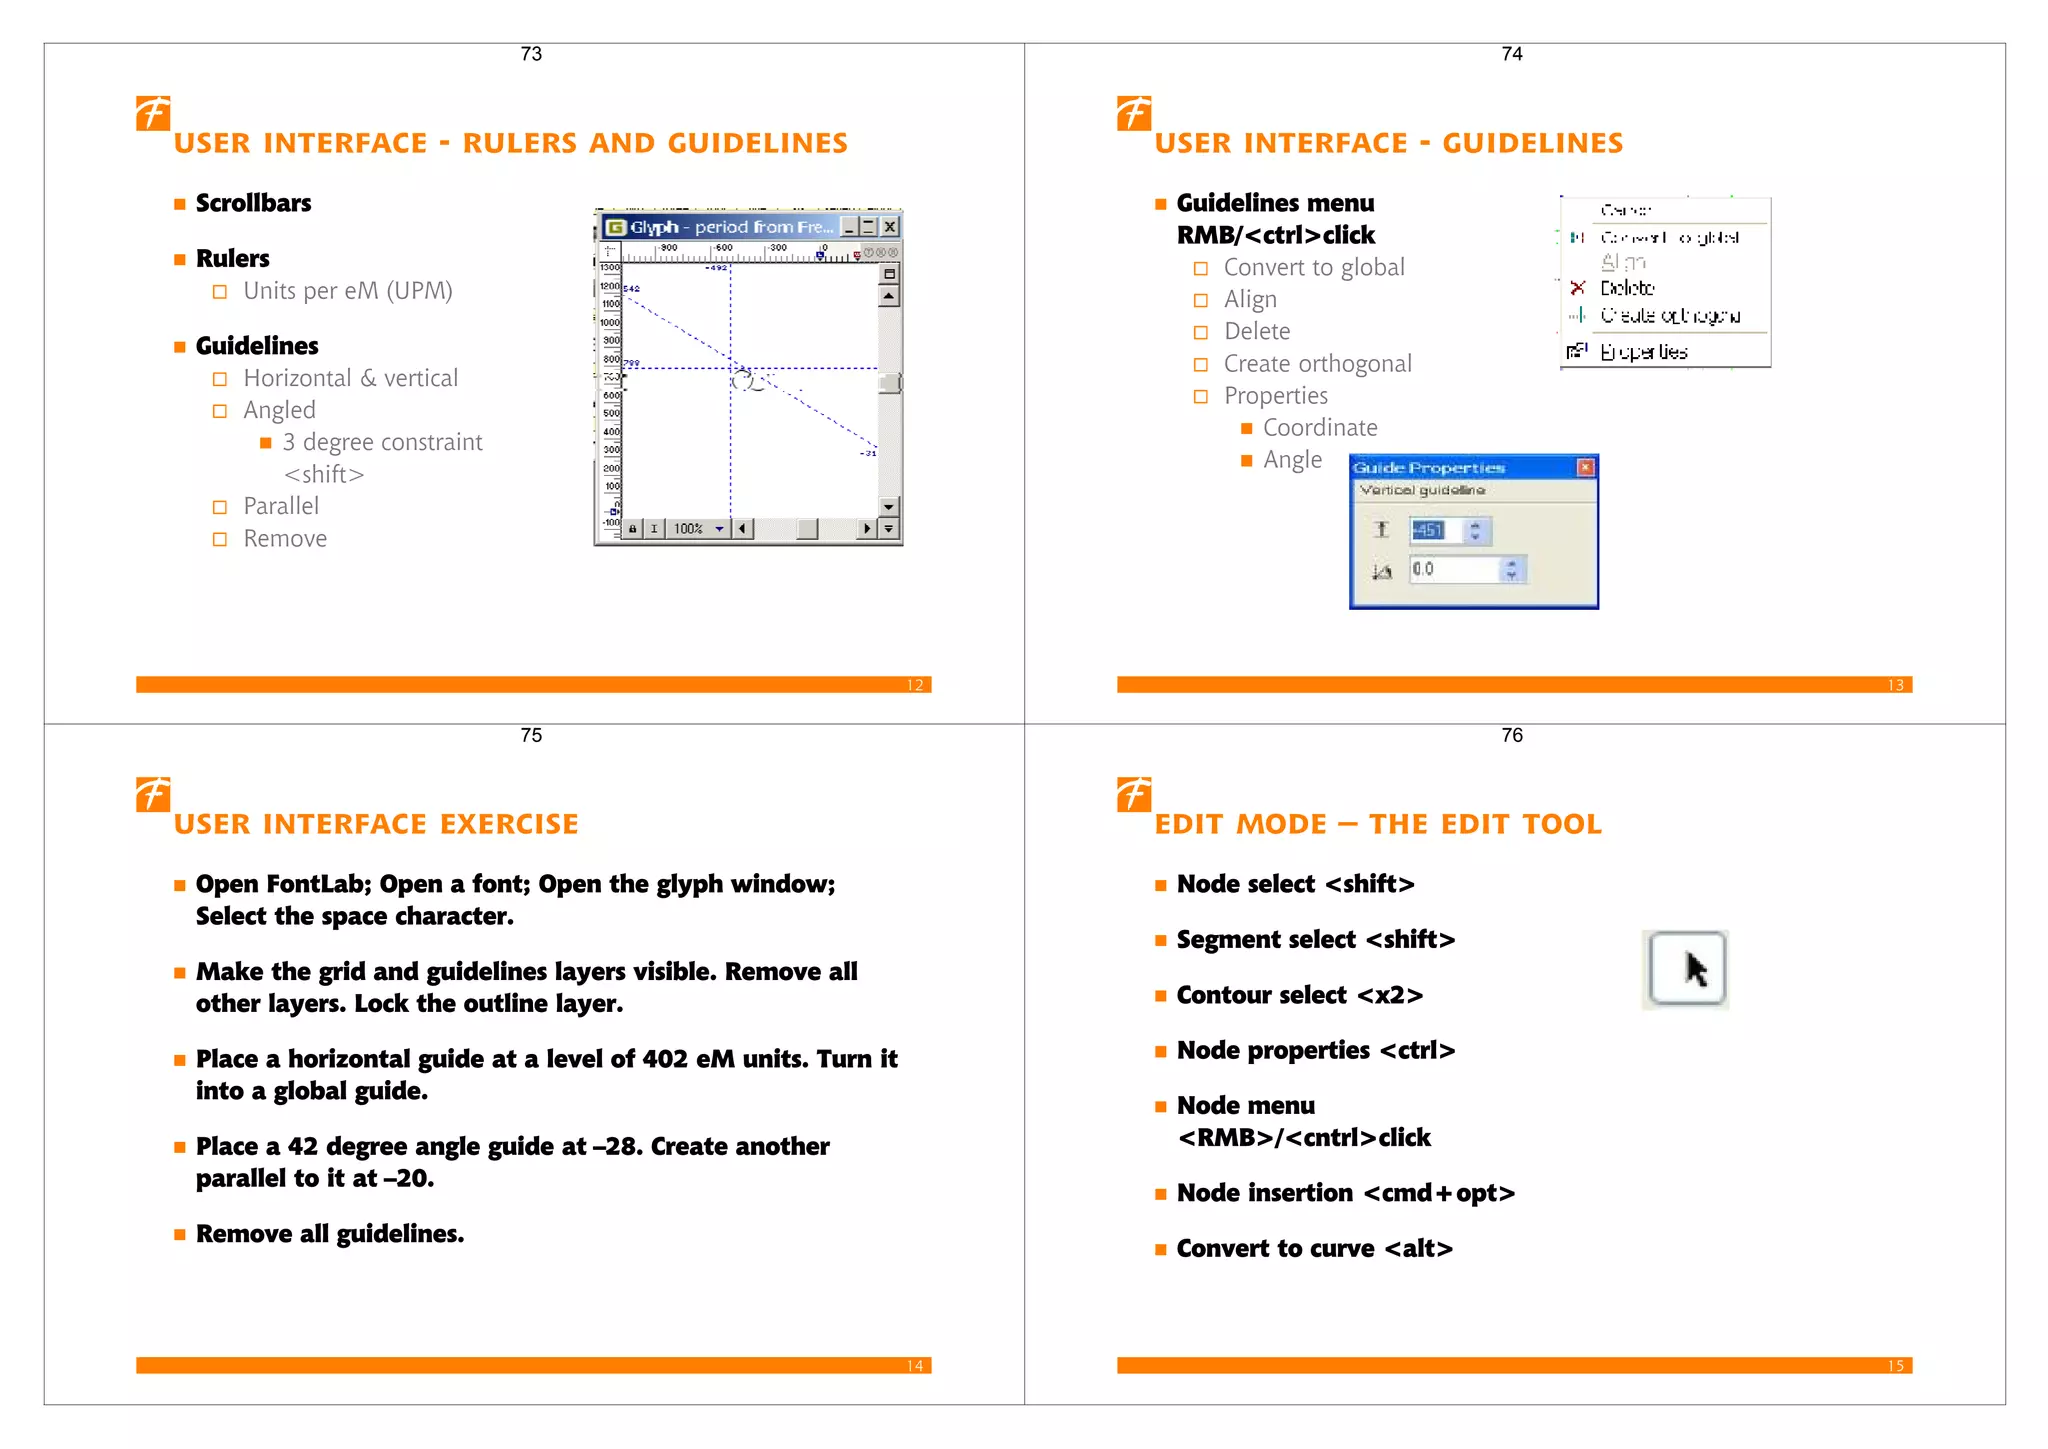
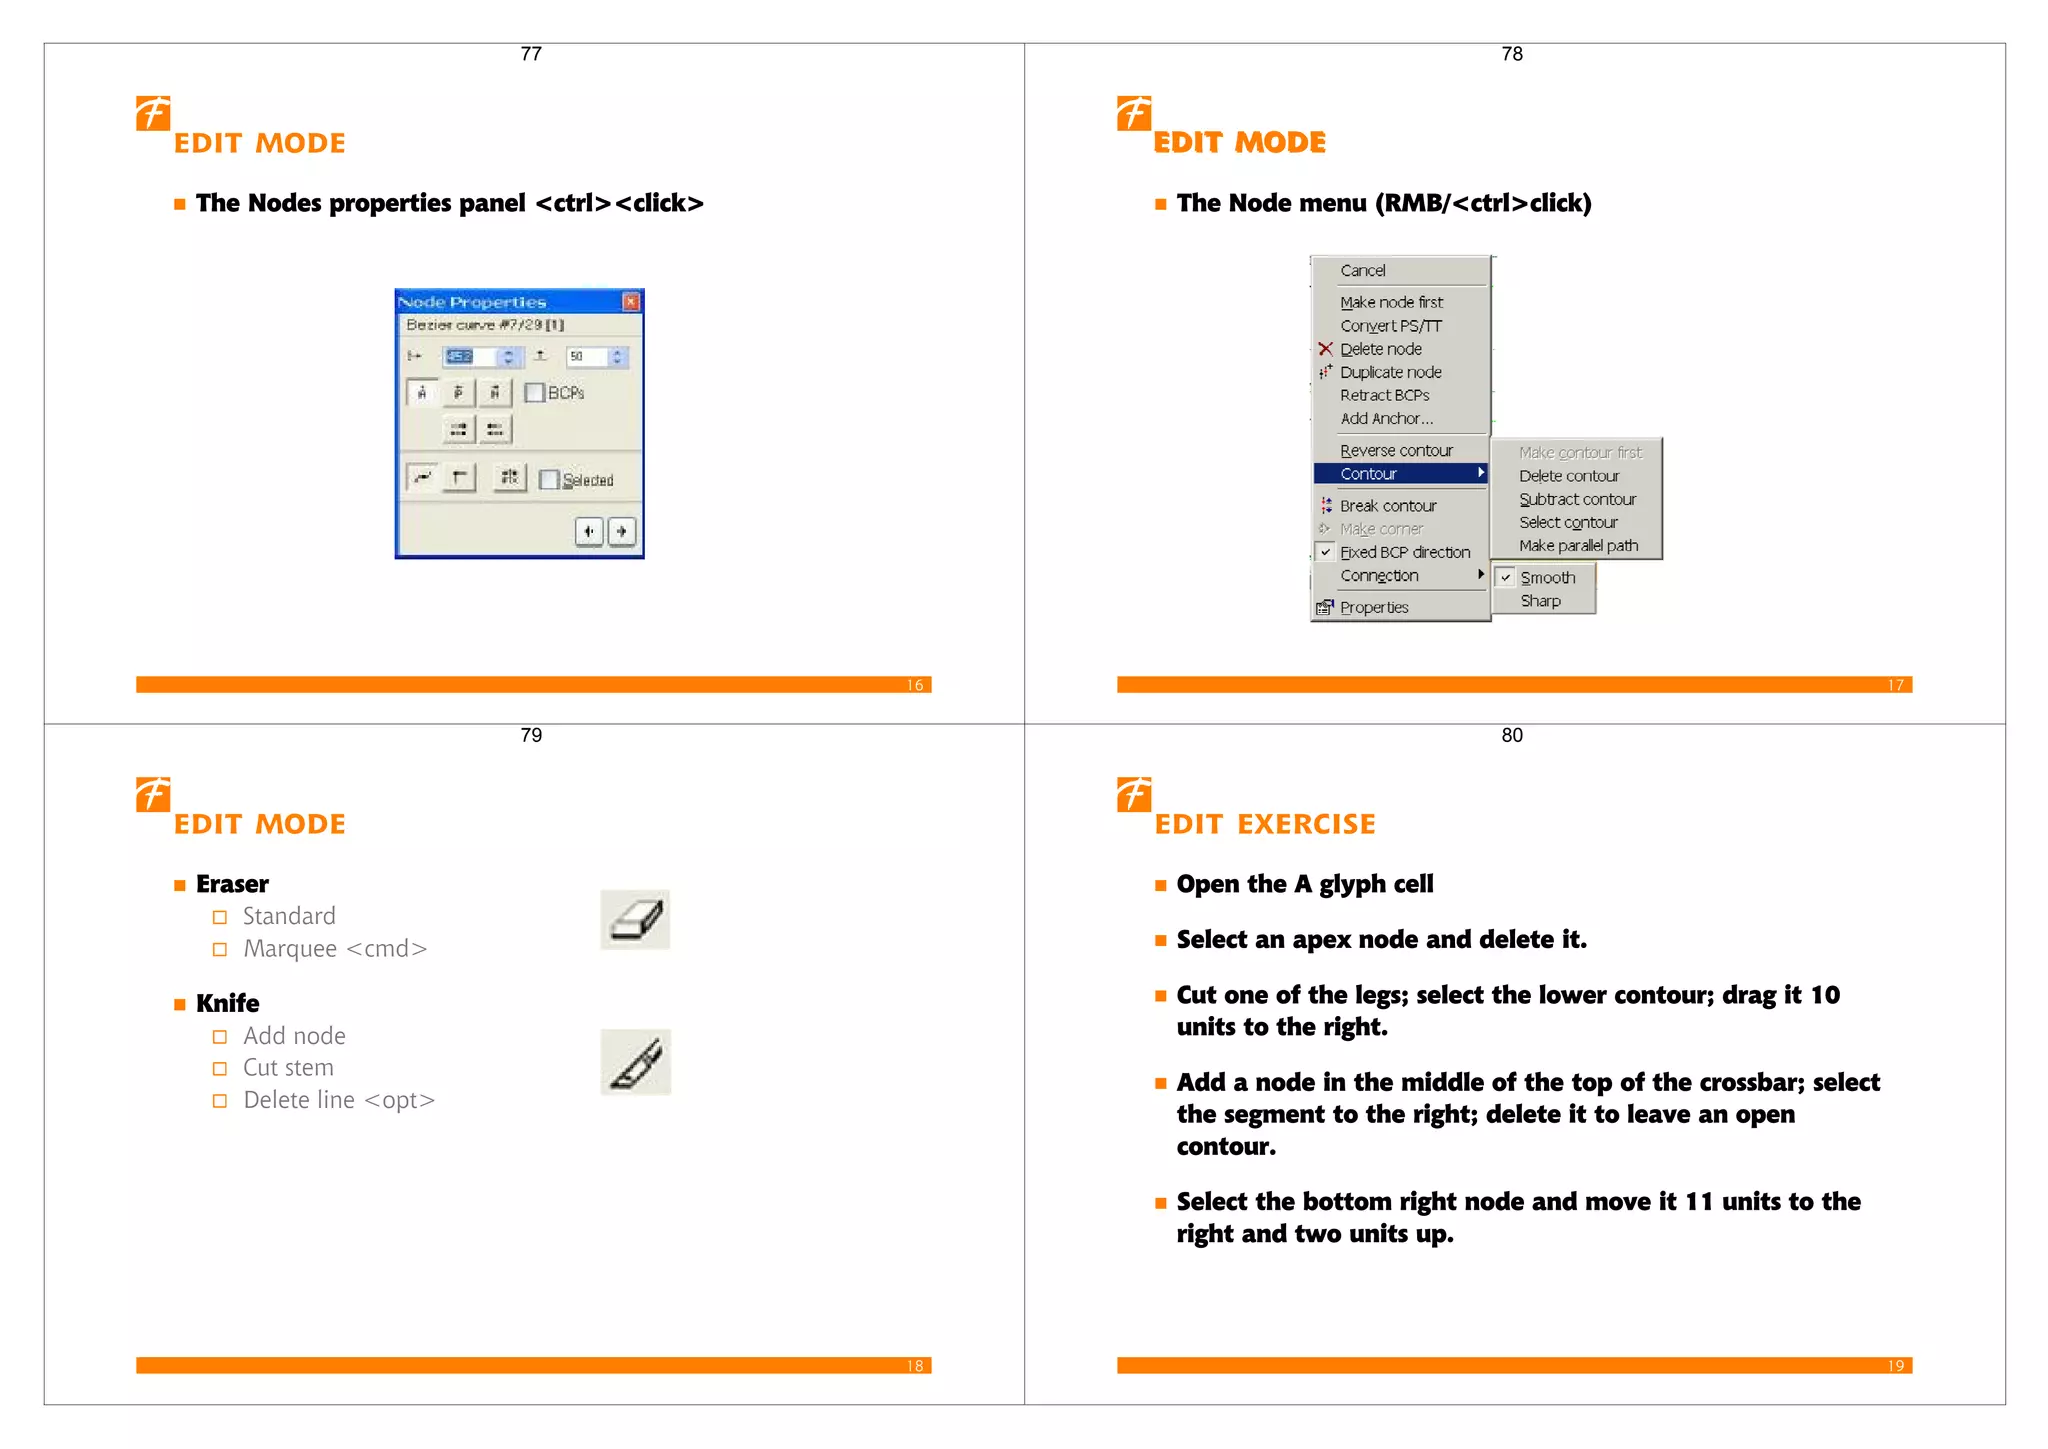
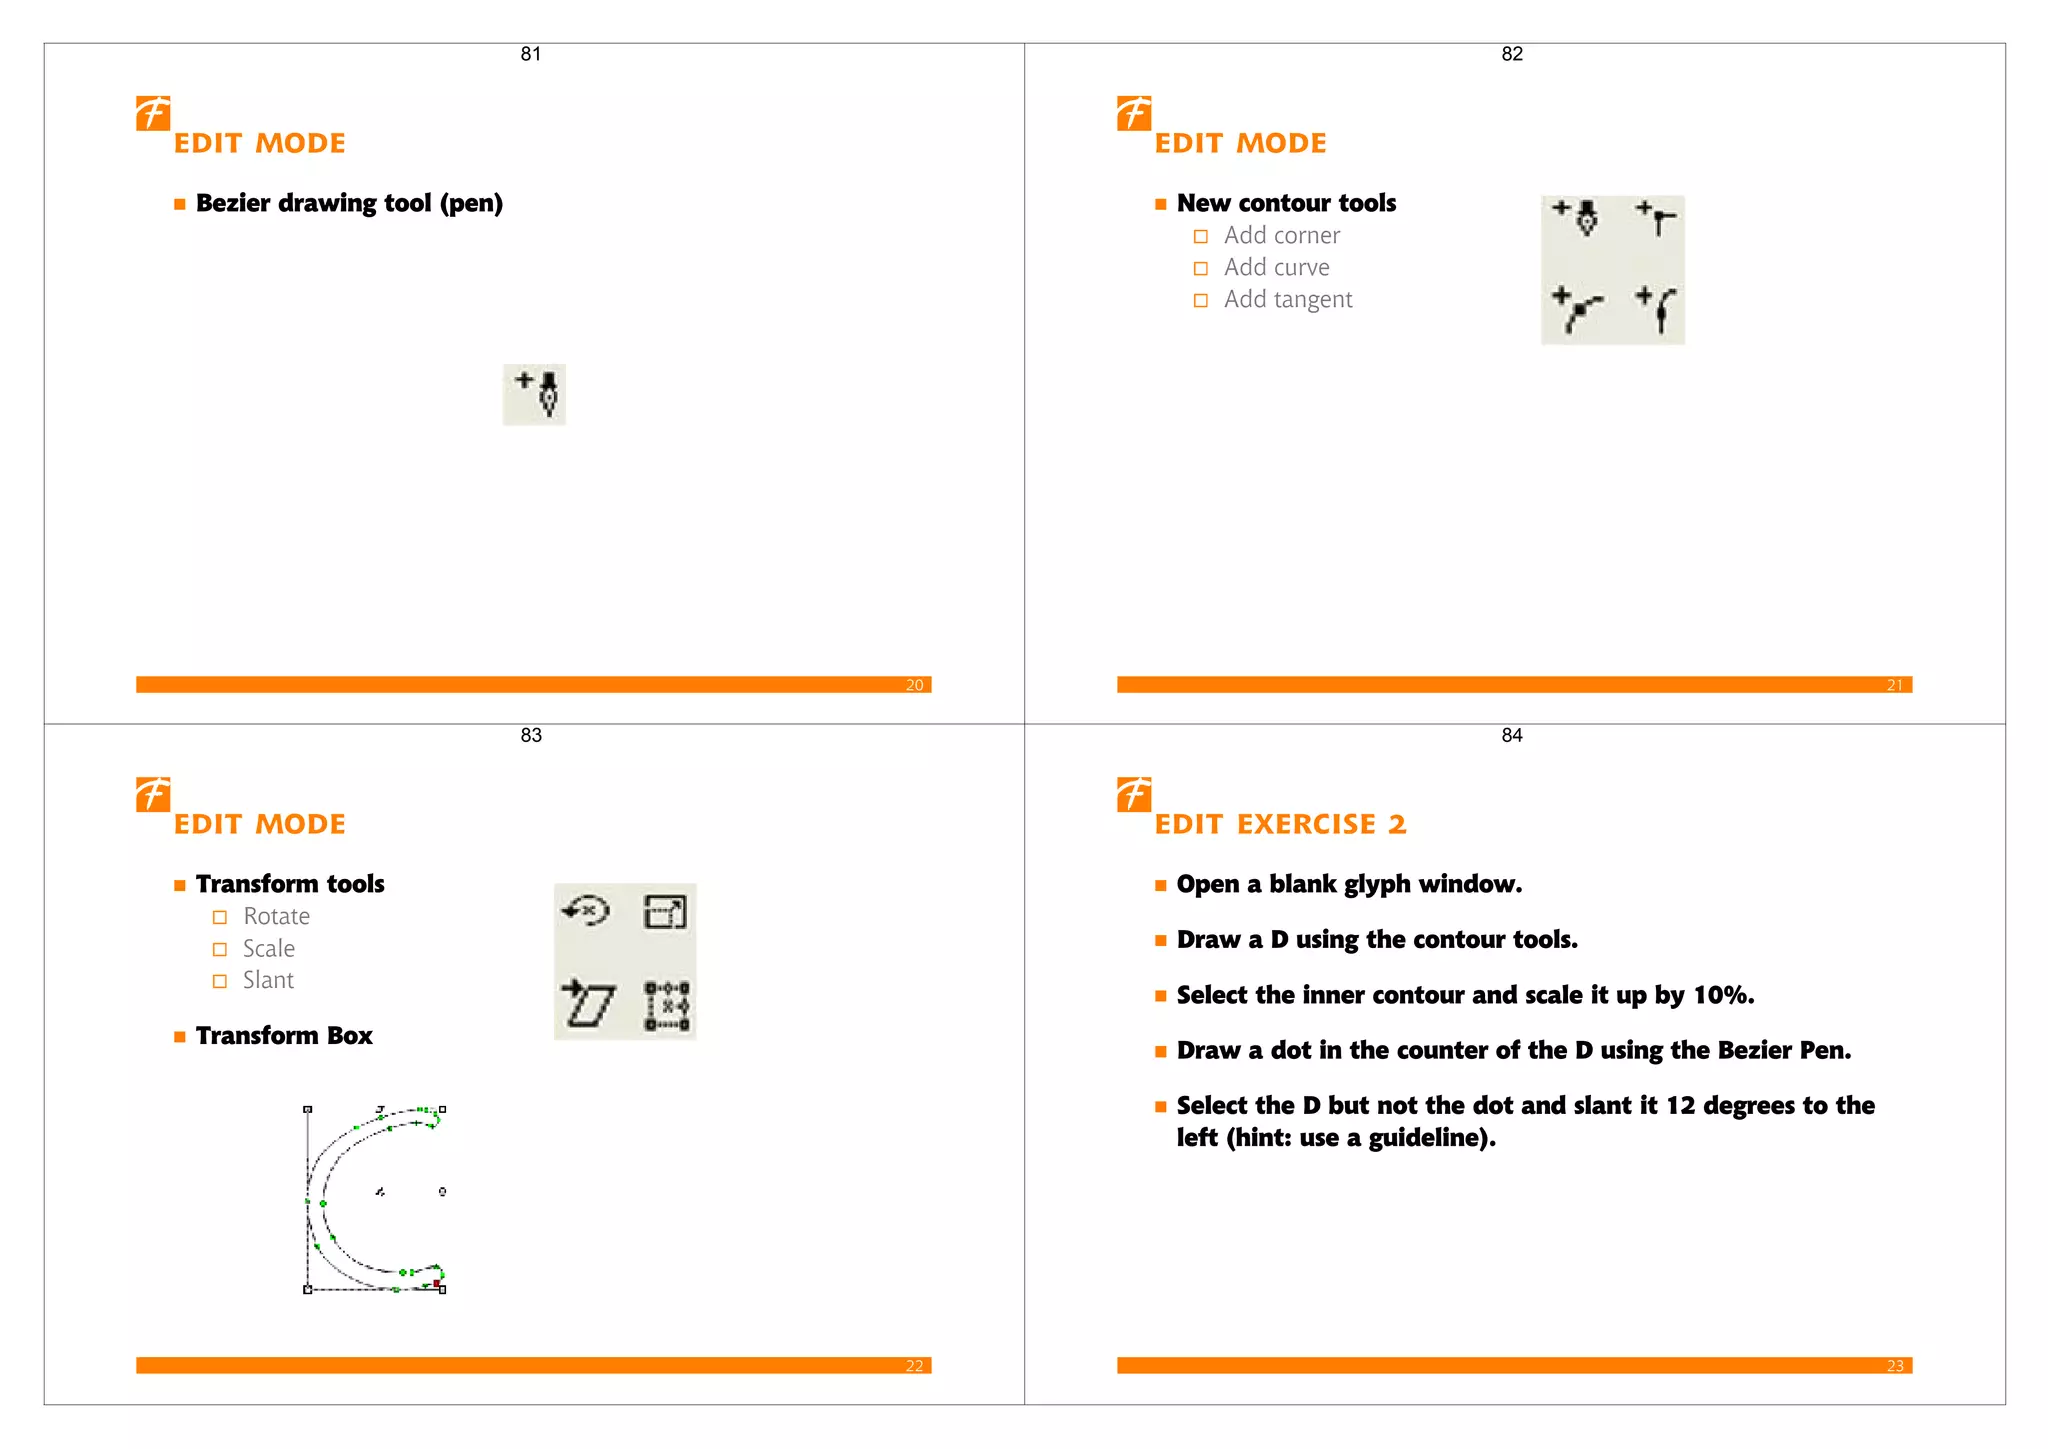
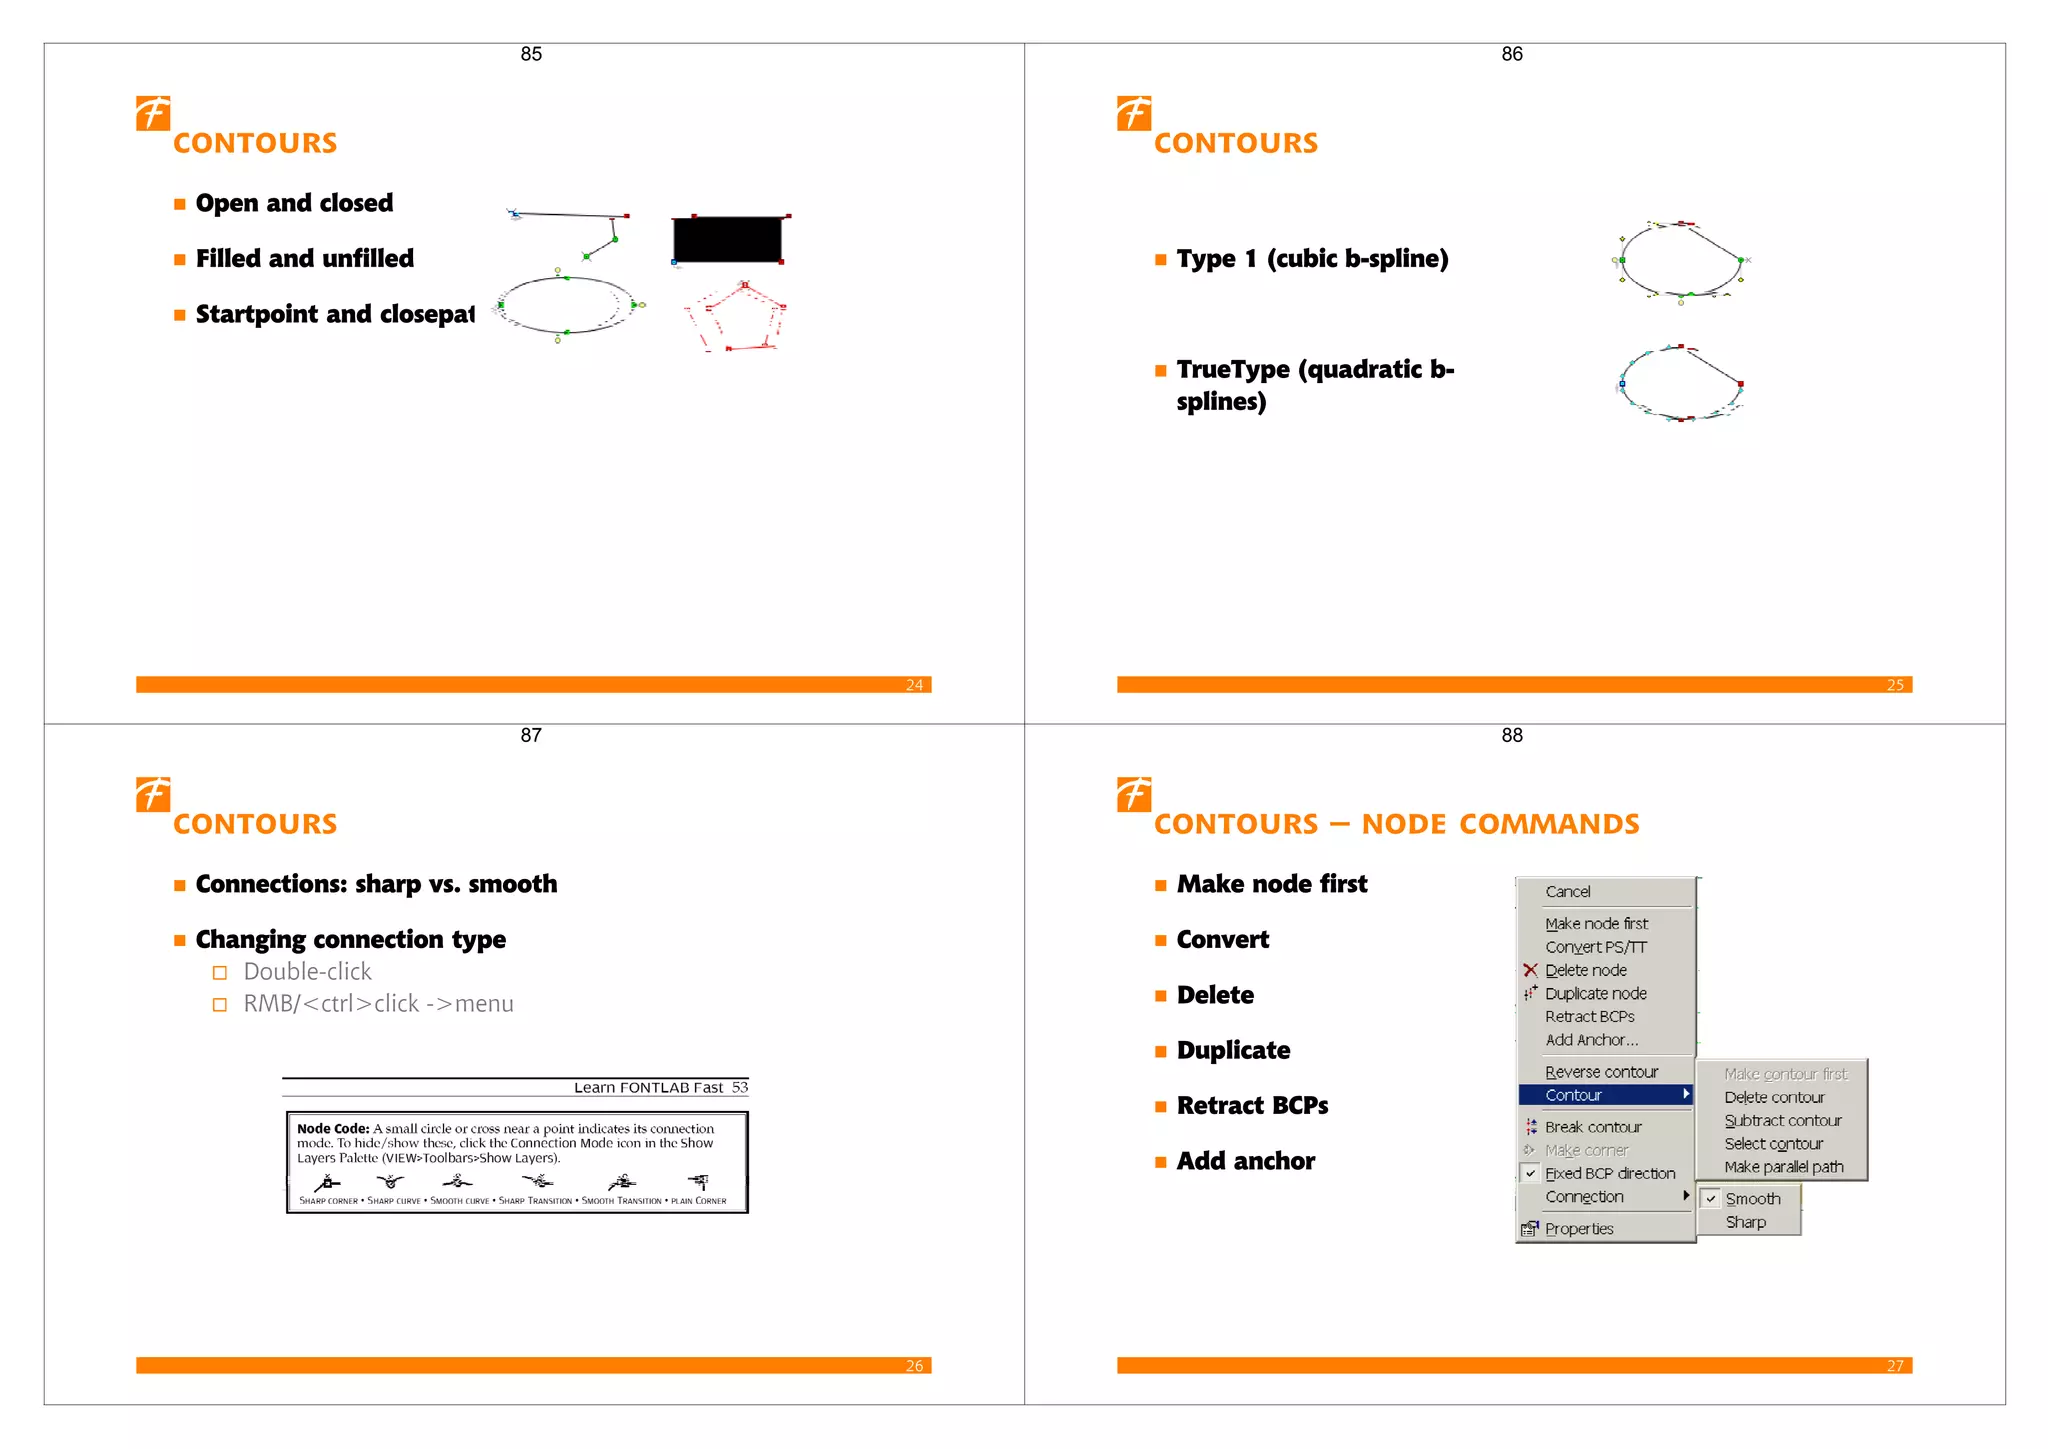
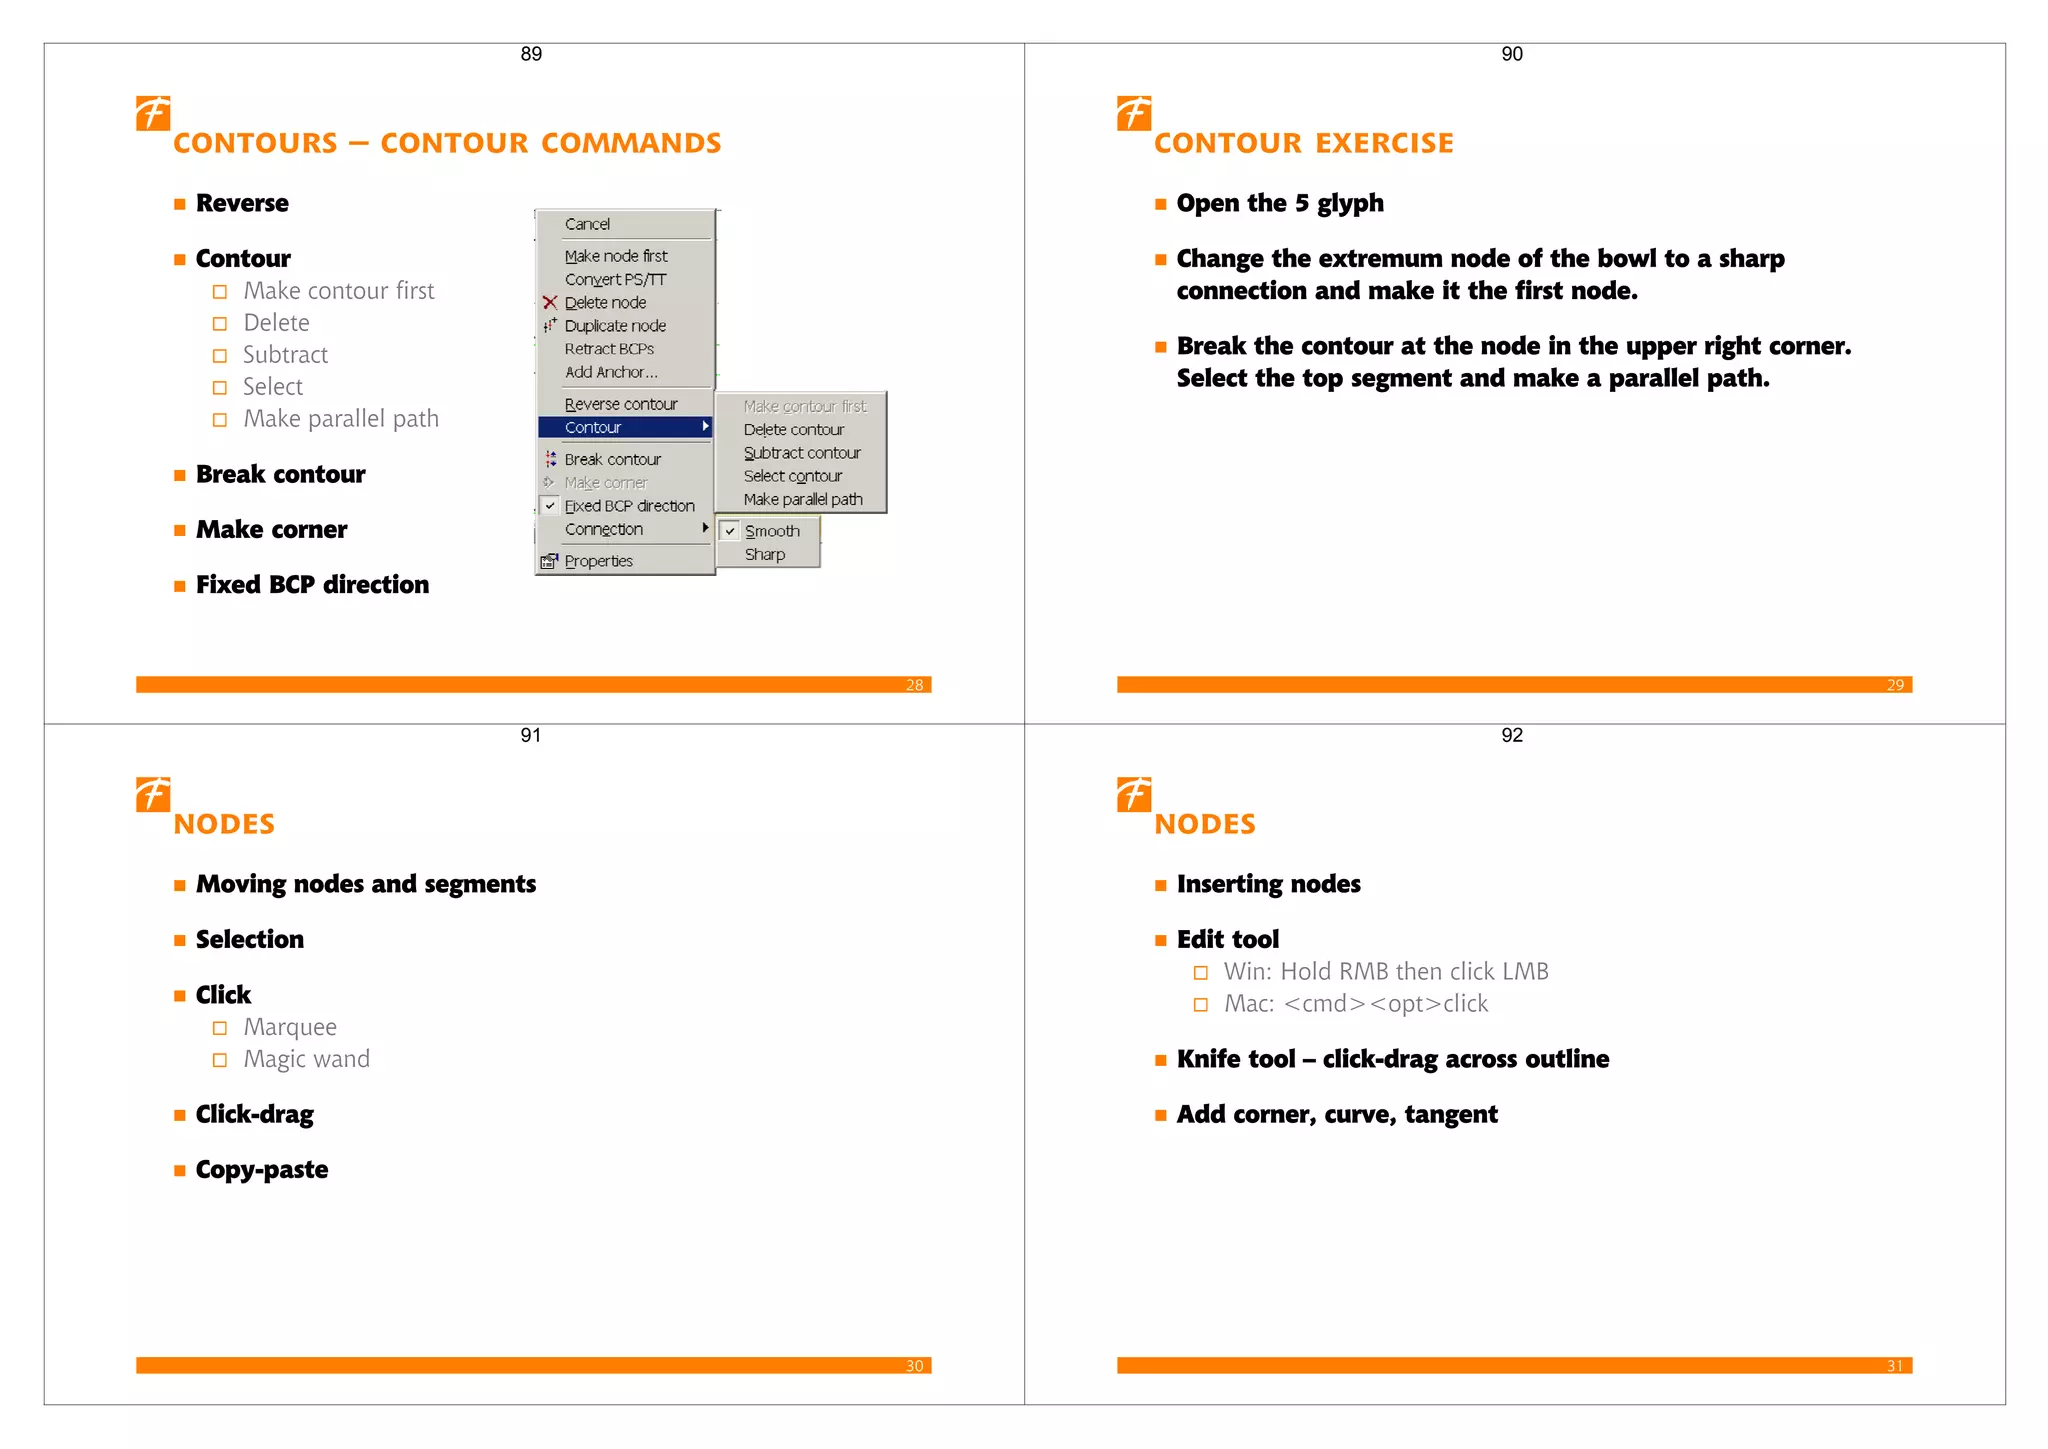
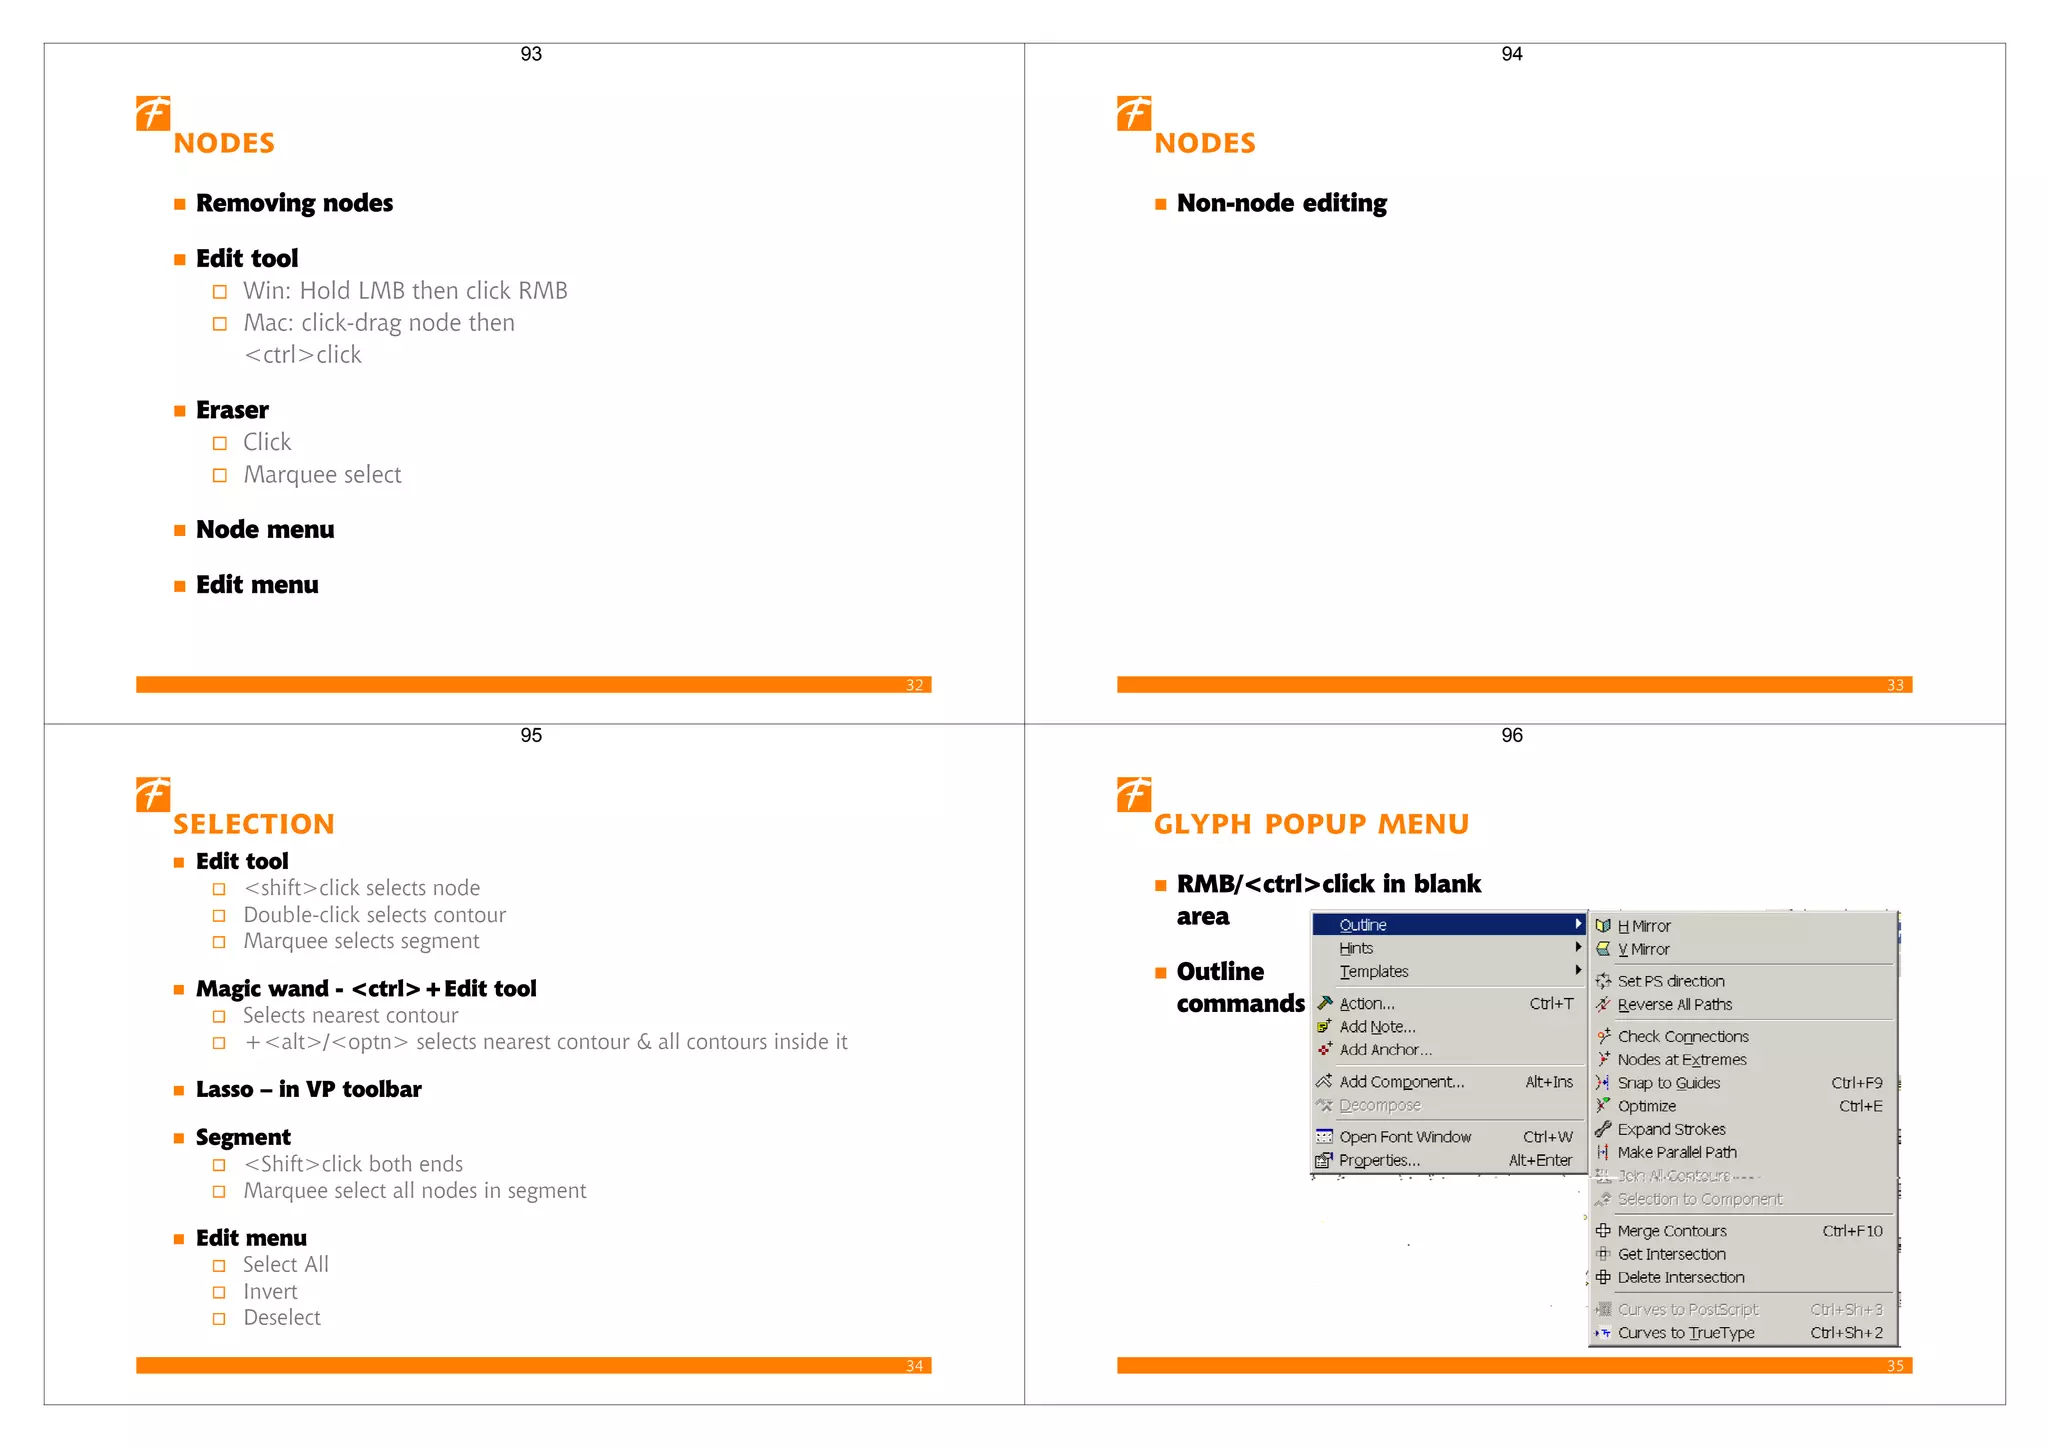
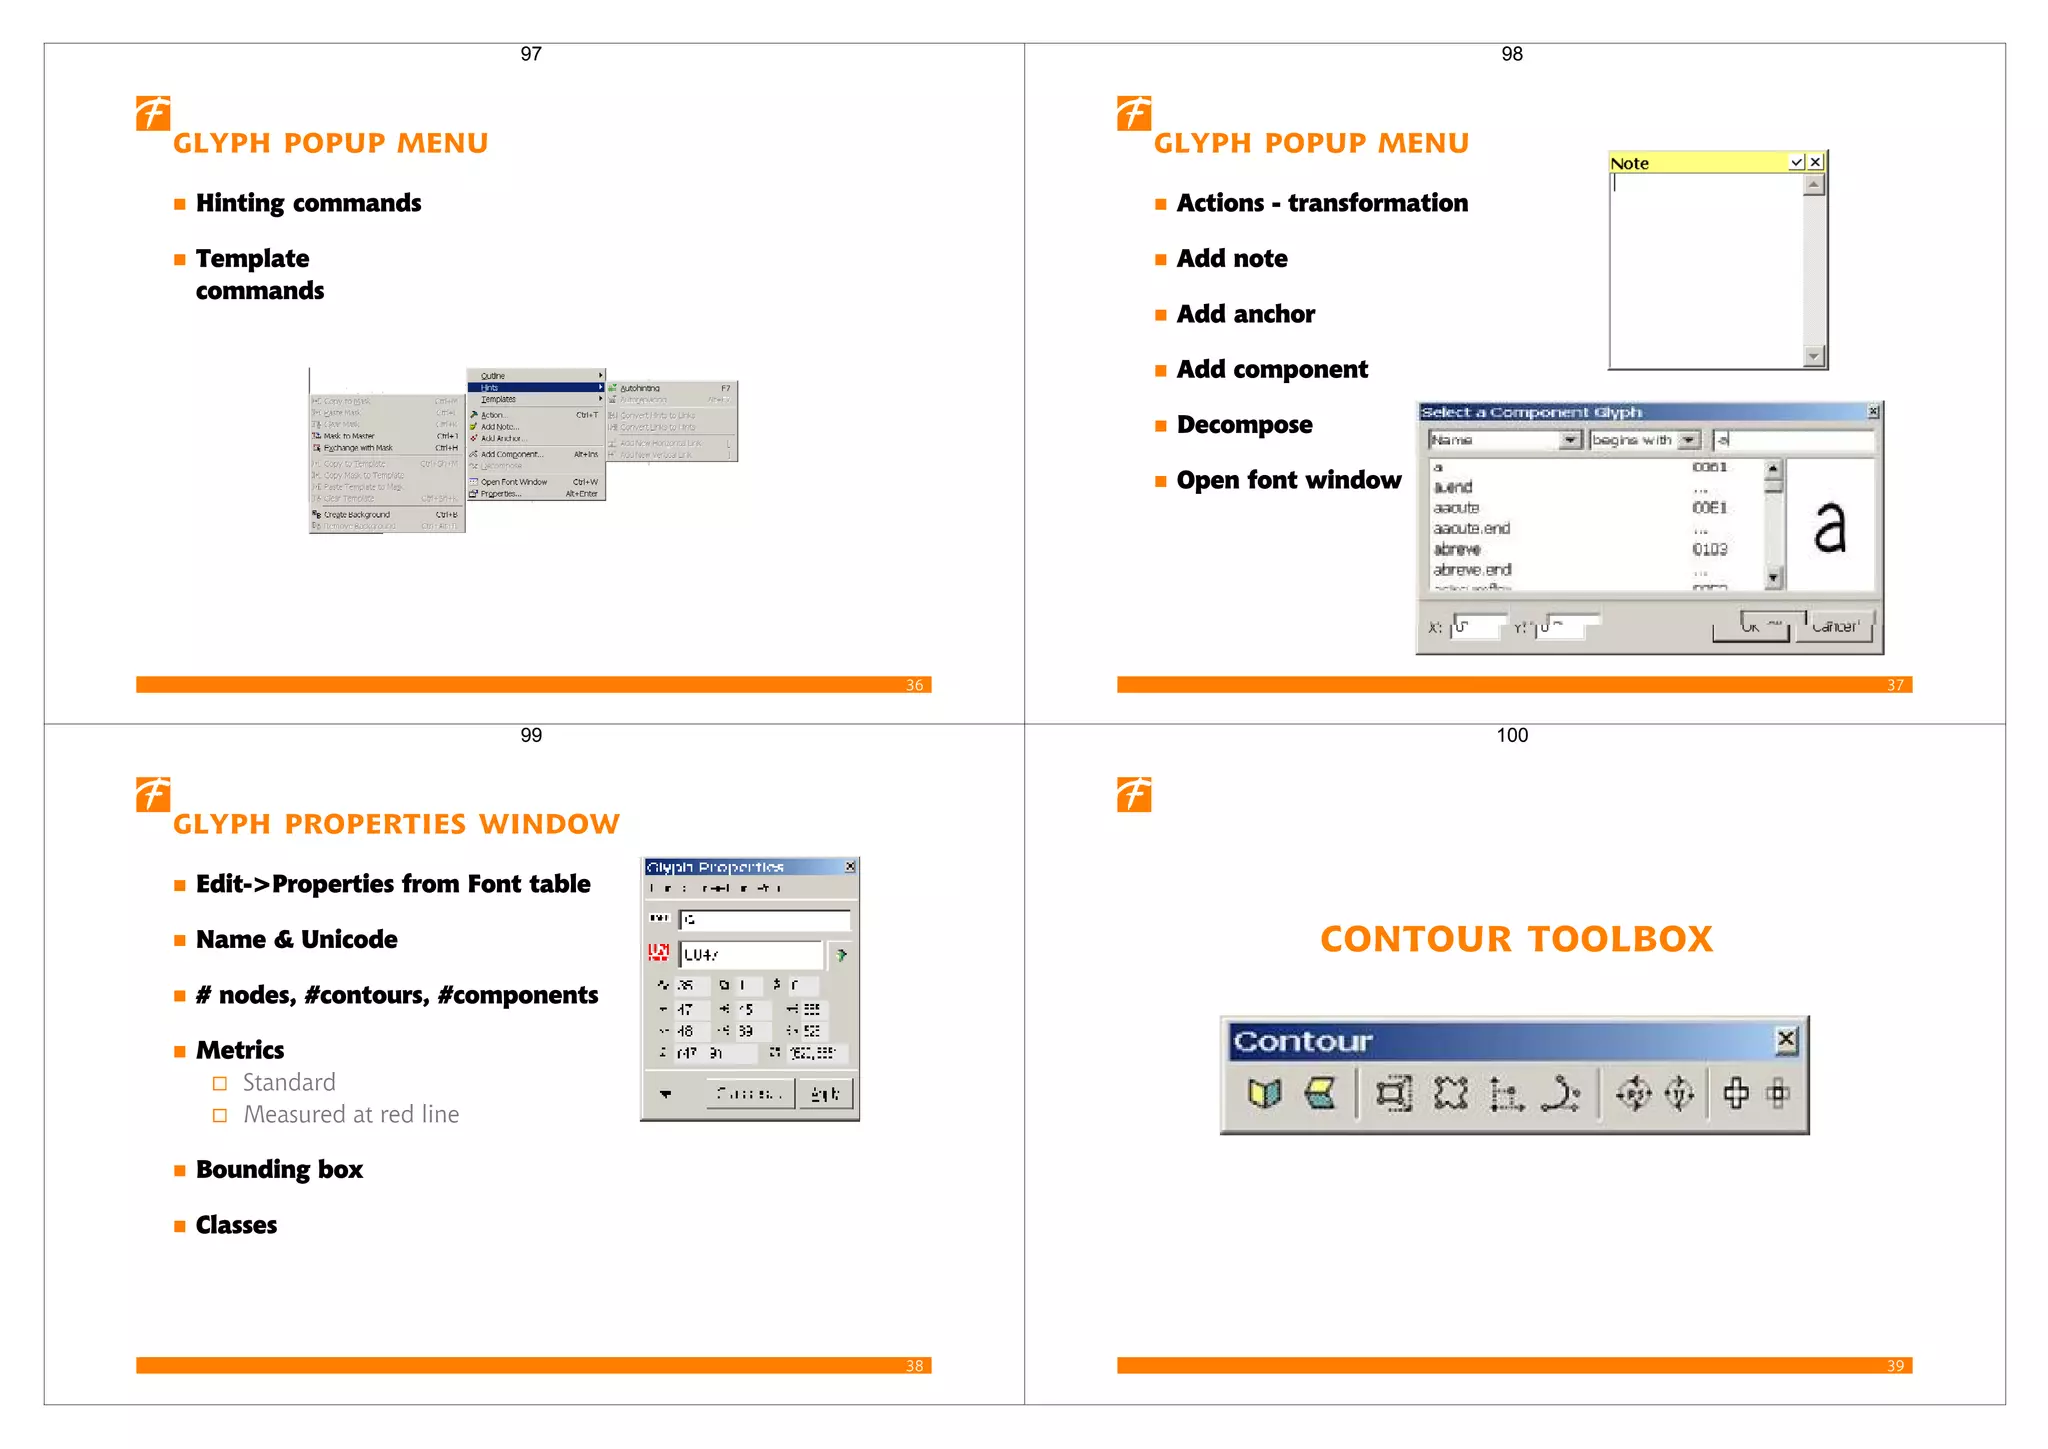
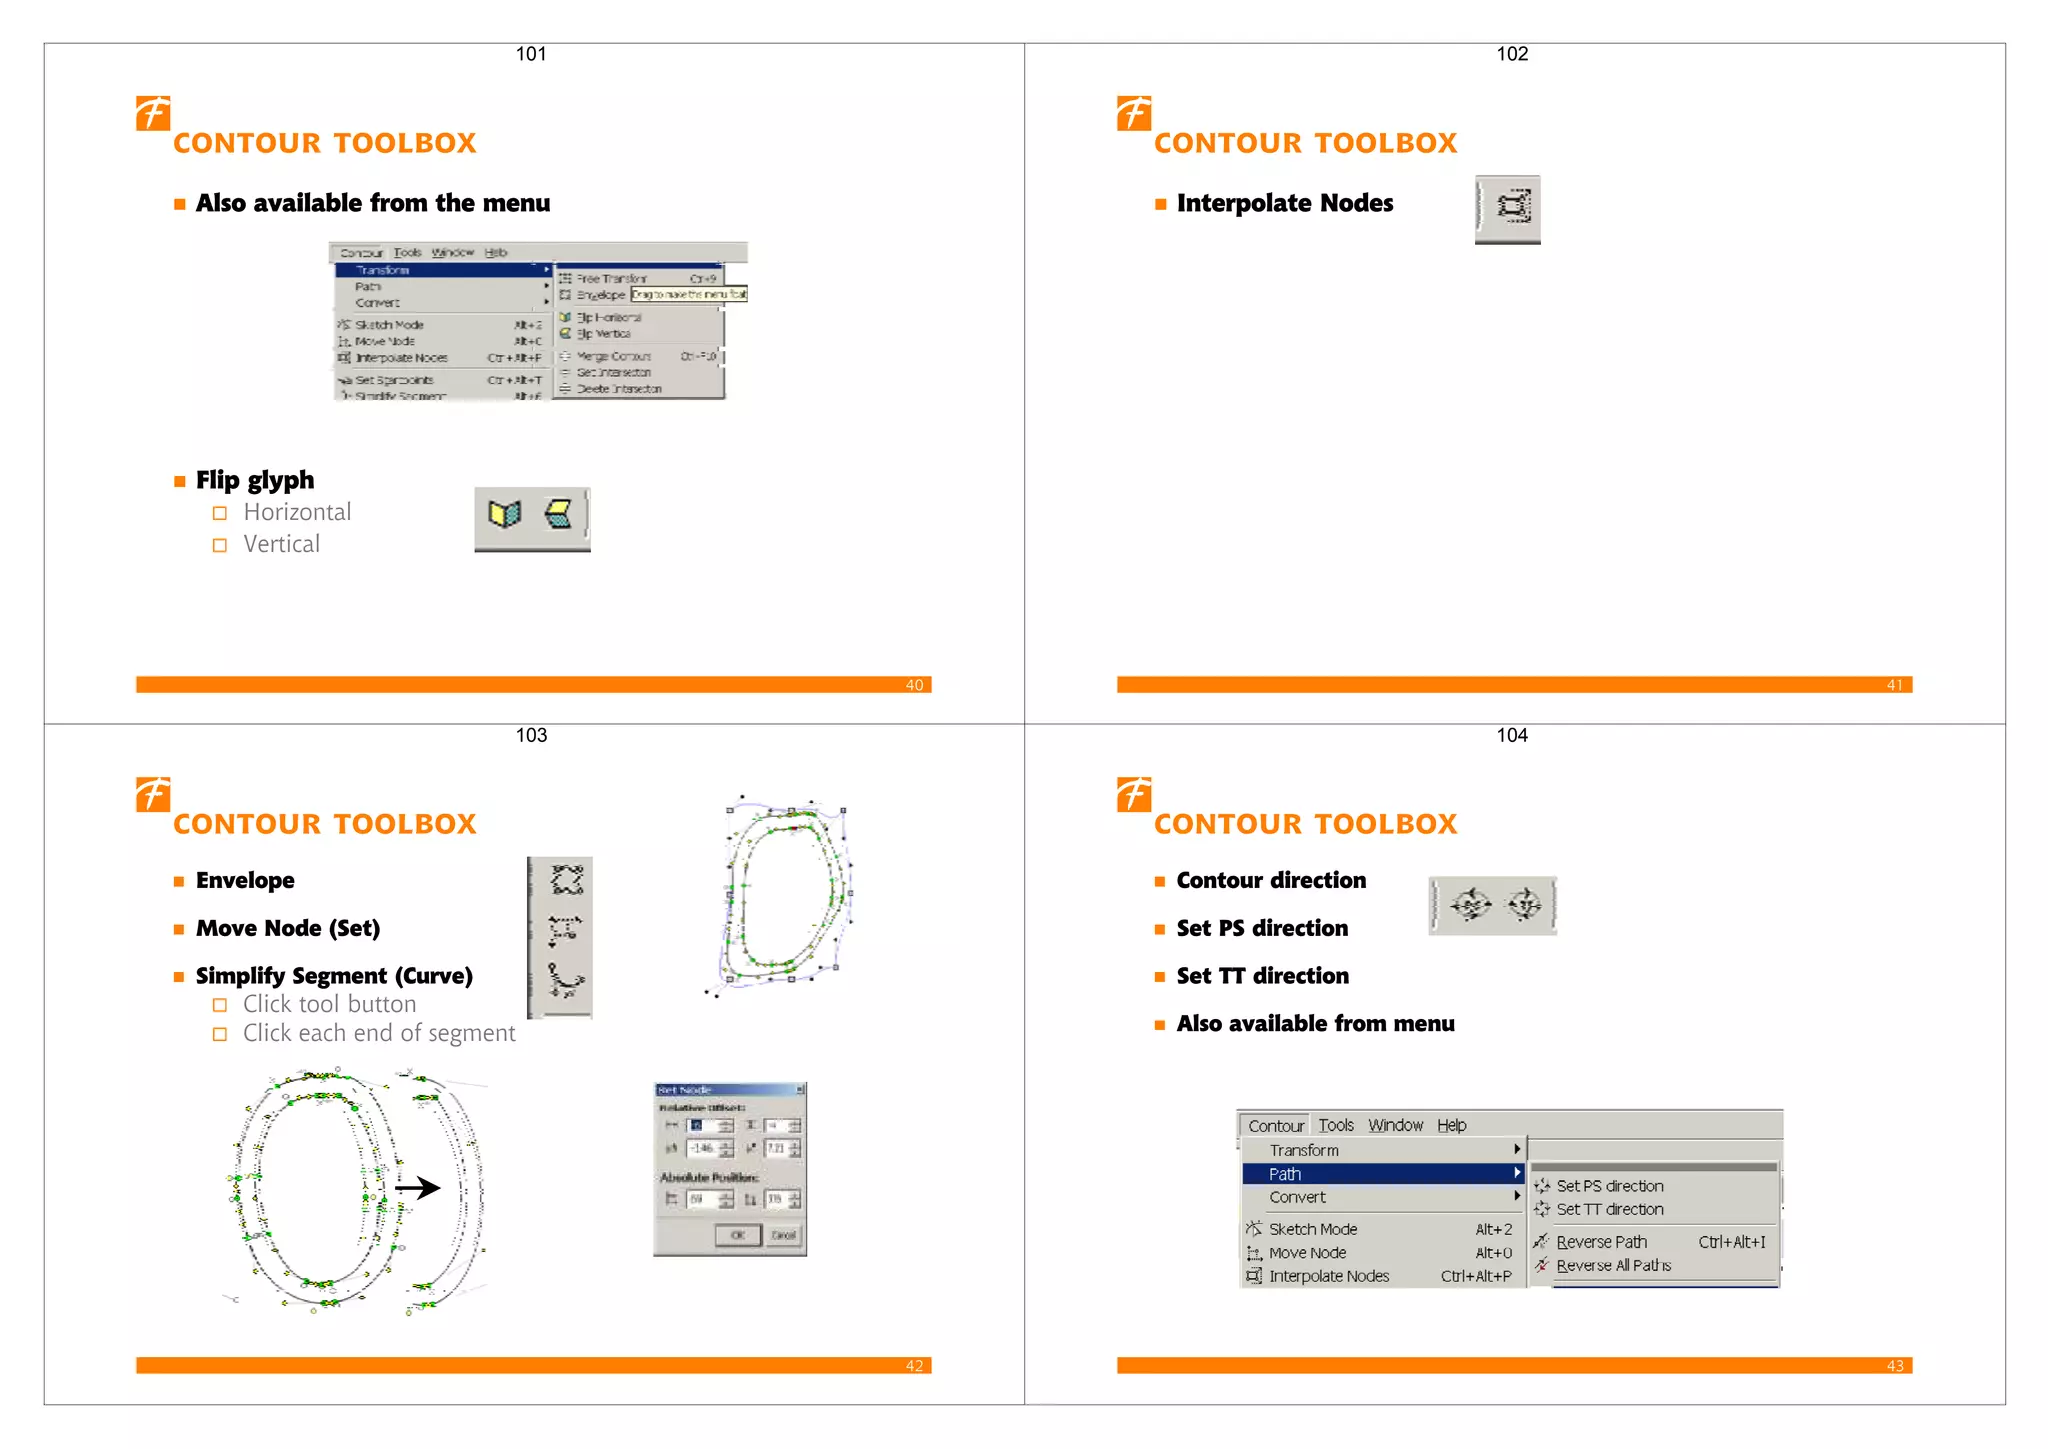
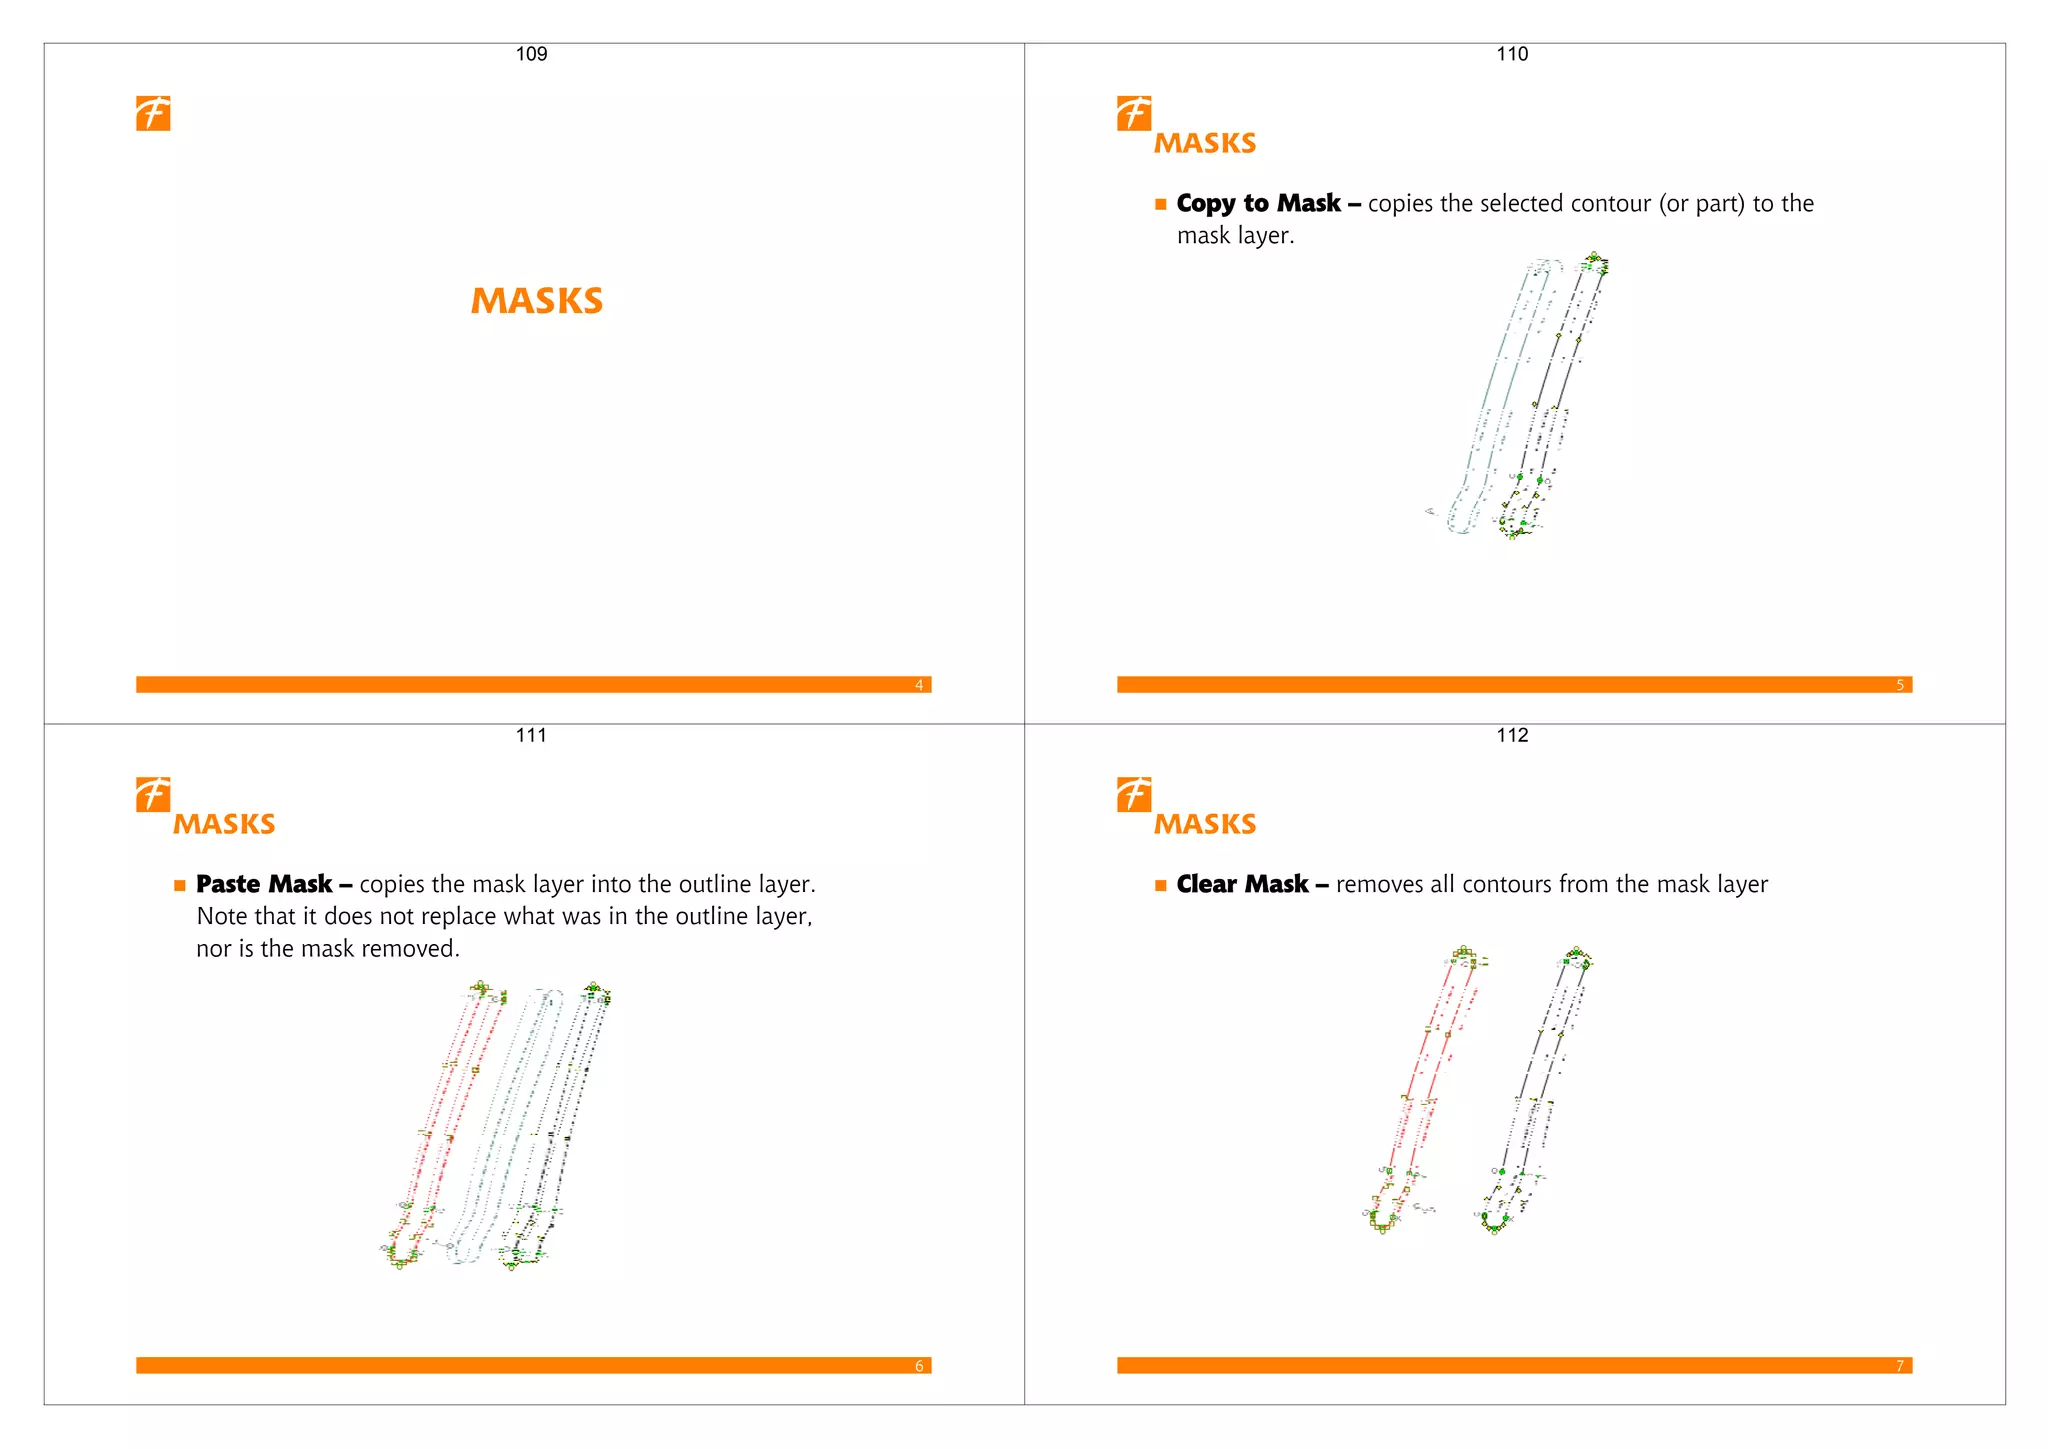
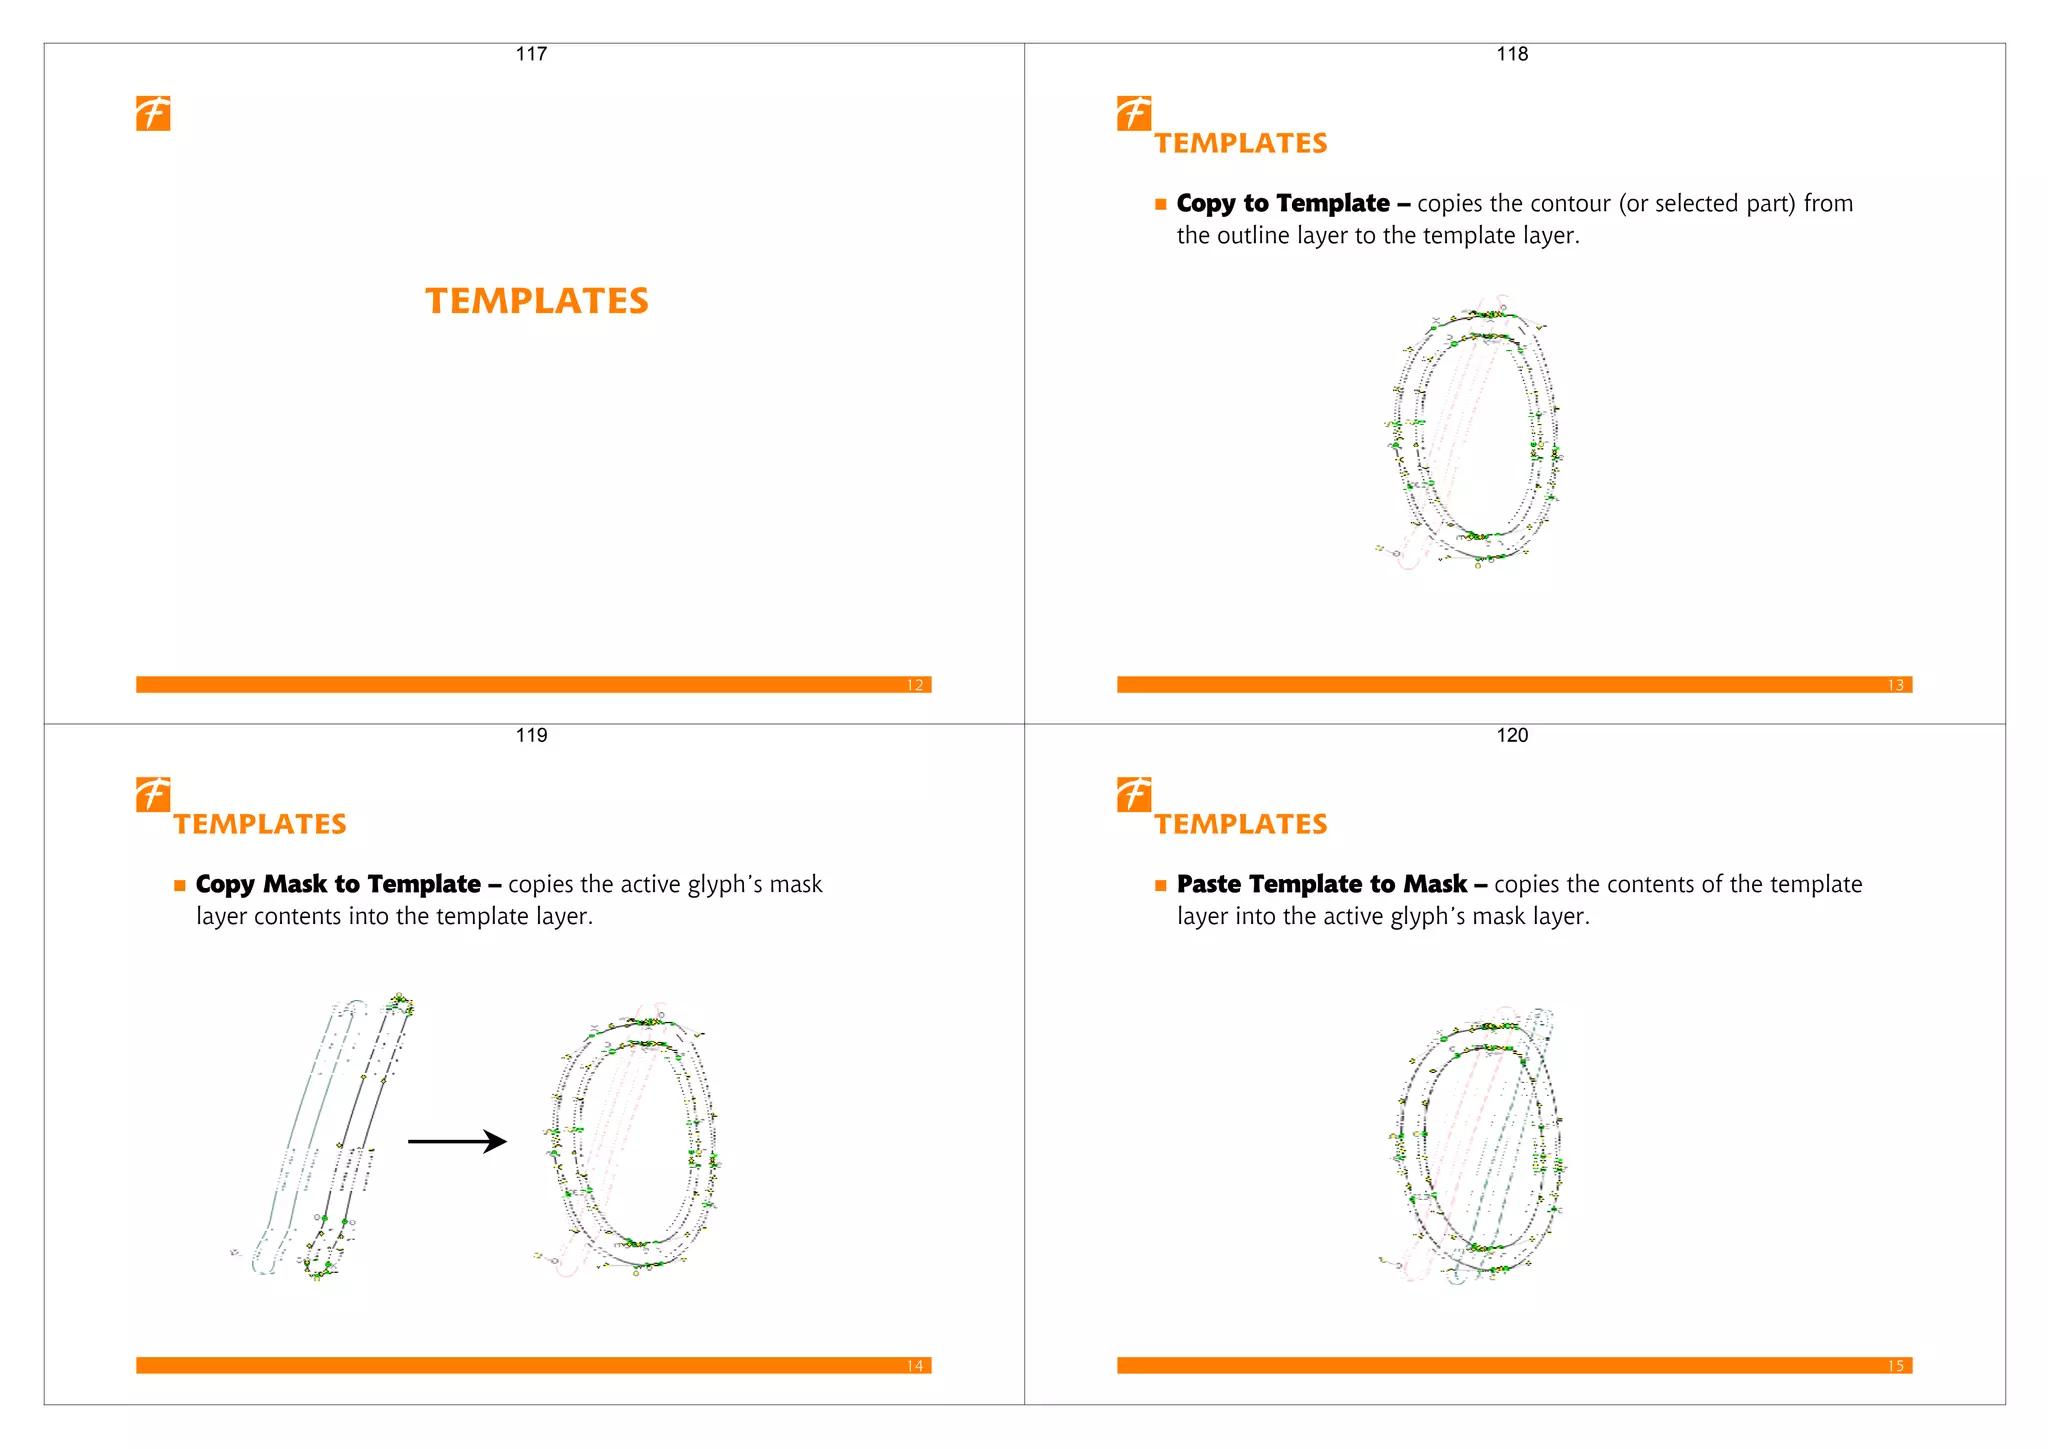
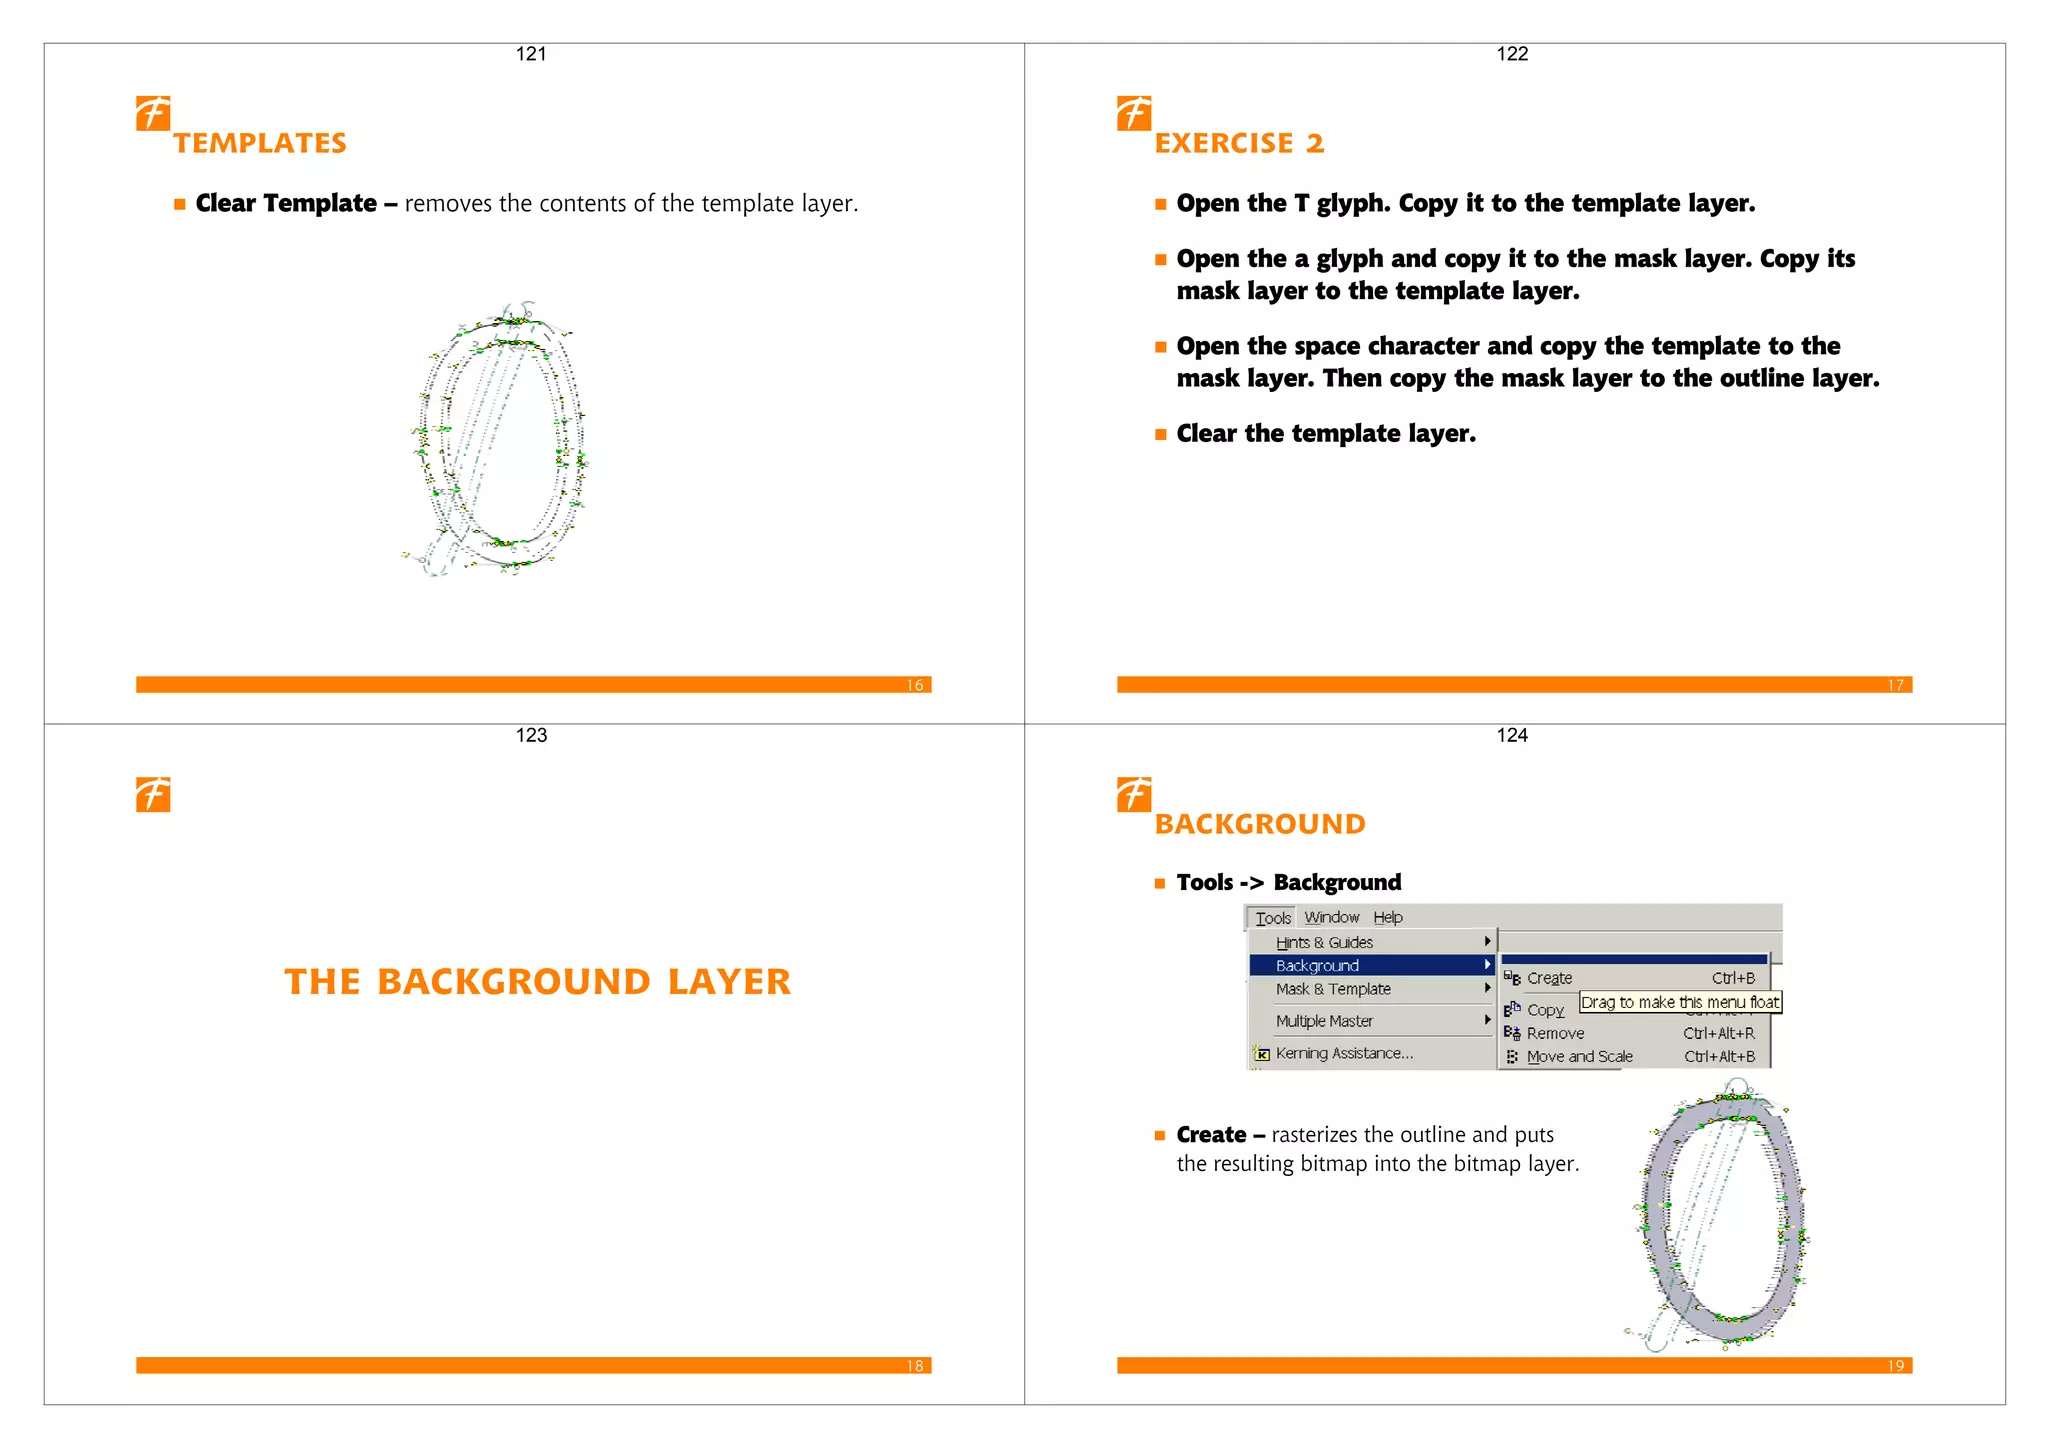
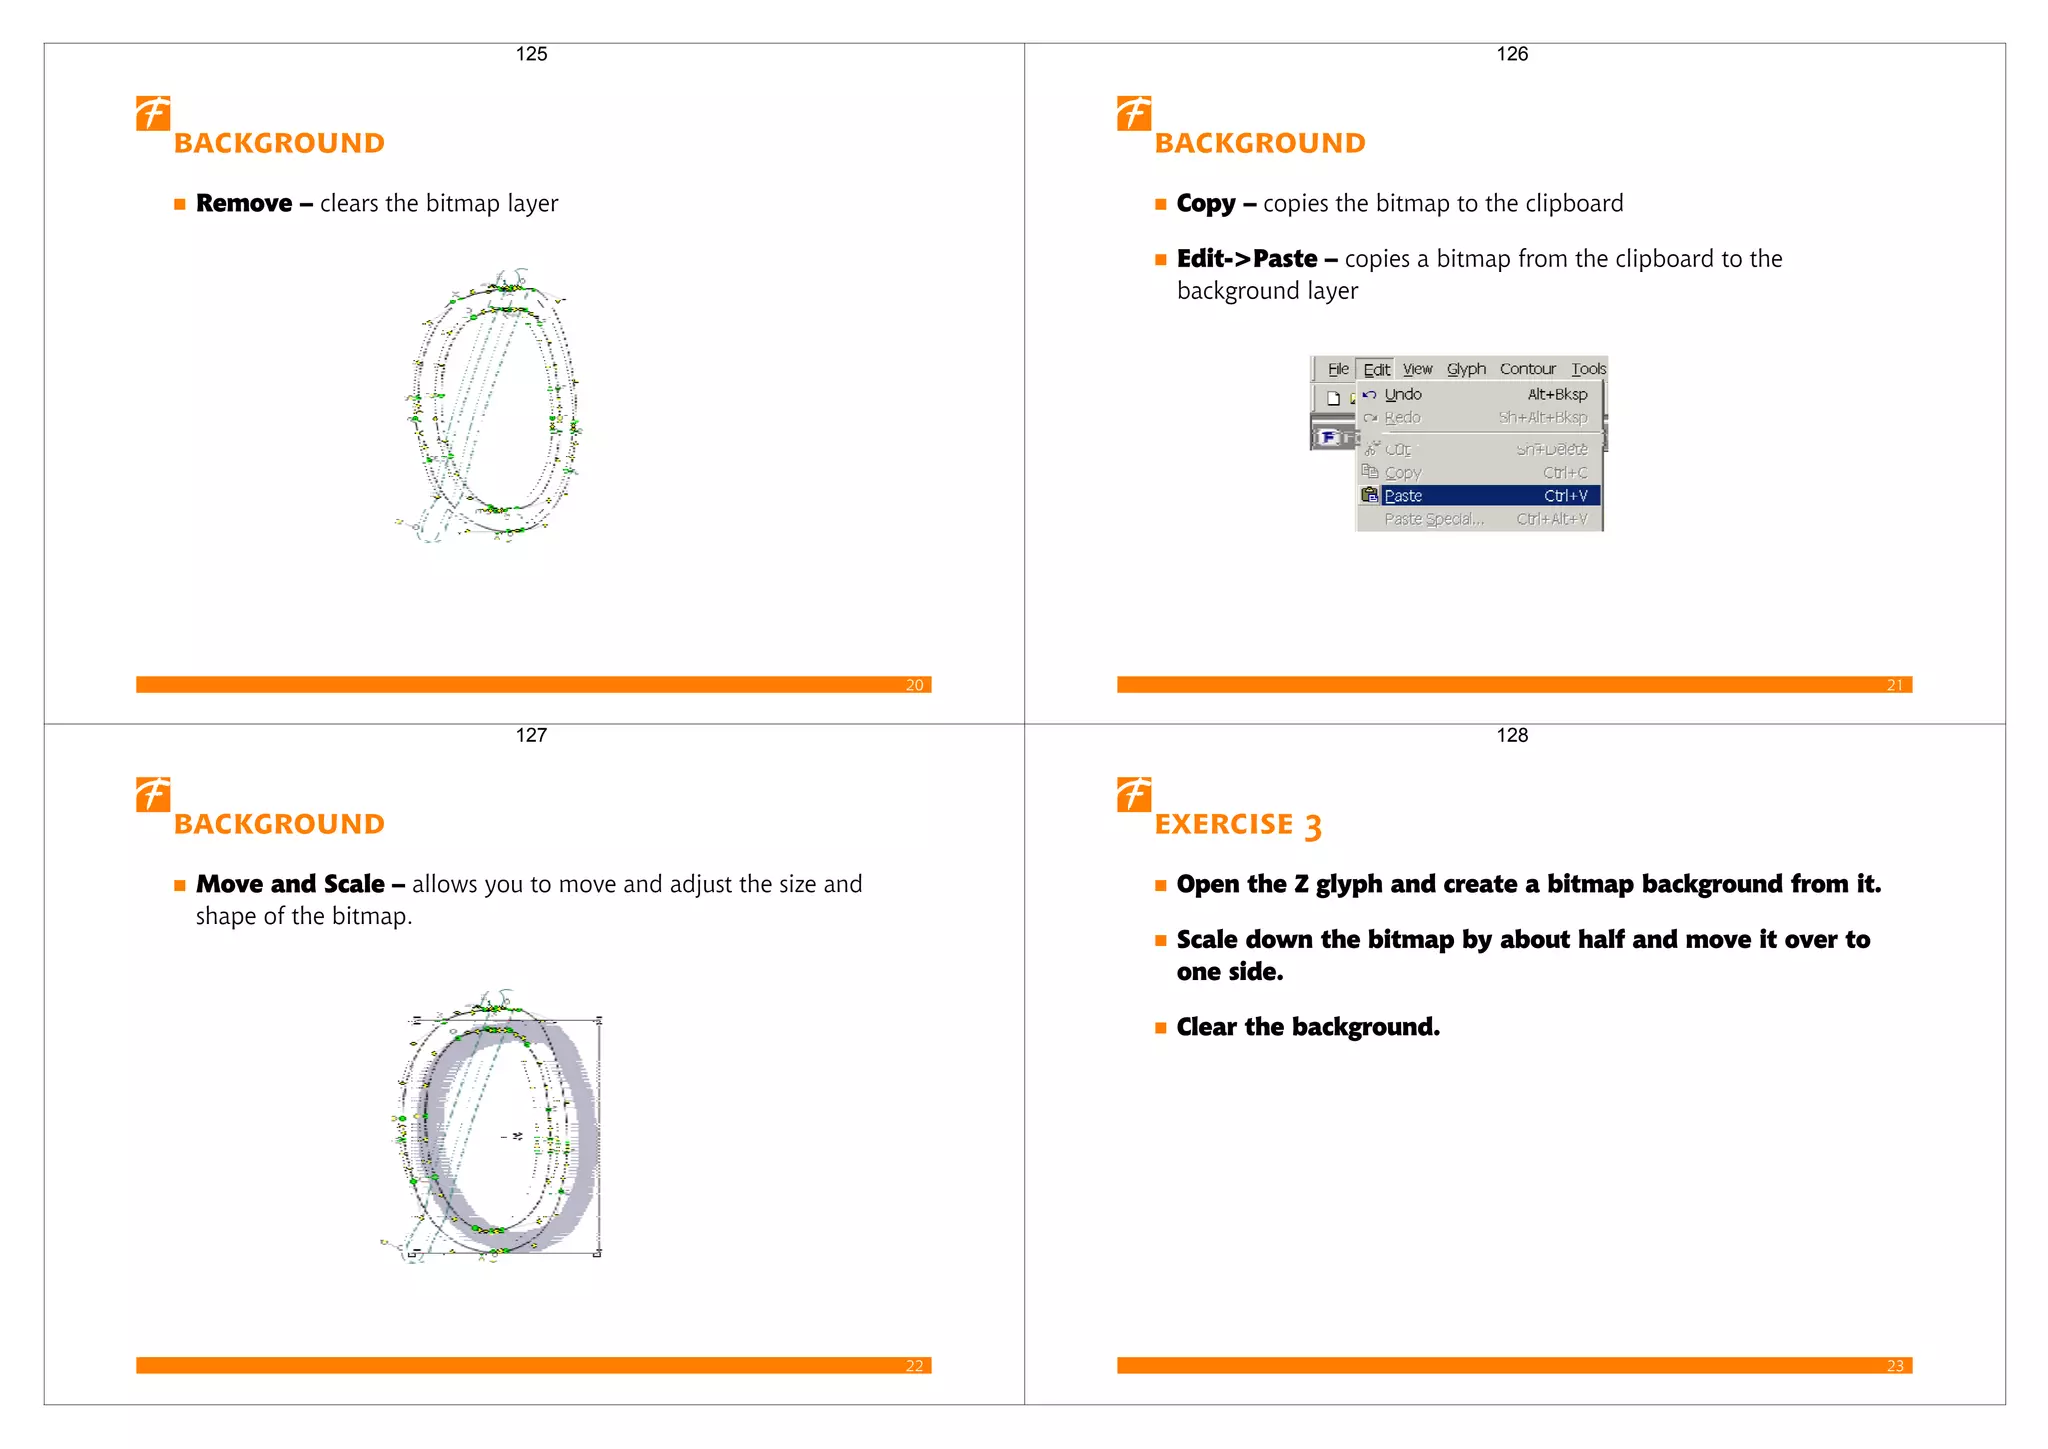
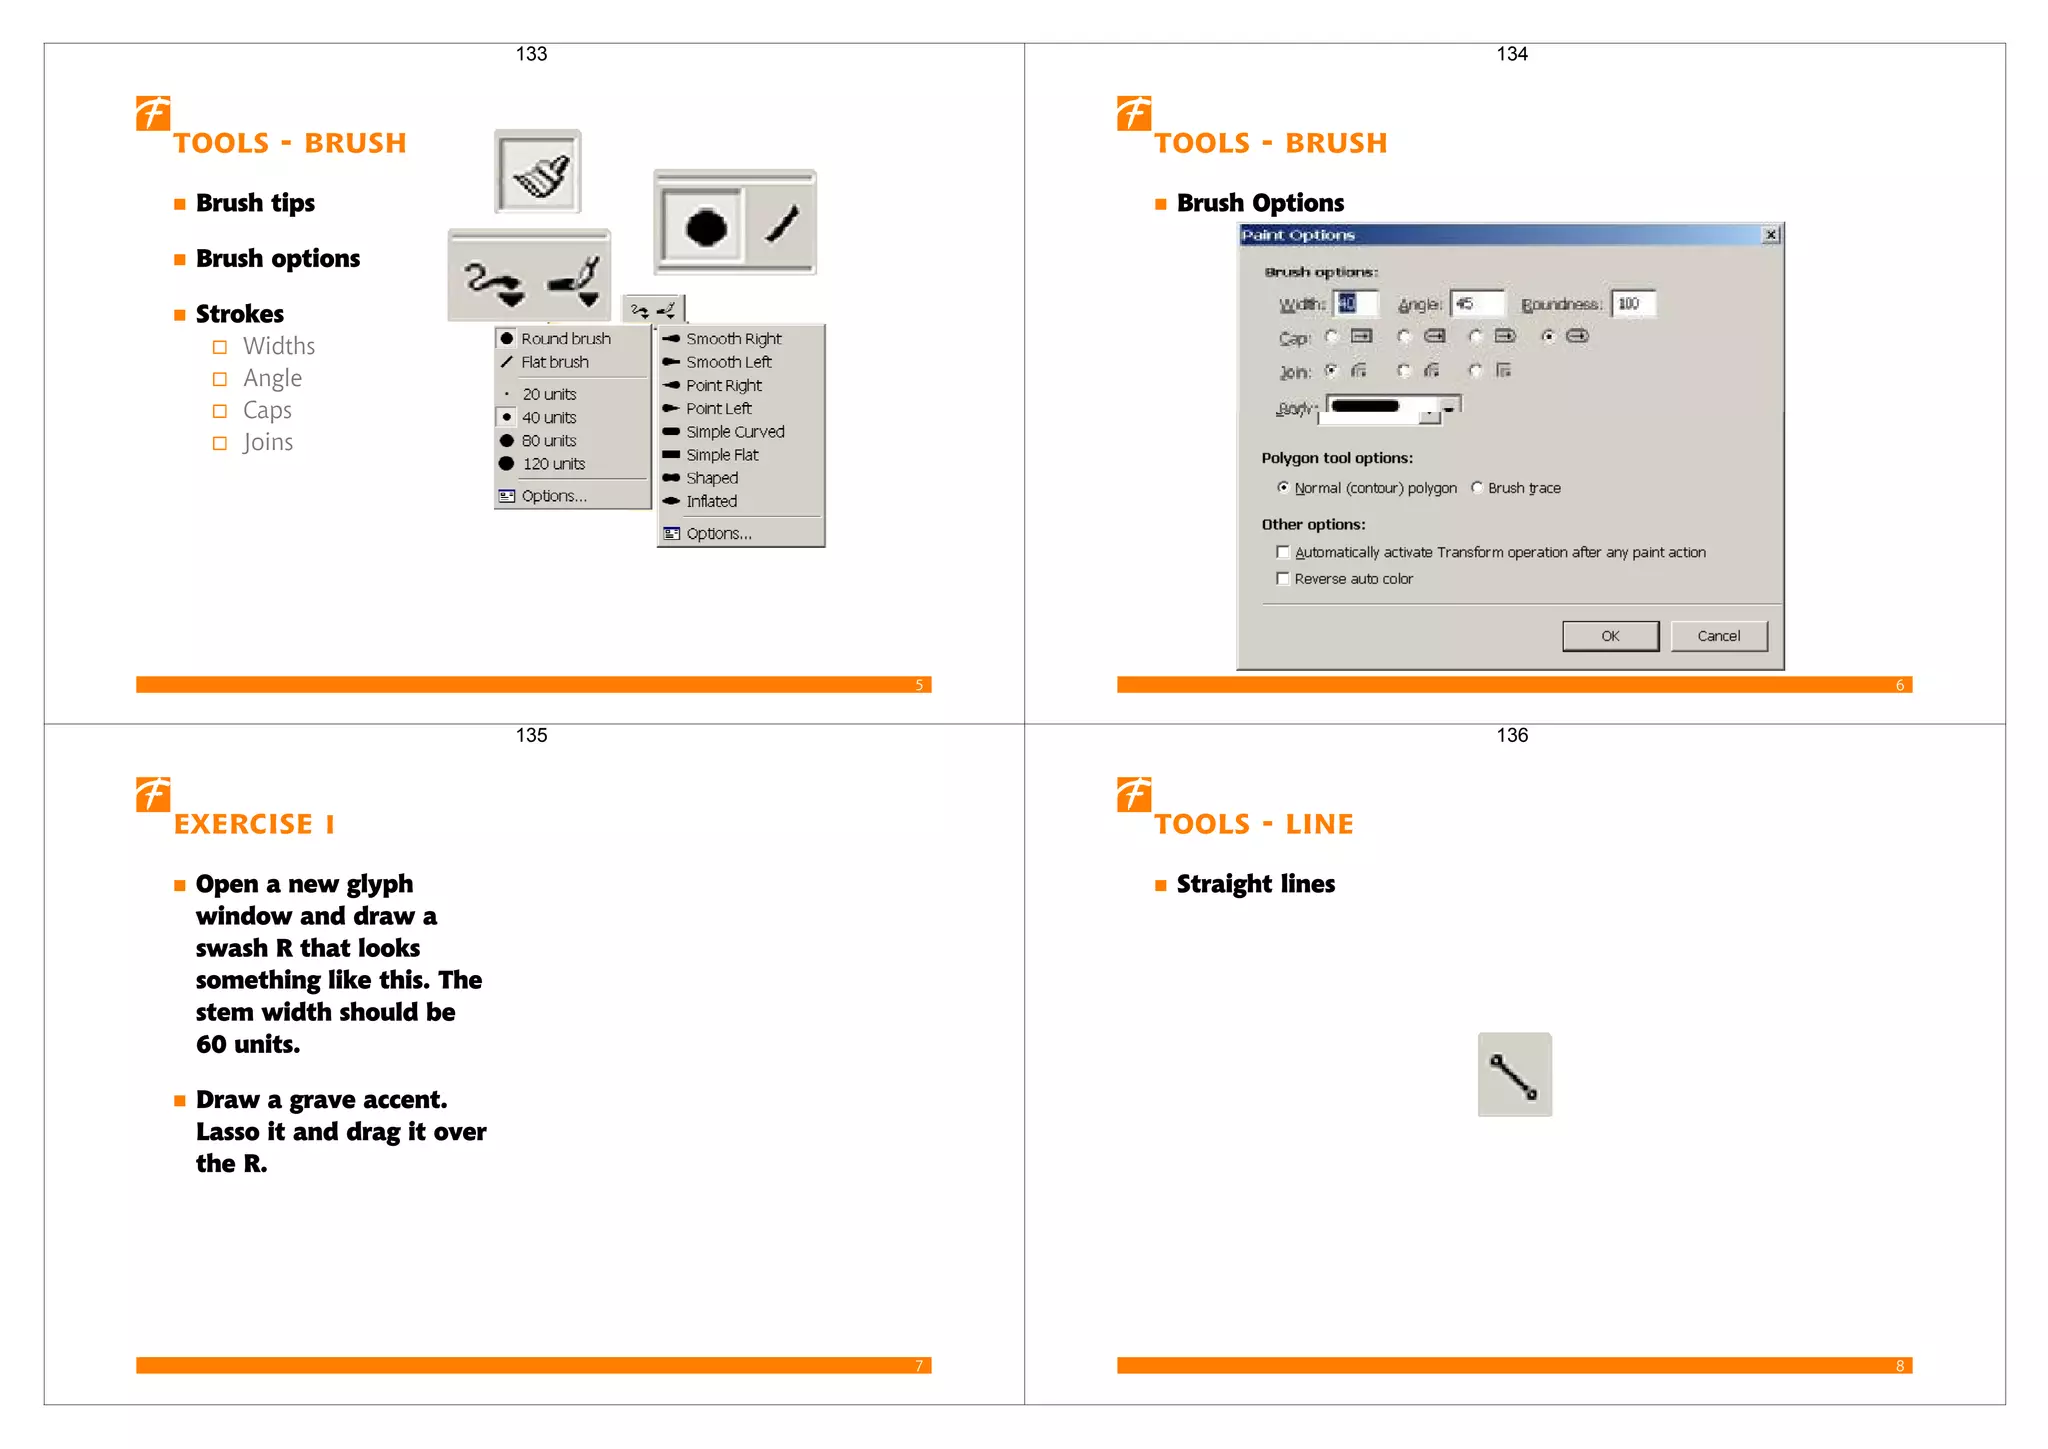
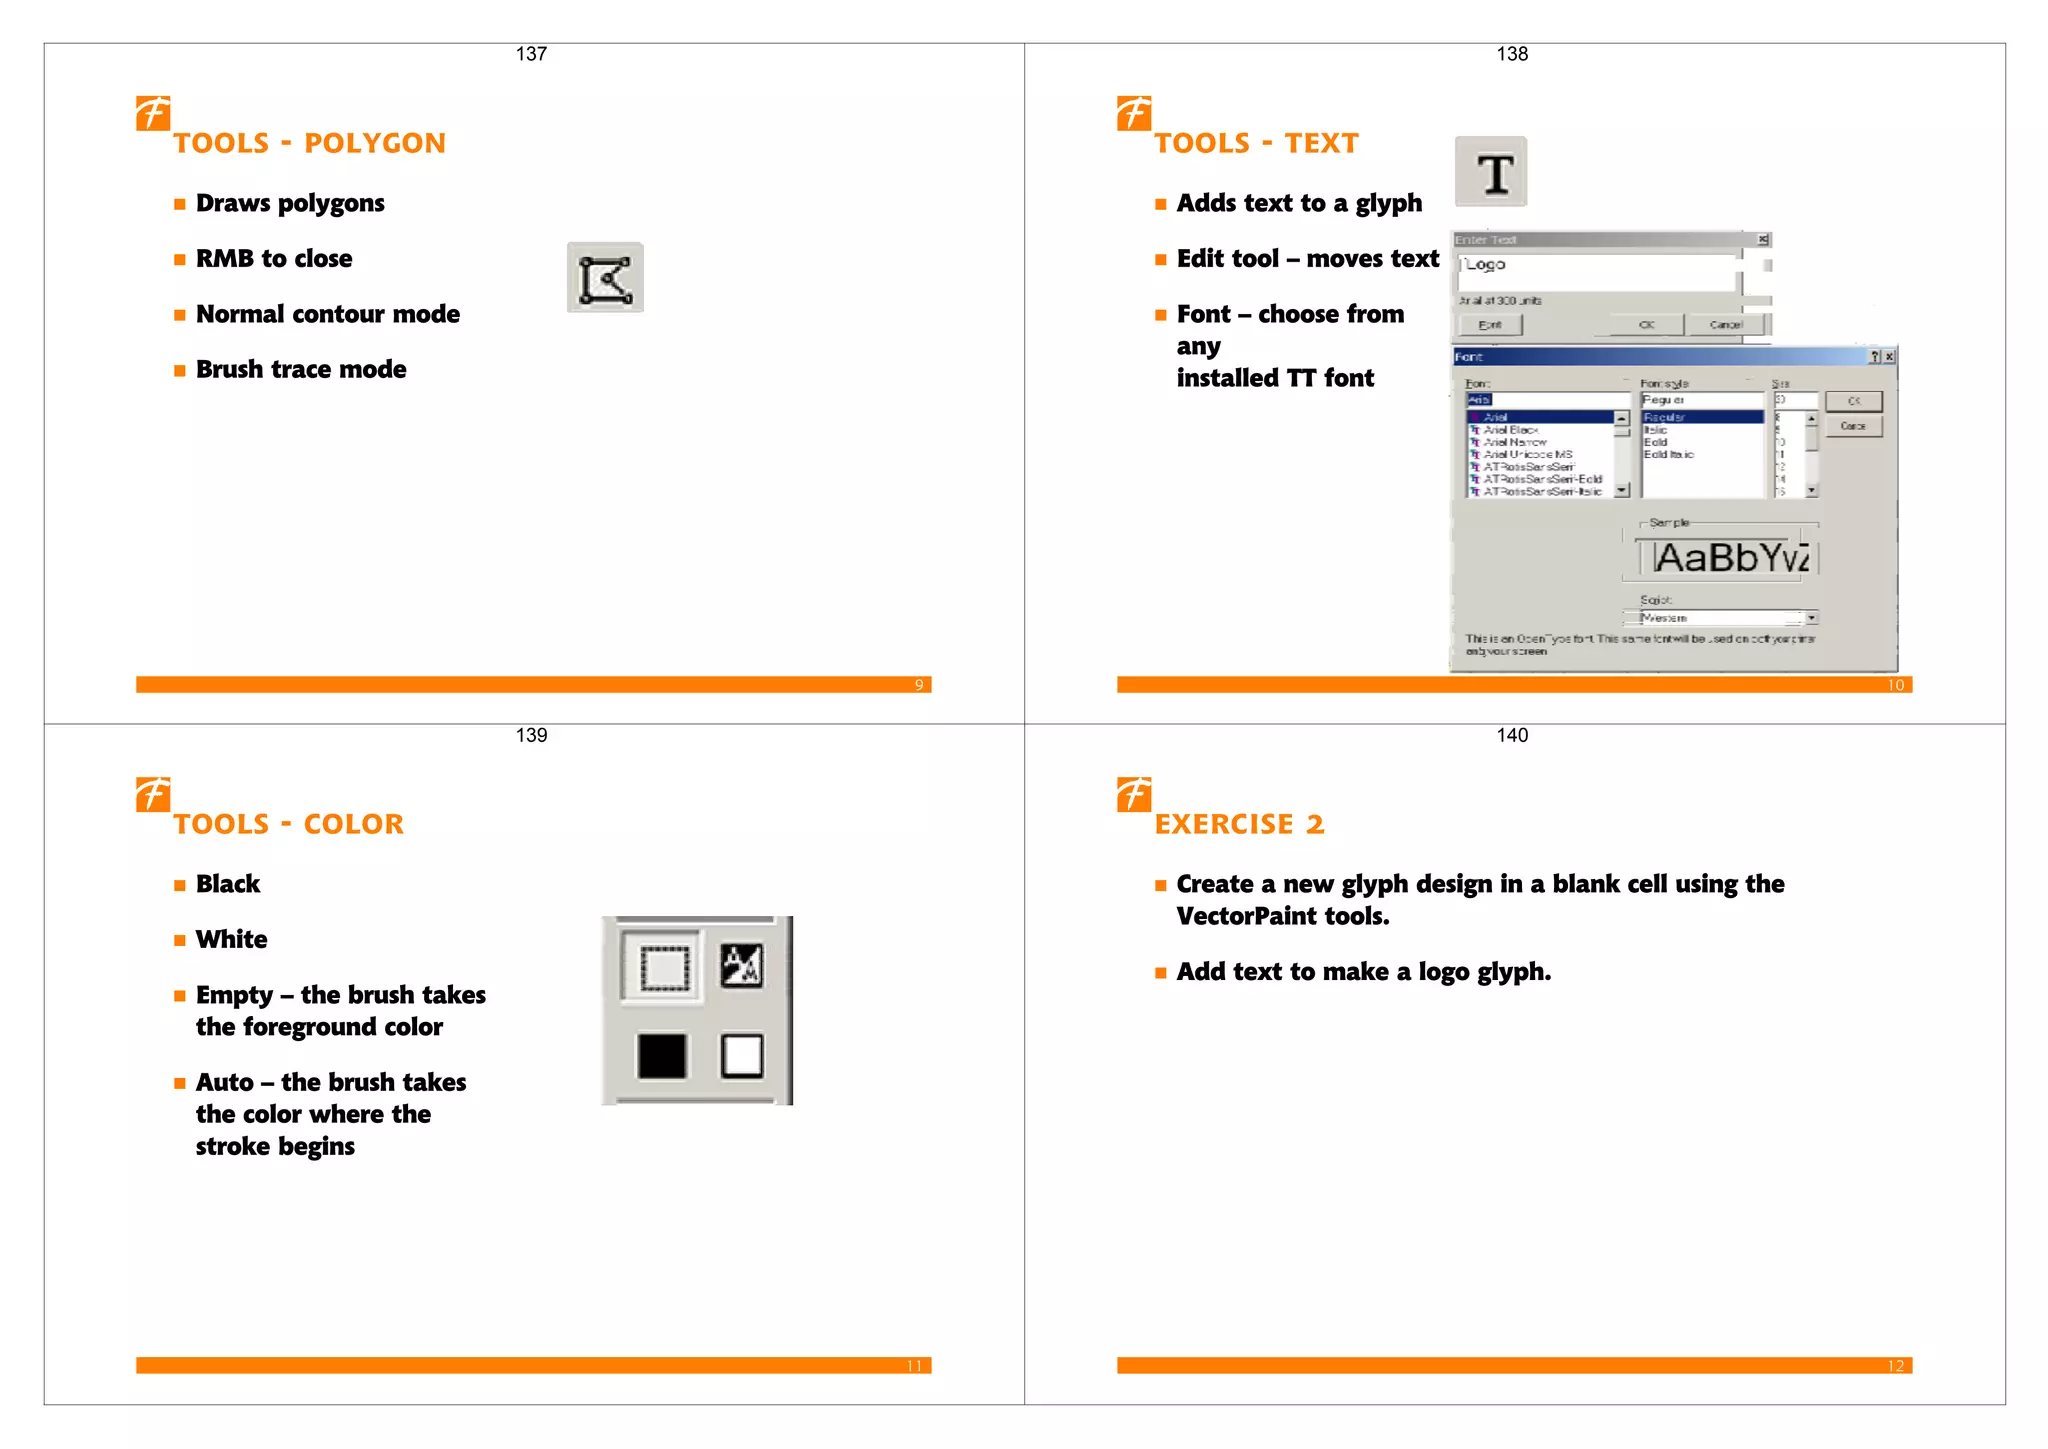
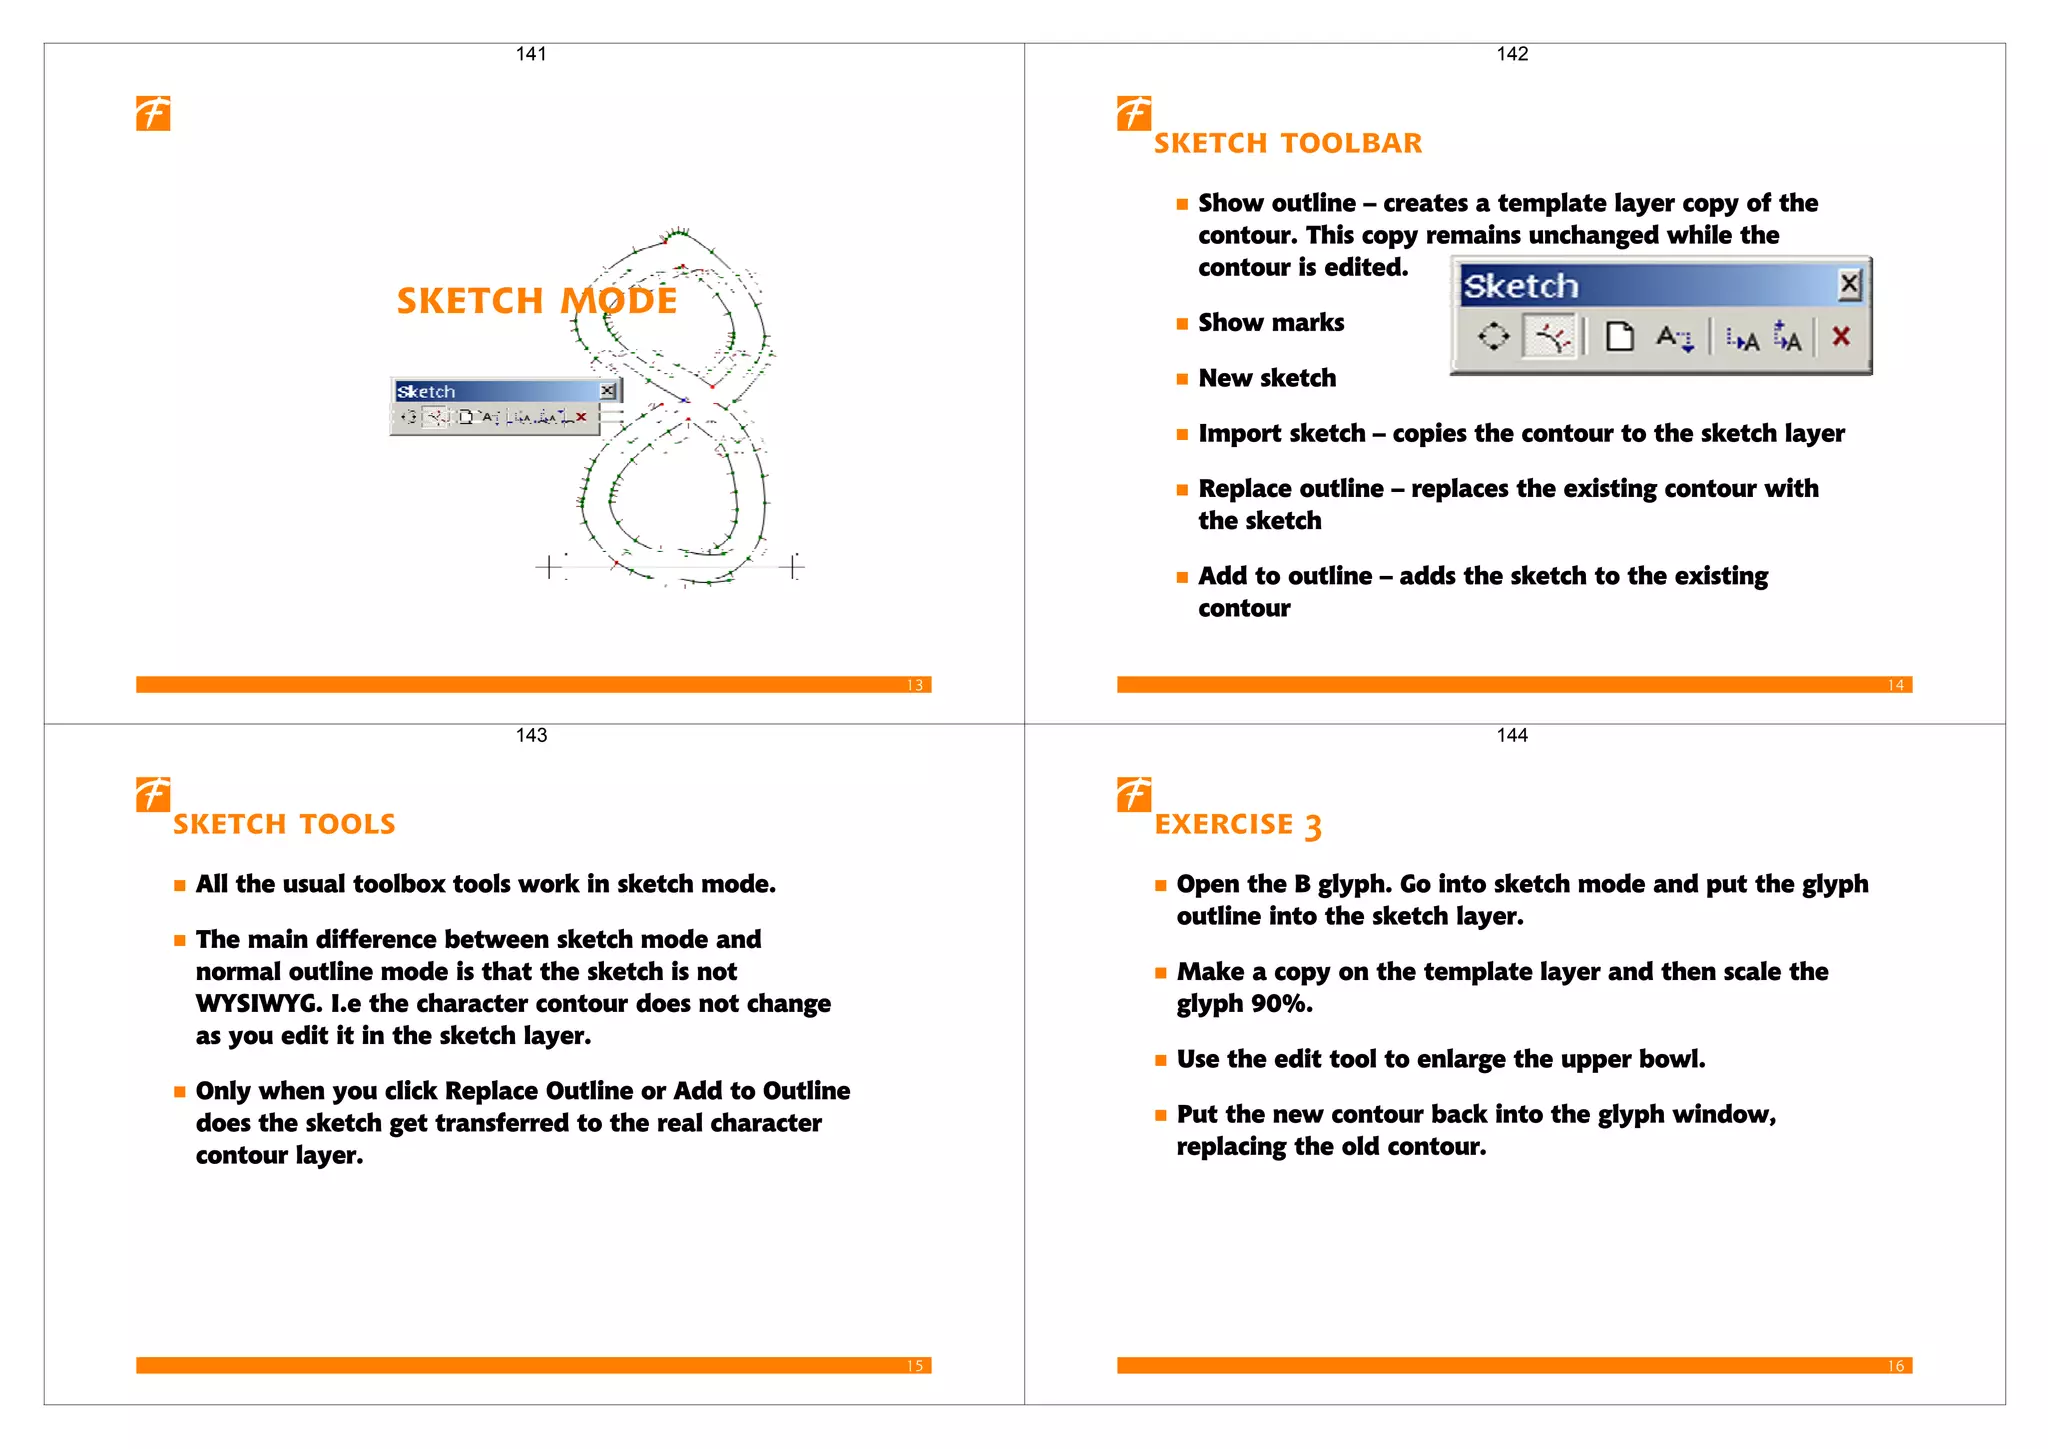
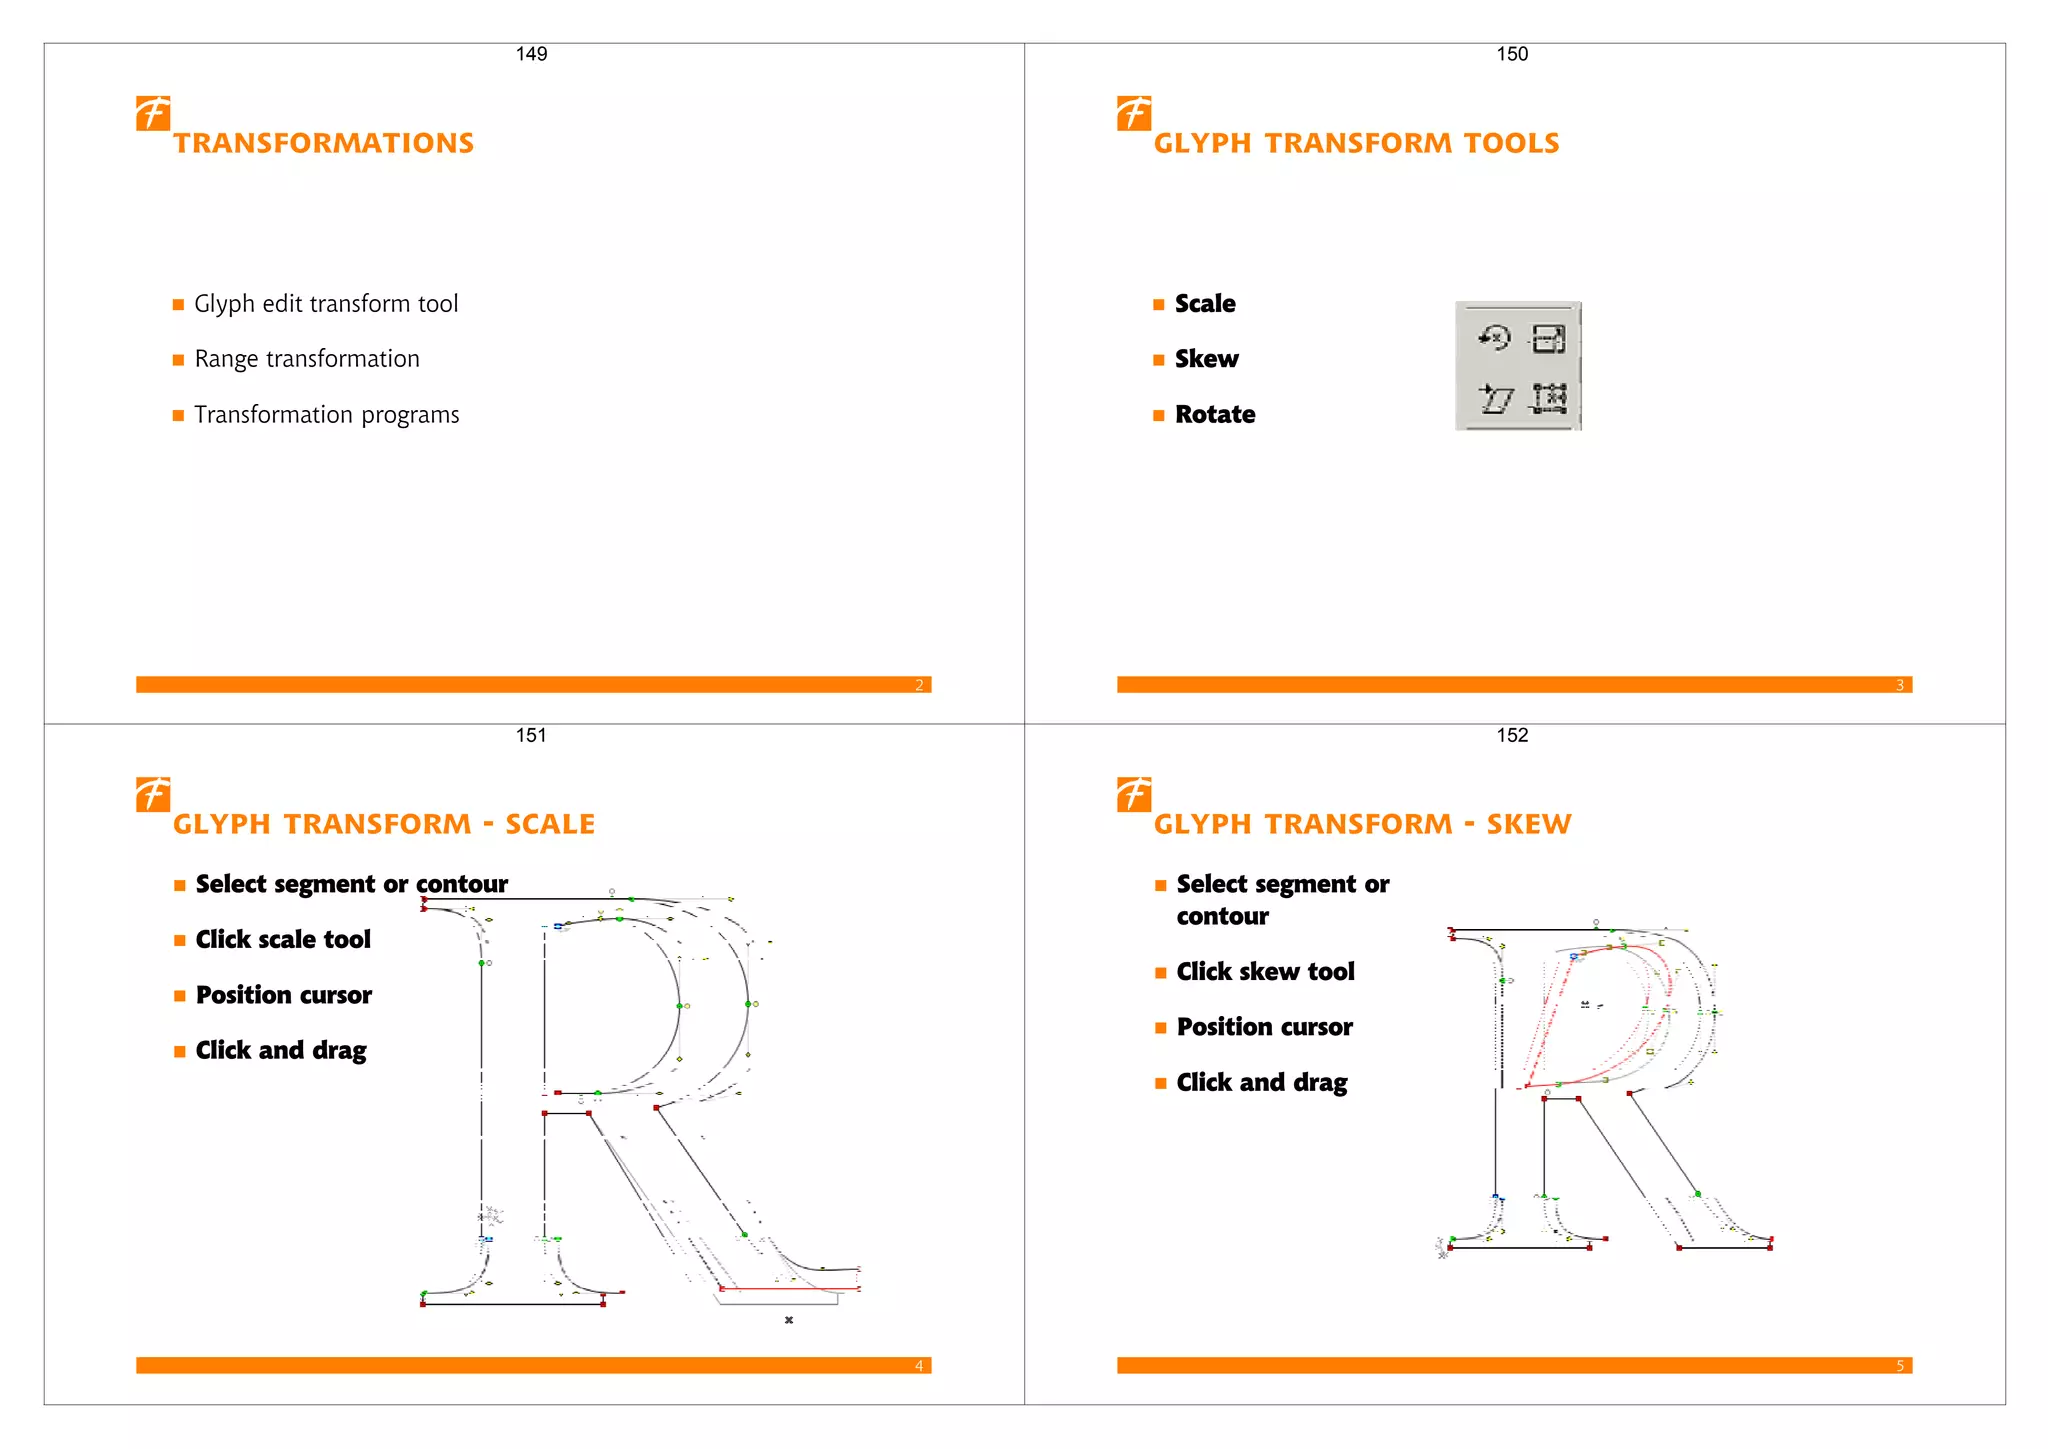
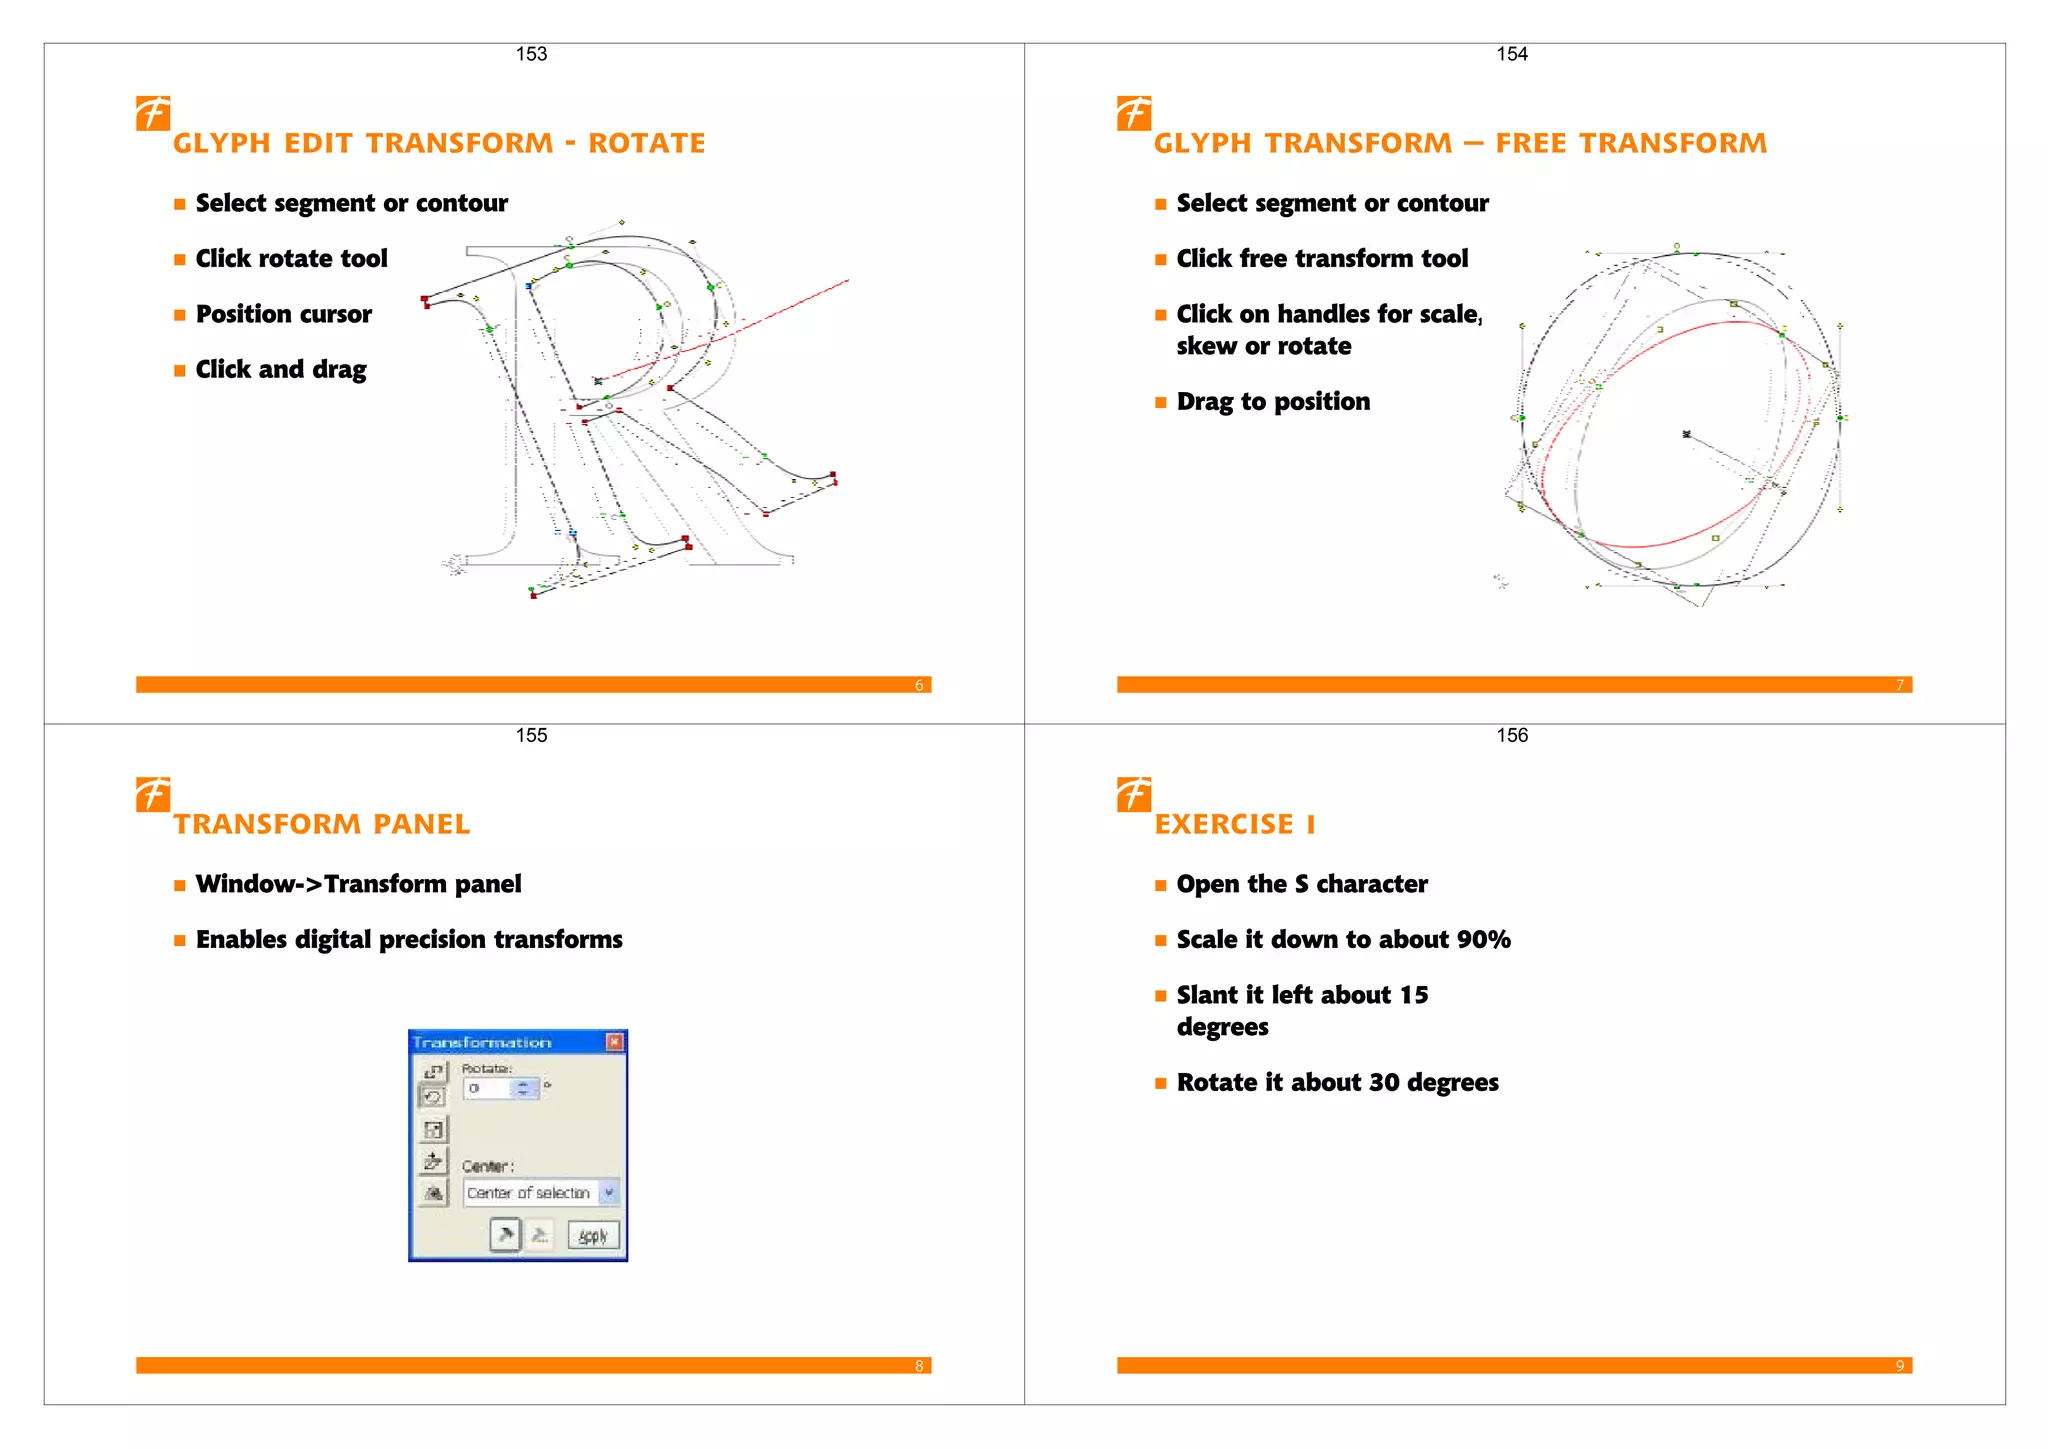
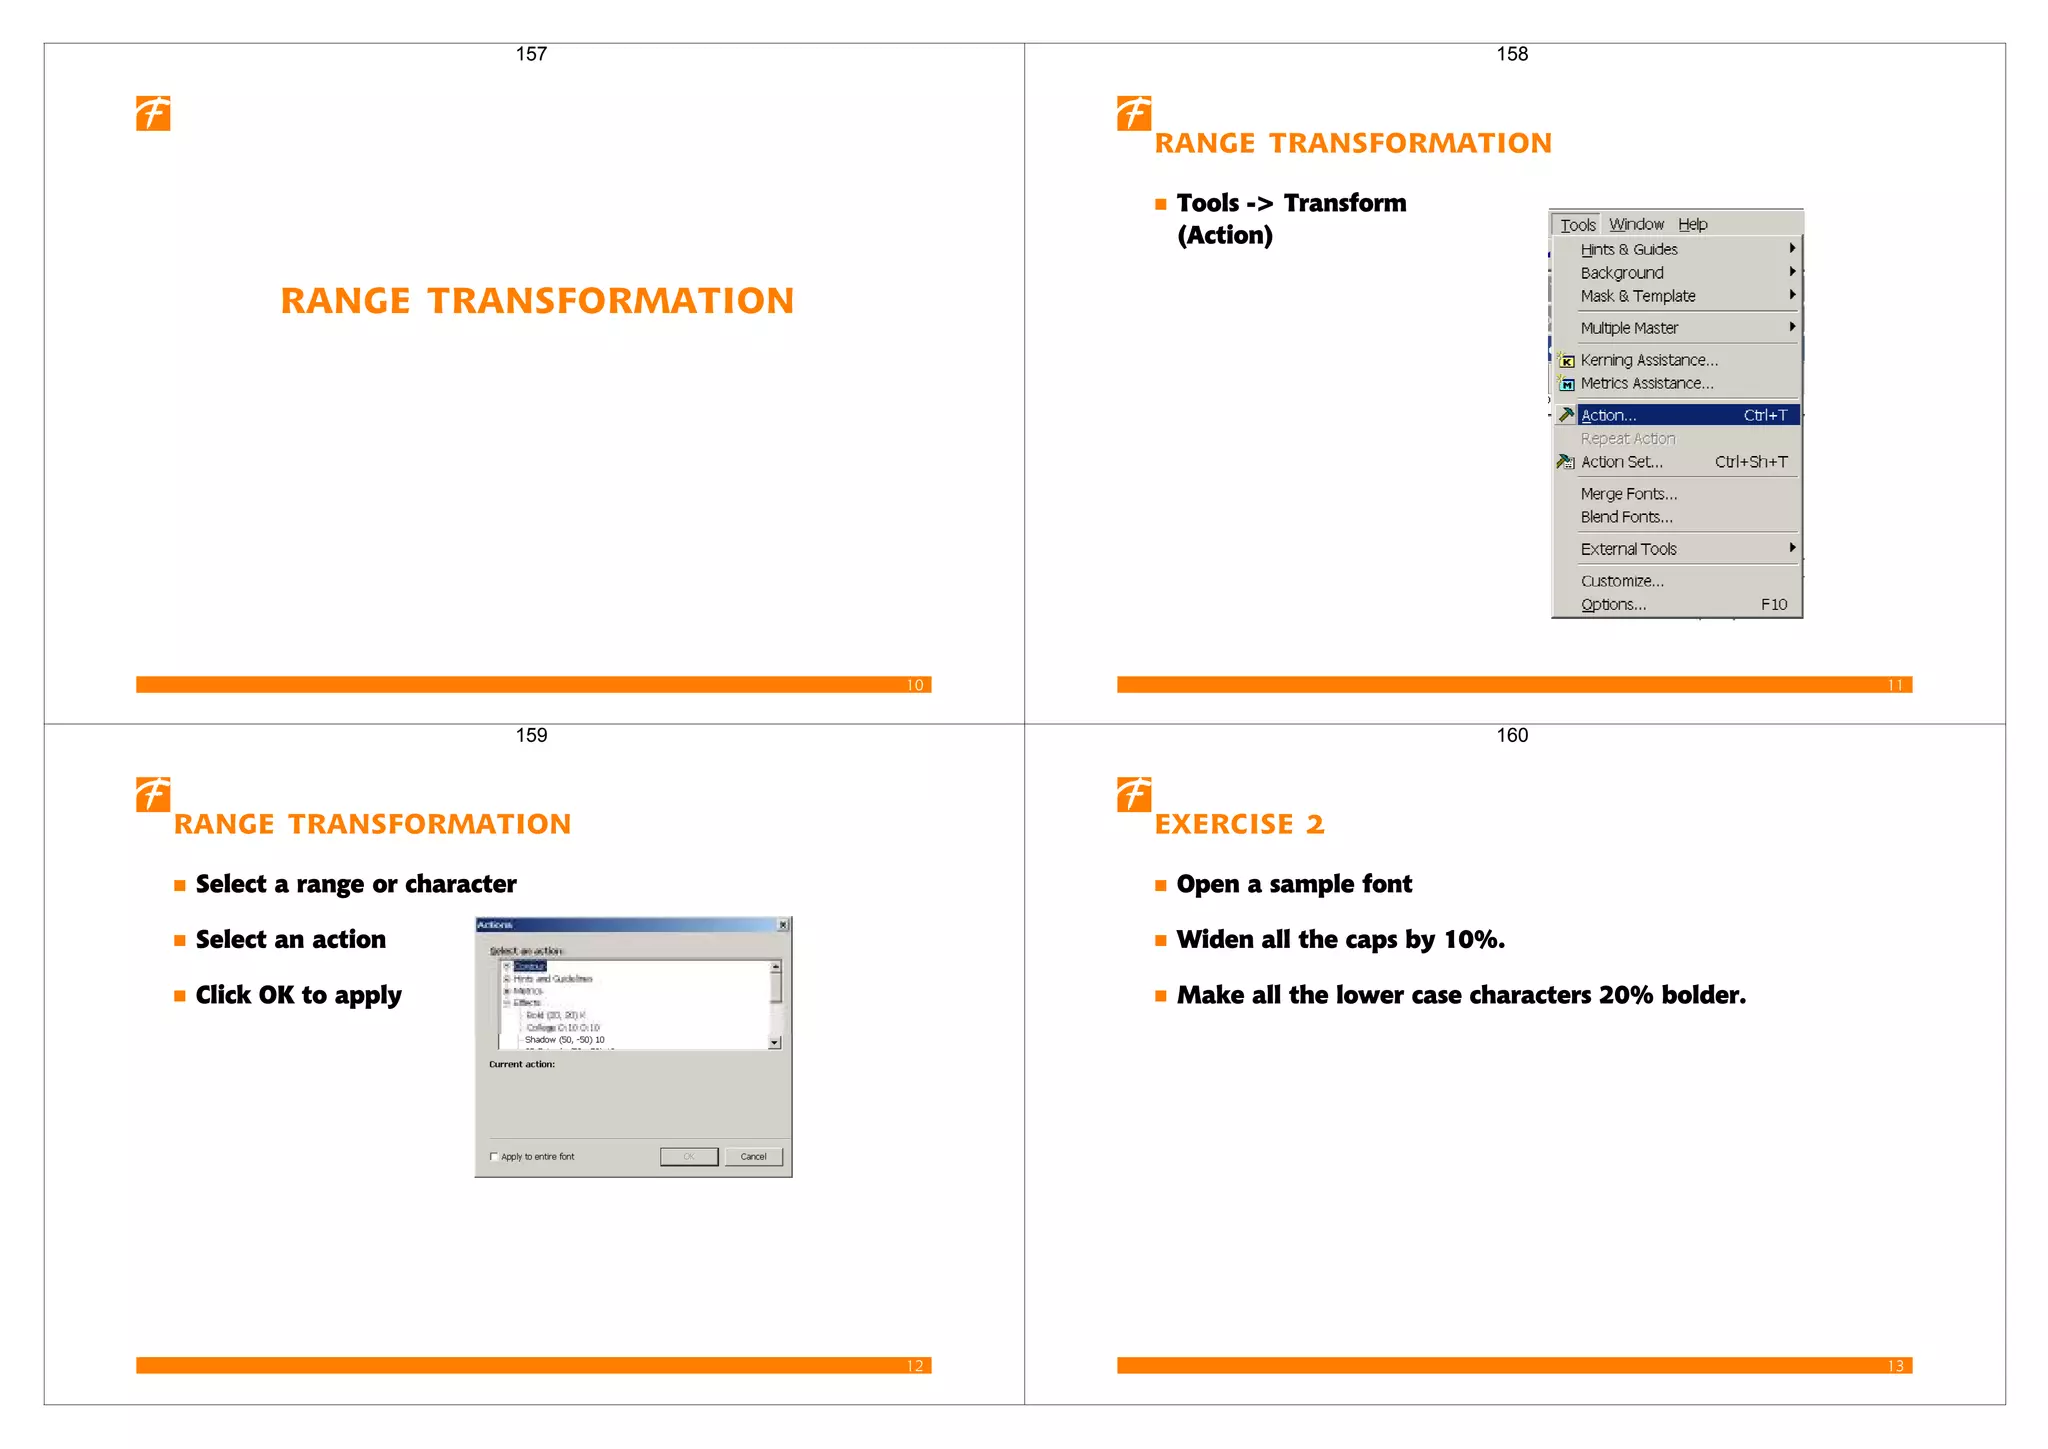
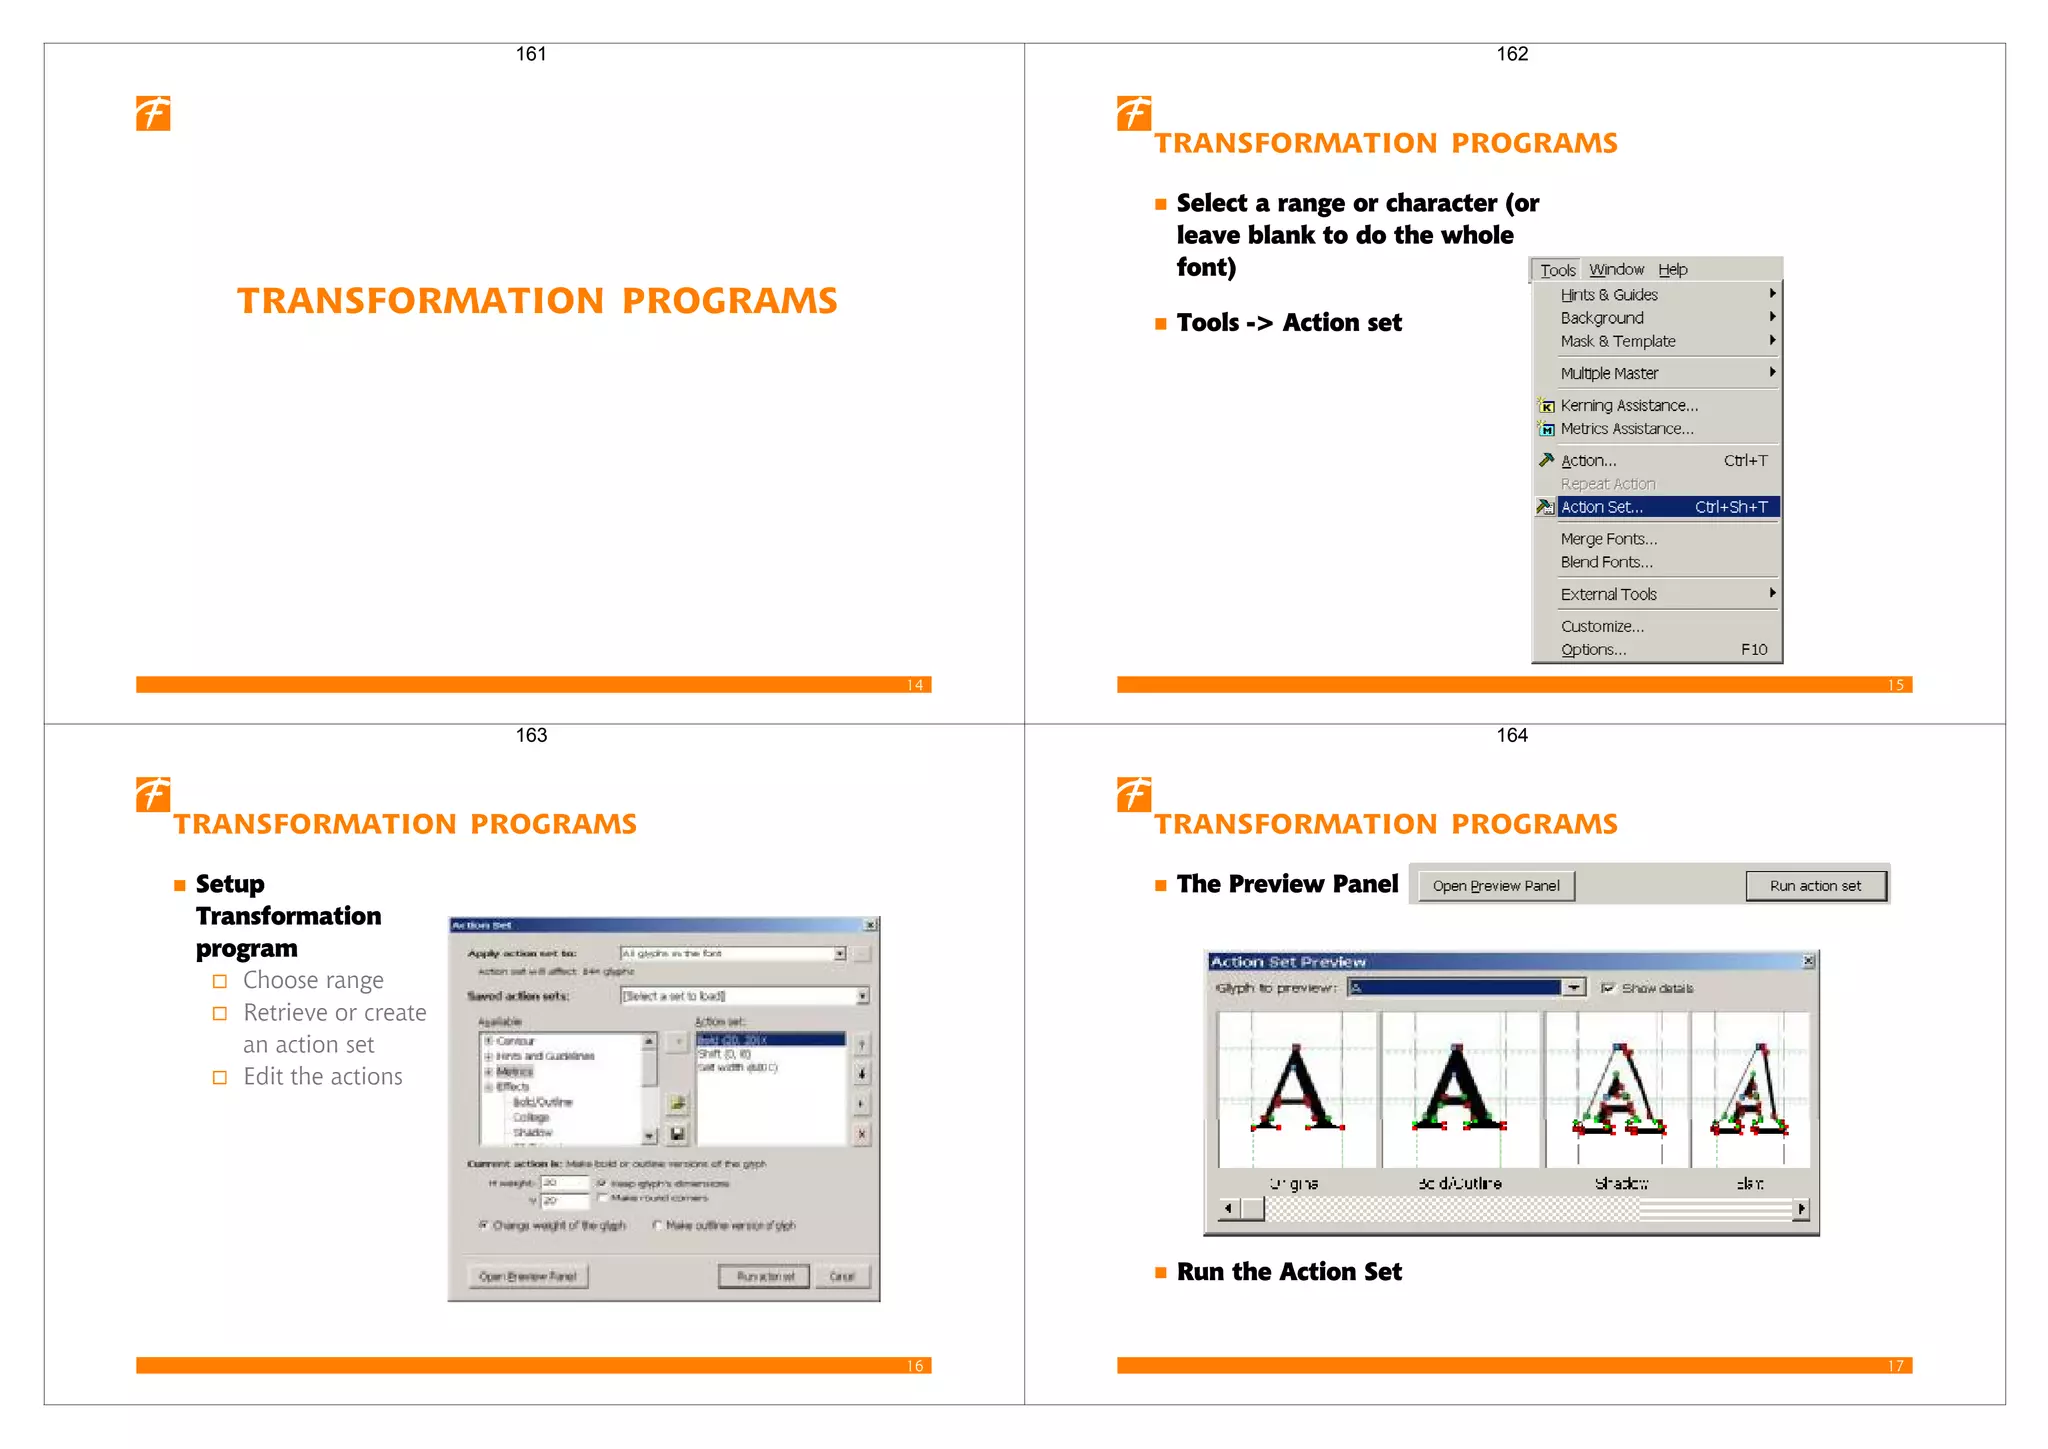
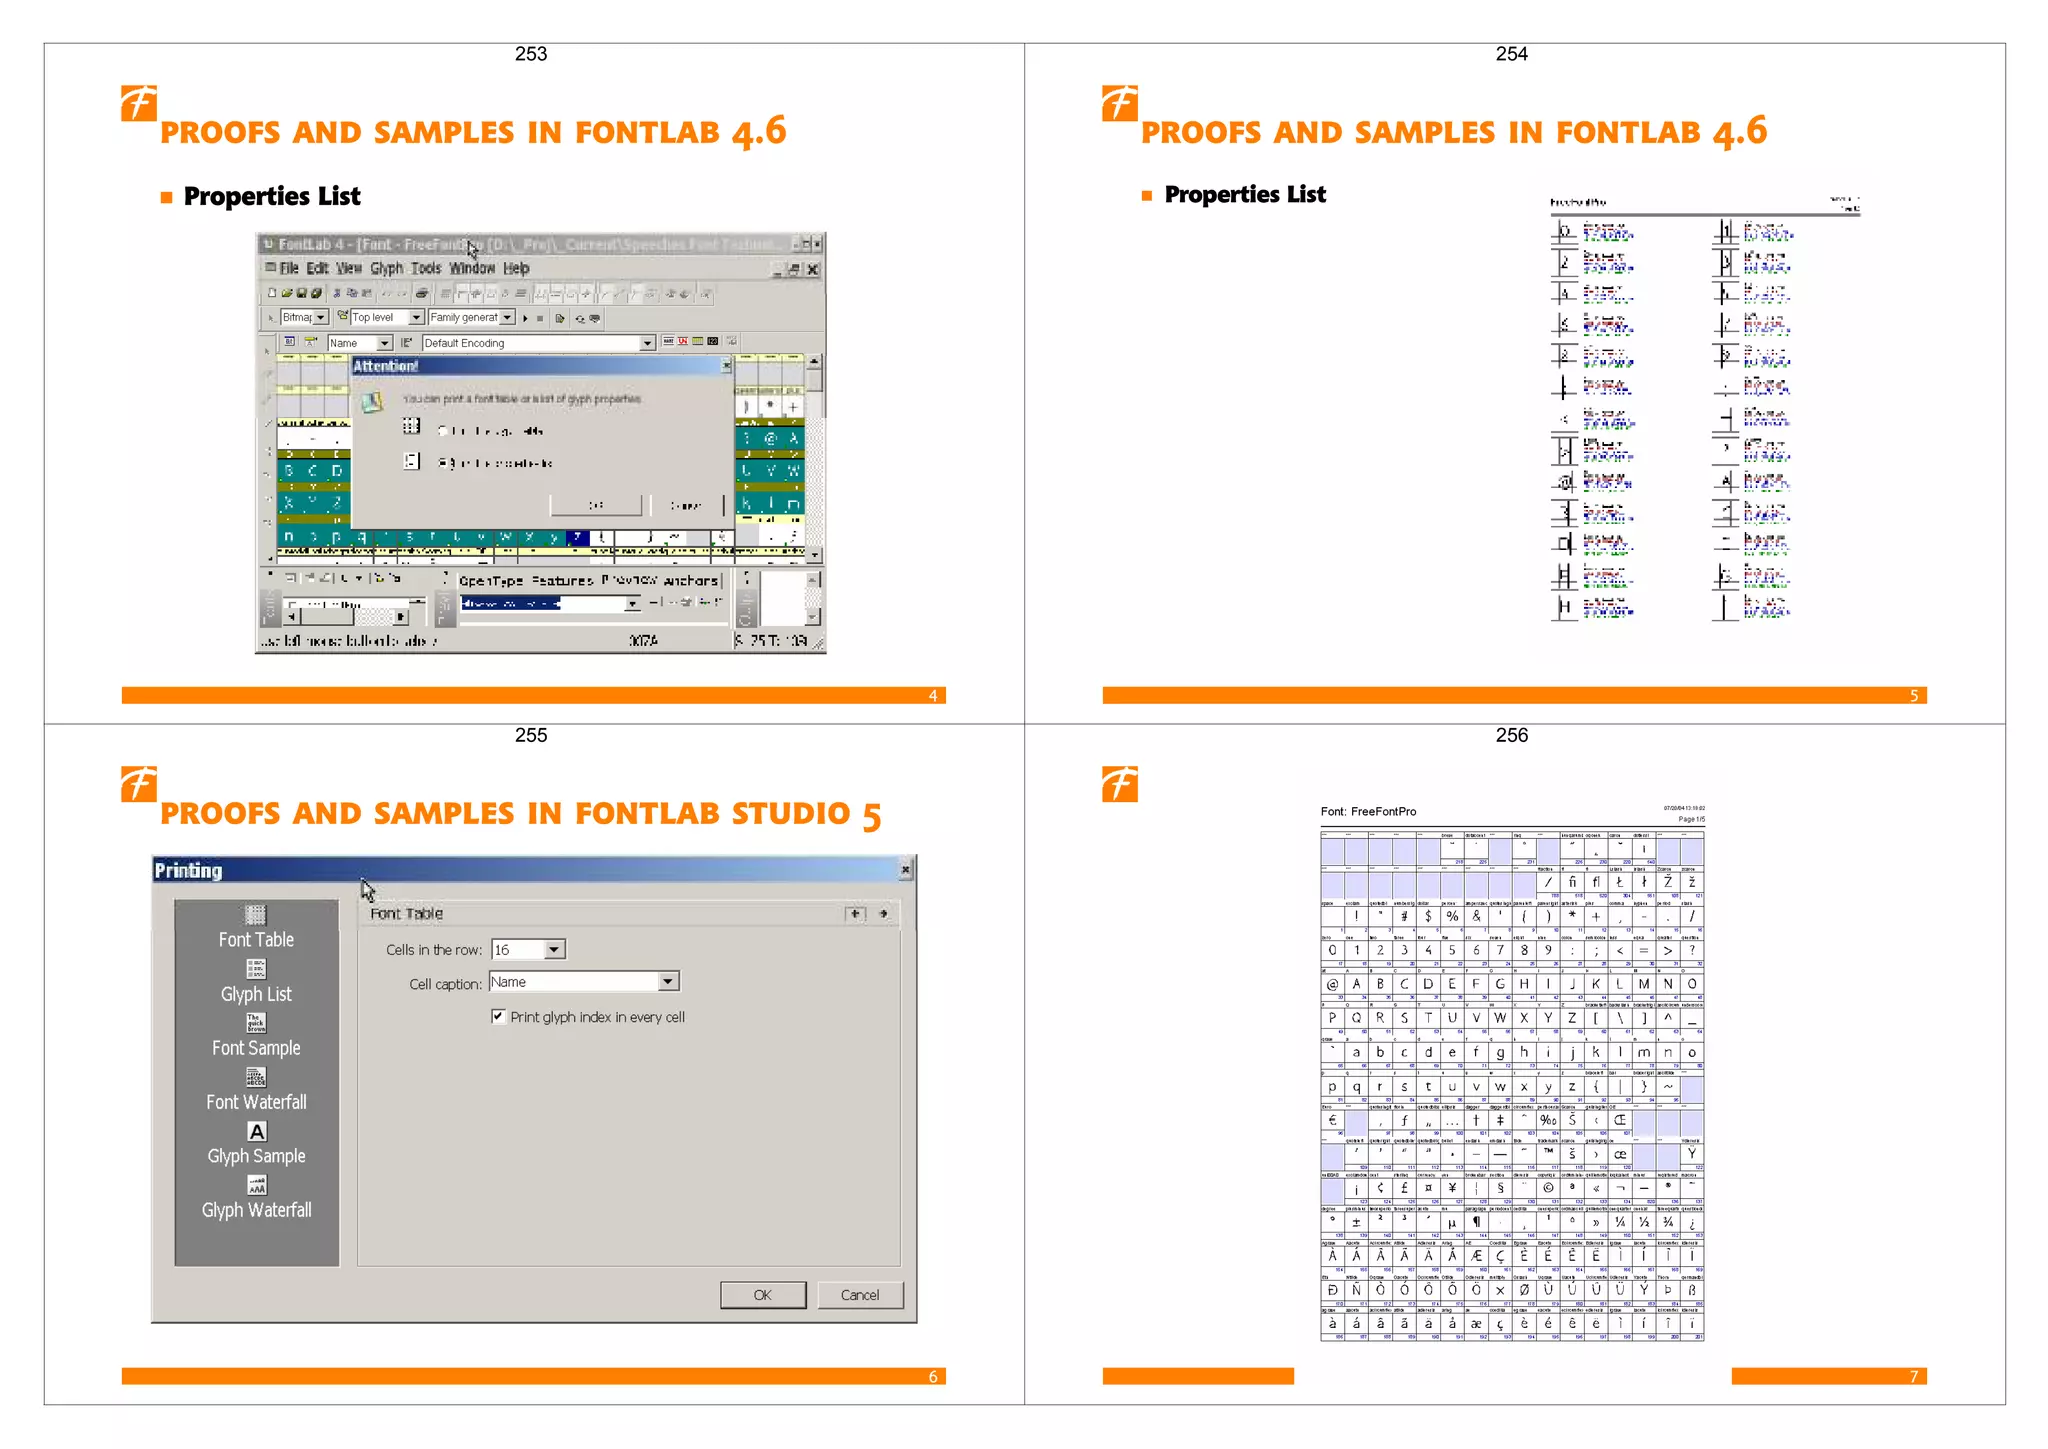
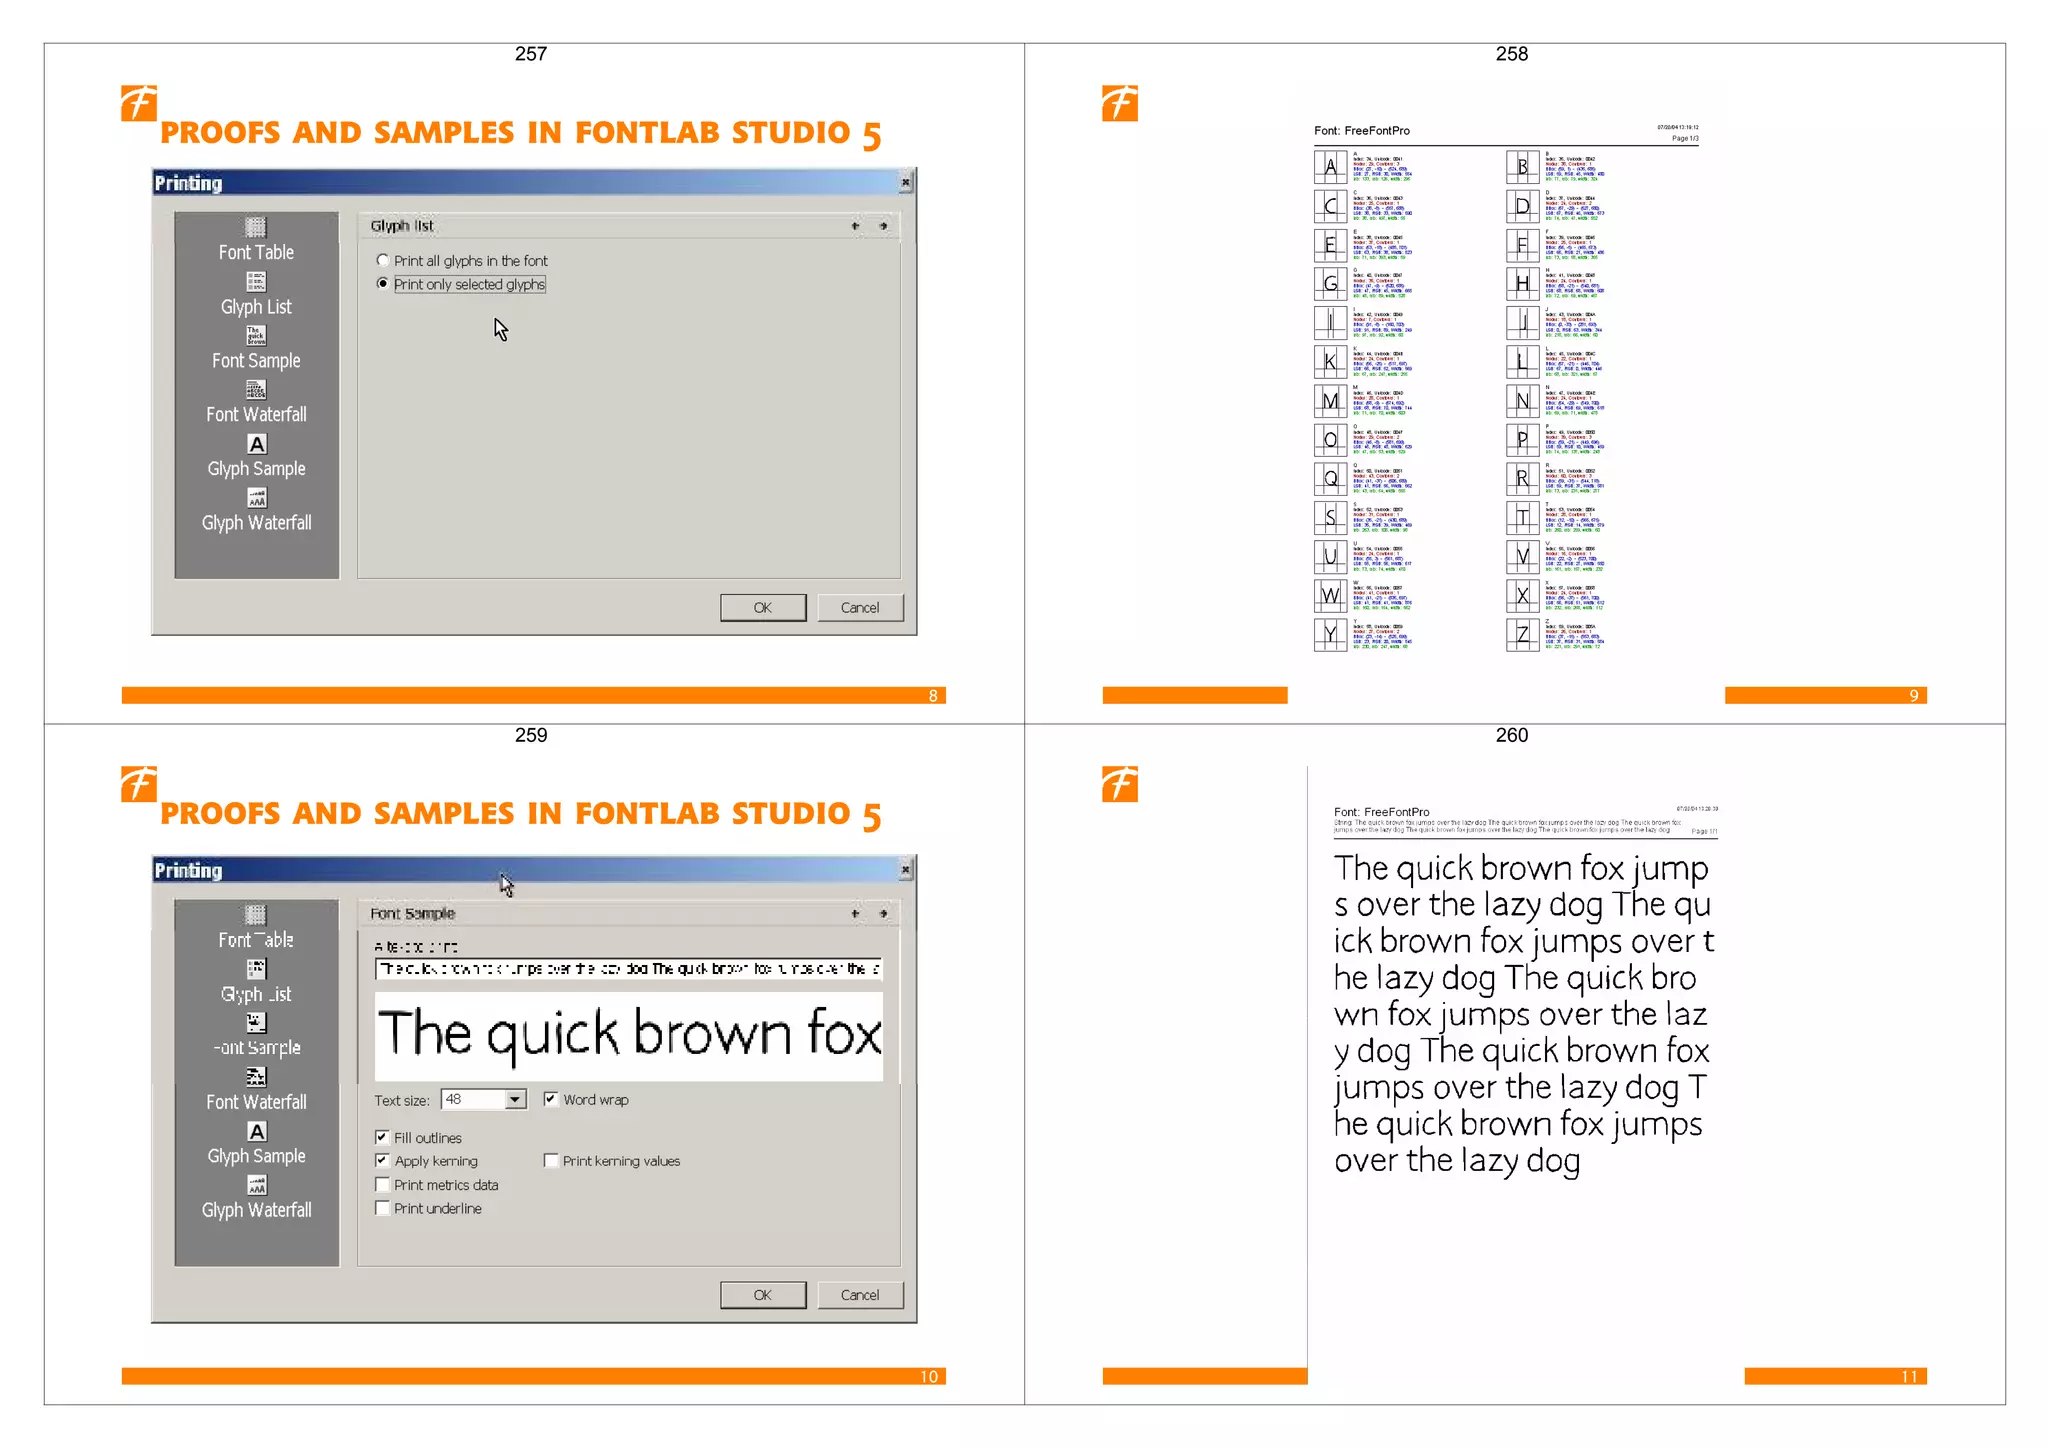
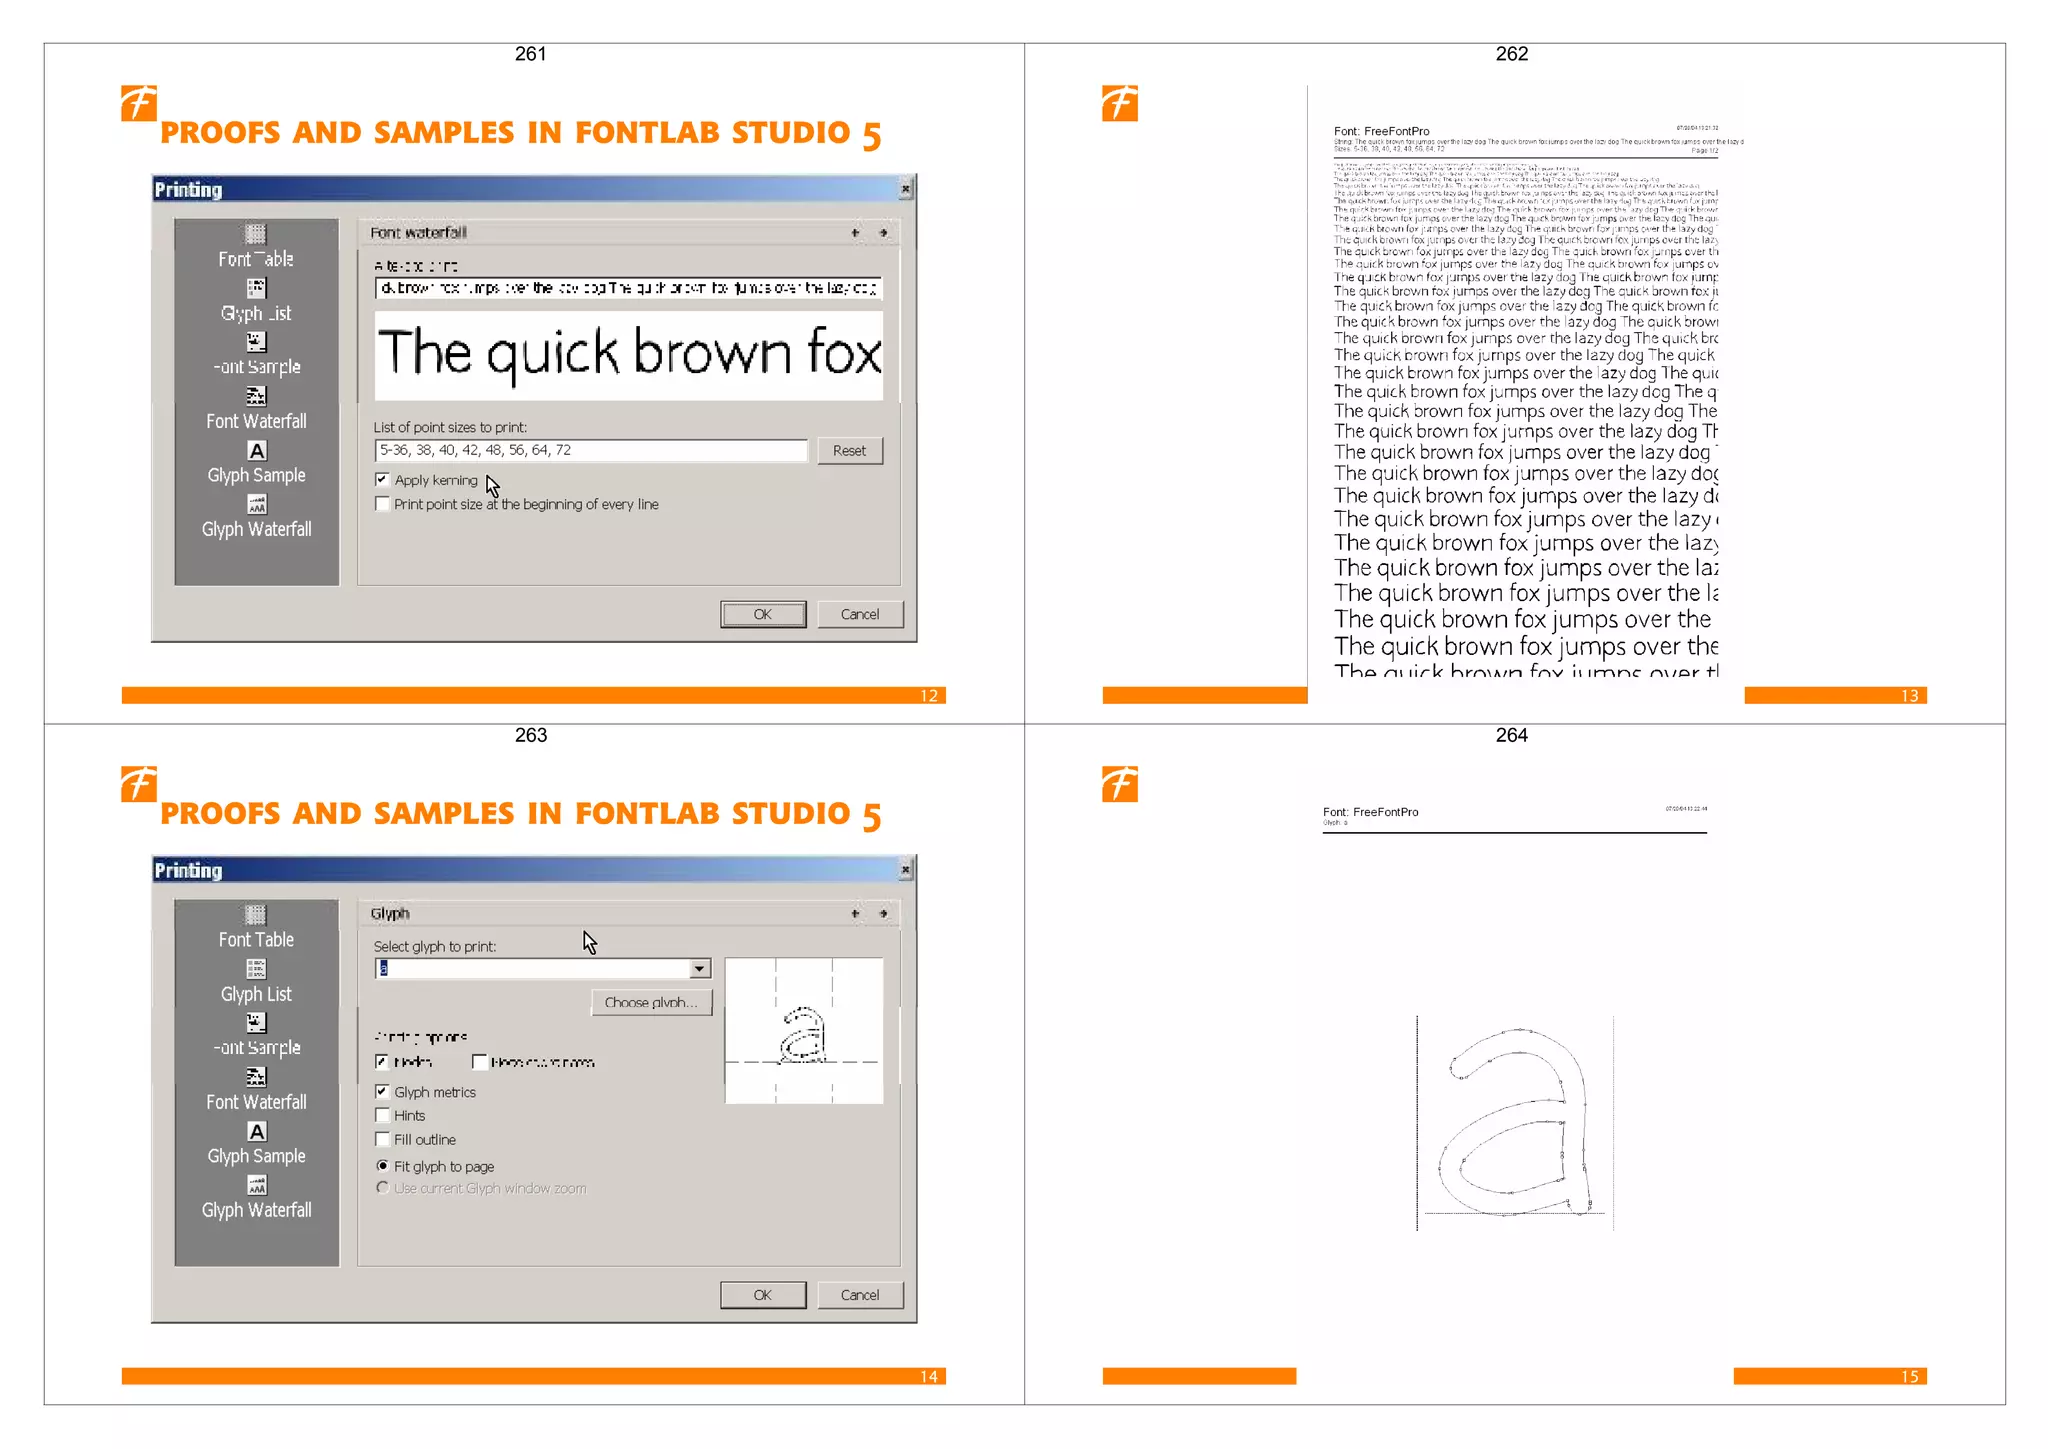
This document provides an overview of basic FontLab Studio interface and tools for editing glyphs, contours, nodes and performing transformations. Guidelines, layers and hints can be used to aid in


![FontLab Studio Full Crack + Serial Number Latest [2025] PDF](https://cdn.slidesharecdn.com/ss_thumbnails/fontlabpresentation-250715040005-774e0ca4-thumbnail.jpg?width=640&height=640&fit=bounds)


