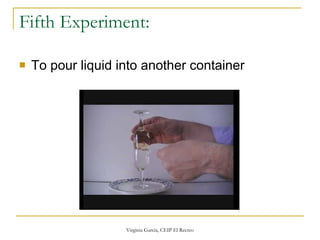
The document describes 5 science experiments that students can conduct to learn about various scientific concepts:
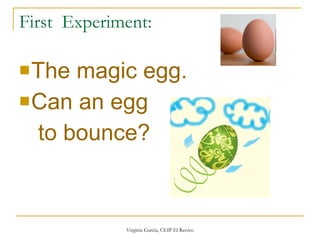
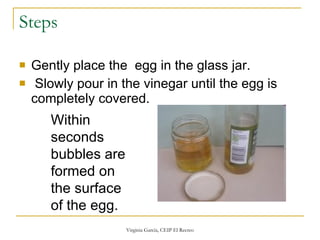
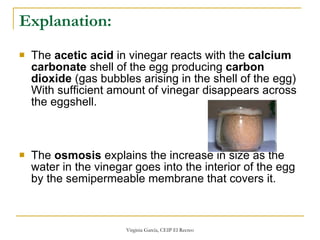
1. The first experiment uses vinegar and eggs to demonstrate how the calcium carbonate in eggshells reacts with acetic acid in vinegar.
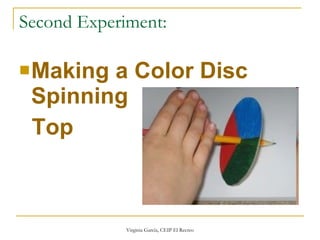
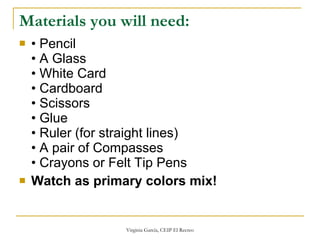
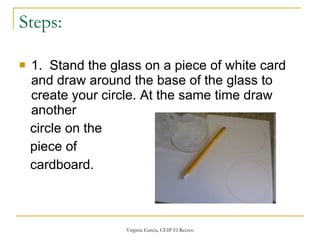
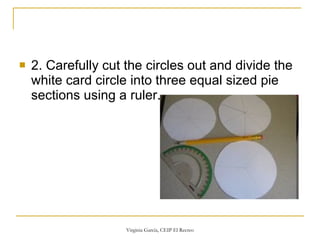
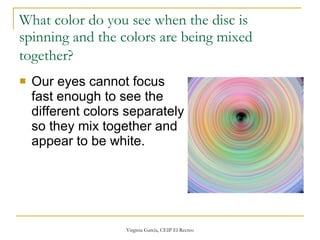
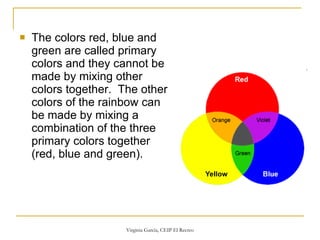
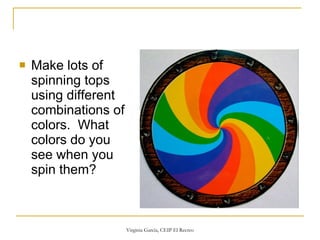
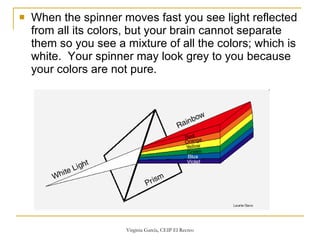
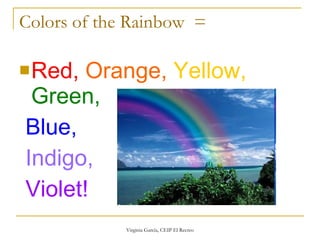
2. The second experiment involves creating a color spinning top to show how primary colors mix together and appear white when spun rapidly.
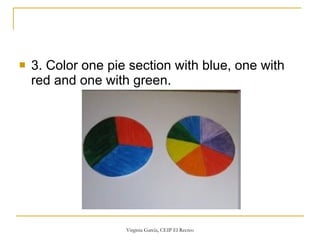
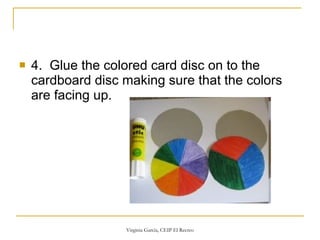
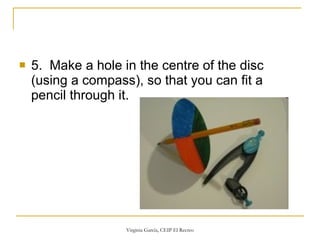
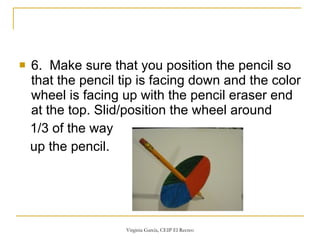
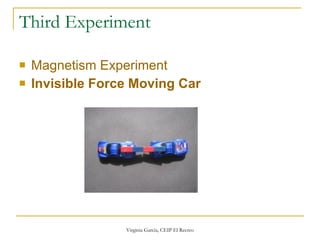
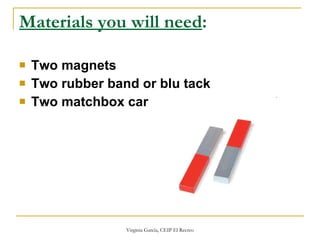
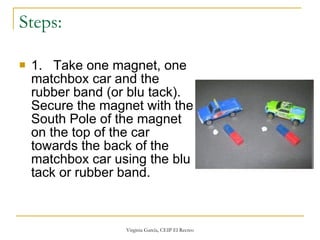
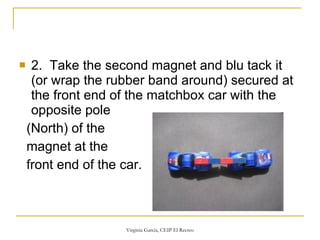
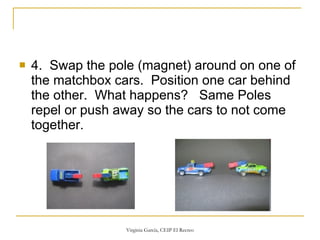
3. The third experiment uses magnets and toy cars to show the attraction and repulsion of opposite and similar magnetic poles.
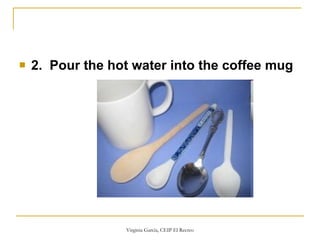
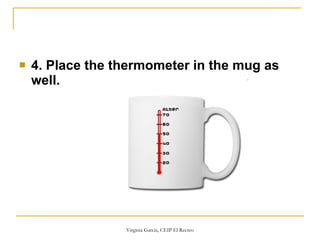
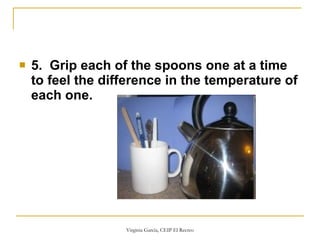
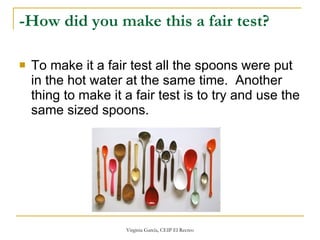
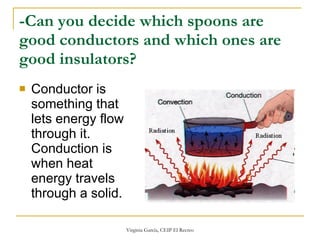
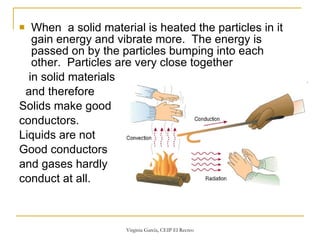
4. The fourth experiment tests the conduction of heat through different materials like wood, plastic and metal spoons.
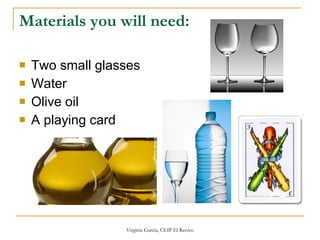
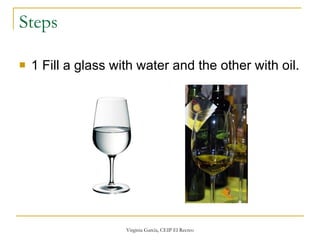
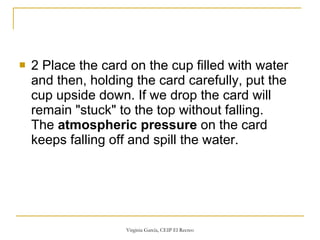
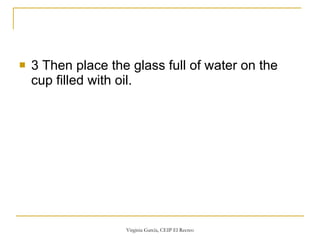
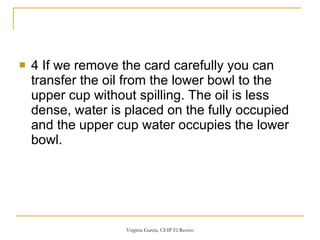
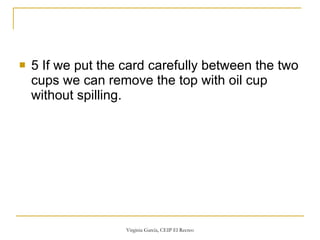
5. The fifth experiment transfers oil between cups using a playing card to demonstrate differences in density