Download to read offline

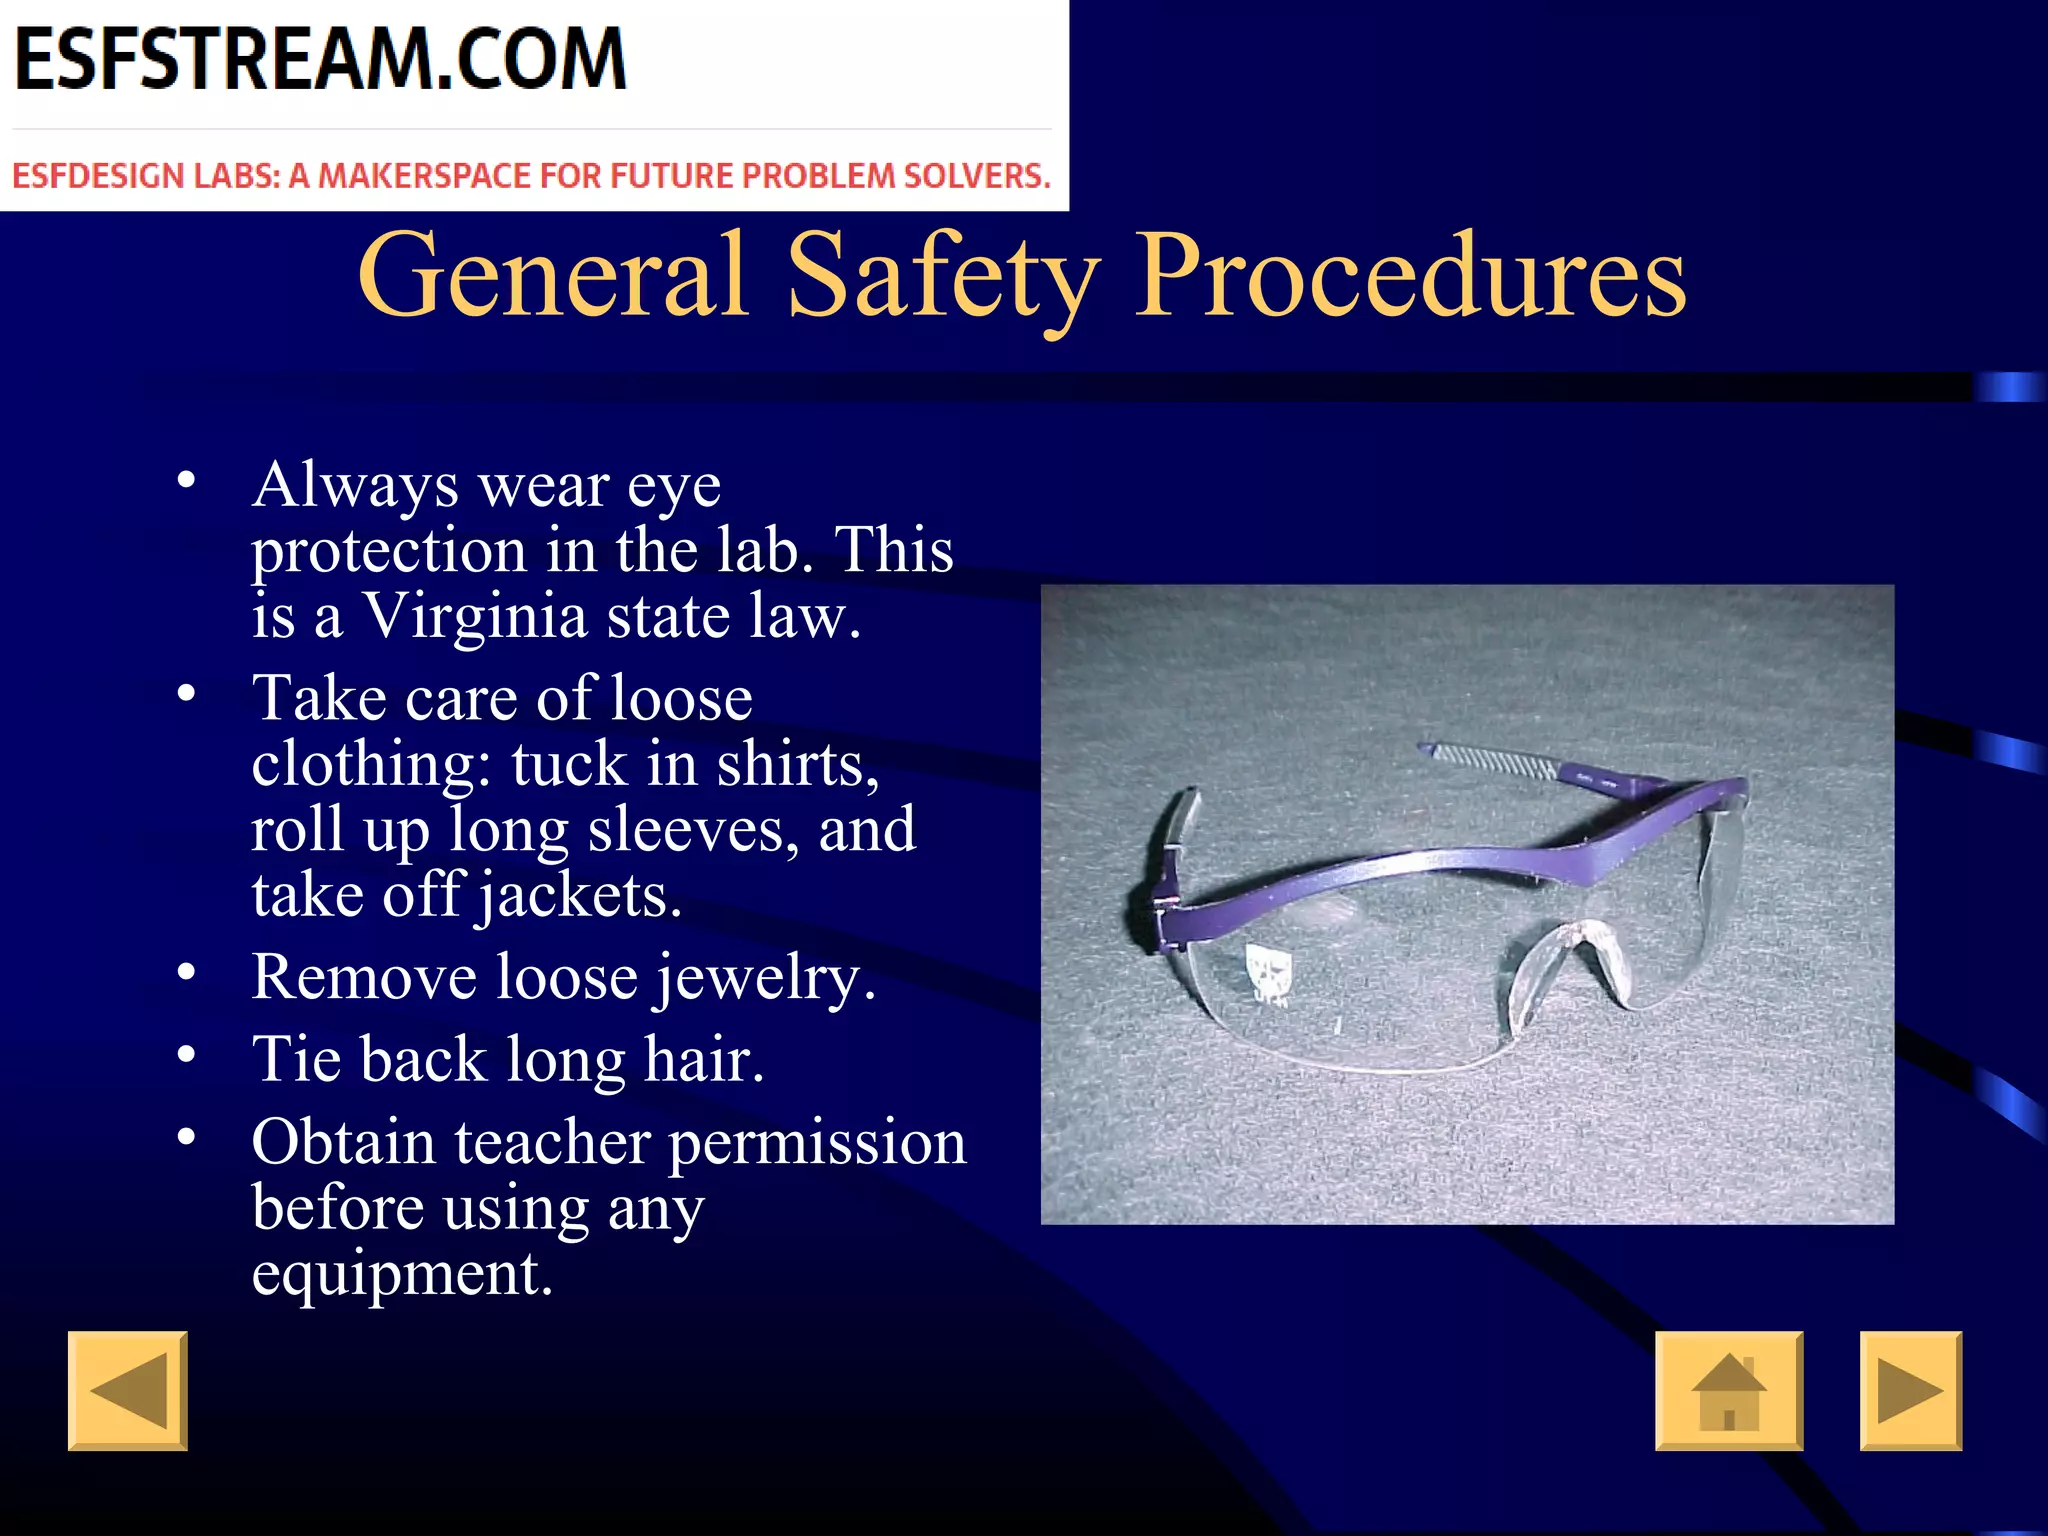
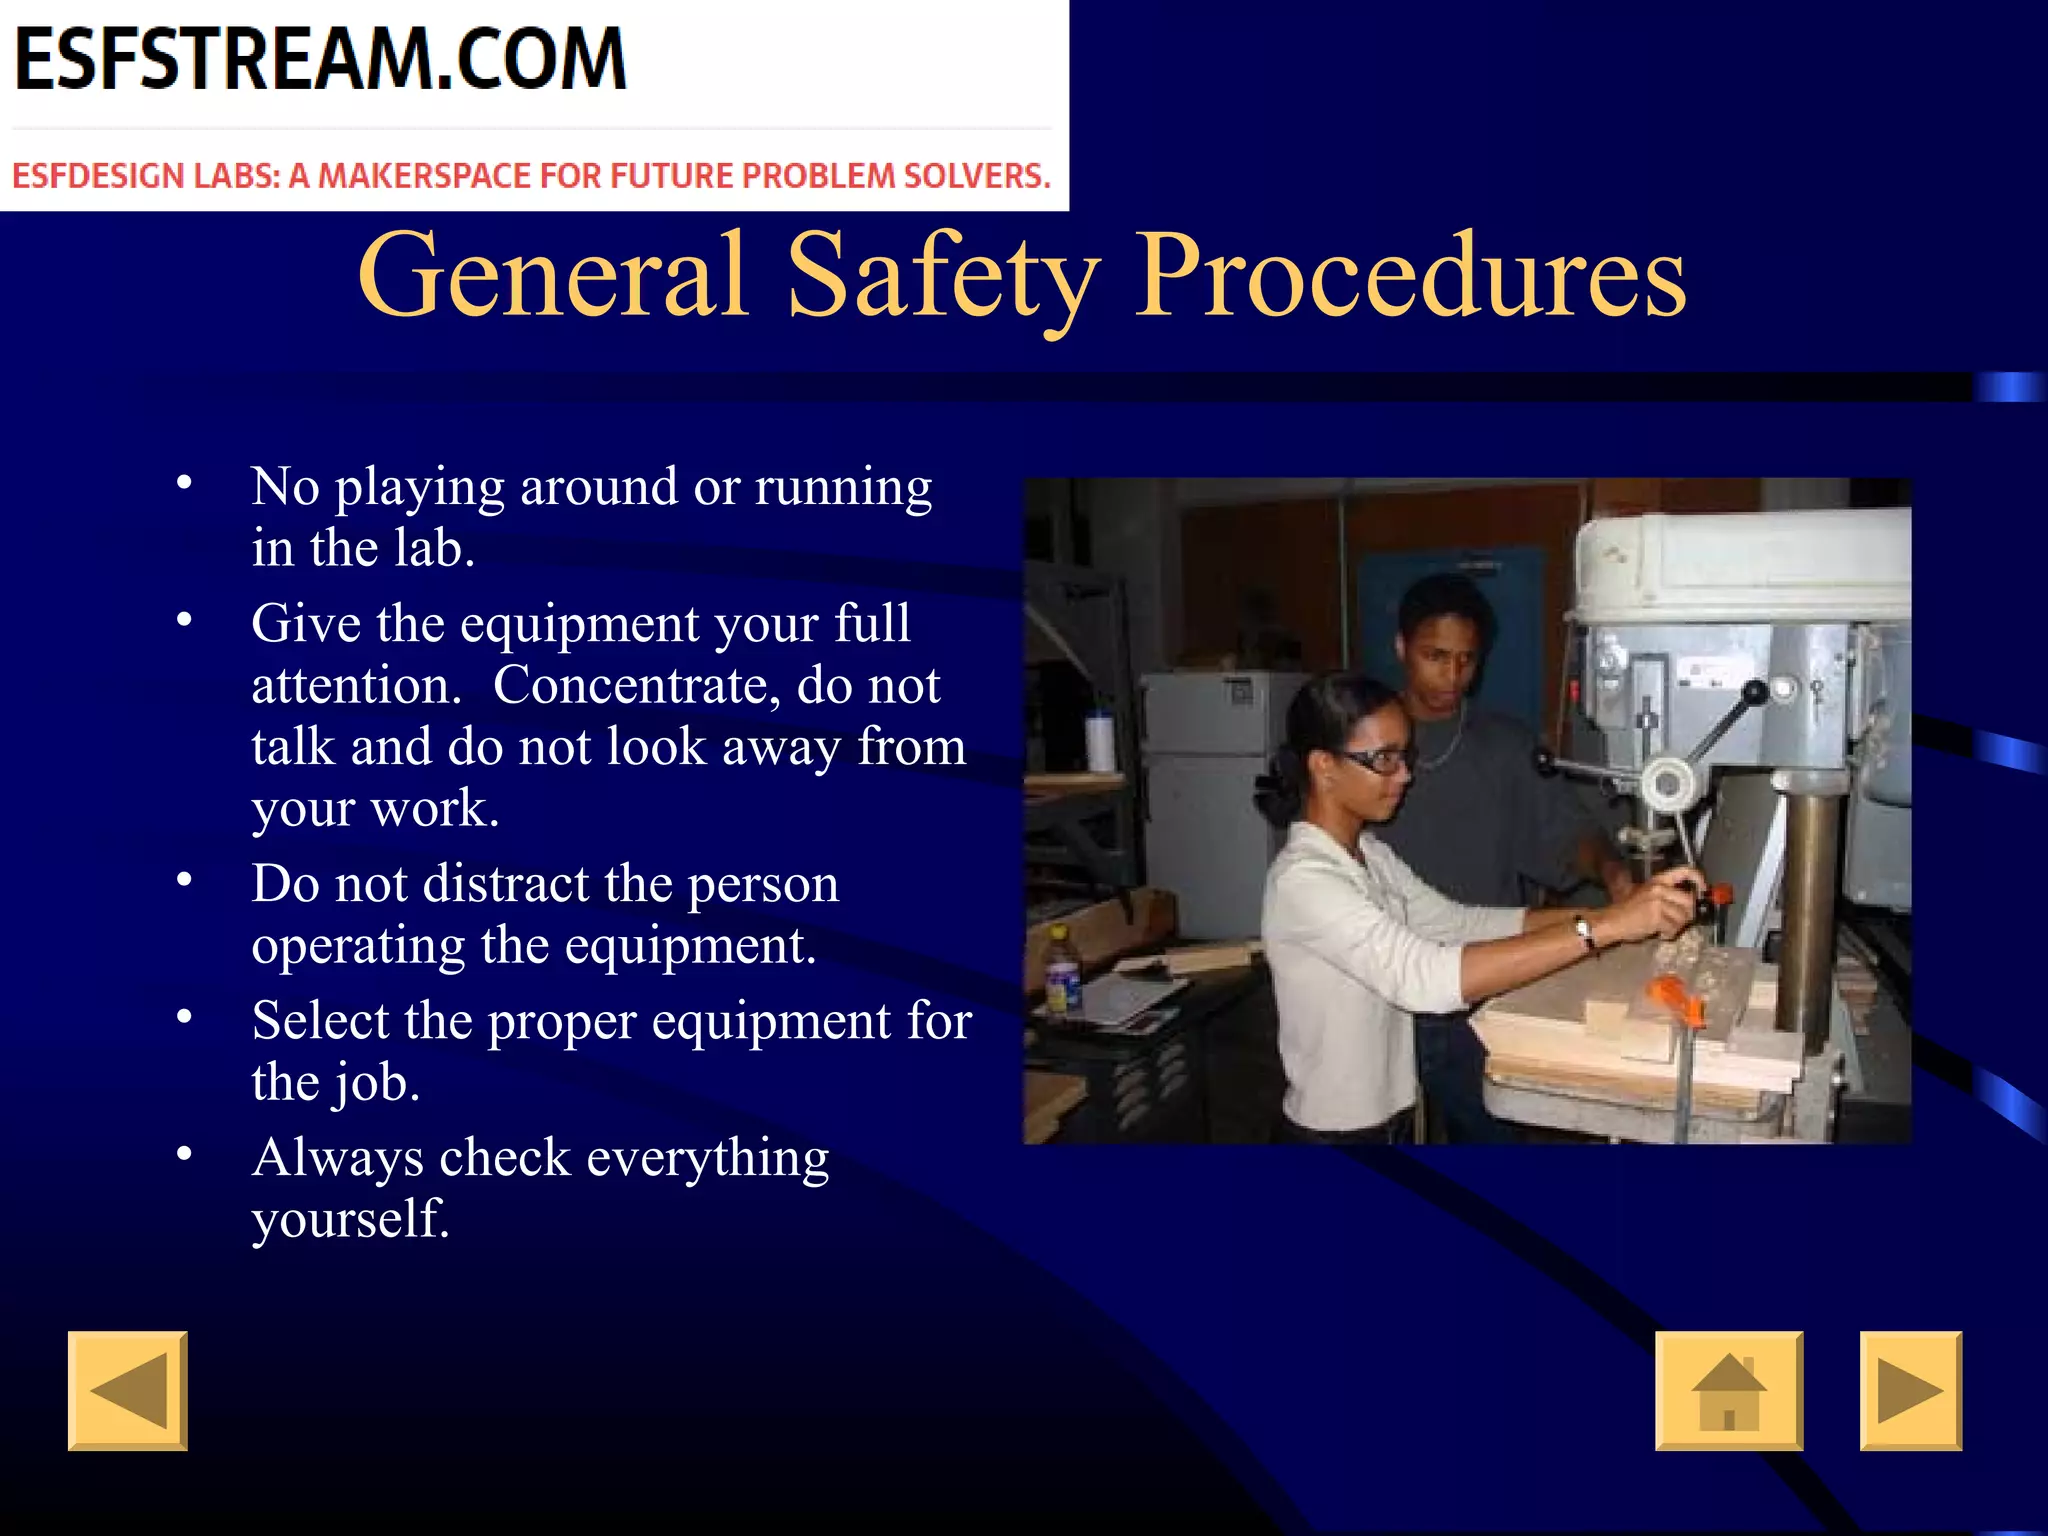
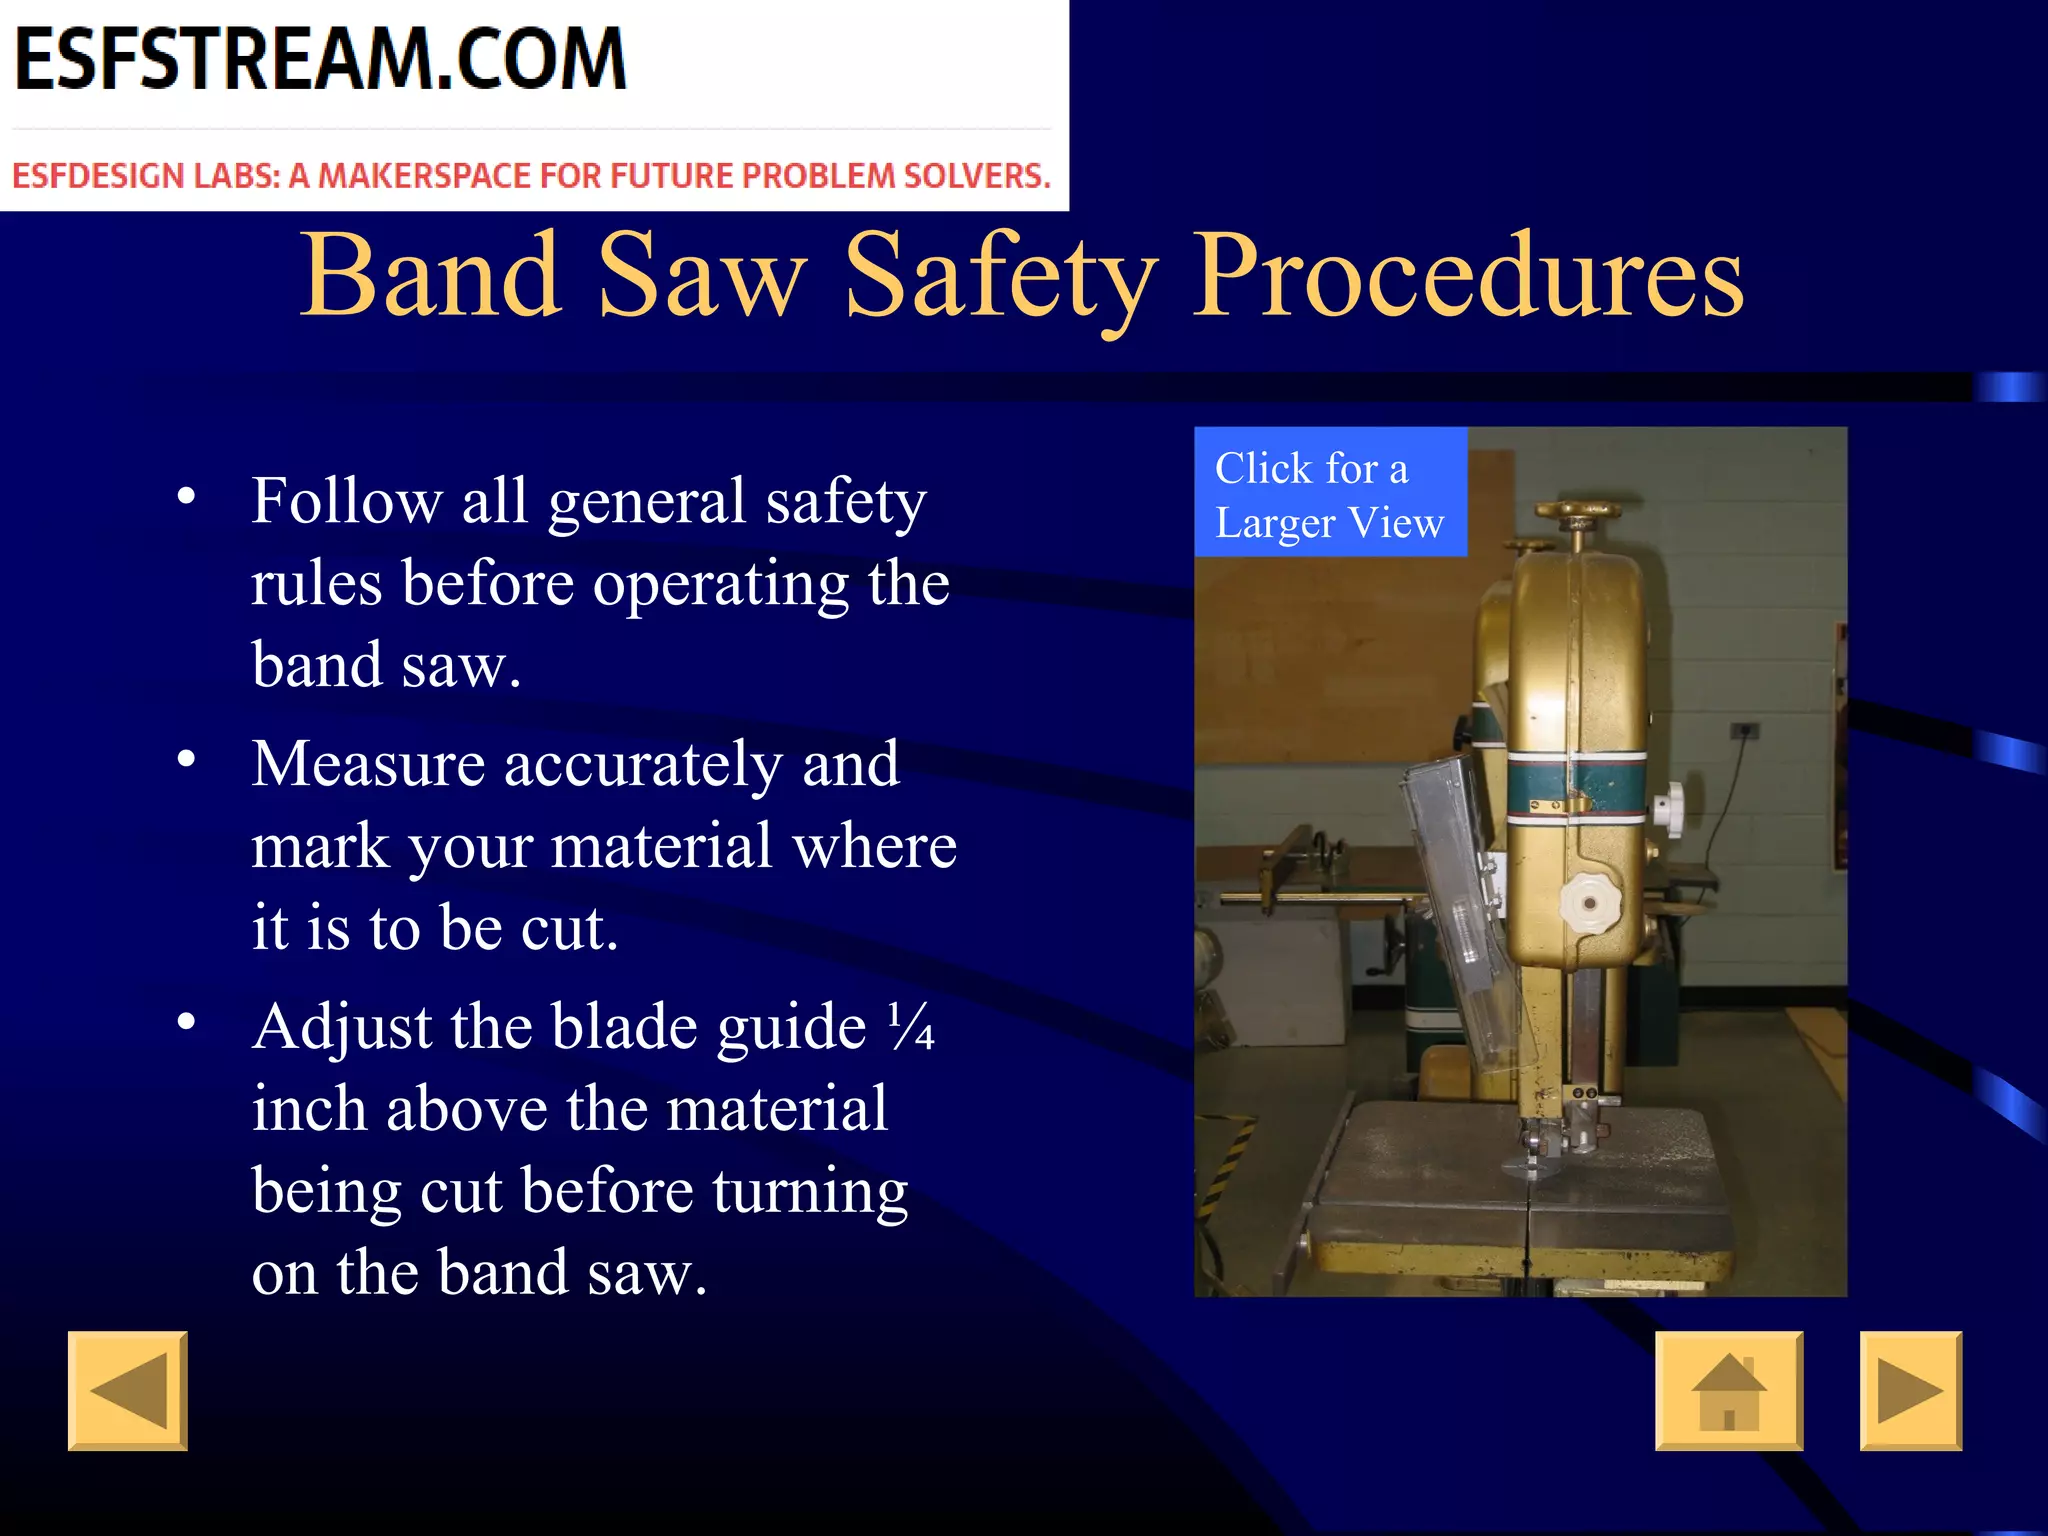

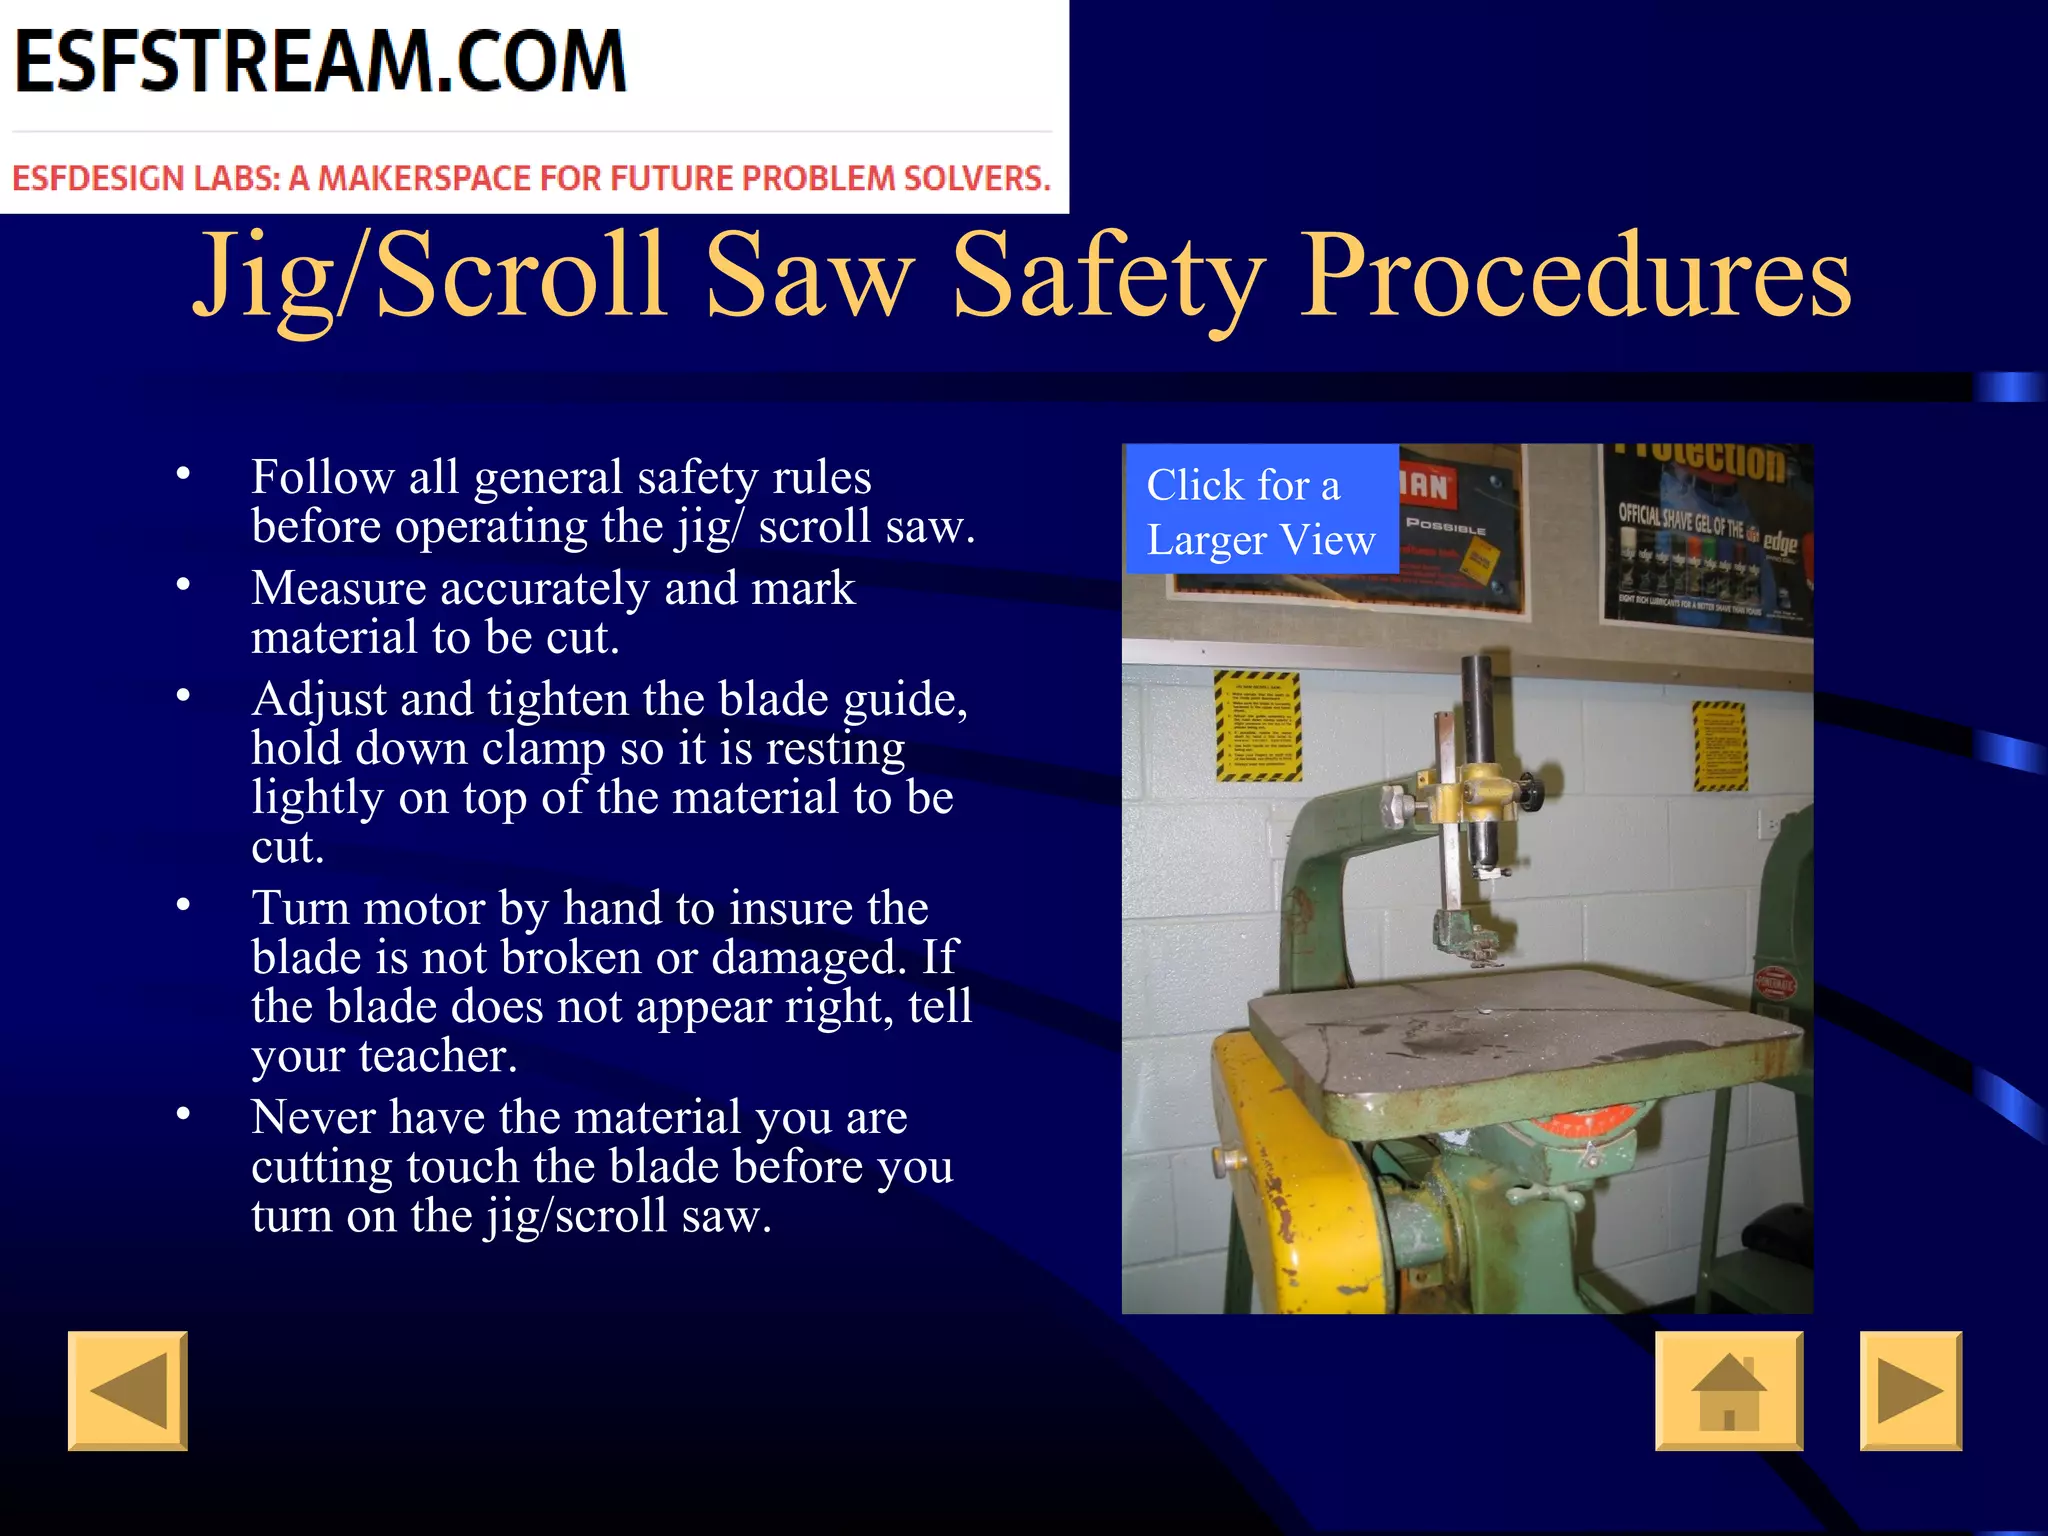

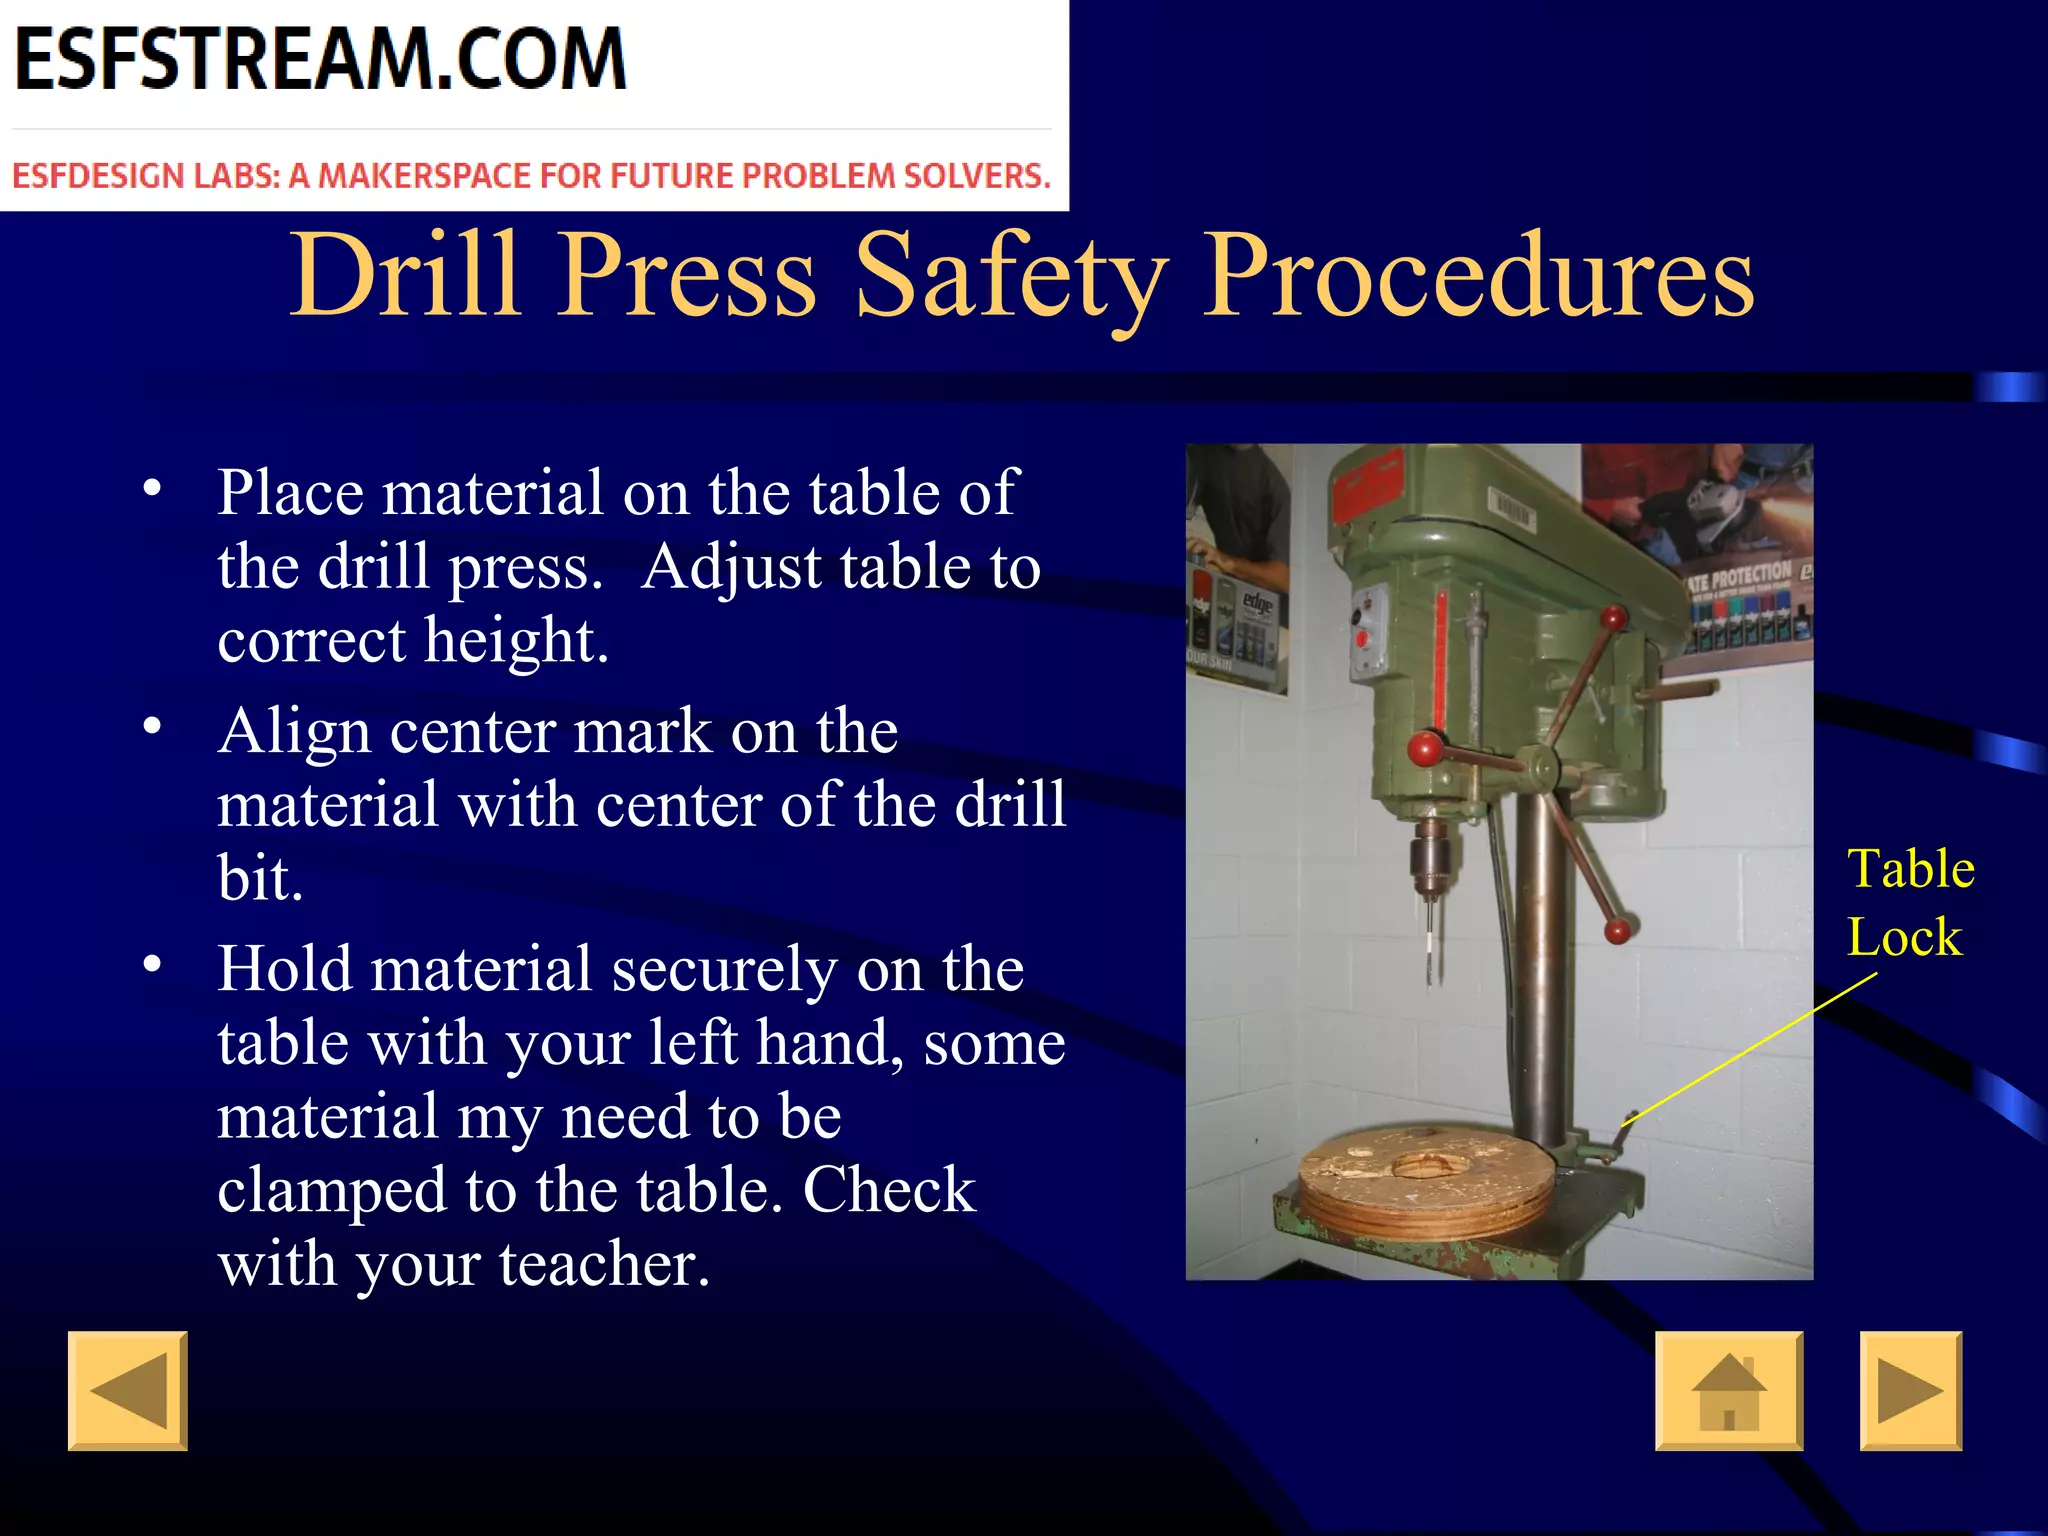
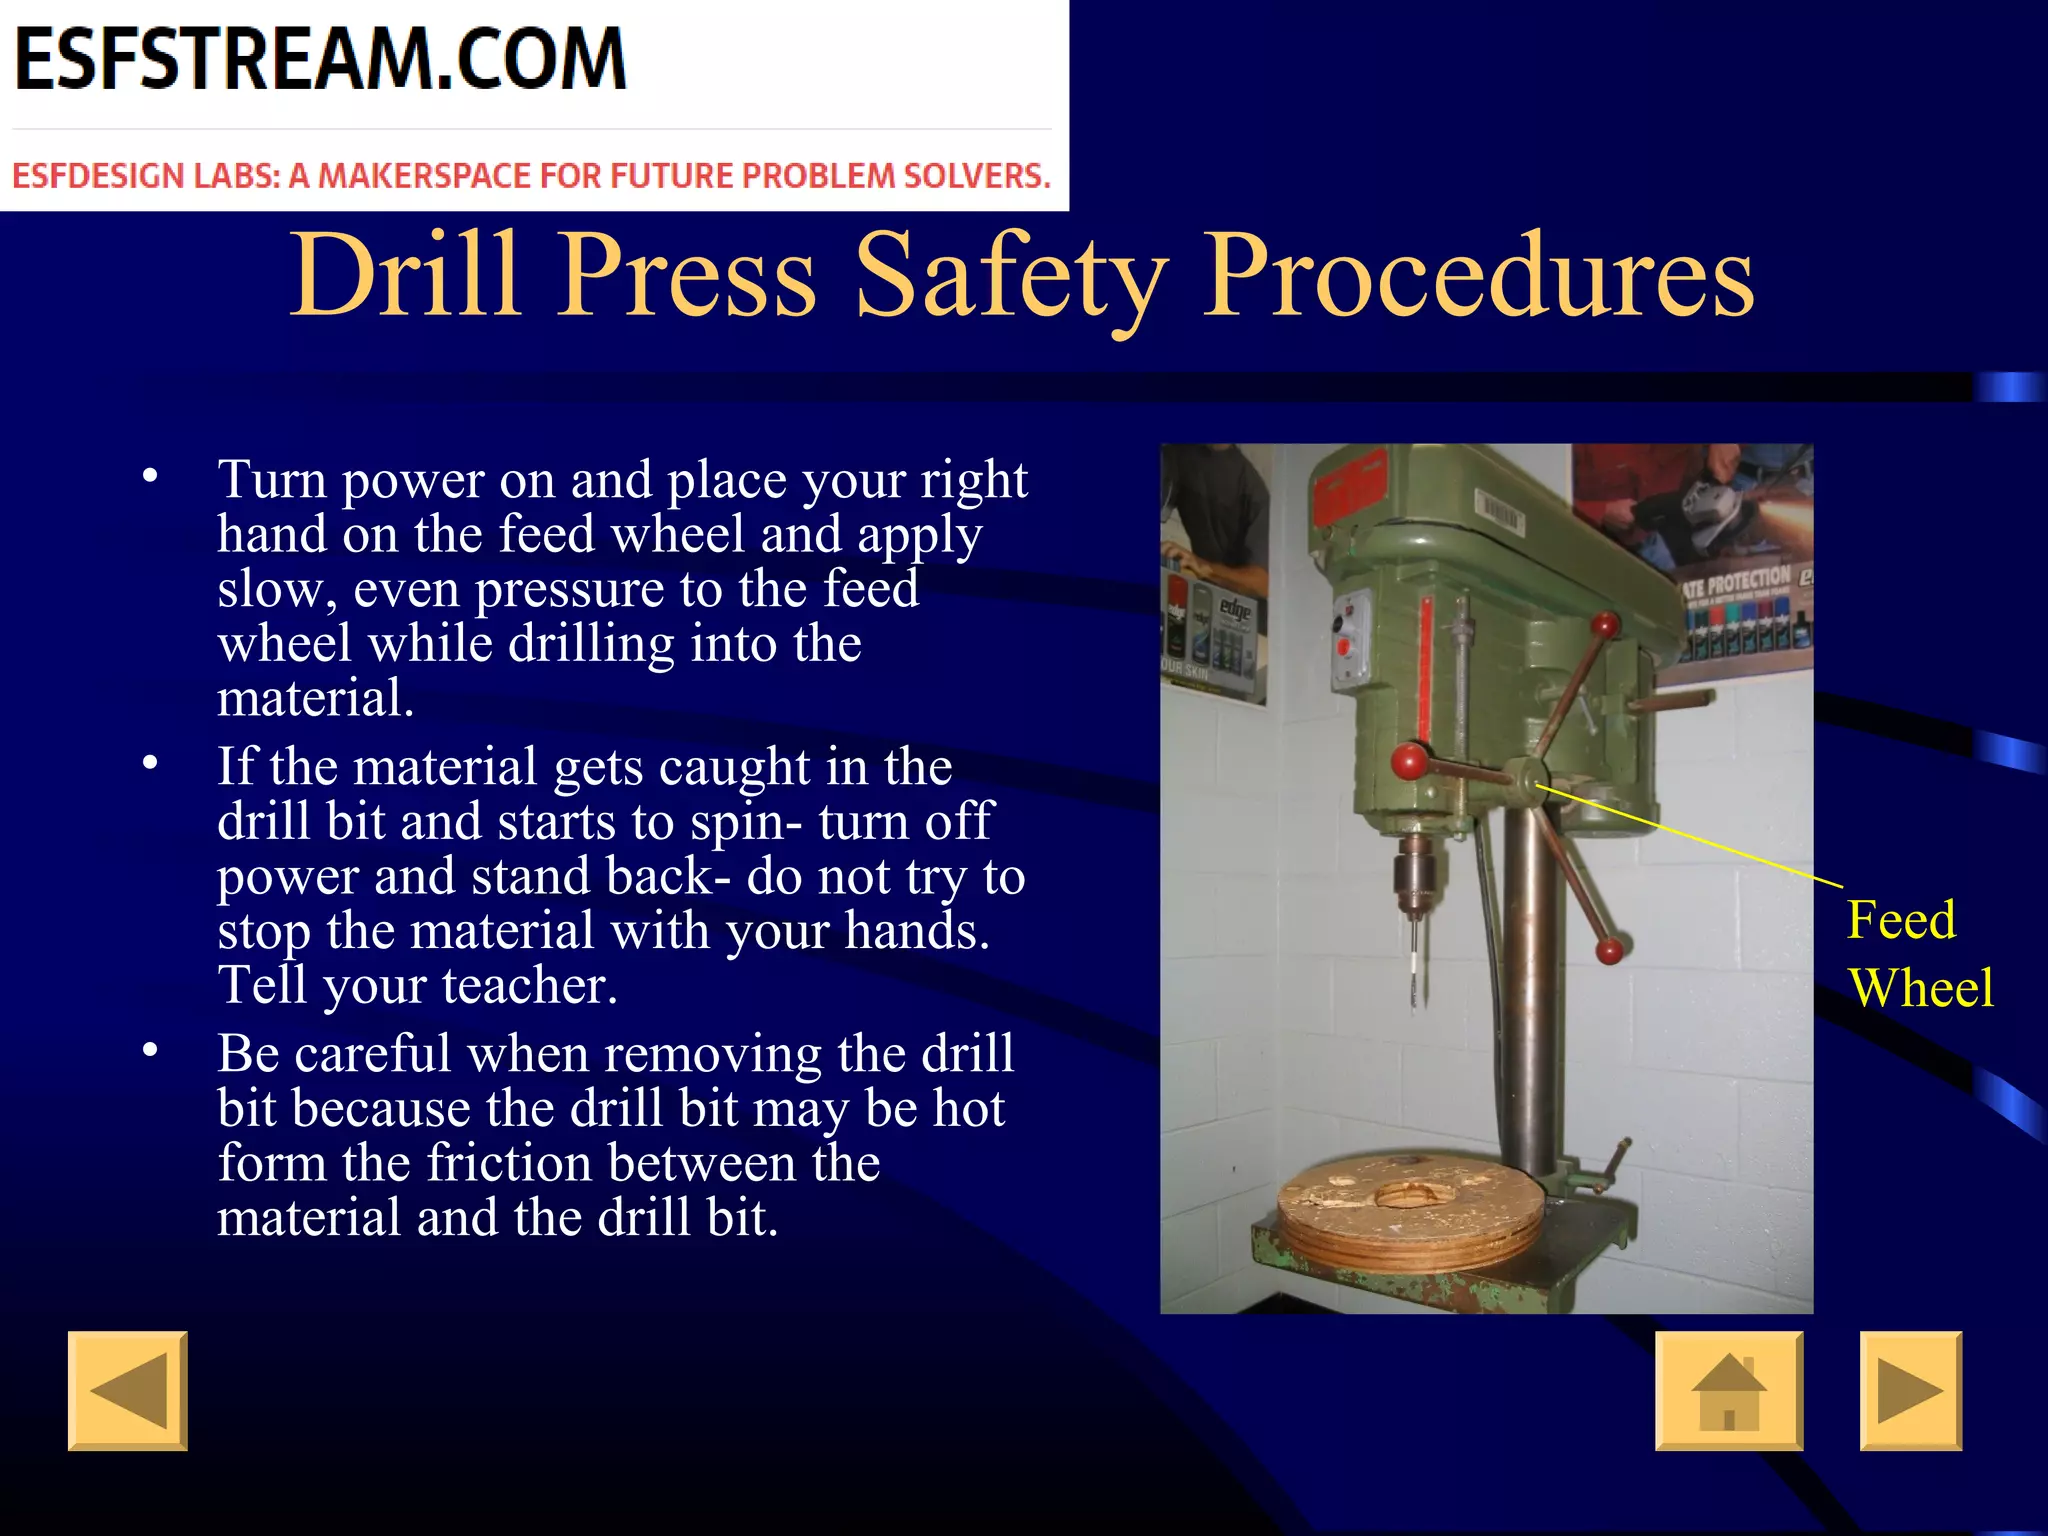
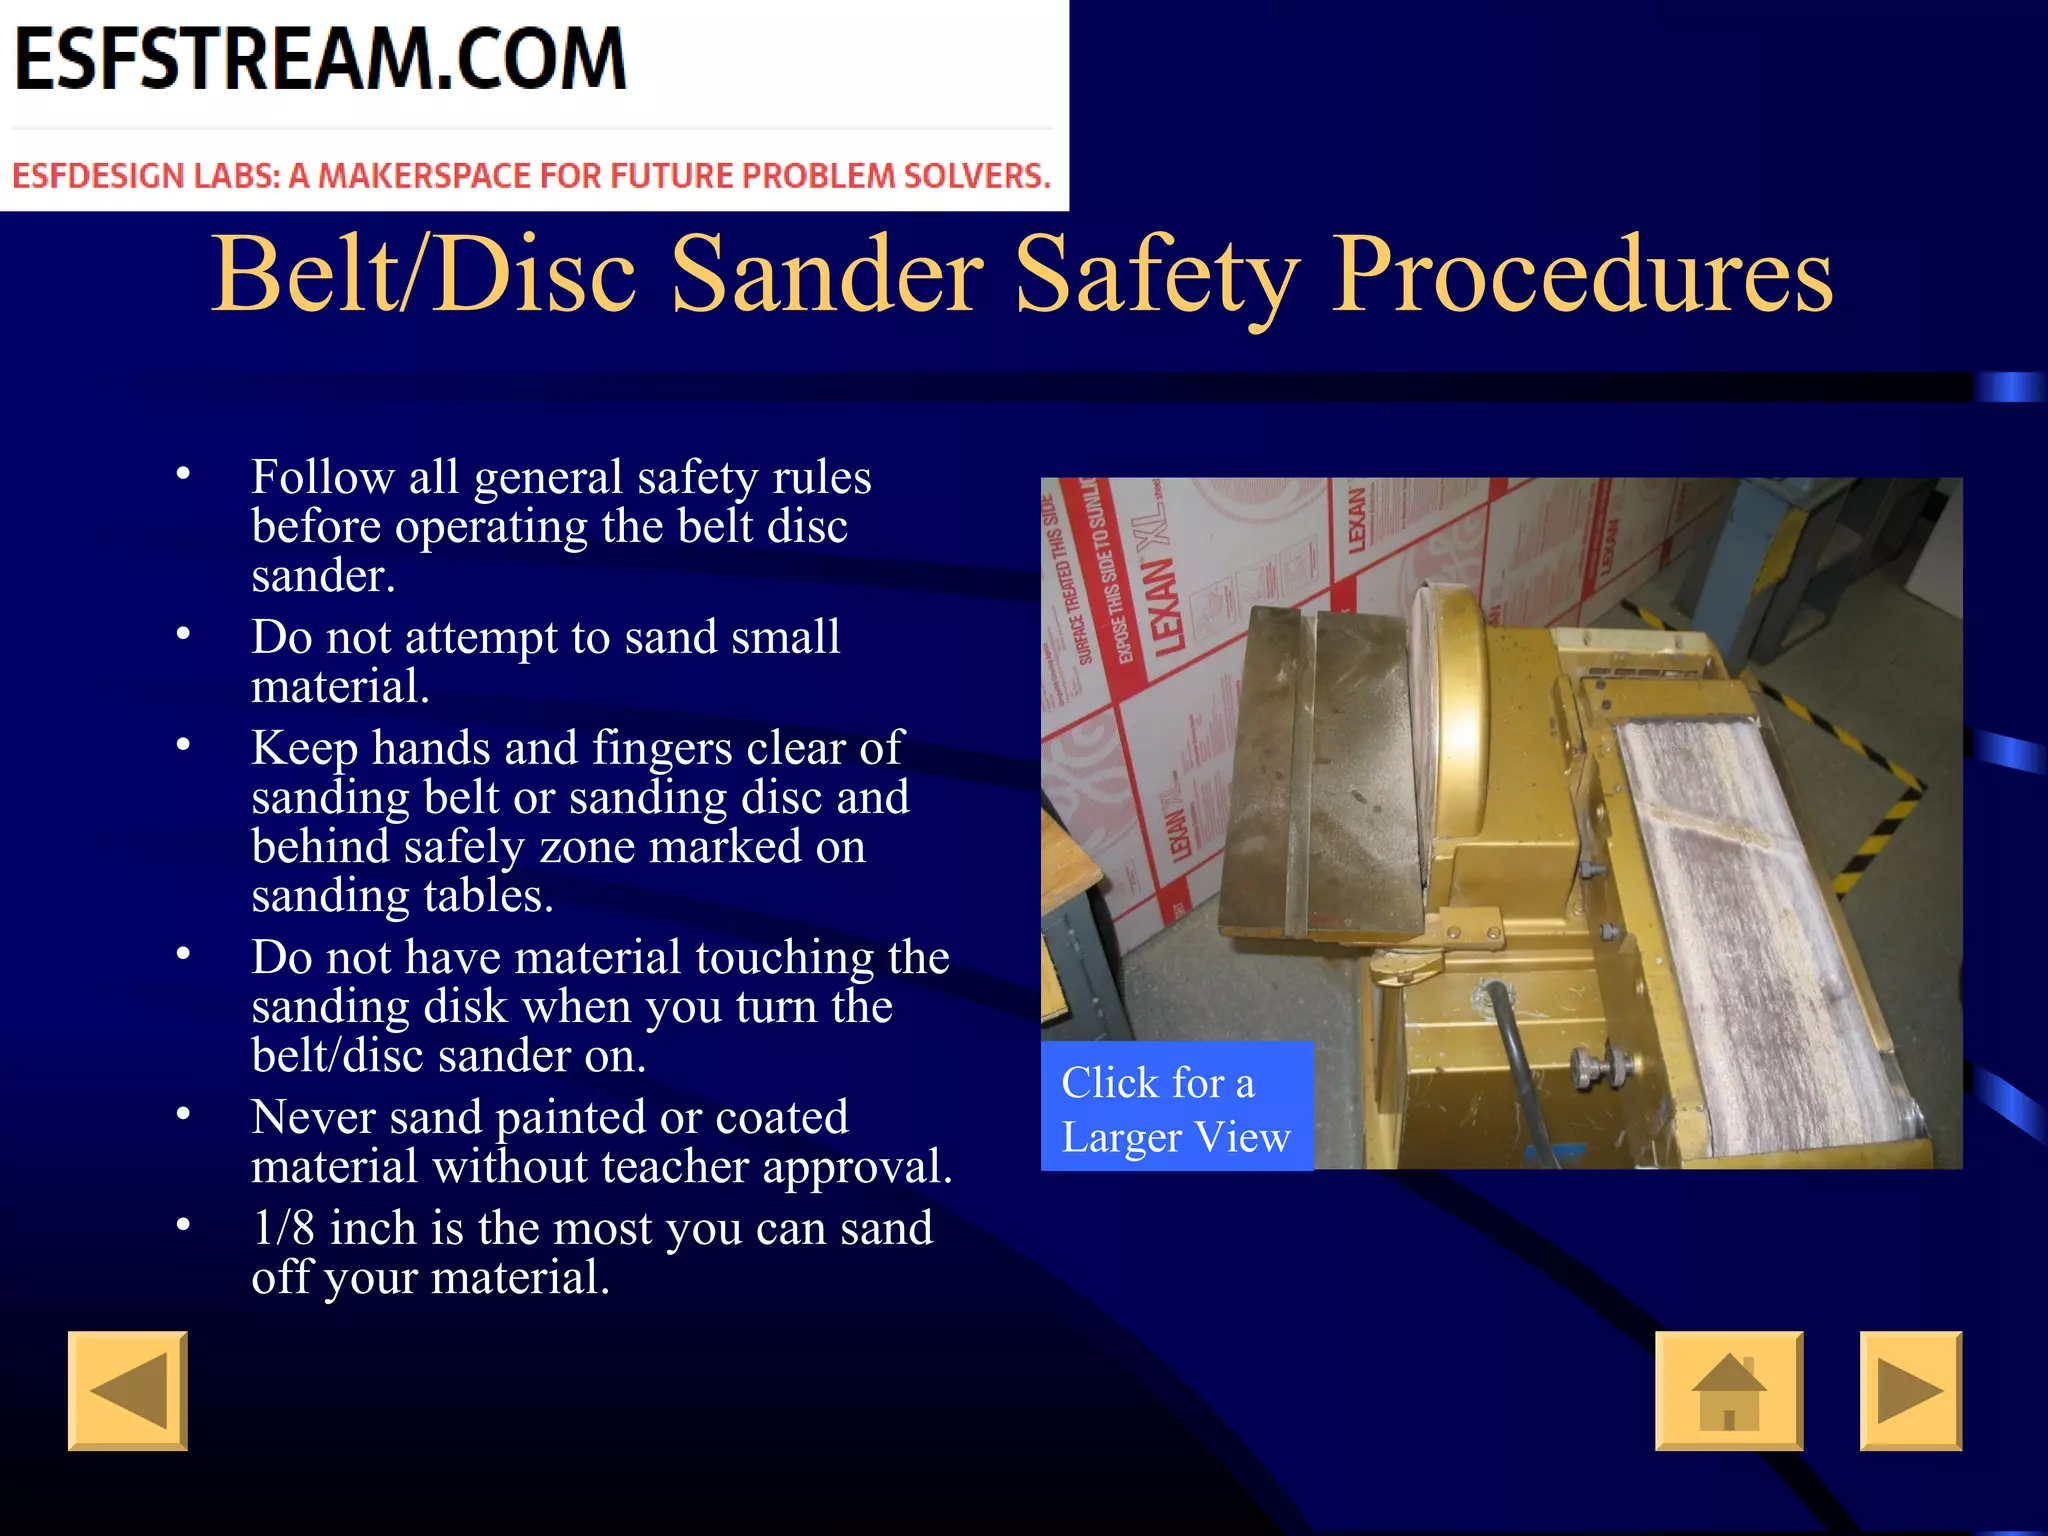

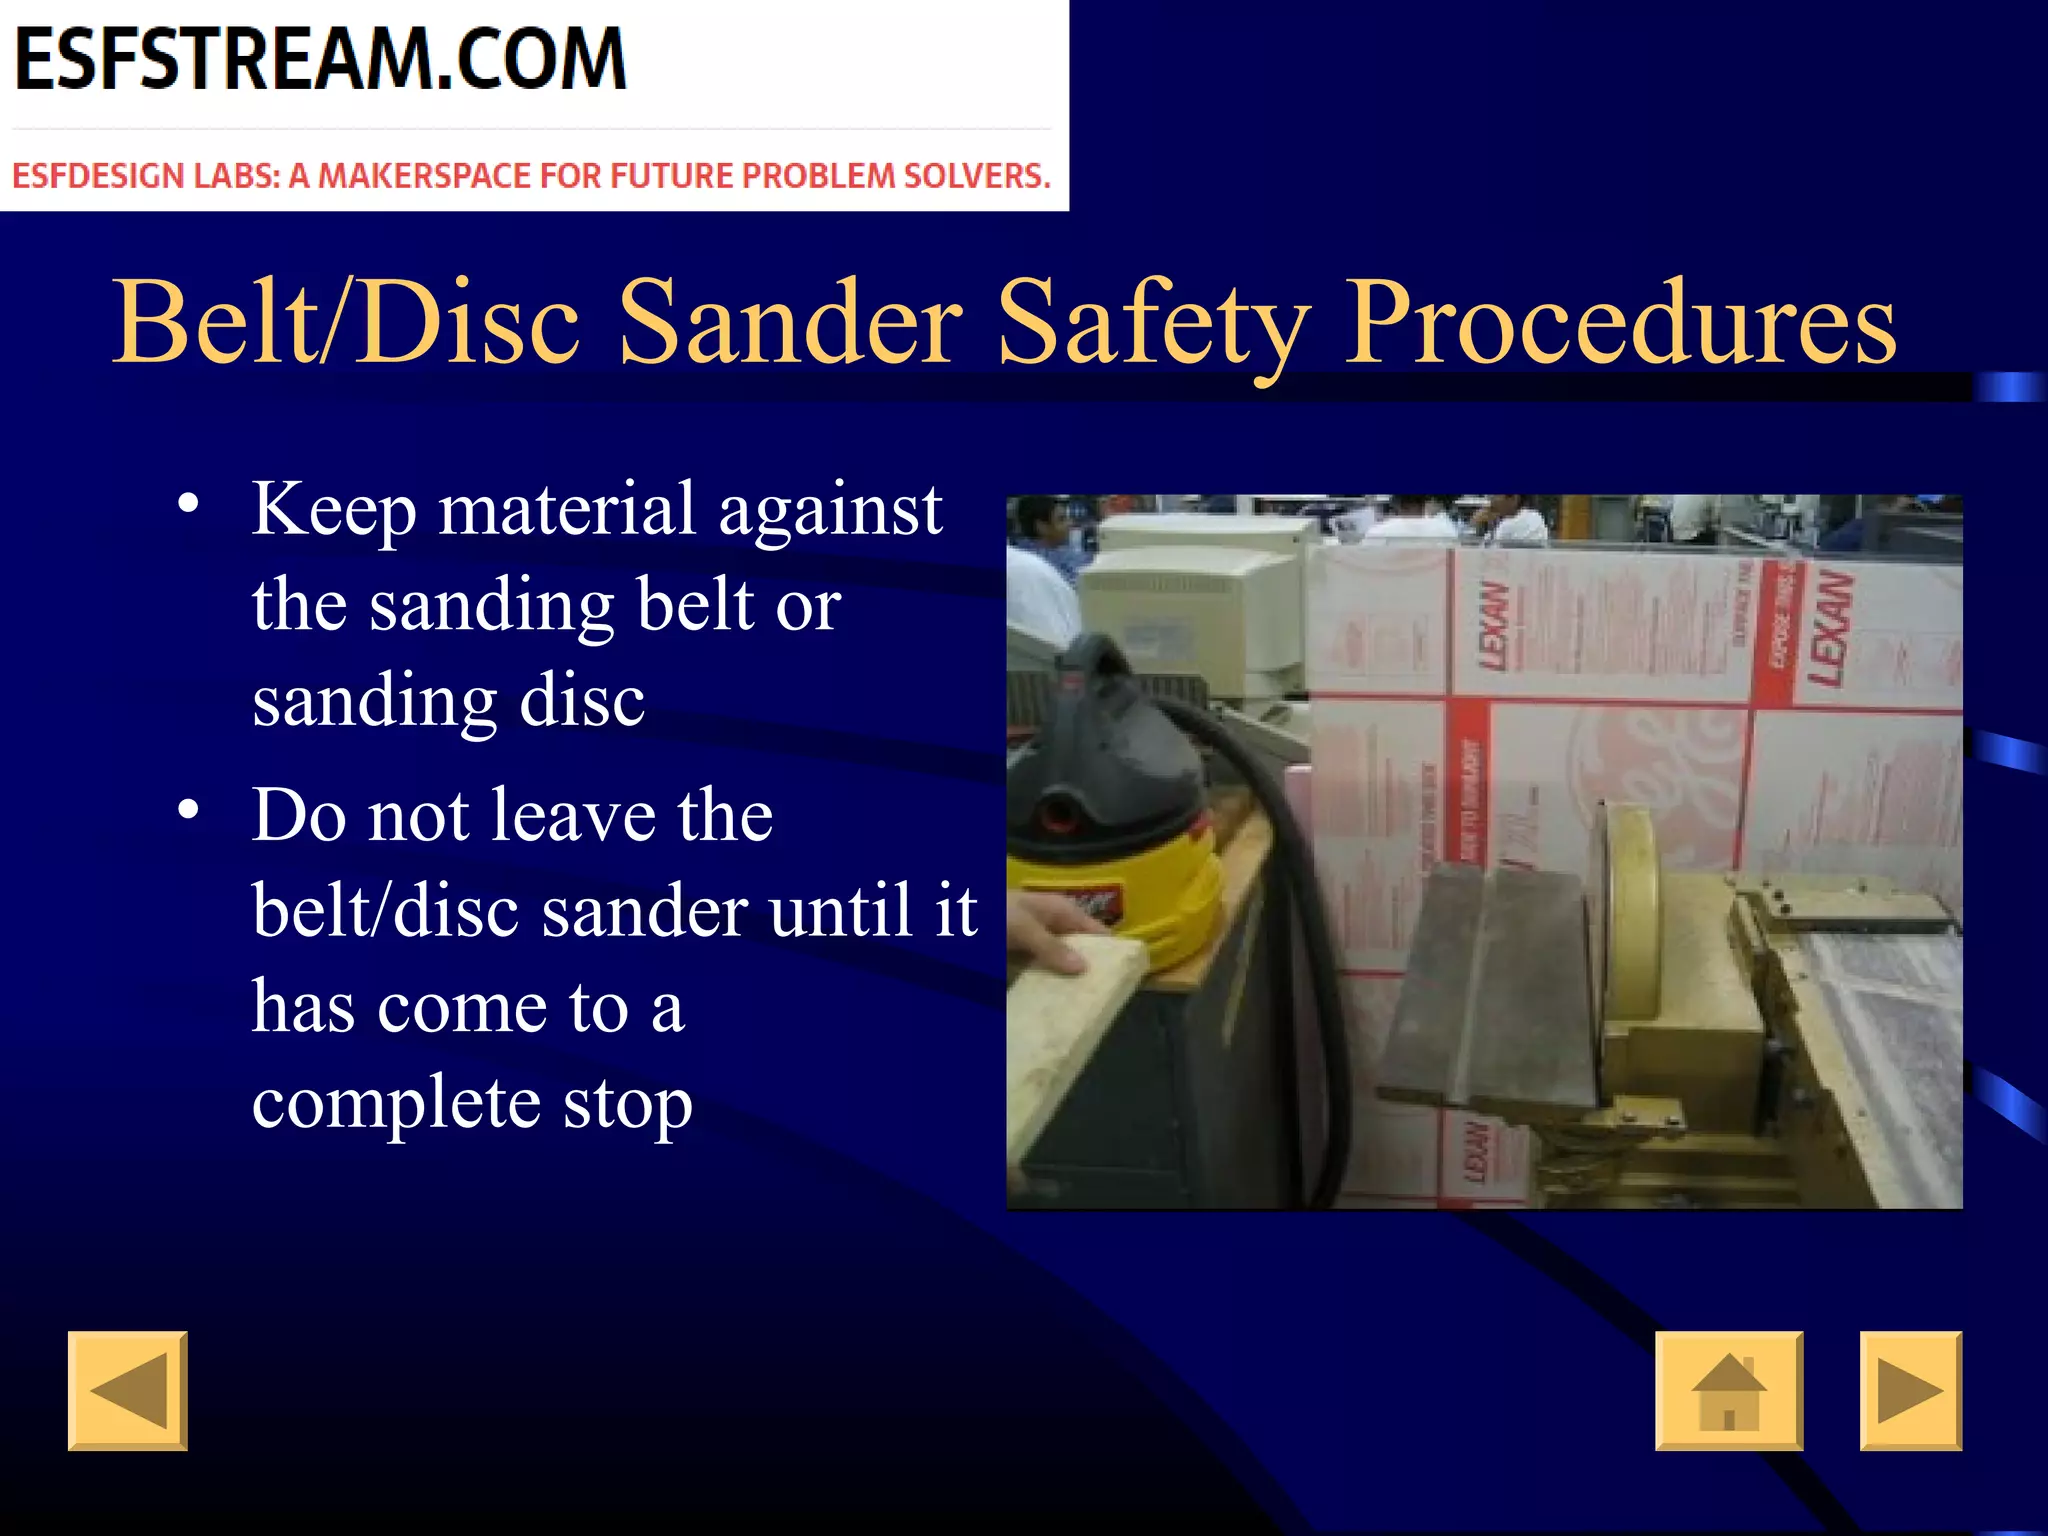


The document outlines safety procedures for using various tools and equipment in a school lab setting. General safety rules include wearing proper protective equipment like eye protection and removing loose items. Students must obtain permission before using any equipment and report any issues or injuries. Specific equipment like band saws, drill presses, and sanders also have detailed safety procedures around their proper use, such as adjusting guards, applying even pressure, and keeping hands away from moving parts. Students are instructed to always follow safety rules carefully in the lab.


