![© 2007 Ltd.
© 2014 Ltd.
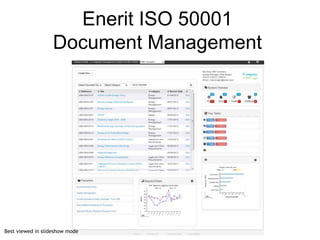
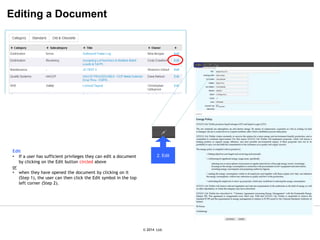
Software Login
1. Open Web browser ([your Enerit url])
3. Enter username and password
4. Click “Sign In”](https://image.slidesharecdn.com/eneritiso50001-documentmanagementtrainingslides-140624080950-phpapp02/85/Enerit-ISO-50001-Document-Management-Training-Presentation-2-320.jpg)
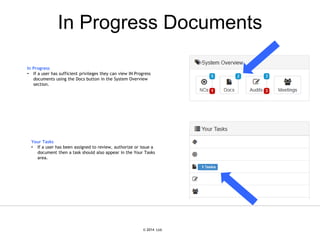
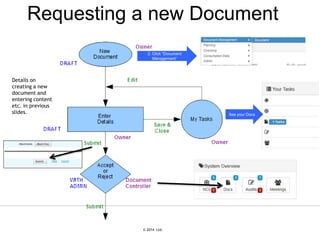

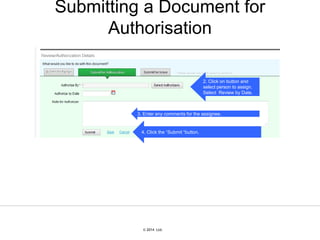
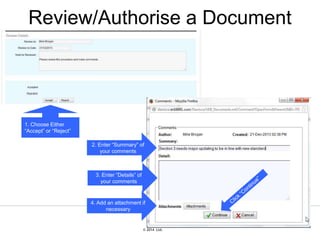
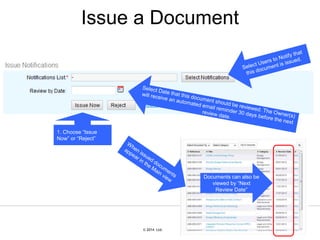

The document outlines the process for creating, managing, and reviewing documents within the enerit ISO 50001 document management system. It details the necessary fields for document creation, including title, location, document type, and attachment management. Additionally, the document describes how to submit documents for review or authorization and the workflow for editing and issuing documents.


