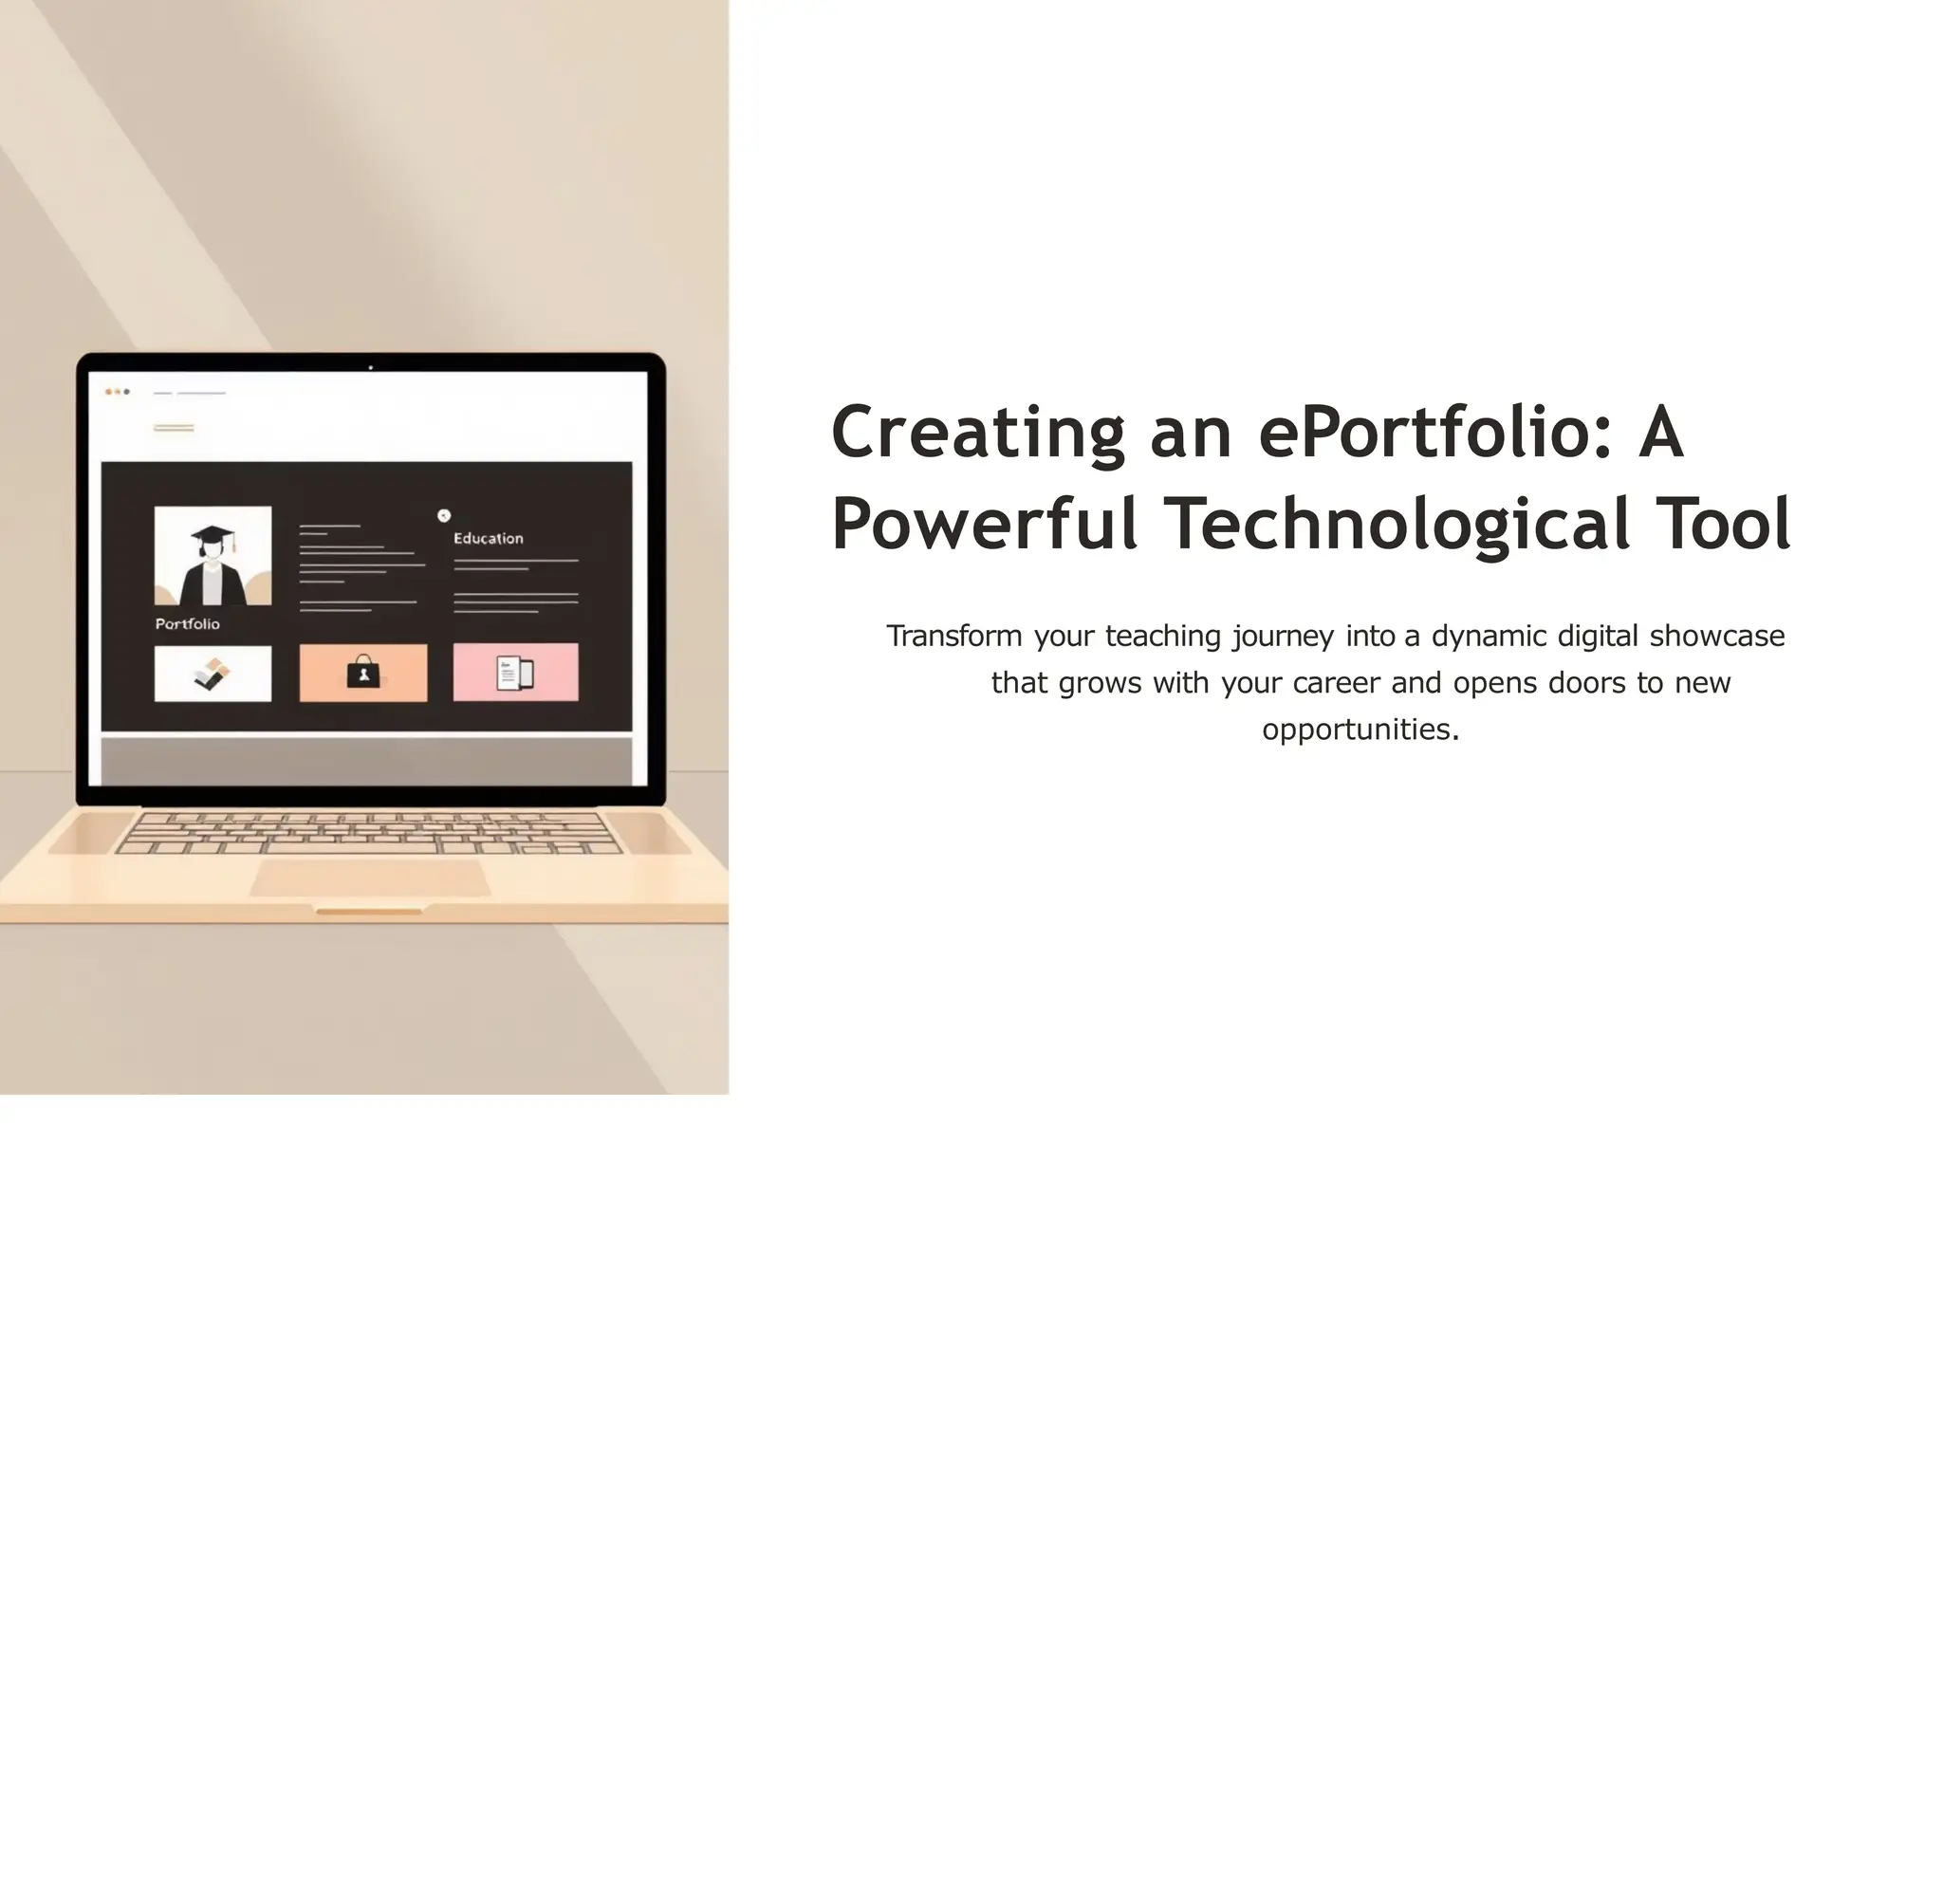
Creating an ePortfolio:A
Powerful Technological Tool
Transform your teaching journey into a dynamic digital showcase
that grows with your career and opens doors to new
opportunities.
2.
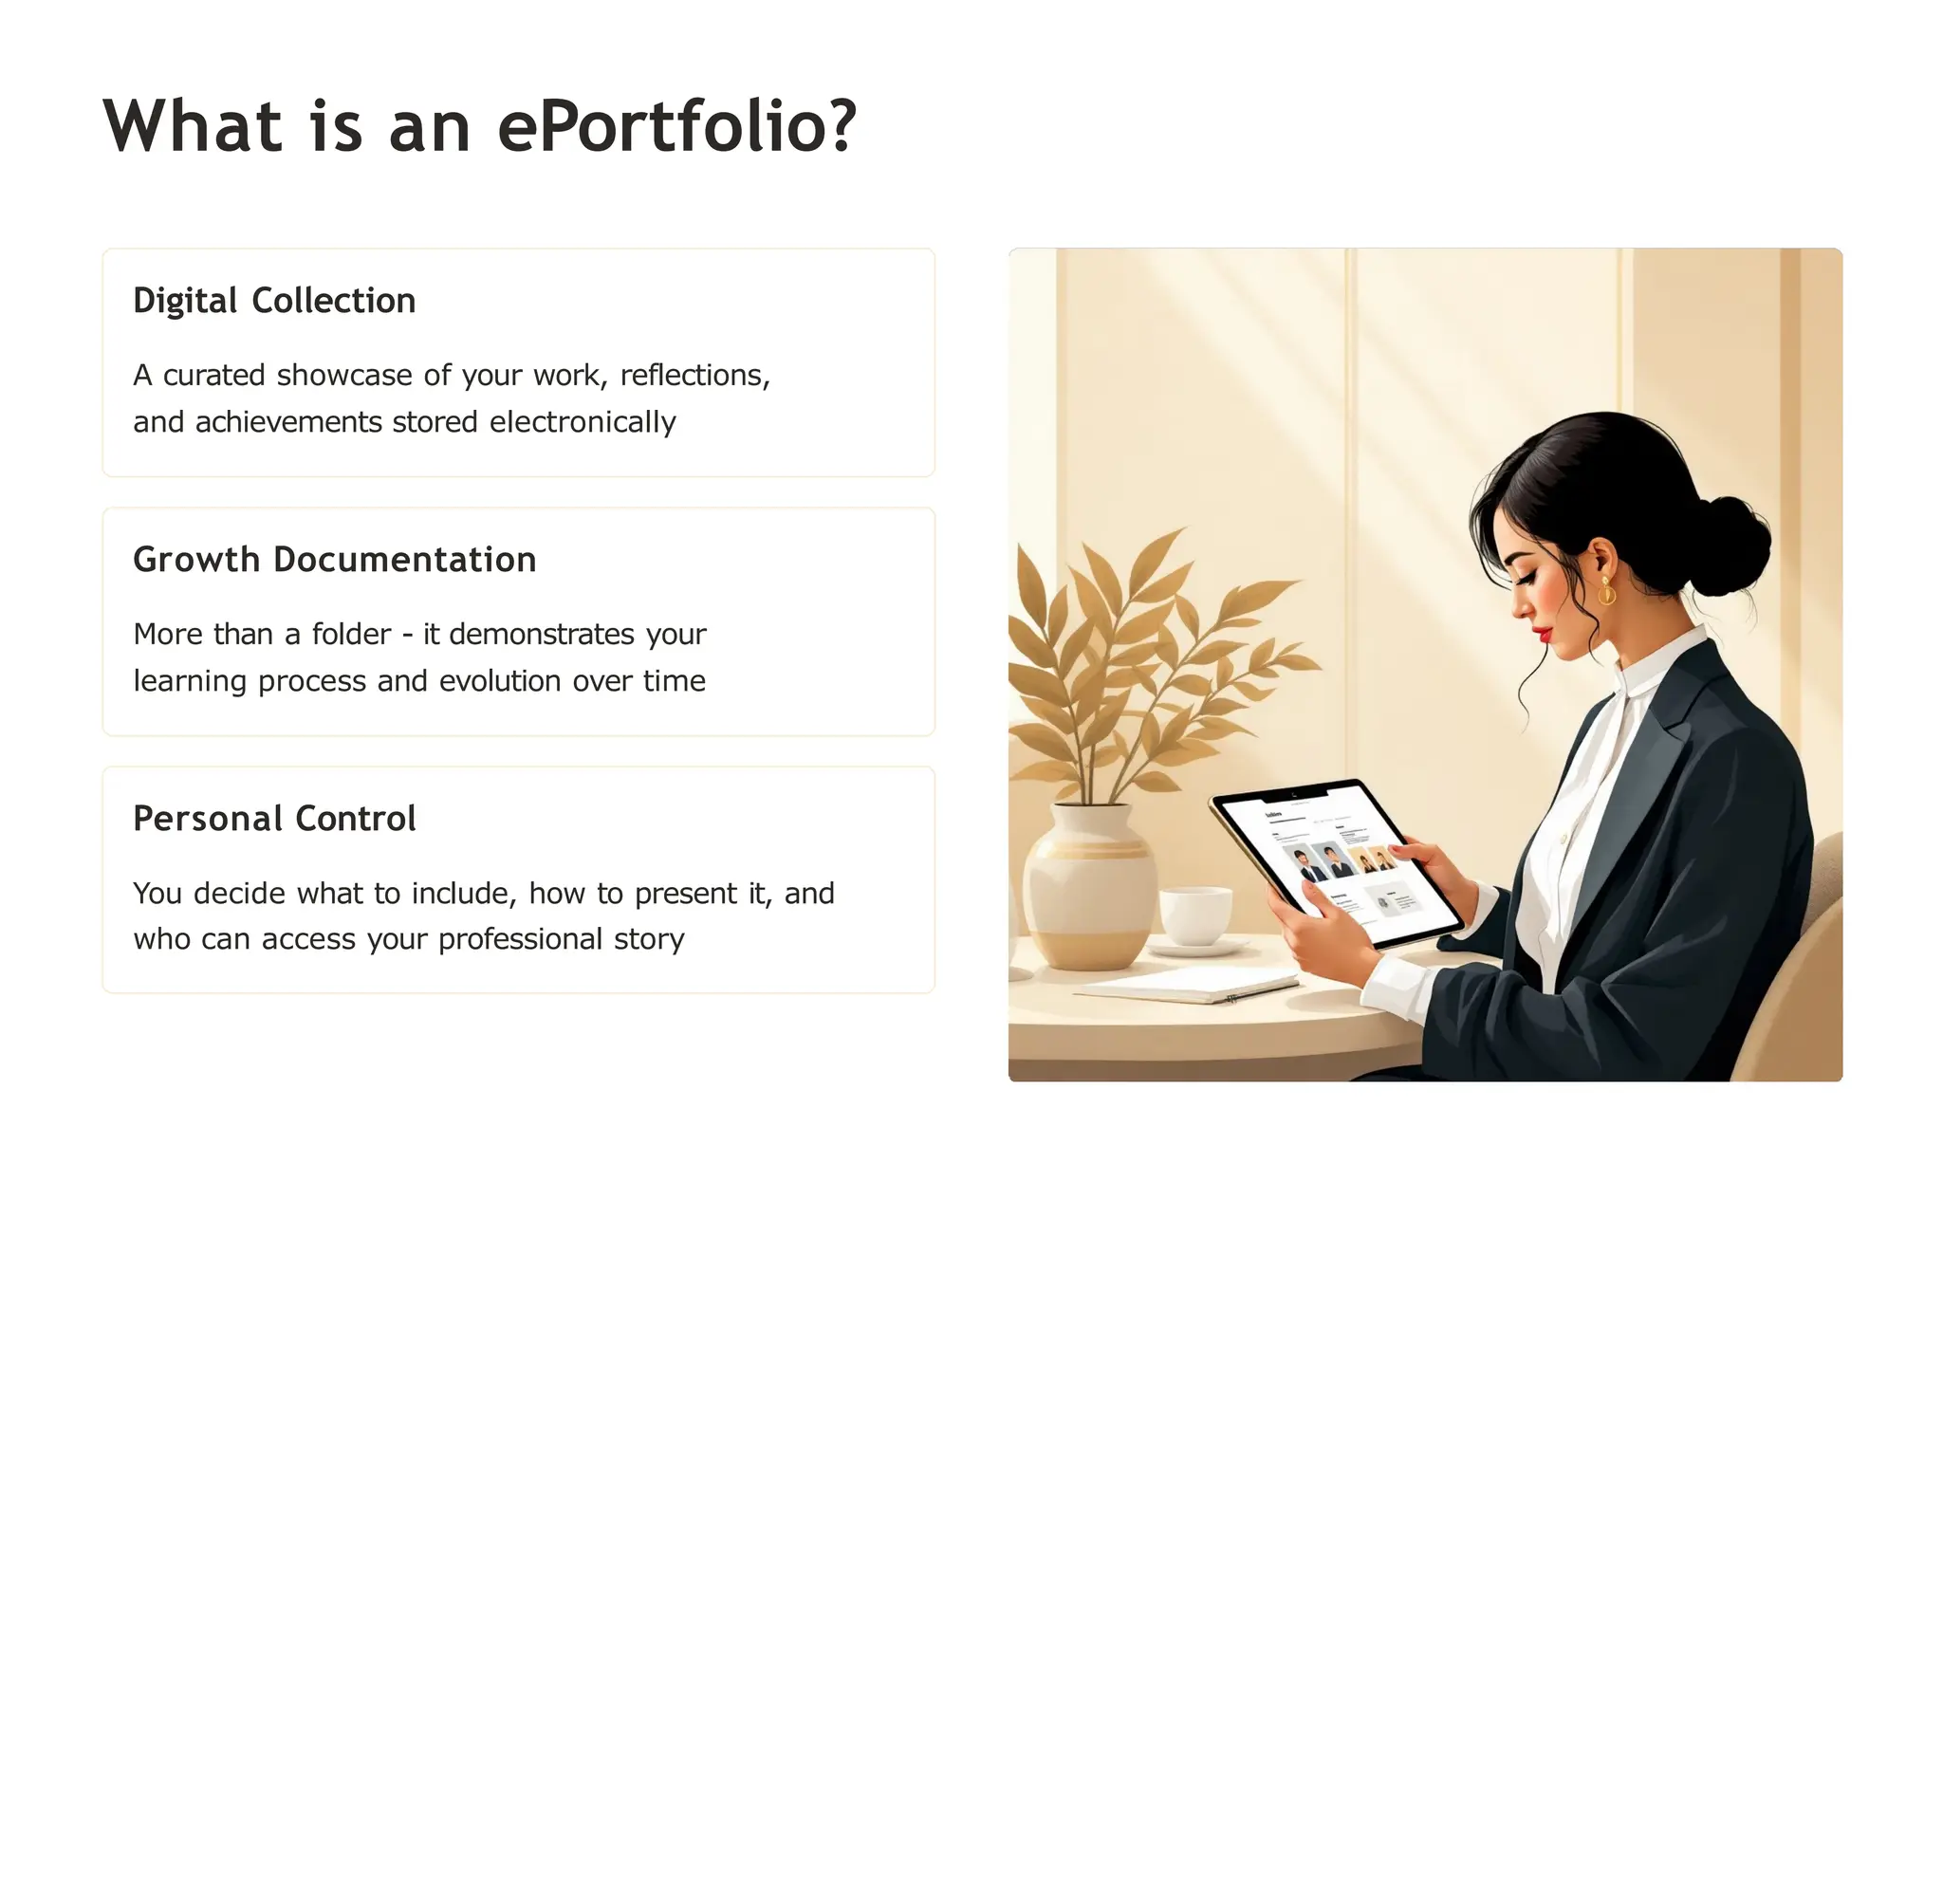
What is anePortfolio?
Digital Collection
A curated showcase of your work, reflections,
and achievements stored electronically
Growth Documentation
More than a folder - it demonstrates your
learning process and evolution over time
Personal Control
You decide what to include, how to present it, and
who can access your professional story
3.
Why Use inEducation?
Document Your Journey
Systematically record your teaching experiences, skills
development, and classroom innovations as they
happen.
Encourage Deep Reflection
Transform everyday experiences into meaningful learning by
regularly reflecting on your growth and challenges.
Showcase Professional Development
Present a compelling narrative of your expertise
and dedication to future employers and colleagues.
Portable Career Tool
Access and update your portfolio anywhere, ensuring it
evolves with your career throughout your teaching
journey.
4.
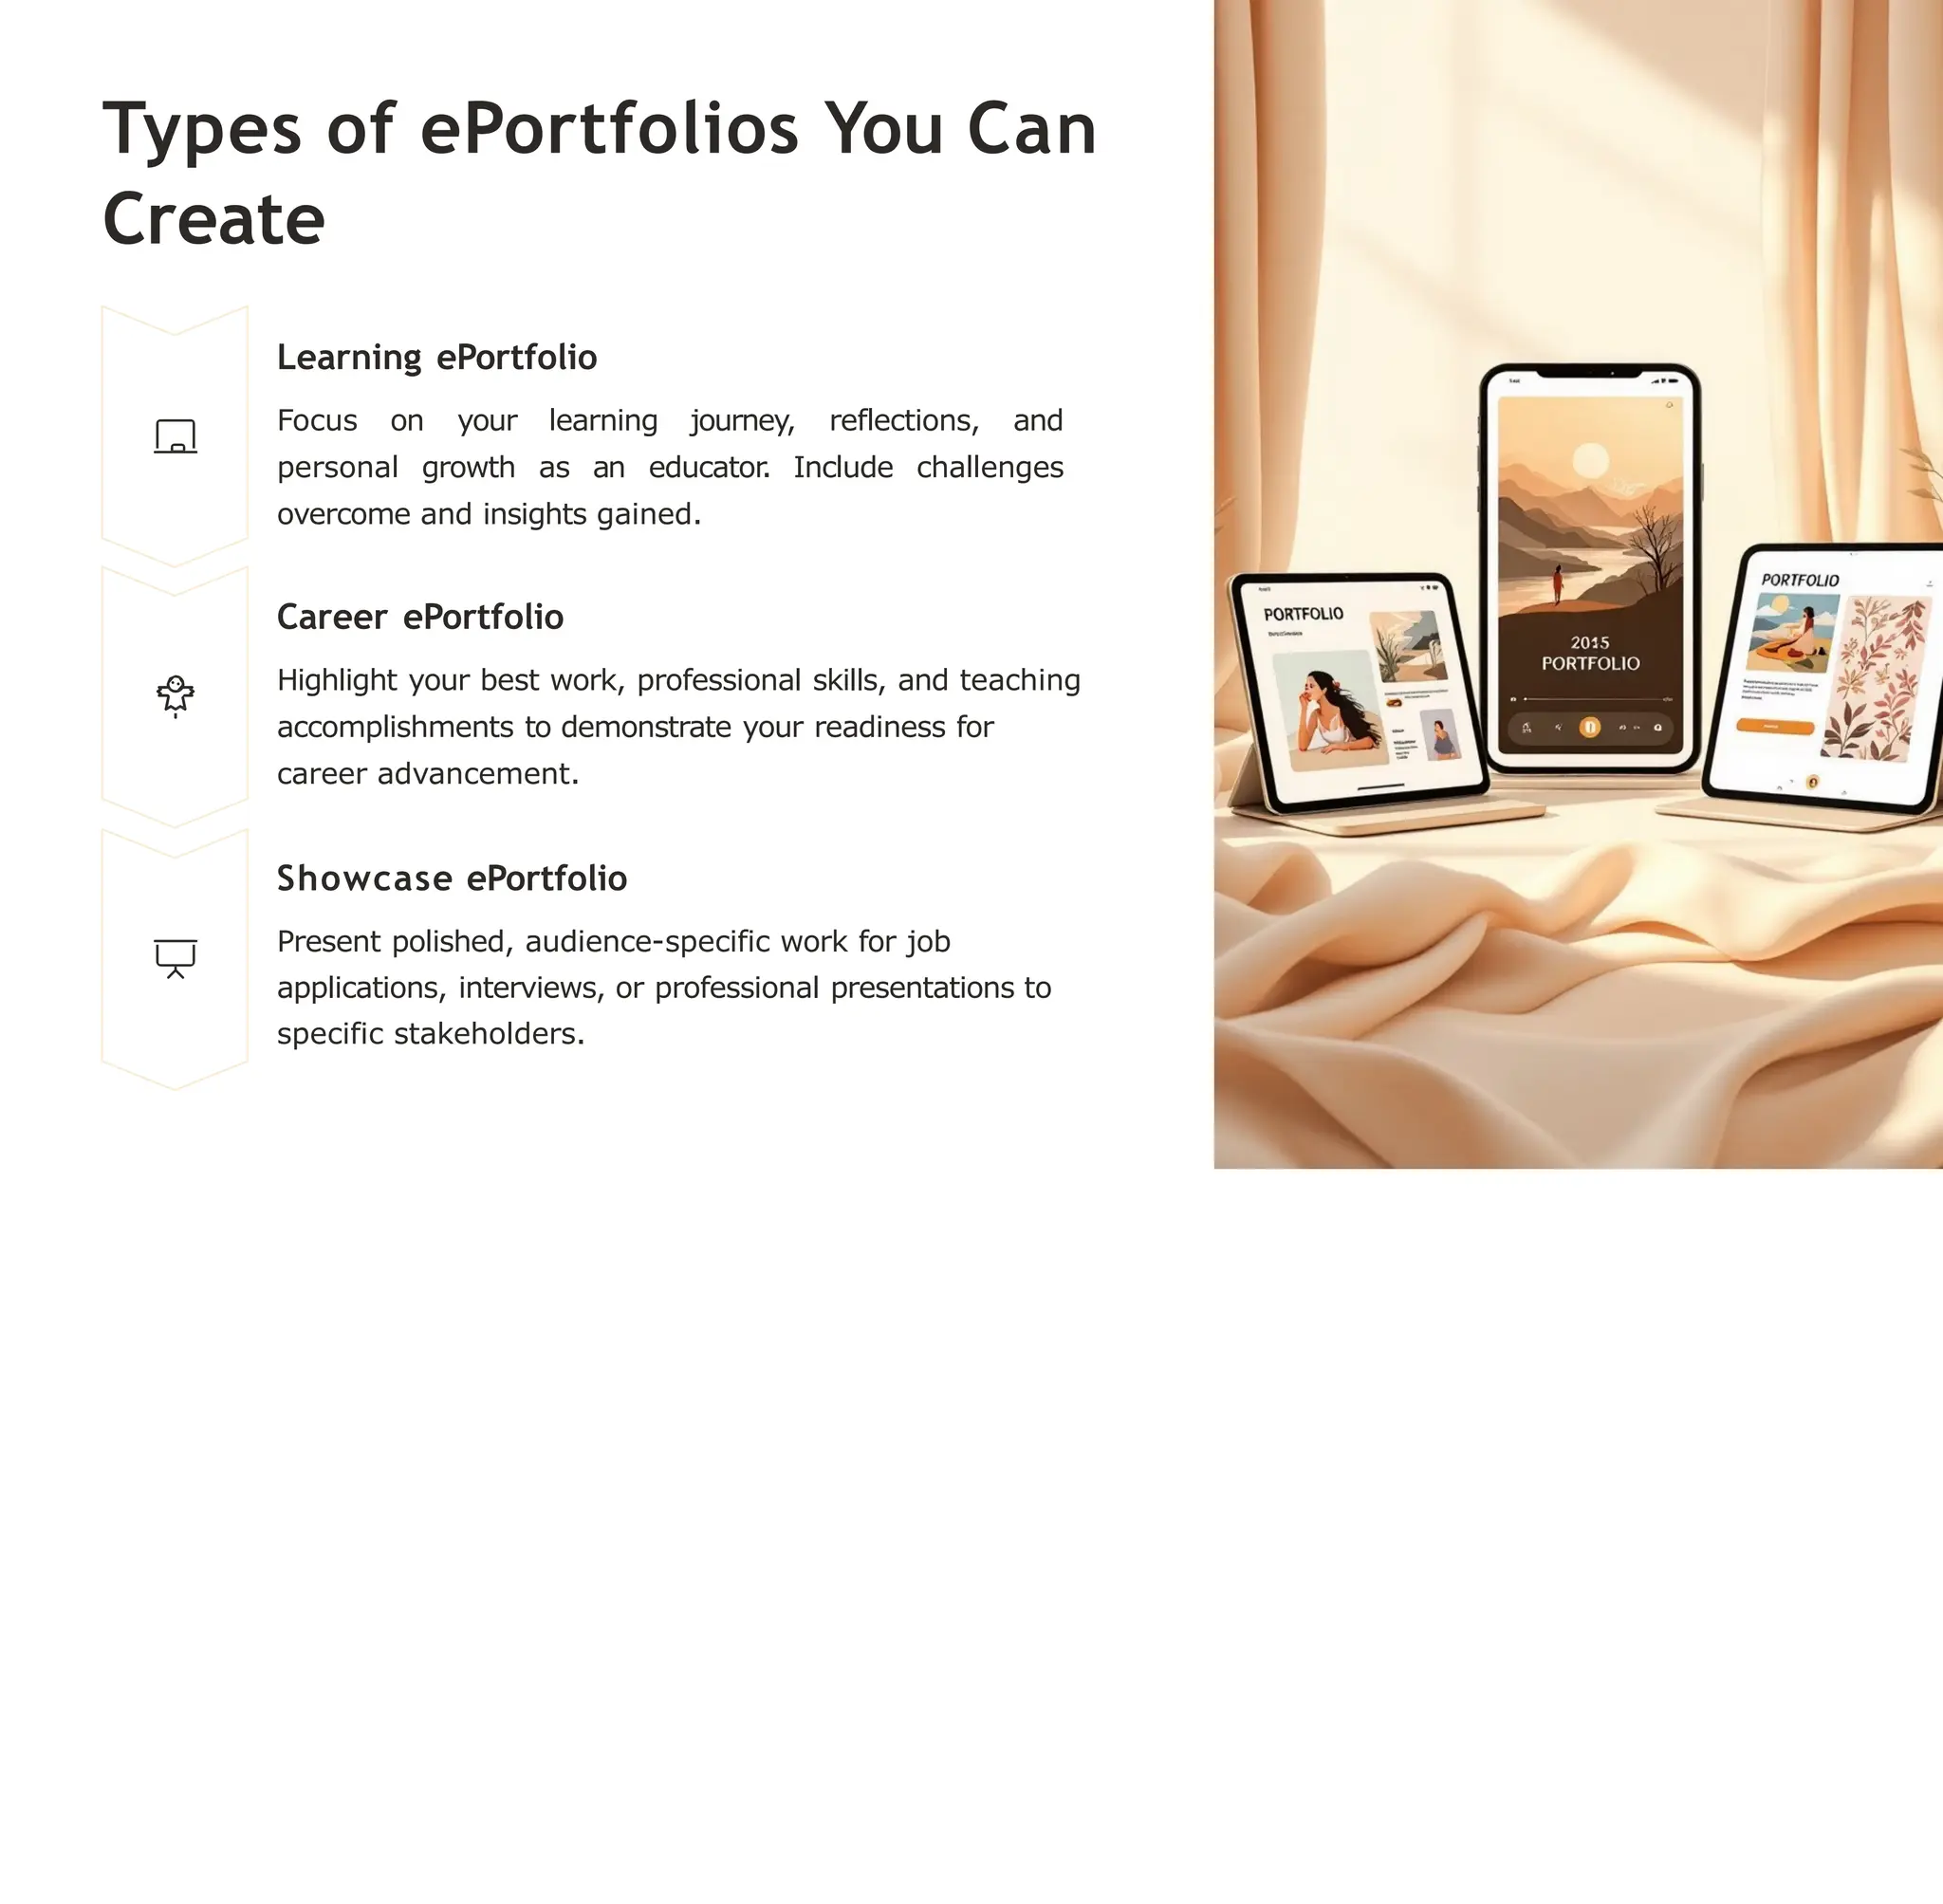
Types of ePortfoliosYou Can
Create
Learning ePortfolio
Focus on your learning journey, reflections, and
personal growth as an educator. Include challenges
overcome and insights gained.
Career ePortfolio
Highlight your best work, professional skills, and teaching
accomplishments to demonstrate your readiness for
career advancement.
Showcase ePortfolio
Present polished, audience-specific work for job
applications, interviews, or professional presentations to
specific stakeholders.
5.
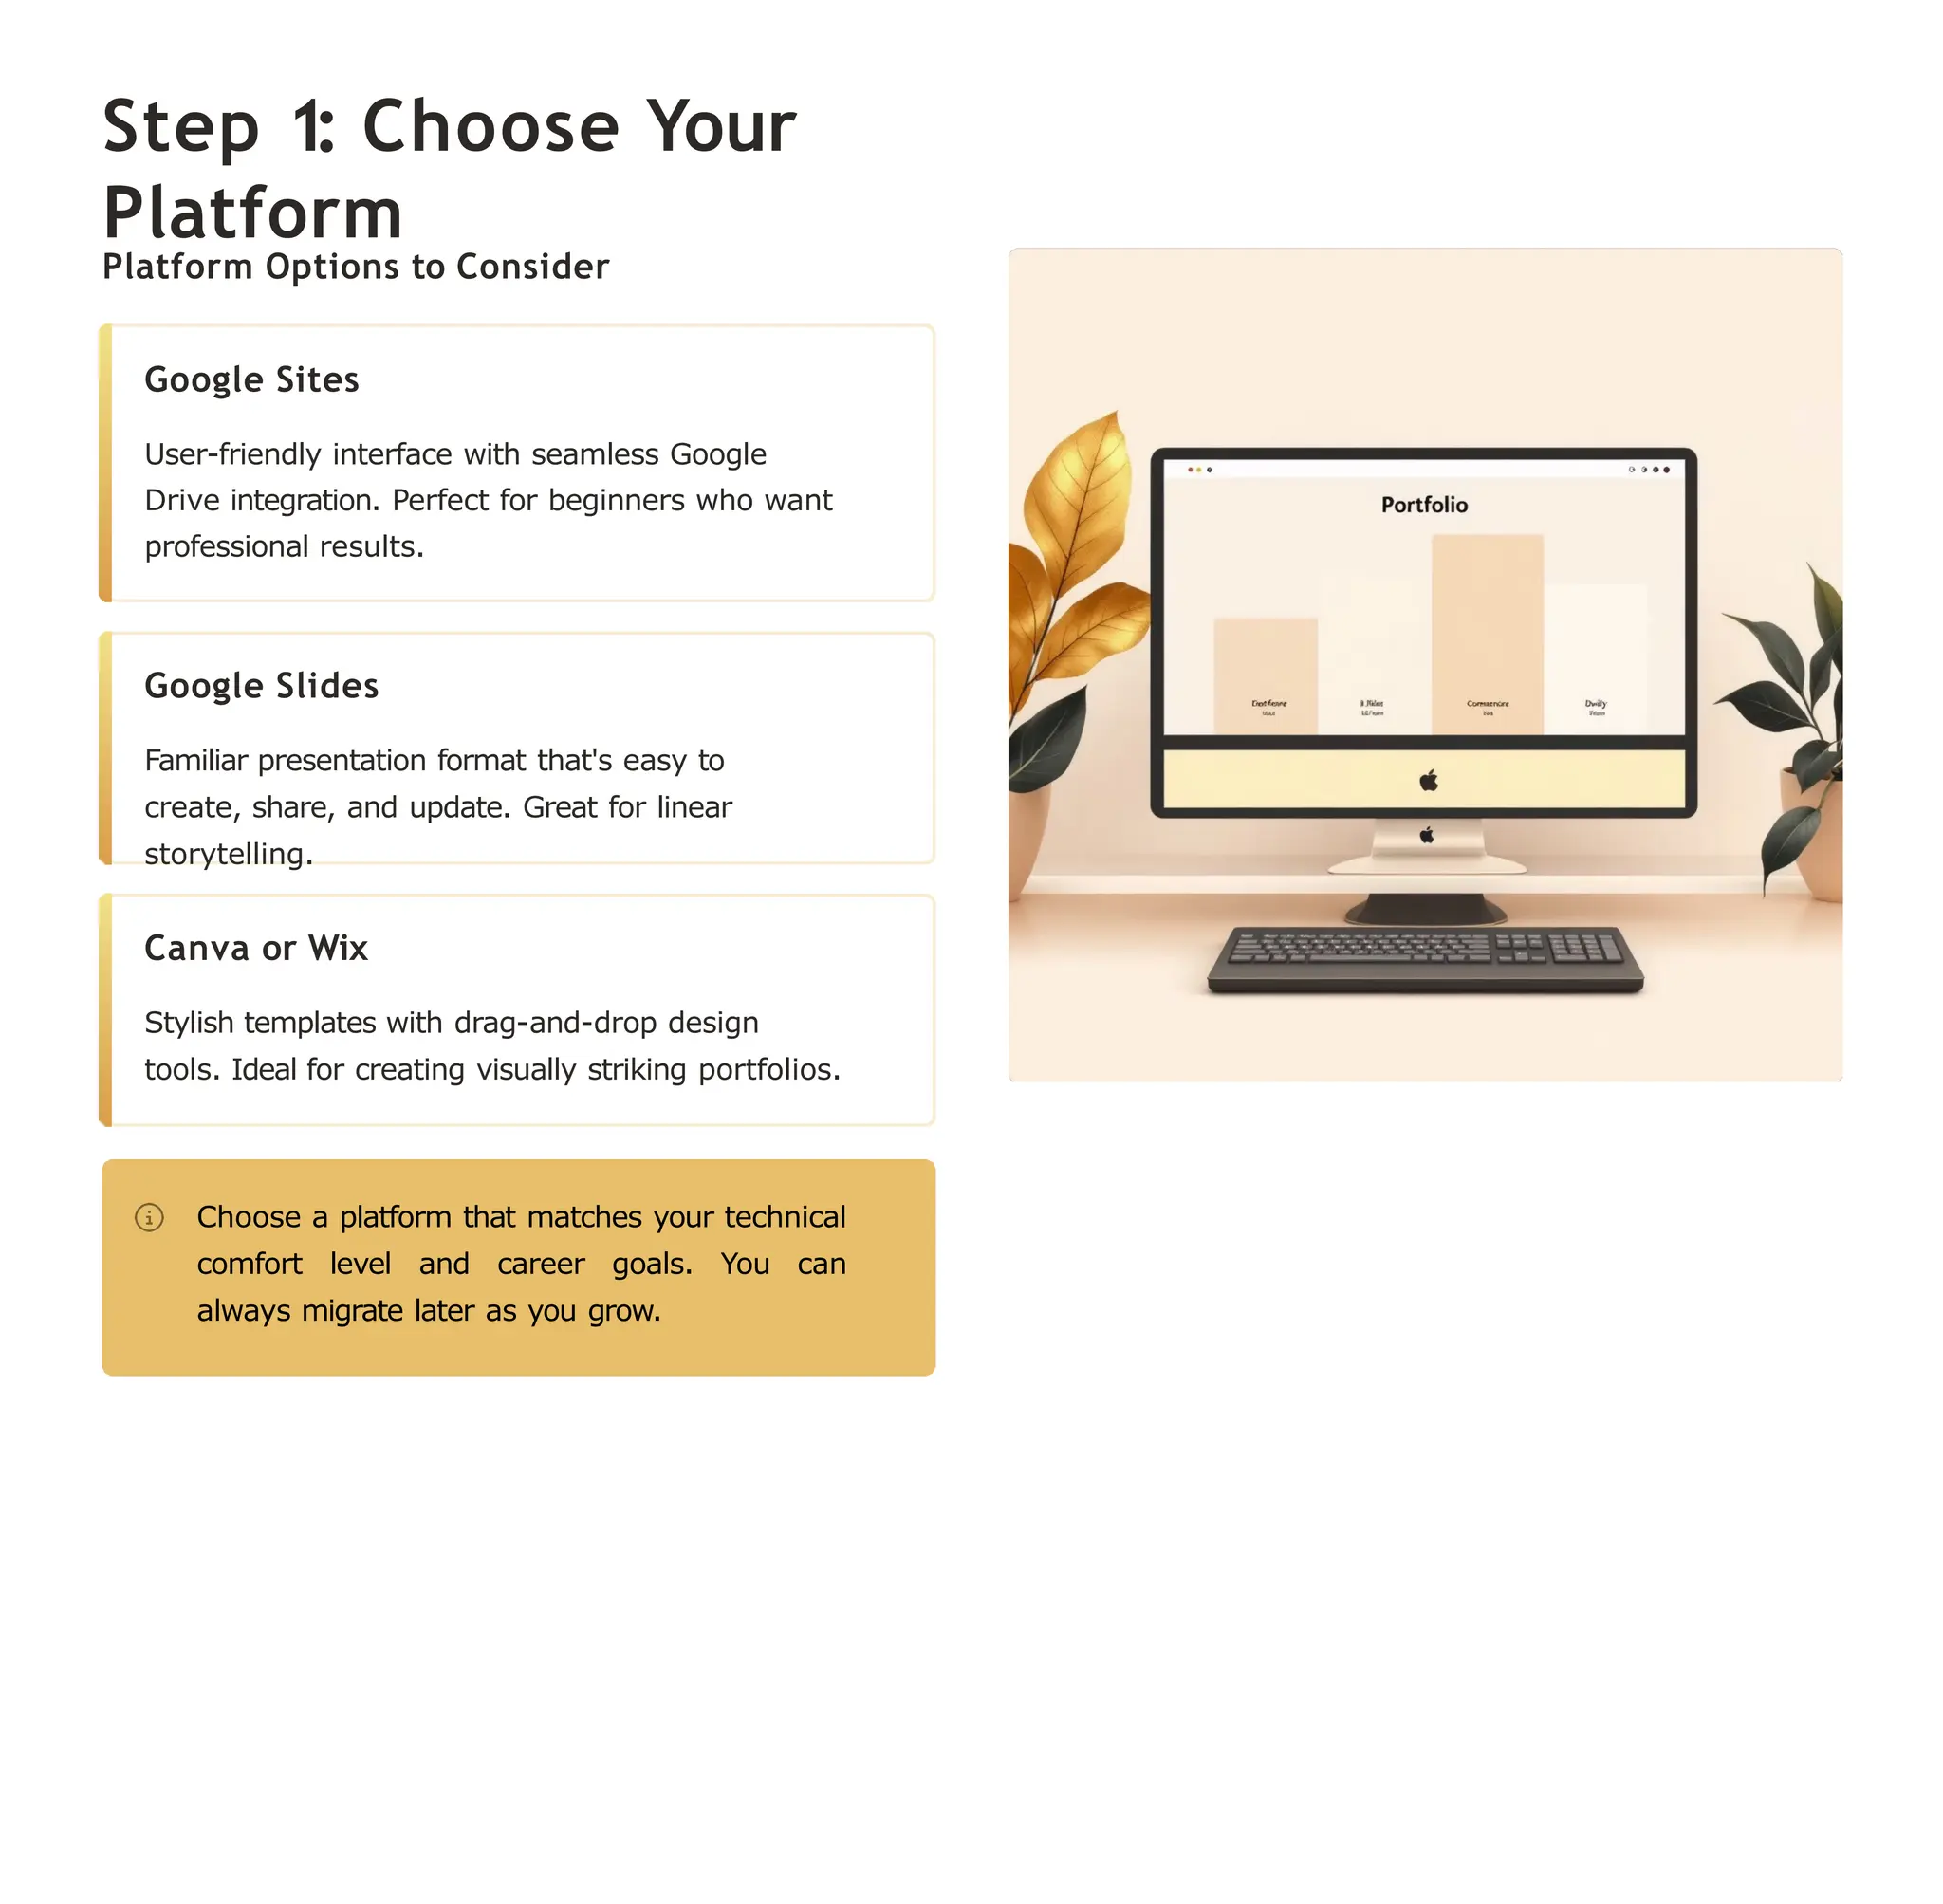
Step 1: ChooseYour
Platform
Platform Options to Consider
Google Sites
User-friendly interface with seamless Google
Drive integration. Perfect for beginners who want
professional results.
Google Slides
Familiar presentation format that's easy to
create, share, and update. Great for linear
storytelling.
Canva or Wix
Stylish templates with drag-and-drop design
tools. Ideal for creating visually striking portfolios.
Choose a platform that matches your technical
comfort level and career goals. You can
always migrate later as you grow.
6.
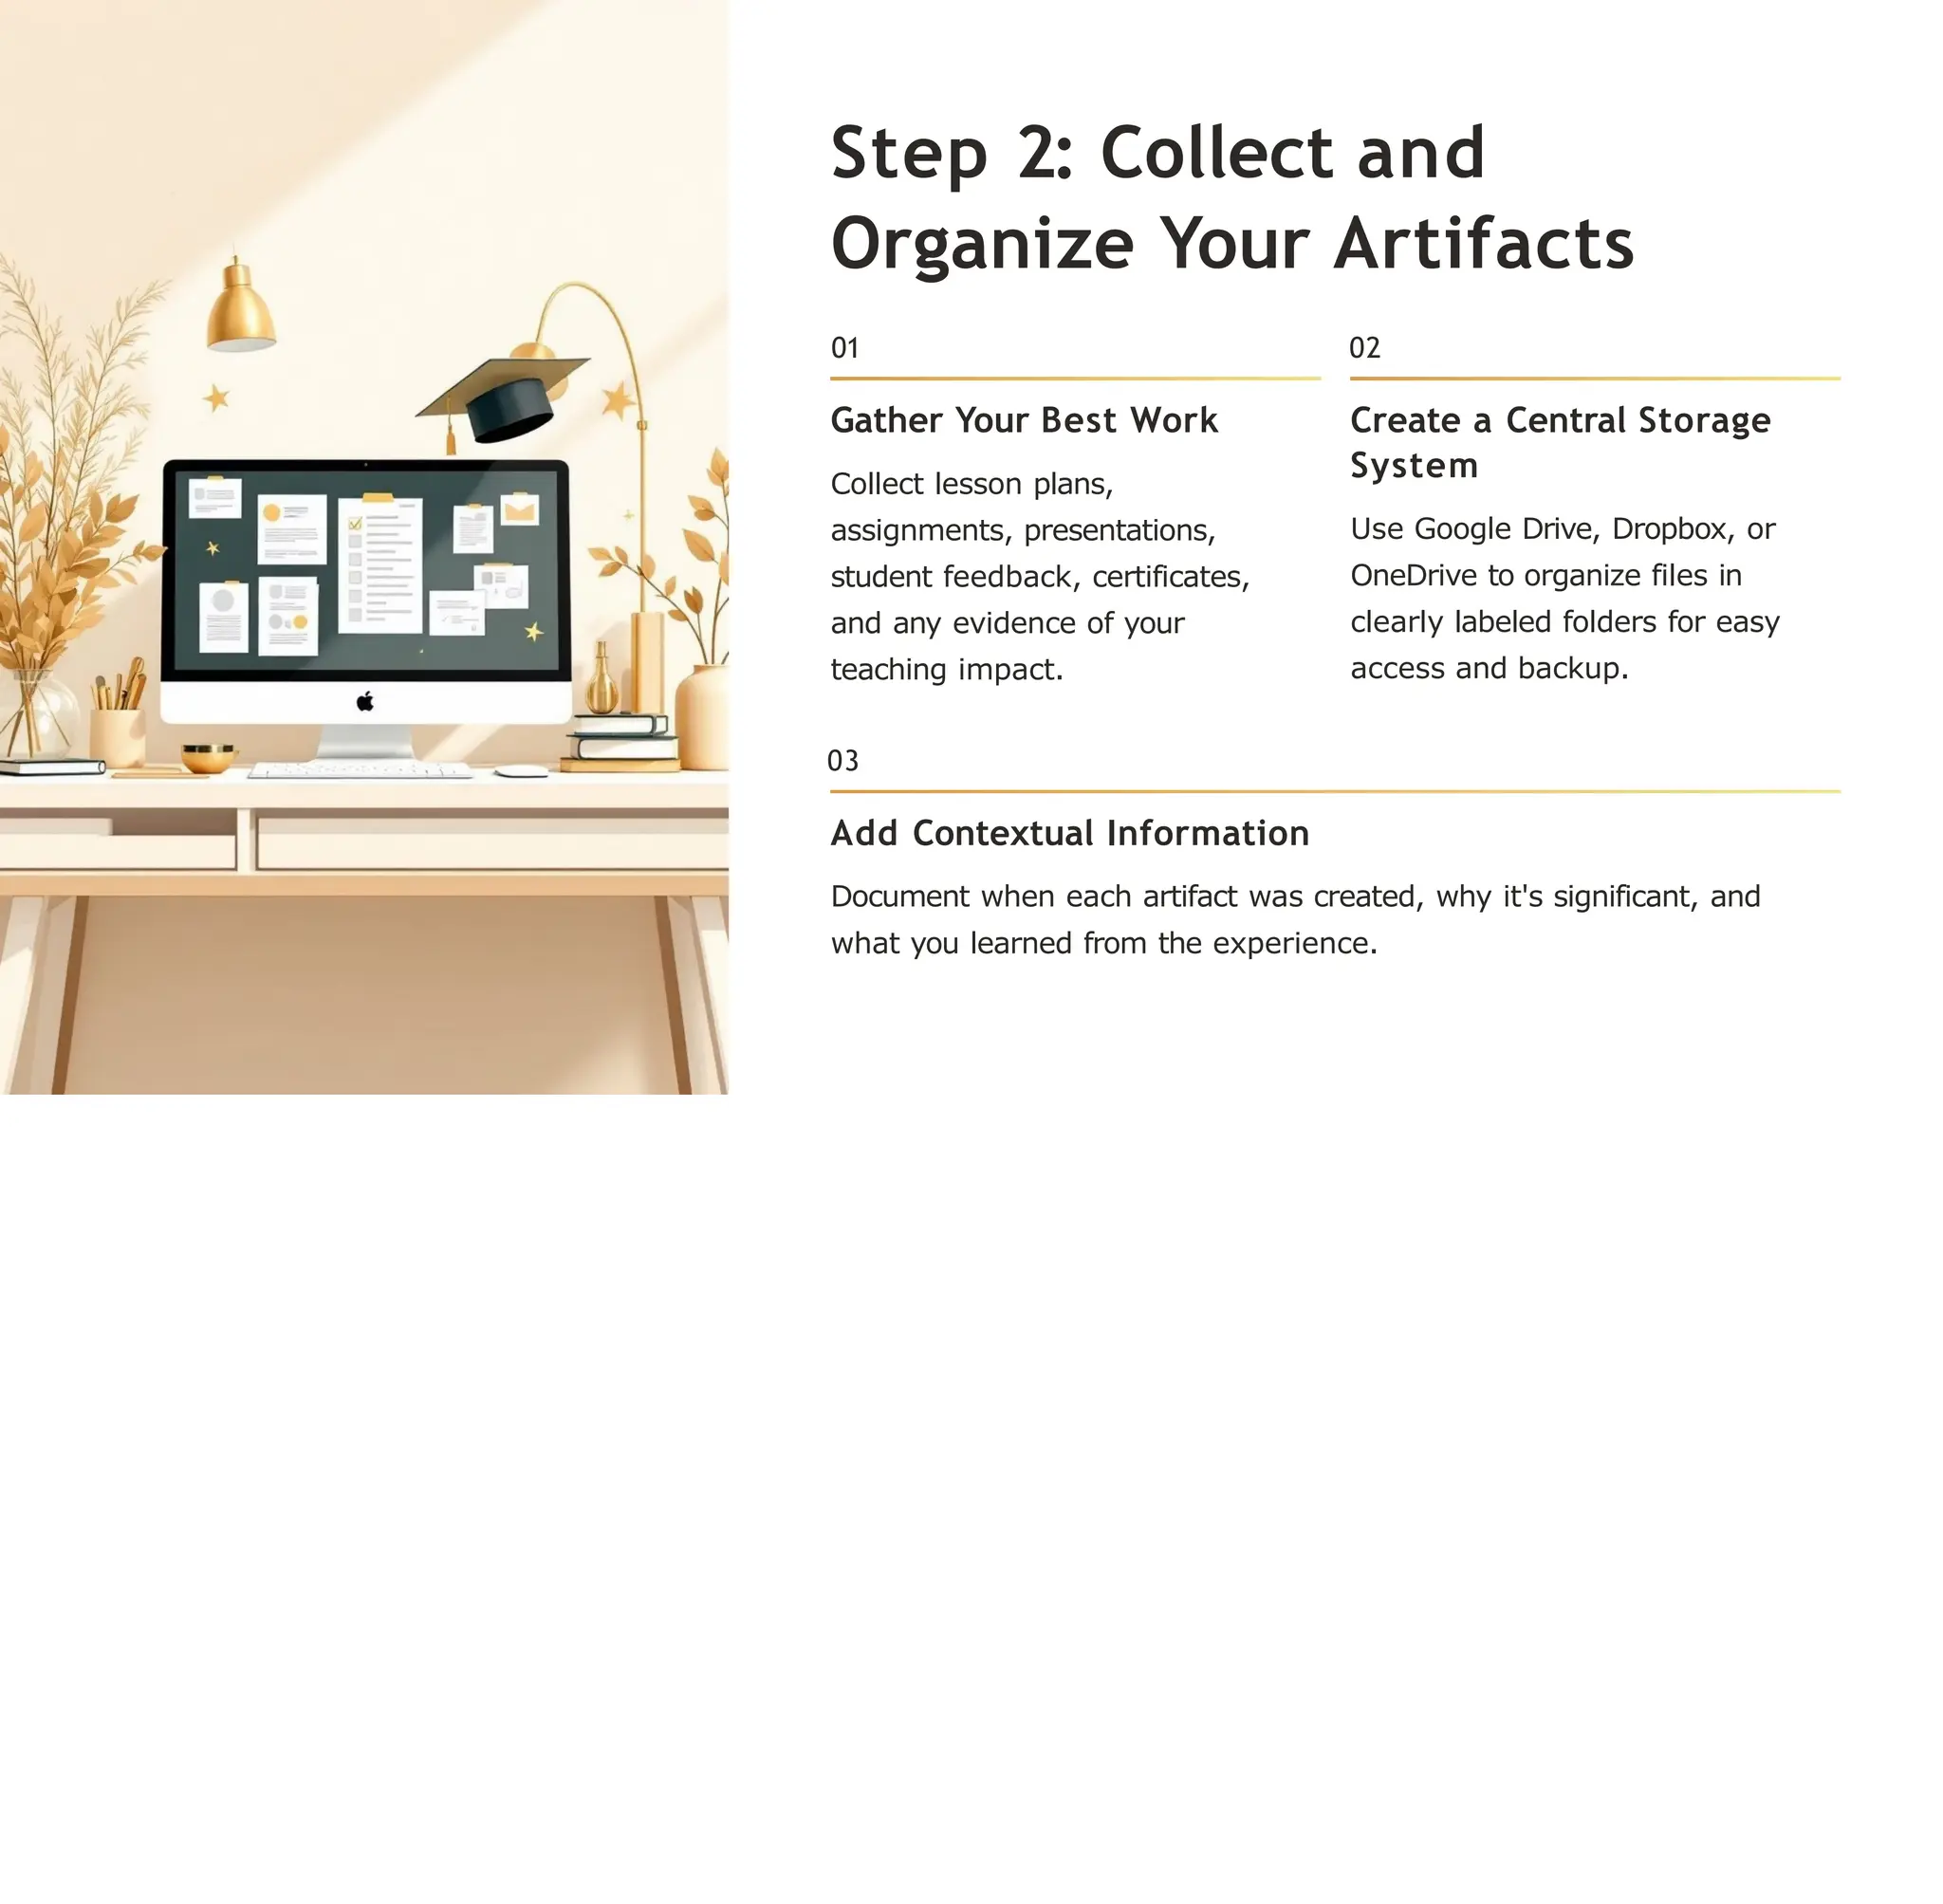
Step 2: Collectand
Organize Your Artifacts
01 02
Gather Your Best Work
Collect lesson plans,
assignments, presentations,
student feedback, certificates,
and any evidence of your
teaching impact.
Create a Central Storage
System
Use Google Drive, Dropbox, or
OneDrive to organize files in
clearly labeled folders for easy
access and backup.
03
Add Contextual Information
Document when each artifact was created, why it's significant, and
what you learned from the experience.
7.
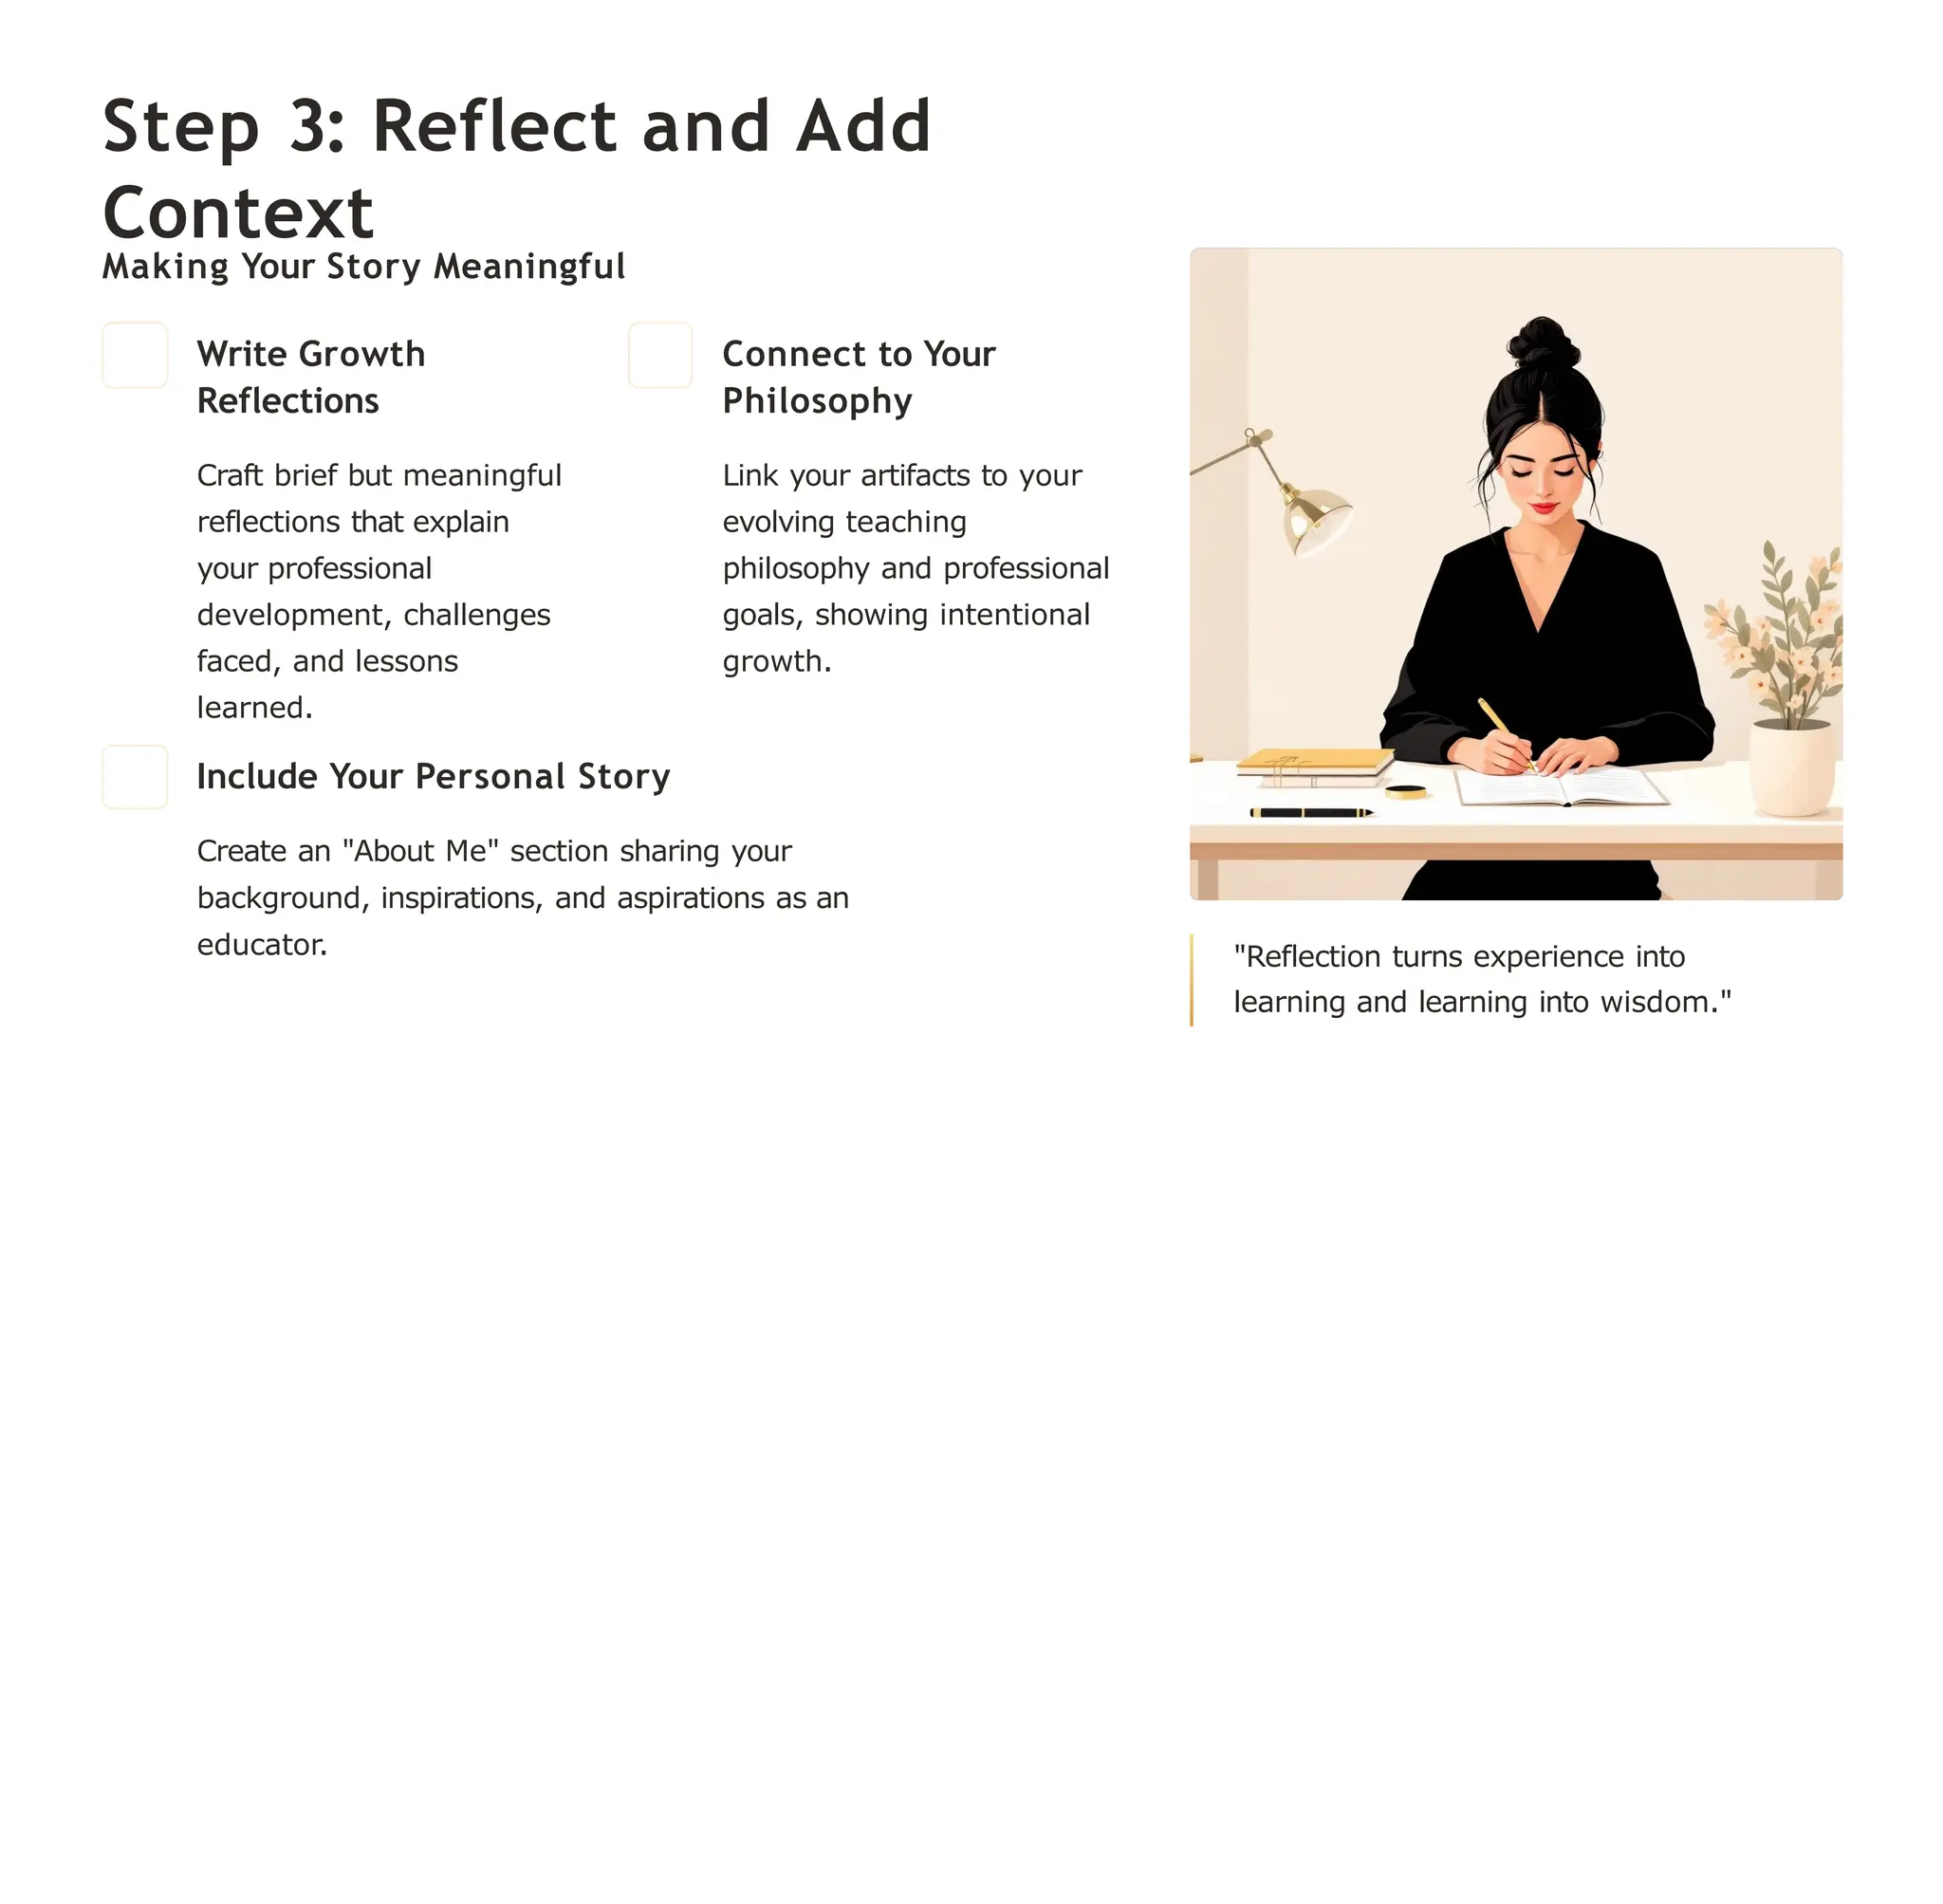
Step 3: Reflectand Add
Context
Making Your Story Meaningful
Write Growth
Reflections
Craft brief but meaningful
reflections that explain
your professional
development, challenges
faced, and lessons
learned.
Connect to Your
Philosophy
Link your artifacts to your
evolving teaching
philosophy and professional
goals, showing intentional
growth.
Include Your Personal Story
Create an "About Me" section sharing your
background, inspirations, and aspirations as an
educator. "Reflection turns experience into
learning and learning into wisdom."
8.
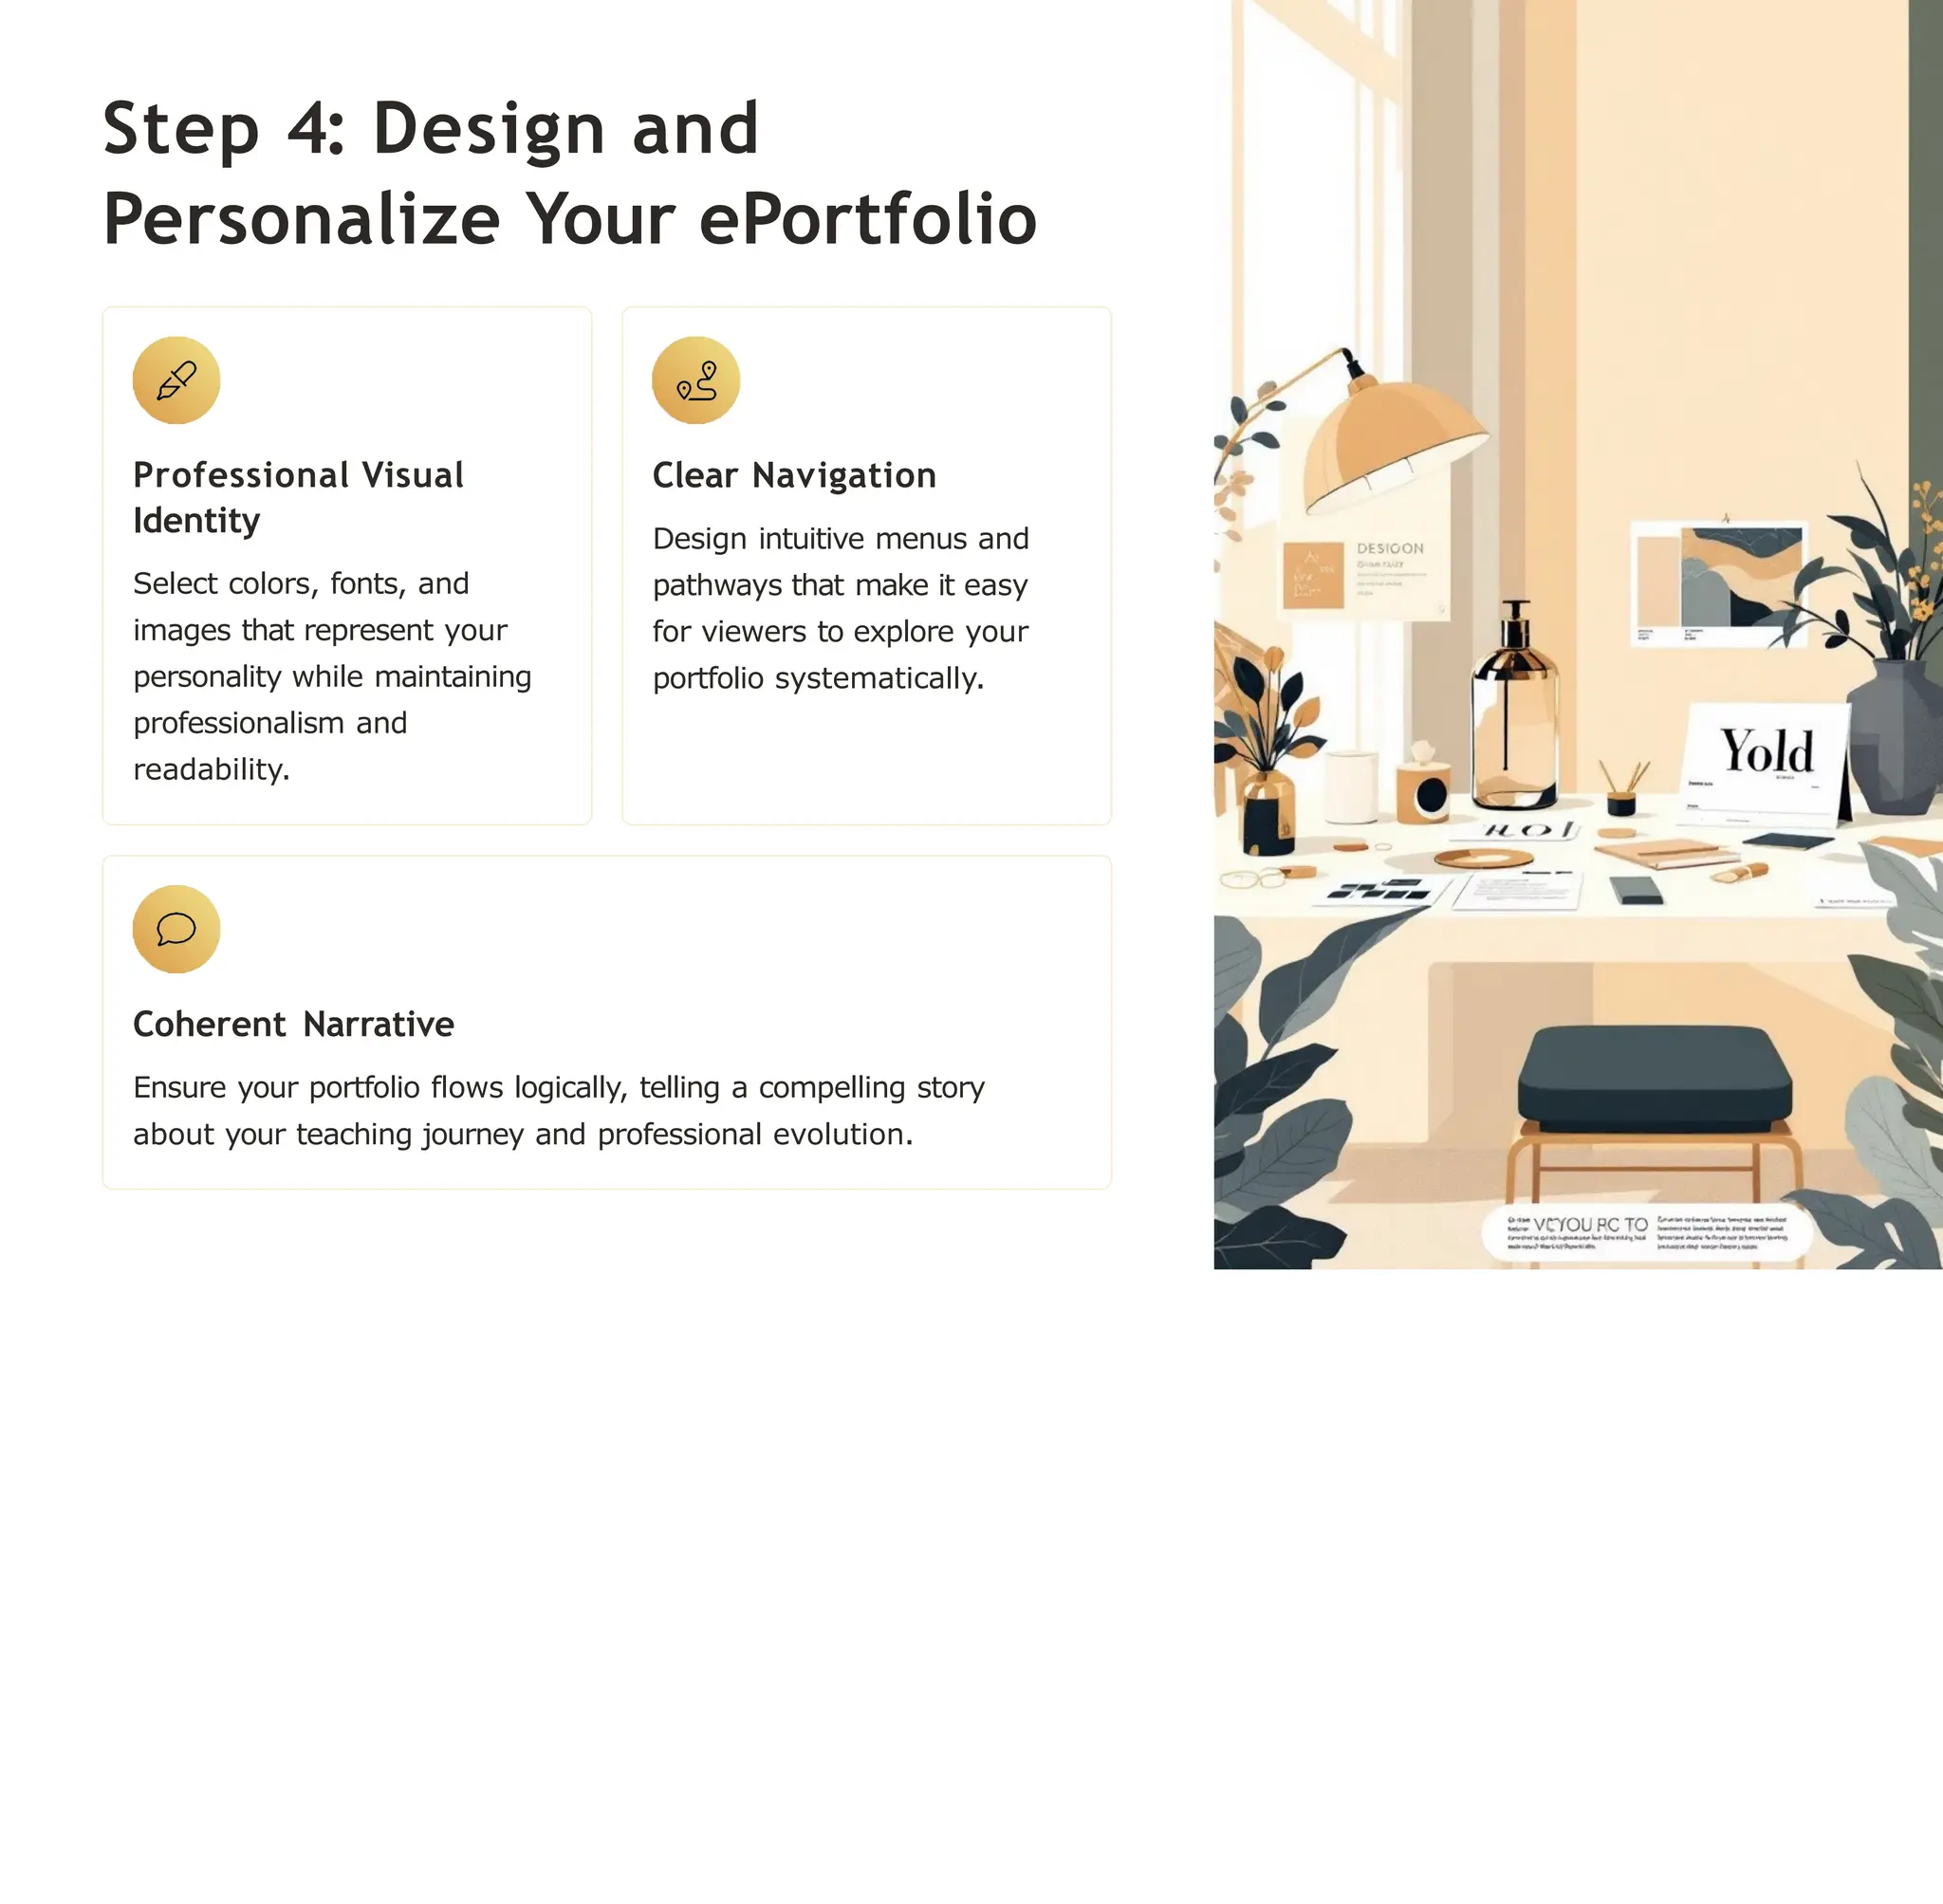
Step 4: Designand
Personalize Your ePortfolio
Professional Visual
Identity
Select colors, fonts, and
images that represent your
personality while maintaining
professionalism and
readability.
Clear Navigation
Design intuitive menus and
pathways that make it easy
for viewers to explore your
portfolio systematically.
Coherent Narrative
Ensure your portfolio flows logically, telling a compelling story
about your teaching journey and professional evolution.
9.
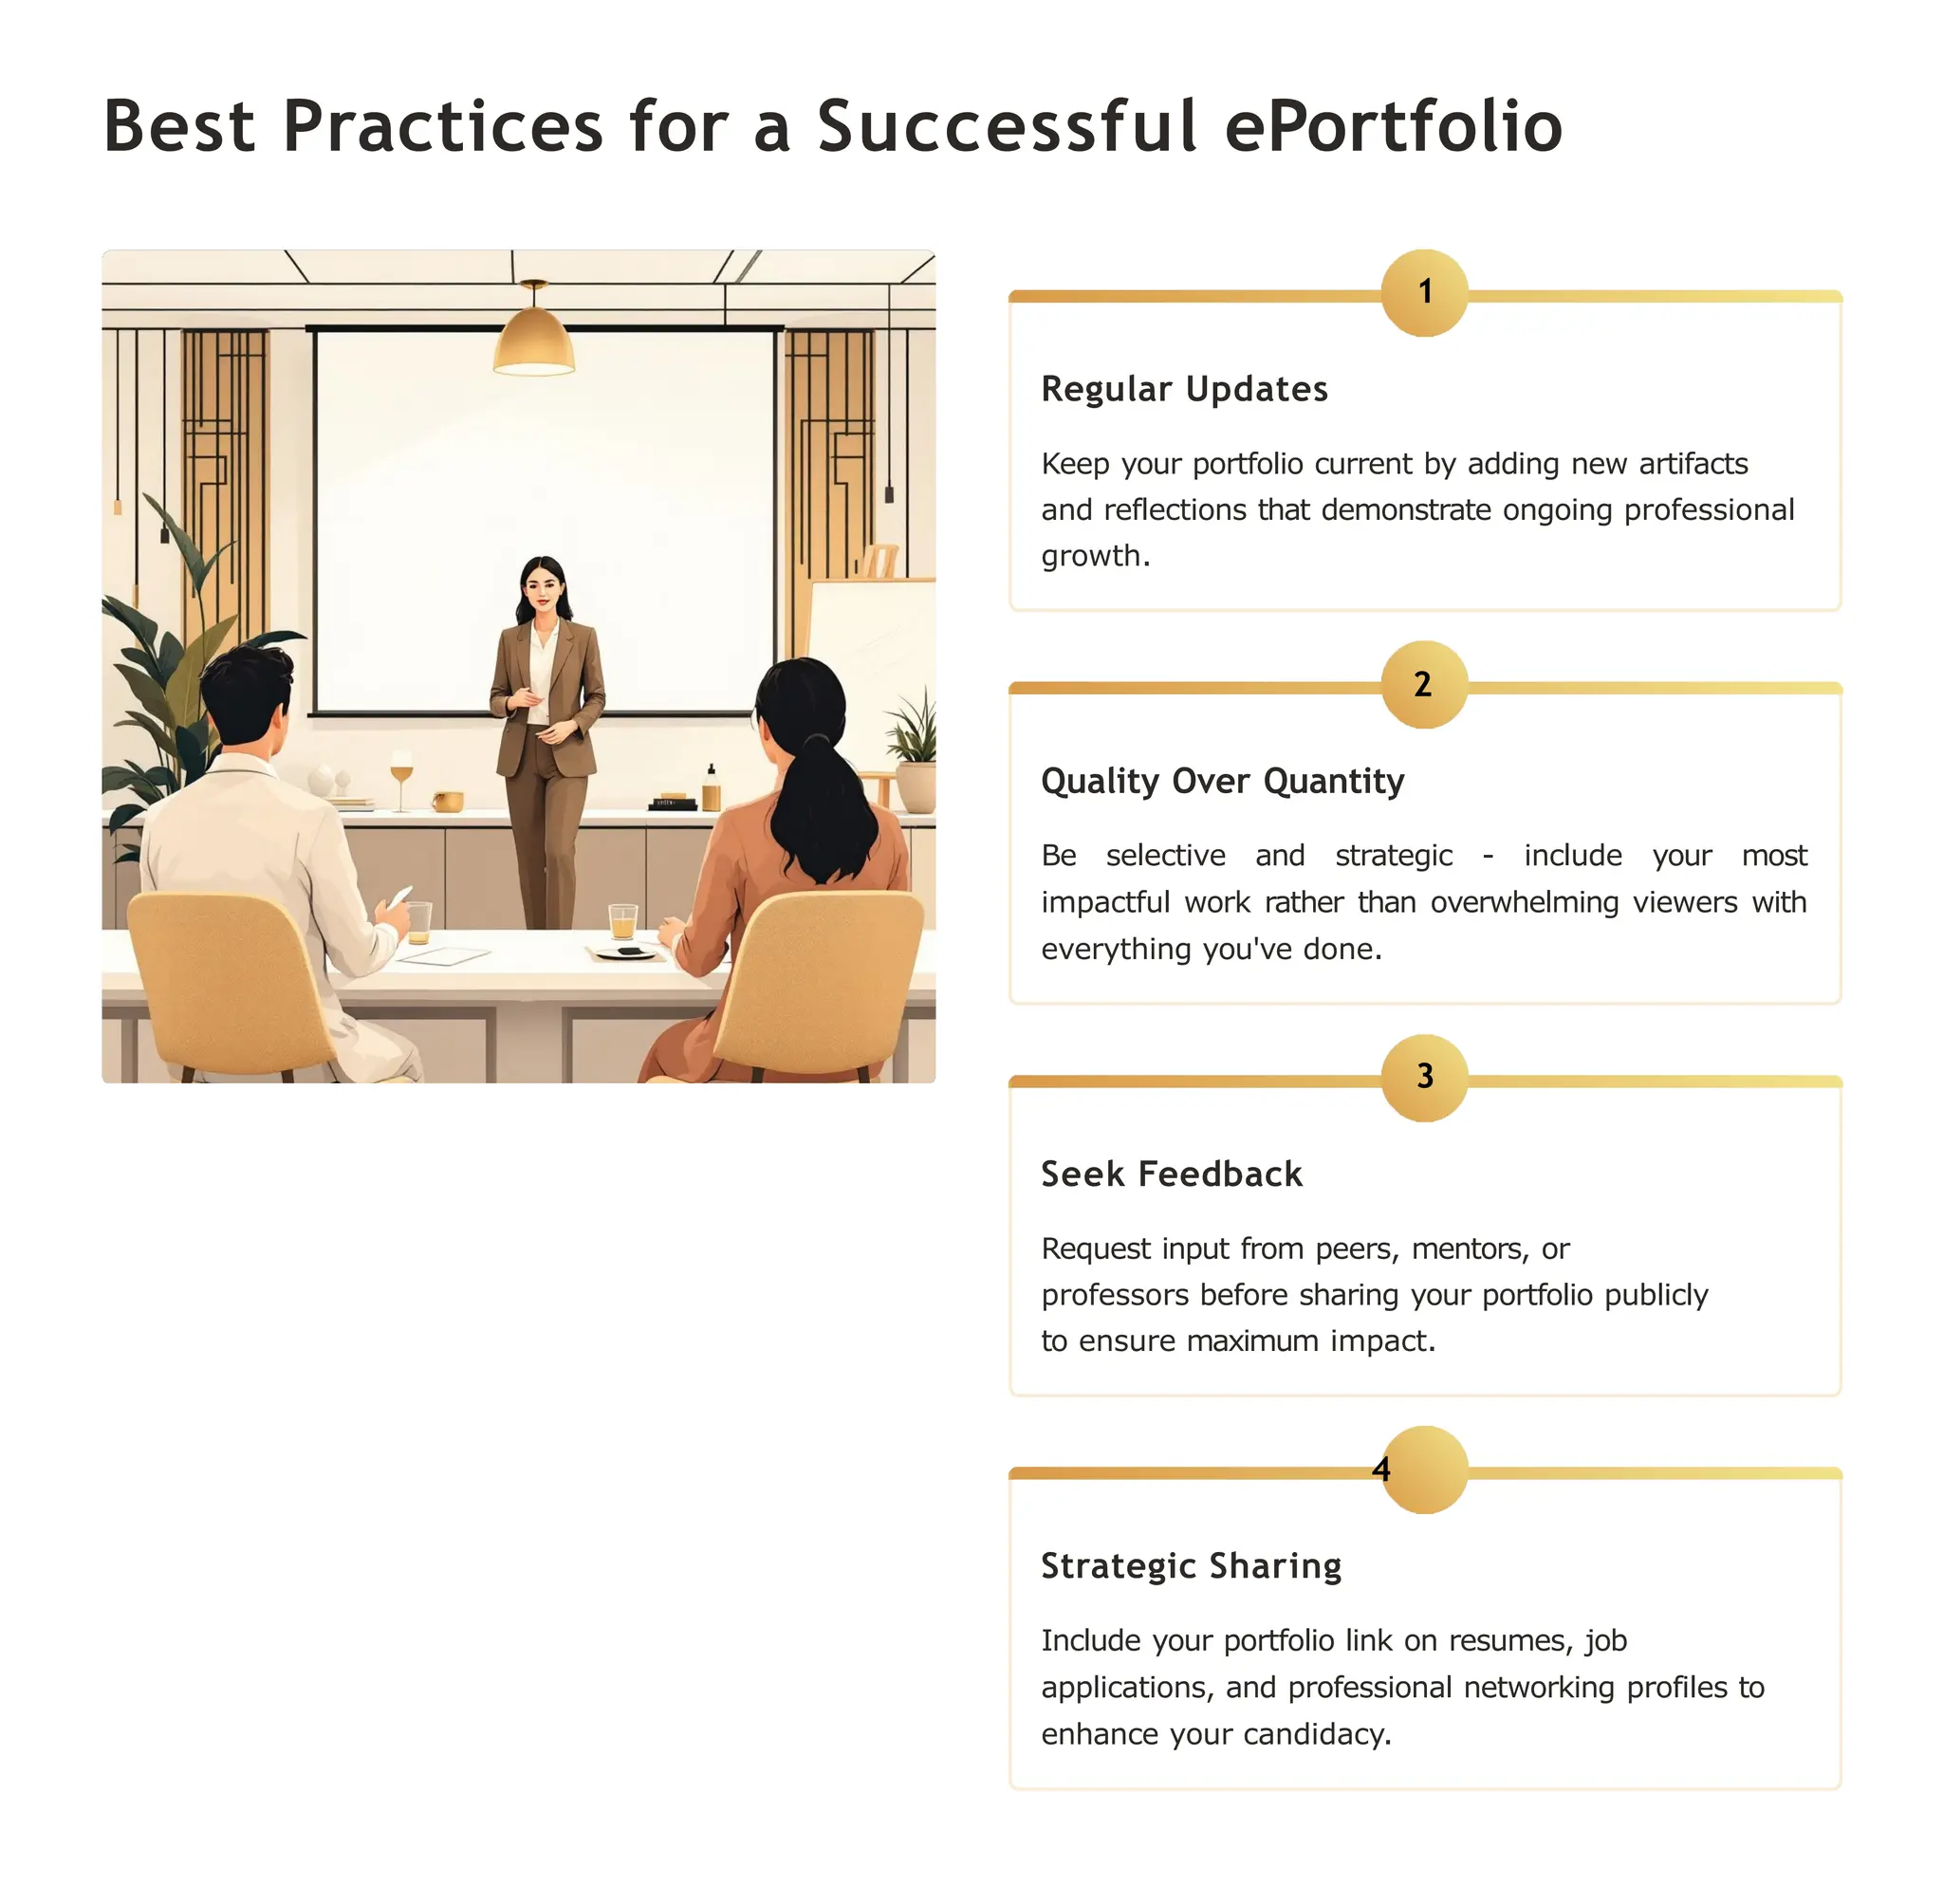
Best Practices fora Successful ePortfolio
1
Regular Updates
Keep your portfolio current by adding new artifacts
and reflections that demonstrate ongoing professional
growth.
2
Quality Over Quantity
Be selective and strategic - include your most
impactful work rather than overwhelming viewers with
everything you've done.
3
Seek Feedback
Request input from peers, mentors, or
professors before sharing your portfolio publicly
to ensure maximum impact.
4
Strategic Sharing
Include your portfolio link on resumes, job
applications, and professional networking profiles to
enhance your candidacy.
10.
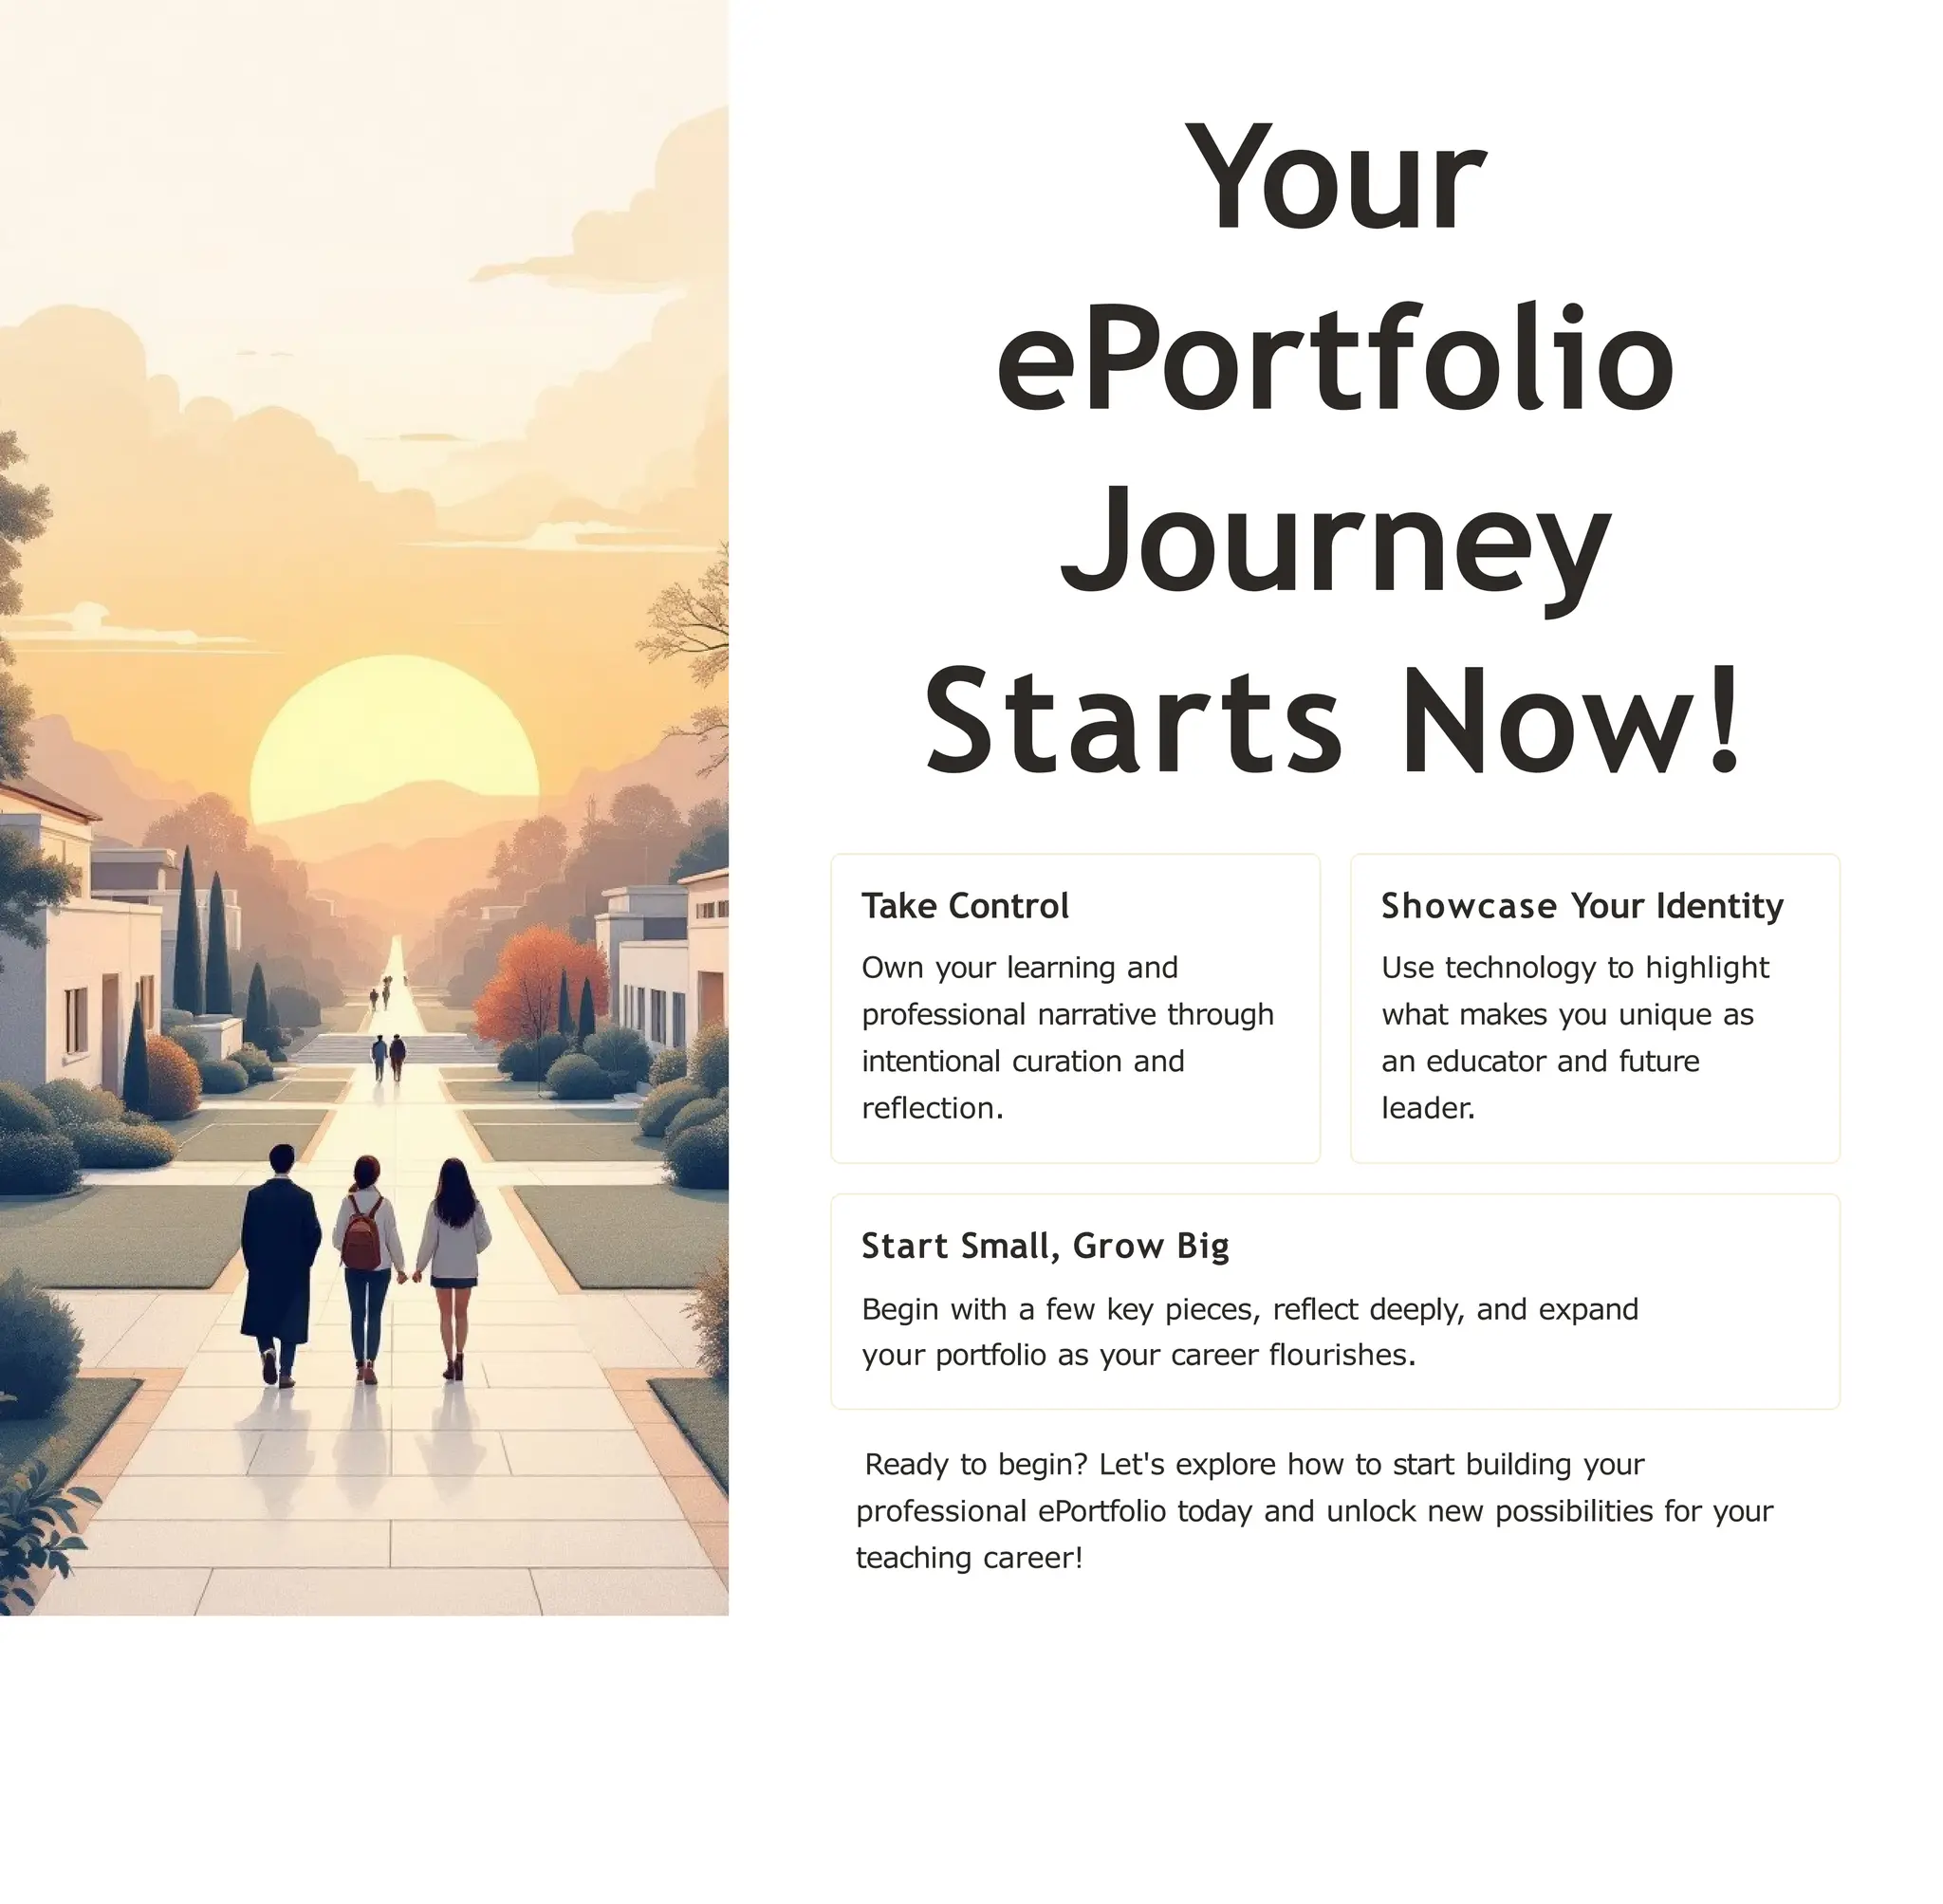
Your
ePortfolio
Journey
Starts Now!
Take Control
Ownyour learning and
professional narrative through
intentional curation and
reflection.
Showcase Your Identity
Use technology to highlight
what makes you unique as
an educator and future
leader.
Start Small, Grow Big
Begin with a few key pieces, reflect deeply, and expand
your portfolio as your career flourishes.
Ready to begin? Let's explore how to start building your
professional ePortfolio today and unlock new possibilities for your
teaching career!
11.
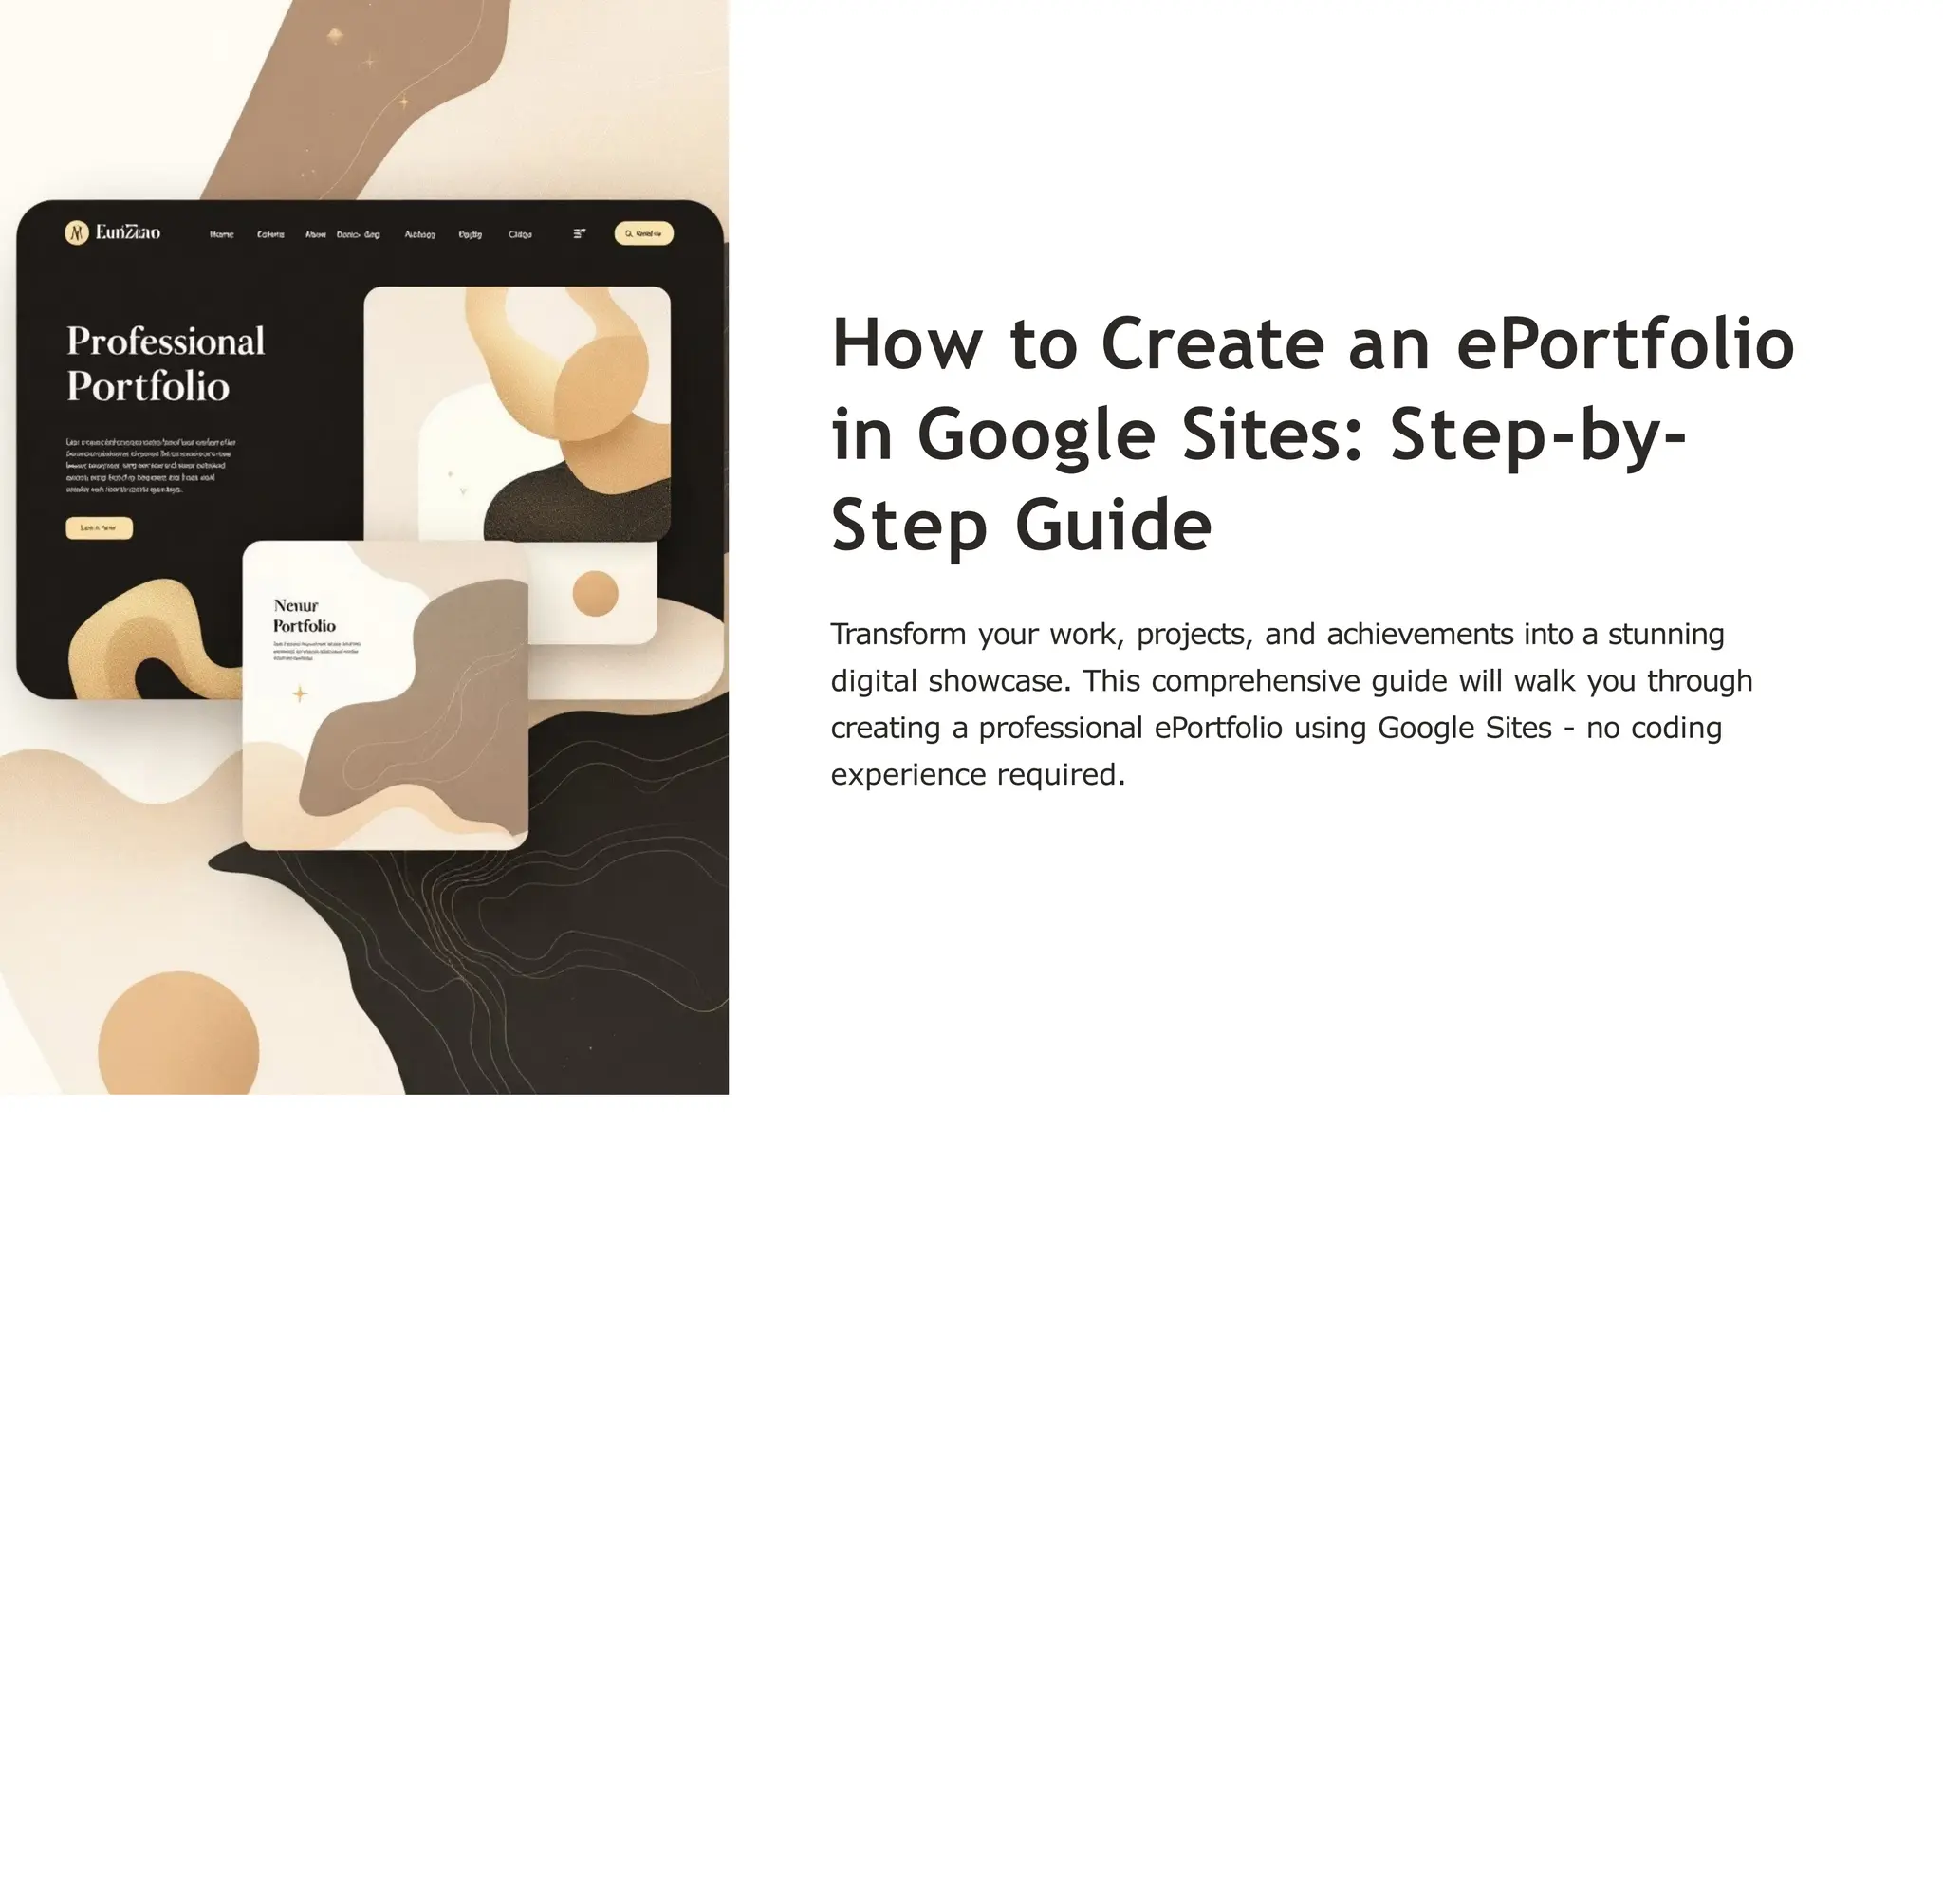
ow to Createan ePortfolio
in Google Sites: Step-by-
Step Guide
Transform your work, projects, and achievements into a stunning
digital showcase. This comprehensive guide will walk you through
creating a professional ePortfolio using Google Sites - no coding
experience required.
12.
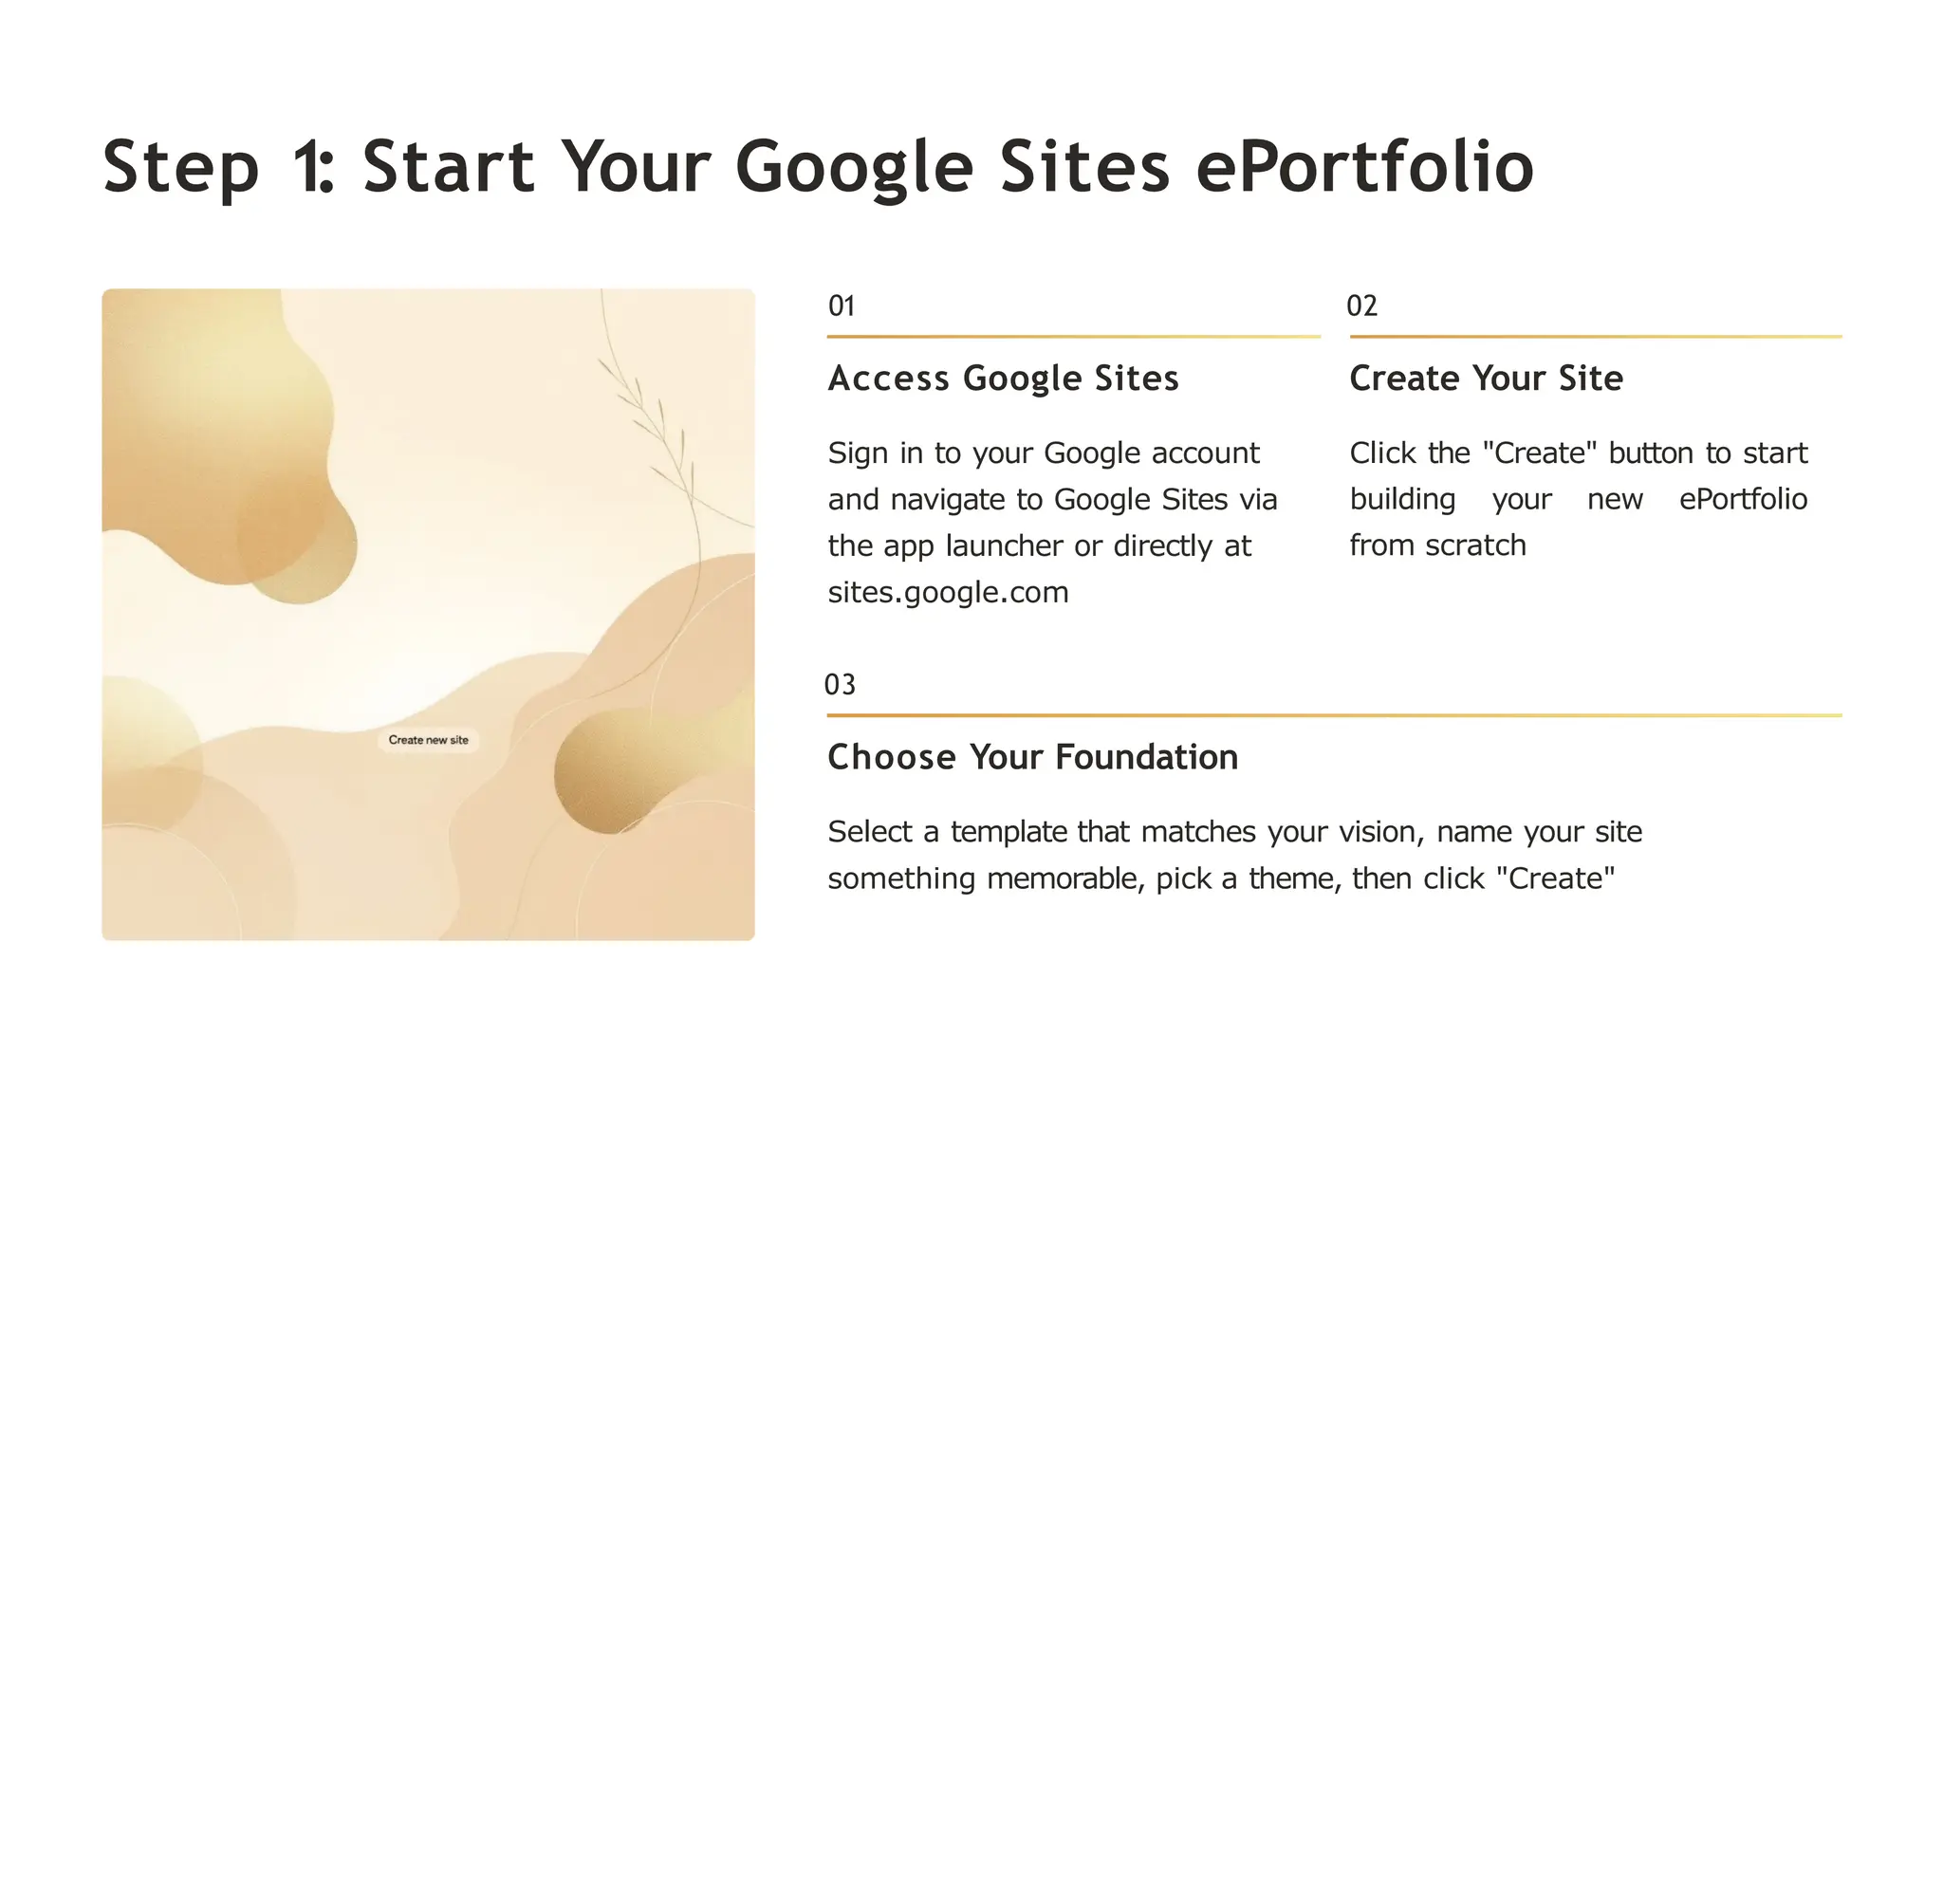
Step 1: StartYour Google Sites ePortfolio
01
Access Google Sites
Sign in to your Google account
and navigate to Google Sites via
the app launcher or directly at
sites.google.com
02
Create Your Site
Click the "Create" button to start
building your new ePortfolio
from scratch
03
Choose Your Foundation
Select a template that matches your vision, name your site
something memorable, pick a theme, then click "Create"
13.
Step 2: BuildYour
Site Structure with
Pages
Create New Pages
From your homepage, click
"Create page" to add
sections like My Work,
Projects, About Me, and
Contact
Name and Organize
Give each page a clear,
descriptive name and choose
where it fits within your
site's navigation hierarchy
Select Templates
Choose from Google's page templates or start with a blank
canvas to match your content needs
Remember: Your page structure is your portfolio's roadmap. Think
about how visitors will navigate through your work and achievements.
14.
Step 3: CustomizePage Layouts and Site
Appearance
Design Your Pages
Enter editor mode by clicking the pencil icon on
any page
Experiment with layout options to arrange text,
images, and multimedia content
Use drag-and-drop functionality to position
elements exactly where you want them
Site-Wide Customization
Click the gear icon to edit headers, footers, and
global design elements that appear across all pages
Manage Site Settings
Under Manage Site > General, adjust your site title,
language preferences, and choose your landing
page
15.
Step 4: AddContent:
Text, Images, and Google
Drive Files
Text and Images
Use the Insert menu to add compelling text content and
high- quality images that showcase your work
professionally
Dynamic Integration
Embed Google Drive files including Docs, Slides, Sheets,
and Videos for interactive, always-updated content
Sharing Permissions
Ensure all embedded files have sharing set to "Anyone with
the link can view" for seamless visitor access
Accessibility Focus
Add descriptive alt text to all images to make your
portfolio accessible to all visitors
16.
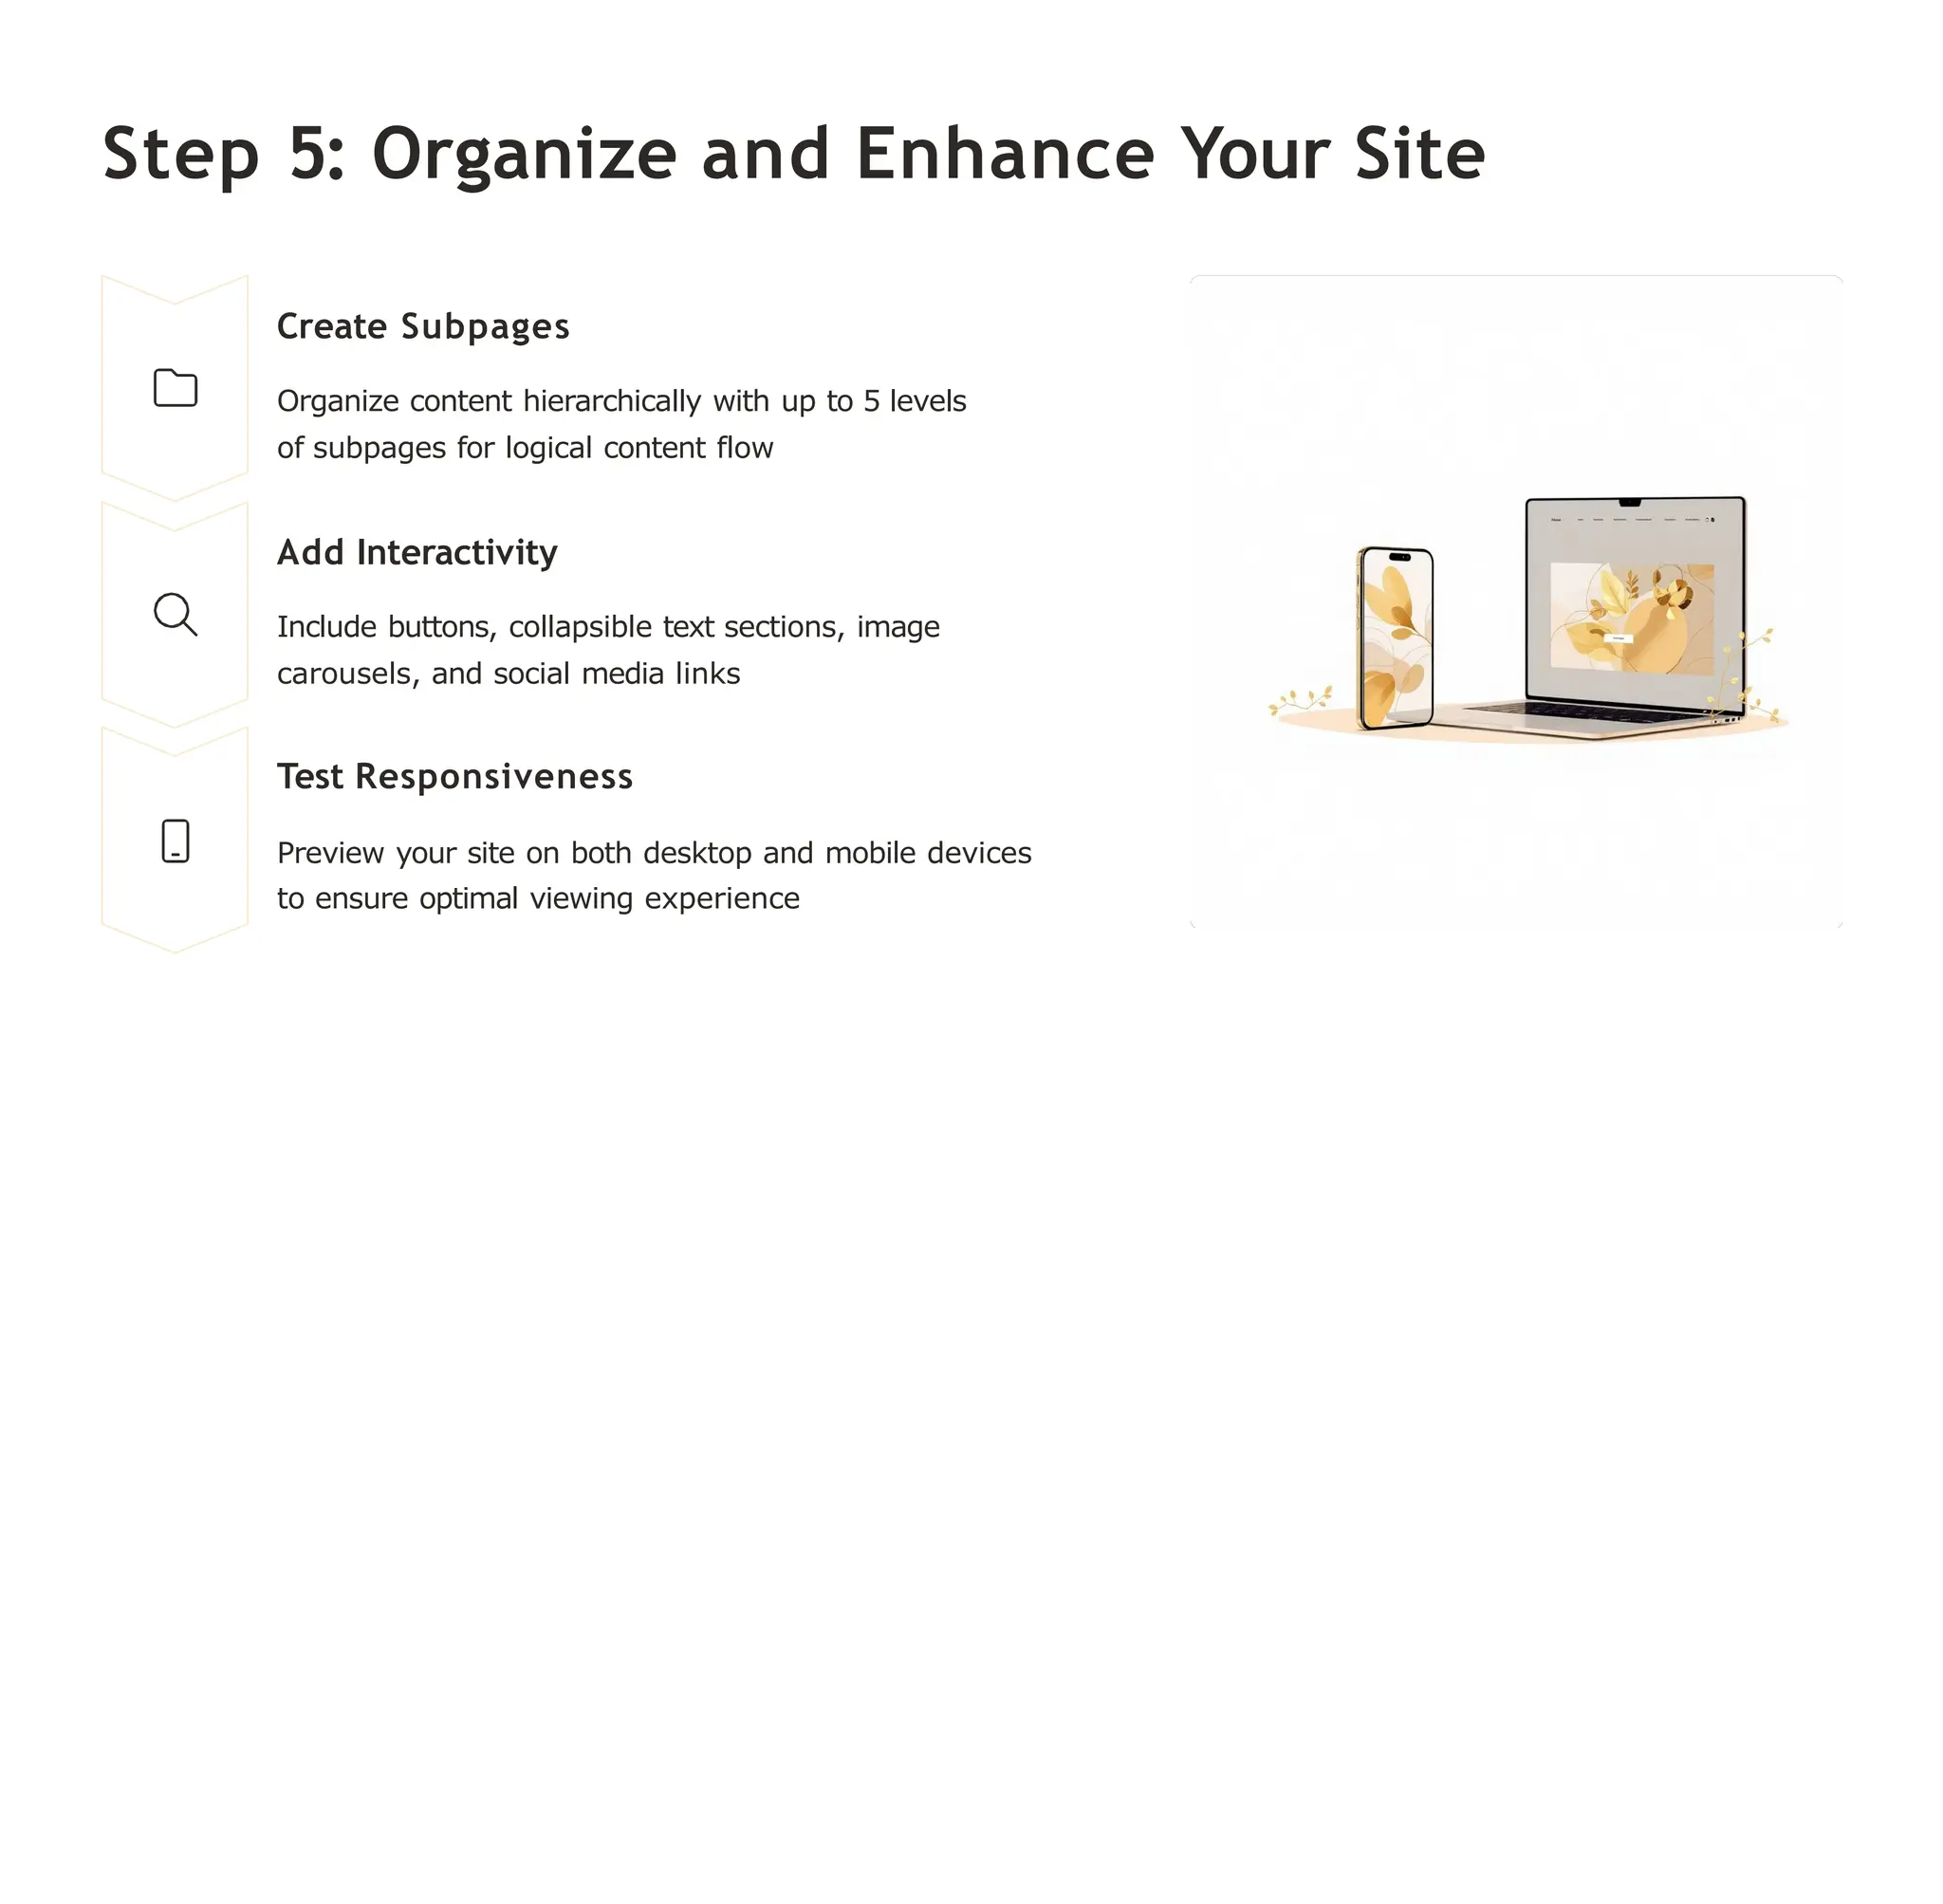
Step 5: Organizeand Enhance Your Site
Create Subpages
Organize content hierarchically with up to 5 levels
of subpages for logical content flow
Add Interactivity
Include buttons, collapsible text sections, image
carousels, and social media links
Test Responsiveness
Preview your site on both desktop and mobile devices
to ensure optimal viewing experience
17.
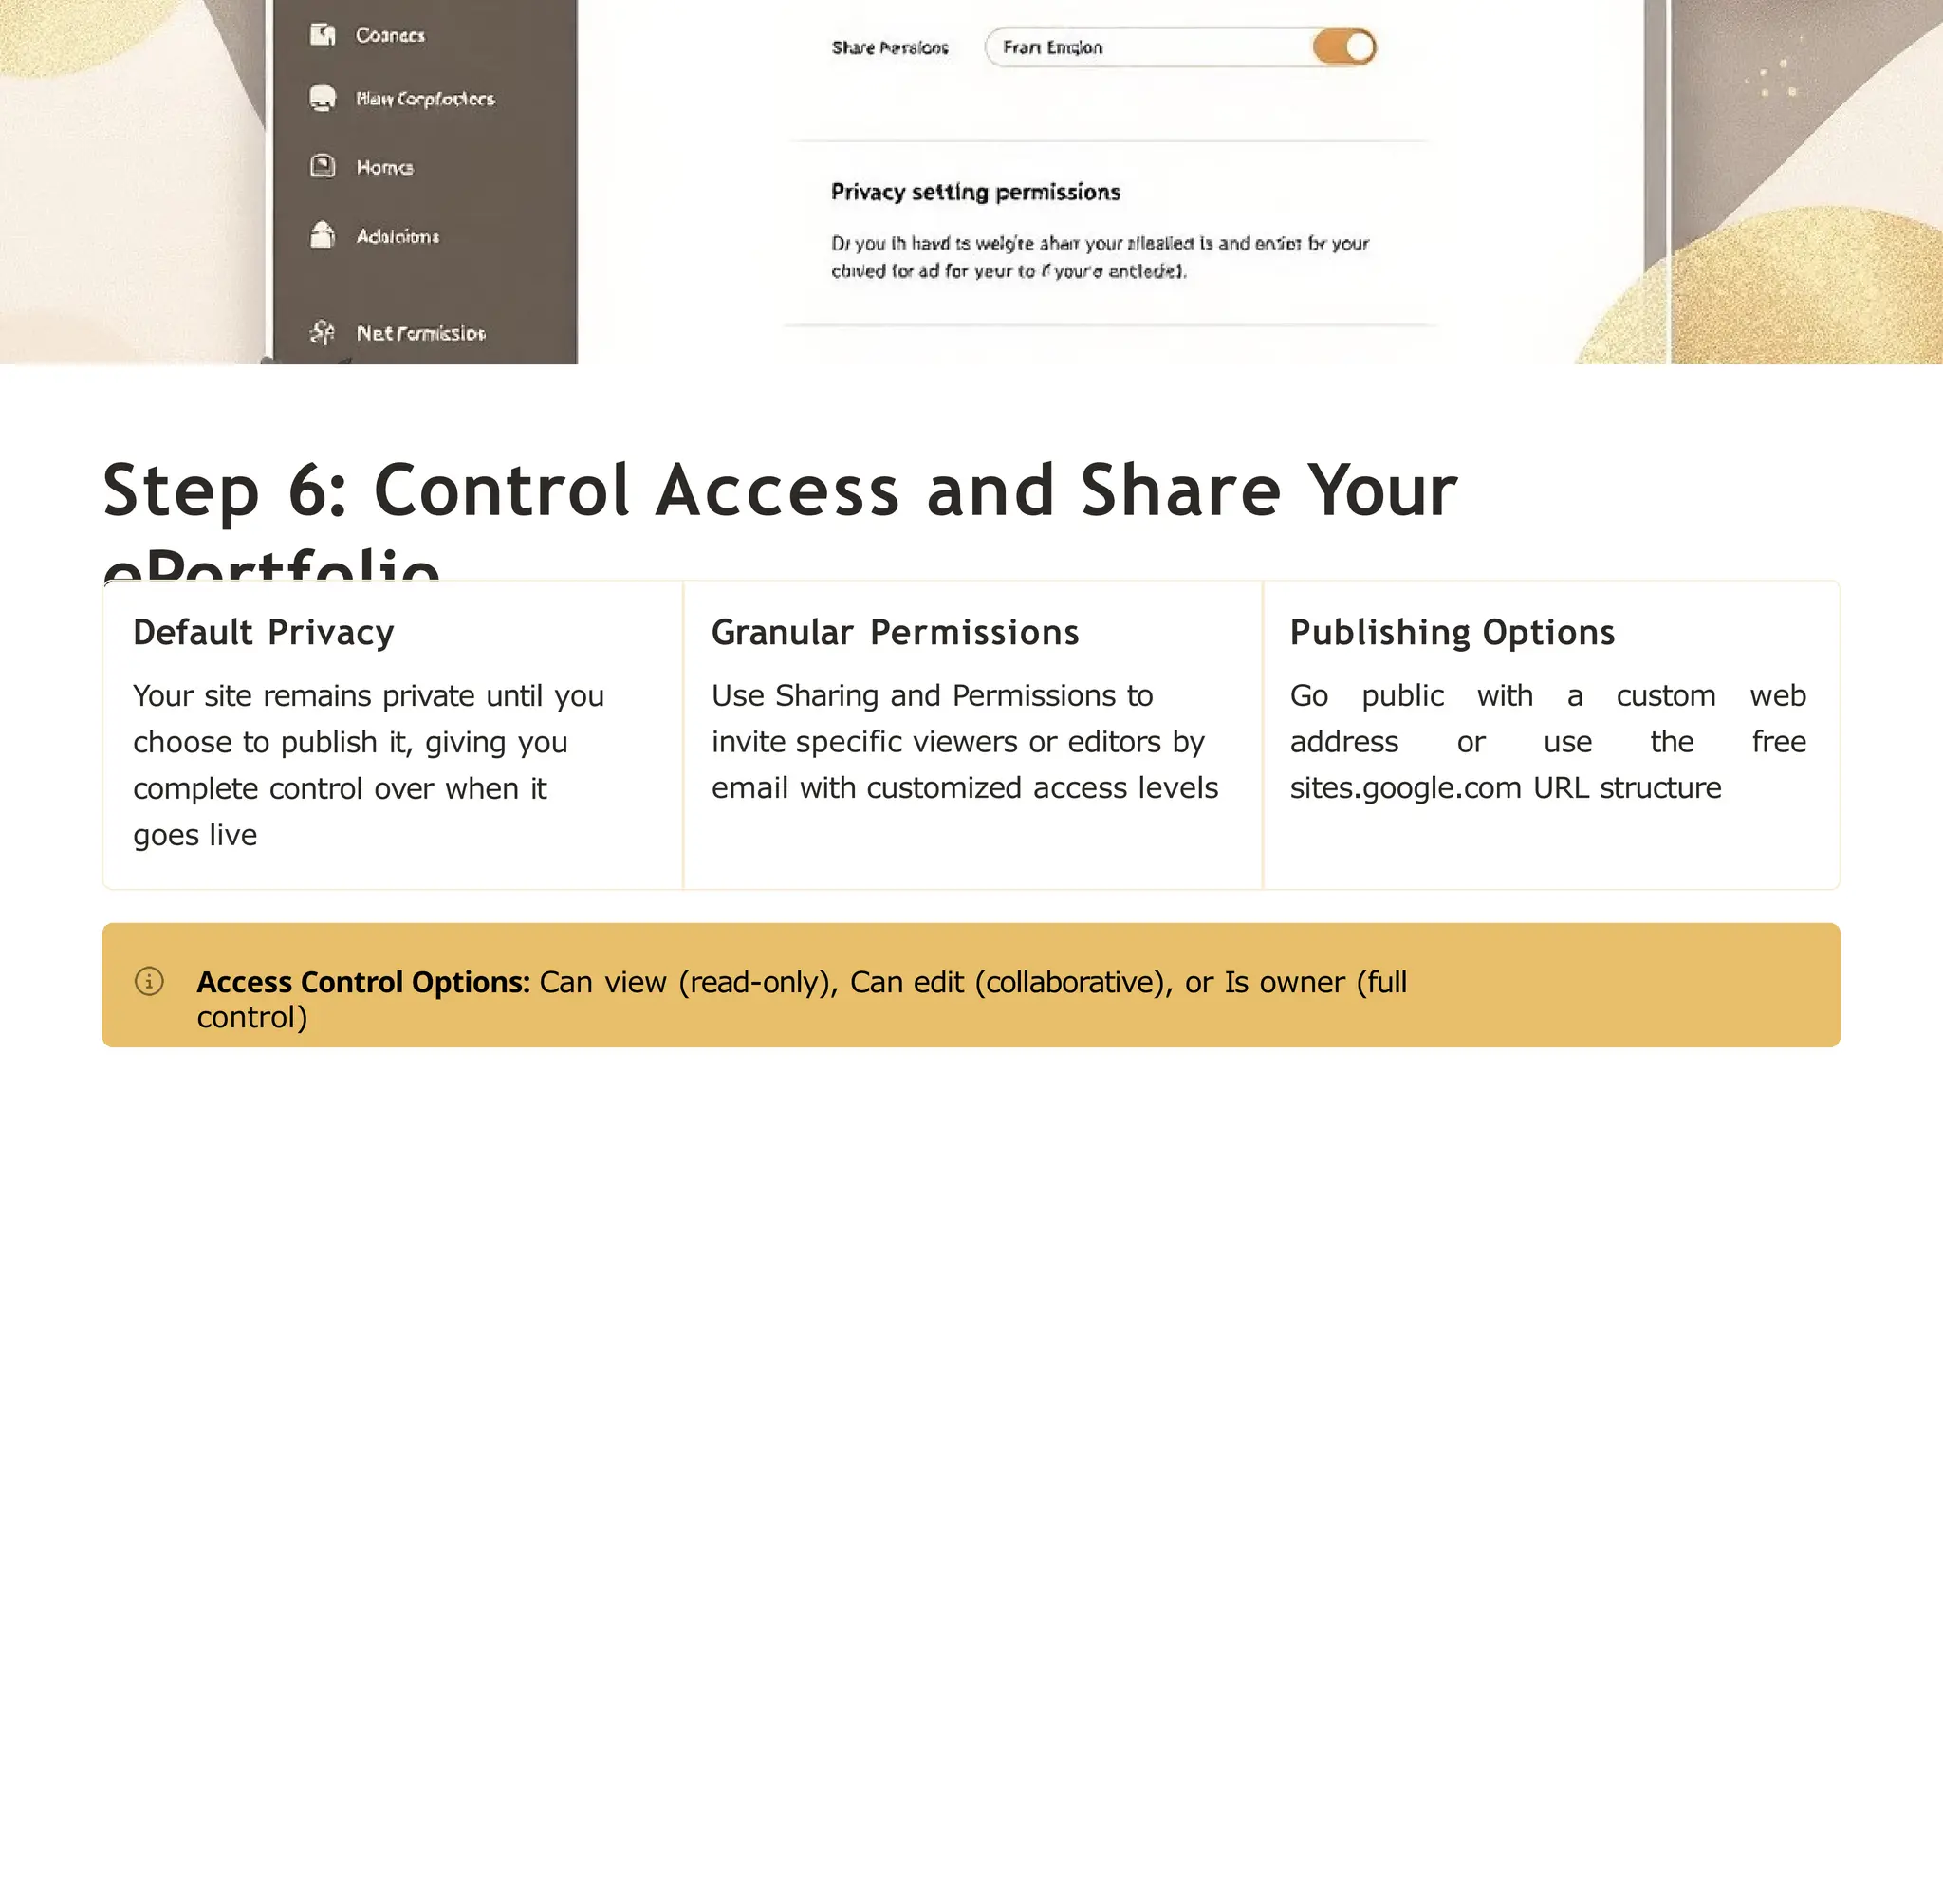
Step 6: ControlAccess and Share Your
ePortfolio
Default Privacy
Your site remains private until you
choose to publish it, giving you
complete control over when it
goes live
Granular Permissions
Use Sharing and Permissions to
invite specific viewers or editors by
email with customized access levels
Publishing Options
Go public with a custom web
address or use the free
sites.google.com URL structure
Access Control Options: Can view (read-only), Can edit (collaborative), or Is owner (full
control)
18.
Step 7: Maintainand Update Your
ePortfolio Regularly
Keep Content Fresh
Regularly add new projects, achievements, and
reflections to demonstrate continuous growth
and learning
Leverage Auto-Updates
Use Google Drive integration so embedded files
automatically reflect your latest work without
manual updates
Network Engagement
Announce portfolio updates to your
professional network to maintain visibility and
showcase skill development
19.
Visual Storytelling Tipsfor
a Standout ePortfolio
Clean Design Philosophy
Embrace simplicity with clean layouts and avoid cluttered pages
that distract from your work
Showcase Excellence
Highlight your absolute best work with high-quality images
and compelling project descriptions
Consistent Identity
Use consistent fonts, colors, and design themes throughout
to express your unique digital identity
Personal Connection
Include an engaging "About Me" page with your career goals,
story, and clear contact information
20.
Ready to
Showcase
Your
Skills?
Start BuildingYour Google
Sites ePortfolio Today!
$0
Cost
Completely free
to create and
host
0
100%
Coding Required Customizable
No technical skills Full creative
control needed over
design
Perfect for students, professionals, and creatives alike. Your digital
portfolio is your personal brand4make it shine and open doors to
new opportunities!
Start Creating Now