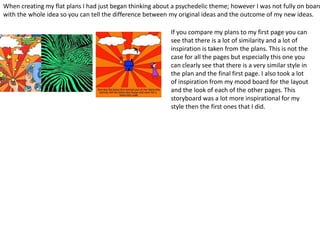
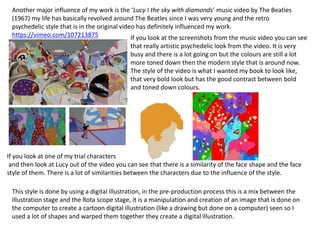
The document discusses the author's graphic narrative project and their use of techniques. Some key points:
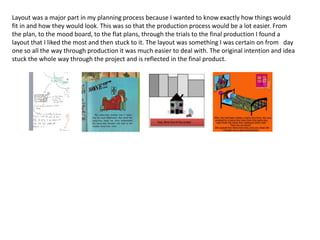
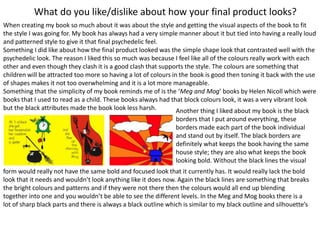
- The author originally planned for a traditional children's book style but later changed to a psychedelic style after revising their plans and mood boards.
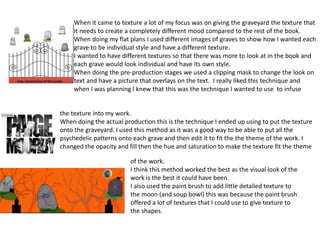
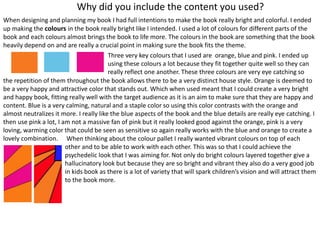
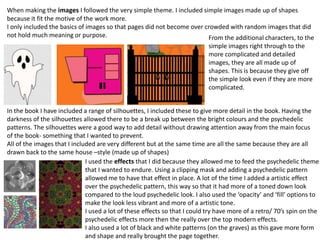
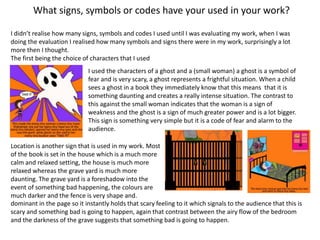
- When constructing images, the author primarily used shapes to create simple designs that fit the psychedelic theme. They layered shapes and added textures like patterns.
- For text, the author anchored it centrally on pages and used a rounded font to make it easy for children to read. They aimed to represent the text visually with minimal images.
- Techniques like rota scoping and distortion helped the author achieve accurate proportions and angles for images, though rota