Download as PDF, PPTX
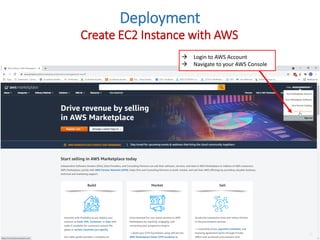
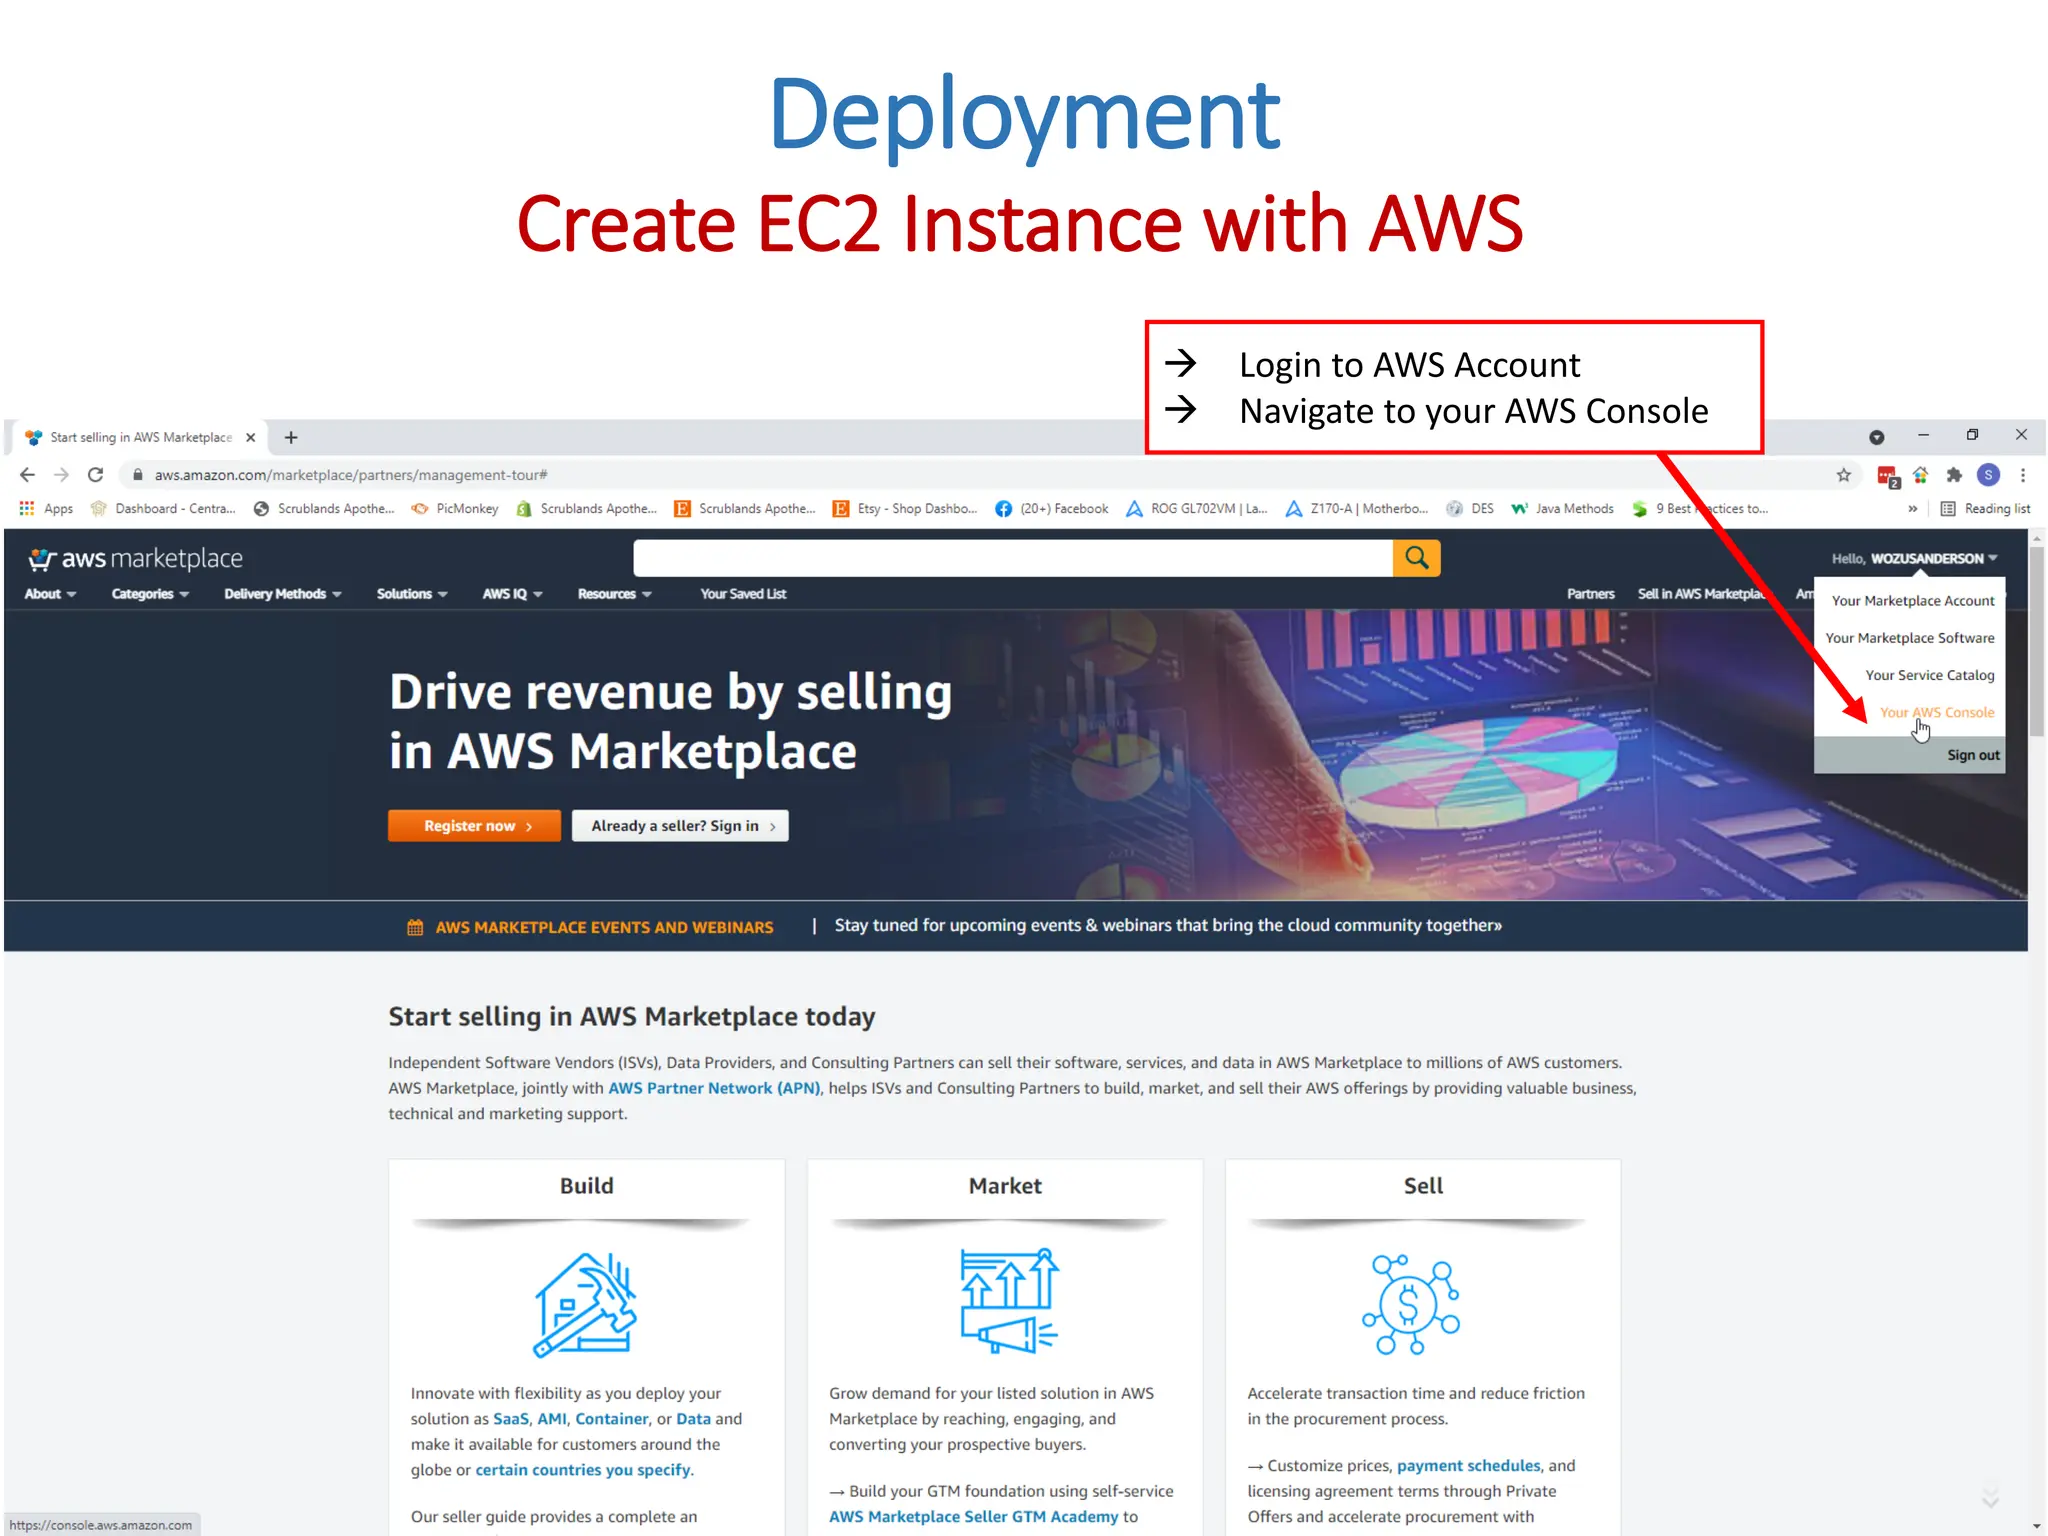
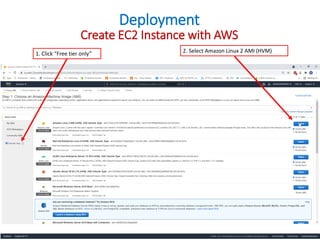
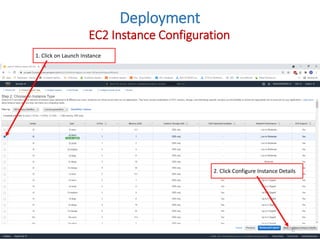
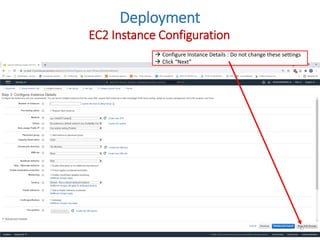
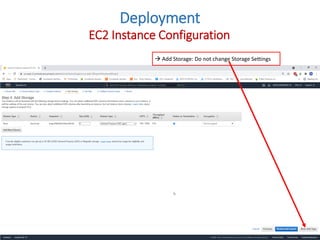
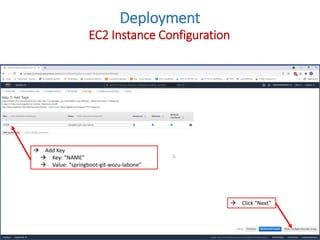
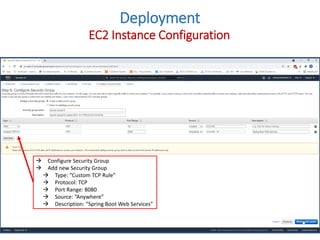
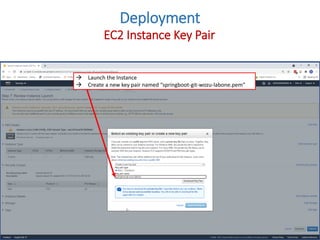
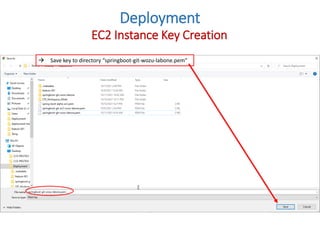
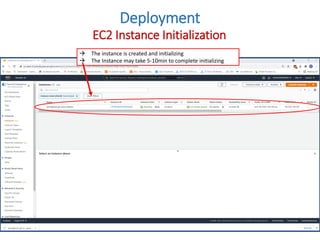
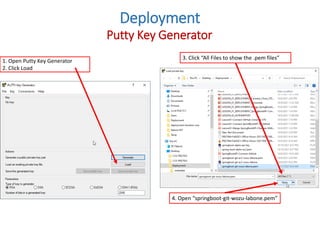
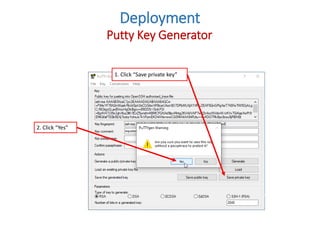
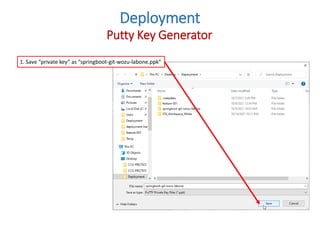
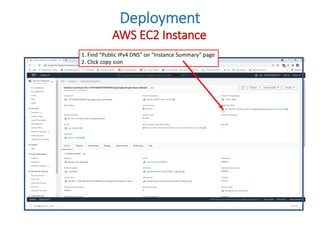
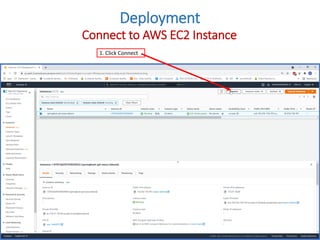
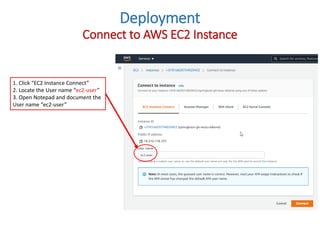
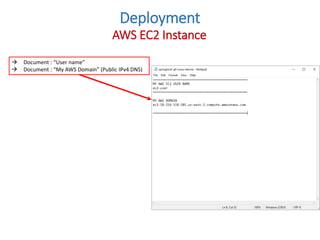
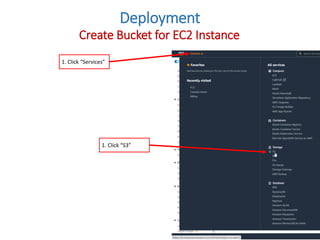
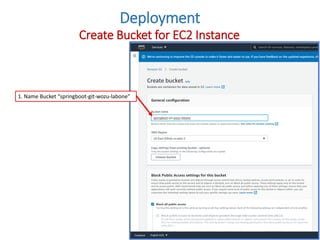
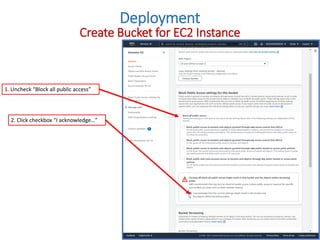
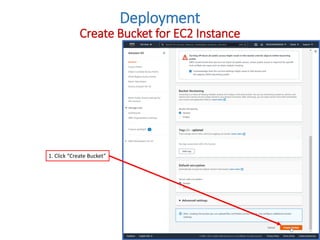

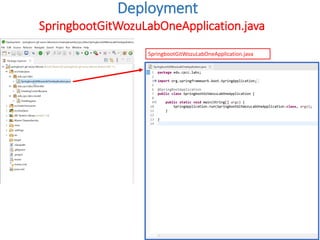
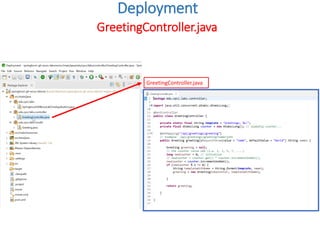
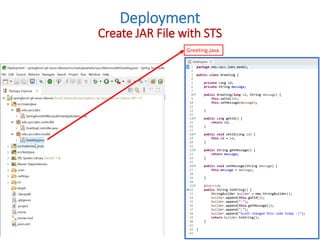
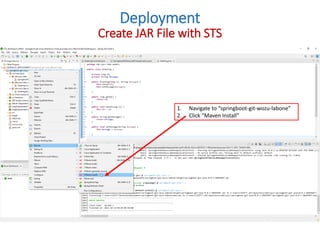
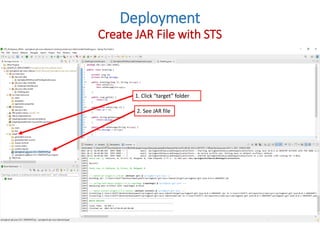
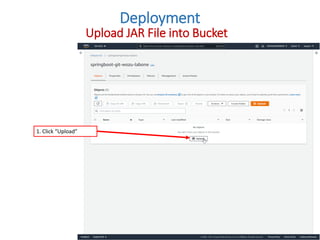


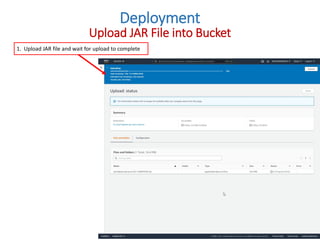
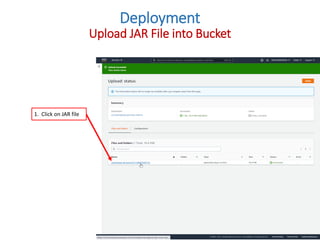
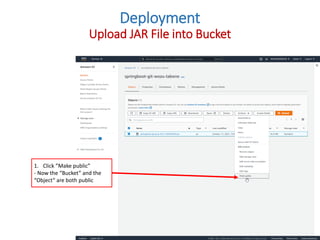
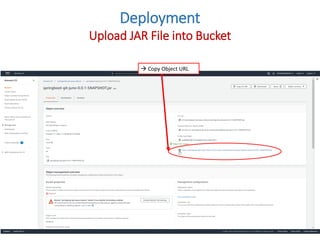
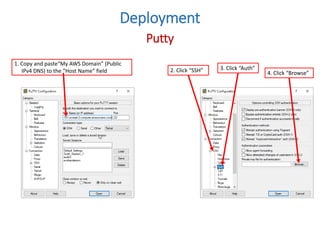
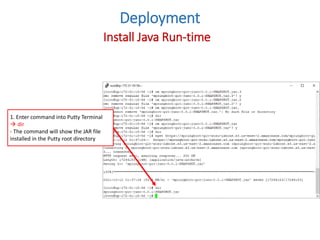
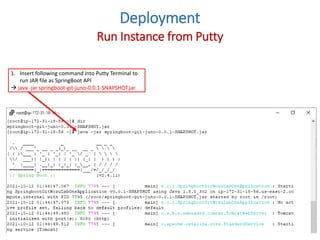
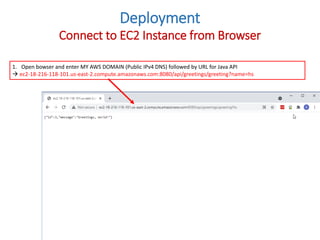

This document provides a step-by-step guide on deploying an EC2 instance on AWS, including the creation of a key pair and security group settings. It details the process of uploading a Spring Boot JAR file to an S3 bucket and executing it on the EC2 instance. Finally, it explains how to connect to the EC2 instance via Putty and access the deployed application through a web browser.