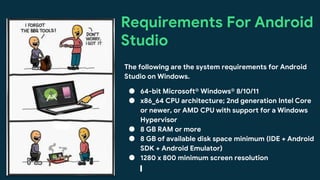
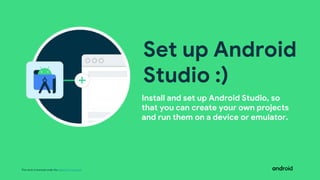
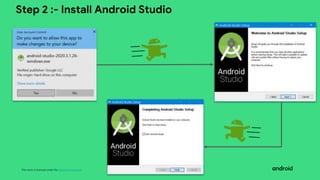
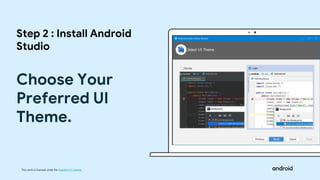
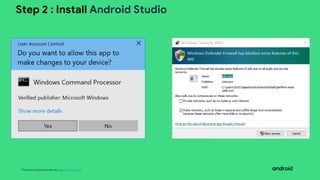
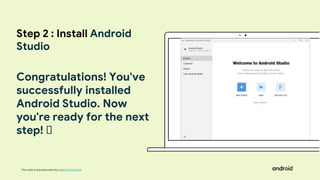
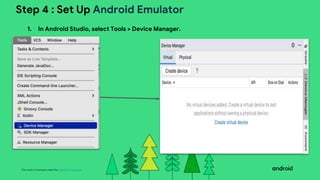
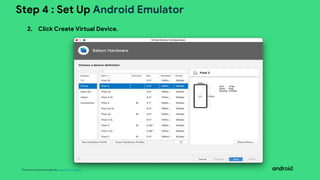
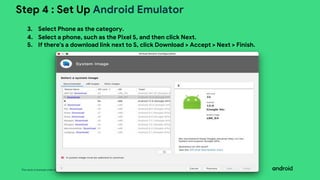
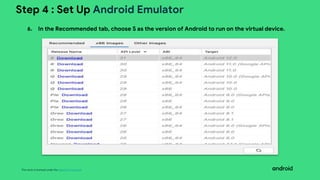
The document discusses setting up Android Studio and running an app on an Android emulator or device. It includes steps to download and install Android Studio, create a new project, set up an emulator virtual device, and run the app on the emulator. It also provides instructions for connecting a physical Android device to run the app via USB or over Wi-Fi. The document covers the basic requirements, setup process, and running of apps for Android development using Android Studio.


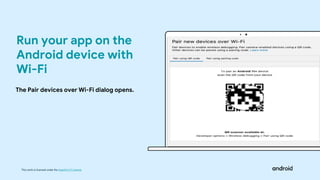


![[EXTERNAL] Android Basics Sessions 1 _ 2 - Android Study Jams.pptx](https://cdn.slidesharecdn.com/ss_thumbnails/externalandroidbasicssessions12-androidstudyjams-221110040929-be3a385a-thumbnail.jpg?width=640&height=640&fit=bounds)


